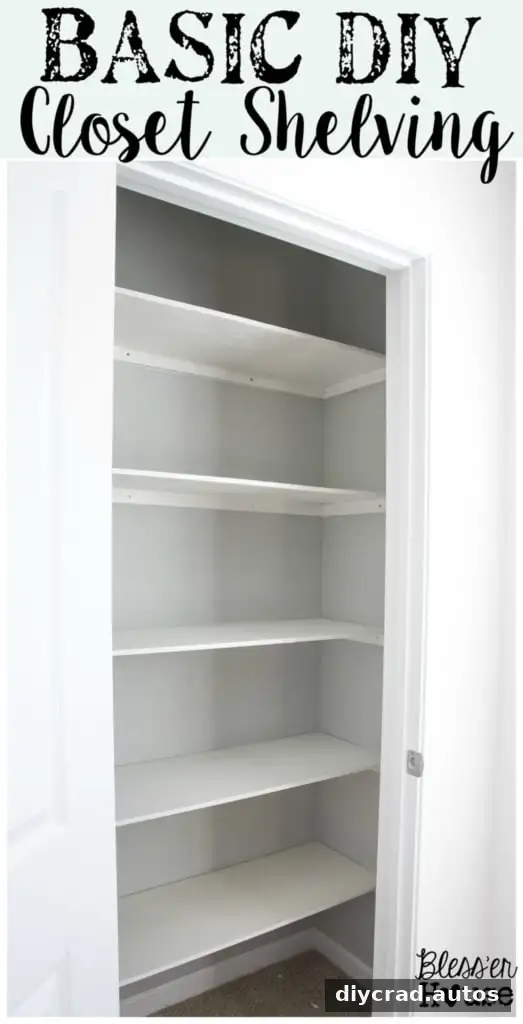
DIY closet shelves can turn a cluttered space into practical storage using basic tools and beginner-friendly skills. This project uses plywood and 1×2 furring strips to create simple shelves, and the original materials cost around $80. The exact price and time will depend on your closet size, local material costs, and whether you already have paint and tools.
Plan your DIY closet shelves
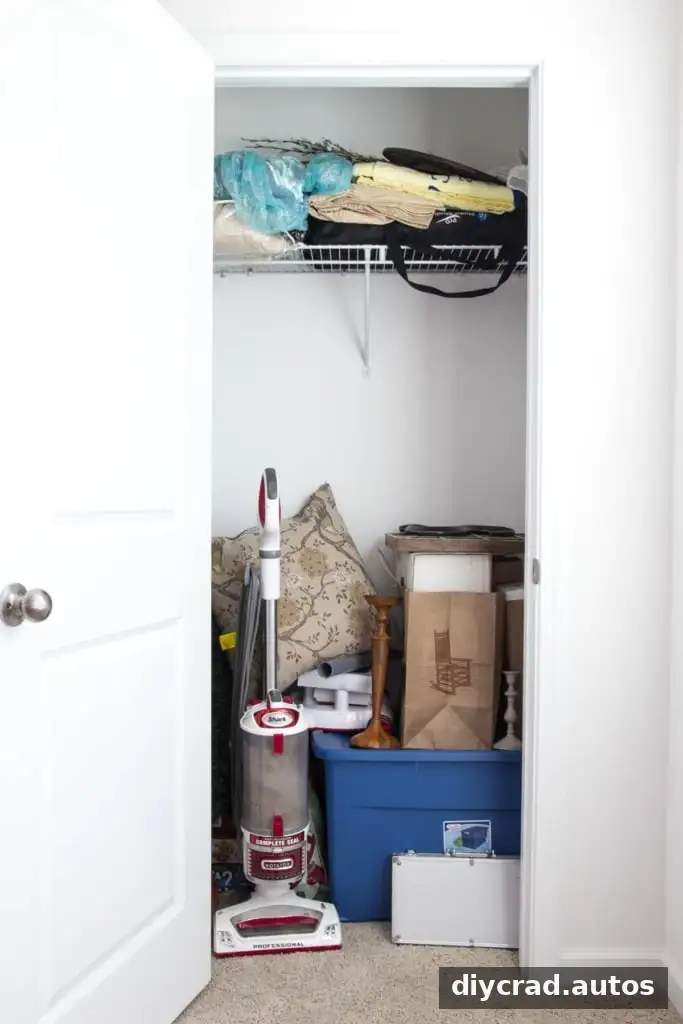
Start by emptying the closet and removing any existing shelving that gets in the way. Measure the closet’s width and depth, then decide how many shelves you need and what you plan to store on them. In this project, the shelves were spaced 14 inches apart to fit storage boxes. Measure your own boxes or belongings before marking shelf positions so the spacing works for your needs.
Before drilling, check the wall for studs and mark the intended shelf heights with a pencil. A level helps keep each support straight. If you are storing heavy items, plan to fasten supports into studs wherever possible and use suitable anchors where a stud is not available.
Materials and tools
- Five 1x2x8 furring strips
- One 3/4-inch-thick primed hardwood plywood board, cut into strips measuring 4 feet by 14 inches; adjust the dimensions to suit your closet
- Drywall anchors and stud anchors, as appropriate for the wall and load
- Power drill
- 2-inch wood screws
- Level and pencil
- Paint and paintbrush
Have the plywood cut to the measured shelf depth and width. Check each piece against the closet before installation, since walls and corners may not be perfectly square.
How to build the shelves
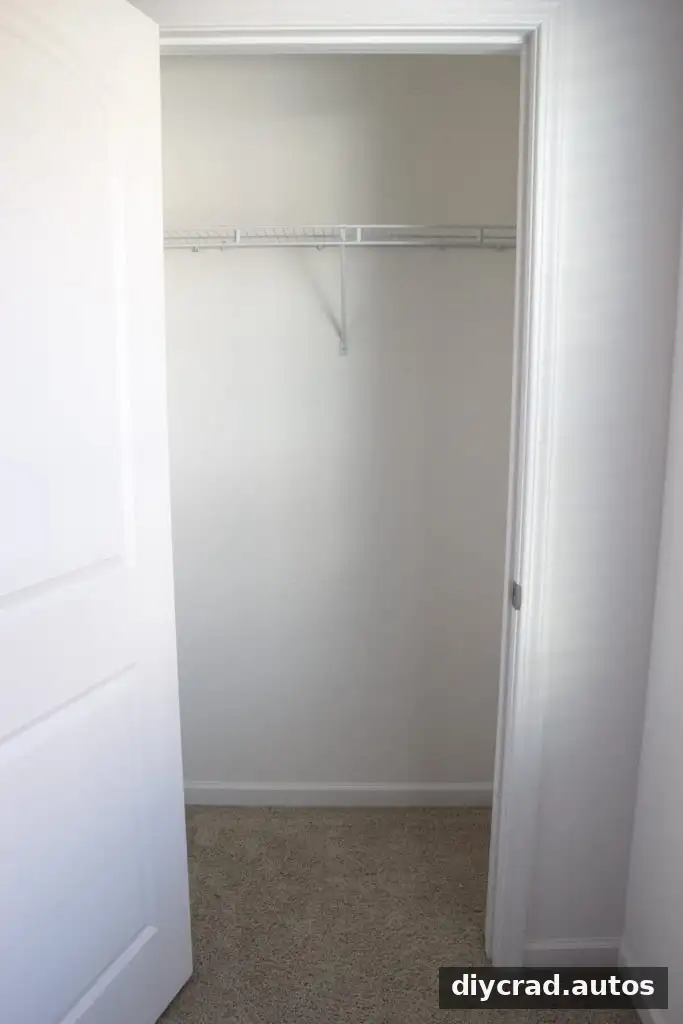
- Remove the existing shelf. Take out the old wire shelf or other fittings, then clear away dust and debris so you can measure and mark the walls accurately.
- Mark shelf positions. Measure from a consistent reference point and mark each shelf height on both side walls. The shelves in this project were spaced 14 inches apart to accommodate storage boxes.
- Cut the side supports. Cut the 1×2 strips into ten 14-inch lengths to make end supports for five shelves. Adjust the number of pieces if you are building a different number of shelves or using different dimensions.
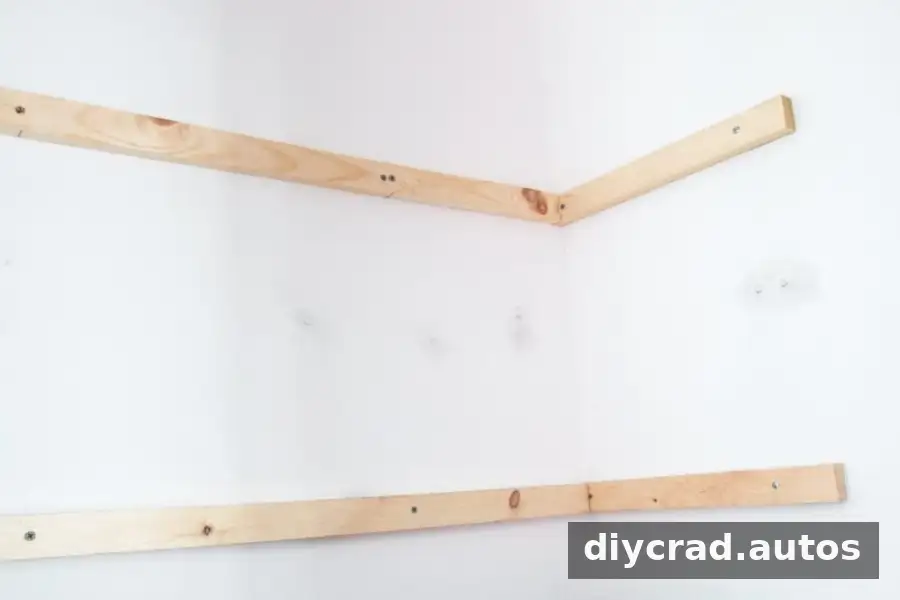
- Fasten the side supports. Position each support at the marked height and check it with a level. Secure it into a stud with 2-inch wood screws where possible. If one end cannot reach a stud, pre-drill the wood and use an appropriate drywall anchor for added support.
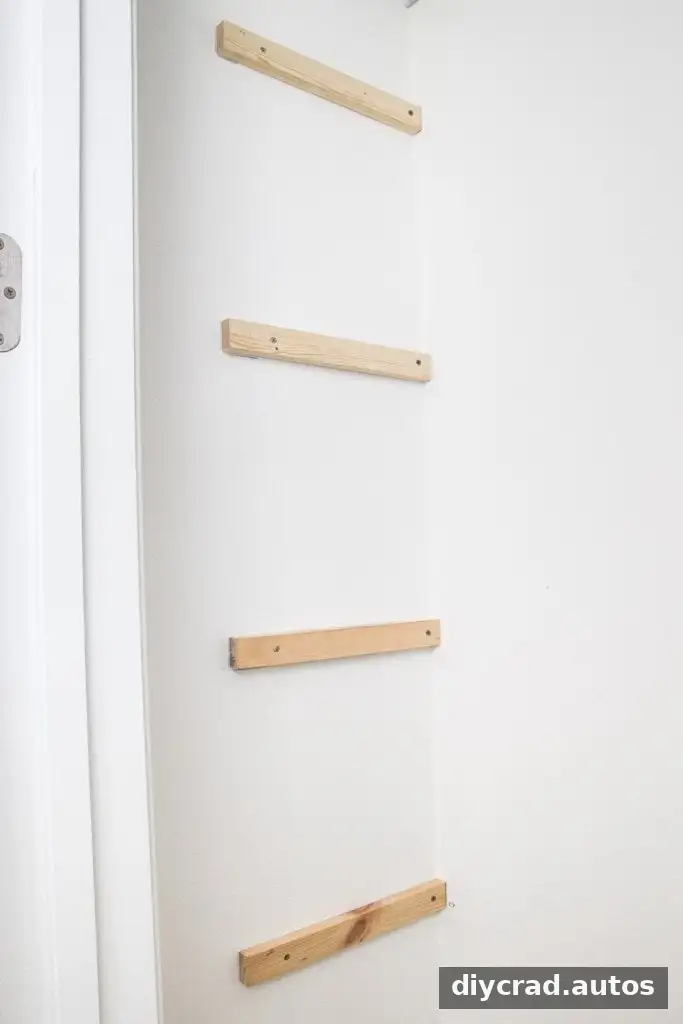
- Add the back supports. Measure and cut a 1×2 strip to fit across the back wall at each shelf level. Fasten the strips into wall studs with wood screws. Confirm the supports are level and aligned with the side supports.
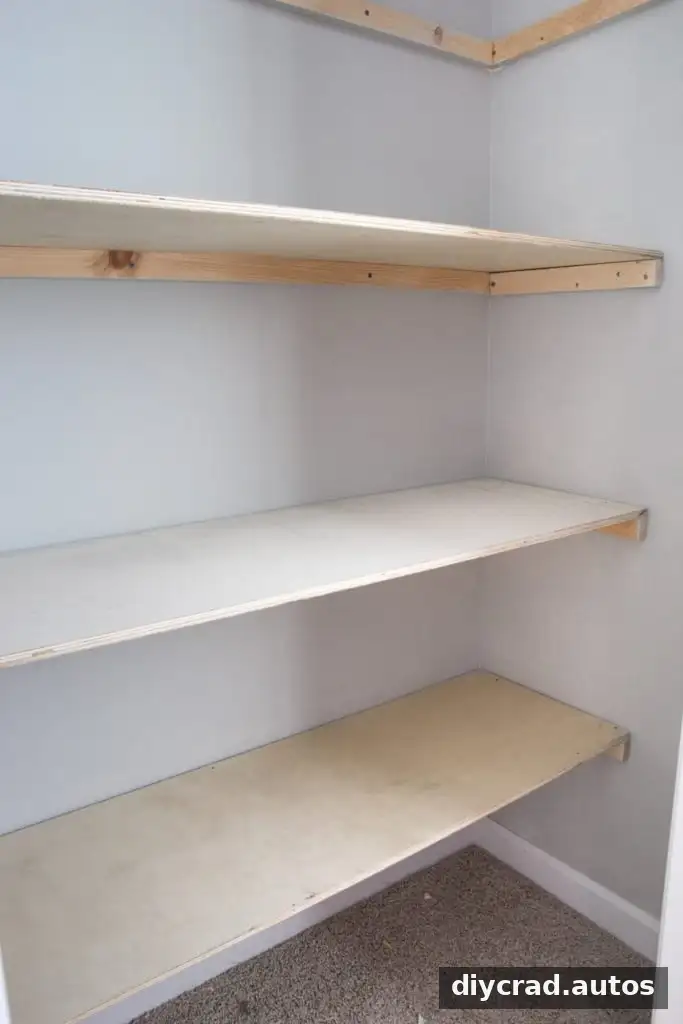
- Install the plywood shelves. Place each plywood strip on top of its supports and secure it from above with screws. Use screws long enough to hold the plywood to the supports without protruding through the underside.
Paint and finish the closet
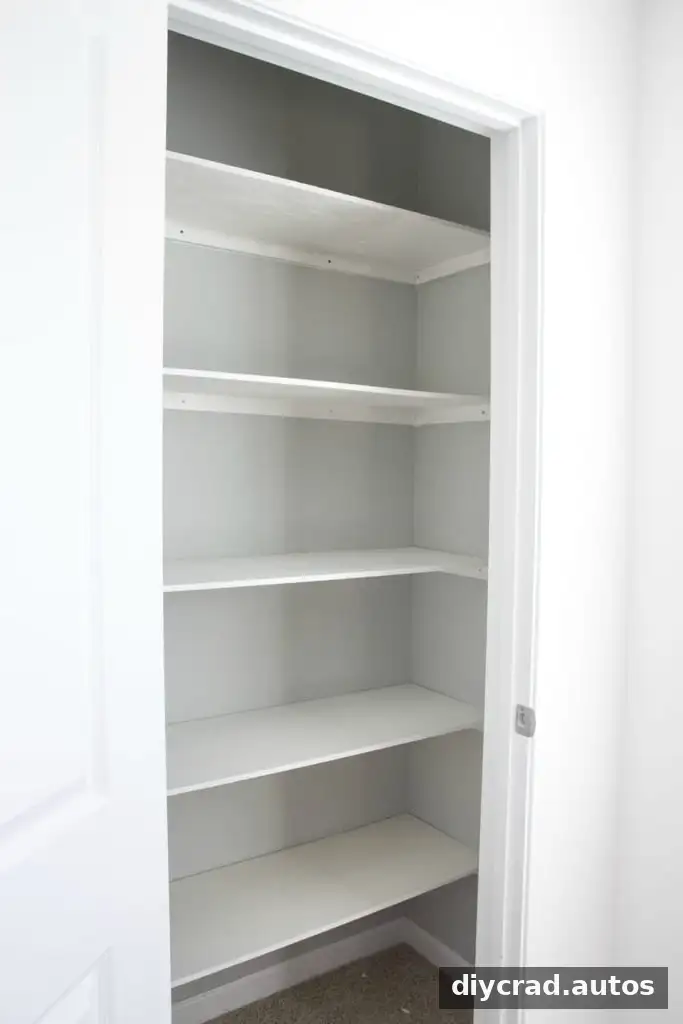
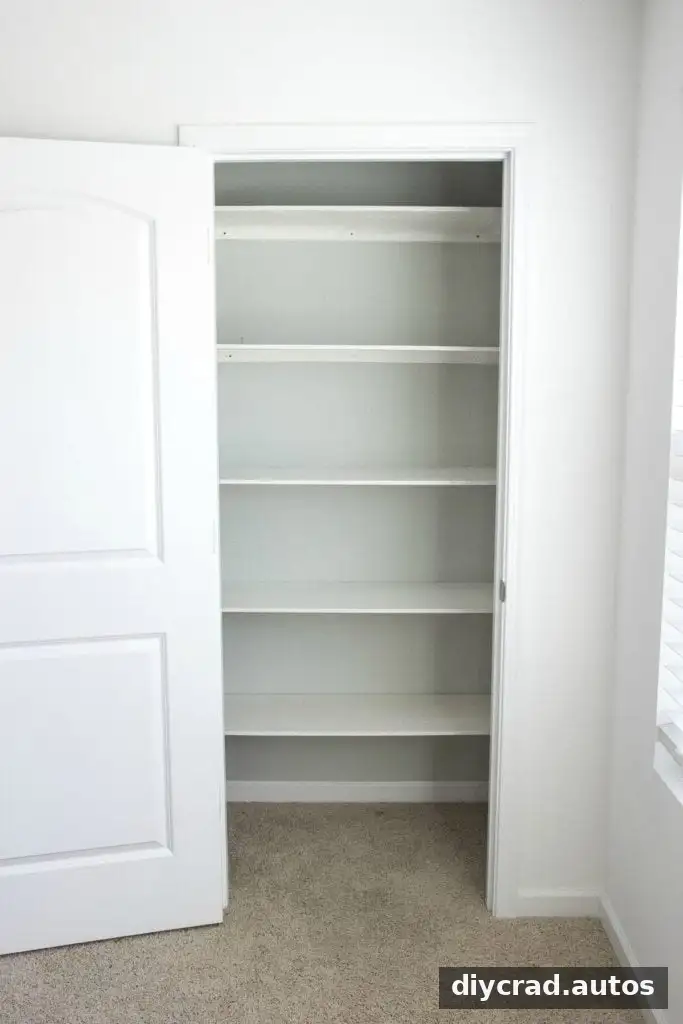
If you plan to paint the closet walls, it is generally easier to do that before installing the shelves. In this project, the walls were painted afterward using leftover gray paint. The shelves were then painted white. Primed plywood can reduce the amount of paint needed compared with raw plywood, which may absorb more paint.
Allow paint to dry according to its label before loading the shelves. Caulking seams or filling small gaps is optional; it can give the installation a more finished appearance, but may not be necessary for utility storage.
Cost, timing, and practical checks
The project cost about $80 for wood, hardware, and paint, using roughly a quart of each paint color. The work was described as taking less than two hours, though preparation, cutting, painting, and drying can add time. For a safe, useful result, check that the supports are firmly fastened before adding items, distribute weight across the shelves, and avoid overloading them. If you are unsure which anchors suit your wall or expected load, consult the anchor manufacturer’s guidance.
These DIY closet shelves offer a straightforward way to make better use of vertical space and keep supplies or storage boxes organized. Measure carefully, secure the supports appropriately, and tailor shelf spacing to what you plan to store.