

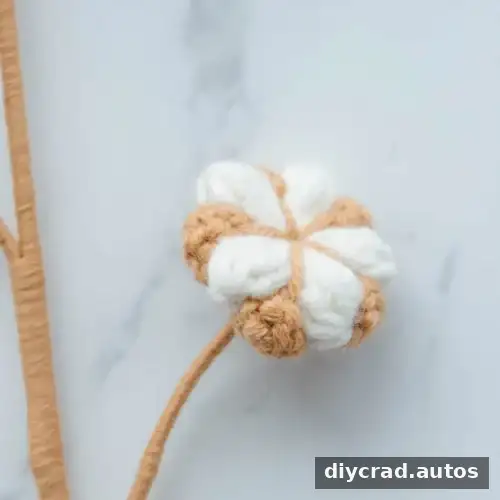
This crochet cotton plant pattern creates a soft, fluffy flower that can be used in handmade bouquets and home décor. The project combines white cotton bolls with coffee-colored holders and stems, using a treble crochet cluster stitch to build the distinctive textured petals. Follow the instructions below to make three cotton blooms and assemble them into a decorative stem.
About the Crochet Cotton Plant Pattern
The cotton plant’s rounded, airy appearance makes it a natural fit for a crocheted flower arrangement. The pattern uses treble crochet clusters for the white bolls and half double crochet stitches to shape the coffee-colored flower holders. A rod and iron wire provide support, while yarn wrapped around the stems gives the finished piece a coordinated look.
This design can be combined with other crocheted flowers and foliage in autumn or winter bouquets. For a natural-looking arrangement, mix it with olive branches, calla lilies, acorns, or other forest-inspired elements.
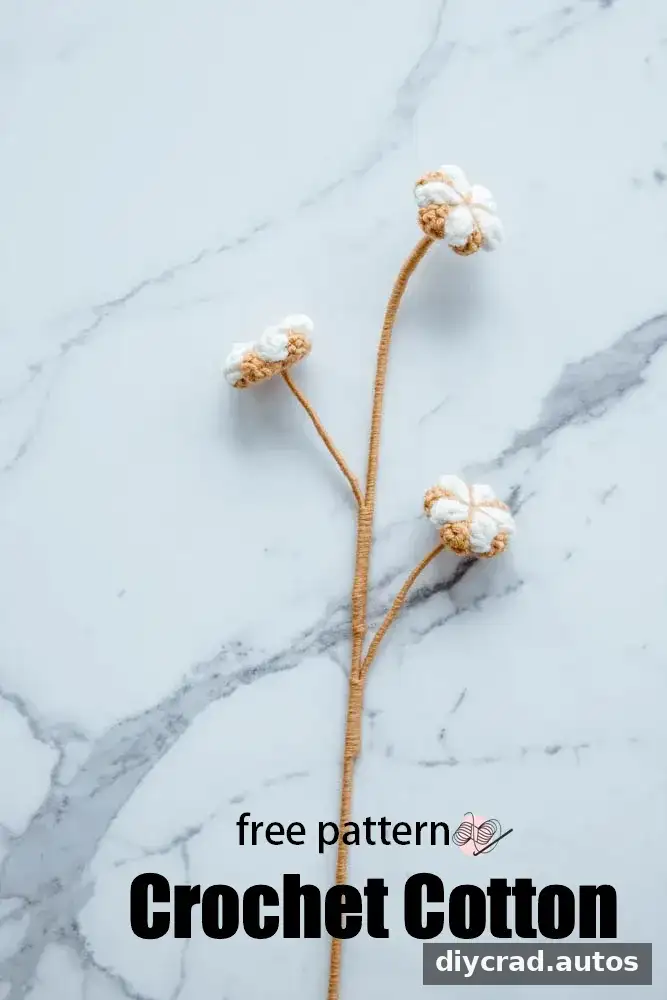
Meaning and Ways to Use a Crochet Cotton Plant
Cotton is often associated with purity, natural abundance, and sustainability. A handmade cotton plant can represent those ideas while adding a crafted, nature-inspired detail to a gift or room. Because it is made from yarn rather than a living plant, it does not need watering or sunlight.
- Bouquets: Add the cotton stems to seasonal arrangements or pair them with crocheted leaves and flowers.
- Home décor: Use the finished pieces in a wreath, wall hanging, or table centerpiece. Secure the stems well if the arrangement will be moved often.
- Wearable accessories: Attach a cotton bloom to a hat, bag, or garment. Use a secure fastening method appropriate for the item and keep the wire ends covered.
- Gifts: A small handmade arrangement can make a thoughtful housewarming gift or a decorative present for someone who enjoys crochet.
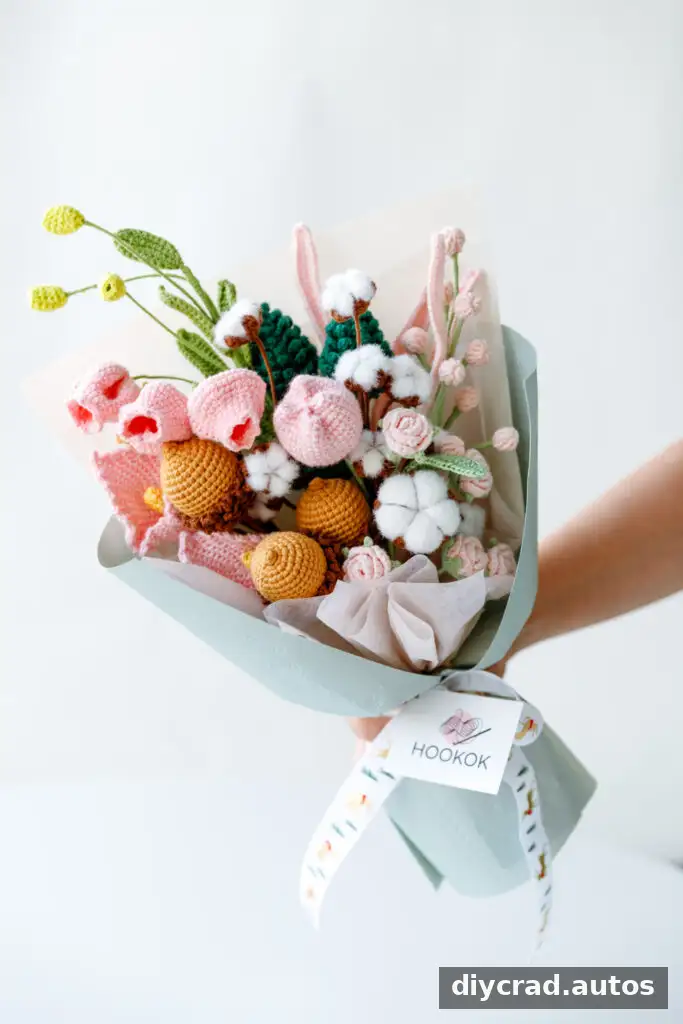
Chinese Lantern Lily and Acorn Bouquet
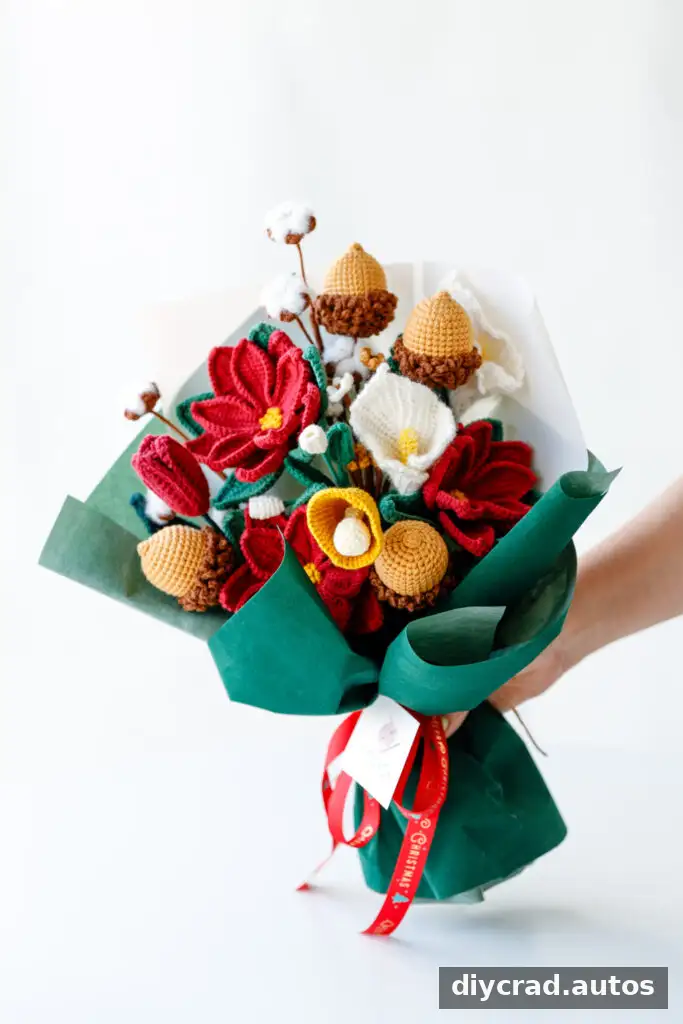
Christmas Flower Bouquet
Materials and Pattern Details
- Fingering yarn in two colors: coffee and white
- 2–2.5 mm crochet hook
- Flower rod: 16 inches long and 0.08 inches in diameter (40 cm × 2 mm)
- Iron wire: 0.7 mm in diameter
- Stitch marker
- Darning needle, scissors, and pliers
- Hot-melt adhesive
Difficulty: The pattern details describe the project as advanced intermediate, although the quick summary labels it easy. The wire-and-rod assembly may take extra care for newer crocheters. Gauge: Not applicable. The instructions use US crochet terminology.
Abbreviations
- ch: chain
- st: stitch
- ss: slip stitch
- sc: single crochet
- hdc: half double crochet
- dc: double crochet
Place a stitch marker at the beginning of each round to keep track of the starting point. The pattern’s special stitch is the treble crochet cluster.
Treble Crochet Cluster
Yarn over twice and insert the hook through the magic ring. Yarn over and pull through, leaving four loops on the hook. Yarn over and pull through, leaving three loops; yarn over and pull through again, leaving two loops. Repeat the incomplete stitch sequence until there are four unfinished stitches and five loops on the hook. Yarn over and pull through all five loops, then chain 4.
Step-by-Step Crochet Cotton Plant Pattern
Cotton Bolls: Make 3
- With white yarn, make a magic ring and chain 3.
- Round 1: Work a treble crochet cluster, then slip stitch into the magic ring. Repeat the sequence four times to make five petals in total. Close the opening loop and leave a yarn tail.
Flower Holders: Make 3
- With coffee-colored yarn, make a magic ring and chain 2.
- Round 1: Work 10 hdc into the magic ring. Close the opening and slip stitch.
- Round 2: Chain 5. Starting in the second chain from the hook, work 1 sc, 1 hdc, and 2 dc. Skip 1 stitch, then slip stitch into the third stitch of the first round. Repeat this sequence four times. Slip stitch into the first stitch, chain 1, and fasten off, leaving a 16-inch (40 cm) tail.
Finishing and Assembly
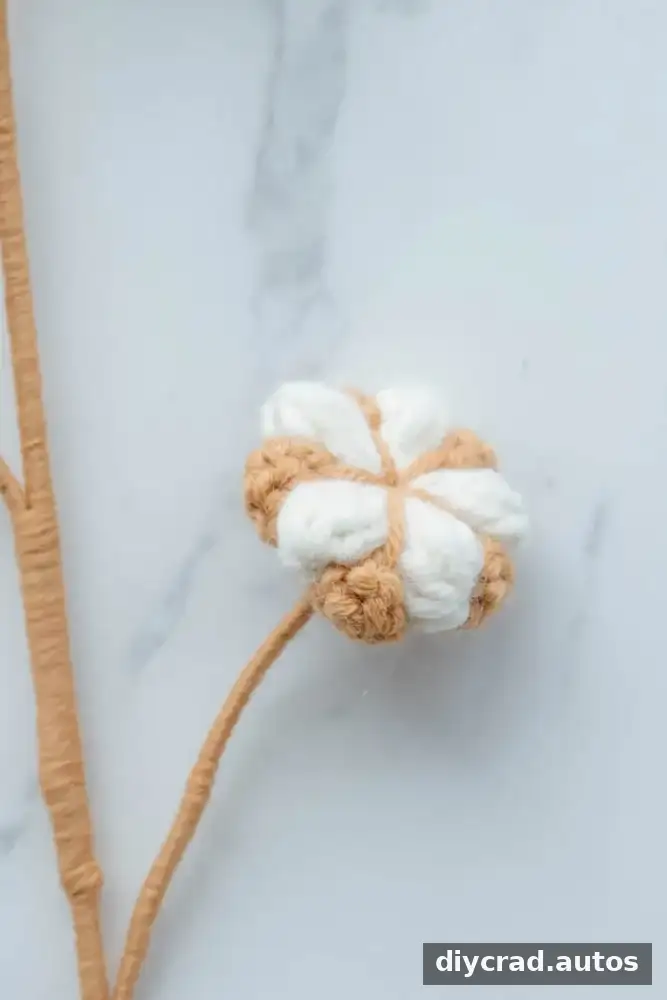
Consult the video for a visual guide to the finishing steps. Video subtitles must be enabled in the player settings.
Top Stem: Make 1
- Use pliers to bend one end of the rod into two circles. This helps prevent the petals from sliding off.
- Insert the rod through the center of the coffee-colored flower holder until it reaches the bent end.
- Position the cotton over the holder so it covers the bent part of the rod. Offset the petals rather than lining them up; they should sit in the spaces between one another.
- Thread the flower-holder yarn tail onto a darning needle and pass the needle through the center of the cotton.
- Pass the needle through the tip of the flower holder and into the center of the cotton, keeping the thread in the spaces between the petals. Repeat until the petals are joined, then slip stitch back toward the center.
- Use the needle to pull the coffee-colored holder toward the top center of the cotton petals.
Side Stems: Make 2
- Use iron wire and repeat the steps for attaching the cotton and flower holder.
- Use the yarn tail to wrap yarn around the wire until it is completely covered. Take care to cover the wire ends.
Join the Stems
- Wrap coffee-colored yarn around the main rod.
- Attach the two side stems on opposite sides, spacing them every 2 inches (5 cm).
- Continue wrapping yarn to the end of the rod. Apply hot-melt adhesive to secure the yarn and prevent it from unraveling; handle hot adhesive carefully.
Video Tutorial
Use the video alongside the written instructions if you want to see how the cotton petals, holders, and stems fit together. Turn on subtitles in the video settings if you need them.
Conclusion
This crochet cotton plant pattern brings a fluffy texture and nature-inspired detail to handmade bouquets and décor. With three cotton bolls, three flower holders, and a carefully wrapped stem assembly, the finished piece can be displayed on its own or combined with other crocheted flowers. Keep the stitch marker in place during the rounds and secure the wire and rod carefully during assembly for a neat, stable result.

