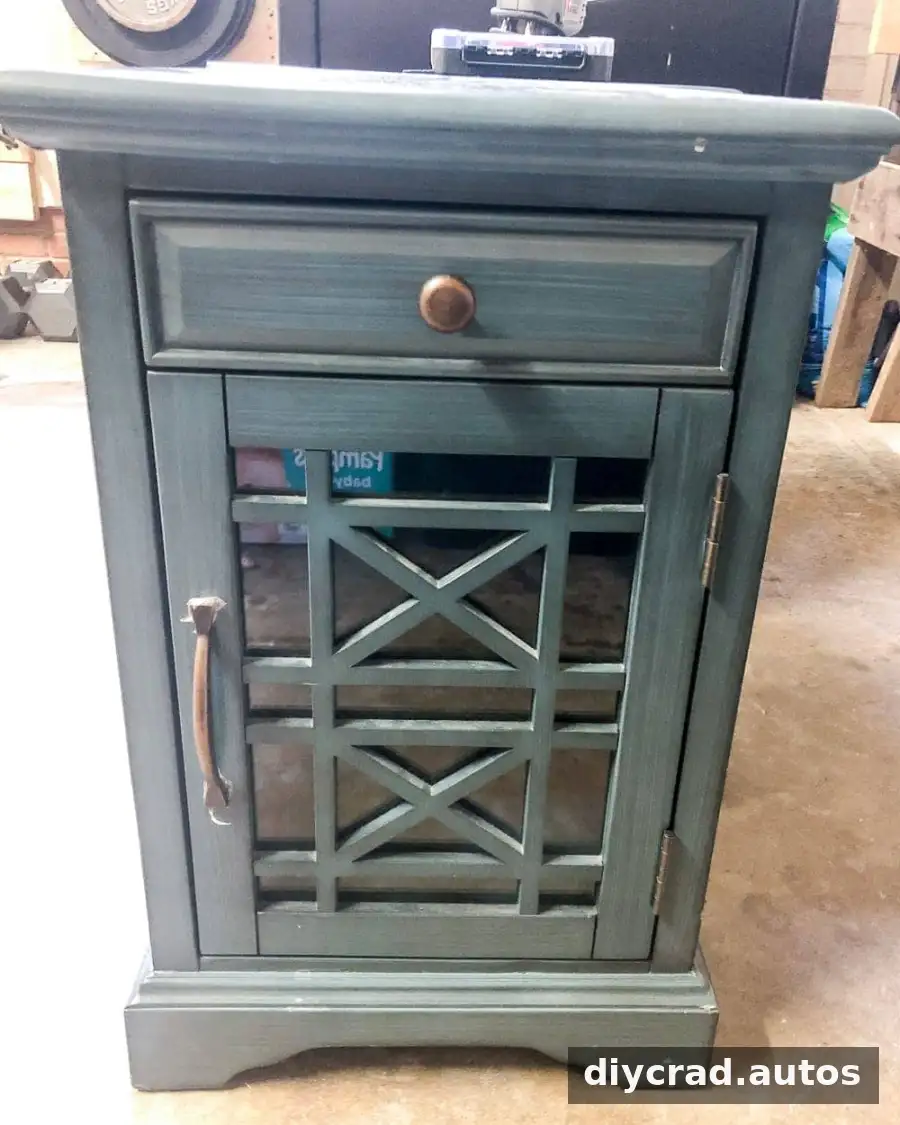
A DIY cane nightstand makeover can give plain glass-front cabinets a fresh, designer-inspired look while making bedside clutter less visible. This project updates a matching pair with white paint, cane webbing, a driftwood-toned finish, and gold-colored hardware. The inspiration was a pair of designer nightstands priced at $1,100 each, so refreshing the existing furniture offered a more budget-friendly alternative.
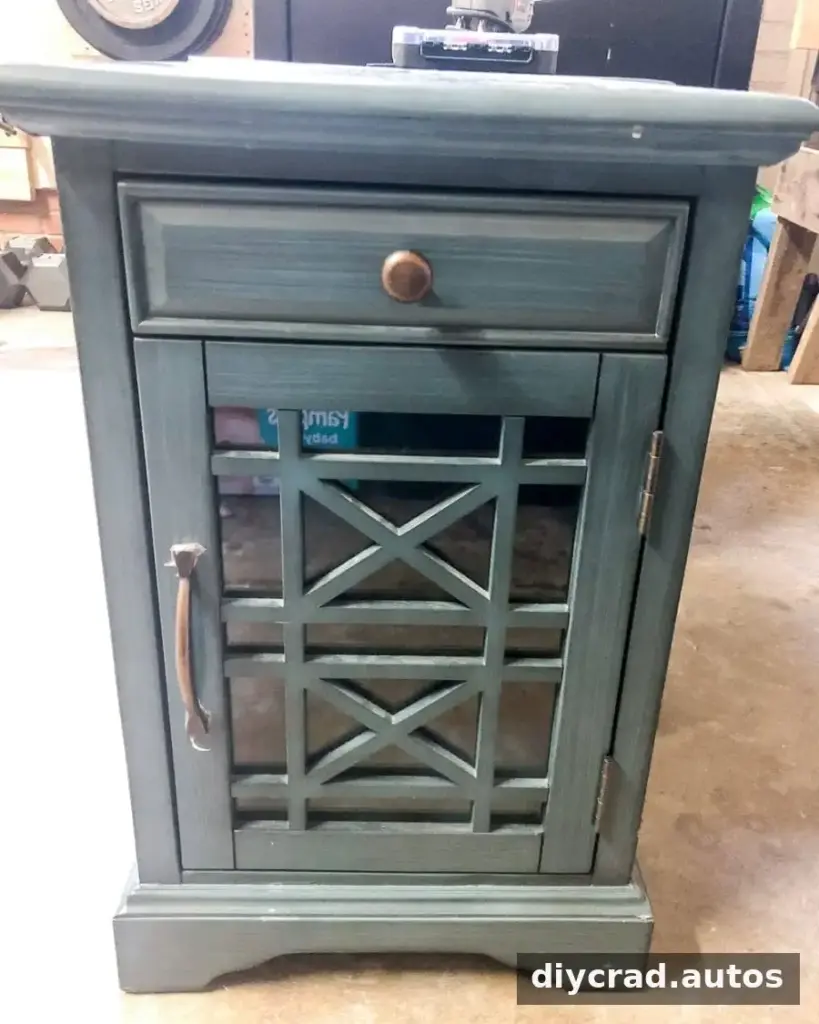
DIY Cane Nightstand Makeover: Before You Begin
The original nightstands were in good condition, but the glass cabinet doors left books and other bedside items on display. Replacing the glass with cane webbing creates a lighter, textured appearance and partially screens what is stored inside. It is a useful option when you want a more polished look without needing to keep every item in the cabinet perfectly arranged.

This makeover is intended for furniture with removable glass panels and doors that can be accessed from the back. Before starting, check how the glass is held in place and whether the door frame can support staples. Work on a stable surface, protect the floor, and handle removed glass carefully.
Materials and Tools
- Bonding primer suitable for laminate furniture
- White furniture paint
- Cane webbing
- Pencil and scissors
- Manual staple gun
- Driftwood-tone stain
- Paintbrush
- Metallic gold spray paint
How to Make Over a Cane Nightstand
1. Remove the glass and prepare the surface
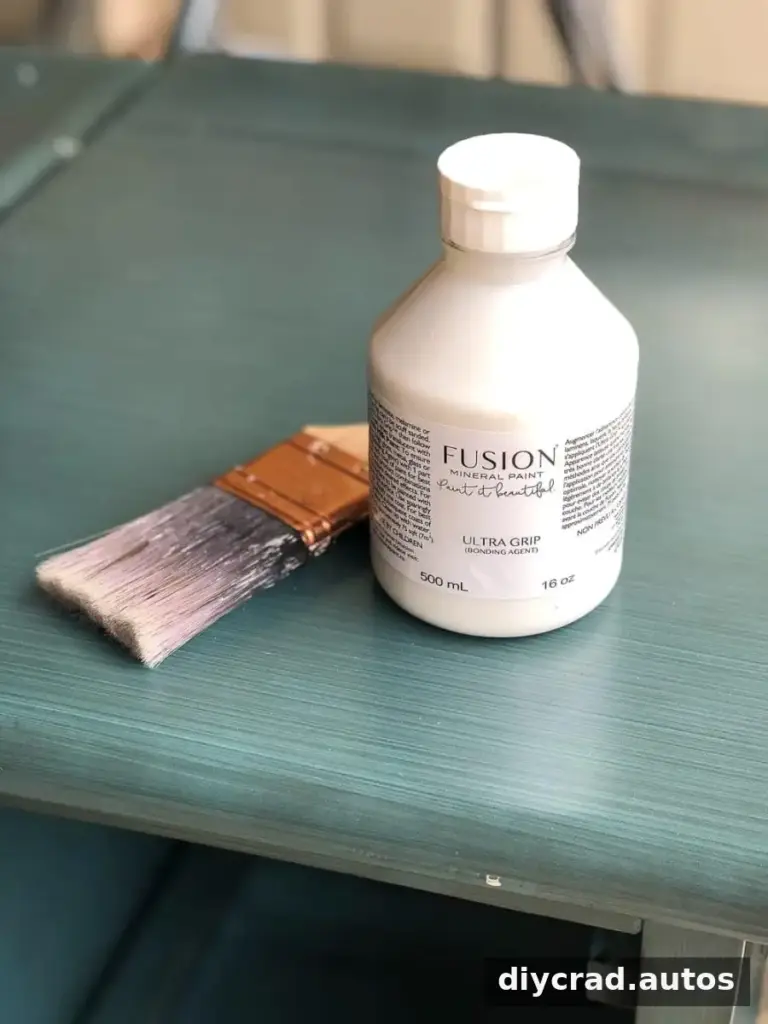
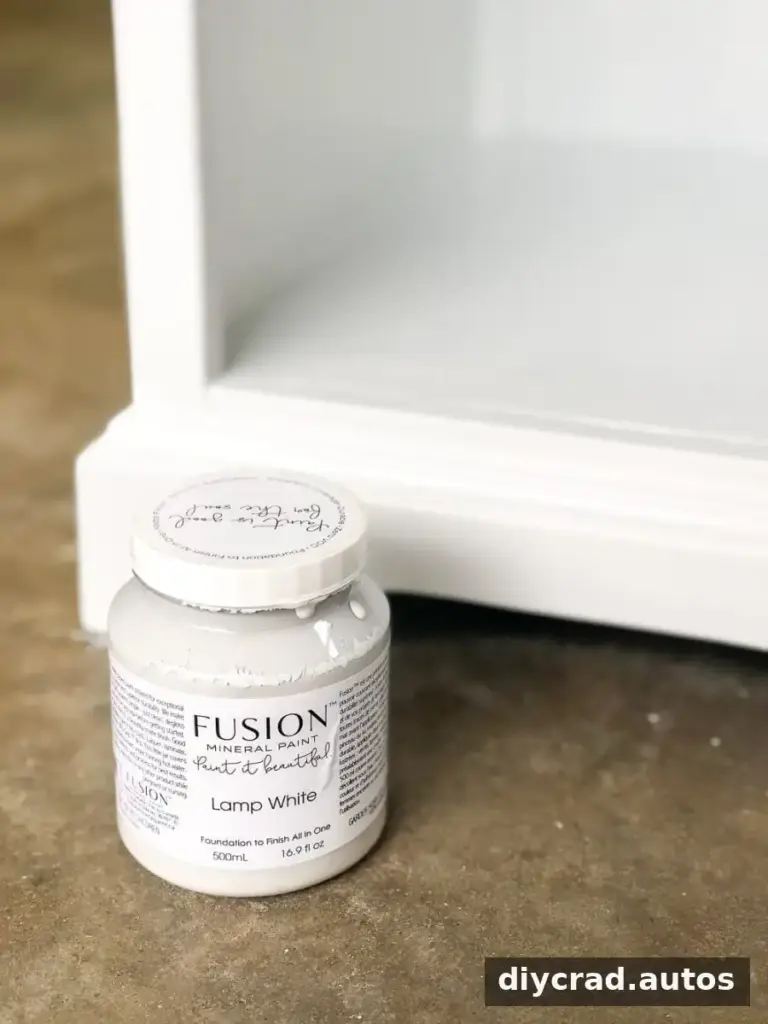
Take the glass panels out of the cabinet doors before painting. Apply one coat of bonding primer to the nightstands and allow it to dry fully. Primer designed for laminate helps paint adhere to a smooth surface. Follow the product label for preparation and drying directions rather than relying only on the touch of the surface.
2. Paint the nightstands
Once the primer is dry, brush on two coats of white furniture paint. Let each coat dry according to its instructions. Applying thin, even coats can help reduce visible brush marks and drips. If the furniture has drawers or hardware that can be removed, set those parts aside so the painted areas are easier to reach.
3. Cut and attach the cane webbing
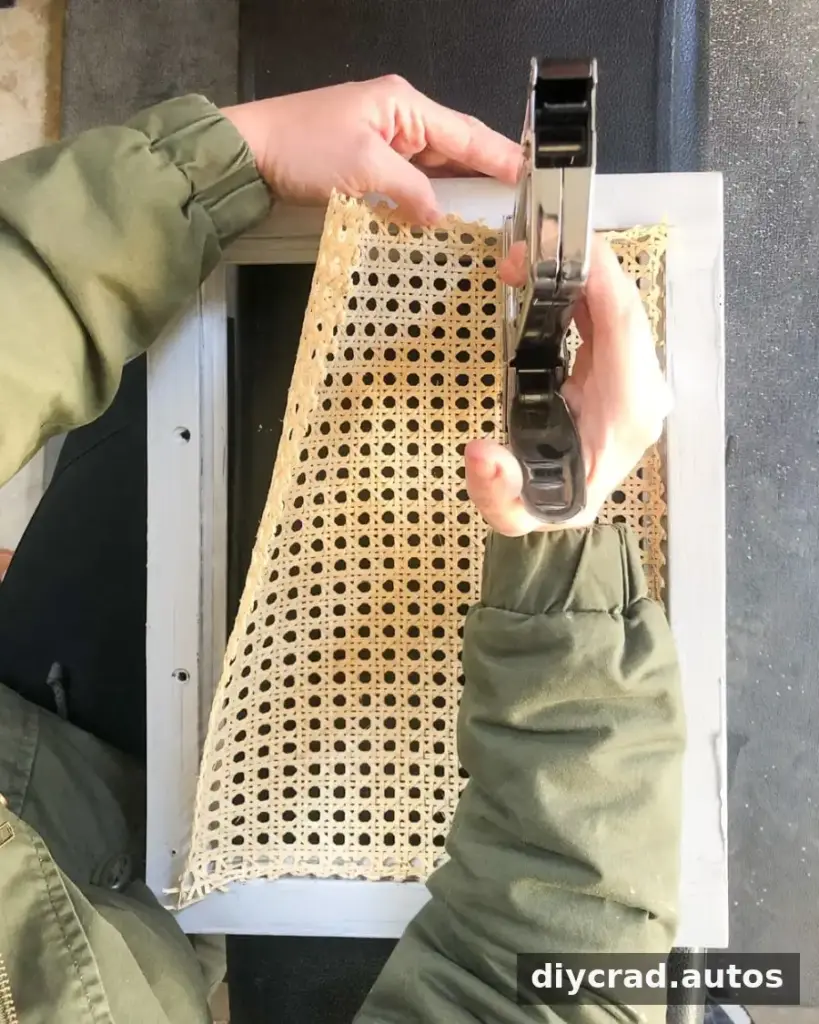
Use one of the removed glass panels as a guide to mark the cane webbing, then cut it to fit the opening. Check the fit before fastening it; the material should cover the opening without obstructing the door frame. Staple the webbing to the back of the door where the glass was previously installed, keeping it evenly positioned as you work.
4. Add a weathered finish
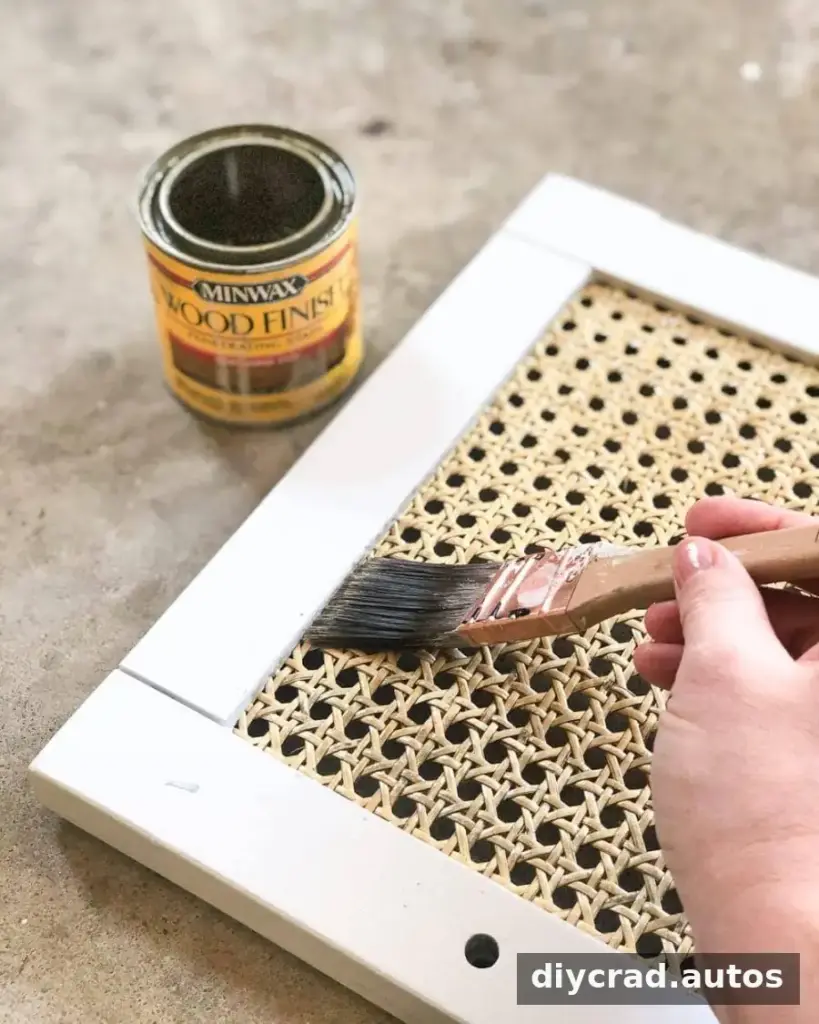
For a slightly aged look, apply two coats of driftwood-tone stain to the cane webbing. The chosen finish was intended to coordinate with the bedroom’s bed. Test stain on a small offcut first if possible, because cane can absorb color differently from solid wood. Allow the finish to dry before reattaching the doors.
5. Refresh the hardware and reassemble
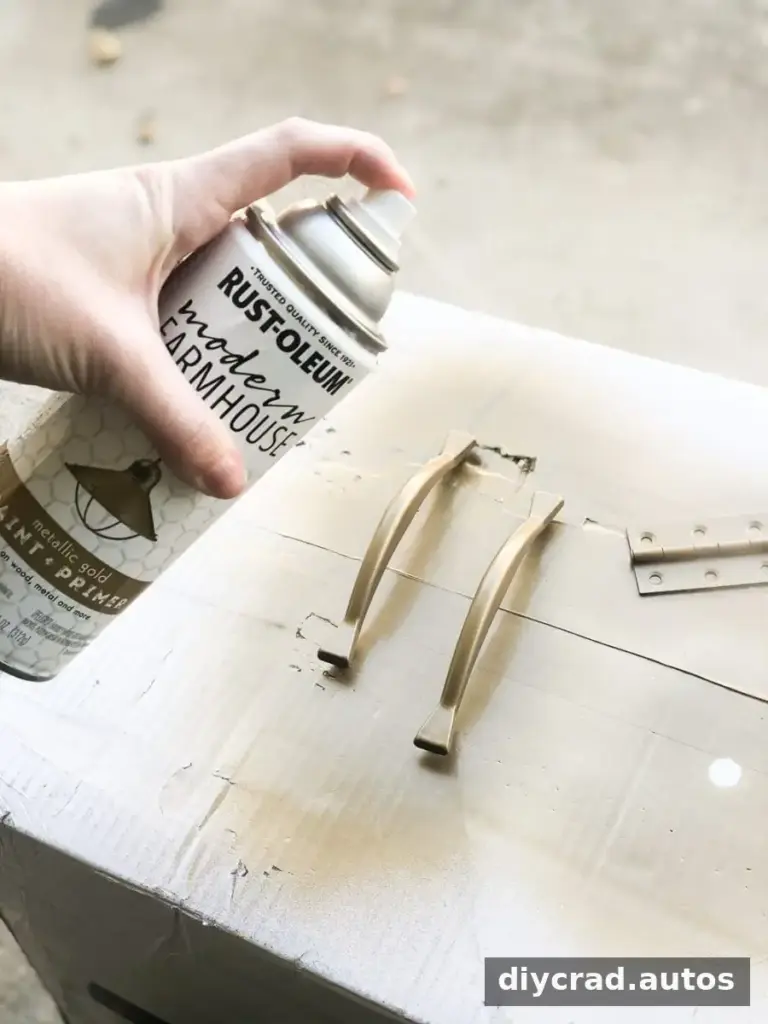
Apply metallic gold spray paint to the pulls, knobs, and hinges for a warmer, more contemporary accent. Use spray paint in a well-ventilated area and protect nearby surfaces from overspray. Let the hardware dry as directed, then reinstall the hinges, doors, pulls, and drawers.
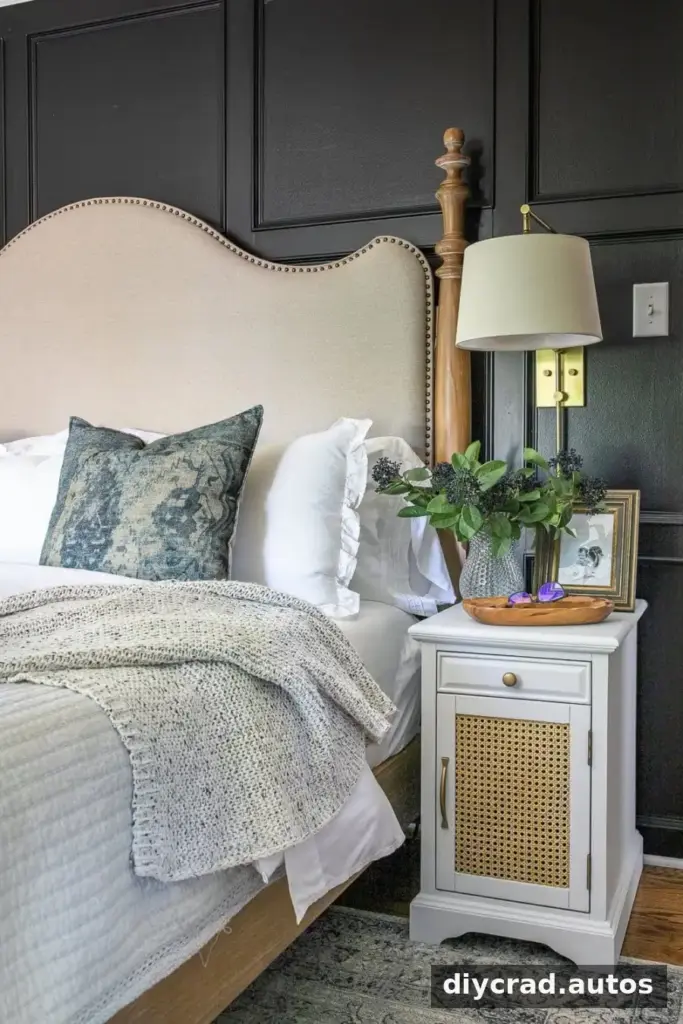
The Finished Nightstands
The completed pair combines a clean white finish with woven cane panels and gold-tone details. The update was described as saving roughly $2,100 compared with the designer nightstands that inspired it. Actual savings will depend on the cost of materials and whether you already have suitable furniture and tools.
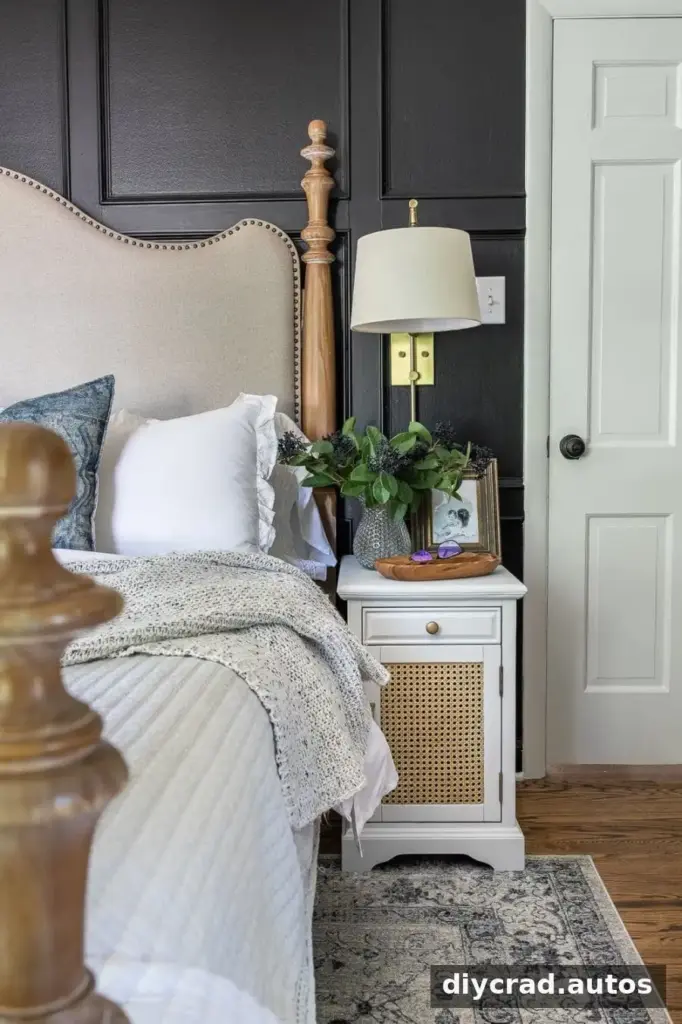
This approach can work with both modern and traditional interiors: the painted finish keeps the furniture looking crisp, while the natural texture of the cane adds warmth. For a cohesive bedroom, consider repeating one finish or color elsewhere in the room, but keep the rest of the styling simple so the woven panels remain a focal point.
Practical Tips for a Smooth Furniture Makeover
- Confirm that the cane webbing fits inside the door frame before stapling it in place.
- Use primer and paint that are appropriate for the nightstand’s surface material.
- Allow paint, stain, and spray-painted hardware to dry fully before reassembly and regular use.
- Keep removed glass protected and out of walkways while you work.
This DIY cane nightstand makeover is a straightforward way to update glass-front furniture, add texture, and make bedside storage look more considered without replacing the entire piece.