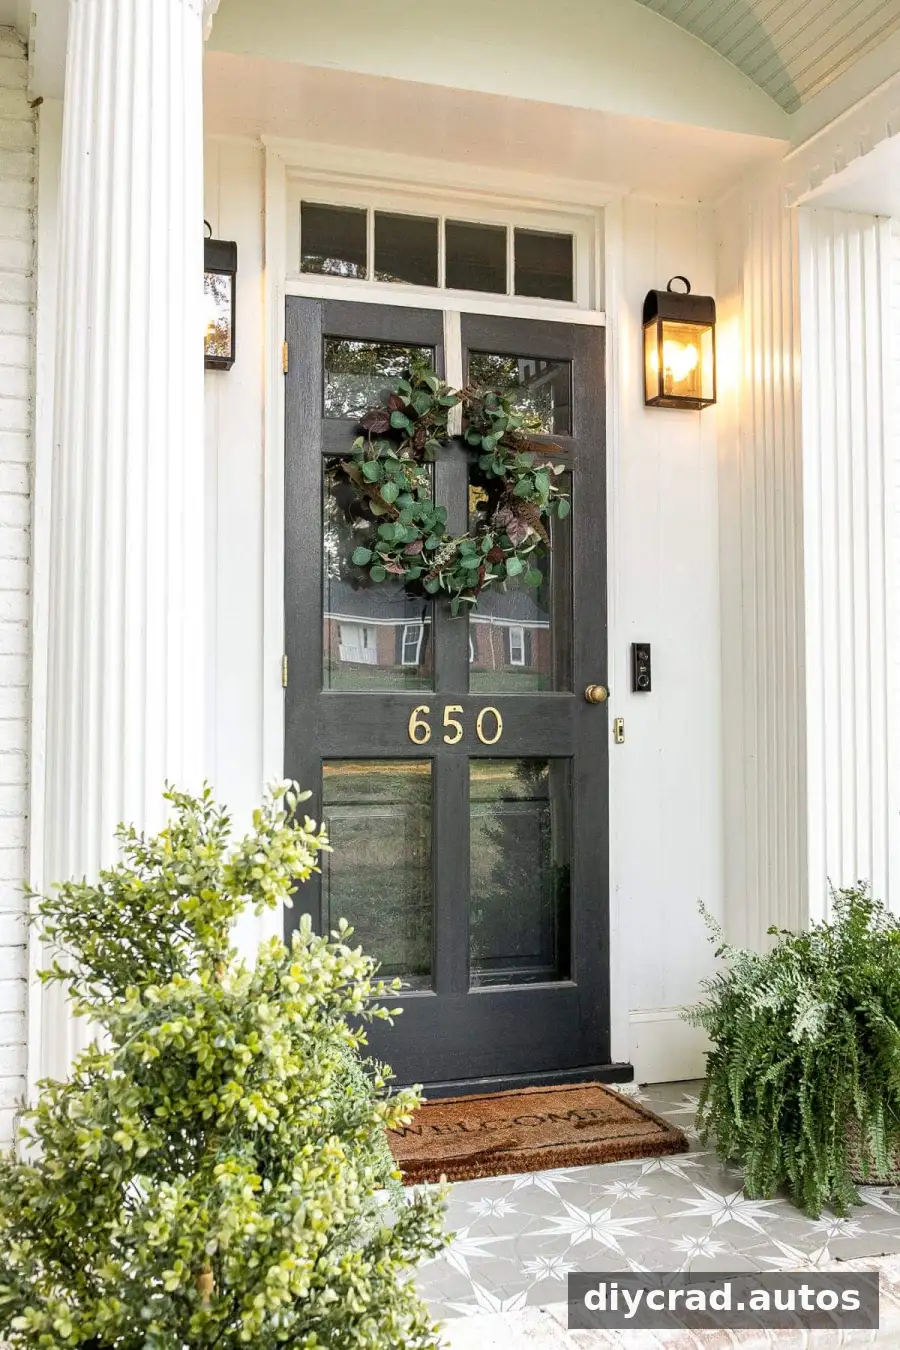
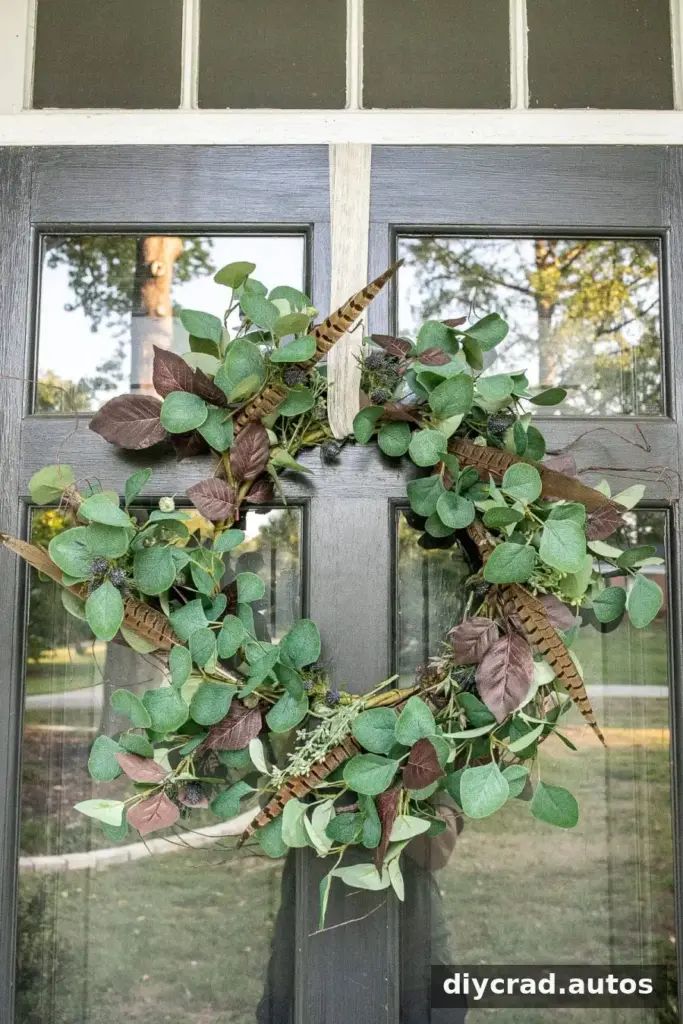
A DIY fall wreath is an easy way to give your entryway a seasonal touch without buying a completely new decoration. With a wreath form or an older wreath, a few artificial stems, wire, and ribbon, you can create a custom design from supplies you may already have. This neutral arrangement combines eucalyptus, purple leaves, thistle, artificial buds, and pheasant feathers for an early-fall look that is not limited to traditional autumn colors.
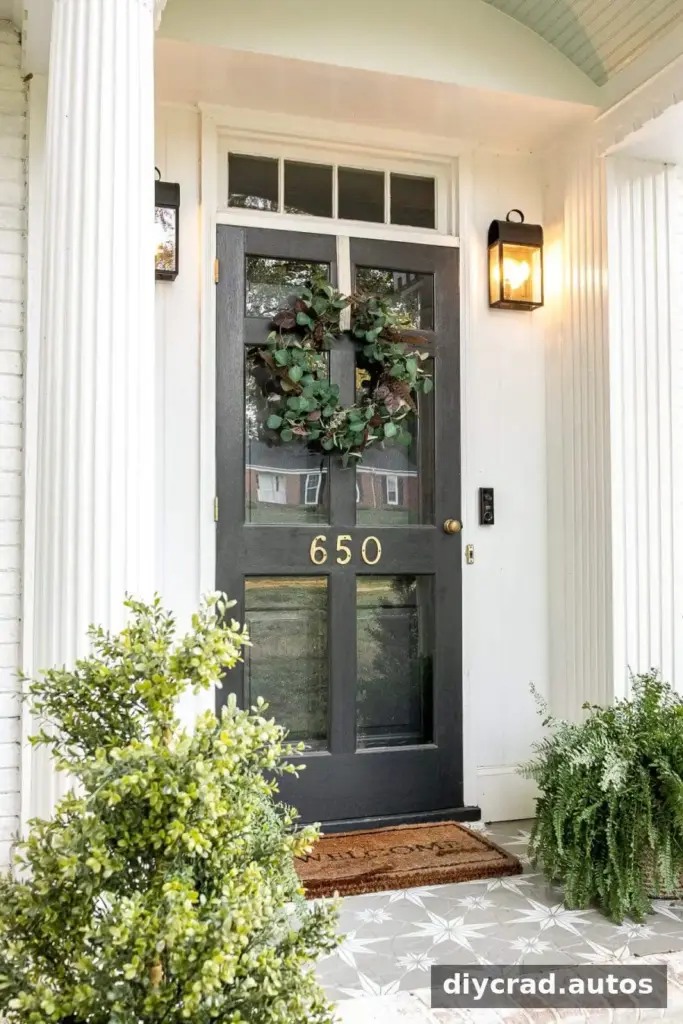
The idea is simple: build on an existing eucalyptus wreath and add small groups of different leaves and decorative details. Artificial stems are useful for this project because they can be trimmed and repositioned, and the finished wreath can be stored and used again. You can also adapt the color palette to suit your door or the materials in your craft stash.
DIY Fall Wreath Supplies
Gather the following materials before you begin:
- A wreath form or a premade wreath you already own
- Artificial stems and clippings, such as eucalyptus, leaves, flowers, or buds
- Wire
- Wire cutters or pliers
- A hot glue gun and hot glue, optional
- Ribbon, such as linen ribbon, for hanging
Check the wreath base and stems before starting. If you are adding decorations to a premade wreath, make sure there is enough room to attach them securely without covering every part of the original greenery.
How to Make a DIY Fall Wreath
1. Add leaves to the wreath base
Start with a wreath form or a simple eucalyptus wreath. Snip individual leaves from the artificial stems and space them around the wreath. Attach each piece to the base with a short length of wire; the original project used pieces about 2 inches long. Twist the wire firmly enough to hold the leaves in place, but avoid pulling so tightly that delicate stems are crushed.
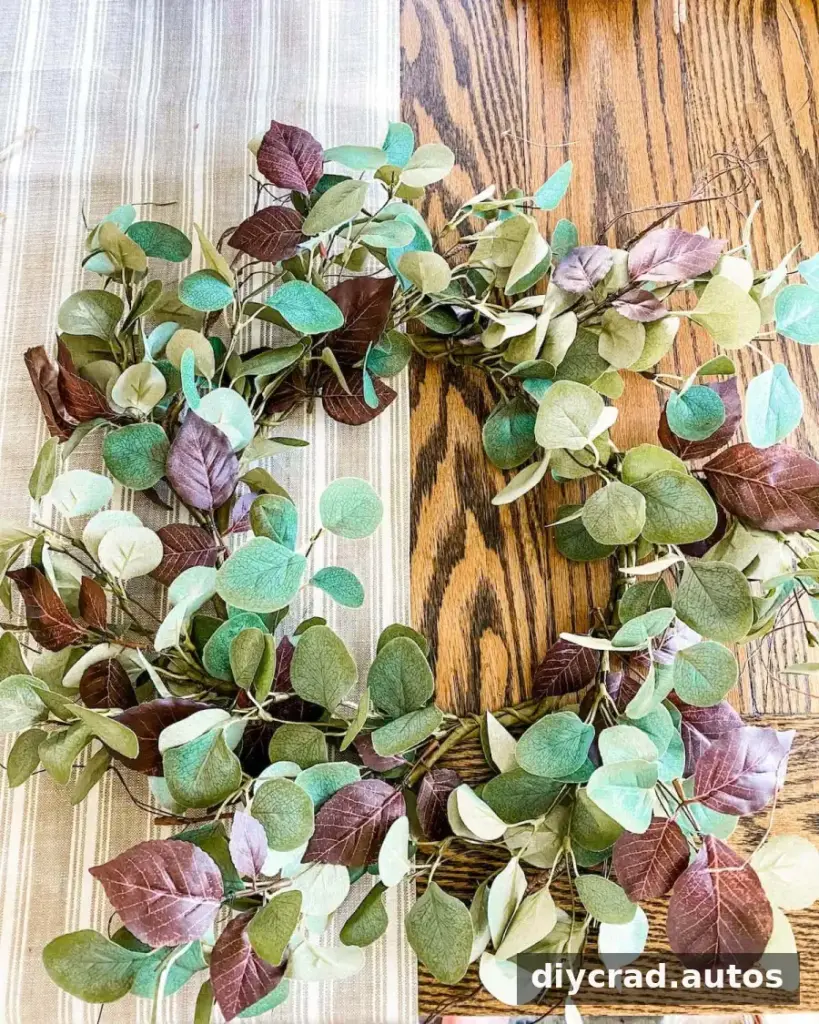
Purple leaves were added to the existing eucalyptus wreath for a subtle change in color. Before fastening all the pieces, lay them out around the wreath and adjust the spacing until the arrangement looks balanced.
2. Layer in a second texture or color
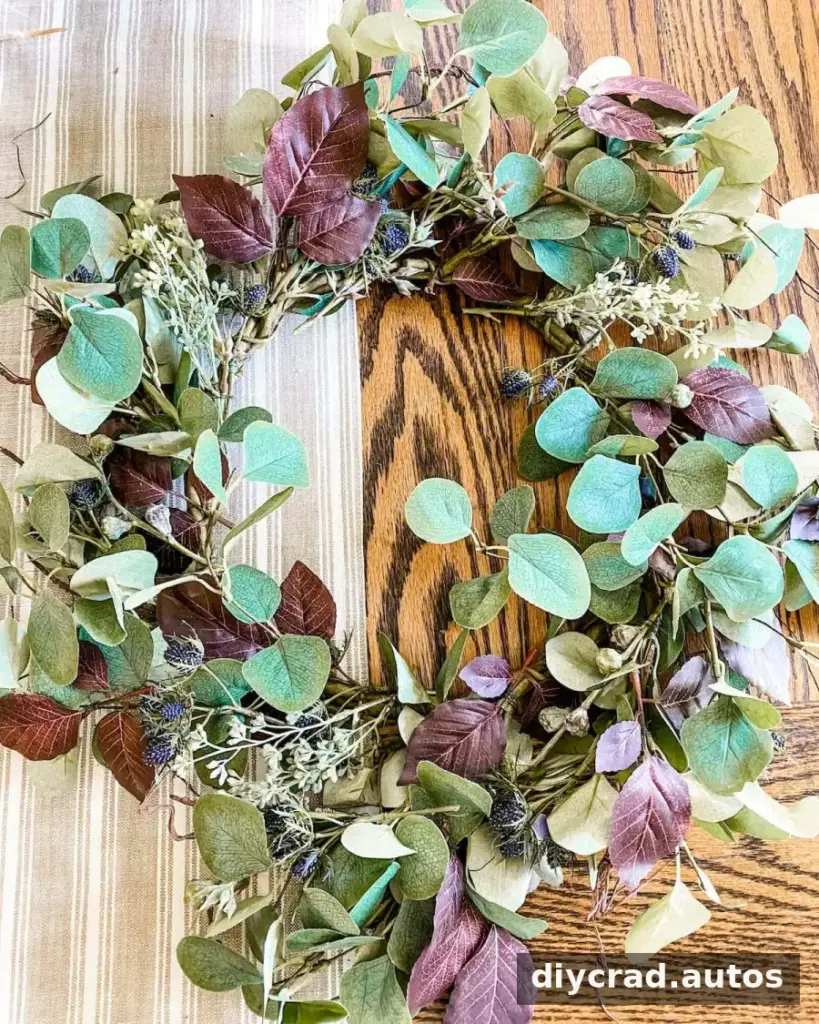
Once the first type of leaf is in place, add another shape or color. In this design, thistle and artificial buds bring extra texture to the eucalyptus and purple leaves. Distribute the accents around the wreath and secure them with additional wire.
A practical arranging tip is to group small accents in odd numbers. This can help the design feel less rigid, while repeating those groups around the wreath keeps the overall arrangement visually balanced. Step back occasionally to check that one side does not look noticeably heavier than the other.
3. Attach a decorative finishing detail
For a final focal point, add an ornamental detail such as artificial pears, pumpkins, or feathers. Pheasant feathers saved from previous Thanksgiving décor were used for this wreath. Attach lightweight accents with wire where possible, or use hot glue when appropriate for the materials and wreath base.
If you use hot glue, work carefully and let it cool fully before handling or hanging the wreath. Test the placement of each decoration first so you can see how it will look before attaching it permanently.
4. Add ribbon and hang the wreath
Tie linen ribbon around the wreath to create a hanging loop, then display it on your front door or another suitable spot. Check that the loop and attached decorations feel secure before hanging. If the wreath will be displayed outdoors, consider a sheltered location to help protect its materials from weather and fading.
A Flexible Early-Fall Decoration
This wreath uses a softer, less traditional fall palette, making it a good fit for the transition between summer and autumn. Its combination of eucalyptus, purple leaves, thistle, buds, and feathers can also work beyond early fall. If you want to refresh it later, remove or replace individual pieces rather than starting over with a new base.
Artificial stems make seasonal updates straightforward: change a few accents, add a different ribbon, or reuse the wreath form with another color scheme. Store the wreath in a dry place when it is not on display, and handle the decorative stems gently to help them keep their shape.
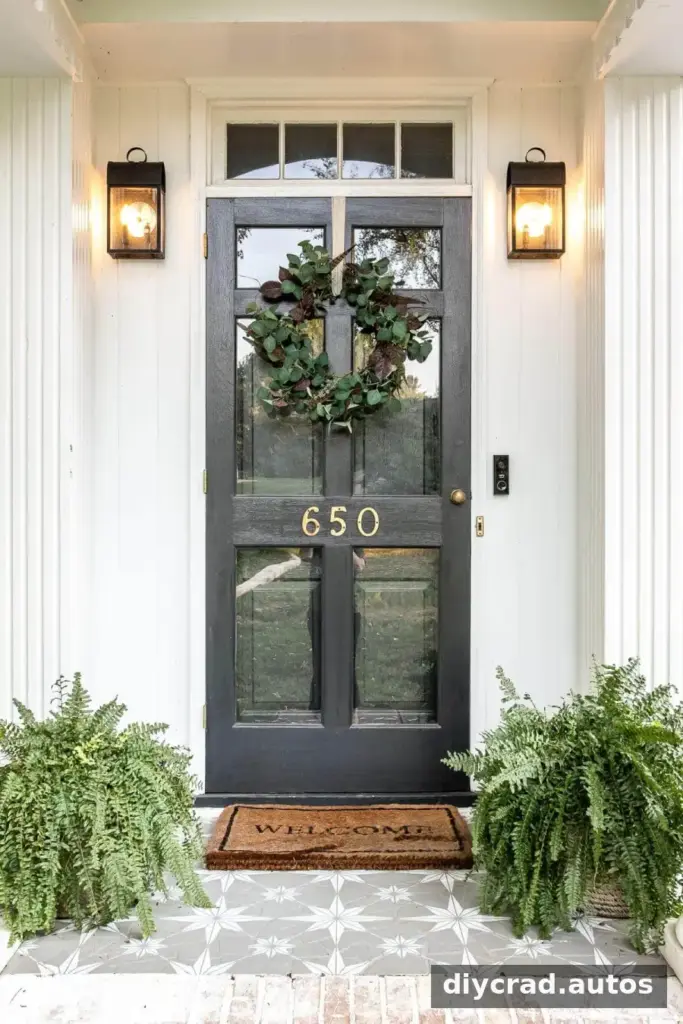
Making a DIY fall wreath is also a low-pressure way to try a creative project with materials on hand. The arrangement does not need to be perfectly symmetrical or follow a fixed set of colors. Start with a base, add a few layers of texture, and adjust the spacing until the wreath feels balanced to you.