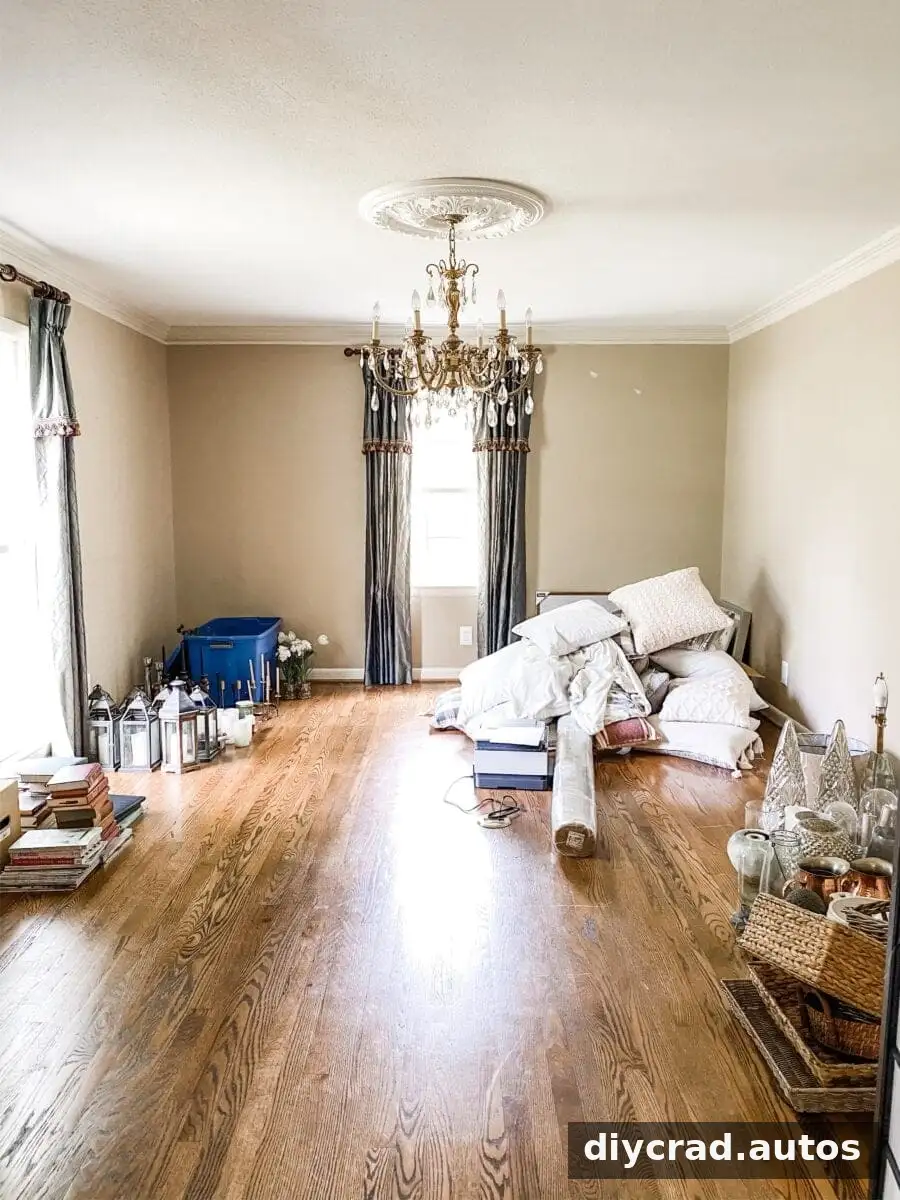
Building a DIY closet can add useful storage and help define a room, such as a home office or converted sitting room. This project covers the basic process of laying out the closet, framing its walls and doorway, and installing drywall. The work shown here is at the framing and drywall stage; trim, doors, paint, and other finishing details may still be ahead.
Why Add a DIY Closet to a Home Office?
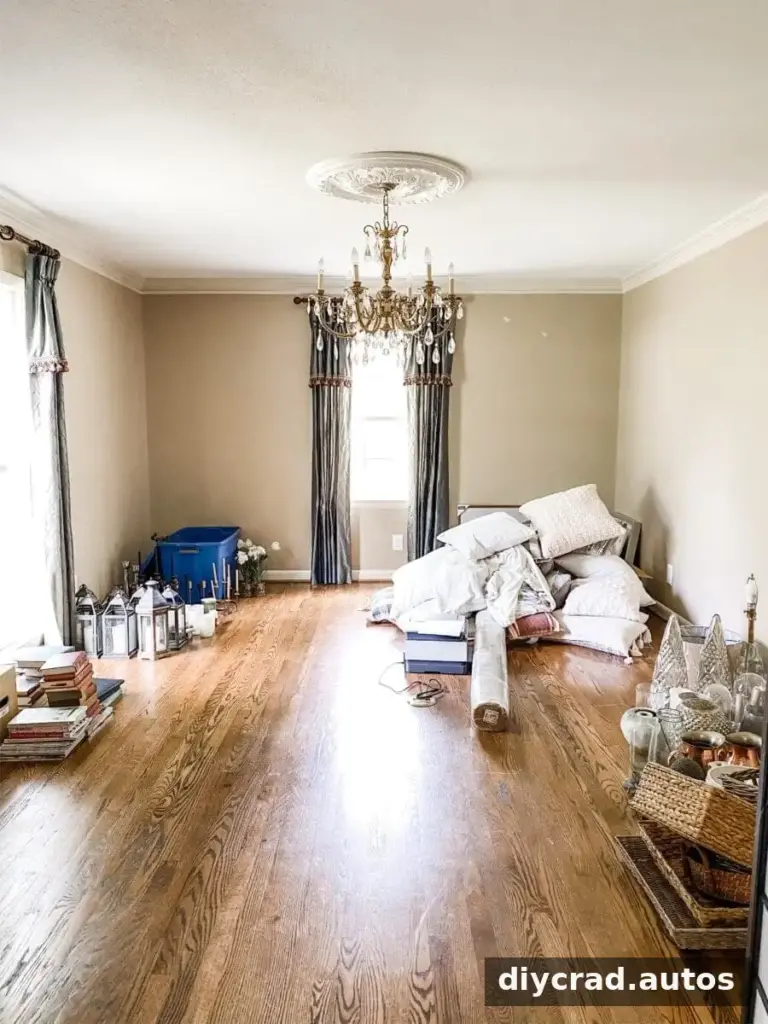
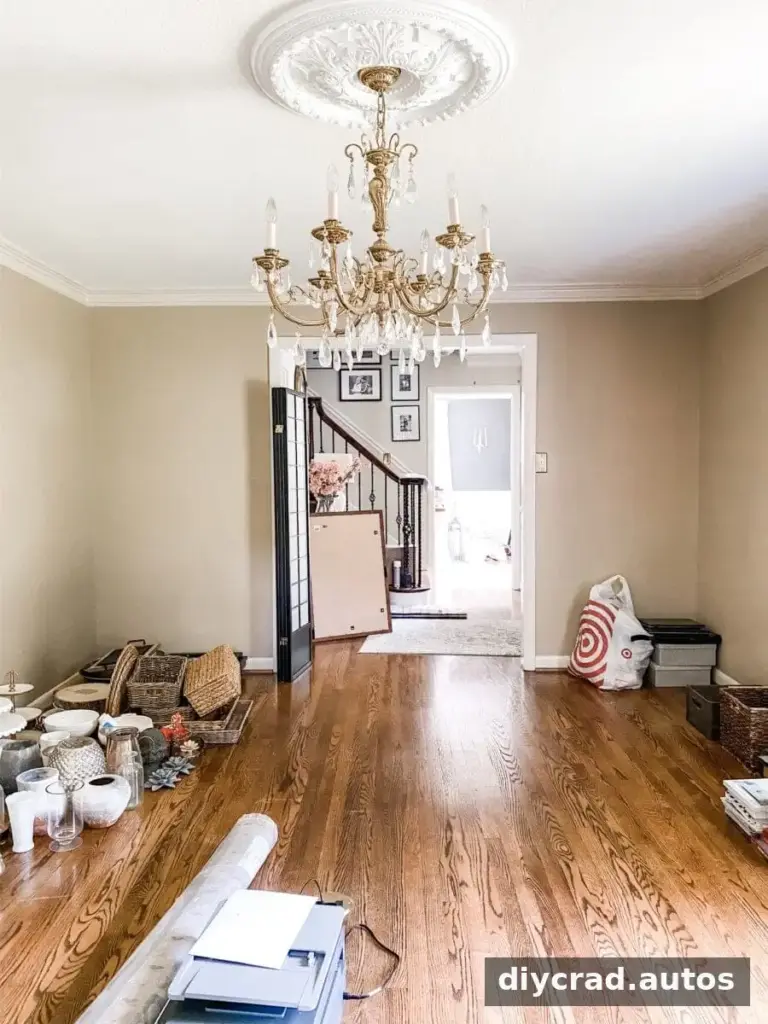
A room that was once used as a sitting room or dining room can take on a new purpose when its layout changes. Adding a closet and closing off an open area with doors may make the room function more like a bedroom, while also creating practical storage. Whether a project affects a home’s value or qualifies as a bedroom depends on local requirements and the property, so check applicable rules before relying on that classification.
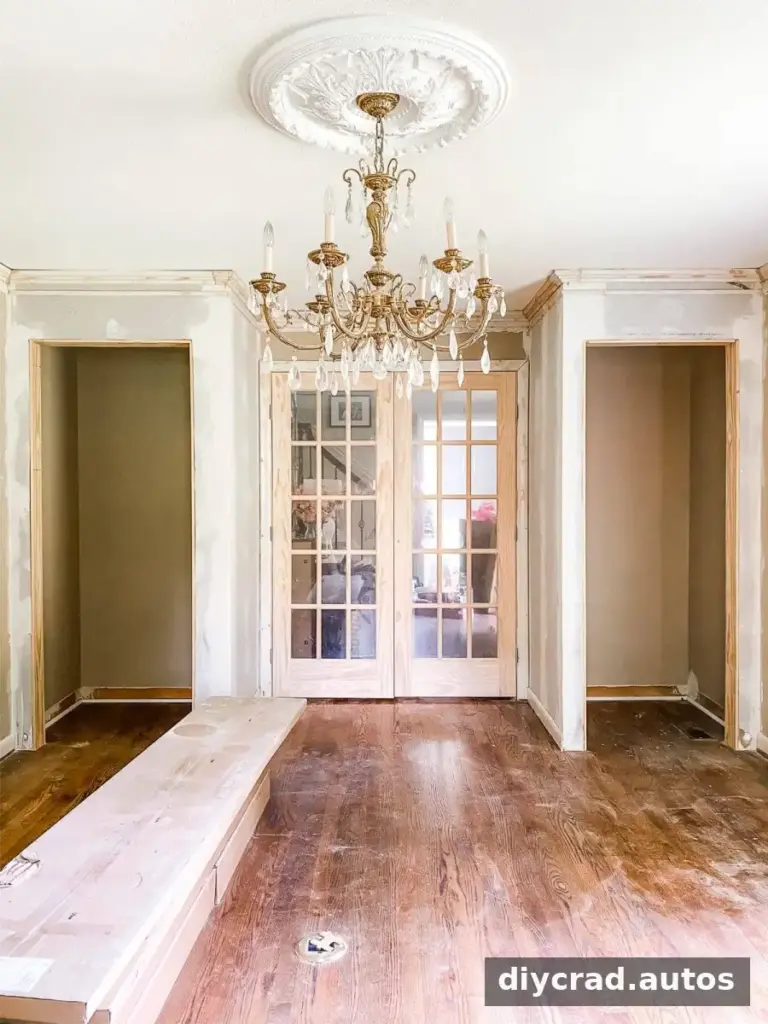
For this office makeover, storage was a key goal, and placing the closets near the French-door side of the room helped shape the new layout. Before building, consider how the closet location will affect furniture, room access, existing vents, and the door swing.
DIY Closet Supplies and Tools
Supplies
- 2x4s
- 1/2-inch drywall
- Drywall tape and joint compound
- Mudding knife and mudding trough
- Sander
- 3-inch drywall screws
- 16d nails
- Construction adhesive and shims
- Doors of your choice
Tools
- Pneumatic nailer and caulk gun
- Chalk line, framing square, level, and tape measure
- Circular saw or table saw
- Cordless drill/driver and bits
- Hammer, drywall cutter, and pry bar
- Stud finder and ladder
Check that the tools and fasteners suit the materials and the conditions in your room. Wear appropriate safety gear when cutting, fastening, sanding, or handling drywall, and keep the work area clear.
How to Build a DIY Closet
1. Prepare the room and locate framing
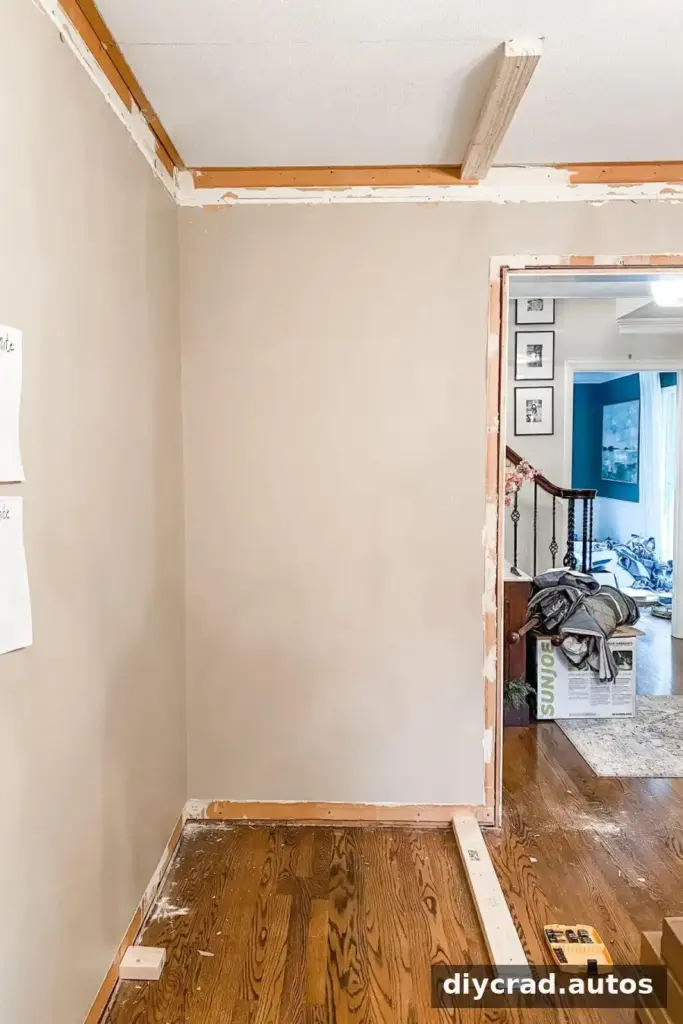
Use a pry bar to remove baseboards where needed. If the floor is carpeted, lift any tack strips and roll back the carpet to expose the floor. Use a stud finder to locate and mark studs in the existing walls and joists in the ceiling. Confirm the proposed framing layout before fastening anything.
2. Mark the closet footprint
Measure at least 30 inches from the planned back wall of the closet, then use a chalk line to mark a line parallel to that wall. Take time to check the layout and doorway position; careful marking helps keep the new walls aligned with the room.
3. Install the bottom and top plates
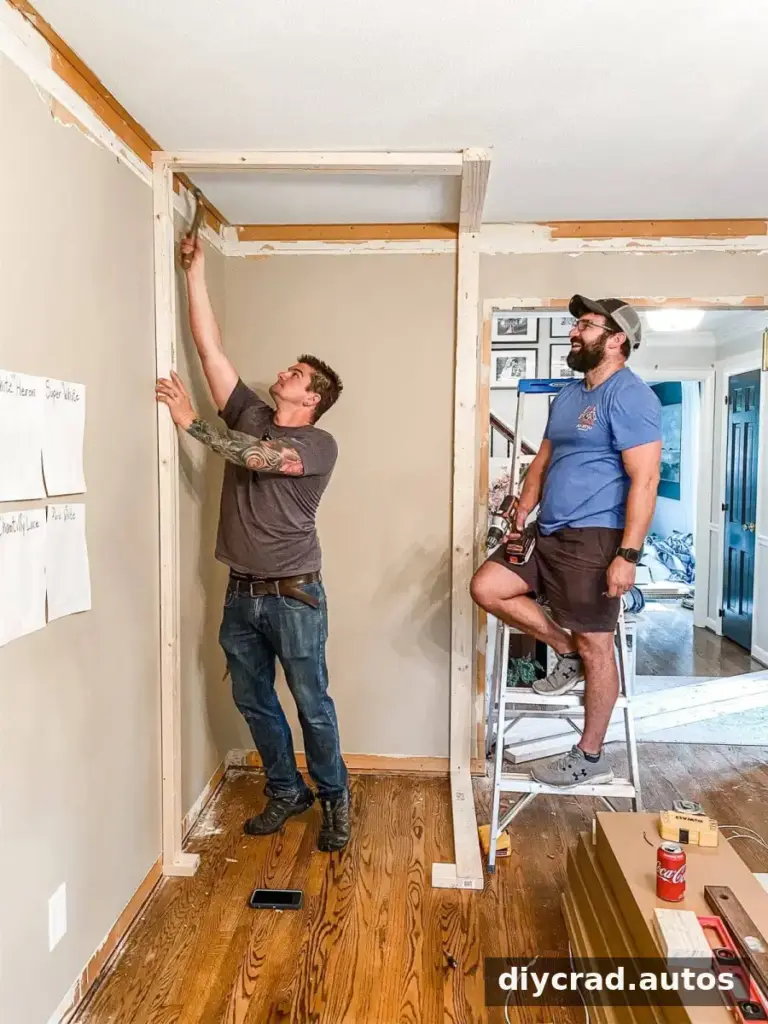
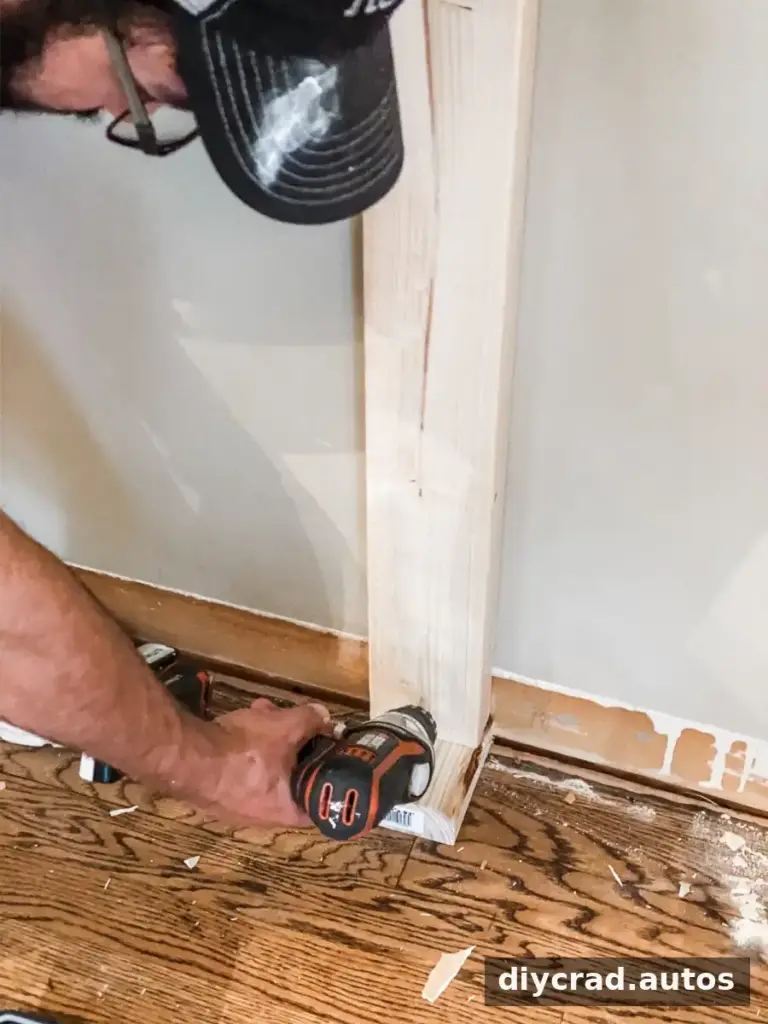
Cut 2x4s for the bottom plates that outline the closet. Apply construction adhesive and screw the plates to the floor. Use a level, chalk line, and 2×4 to determine the corresponding top-plate location on the ceiling. Cut and position the top plates, then fasten them into ceiling joists with construction adhesive and screws. If joists are not available at the required location, the original approach suggests using toggle bolts; choose an appropriate fastening method for the ceiling structure and seek qualified advice when unsure.
4. Fit studs, spacers, and the doorway header
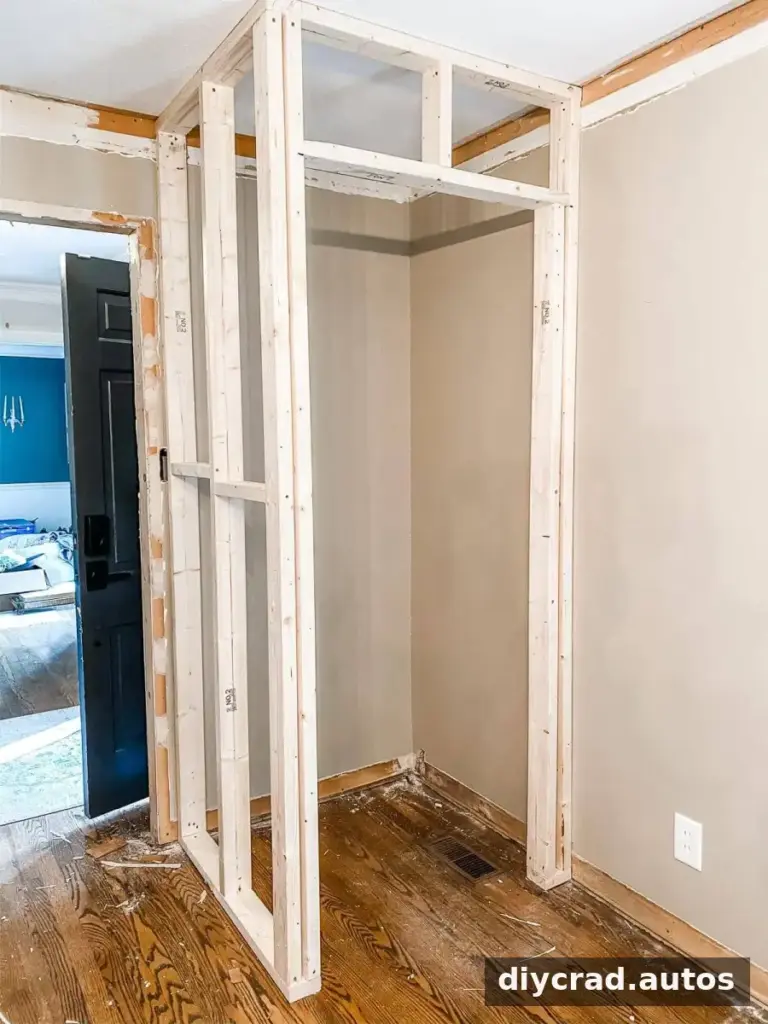
Measure and cut 2×4 studs to fit snugly between the bottom and top plates, then screw them to the plates at an angle. Cut additional 2×4 spacers and nail them between the studs with 16d sinker nails. To form the doorway header, nail two 2x4s together and place them across the trimmer studs. Cut vertical 2×4 cripples to fit between the header and top plate, then screw them in place.
5. Plan lighting before closing the walls
If the closet will have lighting, plan the wiring and electrical boxes before installing drywall. Electrical work must follow local codes. Consult a qualified electrician if you are not trained to install or alter wiring.
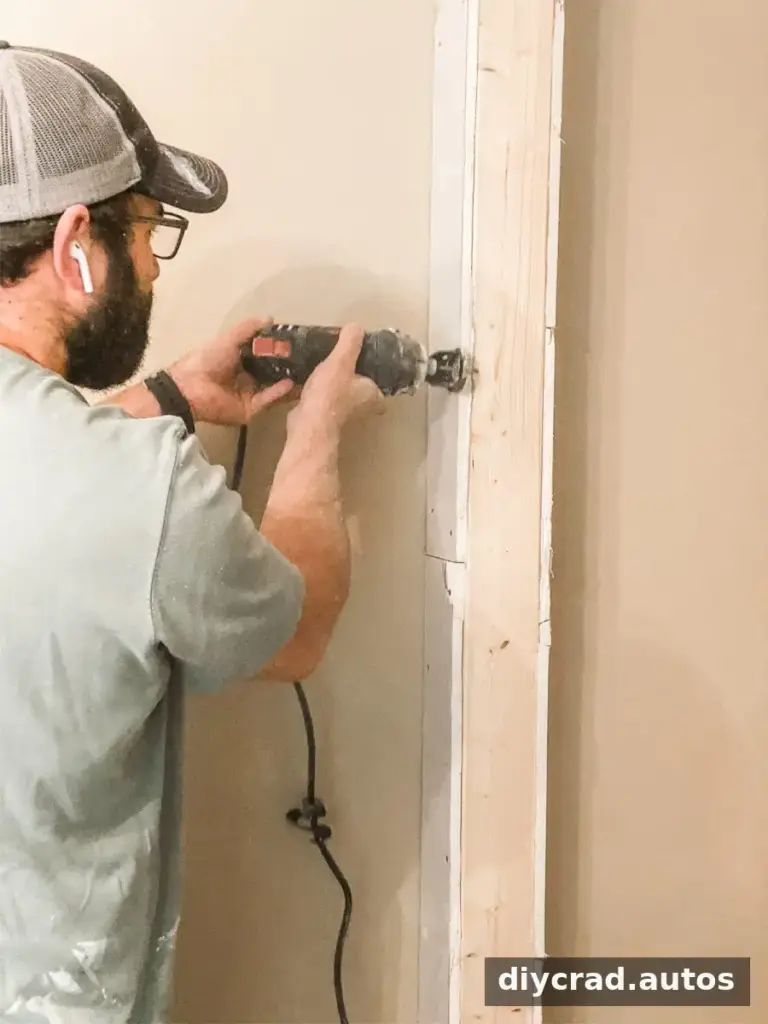
6. Hang and finish the drywall
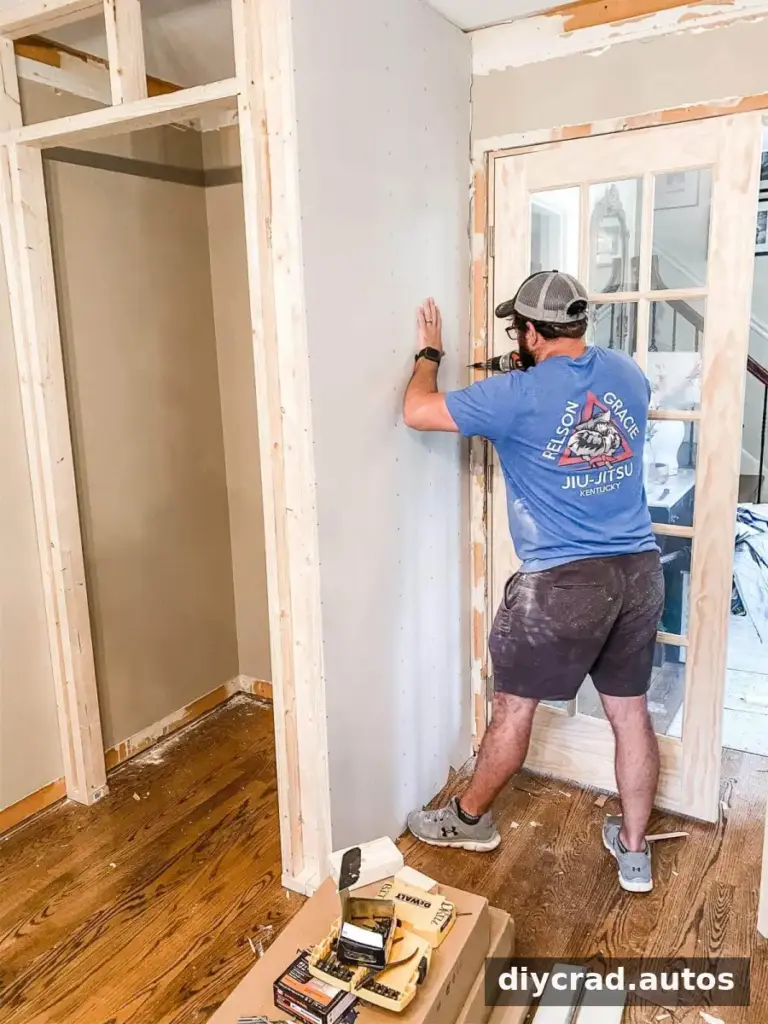
Cut the 1/2-inch drywall to fit, hang it on the framing, and finish the seams with drywall tape and joint compound. Allow compound to dry as directed before applying further coats or sanding. Sand the finished areas carefully and control dust; a visual tutorial can be helpful if drywall finishing is new to you.
What Comes After Framing?
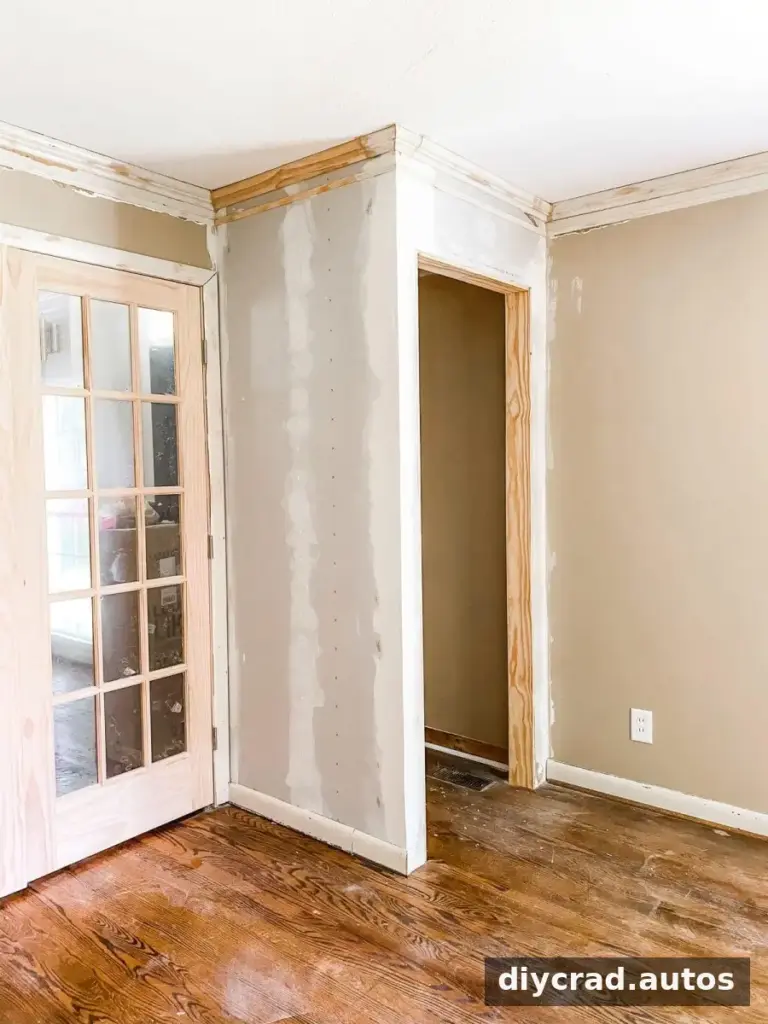
Once the drywall is complete, the closet may still need trim, doors, and paint. In this office project, the trim and closet doors were still in progress. A vent inside the closet was described as temporarily closed off and scheduled to be moved, rather than left in place. Any heating or cooling vent changes should be planned so the finished room’s ventilation remains appropriate.
The broader office makeover also included installing double French doors, adding wall molding, painting the walls, ceiling, and doors, installing lighting, hanging art and curtains, assembling furniture, painting cabinets, and styling the room. Keeping a written task list can make a large renovation easier to organize and help identify which jobs need to happen before others.
DIY Closet Project Checklist
- Confirm the closet location, dimensions, and doorway layout.
- Locate wall studs and ceiling joists before fastening plates.
- Check local requirements, especially if the room is intended to function as a bedroom.
- Plan electrical work and any vent changes before closing the walls.
- Allow time for drywall compound to dry between finishing stages.
- Complete trim, doors, and paint after the main construction work.
A DIY closet can be a substantial project, so breaking it into preparation, framing, drywall, and finishing stages makes the work more manageable. With the layout checked and the framing securely attached, the closet can become a practical part of a larger office makeover. For anyone planning a DIY closet, the most useful first step is to measure carefully and confirm the structure and local requirements before construction begins.