

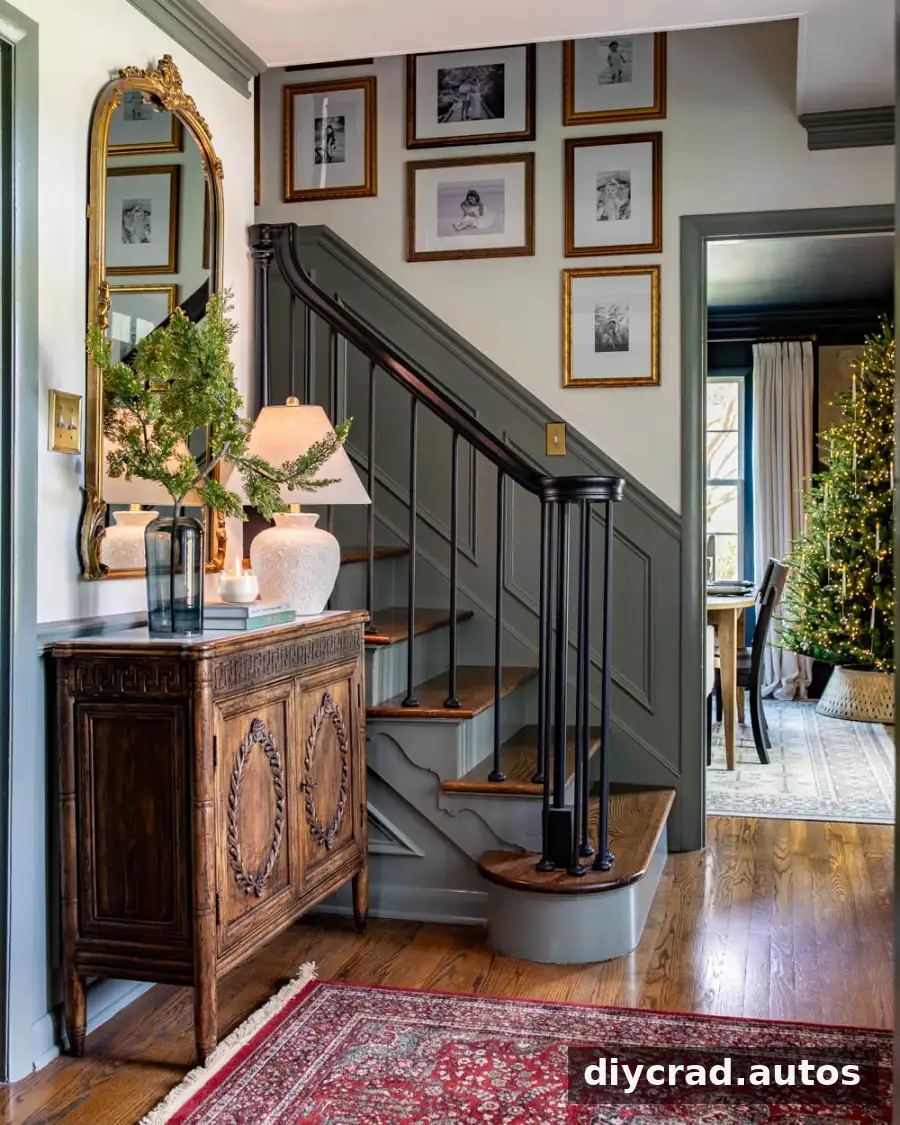
A staircase gallery wall can turn an often-overlooked passage into a personal, well-organized display. Choosing the right frame sizes and planning the arrangement before making holes in the wall can make the process easier and help the finished display feel balanced. This guide covers a simple paper-template method, useful frame dimensions, and spacing ideas for stairways.
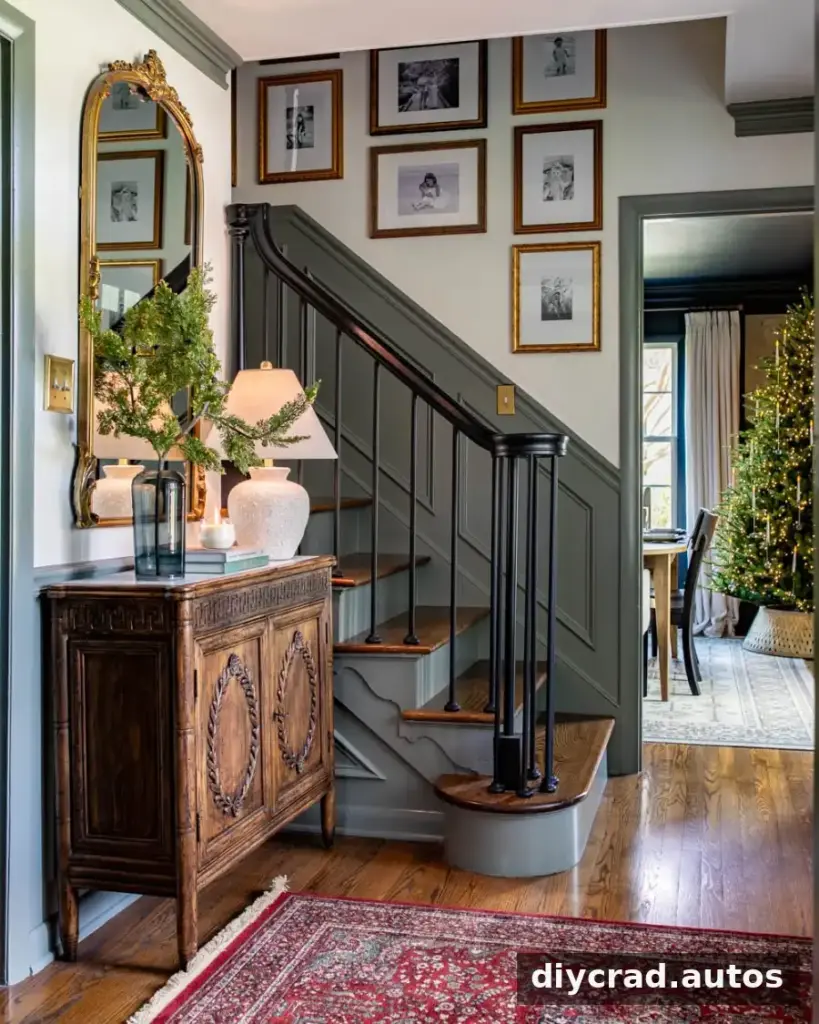
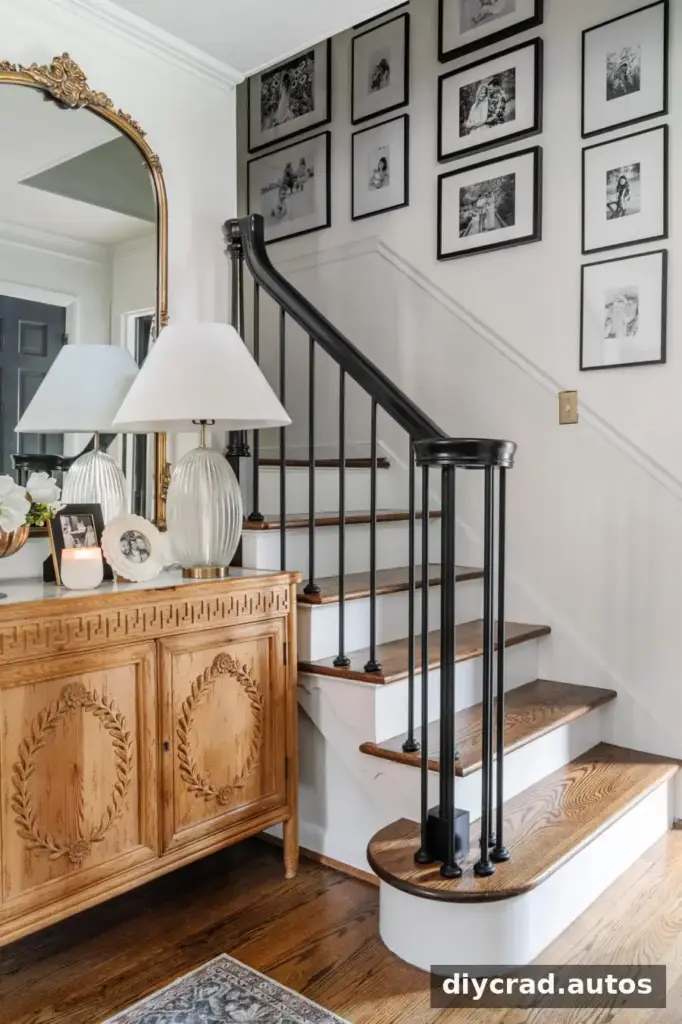
The foyer shown here combines trim in Willowleaf with walls in Chantilly Lace, along with a cabinet, rug, mirror, and other decorative accents. The picture frames have an antique-style brass finish. An earlier arrangement used black frames, illustrating how changing the frame finish can give the same wall a different overall character.
How to Plan a Staircase Gallery Wall
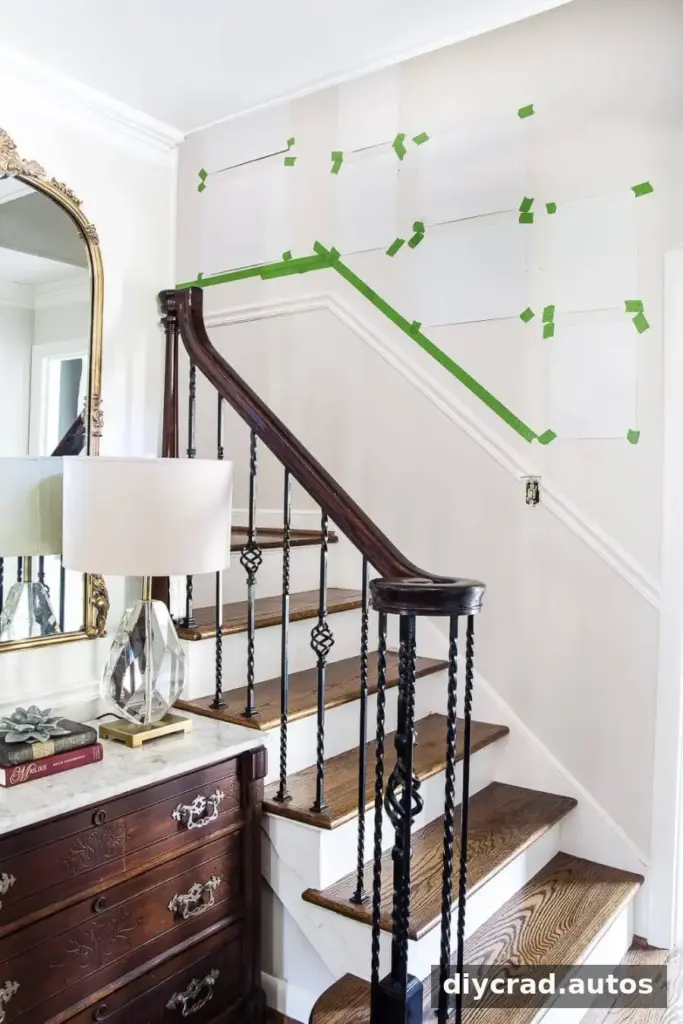
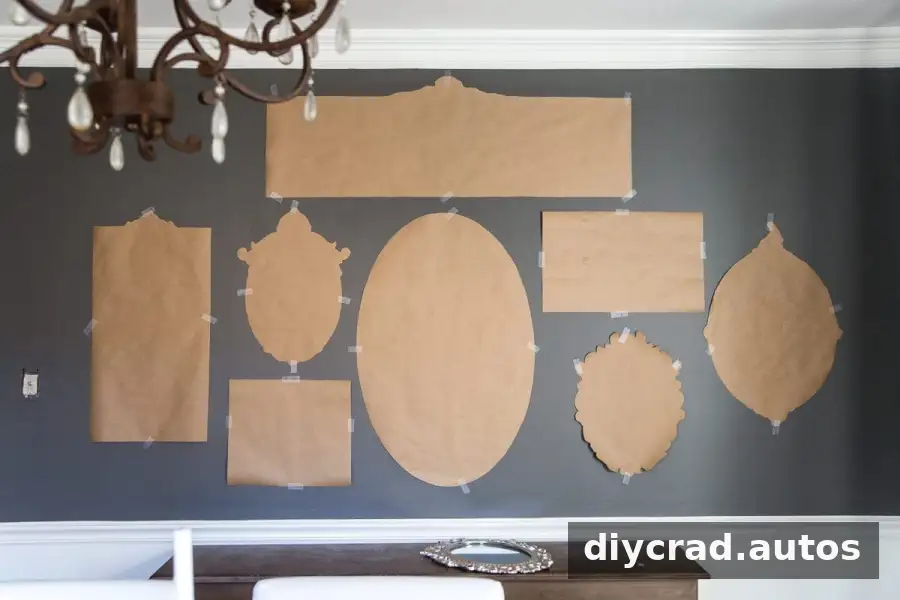
Before hanging anything, make a layout on the floor or on paper. This lets you compare frame sizes and spacing without committing to nail holes. A wrapping-paper or shipping-paper template is especially useful when frames are older, secondhand, or missing hanging guides.
The same planning approach can work for a dining room or another wall. For a staircase, consider how the arrangement will look as it follows the slope of the stairs, and leave enough room for people to move comfortably.
Step-by-Step Paper Template Method
- Lay wrapping paper or shipping paper flat and place each frame on top. Trace around the outside edge, then cut out the shapes.
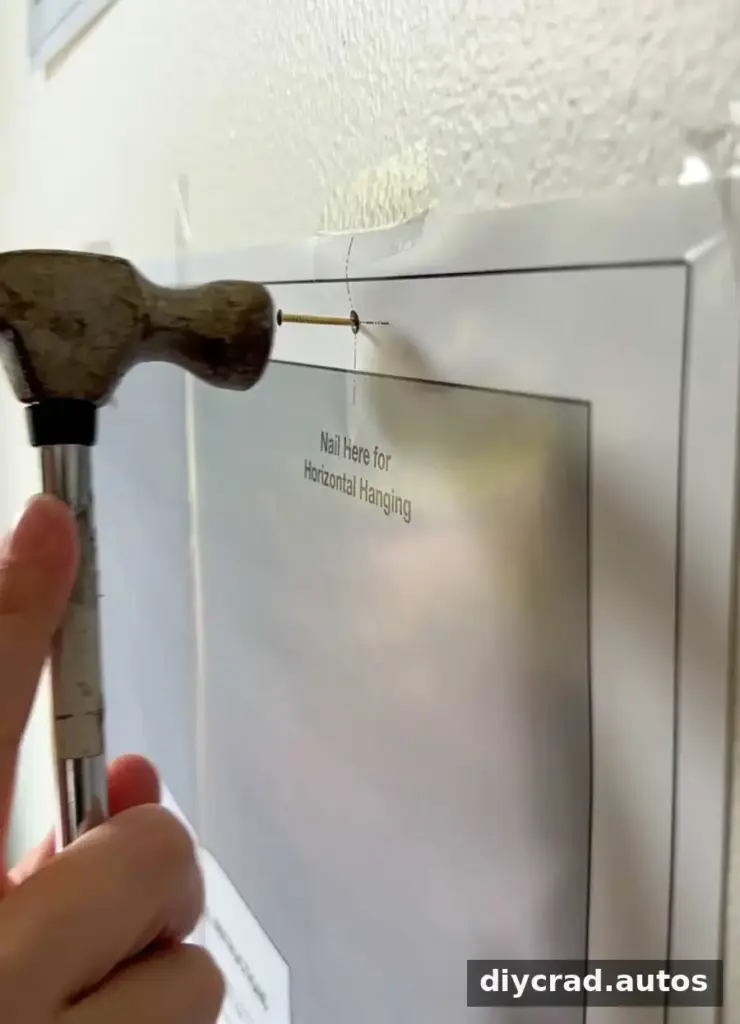
- Measure the hanging hardware on each frame and mark the nail position on its paper outline. Check the mark carefully so the template reflects where the frame will actually hang.
- Use clear tape, or another suitable removable tape, to attach the templates to the wall. Arrange and rearrange them until the composition looks balanced.
- When the layout is set, hammer nails through the marked points. Remove the paper templates and hang the frames.
Some frames include their own hanging templates, which can save time. For frames without them, the paper method provides a simple way to test the placement first.
Practical tip: Start with the largest paper outlines. These anchor the arrangement and make it easier to place smaller frames around them.
Choosing Frame Sizes for a Staircase Gallery Wall
Larger frames can help a gallery wall feel cohesive rather than crowded. A group made up mostly of 8×10-inch frames or smaller may look busy, particularly when the display includes colorful photographs or artwork. For a stairway, consider using frames between 11×14 and 20×24 inches as the main pieces, then add smaller 8×10- or 5×7-inch frames where they fit.
Use the largest frames as visual anchors and build a layout around them. Arranging different sizes in columns can create a sense of order while still allowing the collection to feel varied. Before hanging, step back from the templates and check the display from several points on the stairs and in the foyer.
The arrangement shown includes several sizes. The foyer frame list features three 11×14-inch frames, three 12×16-inch frames, three 16×20-inch frames, and two 20×20-inch frames. These dimensions can serve as a starting point; the right combination depends on the available wall space and the number of images you want to display.
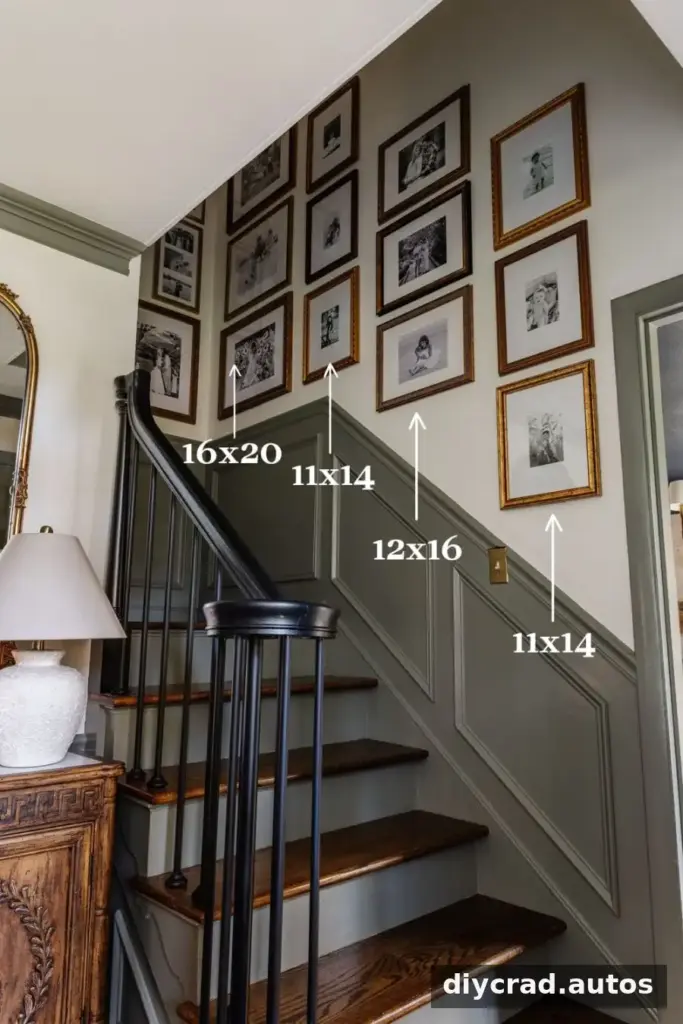
When adapting a layout, keep the proportions of the wall in mind. A long stairway wall may need a wider arrangement, while a narrower section can benefit from fewer frames with more breathing room.
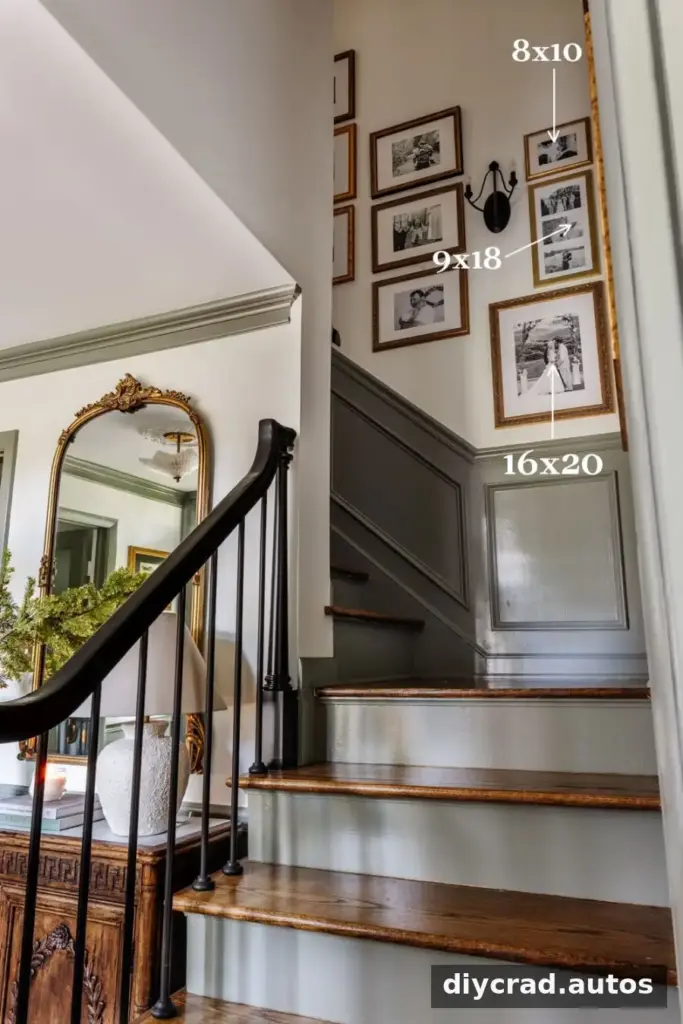
Mixing frame sizes works best when there is a repeated visual element, such as a consistent finish, mat color, or orderly alignment. Choose one or two details to repeat rather than trying to make every frame identical.
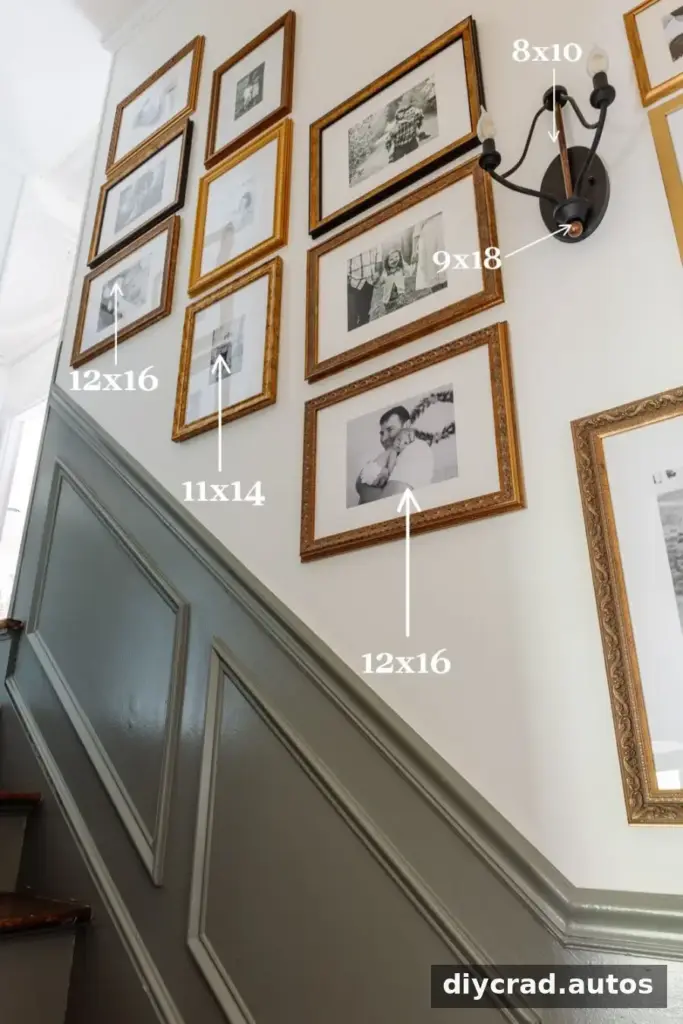
Finding and Updating Picture Frames
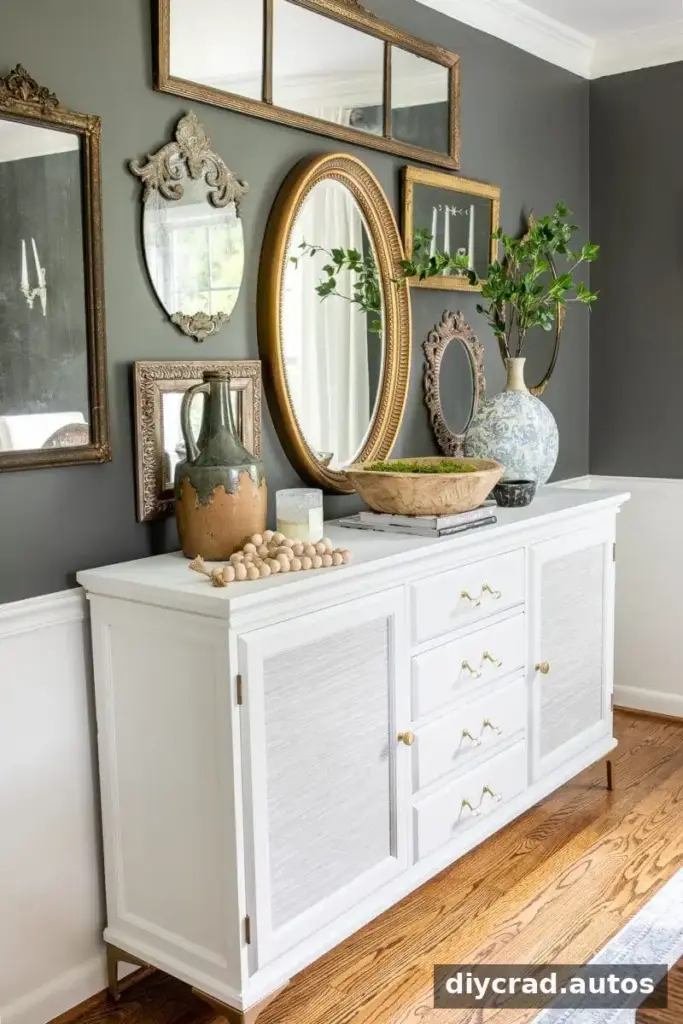
Secondhand stores can be a useful place to look for frames, especially when you are open to changing their finish. Focus on the frame itself, even if the artwork inside does not suit your room. A coat of black or gold spray paint can update a frame, while different shades of Rub n Buff can create a more aged appearance.
Finding enough secondhand frames in matching sizes can take time. If you are collecting gradually, keep a note of the dimensions you need and bring a tape measure when shopping. A mat can also improve the appearance of a simple frame. Poster board can be cut to make a basic mat, but use a sharp craft knife carefully and measure the opening before cutting.
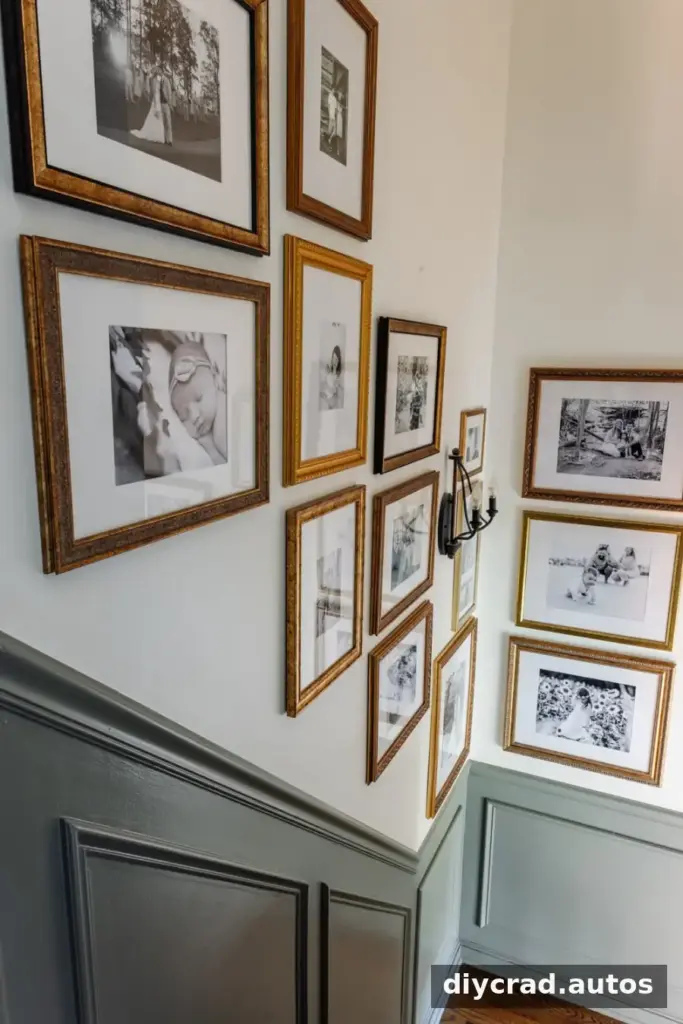
Gallery Wall Spacing and Hanging Tips
For a grouped display, leave about 2 to 6 inches between frames. Gaps that are too wide can make the pieces appear disconnected, while very tight spacing may make the arrangement feel crowded. The ideal distance depends on frame sizes and the overall scale of the wall.
Use a level and measure consistently as you work. If the frames use different hanging hardware, confirm each template’s nail mark before installing it. For heavier frames, select hanging hardware suited to the frame weight and wall type, and check for hidden wiring or pipes before driving nails into a wall.
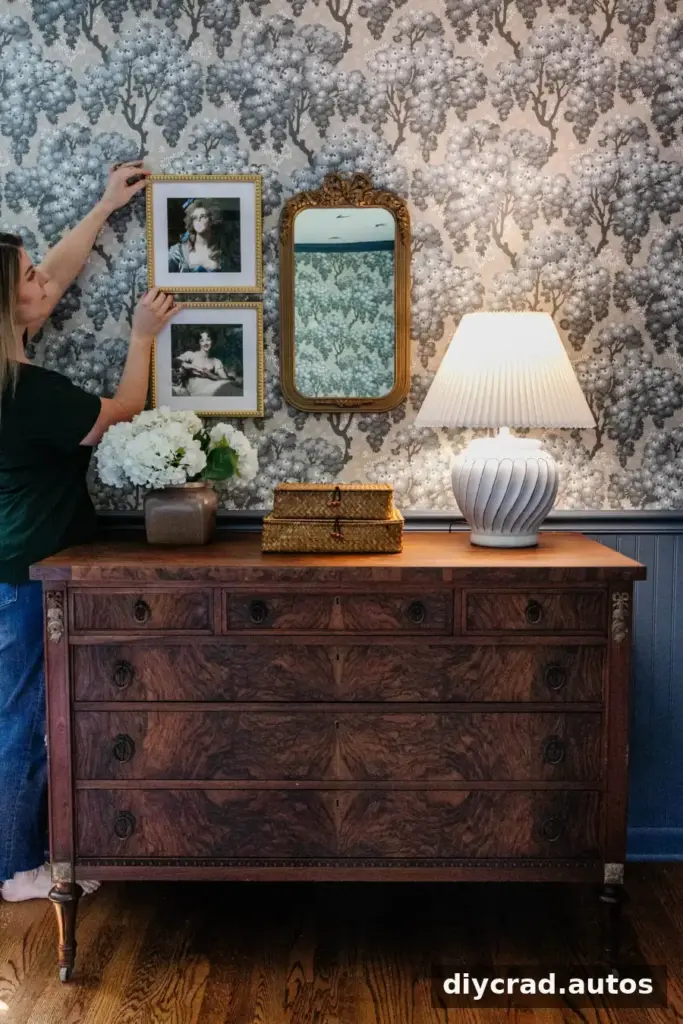
Family photographs, artwork, or a combination of both can make a stairway display personal. Select images that work well together in tone or subject, and consider printing a few at a time if choosing a complete collection feels overwhelming.
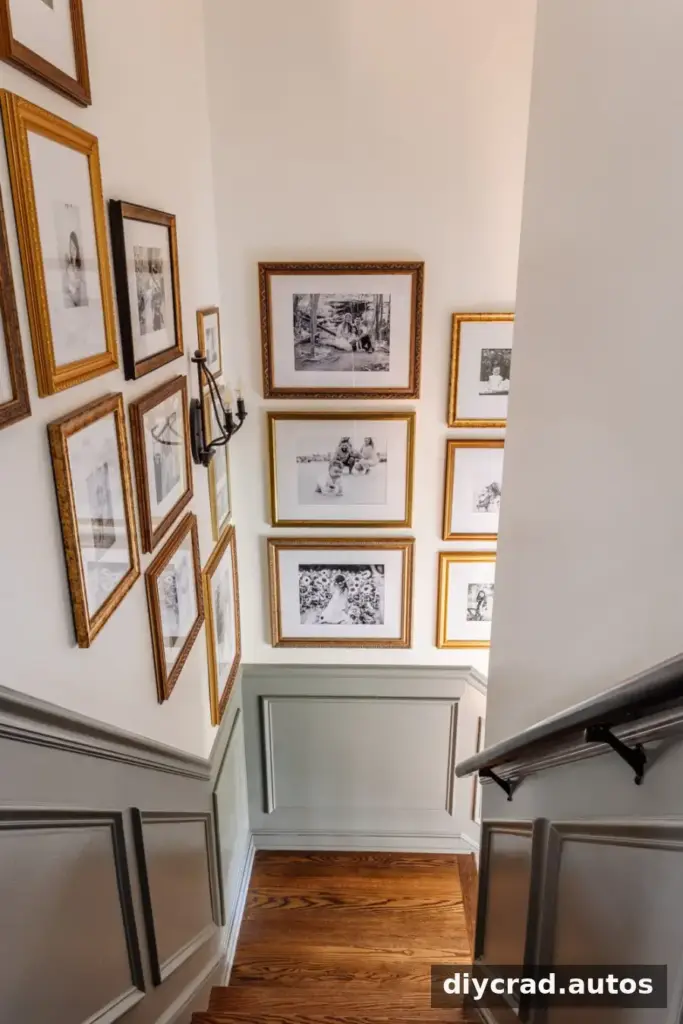
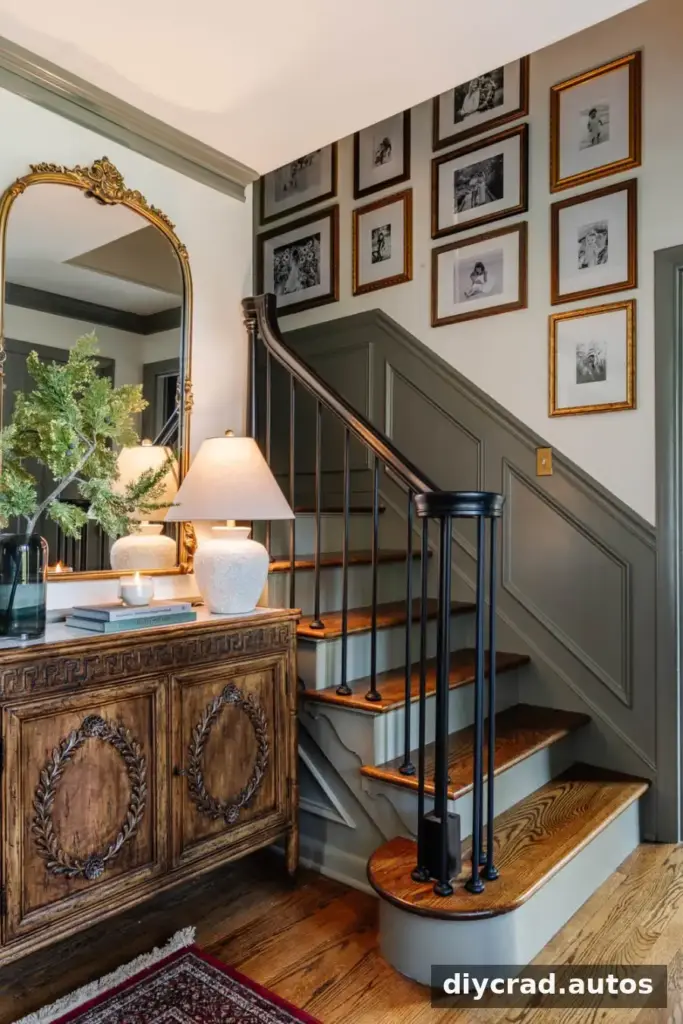
Foyer Details and Frame Sizes
- Trim color: Willowleaf
- Wall color: Chantilly Lace
- Cabinet finished in Coffee gel stain
- Wainscoting picture-frame molding
- Rug
- Three 11×14-inch picture frames
- Three 12×16-inch picture frames
- Three 16×20-inch picture frames
- Two 20×20-inch picture frames
- Mirror, smoked-glass vase, table lamp, evergreen branch, and Christmas tree
Conclusion
A successful staircase gallery wall begins with a measured plan, a few well-chosen anchor frames, and consistent spacing. Paper templates make it easier to test the arrangement before hanging, while a mix of frame sizes can add interest without making the display feel cluttered. Use these ideas as a guide, then adjust the layout to suit your wall, décor, and photographs.

