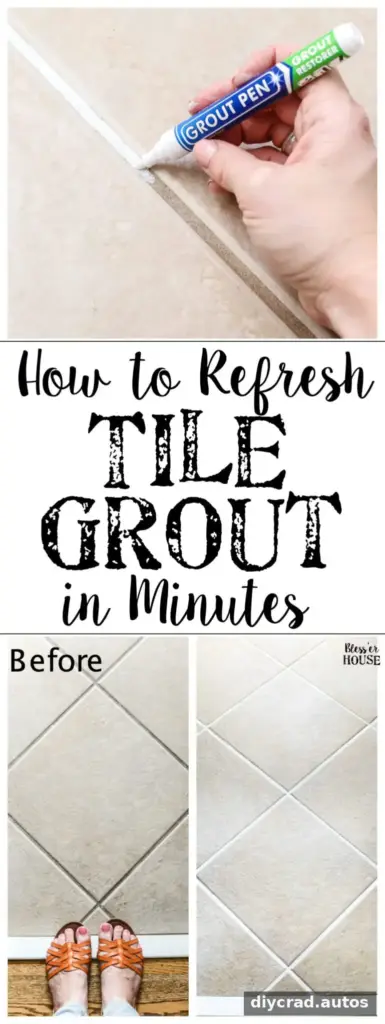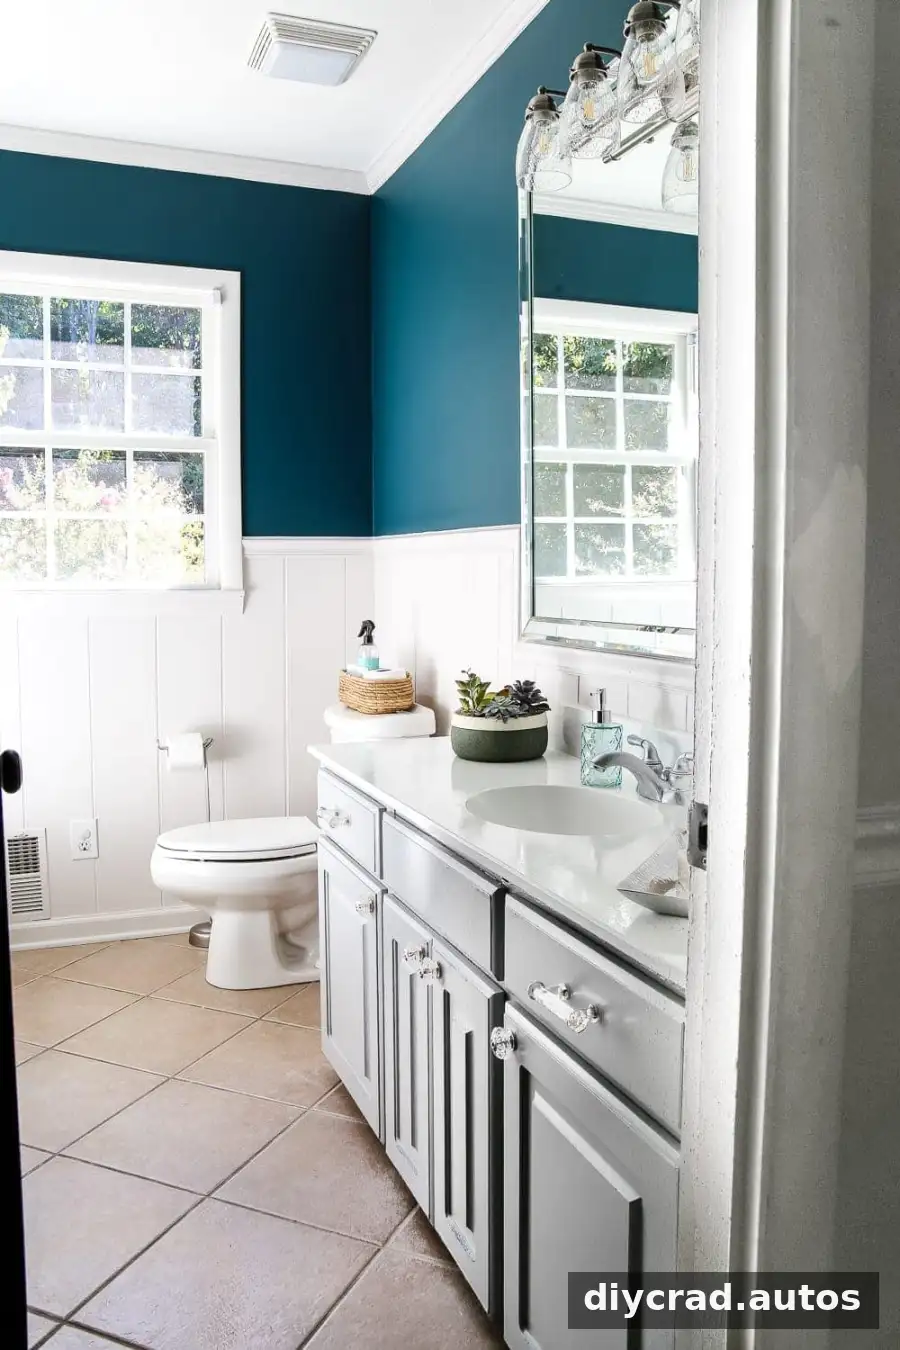
A grout refresh can make a tiled bathroom floor look cleaner and brighter without replacing the tile. In this project, discolored brown grout was cleaned and recolored with an all-purpose cleaner and a grout pen. The hands-on work took less than 45 minutes, and the supplies cost around $15. It is a practical option when the tile is still usable but the grout makes the floor look tired.
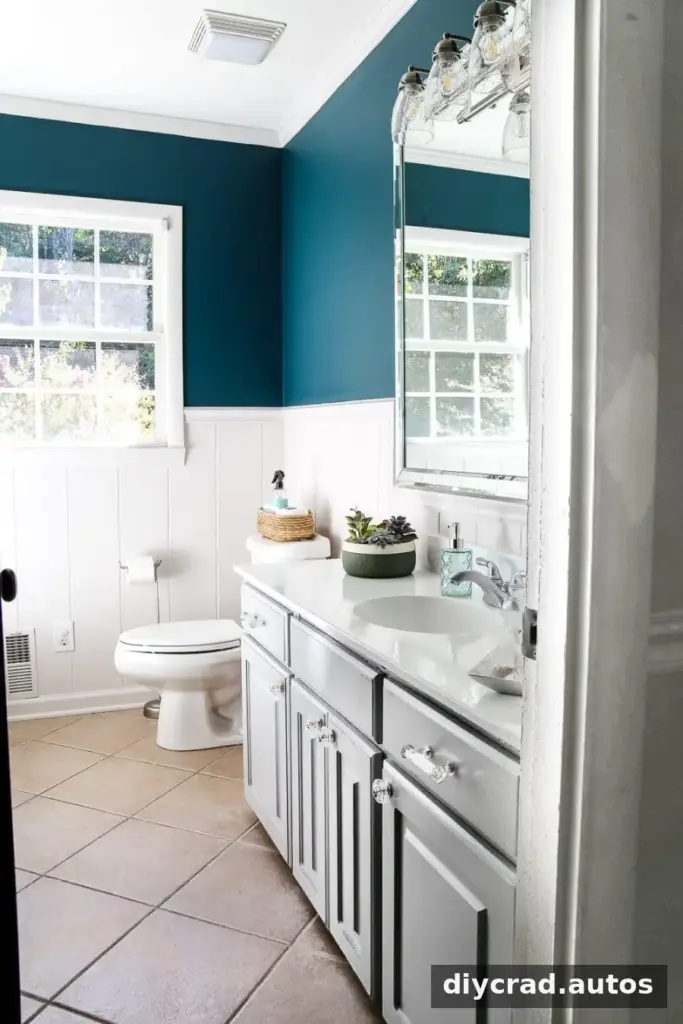
Why choose a grout refresh?
When tile is in reasonable condition but grout looks worn, possible updates include deep-cleaning the grout, recoloring it, painting the floor, adding a stencil, or covering the surface with vinyl plank flooring. The right choice depends on the condition of the existing floor, the time available, and whether a larger renovation is planned.
For a bathroom that may be renovated in a couple of years, a low-cost grout refresh can be a useful temporary improvement. It changes the appearance of the grout without requiring tile removal. Before starting, inspect the joints: loose, crumbling, or damaged grout needs repair rather than a surface color treatment.
The aim here was to improve the visible floor without taking on a major project. A bath rug was also planned, but refreshing the grout first helped the uncovered floor look more cared for. A rug can complement the update, though it should only be placed after the treatment has cured as directed.
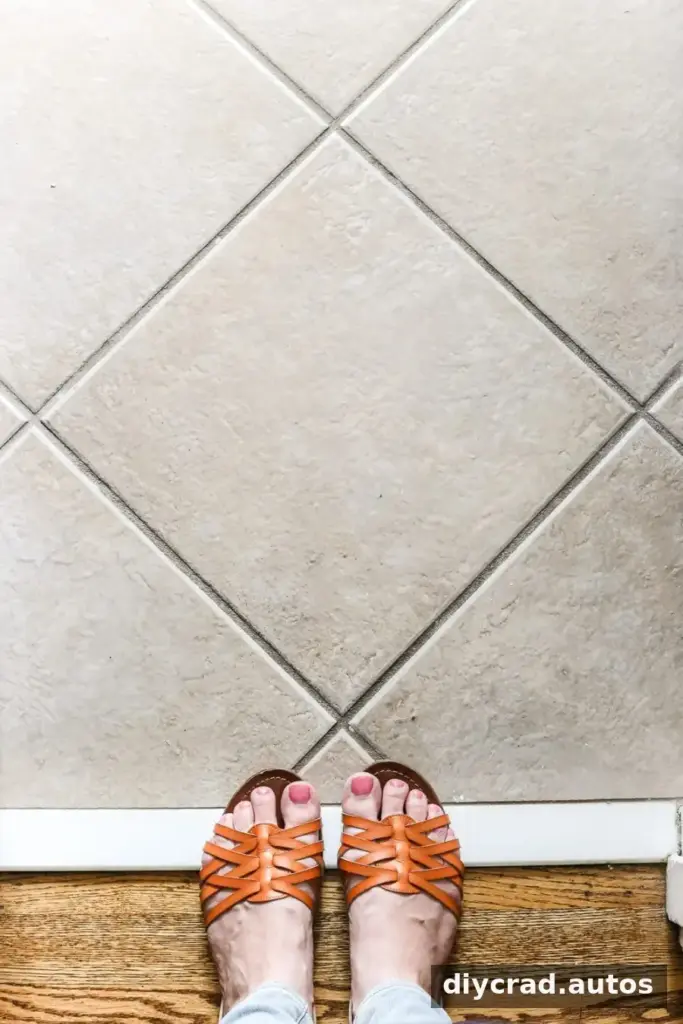
Supplies for a grout refresh
- An old toothbrush
- An all-purpose cleaner suitable for the floor and grout
- A clean, dry towel or rags
- A grout pen compatible with the tile and grout
Read the cleaner and grout pen labels before use. Check that the pen is intended for the particular surface, and test it in a small, inconspicuous area to see how the color looks and whether it wipes off the tile as expected. Keep the room ventilated, follow directions for rinsing or removing cleaner residue, and do not apply grout colorant to flexible caulk or other surfaces unless the product instructions allow it.
How to clean and recolor grout
1. Clean the grout lines
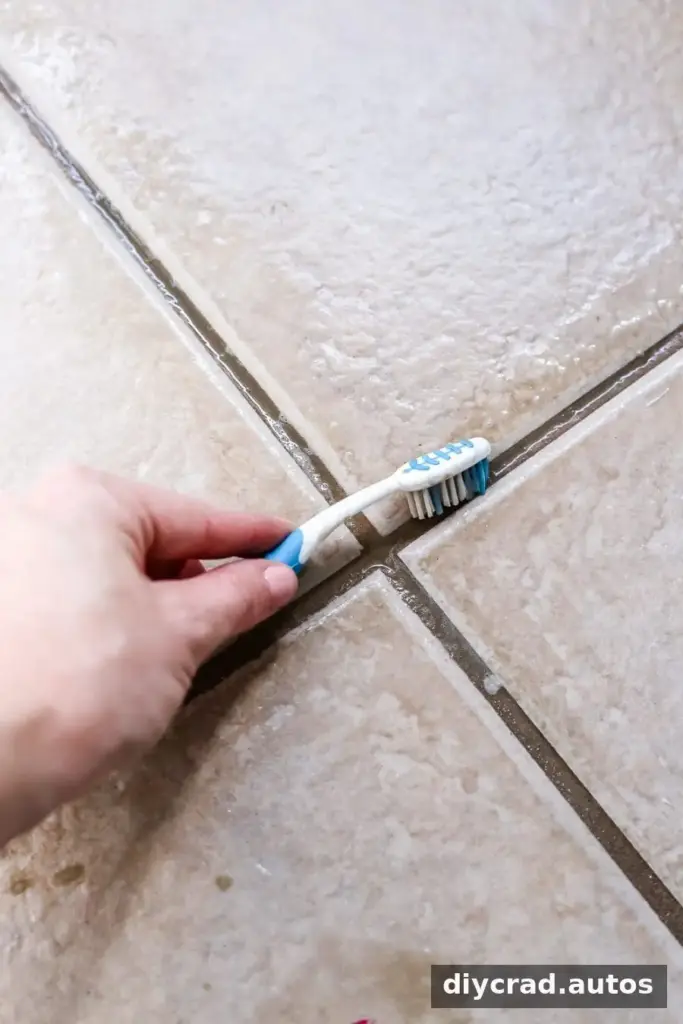
Apply the selected cleaner to the grout lines and leave it for about five minutes, or for the time stated on its label. Scrub the joints with an old toothbrush to loosen dirt and grime. Work in manageable sections, especially across a floor with many grout lines, so the cleaner does not sit longer than directed. Rinse or remove residue according to the product instructions.
A small brush gives better control than a large scrubber around narrow joints. Avoid using excessive force, particularly where grout is already worn, and stop if you notice loose material that may need repair.
2. Let the floor dry completely
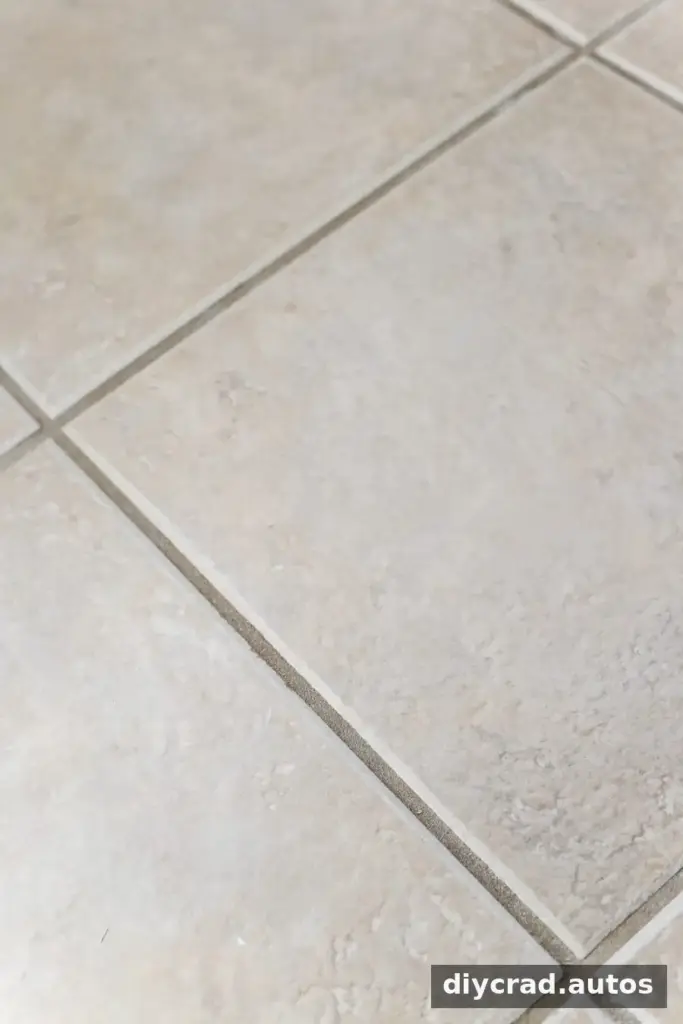
Blot the floor with a clean towel or rag, then allow the grout to dry fully before applying the pen. Colorant applied to damp grout may not spread evenly or adhere as intended. Drying time varies with room conditions and the product, so follow the instructions rather than relying only on how the tile surface feels.
3. Apply the grout pen carefully
Once the grout is completely dry, trace each joint with the pen, keeping the application within the grout lines. A steady pace can help create a more consistent finish. Keep a dry cloth nearby and remove accidental marks from the tile in the manner specified by the pen’s instructions. Avoid rushing corners and intersections, where it can be easier to stray onto the tile.
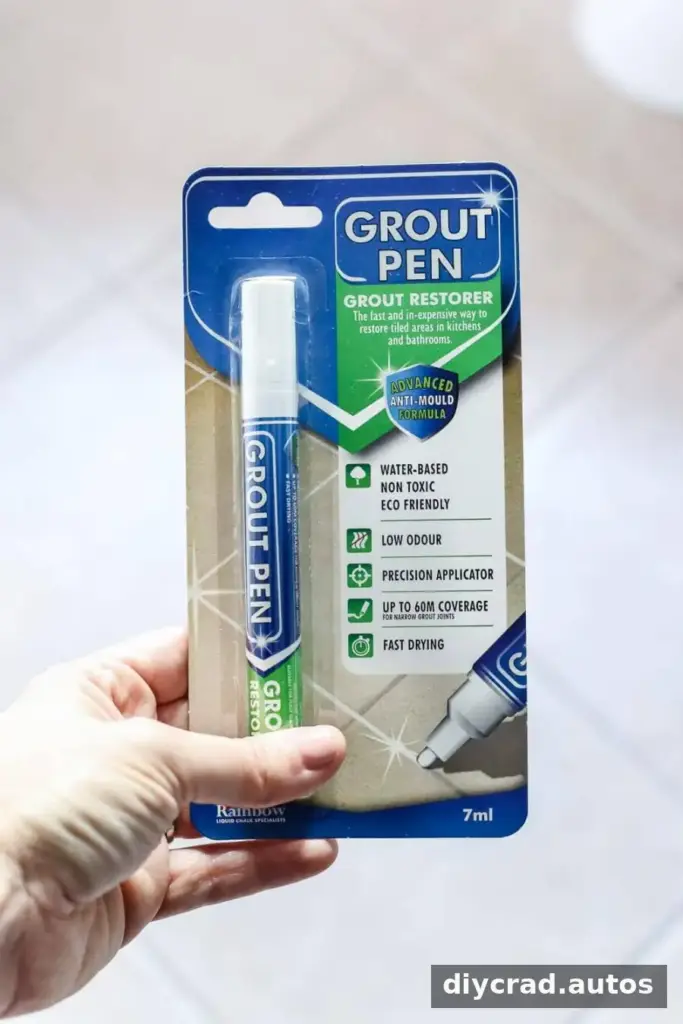
Three grout pens were purchased as a precaution, but one was enough for the entire bathroom floor. The quantity required depends on the floor size, grout width, and the coverage stated on the package. Check the estimated coverage before buying, and consider the grout’s condition and porosity when planning how much product to have on hand.
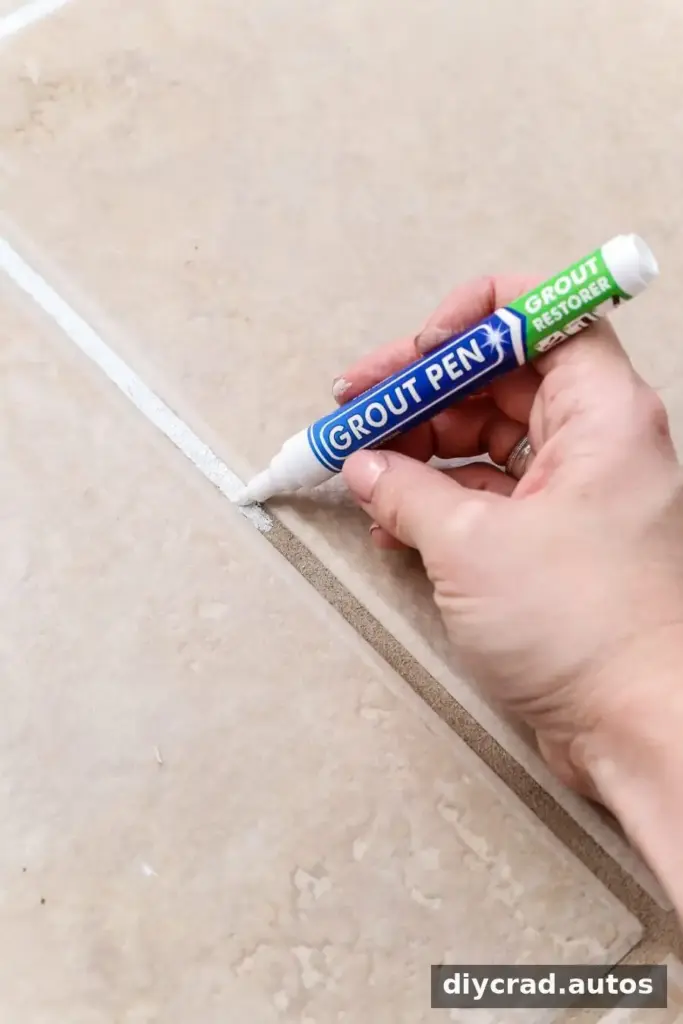
The refreshed grout created a cleaner contrast with the tiles and made the floor appear brighter without changing the tile itself. A grout pen is a surface treatment, so its appearance and durability depend on the product, application, and condition of the grout. It is not a substitute for repairing loose, crumbling, or otherwise damaged joints. Follow the manufacturer’s curing and cleaning instructions to help protect the finished surface.
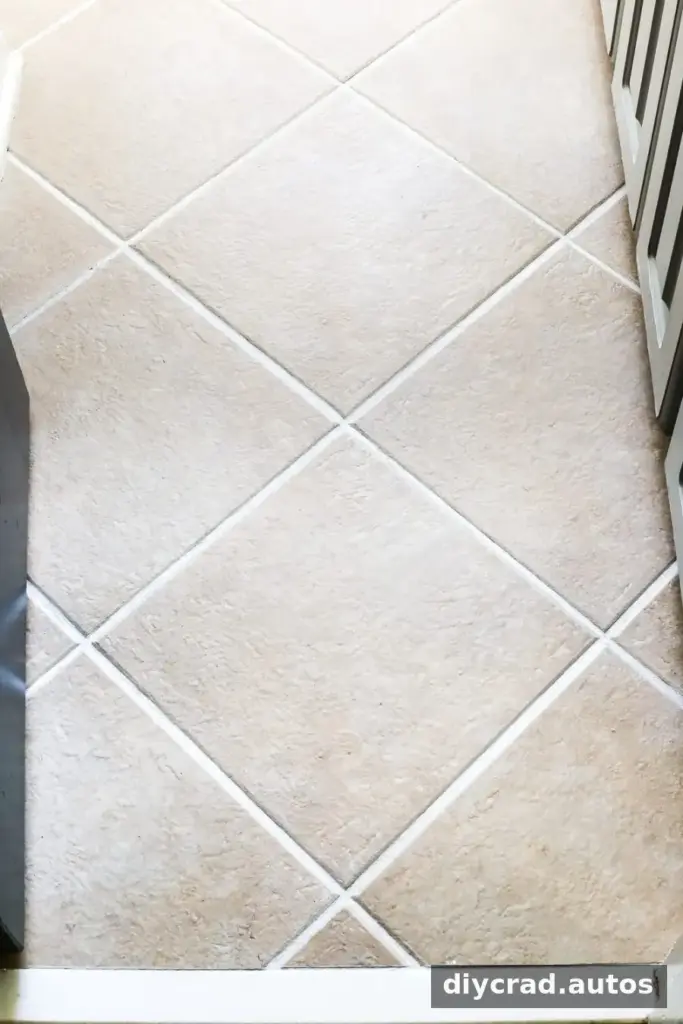
Finishing the bathroom update
A bath rug can soften the look of the floor and add comfort, but wait until the grout treatment has cured for the period specified on its label before covering it. Placing a rug too soon may interfere with curing or affect the finish. Good ventilation and the recommended waiting time are simple precautions that support a better result.
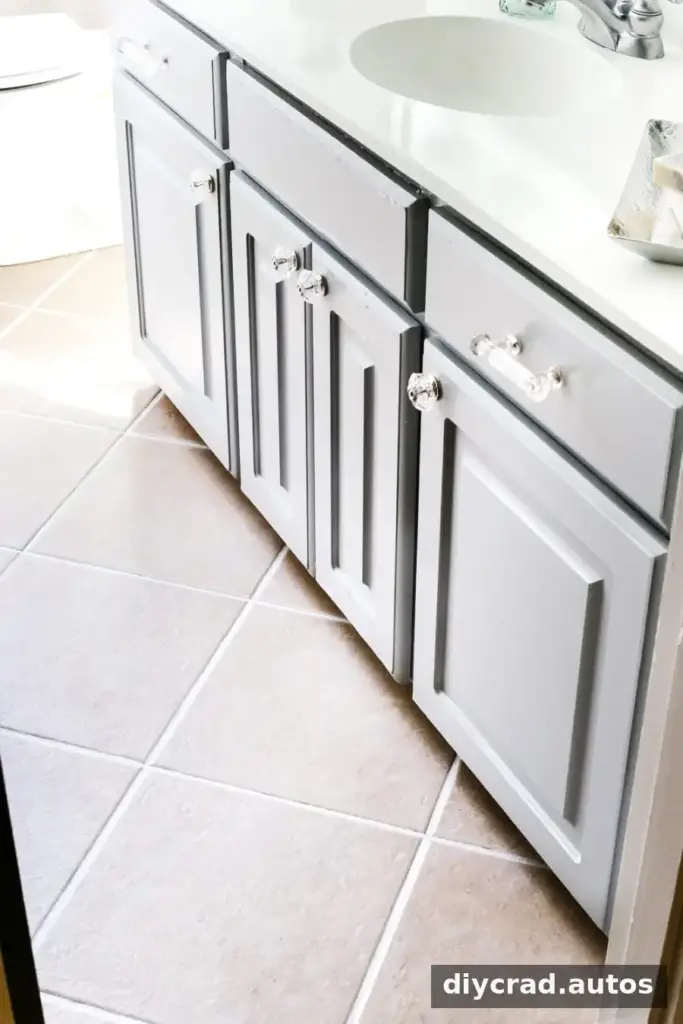
Once the floor is refreshed, smaller decorative tasks can help the room feel more complete without another major renovation. Options include adding wall art, choosing a shower curtain, selecting a window shade, and arranging other finishing touches. Taking these steps one at a time makes it easier to coordinate the room and keep the update manageable.
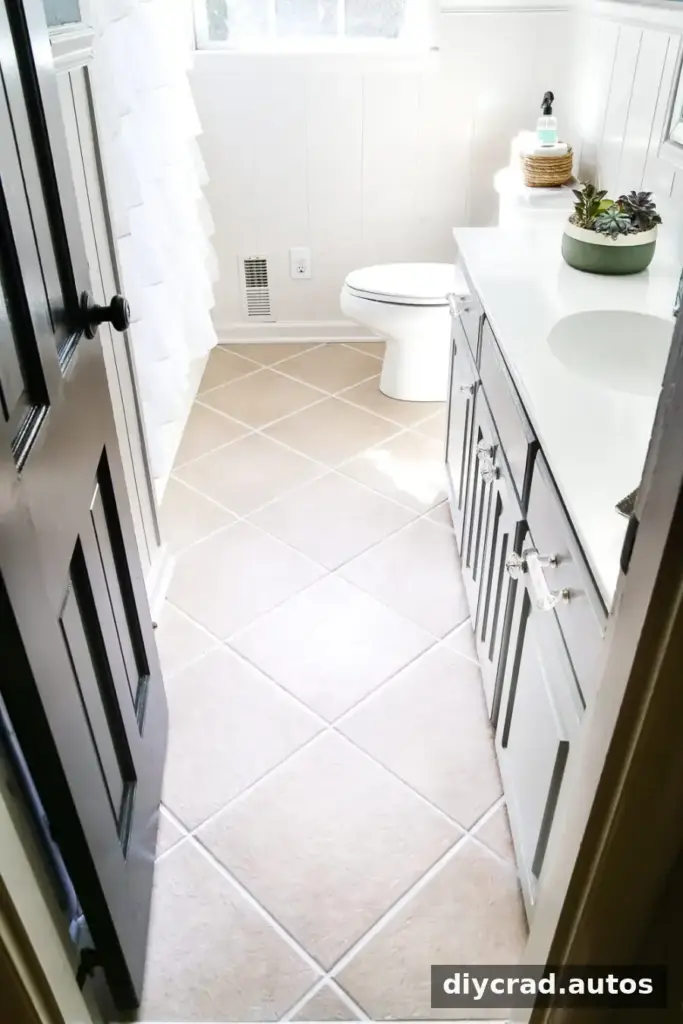
Bathroom project list
- Paint the walls
- Paint the trim
- Paint the doors
- Refinish the sink and tub or shower
- Refresh the light fixture
- Paint the vanity cabinet
- Paint the tile or refresh the grout
- Hang wall decor (halfway finished)
- Complete the final decorating touches
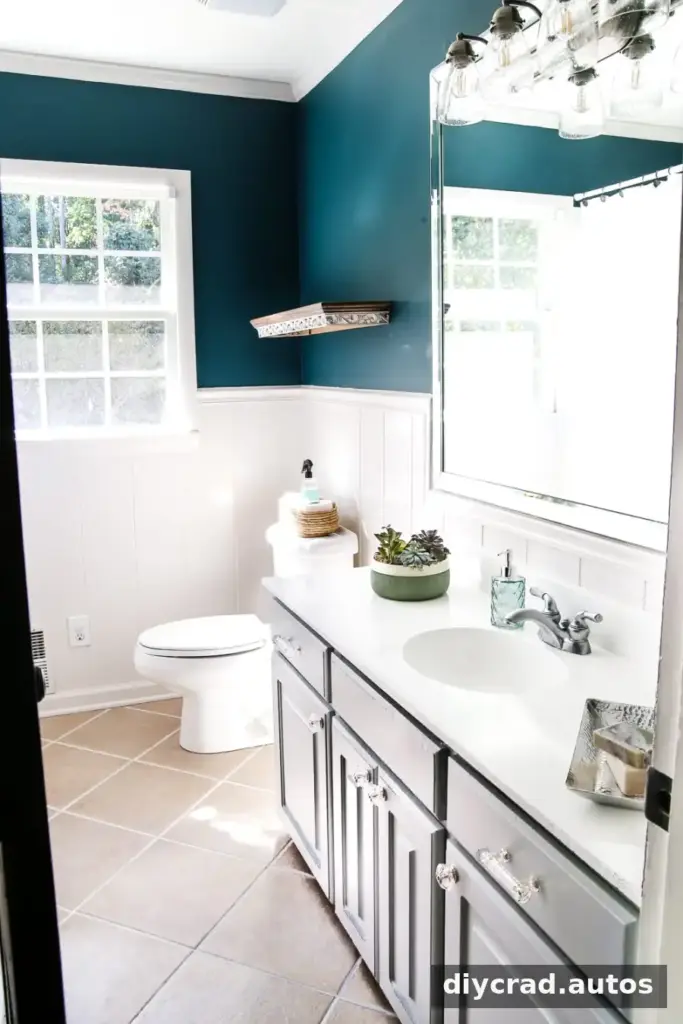
More ideas for updating floors
When comparing budget-friendly floor updates, consider the preparation required, the room’s conditions, and whether the new surface suits the existing floor. Ideas to explore include a patterned vinyl tile floor, a faux-marble tile finish, peel-and-stick vinyl tiles, affordable tile options, and choosing a rug made from natural fibers. Always check product instructions and suitability before applying a new finish or covering an existing floor.
Conclusion: Is a grout refresh worth considering?
A grout refresh is a straightforward way to improve the appearance of a tiled floor when the tile remains usable and a full renovation is not yet planned. Clean the grout, let it dry completely, and apply a compatible grout pen according to its instructions. In this bathroom, the update cost around $15 and used one pen, providing a quick visual improvement while leaving larger changes for a future renovation.