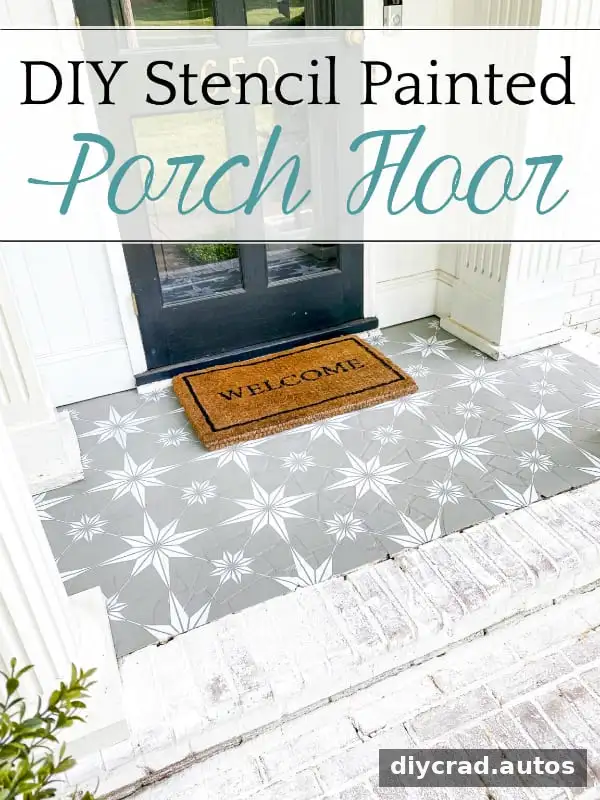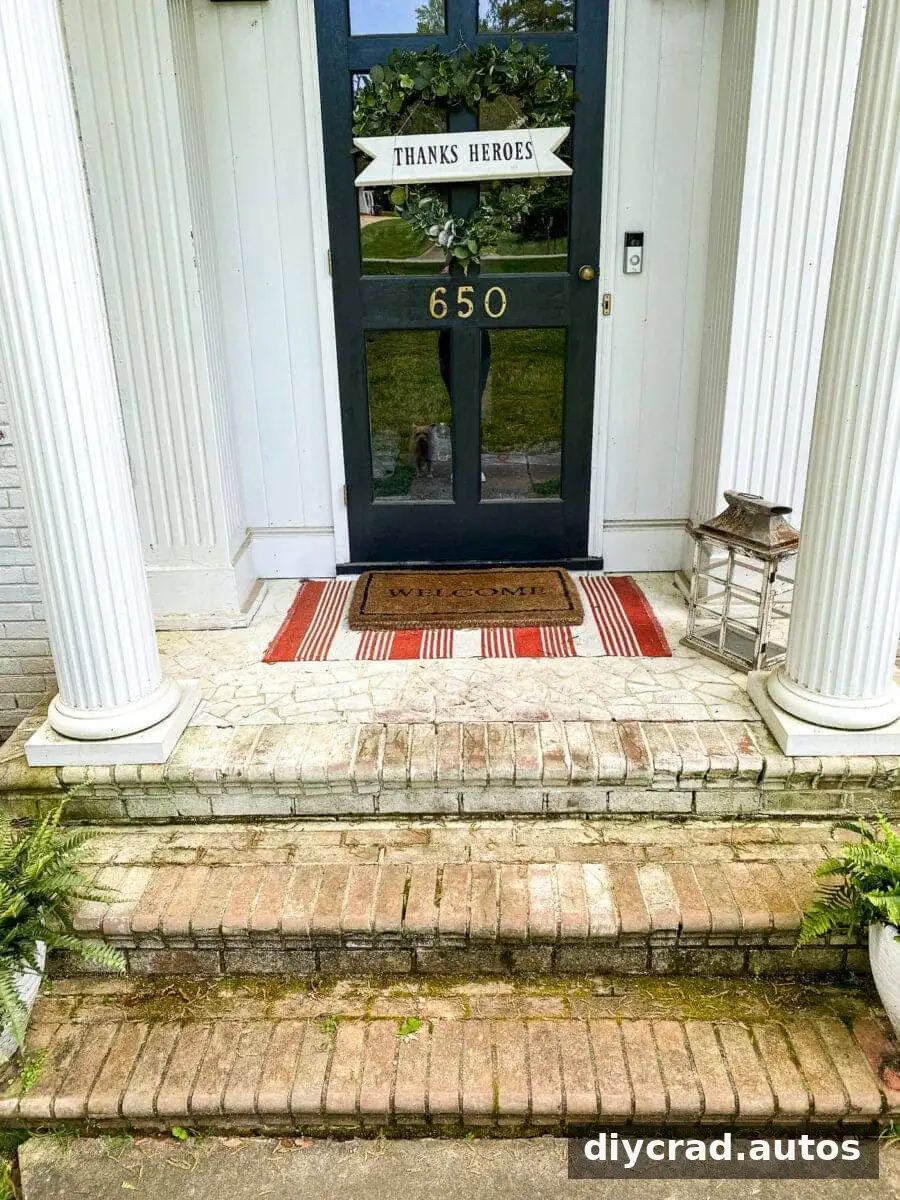
A stencil-painted porch floor can give a tired entryway a fresh look with a relatively simple DIY update. This project transformed a weathered terra-cotta tile porch using floor paint, a decorative stencil, and a clear sealer. The key to a neat result is preparing the surface carefully, applying paint sparingly through the stencil, and allowing each layer to dry as directed.
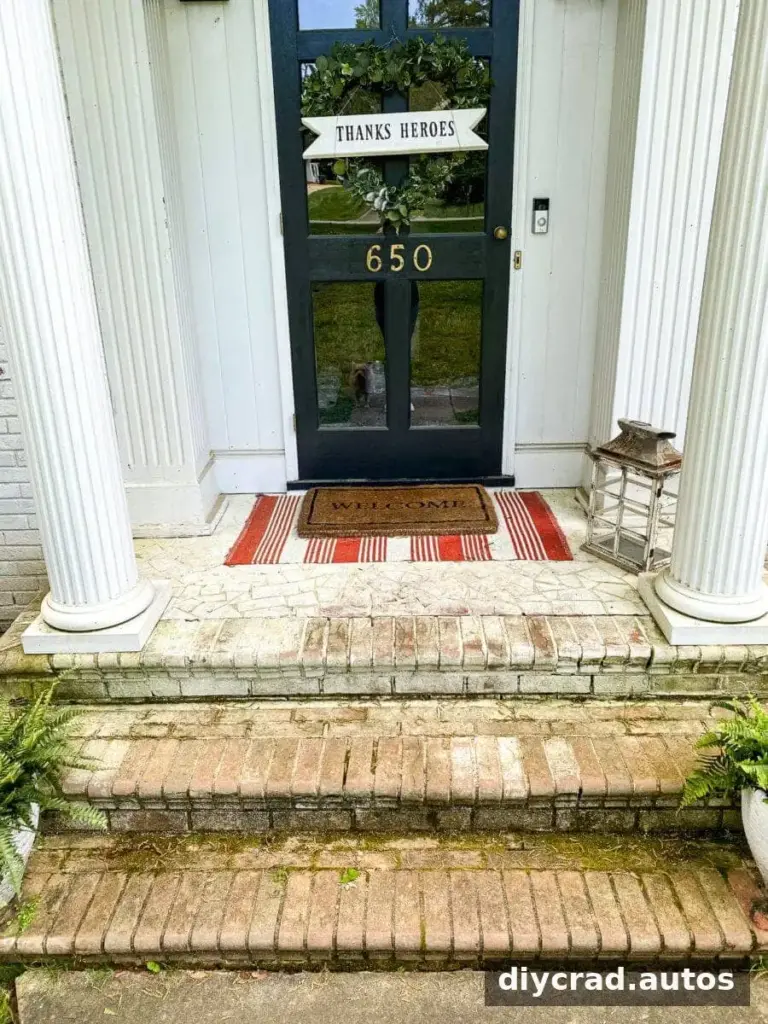
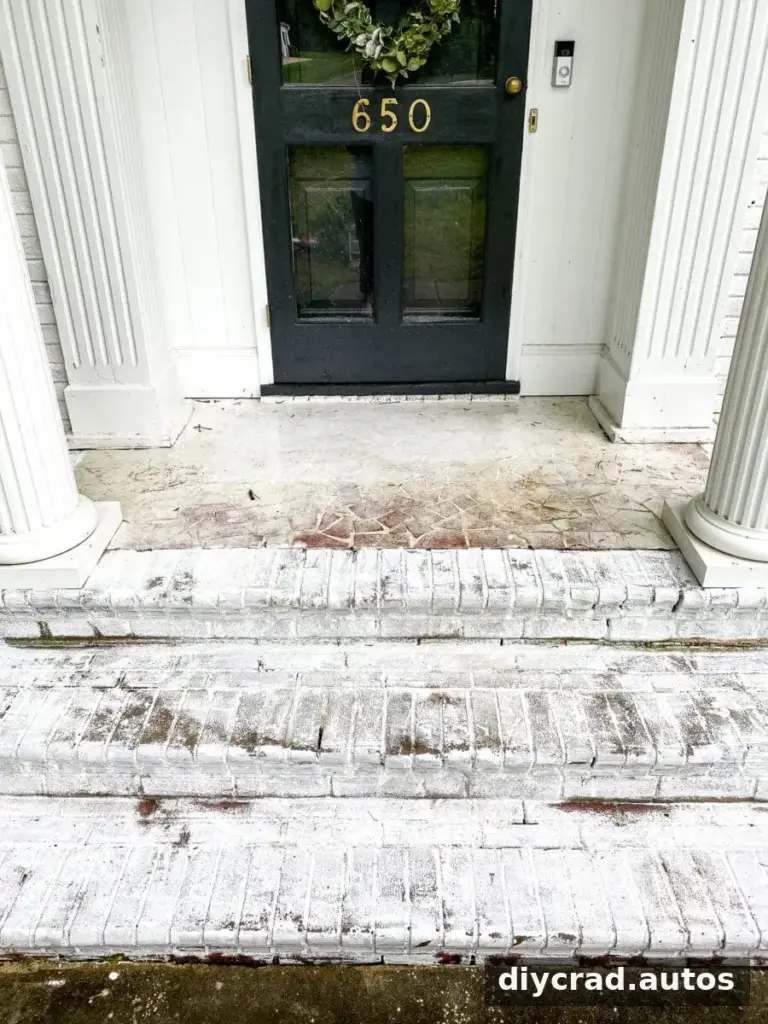
Before painting, the porch brick and steps were cleaned to remove winter grime, mildew, and moss. A low-pressure wash was used on the limewashed brick, followed by a fresh limewash coat on the steps. The tile floor was treated as a separate surface: limewash is not intended for floors that receive regular foot traffic, so a floor coating was chosen for the makeover.

How to Create a Stencil-Painted Porch Floor
This method works best when the porch is clean, dry, and suitable for the paint and sealer being used. Check the product instructions for surface compatibility, application conditions, and drying times before starting.
Materials and Supplies
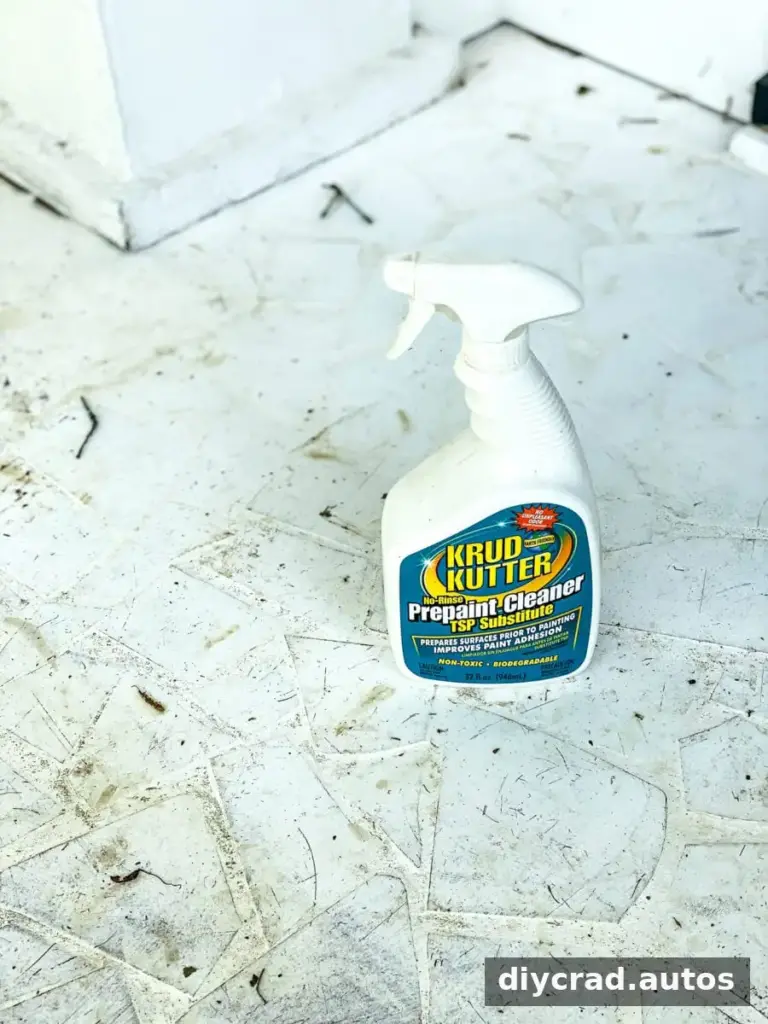
- Pre-paint cleaner
- Rags and a broom
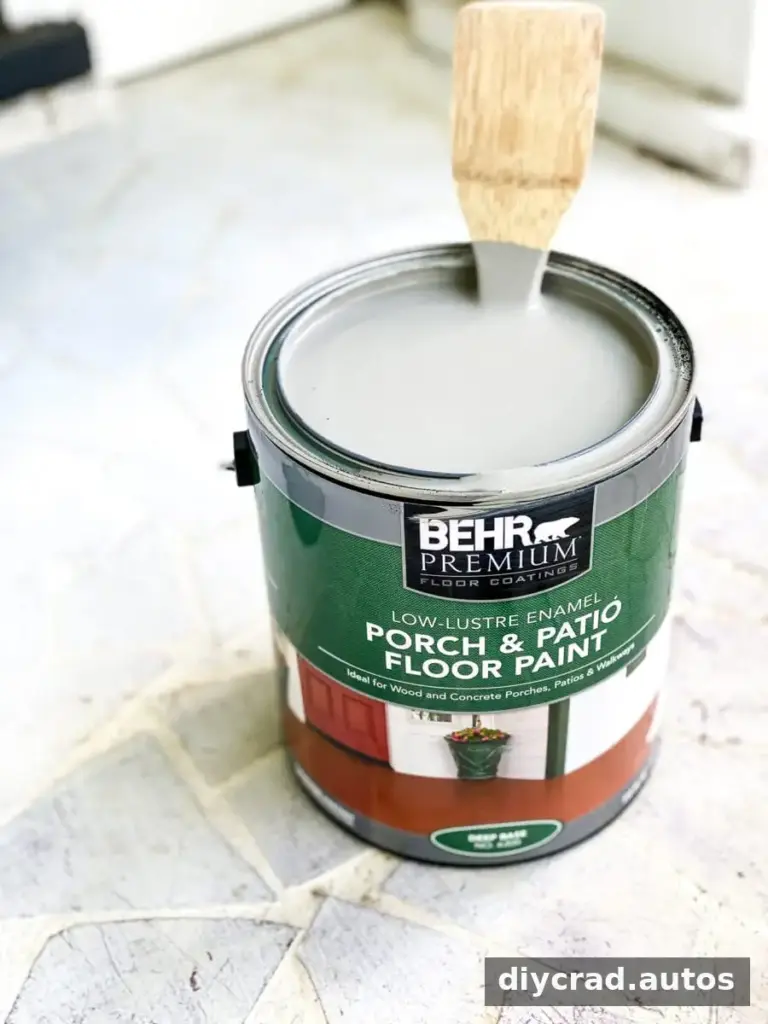
- Porch and patio floor paint in Battleship Gray and Ultra Pure White
- A large angled paintbrush
- A stencil brush
- Paper towels and a paper plate for removing excess paint
- A decorative stencil
- Painter’s tape
- Clear, low-gloss sealer
- Scissors for trimming the stencil if needed
Only a small quantity of paint may be needed for a porch project, especially for the stencil color. Estimate the area and check the coverage information on the paint can before buying supplies. Having a little extra can be useful for touch-ups, but large containers may leave more material than the project requires.
Prepare and Paint the Floor
- Sweep thoroughly. Remove dust, loose dirt, and debris so they do not become trapped under the paint.
- Clean the surface. Wipe the floor with a suitable pre-paint cleaner and let it dry completely. Follow the cleaner’s directions, including any rinsing instructions.
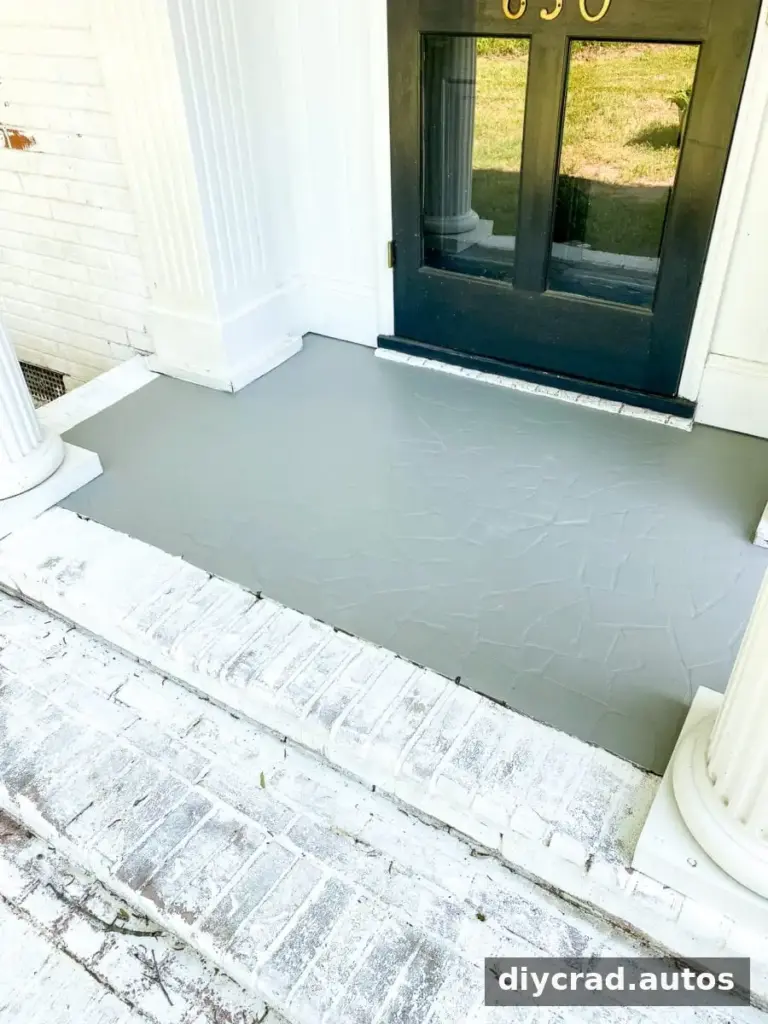
- Apply the base coat. Use a large angled brush to spread the gray porch and patio floor paint evenly. Allow it to dry according to the label. In this project, one coat provided the desired coverage, though results can vary with the surface and paint.
A solid base color can also work as a finished look if you prefer a simpler update. If adding a pattern, wait until the base coat is fully dry before positioning the stencil.
Stencil the Pattern
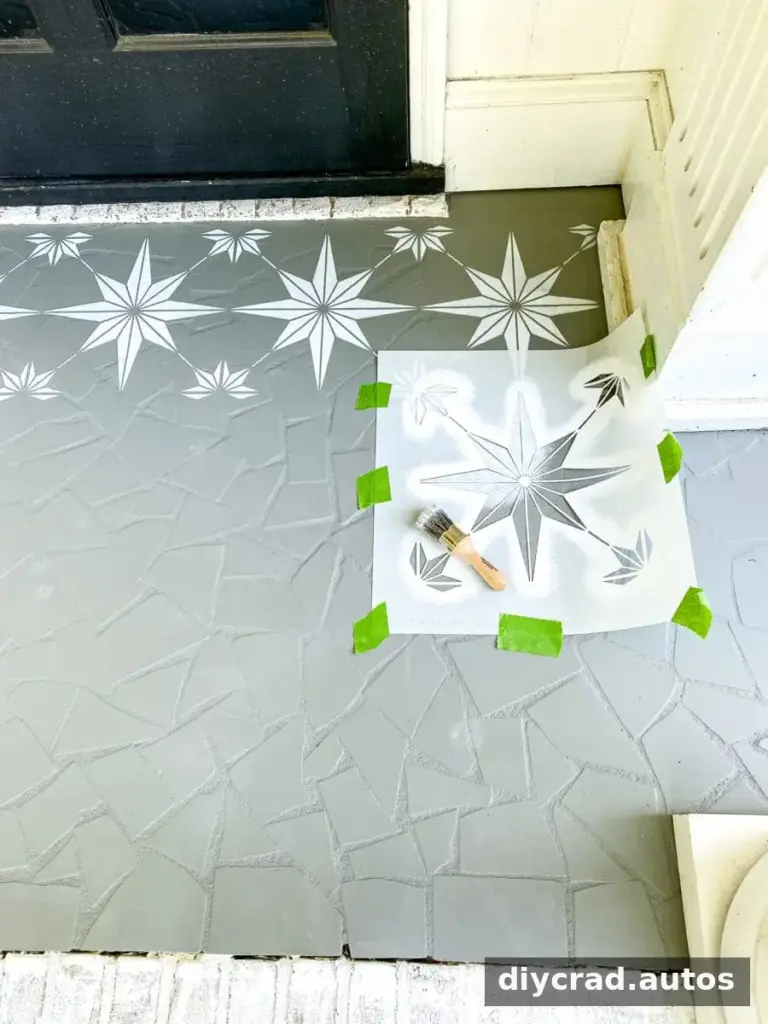
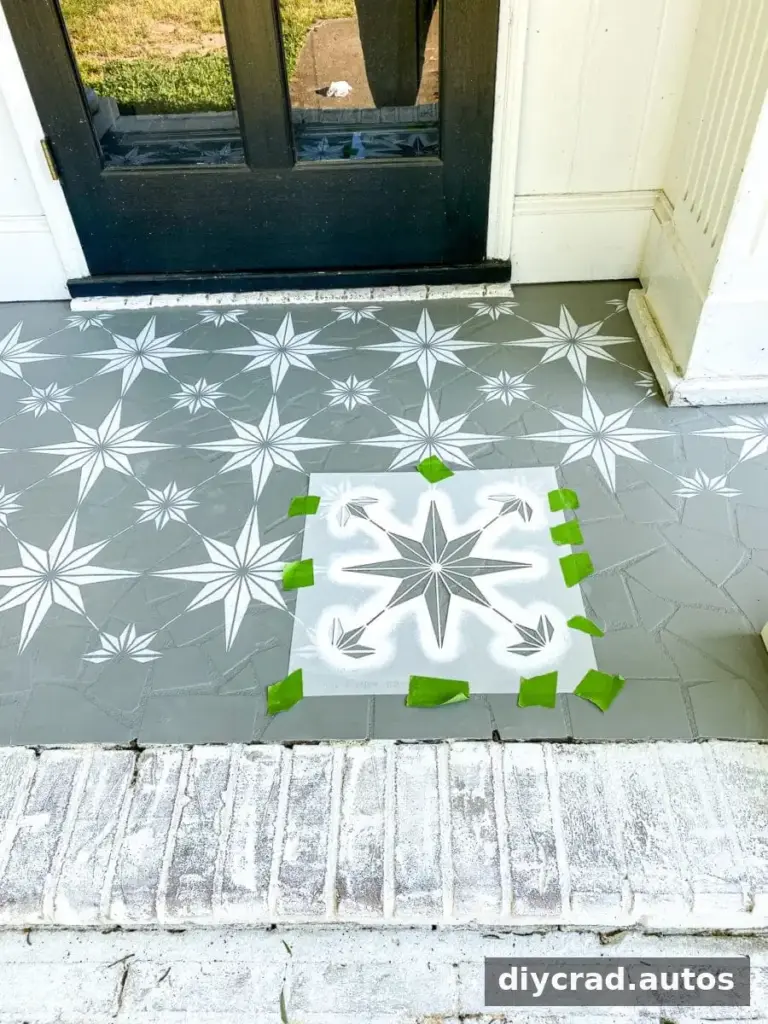
- Position the stencil. Center the design in relation to the doorway or another prominent feature, then secure the stencil with painter’s tape.
- Use a lightly loaded brush. Dip only the tips of the stencil-brush bristles into the paint. Dab off excess paint on paper towels set on a paper plate. Too much paint can seep beneath the stencil and blur the pattern.
- Pounce rather than brush. Apply paint with gentle up-and-down dabs. Keep the stencil flat against the floor while working to help create clean edges.
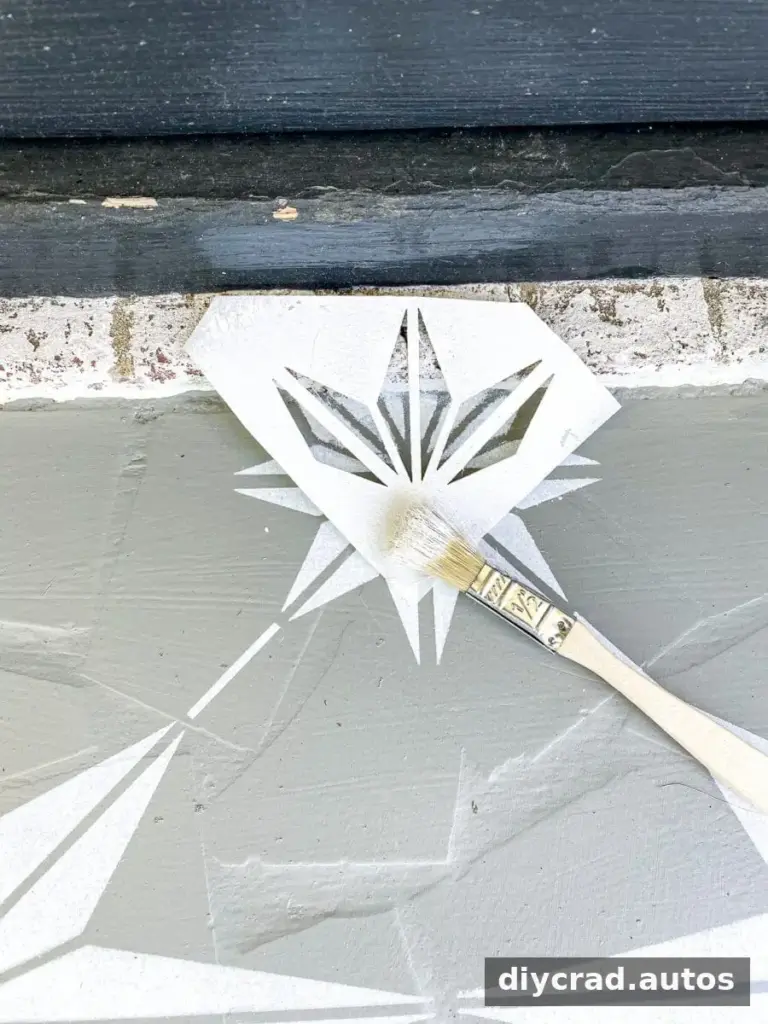
- Work around edges and corners. Carefully bend the stencil where needed. For hard-to-reach areas, cut the stencil into smaller sections with scissors and position each piece to fill the remaining gaps.
Seal and Allow the Finish to Cure
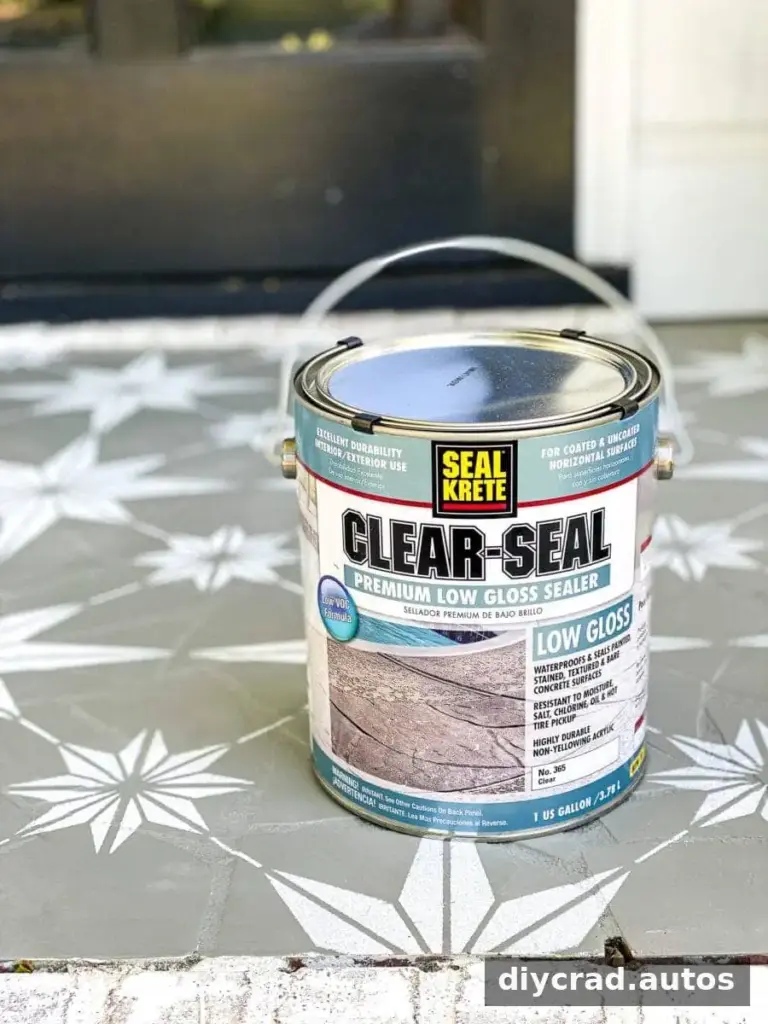
Once the patterned paint is completely dry, apply two coats of clear, low-gloss sealer, following the manufacturer’s directions for coverage and recoat timing. Leave the floor untouched for the recommended period; in this project, it was left to dry for 24 hours before foot traffic. Drying and curing times can differ depending on the product, temperature, and humidity, so check the label before walking on the surface.
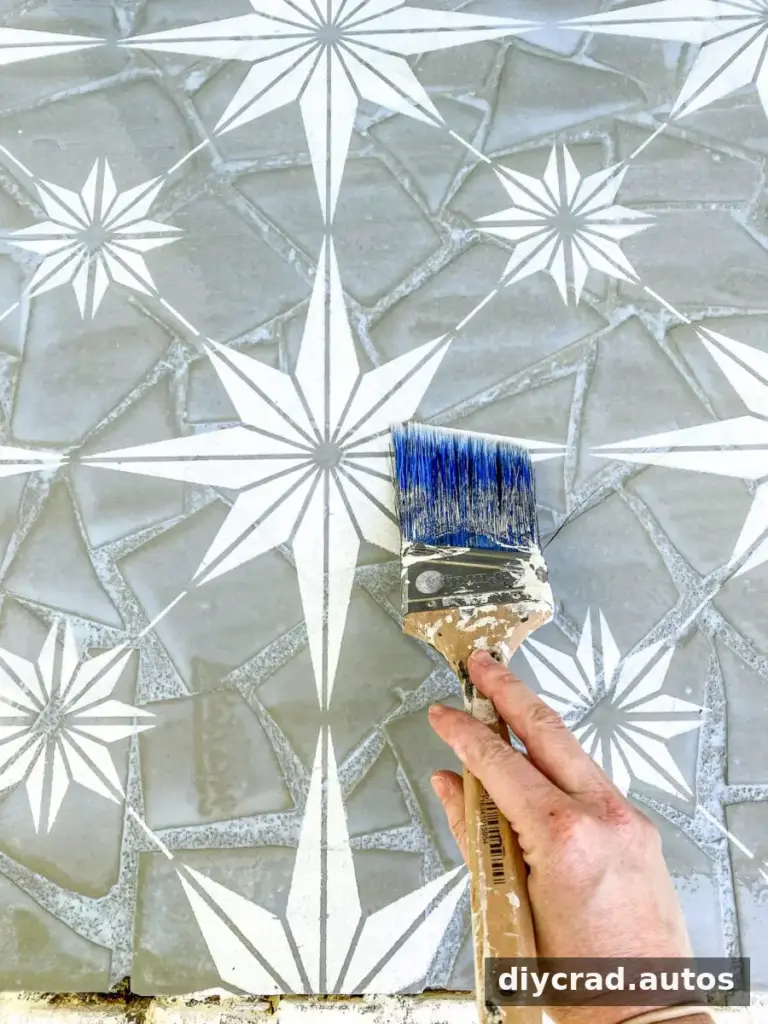
A well-prepared surface and careful, thin stencil applications help the design look crisp and stay in place. Avoid testing a new finish by scratching it while it is still curing, and take care not to drag furniture or planters across the porch once it is ready for use.
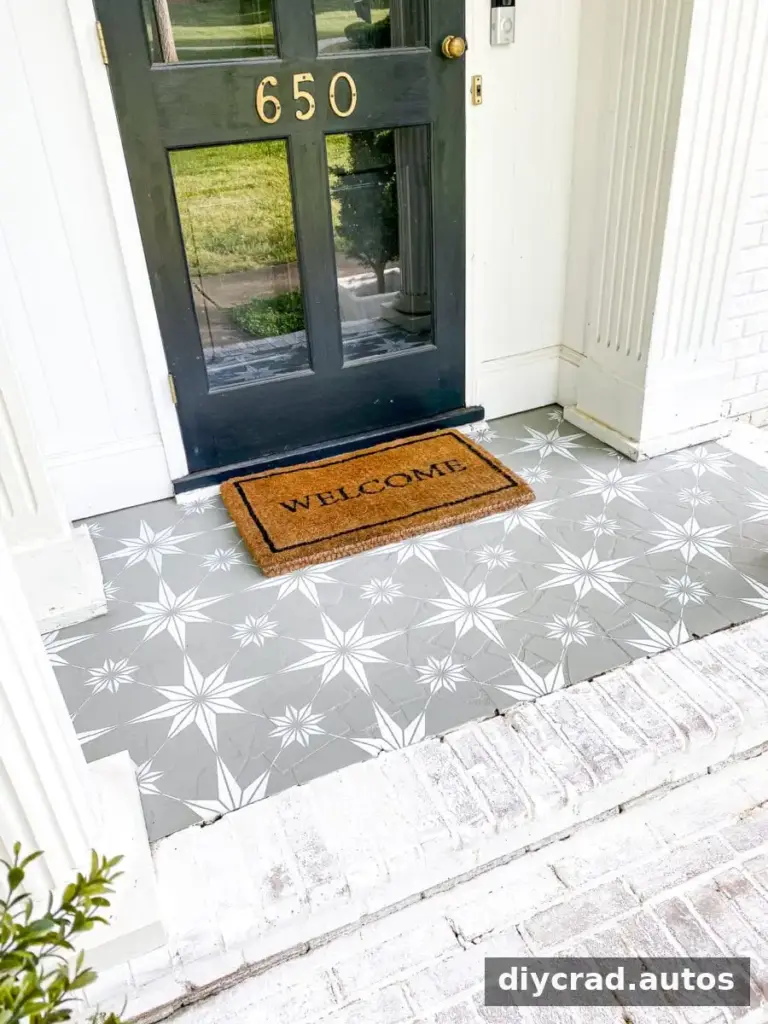
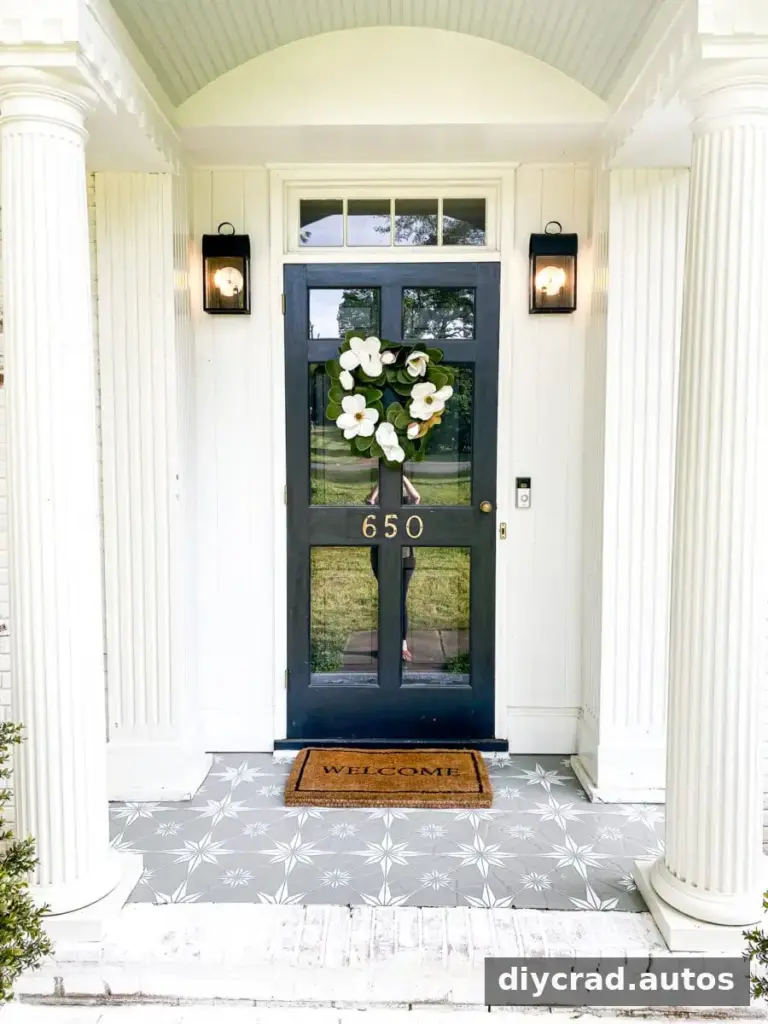
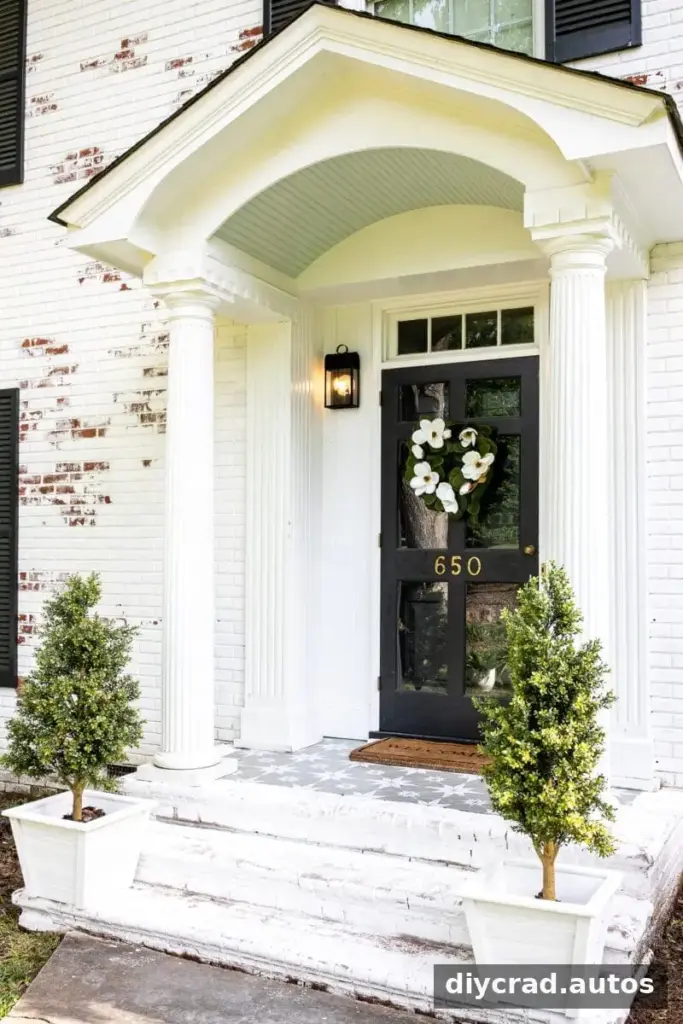

Finishing Touches for the Porch
The floor pattern can complement other porch details without requiring everything to match exactly. The surrounding decor included a Palladian Blue ceiling, porch lights, a magnolia wreath, a welcome mat, planter boxes, and boxwood trees. When arranging accessories, leave a clear walking path and use outdoor-suitable pieces that can handle the conditions on your porch.
For a lasting stencil-painted porch floor, start with a clean surface, choose coatings intended for floor use, keep paint off the stencil brush, and allow enough drying time between steps. These practical details help turn a plain porch into a more welcoming entry while protecting the finish from everyday foot traffic.