


A freezer paper stencil on fabric is a simple way to add a crisp design to a plain T-shirt or other washable textile without a screen-printing setup. With freezer paper, fabric paint, an iron, and a few basic tools, you can create a reusable-looking stencil for a small home project in a limited workspace. The key is to secure the paper smoothly and apply paint with a light dabbing motion to help prevent it from spreading beneath the edges.

How to make a freezer paper stencil on fabric
Before starting, gather freezer paper, a pre-washed fabric item, a pencil or pen, an X-Acto knife, a cutting mat, an iron, a stencil brush, and fabric paint. Choose a design with shapes that are easy to cut. Very fine details and narrow connections can be harder to handle, especially when lifting the stencil from the cutting surface.
Prepare and cut the design
- Draw the design: Sketch or trace the image onto the dull side of the freezer paper. Keep in mind that any lettering or directional design may need to be reversed before cutting so it appears correctly on the fabric.
- Cut the stencil: Place the paper on a cutting mat and carefully cut out the areas where you want paint to show. Use a sharp craft knife and cut away from your hands. Keep small internal pieces, sometimes called islands, if the design needs them.
For a first attempt, a bold, uncomplicated shape is often easiest to cut and paint. If you are making several copies, test the design on a scrap of paper first to check that the cutouts and remaining bridges hold together.
Attach the stencil and apply paint
- Position and iron: Place the stencil on the pre-washed T-shirt with the coated side facing the fabric. Iron on a cotton setting with no steam for about a minute, taking care to follow the garment’s care instructions. Make sure the edges lie flat so paint is less likely to seep underneath.
- Apply fabric paint: Use a stencil brush to dab paint onto the open areas. Apply it lightly rather than brushing back and forth across the stencil. Coat the surface two times, allowing the paint to look even without pressing hard against the paper edges.
- Let the paint dry and remove the stencil: Allow the paint to dry before carefully peeling away the freezer paper. Lift it slowly to avoid disturbing the painted design.
- Set the paint: Iron the painted area before washing, following the fabric-paint manufacturer’s instructions for heat setting and drying. Check the paint label for any additional waiting time or care guidance.
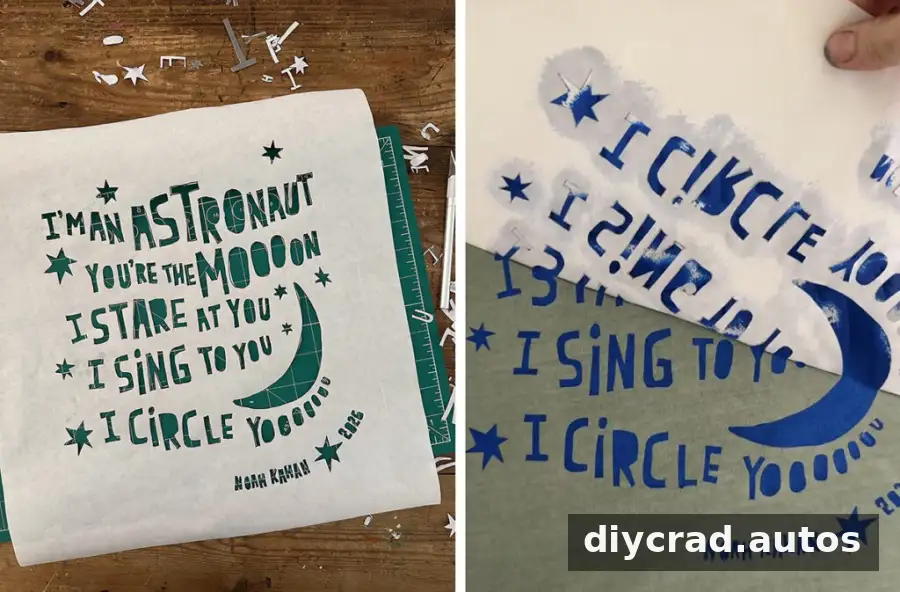
Process screenshot

Practical tips for a cleaner result
- Wash the fabric first: Pre-washing removes finishes that may interfere with paint adhesion. Avoid fabric softener if the product instructions advise against it.
- Protect the work surface: Put a barrier inside a T-shirt, such as cardboard or another suitable protective layer, to help keep paint from transferring to the back.
- Use a small amount of paint: Load the brush lightly and dab off excess before applying. Too much paint can seep under the stencil or leave a heavy, uneven finish.
- Test before committing: Try the paint and iron settings on a spare piece of similar fabric when possible. Fabric blends and paint products can respond differently to heat.
- Follow product directions: Drying, heat-setting, and washing requirements vary by fabric paint. The paint label is the best guide for when the finished item can be washed.
More fabric-printing ideas
Once you are comfortable making a freezer paper stencil on fabric, you can explore other simple printmaking methods. Each technique creates a different texture, so testing on a fabric scrap can help you choose the right approach for a project.
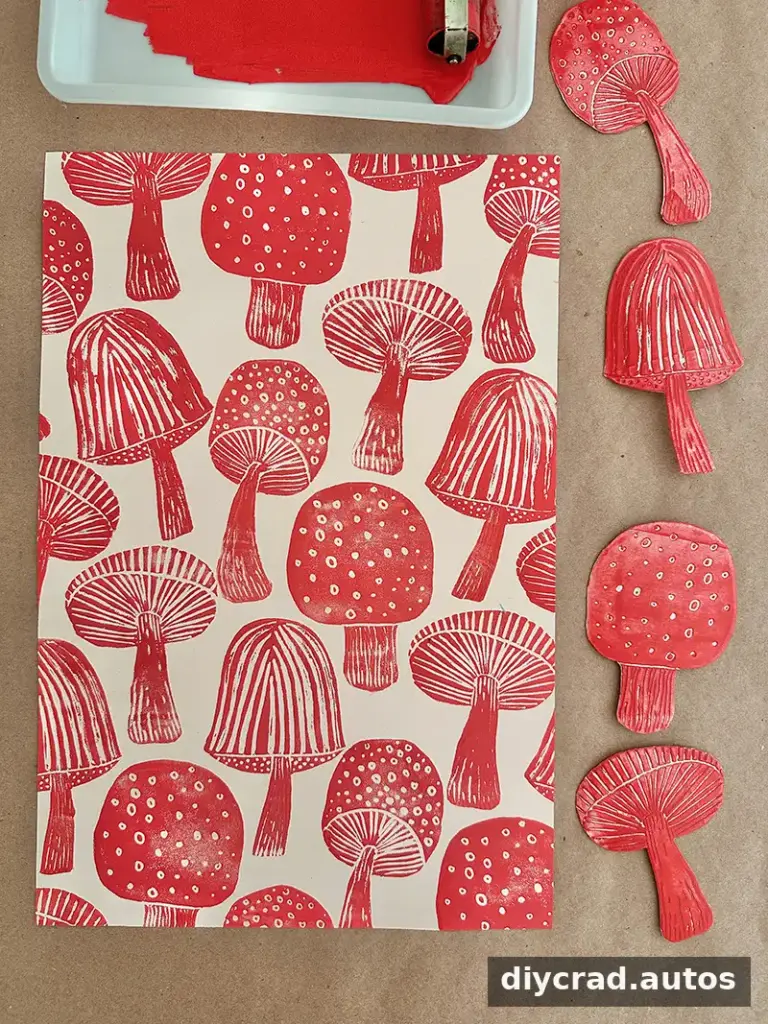
Mushroom Block Printing with Styrofoam
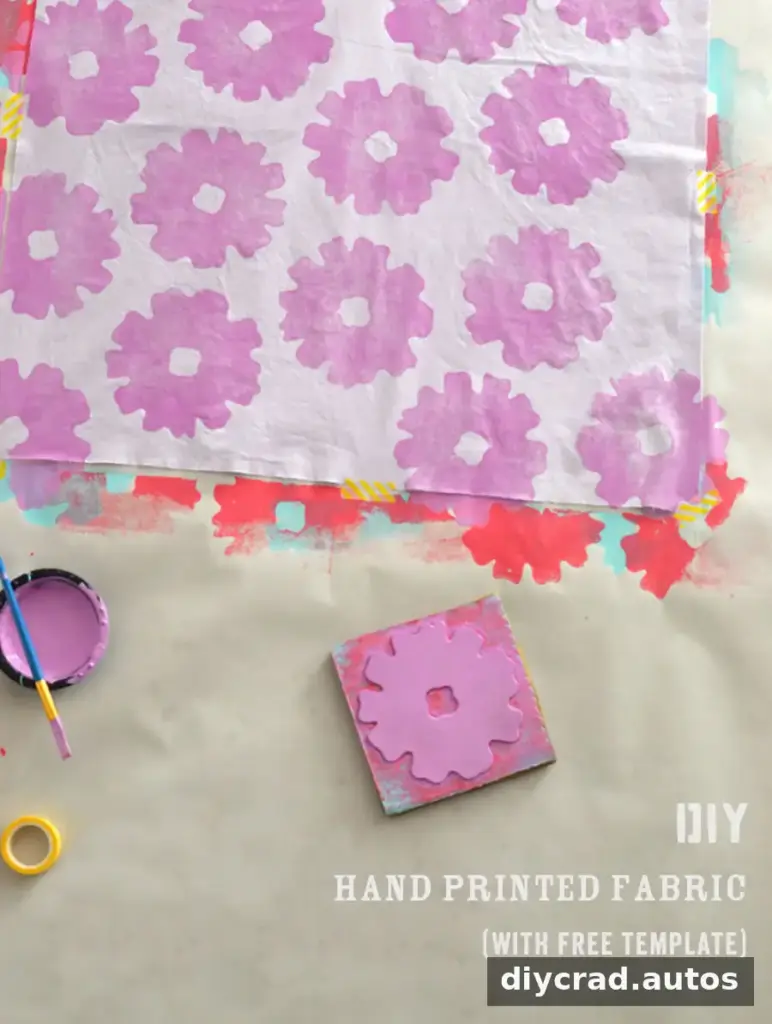
DIY Hand-Printed Fabric
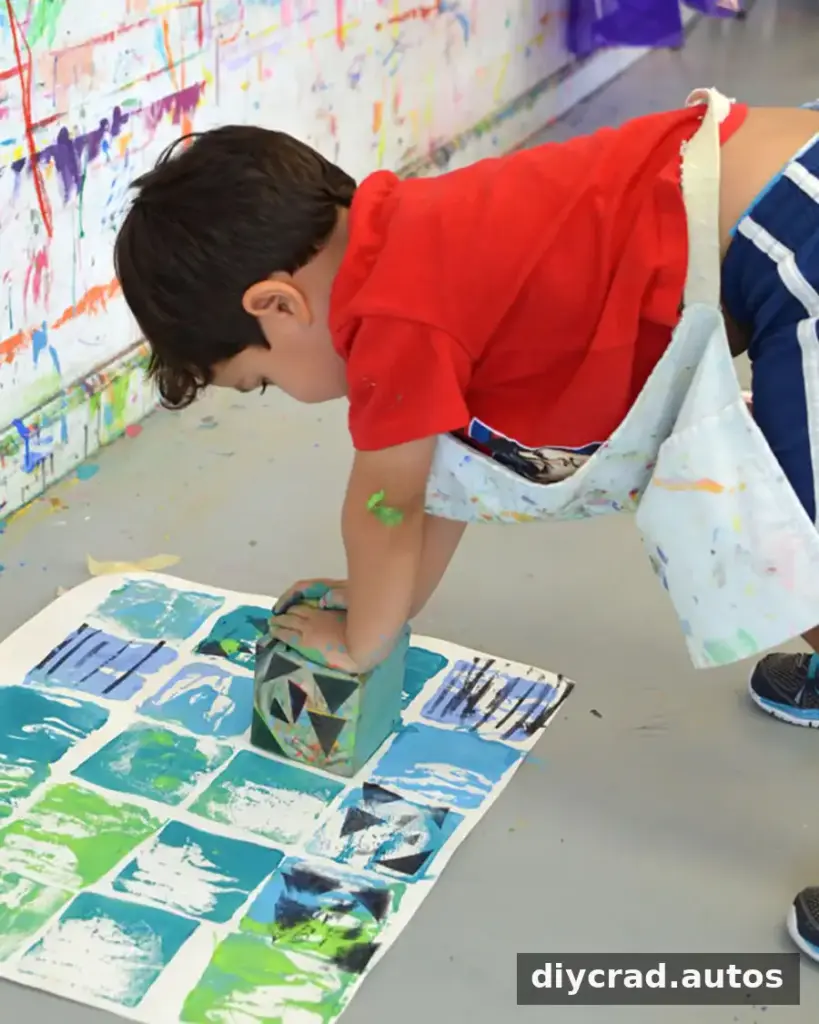
Printing with Wooden Blocks
Conclusion
A freezer paper stencil on fabric is an approachable way to customize clothing or other textiles with a defined painted design. Draw on the dull side, cut carefully, iron the stencil onto pre-washed fabric, and dab on two light coats of paint. Let the paint dry, remove the paper gently, and heat-set the design according to the paint instructions before washing.
By Bar

