

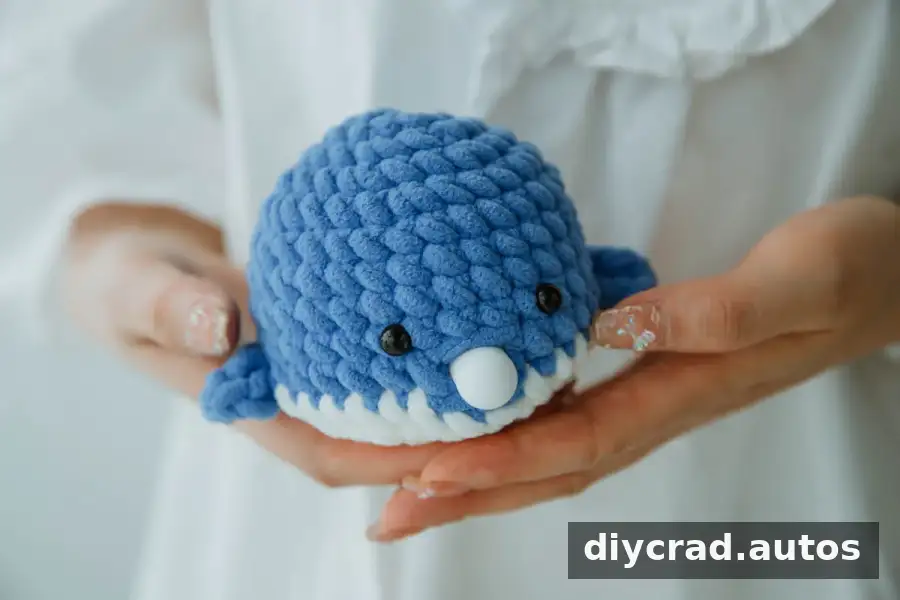
This crochet whale pattern walks you through making a small amigurumi whale using blue and white yarn, a 6 mm crochet hook, and a few basic supplies. The body includes increases, decreases, front-loop-only stitches, and small crocheted details, so the project is best suited to crocheters with some experience. Review the abbreviations and round instructions before you begin, and use a stitch marker to keep track of your work.
About This Amigurumi Whale
The whale is worked from a magic ring, shaped with increases and decreases, and finished with a white belly, fiberfill, a small bubble ball, and a pair of 8 mm eyes. The pattern uses US crochet terms. It does not specify a gauge or finished size, so the final dimensions will depend on the yarn and hook used.
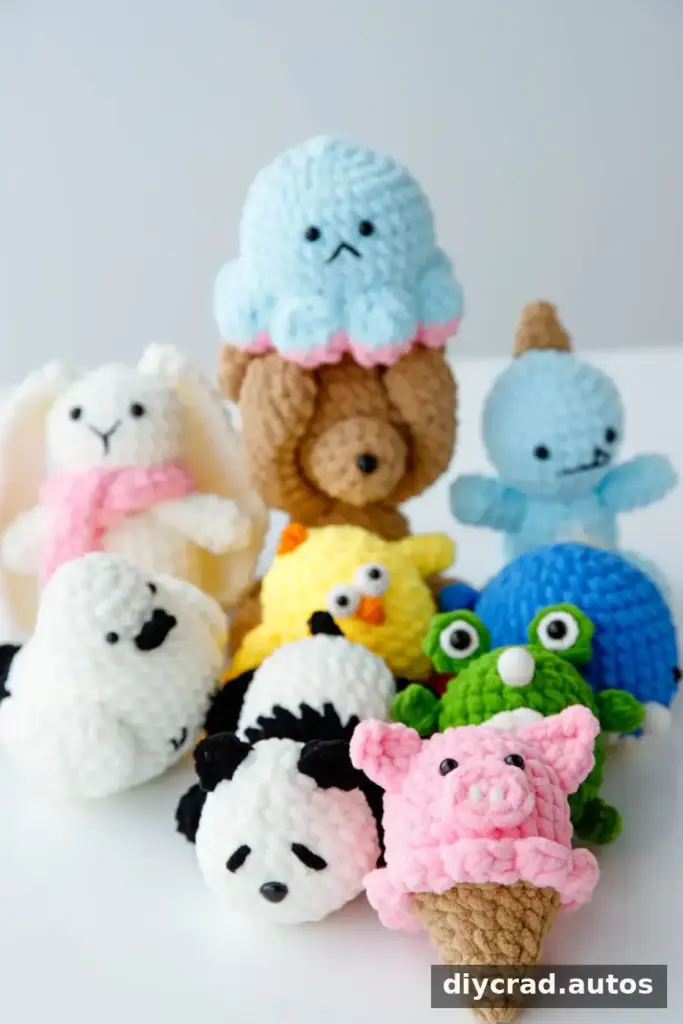
If you would like to make a set of crocheted animals, other patterns to explore include a pig, bear, dinosaur, chick, octopus, frog, rabbit, panda, or bird. Choose projects that match your skill level and check each pattern’s materials before starting.
Materials for the Crochet Whale
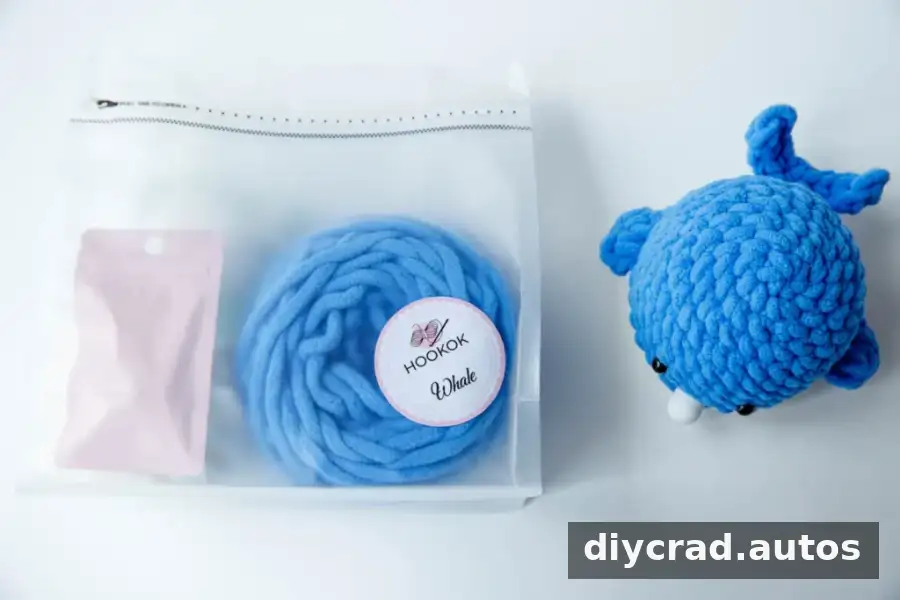
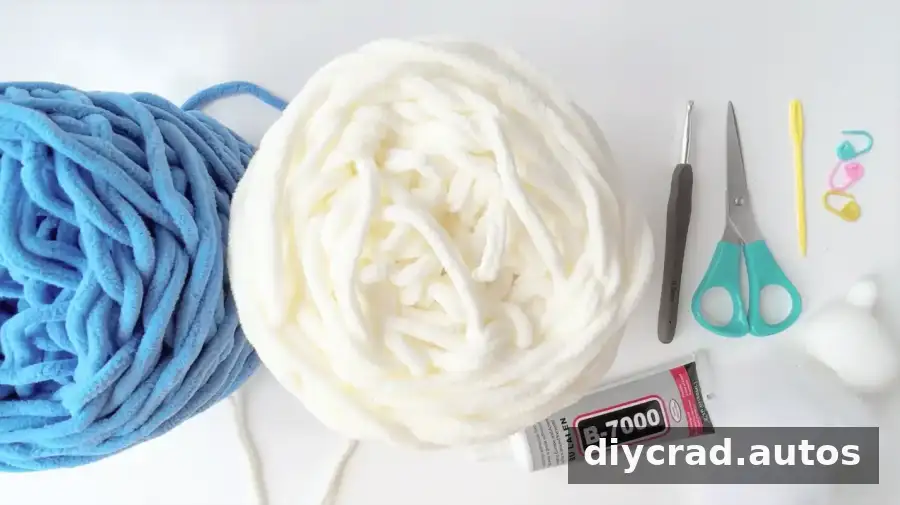
- Yarn in two colors: white and blue
- 6 mm crochet hook
- Darning needle
- Fiberfill
- Scissors
- Stitch marker
- Multi-purpose adhesive or hot melt adhesive
- One pair of 8 mm eyes
- One bubble ball
Before starting, check that your yarn, hook, and stuffing are ready. Keep the stitch marker nearby, as it helps identify the first stitch of each round. Use adhesive according to its packaging and allow it to dry fully before handling the finished whale.
Skill Level and Gauge
Difficulty: Intermediate. Most of the shaping uses single crochet, but the pattern also includes working in the front loops only and making single crochet two together. Round 10 requires careful attention to stitch placement and sequence. Crocheters who know the basic stitches can work through it by checking each instruction as they go.
No gauge is provided. Your finished whale’s size will vary with the yarn and hook you choose, as well as your personal tension. For consistent shaping, try to keep your stitches even throughout the project.
Stitches and Abbreviations
- ch: Chain
- sc: Single crochet
- ss: Slip stitch
- dc: Double crochet
- sk: Skip
- sc2tog: Single crochet two together
- FLO: Front loop only
Special Stitch Help
- Magic ring: Make an adjustable loop and crochet the starting stitches into its center. Pull the yarn tail to close the opening.
- Increase: Work two single crochet stitches into the same stitch. The pattern uses this method to expand the body.
- sc2tog: Insert the hook into the next stitch and pull up a loop, then repeat in the following stitch. Yarn over and draw through all three loops on the hook to complete the decrease.
- FLO: Insert the hook through the front loop only of the indicated stitch and complete the stitch as instructed.
- sk: Leave the indicated stitch unworked and continue with the next stitch specified.
Pattern Notes
- The pattern uses US crochet terms.
- The whale is described as being worked in continuous rounds. The round instructions also include a slip stitch and chain at the end of several rounds; follow the sequence given for each round and use a marker to track your place.
- Move the stitch marker to the first stitch as you progress.
- Take extra care with the stitch order in Round 10 and with the FLO sections.
- Additional notes are shown in italics in the pattern.
Step-by-Step Crochet Whale Pattern
Begin with the body using the blue yarn. Work the stitches in the order listed, checking your stitch count at the end of each round.
- Round 1: Start with 6 sc in a magic ring. 1 ss, 1 ch.
- Round 2: Make 2 sc in the next stitch; repeat 6 times. 1 ss, 1 ch.
- Round 3: Make 1 sc, then 2 sc in the next stitch; repeat 6 times. 1 ss, 1 ch.
- Round 4: Make 1 sc, 2 sc in the next stitch, then 1 sc in the next stitch; repeat 6 times. 1 ss, 1 ch.
- Round 5: Make 3 sc, then 2 sc in the next stitch; repeat 6 times. 1 ss, 1 ch.
- Rounds 6–9: Make 30 sc in each round. 1 ss, 1 ch.
- Round 10: Make 5 ch. Starting in the second chain from the hook, make 4 sc. Make another 5 ch and, starting in the second chain from the hook, make 4 sc. Make 1 ss, 1 ch, and 1 sc. Then make 5 sc in the next stitch.
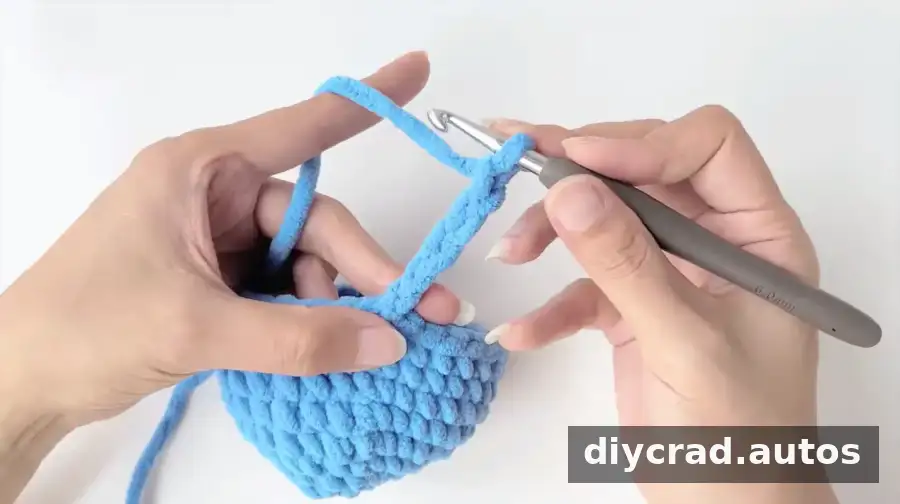
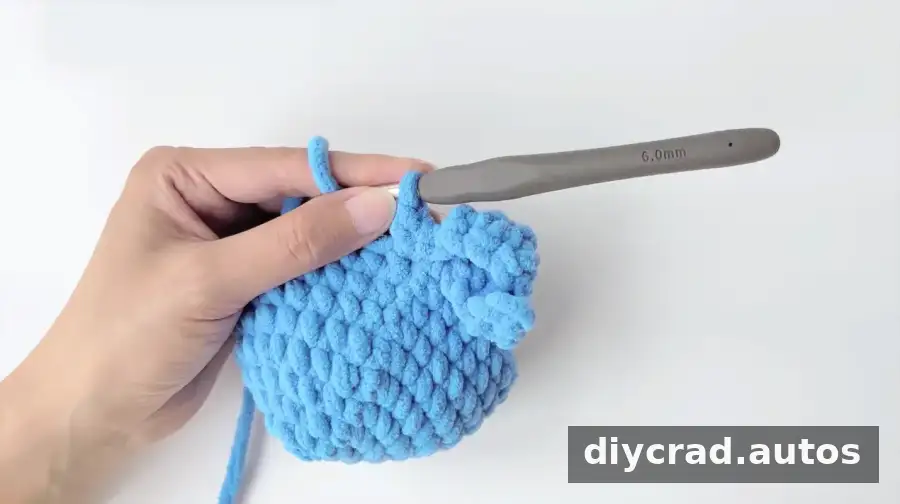
- Continue Round 10: Working in the front loops only, make 1 ss, 2 ch, and 1 dc in the same stitch. In the next stitch, make 1 dc, 2 ch, and 1 ss. For the normal-work section, make 6 sc, 2 ch, skip 2 stitches, and make 6 sc.
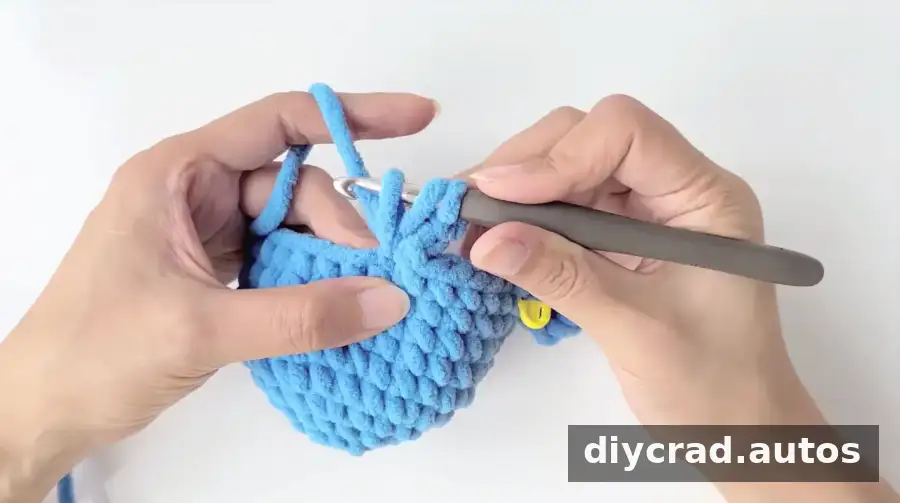
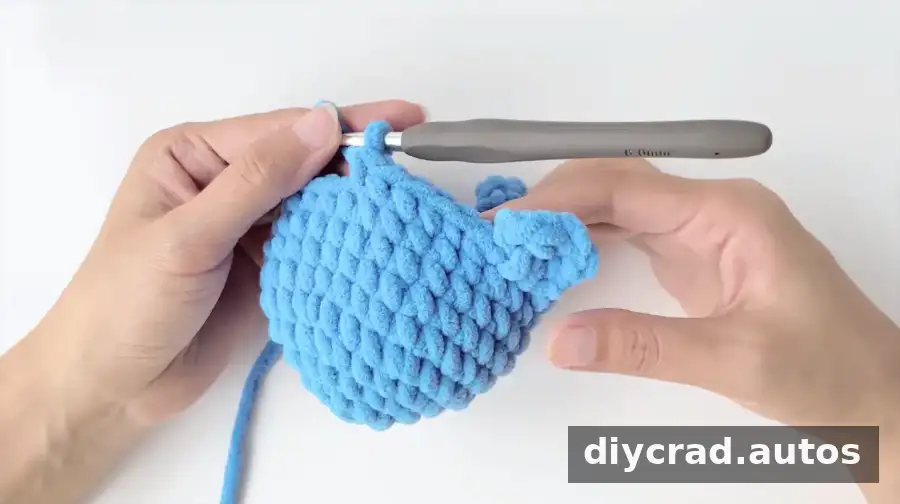
- Finish Round 10: Working in the front loops only, make 1 ss, 2 ch, and 1 dc in the same stitch. In the next stitch, make 1 dc, 2 ch, and 1 ss. For the normal-work section, make 6 sc.
Make the Whale’s Belly
Change to white yarn for the belly. Keep the color change neat, and make sure the yarn is secure before continuing.
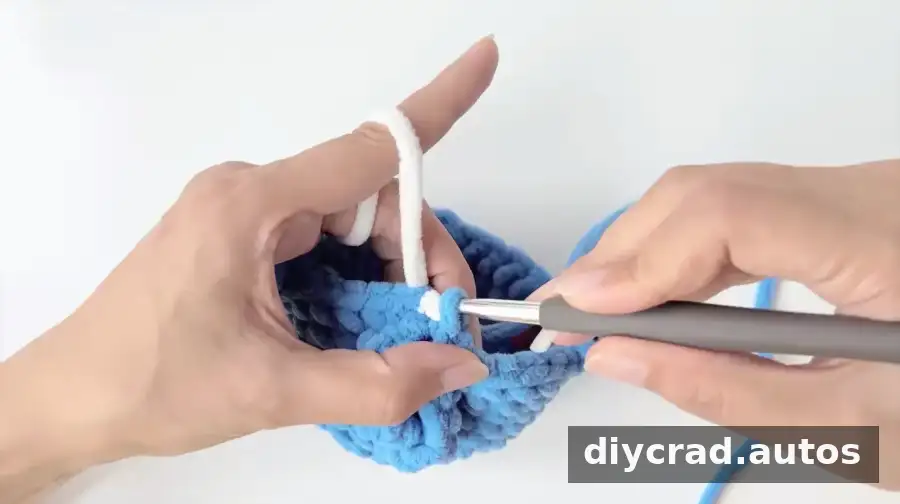
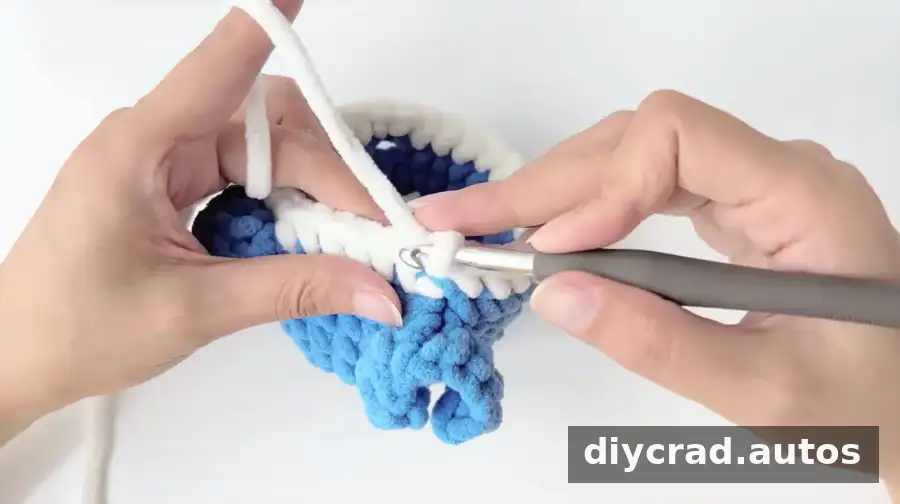
- Round 11: Change to white yarn and make 30 sc. 1 ss, 1 ch.
- Round 12: Repeat the sequence (3 sc, sc2tog) 6 times. 1 ss, 1 ch.
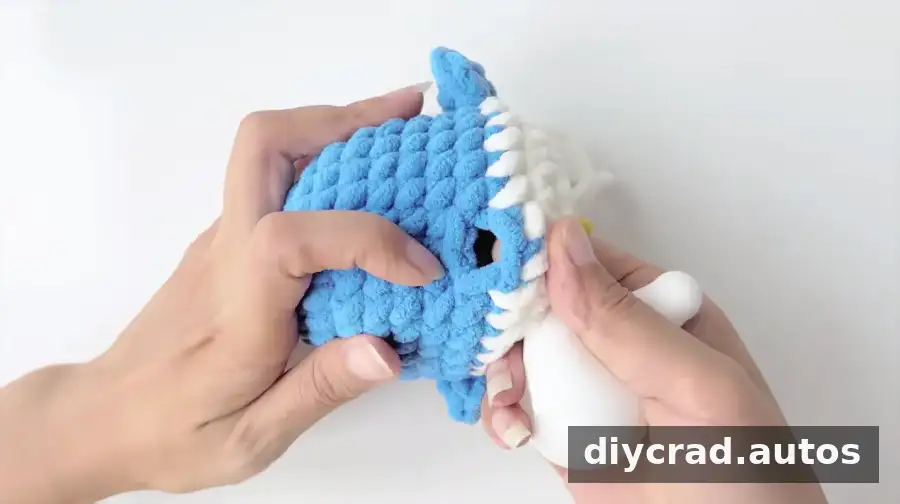
- Round 13: Repeat the sequence (1 sc, sc2tog, 1 sc) 6 times. 1 ss, 1 ch. Put in 1 bubble ball and pull the nose out.
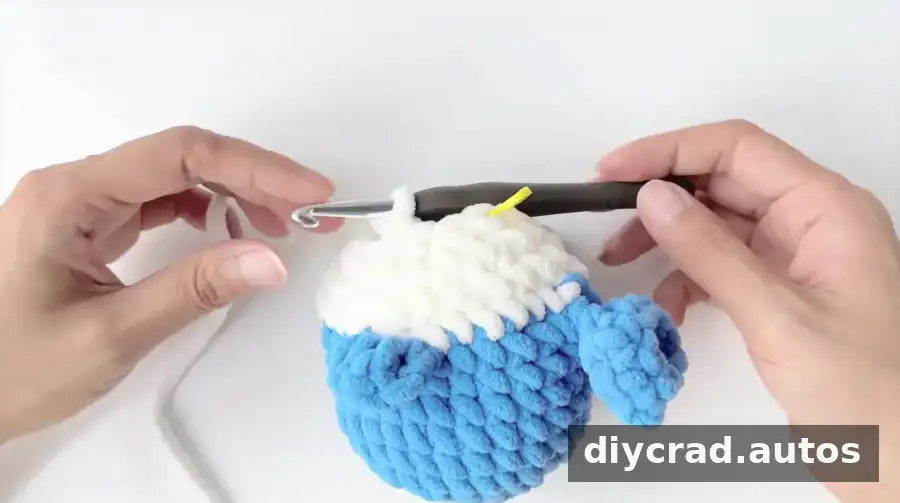
- Round 14: Repeat the sequence (1 sc, sc2tog) 6 times. Cut the yarn and leave a tail.
How to Assemble the Crochet Whale
- Add the filling and finish the opening: Put the nose and fiberfill inside before closing the whale. Use the yarn tail to finish the opening as needed, then weave in any remaining ends.
- Attach the eyes: Apply multi-purpose adhesive to the eyes and position them on the whale. Make sure both eyes are firmly attached and follow the adhesive’s safety and drying instructions.
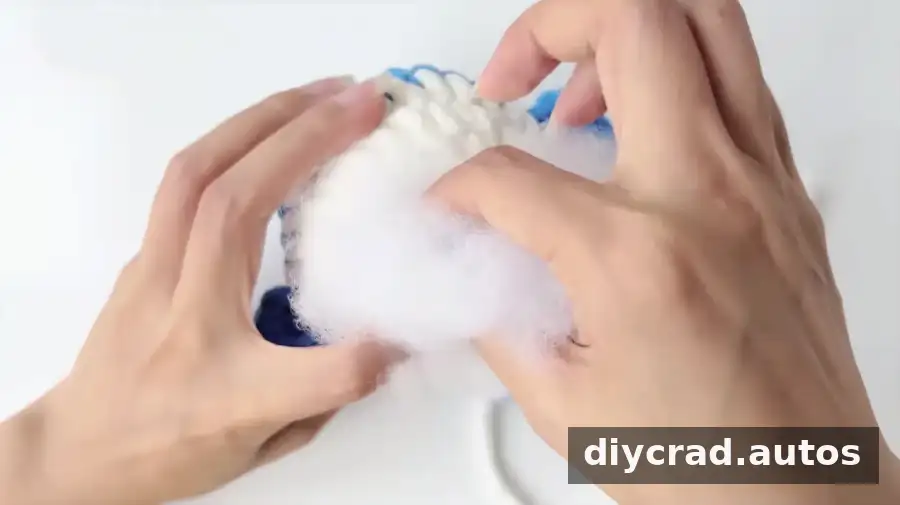
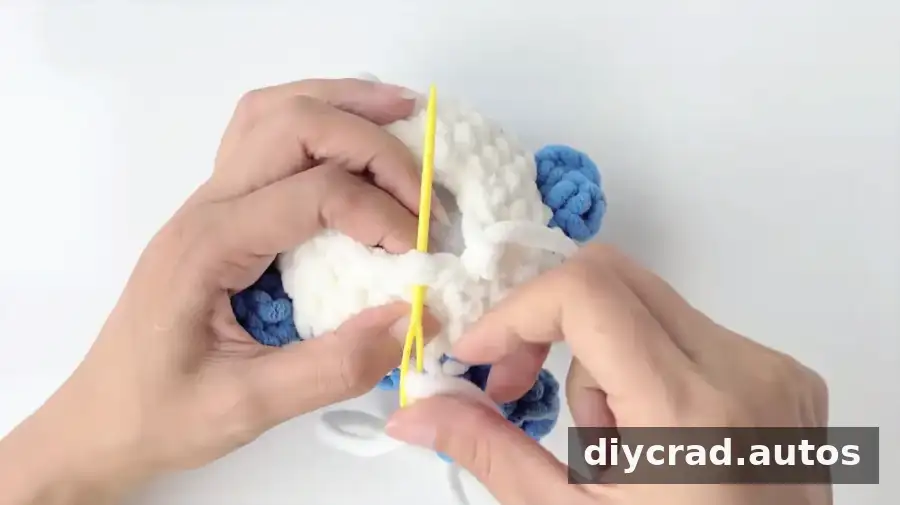
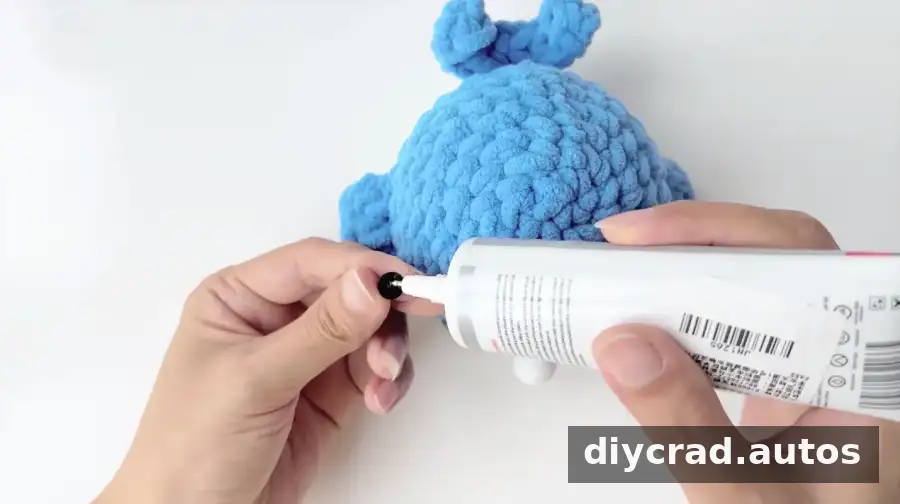
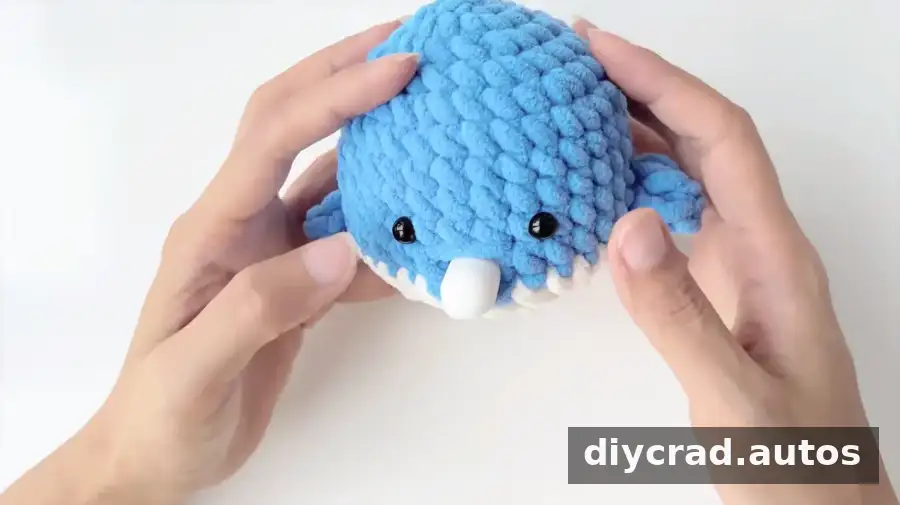
Check the whale’s shape and make sure the stuffing is distributed evenly. If the project is intended for a young child, take particular care that small parts and attached eyes are secure and suitable for the intended use.
Finishing Your Crochet Whale
Once assembly is complete, your crocheted whale can be displayed as a handmade decoration, added to an amigurumi collection, or given as a gift. The combination of simple shaping and small details makes it a useful project for practicing increases, decreases, and front-loop-only stitches.
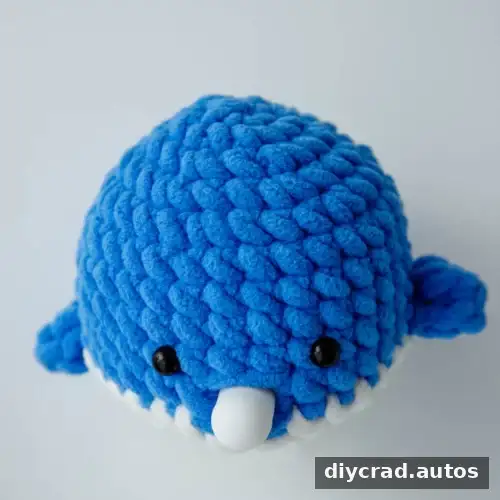
This crochet whale pattern provides the materials, abbreviations, and round-by-round instructions needed to make a small amigurumi sea creature. Work slowly through Round 10, use a stitch marker to stay on track, and remember that the finished size may vary because no gauge is specified.

