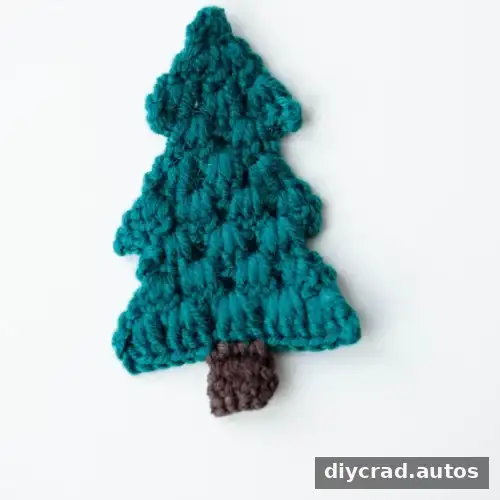
This crochet Christmas tree pattern makes a flat pine tree in classic green with a small brown trunk. It is designed for beginners and uses a short list of basic stitches. A step-by-step video tutorial is available for extra guidance, and the project can be completed in about 20 minutes.
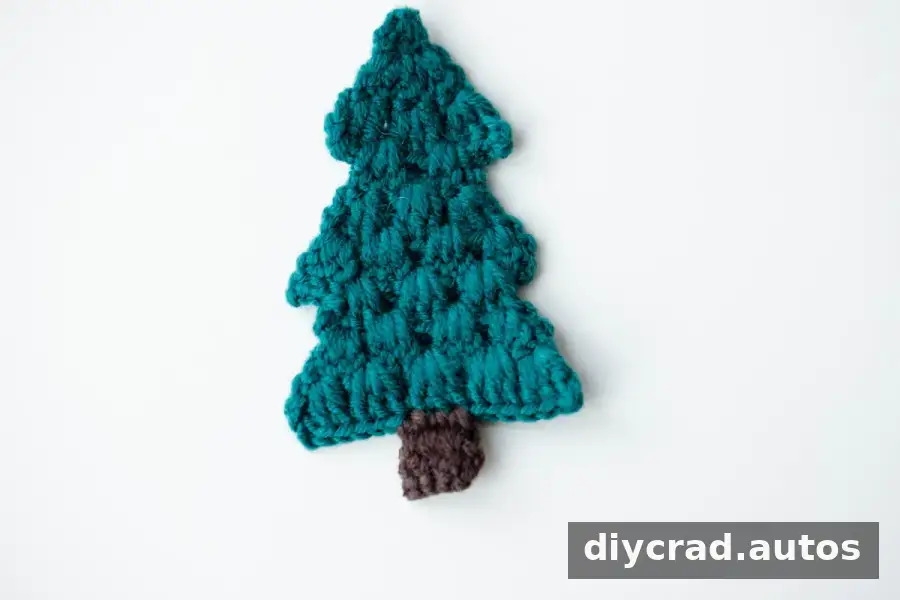
Use the finished tree as a small seasonal accessory or as an embellishment for other handmade items. The pattern is worked in US crochet terms; check the abbreviations below before starting, especially if you usually follow UK terminology.
Looking for other tree shapes or styles? The accompanying examples can offer ideas for a different look or for coordinating decorations.
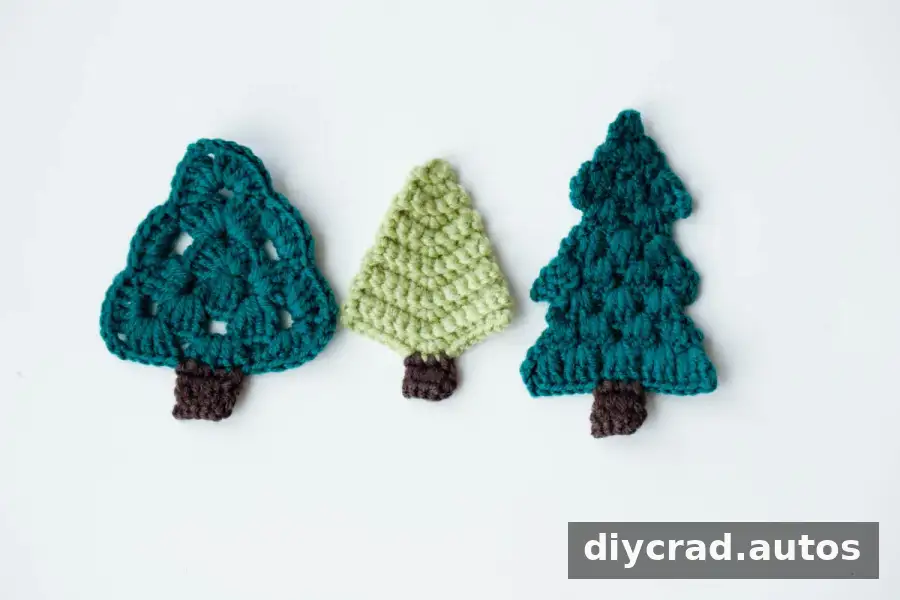
Ways to Use a Crochet Christmas Tree
This small crocheted tree can be made into a hairpin, brooch, bookmark, or Christmas decoration. It can also be sewn onto a garment, bag, or hat as an embellishment. Before attaching it to an item, weave in the yarn ends securely and choose an attachment method suited to the item’s intended use.
For a coordinated set, make several trees in the same colors. You can also vary the green yarn shade to suit your other decorations. The pattern itself uses green for the leafy section and brown for the trunk.
Pattern Notes and Materials
- The instructions use US crochet terms.
- A video tutorial is available for additional visual guidance.
- The project is described as easy and beginner friendly.
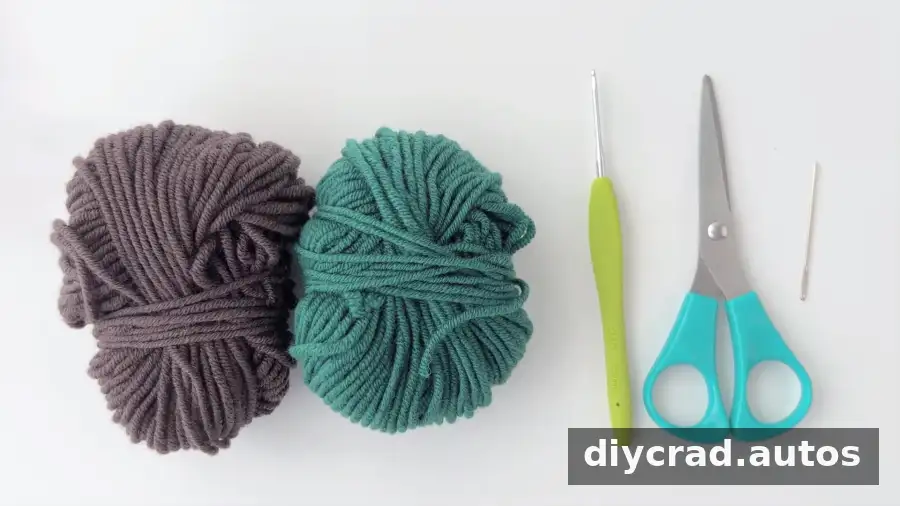
- Use green and brown yarn, a 2.0 mm hook, scissors, and a darning needle.
Have the materials ready before you begin. A darning needle is useful for securing the yarn ends when the tree is complete. If you are new to working a magic ring, review that technique first so you can begin the leafy section confidently.
Stitches and Abbreviations
- ss: slip stitch
- ch: chain stitch
- sc: single crochet
- dc: double crochet
Tip: In the instructions, “same st” means to work the listed stitches into the same stitch. Keep track of each row as you go; the repeated groups of stitches create the expanding tree shape.
How to Crochet the Christmas Tree
Leaf (green)
Begin with a magic ring. Work the following rows in order, turning where specified:
- R1: 3 ch, 2 dc
- R2: turn, (in the same st: 3 ch, 2 dc), 3 dc in the same st
- R3: turn, (in the same st: 3 ch, 2 dc), (3 dc in the same st) * 2 times
- R4: turn, 1 ch, 3 ss, (in the same st: 3 ch, 2 dc), 3 dc in the same st
- R5: turn, (in the same st: 3 ch, 2 dc), (3 dc in the same st) * 2 times
- R6: turn, (in the same st: 3 ch, 2 dc), (3 dc in the same st) * 3 times
- R7: turn, 1 ch, 3 ss, (in the same st: 3 ch, 2 dc), (3 dc in the same st) * 2 times
- R8: turn, (in the same st: 3 ch, 2 dc), (3 dc in the same st) * 3 times
- R9: turn, (in the same st: 3 ch, 2 dc), (3 dc in the same st) * 4 times, 1 ch
Pause after each row to check that the repeated stitch groups are placed as written. The chain spaces and stitch clusters form the stepped outline of the tree.
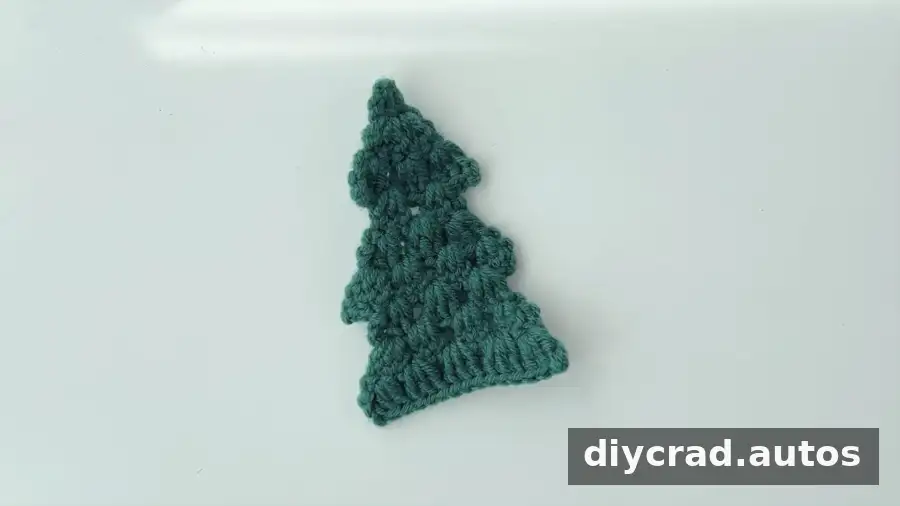
Trunk (brown)
Join or work with brown yarn in the middle of R9, then make the trunk as follows:
- In the middle of R9: 3 sc, turn, 3 ch, 3 dc, 1 ch
After completing the trunk, secure and weave in the ends with a darning needle. Take care not to pull the yarn so tightly that the flat shape puckers.
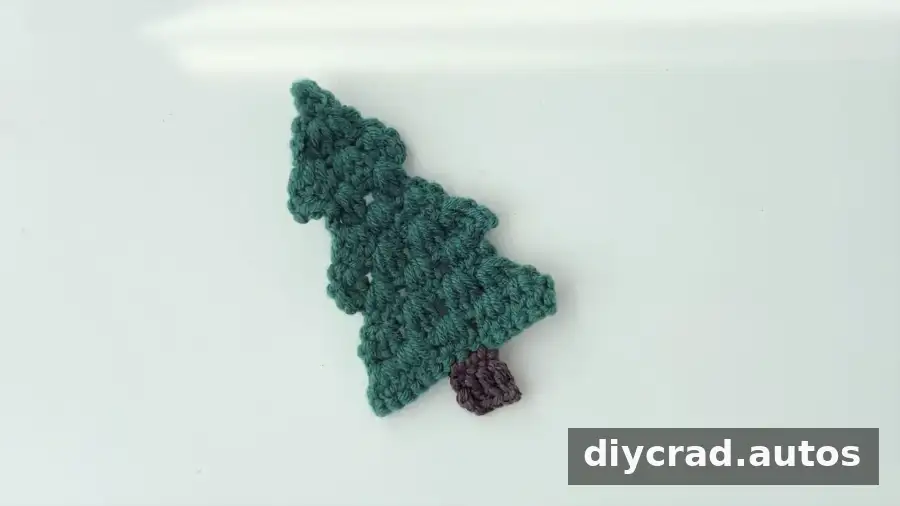
Finishing and Decorating
The crochet Christmas tree is complete once the trunk and finishing ends are secured. For a more colorful decoration, small red details can be added to complement the green and brown. If adding embellishments, attach them firmly and consider the intended use of the finished piece.
This crochet Christmas tree pattern is a quick project for seasonal decorating, handmade accessories, or embellishments for larger crochet makes. Keep the stitch abbreviations nearby while working, and use the video tutorial if you would like to see the steps demonstrated.