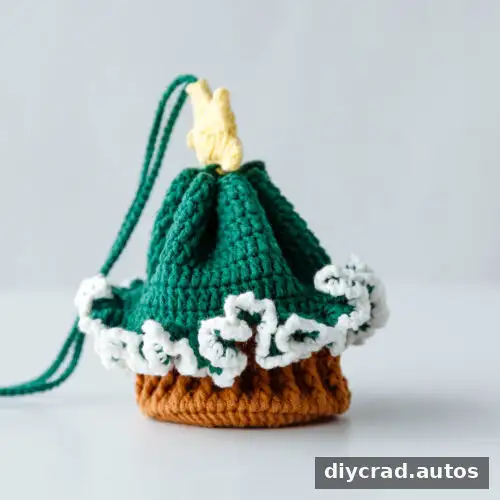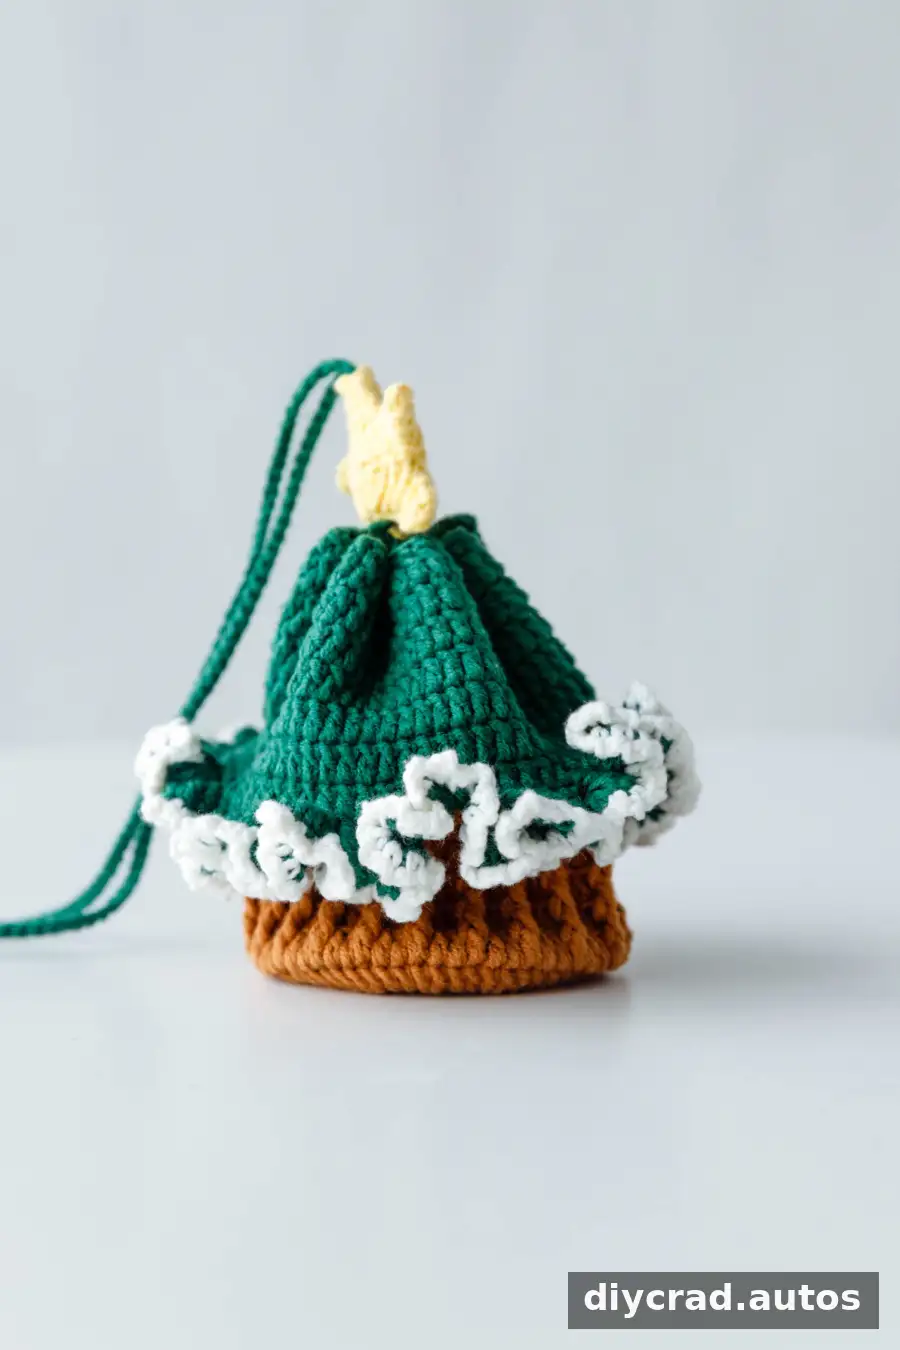
This Crochet Christmas Tree Mini Bag is a festive little project for making a handmade seasonal accessory or a small pouch for candies and tiny gifts. The instructions use US crochet terms and include the materials, stitch abbreviations, and steps for the tree-shaped bag, decorative edging, drawstring, and star. Read through the pattern before starting, and use a stitch marker to keep track of each round.
About the Crochet Christmas Tree Mini Bag
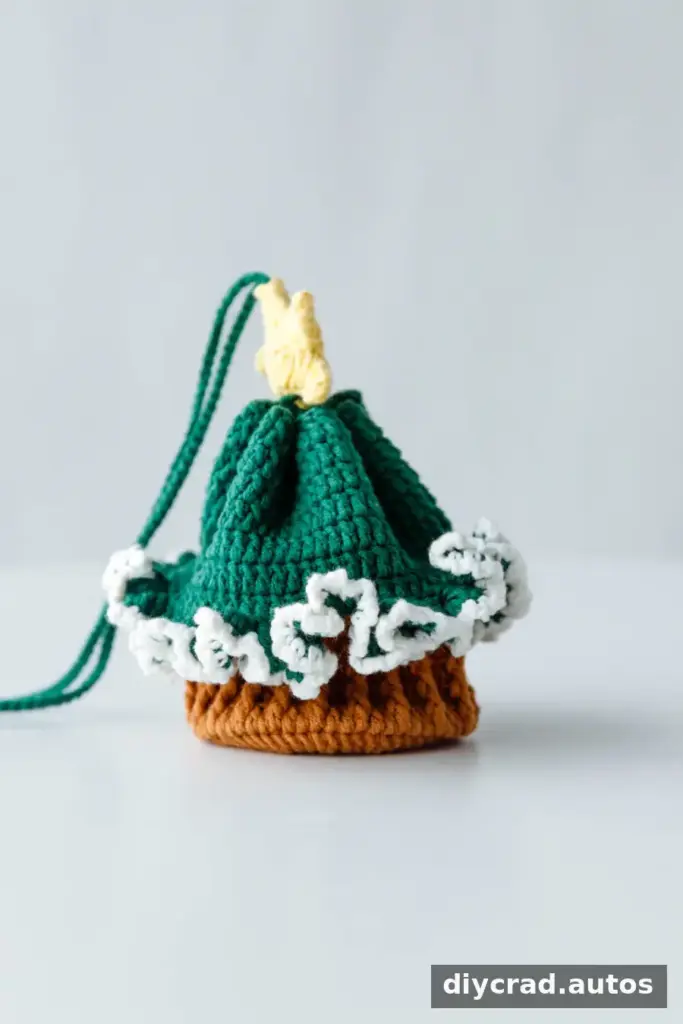
The bag is worked in rounds, beginning with the brown tree stump and continuing with the green body. A drawstring closes the opening, while green and white yarn create decorative lace. The finished star adds a final seasonal detail. This project is listed at an intermediate difficulty level, so familiarity with basic stitches and working in rounds will be helpful.
For more holiday crochet inspiration, you could also explore patterns for a crochet Christmas flower, a Christmas wreath, or a crochet snowflake.
Materials and Equipment
Gather the supplies before beginning so you can change yarn colors and finish the details without interrupting your work.
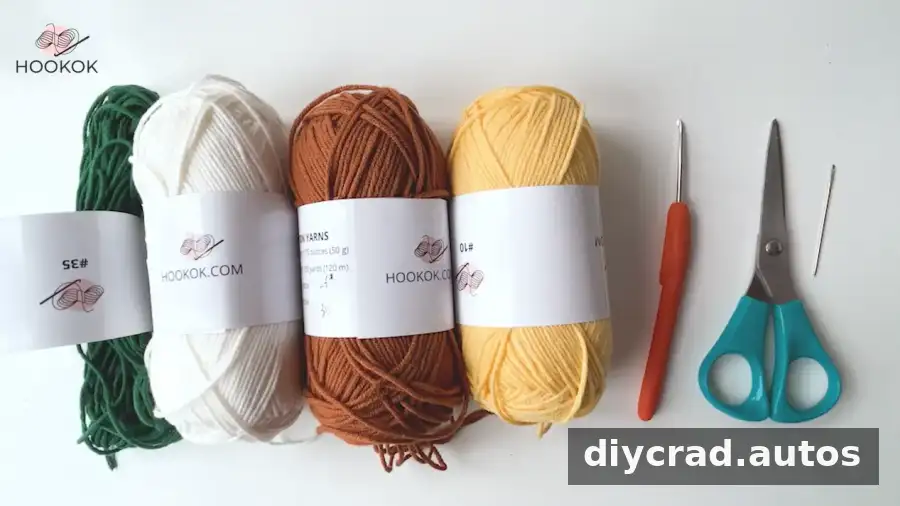
- Yarn in white, Christmas green, brown, and yellow
- 2.0 mm crochet hook
- Scissors
- Darning needle
- Stitch marker
- Hot-melt glue
Use the stitch marker at the beginning of each round. Take care when handling hot-melt glue, and follow the product’s safety directions.
Stitches and Abbreviations
- ch: chain stitch
- dc: double crochet
- sc: single crochet
- hdc: half double crochet
- tr: treble crochet
- flo: front loops only
- blo: back loops only
- fpdc: front post double crochet
- ss: slip stitch
- sk: skip
- R1, R2, R3, and so on: Round 1, Round 2, Round 3, and so on
Special Stitch Techniques
- Flo: Work into the front loop only, leaving the back loop unworked.
- Blo: Work into the back loop only, leaving the front loop unworked.
- Fpdc: Make a double crochet around the post of the stitch below instead of working into its top loops.
Pattern Notes
- The pattern uses US crochet terminology.
- Slip stitches and chain stitches do not count toward the stitch total.
- Mark the beginning of each round and check the stated stitch counts as you work.
- Fasten off and weave in yarn ends where the instructions indicate.
How to Crochet the Christmas Tree Mini Bag
Tree Stump
Begin with a magic ring. The stump is worked in brown yarn.
- R1: Ch 3, work 15 dc into the ring, then ss into the first stitch. [12]
- R2: Ch 3. After the first set, work 2 dc in the next stitch and repeat 14 times. Join with ss to the first stitch. [30]
- R3: Ch 3. After the first set, repeat 1 dc, 2 dc in the next stitch 14 times. Join with ss to the first stitch. [45]
- R4: Ch 3. After the first set, repeat 2 dc, 2 dc in the next stitch 14 times. Join with ss to the first stitch. [60]
- R5: Ch 3 and work 60 dc in flo. Join with ss to the first stitch. [60]
- R6–R11: Ch 3. After the first set, repeat 2 blo dc, 1 fpdc 19 times. Join with ss to the first stitch.
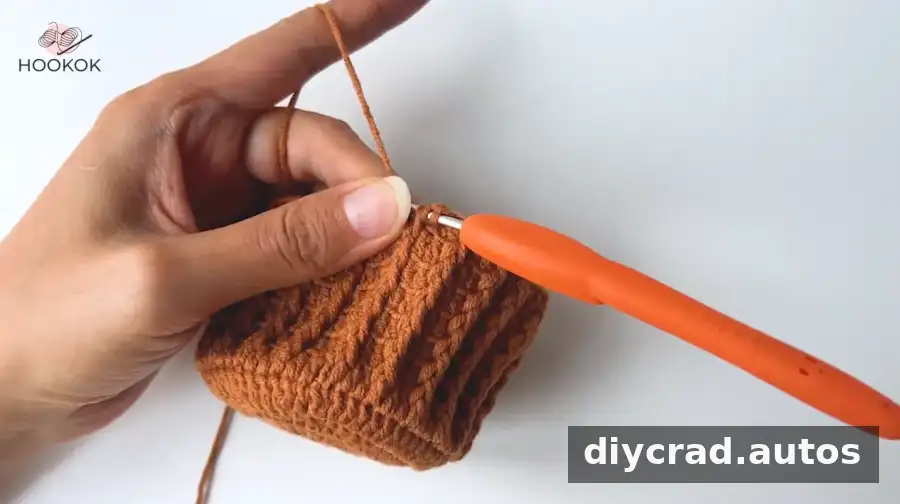
Tree Body
- R12–R19: Change to green yarn and work 60 dc. Join with ss to the first stitch, then ch 1.
- R20: After the first set, repeat 5 sc, ch 1, sk 1 nine times. Fasten off and weave in the end.
The chain spaces in R20 form openings for the drawstring. Keep them unobstructed when weaving in the yarn end.

Drawstring
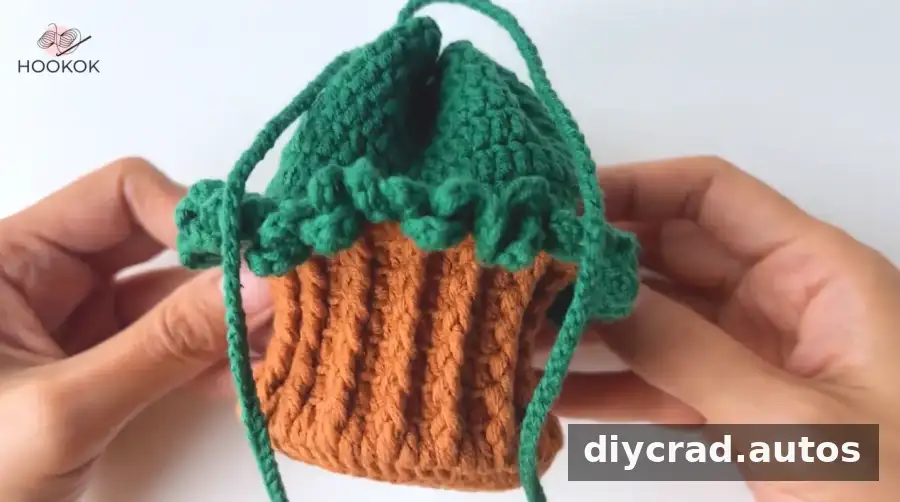
- Make a chain of 200 stitches to create the drawstring. Thread it through the openings in R20 to close the bag.
Green Lace
- Work into R12 of the tree body. In the same stitch, make ch 2 and 3 dc, then ss in the next stitch. Repeat this sequence 59 times. Finish with ch 1, fasten off, and weave in the ends.
White Lace
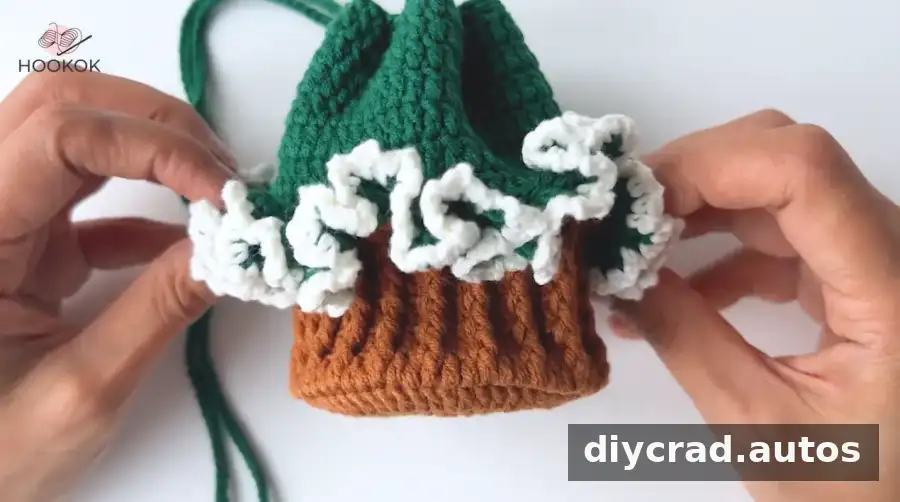
- Join the white yarn. Work 1 sc and ch 2 in the same stitch, then continue around. Fasten off and weave in the ends.
Star
- Begin with a magic ring.
- R1: Ch 3, work 15 dc into the ring, and ss into the first stitch.
- R2: After the first set, ch 6. Starting in the third chain from the hook, work 1 sc, 1 hdc, 1 dc, and 1 tr. Sk 2 stitches and ss in the next stitch. Repeat the sequence four times.
- Follow the same steps to make the other side of the star.
Assemble and Finish
- Insert the green lace between the crocheted star, then finish weaving the star.
- Trim the remaining yarn ends neatly so the finished decoration looks tidy.
Before using the bag, check that the drawstring slides through the top openings and that all ends are securely woven in.
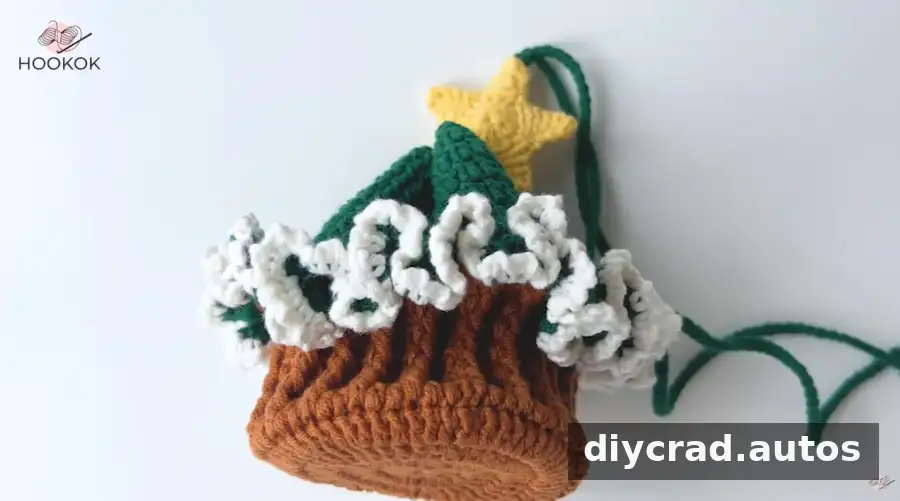
The accompanying video provides a visual walkthrough of the Crochet Christmas Tree Mini Bag pattern.
Finishing Tips and Conclusion
Work at a steady pace and check each round before moving on, especially when changing from the stump to the tree body. If a count does not match, pause and review the stitches in that round rather than carrying a possible error forward. The pattern’s first stump round states both 15 double crochet and a count of [12]; these details appear inconsistent, so verify the intended count before beginning or publishing the instructions.
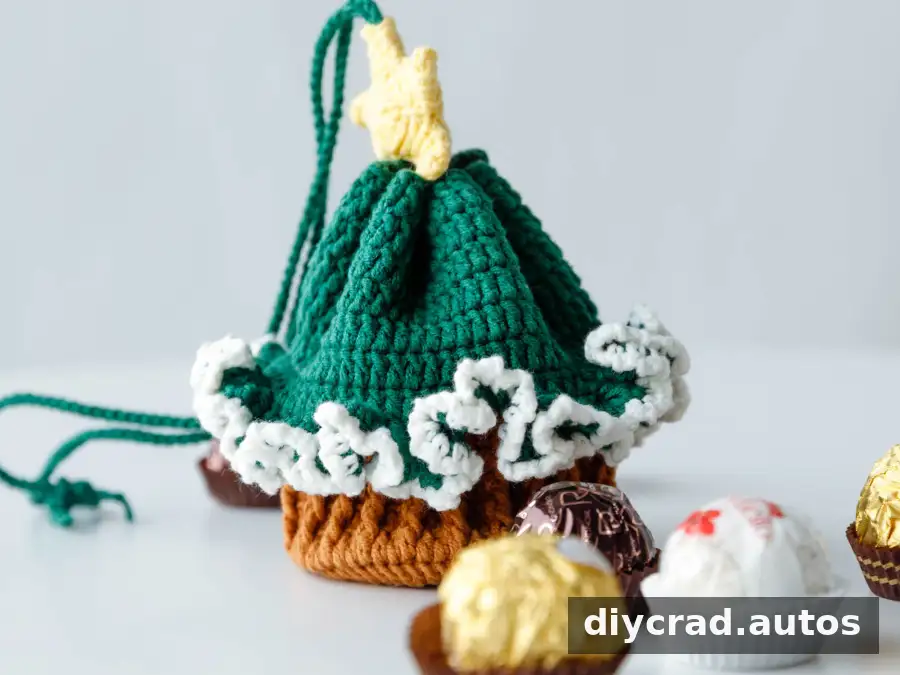
Once complete, this Crochet Christmas Tree Mini Bag can hold candies or small toys as a little seasonal gift. Keep the finished bag’s size in mind when choosing what to put inside, and ensure the drawstring is secure before gifting it.