

This Crochet Dahlia Flower pattern creates a dimensional bloom with layered petals, wired leaves, and a stem. The project takes several rounds and uses a mix of basic stitches and Afghan stitch, so it is best suited to crocheters who are comfortable following detailed instructions. Use the video guides alongside the written pattern if you would like extra help with the petal construction or assembly.
About the Crochet Dahlia Flower
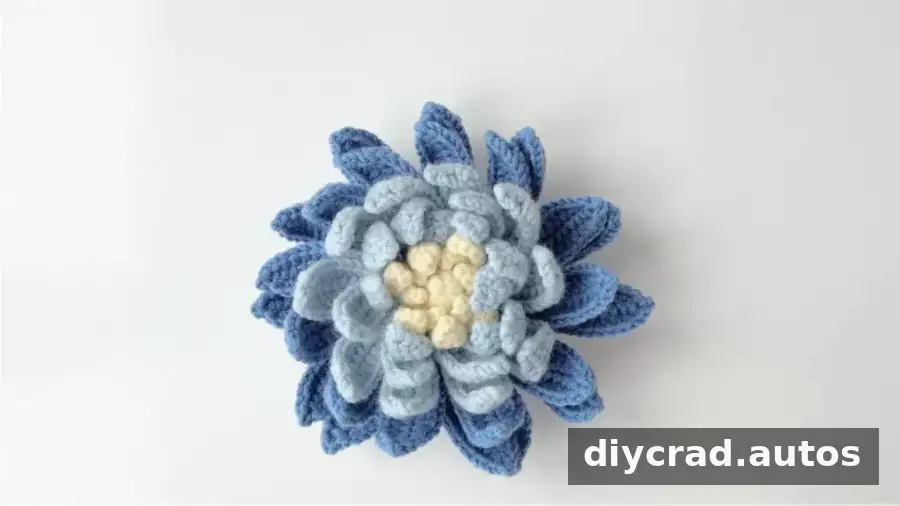
The flower is built in layers, with each round adding petals and texture to create its full shape. Color changes help distinguish the petal layers, while the finished leaves and stem make the dahlia suitable for a standalone display or a handmade bouquet.
Try pale blue, pink, green, or yellow for different looks. A dahlia can be used as a decorative accent at home or in an office, or given as a handmade gift. For a rustic or boho-inspired arrangement, combine it with greenery such as ruscus, eucalyptus, or olive branches. When selecting yarn colors, lay them together before starting to check that the shades work well as a group.
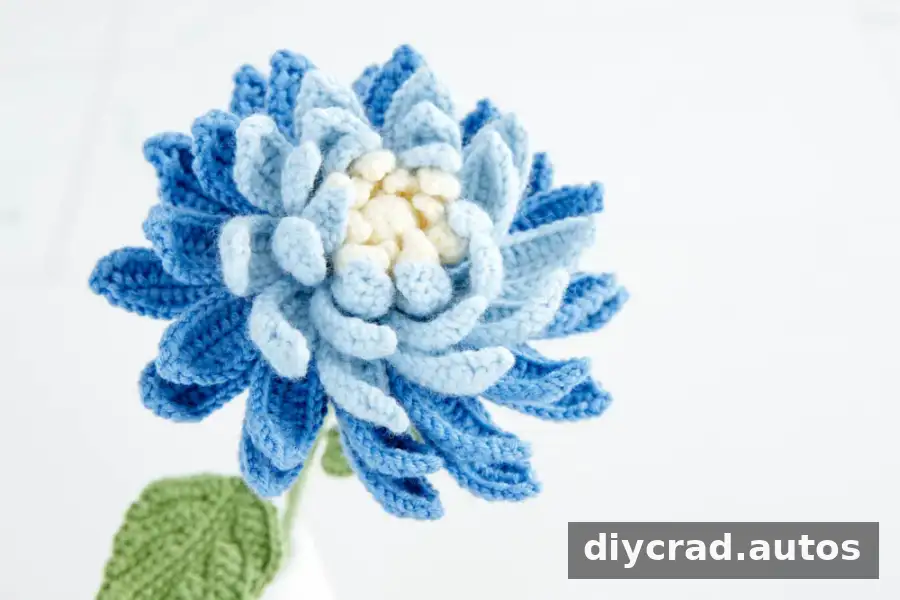
The flower can serve as the main bloom in an arrangement. Pair it with foliage such as leather fern or tweedier, or combine it with other flowers for a fuller bouquet.
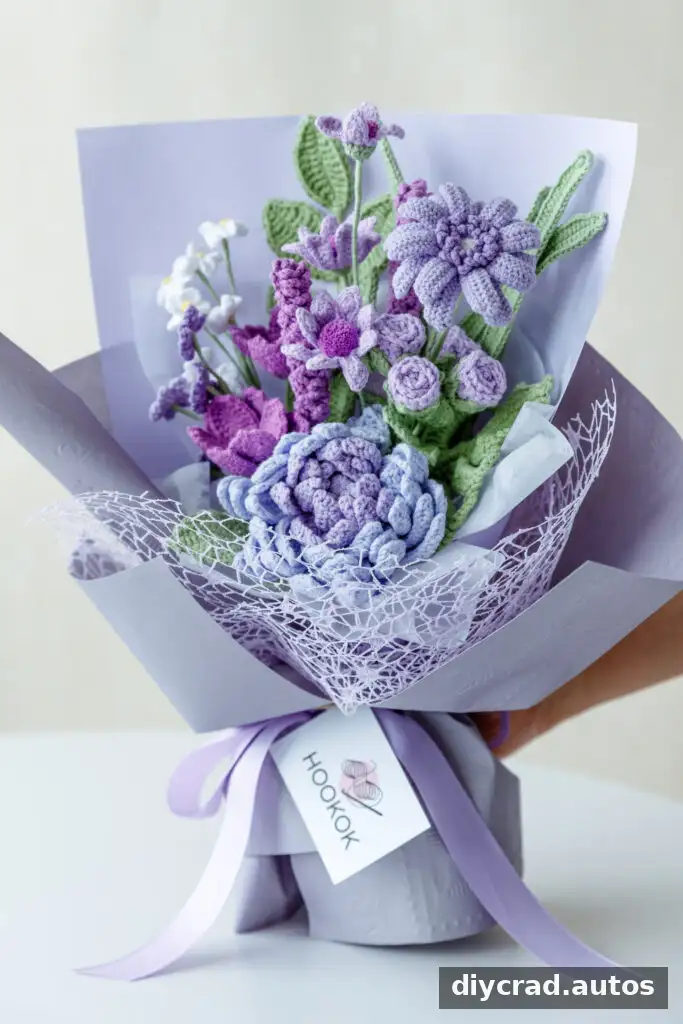
Purple Dahlia Bouquet
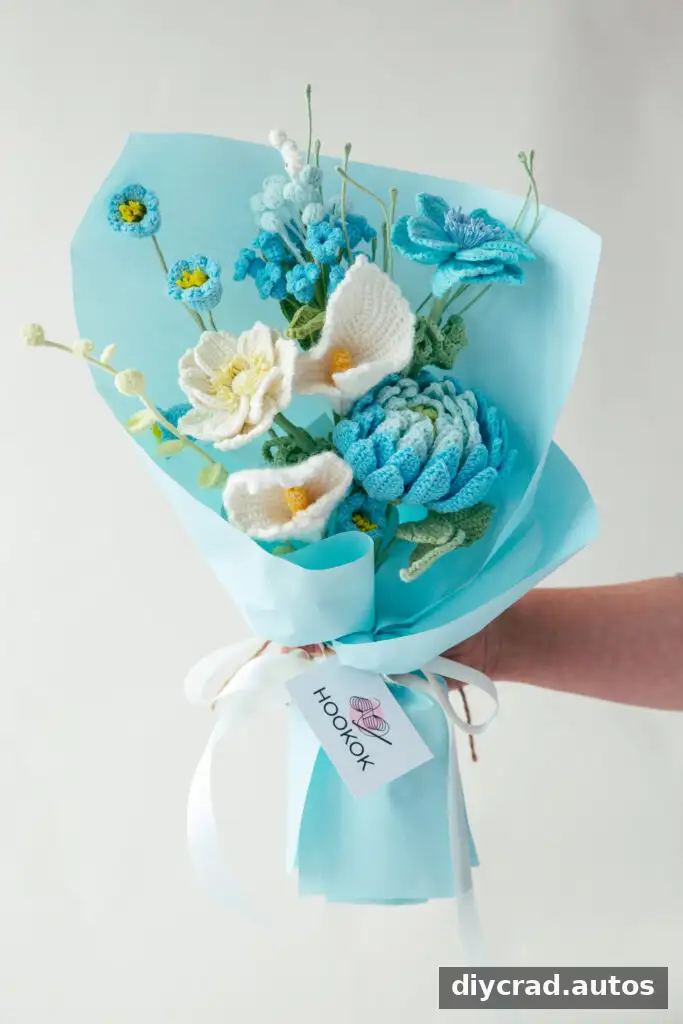
Blue Dahlia and Anemone Bouquet
Materials for the Crochet Dahlia Flower
- Yarn in four colors: light blue, dark blue, cream, and green
- Crochet hook: 2.5 mm or 3.0 mm
- Flower rod: 16 inches long and 0.08 inches in diameter (40 cm x 2 mm)
- Iron wire: 0.02 inches in diameter (0.5 mm)
- Darning needle
- Stitch marker
- Scissors
- Fiberfill
- Hot-melt adhesive
Keep the yarn, wire, and tools close by before beginning. A stitch marker can help identify the start of a round, and a darning needle is useful for securing yarn ends.
Skill Level and Pattern Notes
This is an intermediate-level pattern. The main techniques to practise are working in front loops only (FLO) and back loops only (BLO), and making Afghan single crochet stitches. Follow the round counts carefully; the repeated petal sections and changing stitch counts shape the flower.
- The pattern uses US crochet terms.
- Read each round fully before working it, especially where a color change or loop-only instruction is given.
- Video subtitles can be enabled in the video settings if needed.
Stitches and Abbreviations
- ch: chain
- ss: slip stitch
- sc: single crochet
- hdc: half double crochet
- dc: double crochet
- Afghan sc: Afghan stitch single crochet, worked through the vertical bars
- FLO: front loops only
- BLO: back loops only
- sk: skip
- sc2tog: single crochet two stitches together, a decrease
Special Techniques
An unfinished double crochet cluster begins like a double crochet but is left incomplete, with the final loop remaining on the hook. This produces a raised, puffy texture for the flower’s central petals.
Working into FLO or BLO creates ridges and helps define the edges of the petal layers. Afghan stitch is worked under the vertical bars of the stitches rather than in the usual way; here, it adds texture to selected petals and leaves.
Step-by-Step Crochet Dahlia Flower Pattern
Flower Petals
Begin with a magic ring. The following instructions use the round numbers and stitch counts from the pattern. Work the petal sections as written, keeping track of repeats and color changes.
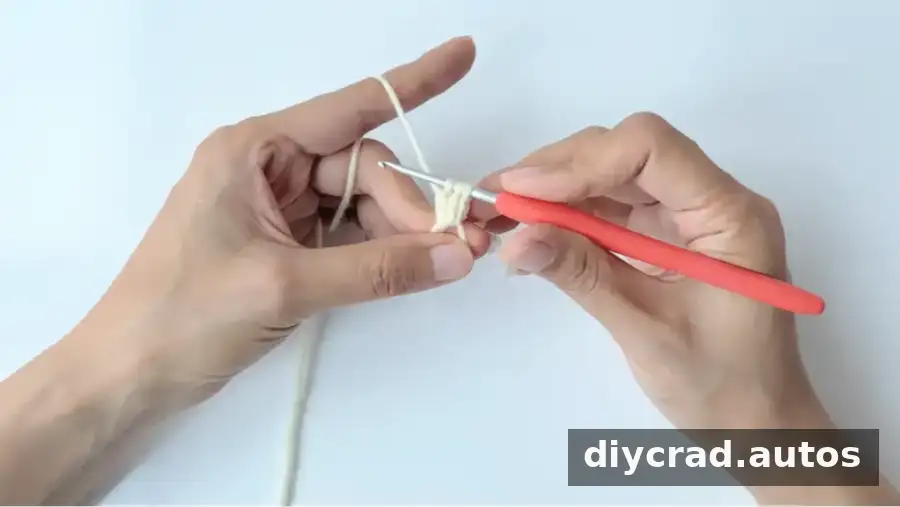
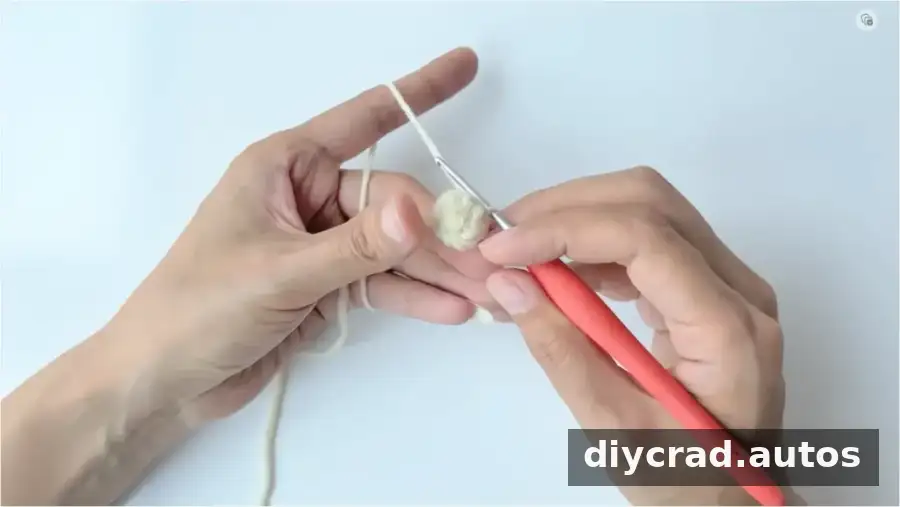
- R1: Ch 2, work 2 unfinished dc clusters 7 times, then ss in the second stitch to join.
- R2: FLO: {(ch 5, insert the hook behind the first stitch’s vertical bar in the chain below; then make 1 ss, 1 sc, 1 hdc, 1 sc, 1 ss), 1 ss in the next st} 6 times.
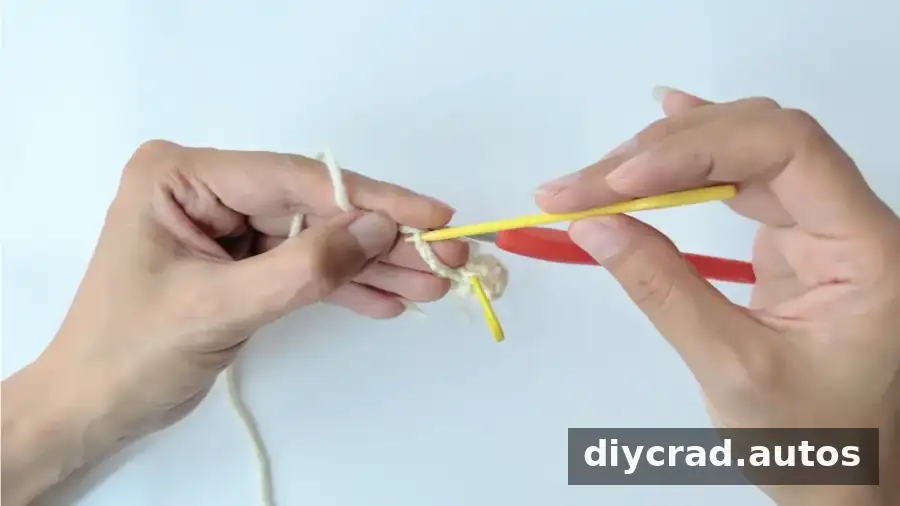
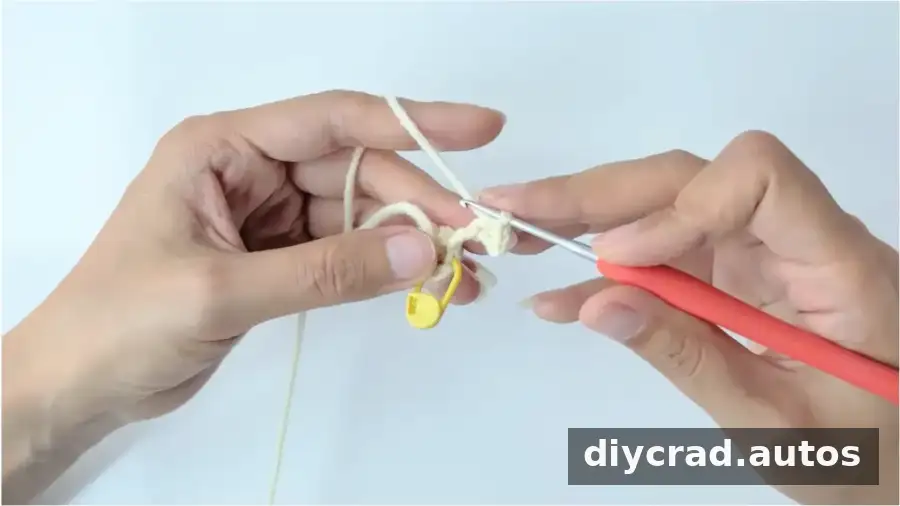
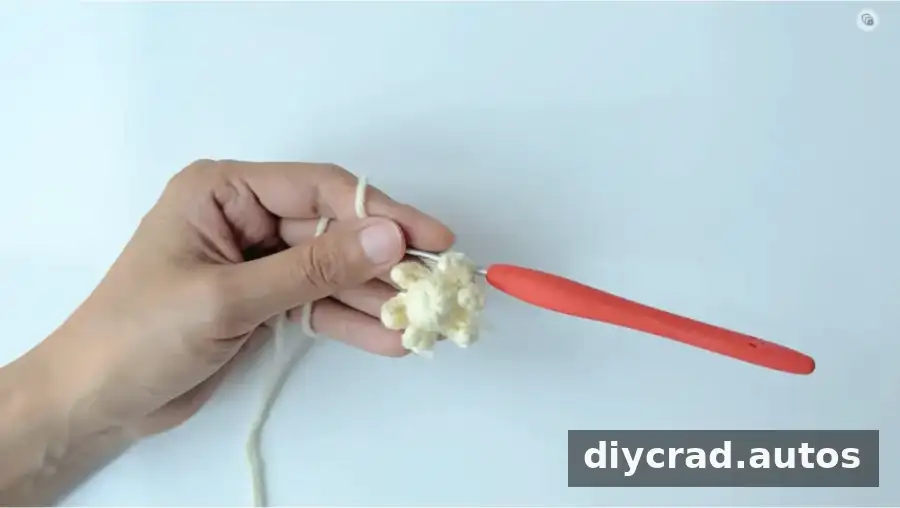
- R3: BLO: 1 ss and ch 1, (2 sc in the next stitch) 6 times. 1 ss.
- R4: FLO: {(ch 7, work behind the first stitch’s vertical bar in the chain below, 1 ss, work 6 Afghan sc, sk 1, 4 sc, 1 ss in the bottom of the petal), then 2 ss} 6 times.
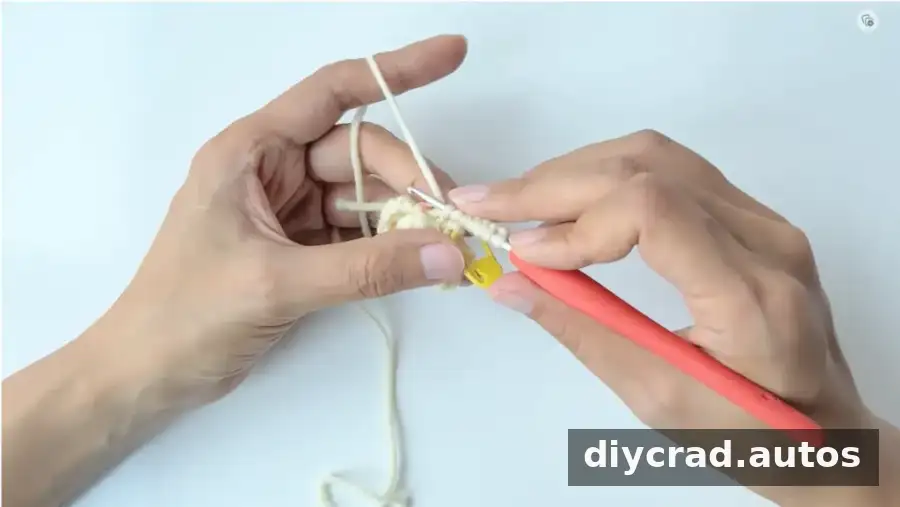
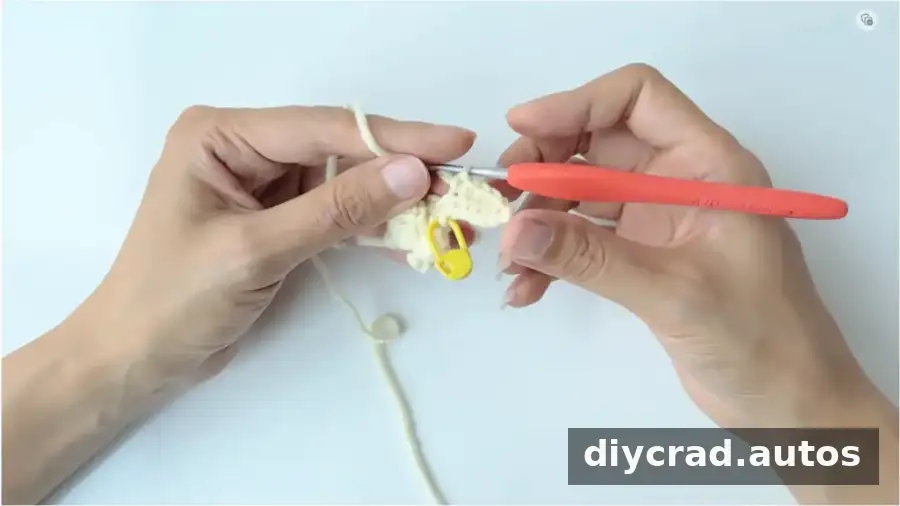
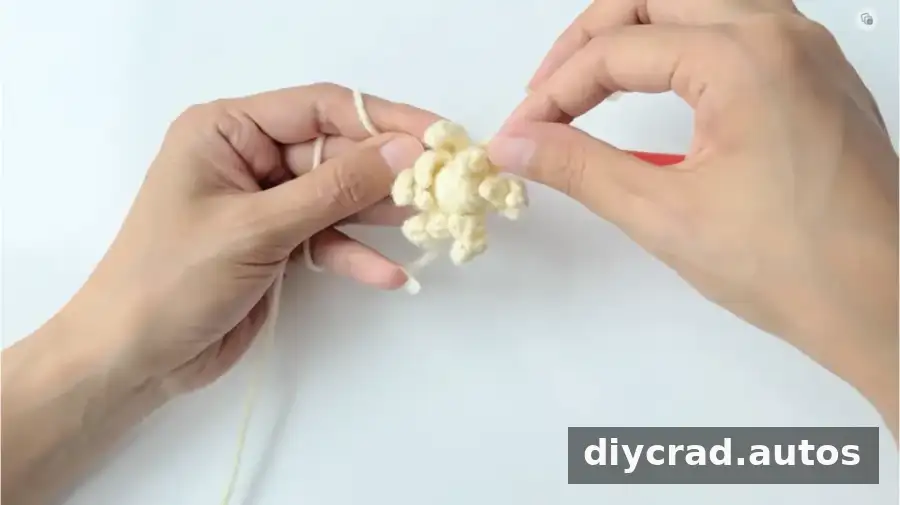
- R5: Change yarn color. BLO: 1 ss, ch 1, (1 sc, 2 sc in the next stitch) 6 times. 1 ss.
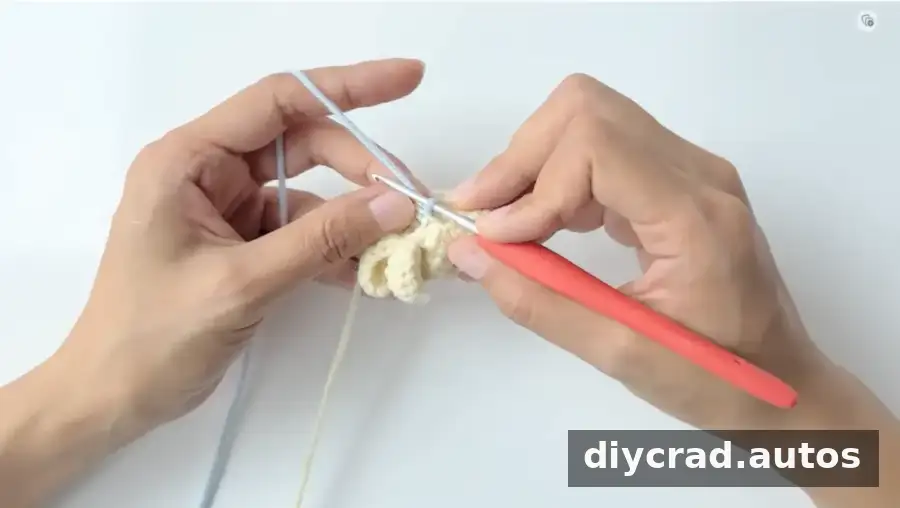
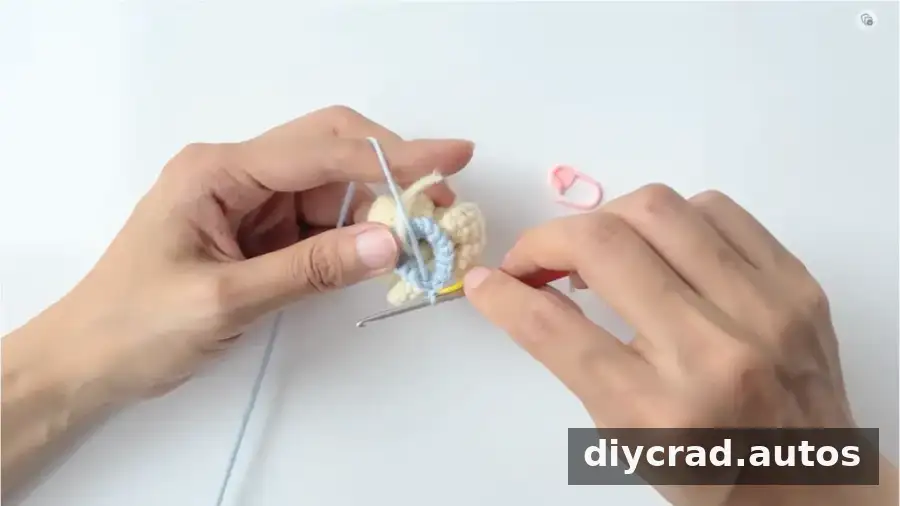
- R6: FLO: {(ch 10, work behind the first stitch’s vertical bar in the chain below, 1 ss, sk 1, 8 Afghan sc, ch 1, sk 2, 1 sc, 4 hdc, 1 sc, 1 ss in the bottom of the petal), 3 ss} 6 times.
- R7: BLO: 1 ss, ch 1, (2 sc, 2 sc in the next stitch) 6 times. 1 ss.
- R8: FLO: {[ch 12, work behind the first stitch’s vertical bar in the chain below, 1 ss, sk 1, (Afghan stitch: 1 sc, sk 1, 6 dc, 2 sc); ch 1, sk 2, 1 sc, 5 hdc, 1 sc, 1 ss in the bottom], then 3 ss} 8 times.
- R9: BLO: 1 ss, ch 1, (3 sc, 2 sc in the next stitch) 6 times. 1 ss.
- R10: FLO: {[ch 14, work behind the first stitch’s vertical bar in the chain below, 1 ss, sk 1, (Afghan stitch: 1 sc, sk 1, 8 dc, 2 sc); ch 1, sk 2, 1 sc, 1 hdc, 4 dc, ch 1, 1 dc, 1 hdc, 1 sc, 1 ss in the bottom], then 3 ss} 10 times.
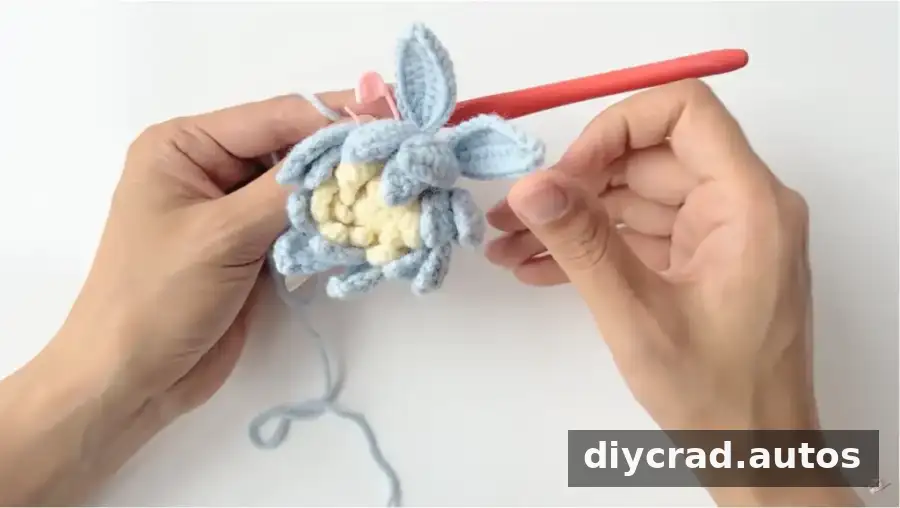
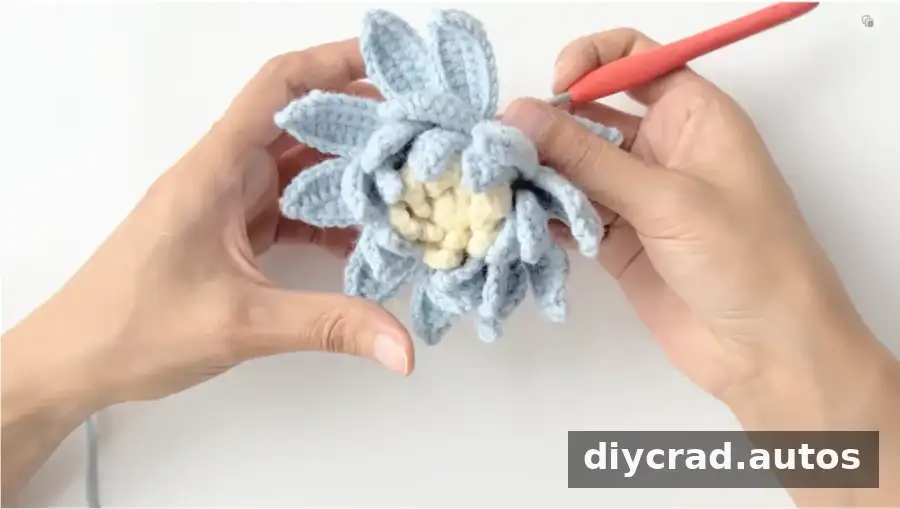
- R11: Change yarn color. BLO: 1 ss, ch 1, (4 sc, 2 sc in the next stitch) 6 times. 1 ss.
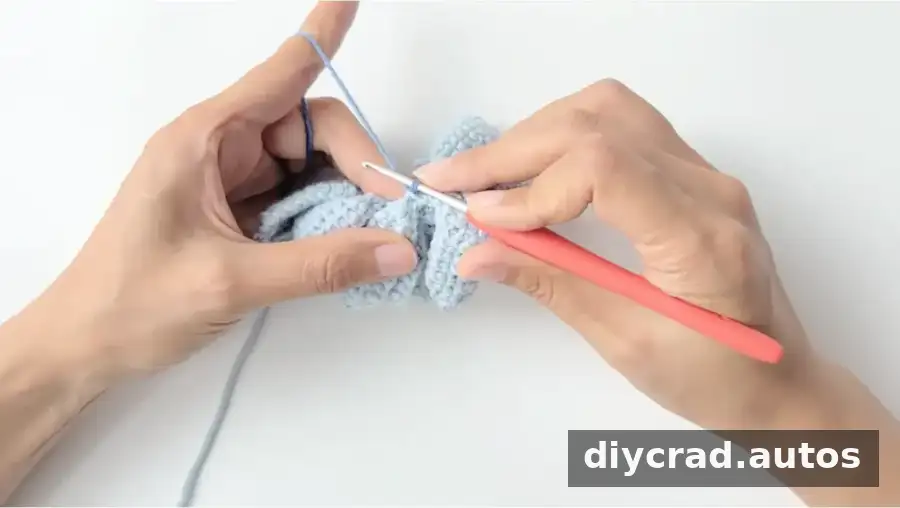
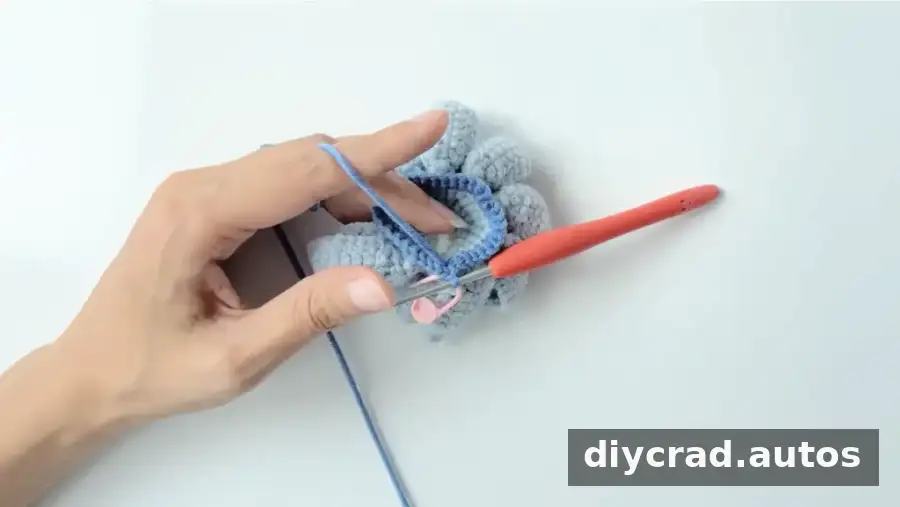
- R12: FLO: {[ch 16, work behind the first stitch’s vertical bar in the chain below, 1 ss, sk 1, (Afghan stitch: 1 sc, sk 1, 10 dc, 2 sc); ch 1, sk 2, 1 sc, 1 hdc, 5 dc, ch 1, 2 dc, 1 hdc, 1 sc, 1 ss in the bottom], then 3 ss} 12 times.
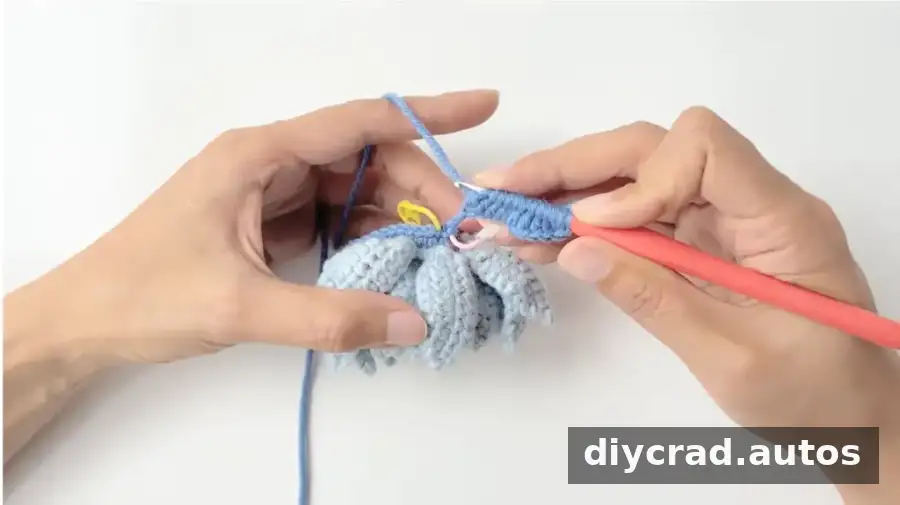
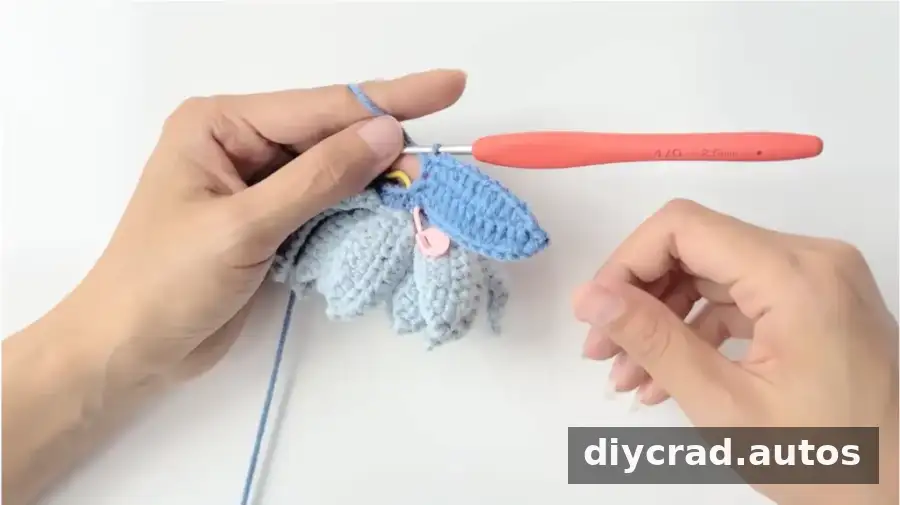
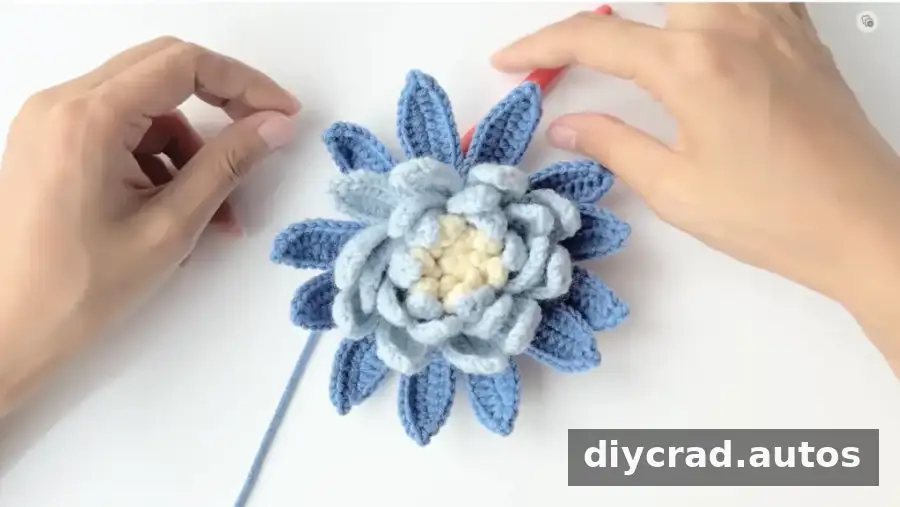
- R13: BLO: 1 ss, ch 1, and 36 sc. 1 ss.
- R14: FLO: {[ch 18, work behind the first stitch’s vertical bar in the chain below, 1 ss, sk 1, (Afghan stitch: 1 sc, sk 1, 12 dc, 2 sc); ch 1, sk 2, 1 sc, 1 hdc, 5 dc, ch 1, 4 dc, 1 hdc, 1 sc, 1 ss in the bottom], then 3 ss} 12 times.
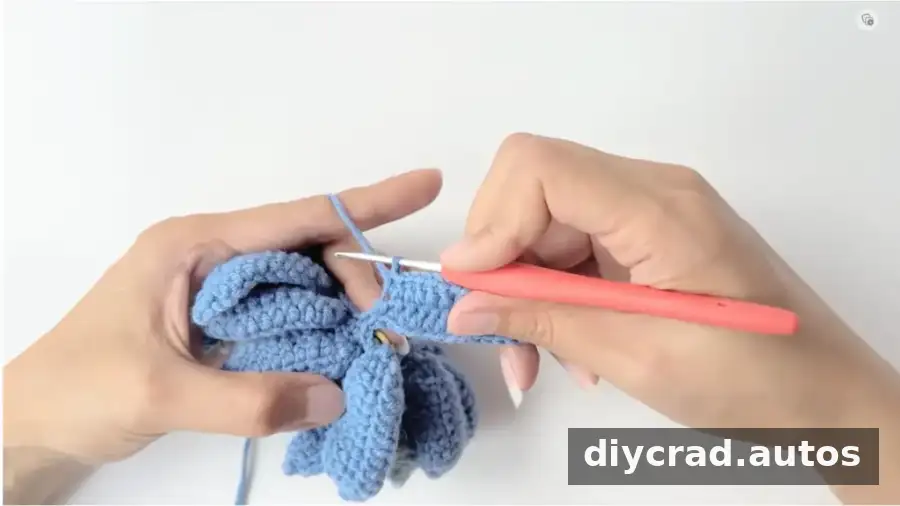
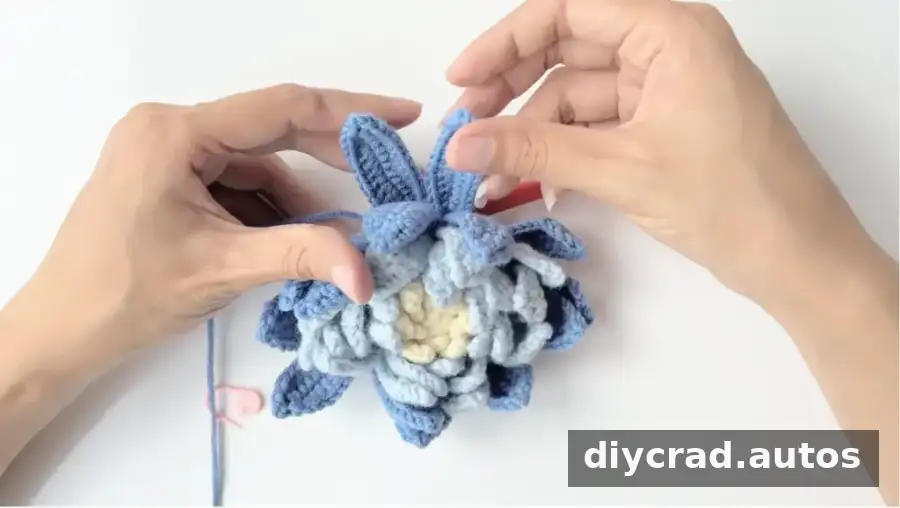
- R15: Change yarn color. BLO: (1 sc, sc2tog) 12 times, 1 ss, ch 1.
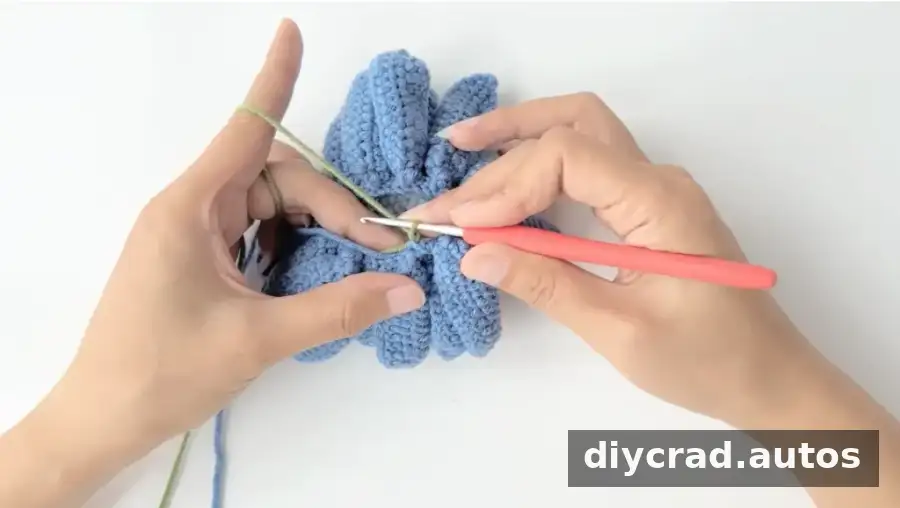
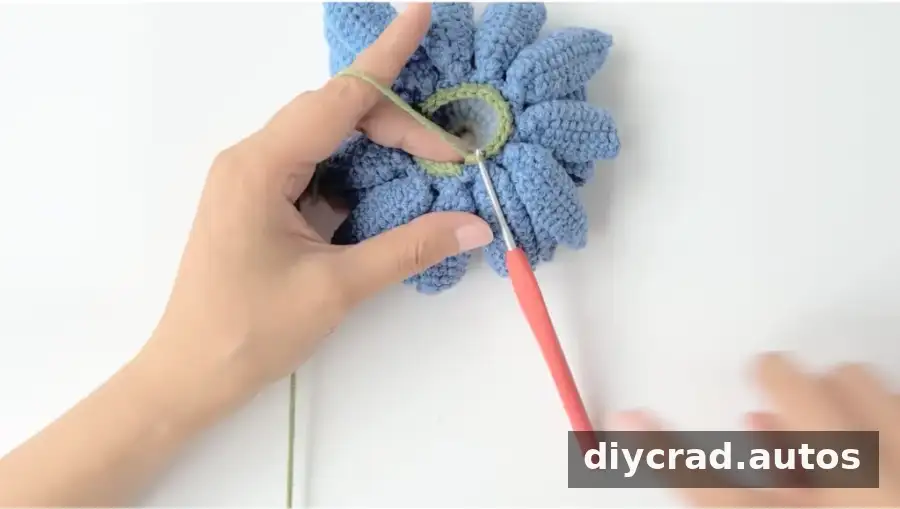
- R16: (1 sc, sc2tog) 8 times, 1 ss.
- R17: FLO: {[ch 8, work behind the first stitch’s vertical bar in the chain below, 1 ss, work 7 Afghan single crochets, turn, sk 1, 5 sc], then 2 ss} 8 times.
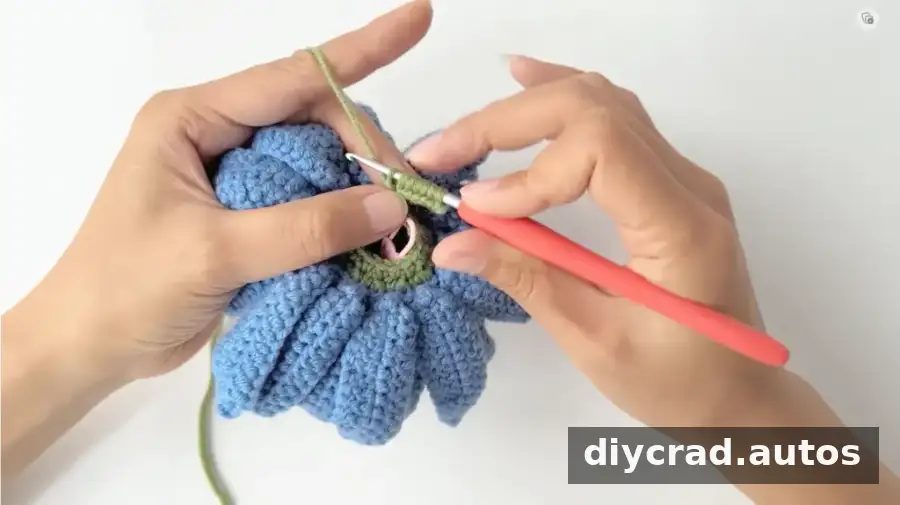
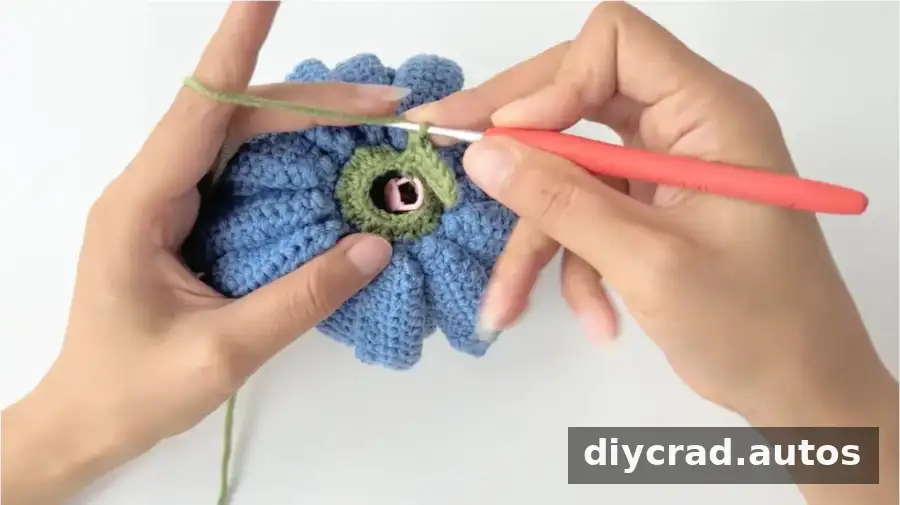
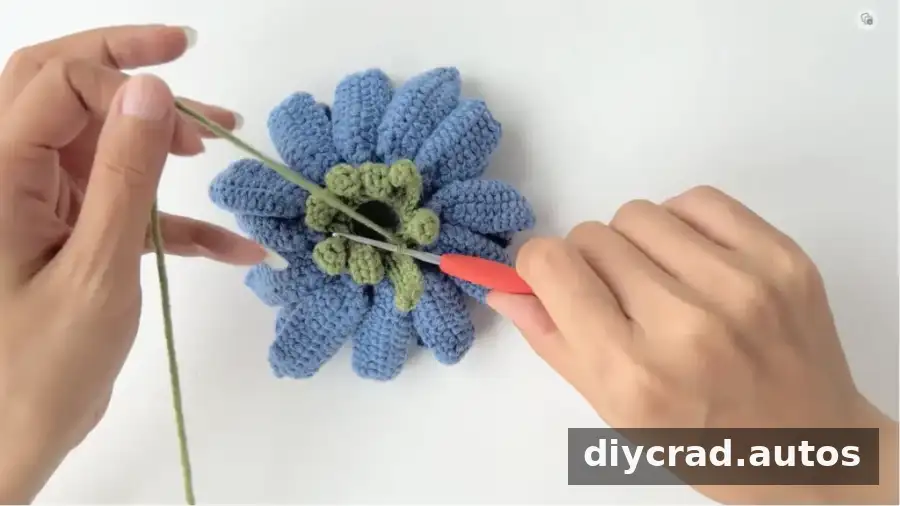
- R18: BLO: 1 ss, ch 1, and 16 sc. 1 ss, ch 1.
- R19: (sc2tog) 8 times. 1 ss, ch 1. Add fiberfill.
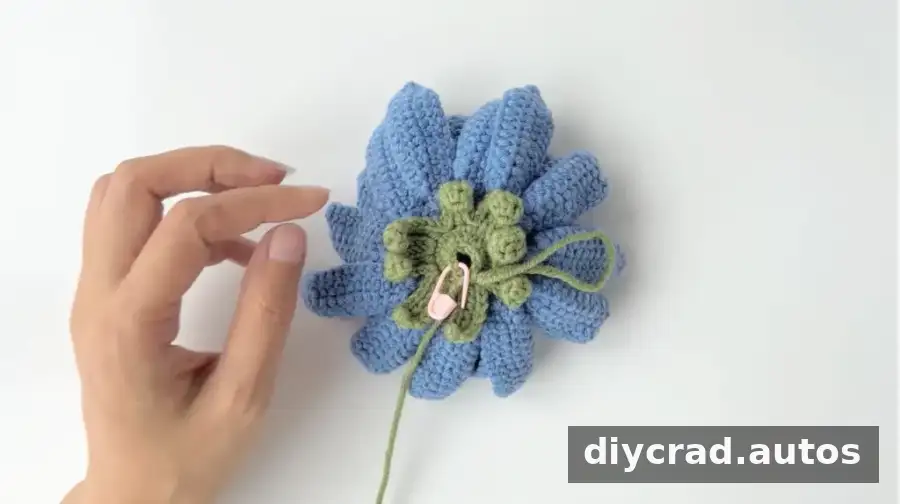
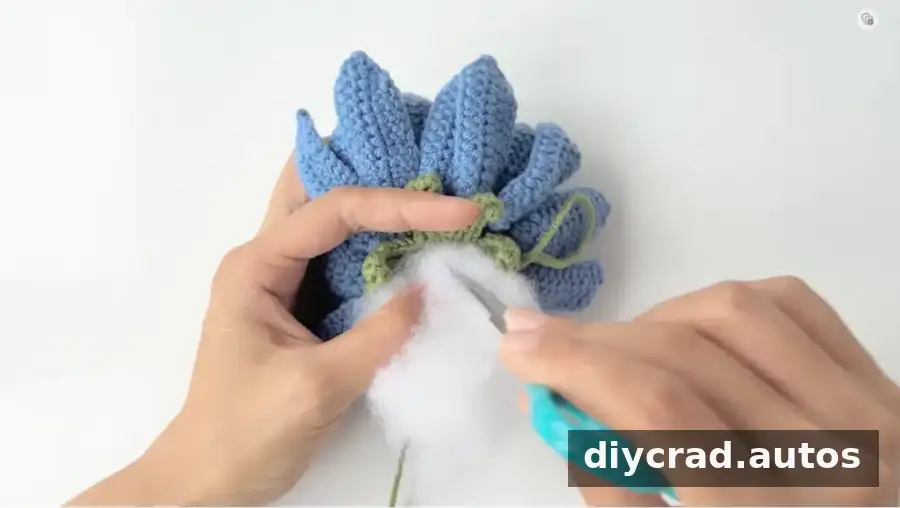
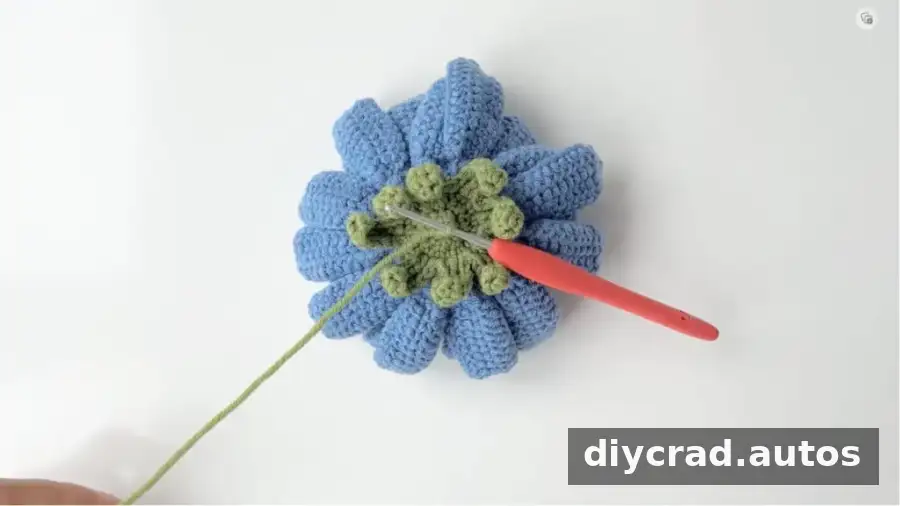
- R20: (sc2tog) 4 times. 1 ss, cut the yarn and leave a tail.
Large Dahlia Leaf (make 2)
Work the leaf around the foundation chain, adding wire as directed. Keep the wire aligned with the leaf so it can be shaped after crocheting.
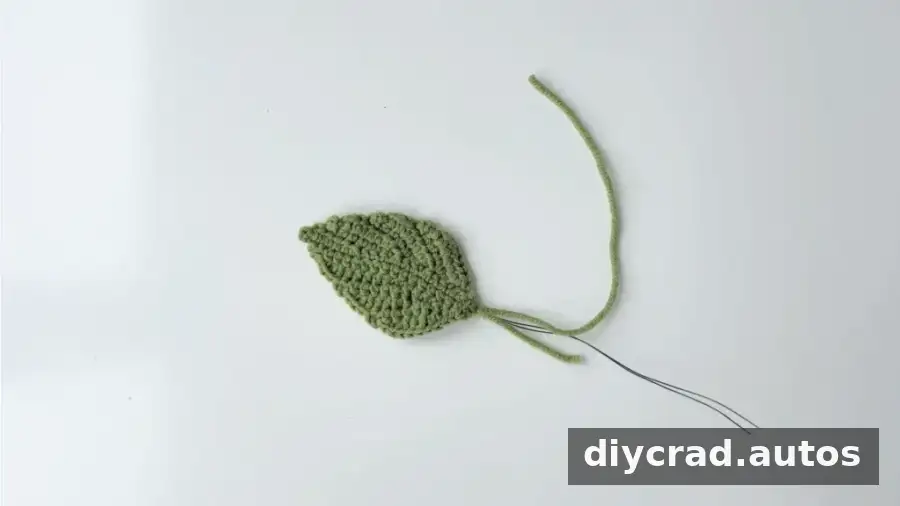
- Step 1: Make a foundation chain of 18 ch.
- Step 2: Add a wire. Ch 2, work behind the second stitch’s vertical bar in the chain below: 1 ss, 1 sc, 5 hdc, and 4 sc.
- Step 3: Turn and start in the second stitch from the hook: work 5 sc, 2 ss.
- Step 4: Turn, ch 1, and start in the second stitch from the hook: 1 ss, 1 sc, 2 hdc in the next stitch, 3 hdc, 1 hdc in the horizontal bar on the side, 1 hdc in the bottom, sc in the next 3 ch.
- Step 5: Turn and start in the second stitch from the hook: 5 sc, 2 ss.
- Step 6: Turn, ch 1, and start in the second stitch from the hook: 1 ss, 1 sc, 2 hdc in the next stitch, 3 hdc, 1 hdc in the horizontal bar on the side, 1 hdc in the bottom, sc in the next 3 ch.
- Step 7: Turn and start in the second stitch from the hook: 5 sc, 2 ss.
- Step 8: Turn, ch 1, and start in the second stitch from the hook: 1 ss, 1 sc, 2 hdc in the next stitch, 3 hdc, 1 hdc in the horizontal bar on the side, 1 hdc in the bottom, 1 hdc in the next st, 1 sc.
Work along the other side
- Step 9: Work 1 ss in the first st and ch 1; make 15 sc, 2 ss.
- Step 10: Turn, ch 1, and start in the second stitch from the hook: 1 ss, 1 sc, 2 hdc in the next stitch, 5 hdc, 3 sc.
- Step 11: Turn and start in the second stitch from the hook: 5 sc, 2 ss.
- Step 12: Turn, ch 1, and start in the second stitch from the hook: 1 ss, 1 sc, 2 hdc in the next stitch, 3 hdc, 1 hdc in the horizontal bar on the side, 1 hdc in the bottom, sc in the next 3 ch.
- Step 13: Turn and start in the second stitch from the hook: 5 sc, 2 ss.
- Step 14: Turn, ch 1, and start in the second stitch from the hook: 1 ss, 1 sc, 2 hdc in the next stitch, 3 hdc, 1 hdc in the horizontal bar on the side, 1 hdc in the bottom, 1 sc, 1 ss in the next st. Finally, work 1 ss in the first st.
- Wrap the yarn tail around the wire to the end.
Small Dahlia Leaf (make 2)
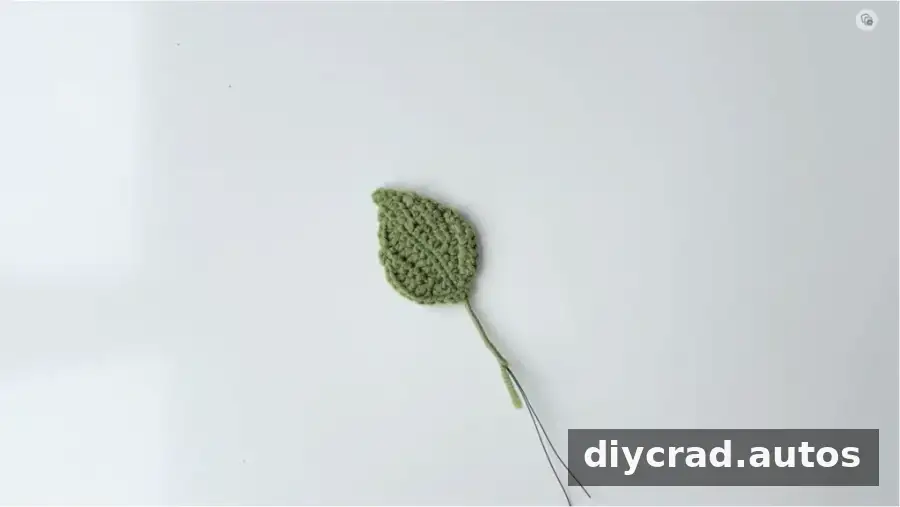
- Step 1: Make a foundation chain of 14 ch.
- Step 2: Add a wire. Ch 2, work behind the second stitch’s vertical bar in the chain below: 1 ss, 1 sc, 4 hdc, and 4 sc.
- Step 3: Turn and start in the second stitch from the hook: 4 sc and 2 ss.
- Step 4: Turn, ch 1, and start in the second stitch from the hook: 1 ss, 1 sc, 2 hdc in the next stitch, 2 hdc, 1 hdc in the horizontal bar on the side, 1 hdc in the bottom, sc in the next 3 ch.
- Step 5: Turn and start in the second stitch from the hook: 4 sc, 2 ss.
- Step 6: Turn, ch 1, and start in the second stitch from the hook: 1 ss, 1 sc, 1 hdc, 2 hdc in the next stitch, 1 hdc, 1 hdc in the horizontal bar on the side, 1 hdc in the bottom, 1 hdc in the next st, 1 sc.
- Step 7: In the same stitch, work 1 ss, ch 1, 1 sc; then 10 sc, 2 ss.
- Step 8: Turn, ch 1, and start in the second stitch from the hook: 1 ss, 1 sc, 2 hdc in the next stitch, 4 hdc, 3 sc.
- Step 9: Turn and start in the second stitch from the hook: 4 sc, 2 ss.
- Step 10: Turn, ch 1, and start in the second stitch from the hook: 1 ss, 1 sc, 1 hdc, 2 hdc in the next stitch, 1 hdc, 1 hdc in the horizontal bar on the side, 1 hdc in the bottom, 1 sc, 1 ss in the next st. Finally, work 1 ss in the first st. Wrap the yarn tail around the wire to the end.
Join the Dahlia Leaves
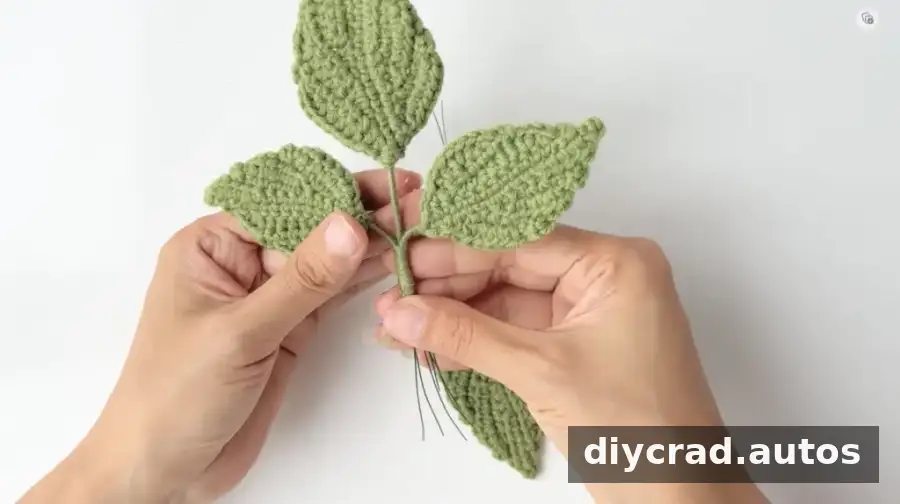
- Step 1: Wrap each leaf tail around its wire and secure it with hot-melt adhesive.
- Step 2: Wrap one large leaf and two small leaves together, then secure them with hot-melt adhesive.
Assemble the Flower and Stem
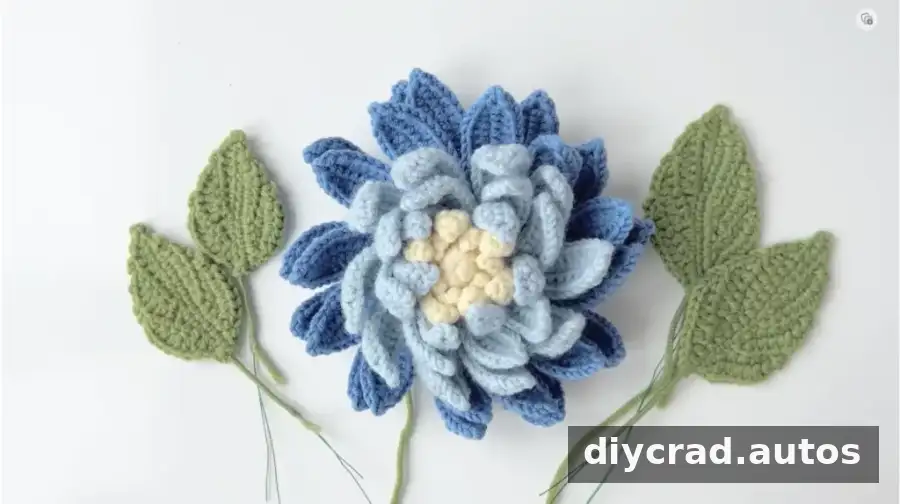
- Step 3: Attach the flower rod to the center of the flower.
- Step 4: Wrap yarn around the rod, attaching the leaves in their designated positions as you go.
- Step 5: Secure the end of the flower rod with hot-melt adhesive.
- Step 6: Attach the sepals to the petals with hot-melt adhesive.
Use care when handling wire and hot-melt adhesive, and allow the adhesive to set before shaping or displaying the finished flower.
Video Guidance and Finishing Tips
Use the video tutorial as a visual companion to the written directions, particularly for the layered petals, leaf shaping, and assembly. If a stitch count or repeat is unclear, pause the video and compare the work with the written round before continuing.
Petals R10–R17 Video Tutorial ②
Petals R17–R20, Big Leaf, Small Leaf, and Assembly Video Tutorial ③

Make Your Crochet Dahlia Flower
This Crochet Dahlia Flower combines textured petals with wired leaves to create a decorative handmade bloom. Take your time with the loop-only rounds and Afghan stitches, and check the instructions as you work. Once assembled, the flower can be displayed on its own or arranged with foliage and other blooms.

