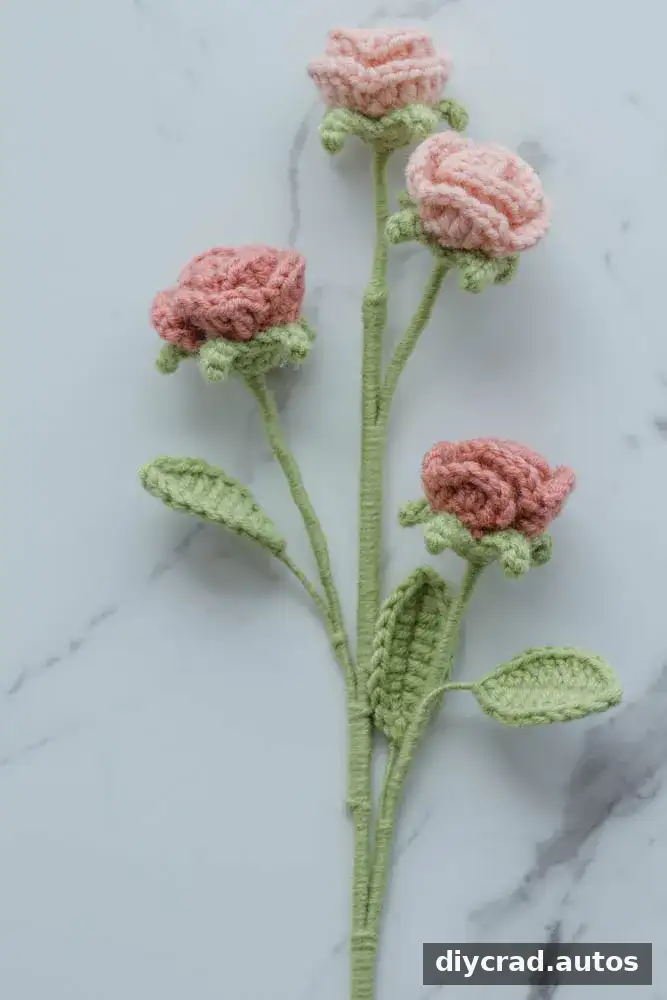
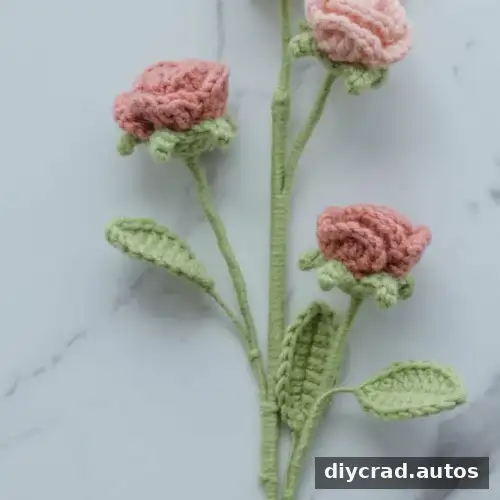
This crochet small rose pattern brings together layered petals, green sepals, a leaf, and a stem to create a decorative multi-head flower. The instructions use US crochet terms and include the materials, stitch abbreviations, and assembly steps needed to make the design. Choose pink shades for a classic look, or try yellow, orange, or other yarn colors to suit a bouquet or a finished crochet project.
About This Crochet Small Rose Pattern
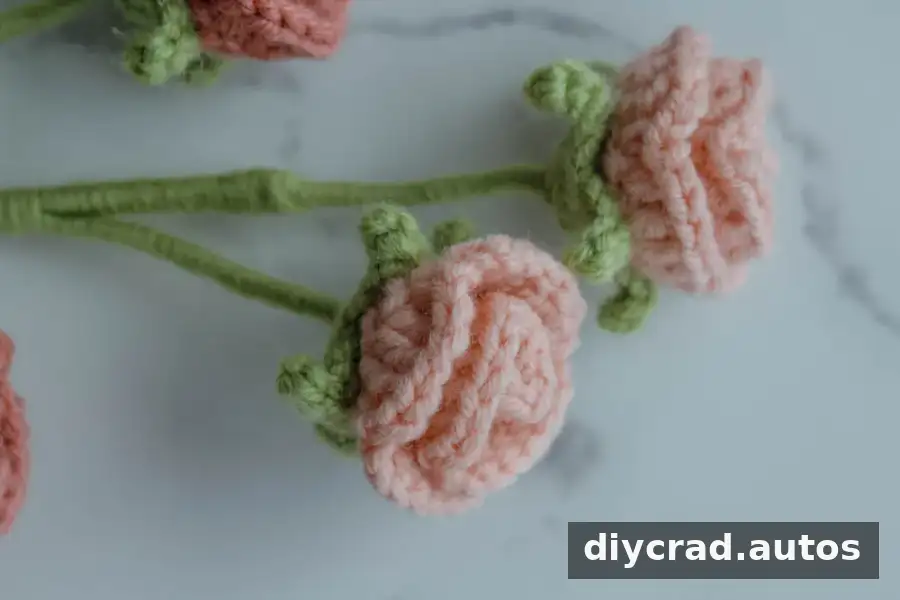
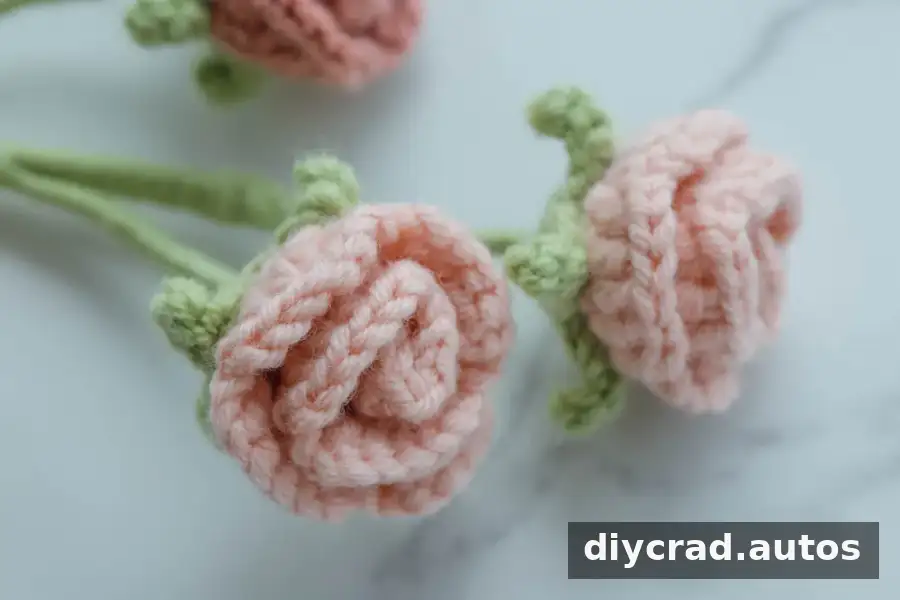
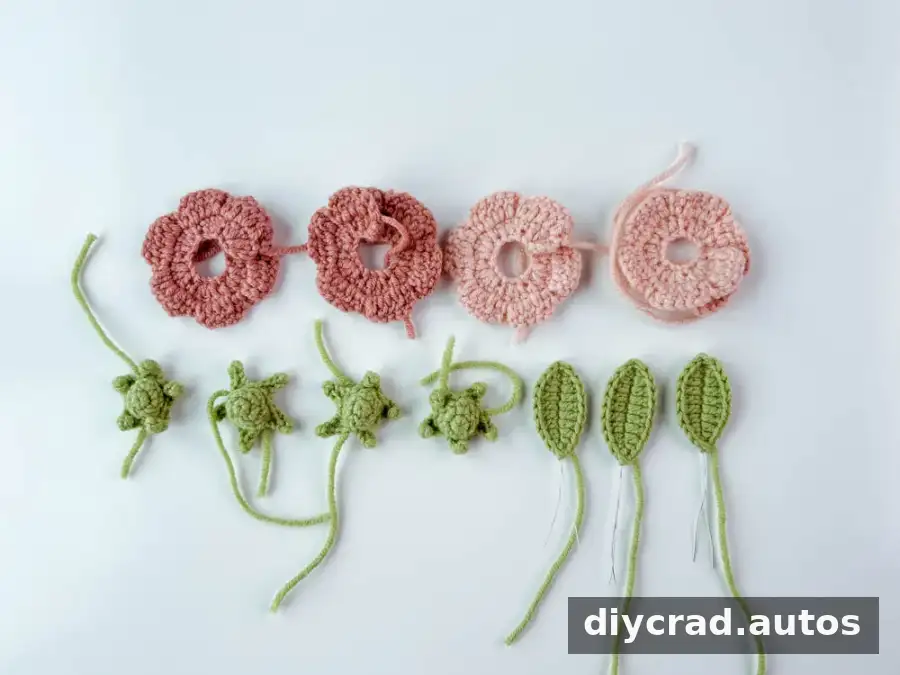
The design combines individual crocheted flowers with a wired stem and leaf. Each rose flower is made from a strip with seven petals, while the sepal instructions create five pointed sections to sit beneath the flower. The finished arrangement can include four flowers on one stem, as described in the final assembly instructions.
This is an intermediate-level project. Basic crochet skills, including working single crochet, double crochet, and slip stitches, are helpful. If you are newer to crochet, use a stitch marker to keep track of the first stitch and follow the video alongside the written steps.
Pink Small Rose Wedding Bouquet

Crochet Large Bouquet
Ways to Use the Finished Rose
A crocheted rose can be given as a handmade gift for occasions such as Valentine’s Day, Mother’s Day, and anniversaries. It can also be used as home décor, a clothing accessory, or part of wedding decorations. Because the flower is made from yarn, it offers a lasting alternative to a fresh cut flower.
- Decorate crochet projects: Attach a flower to a scarf, hat, sweater, bag, or afghan. Check that the flower is securely sewn or fastened before wearing or using the item.
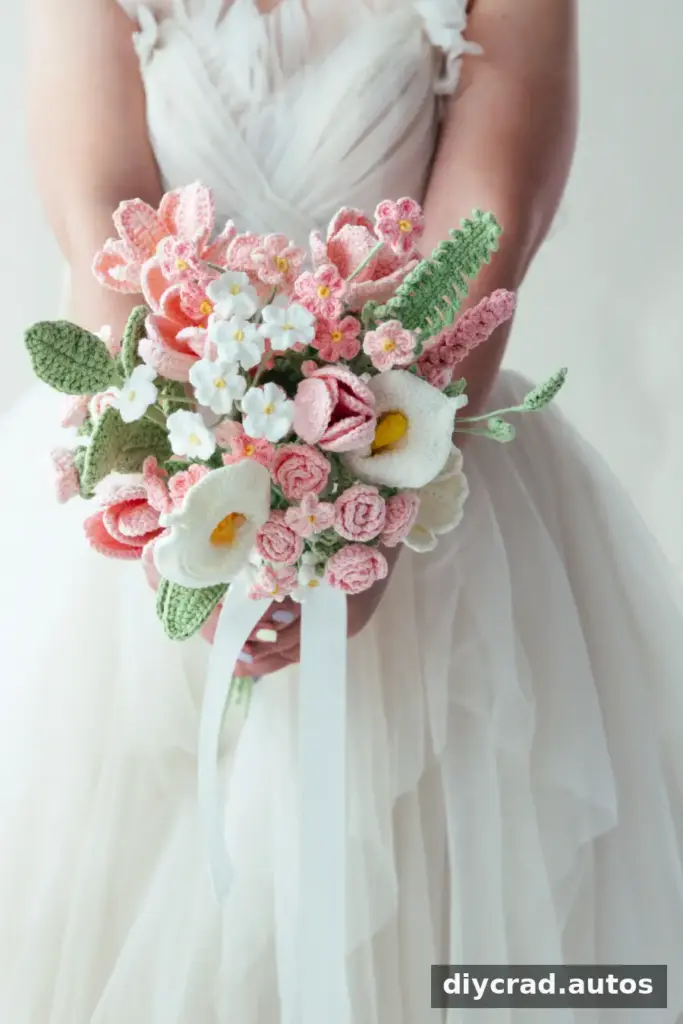
- Build a bouquet: Arrange the rose with pink and white rosebuds, foliage, eucalyptus, white thistles, and artificial baby’s breath for varied color and texture.
- Personalize the design: Try different yarn colors to coordinate the flower with a gift, room, or event. Keep the same yarn weight and hook if you want the finished pieces to remain similar in size.
Materials and Tools
- Yarn in three colors: dark pink, light pink, and green
- 2.5 mm crochet hook
- Flower rod, 40 cm long and 2 mm in diameter
- Iron wire, 0.5 mm in diameter
- Stitch marker
- Hot melt adhesive
- Darning needle
- Scissors
The pattern does not specify a gauge, so the yarn weight and hook can affect the flower’s finished size and texture. If you make a change, crochet a small test piece first and check that the petals and leaf are firm enough to shape around the wire.
Stitches and Pattern Notes
- Ch: chain
- Dc: double crochet
- Sc: single crochet
- Sk: skip a stitch
- Ss: slip stitch
- Hdc: half double crochet
No special stitches are required. The pattern uses US crochet terms and is worked in rounds unless the instructions say otherwise. Place a stitch marker at the beginning of a round, and follow turning instructions carefully when working back across a row.
Step-by-Step Crochet Small Rose Pattern
Flower Sepals
- Step 1: Make 5 sc in a ring. Close the loop tightly and join with ss.
- Step 2: Ch 1, then make 2 sc in the next stitch 5 times. Place a stitch marker in the first stitch, then join with ss.
- Step 3: Ch 1, make 10 sc, and join with ss.
- Step 4: Repeat the following sequence 5 times: ch 5; beginning in the second chain from the hook, make 2 ss, 1 sc, and 1 hdc; skip one stitch and make 1 ss. Make 1 ss and ch 1. This forms five sepals. Cut the yarn, leaving a long tail.
Rose Flower
- Step 1: Make a foundation chain of 23 stitches.
- Step 2: Starting in the fourth stitch from the hook, repeat 7 times: make 3 dc in the same stitch, make 1 sc, then skip a stitch. This creates seven petals. Place a stitch marker in the last stitch.
- Step 3: Turn. Repeat 7 times: ch 2, make 1 dc, make 2 dc in the next stitch, make 1 dc, ch 2, and make 1 sc. Finish with 1 ss. The petal row should contain seven petals. Cut the yarn, leaving a 15 cm tail.
Leaf
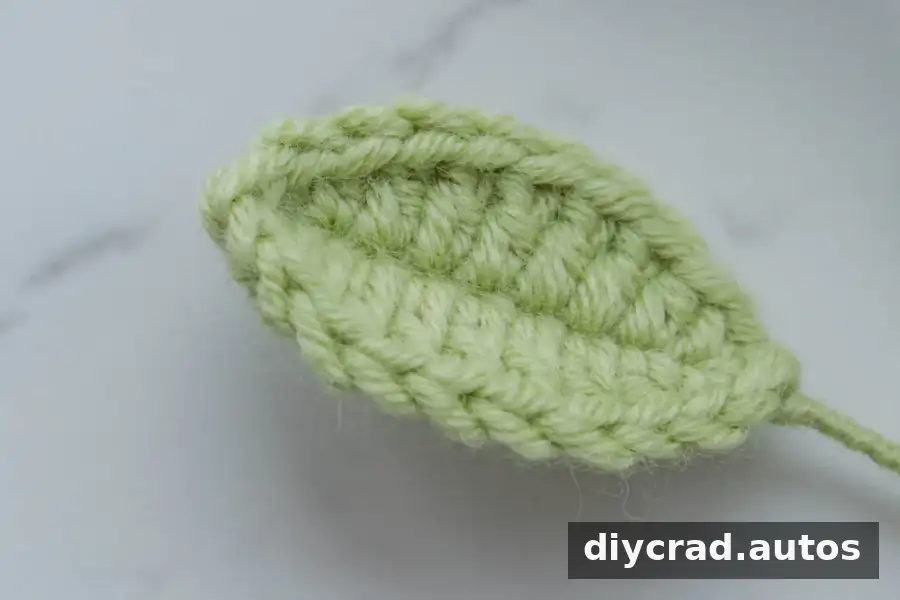
- Step 1: Make a foundation chain of 10 stitches.
- Step 2: Starting in the second chain from the hook, add the iron wire and work: 1 sc, 1 hdc, 5 dc, 1 hdc, 3 sc in one stitch, 1 hdc, 5 dc, 1 hdc, 1 sc, and 1 ss. Place a stitch marker in the first stitch. Cut the yarn, leaving a long tail.
Assembling the Rose
Shape and Secure the Petals
- Add iron wire and bend its end into a loop.
- Roll each petal section around the wire individually, beginning at the pointed end.
- Use the long yarn tail and a darning needle to sew the rolled petals together. Keep the stitches secure so the shape holds.
- Arrange the petals in a circle, overlapping them slightly to create the rose shape.
- Stitch the base of the petals together to hold the flower firmly in place.
Attach the Sepals and Leaf
Position a sepal at the base of the petals so it covers the sewn area, then secure it with hot melt adhesive. Attach all five sepals to the rose and use the excess yarn to cover the wire neatly.
Cover the leaf wire with the leaf’s excess yarn. Position the leaf beside the stem at the angle you want, then sew it to the stem base using its long tail. Trim any extra yarn and weave in the end. Take care when handling wire and hot adhesive; both can have sharp or hot surfaces.
Complete the Multi-Head Stem
- Wrap one flower around the top of the stem.
- Add the other three flowers one at a time.
- Wrap the yarn down to the end, cut the tail, and secure it with hot melt adhesive.
Video and Helpful Tips
Use the video as a visual guide for shaping the petals and assembling the wired pieces. Video subtitles may need to be enabled in the player settings. Stitch markers are especially useful for keeping track of the round starts and the marked stitches in the leaf and flower instructions.
There is no fixed gauge for this pattern. A different yarn weight or hook size may change the finished flower’s dimensions, so test your chosen combination before making all the components. Leave the specified 15 cm tail for the rose flower so you have yarn available for sewing the petals together.
Finishing Your Crochet Small Rose
Your crochet small rose is ready to display or add to another project once the petals, five sepals, leaf, and stem are securely assembled. Experiment with yarn colors and textures to create different versions while keeping the pattern’s stitch counts and assembly steps consistent. For a wearable accessory or a frequently handled decoration, check that the wire ends are covered and all attached parts are firmly secured.