


These home painting ideas show how color and careful preparation can refresh rooms, furniture, floors, fixtures, and exterior surfaces without a full renovation. The right paint choice can change how a space feels, help a small room appear more open, and give tired materials a cleaner look. Before starting, check that the paint is suitable for the surface and take time to prepare it properly.

Use the ideas below to plan a project, compare possible finishes, and identify the preparation steps that matter. For any painted surface, follow the product label, protect nearby areas, and test the color or finish in an inconspicuous spot first.
1. Choose a Paint Color for Each Room
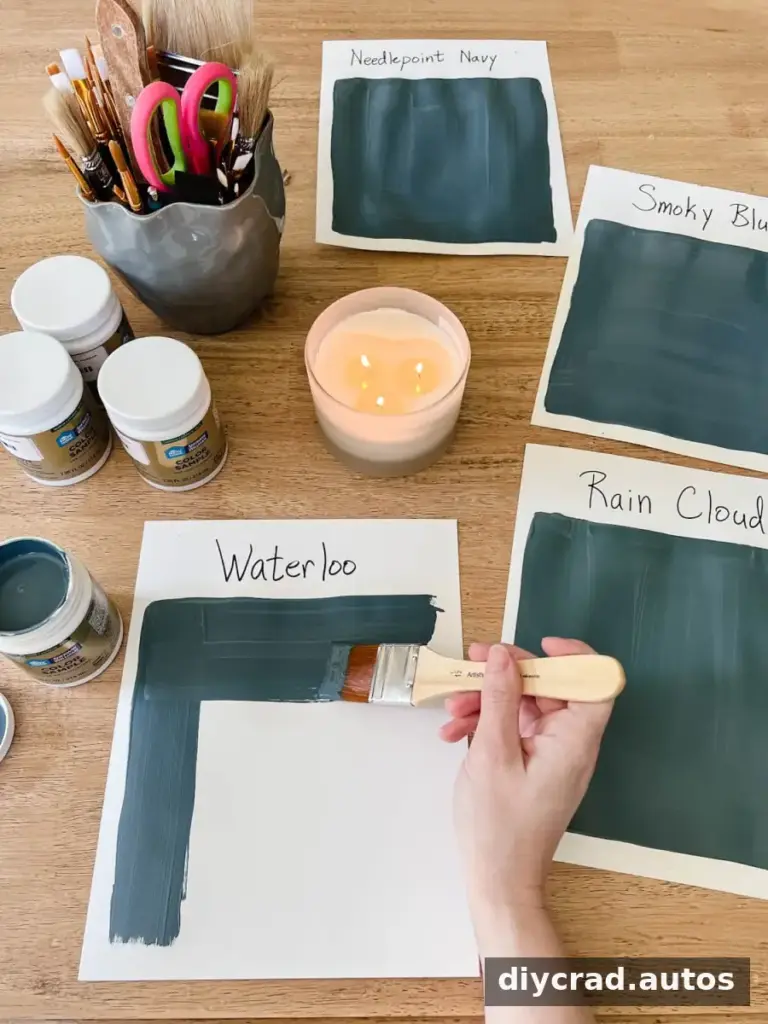
Paint color can look different as daylight and artificial lighting change. View sample colors in the room at different times of day before committing to a full wall. Consider the room’s existing flooring, furniture, and trim so the palette feels cohesive, and avoid judging a color from a small paint chip alone.
2. Give Furniture a New Finish
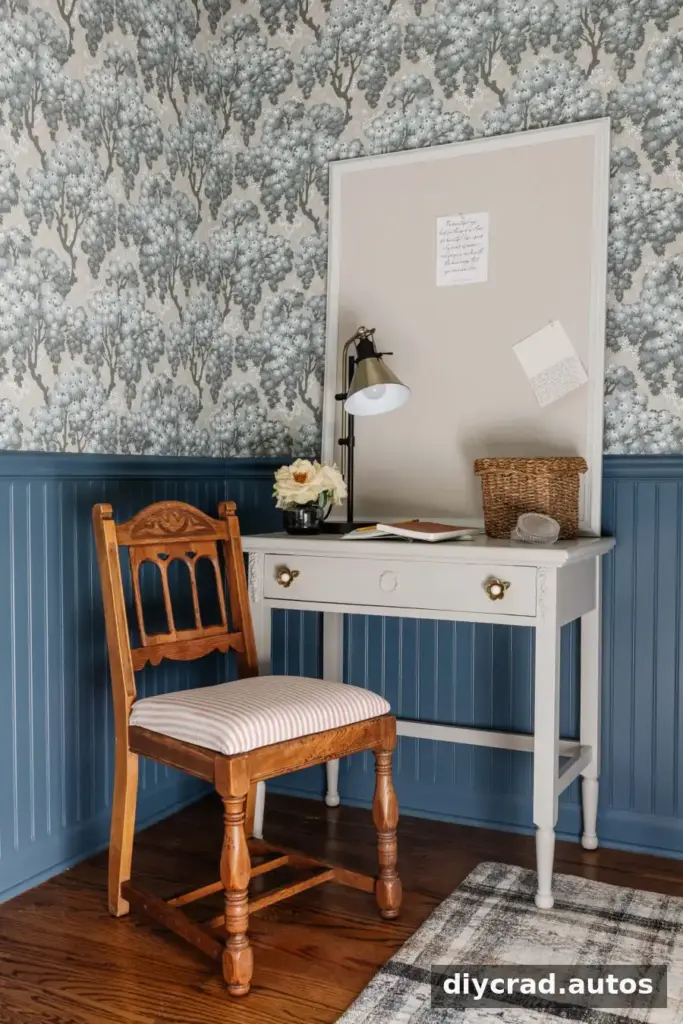
Painting furniture is a practical way to update a piece or make secondhand furniture fit a room. Clean the surface and identify its material and existing finish before choosing paint. Follow the paint’s preparation instructions, and use light, even coats rather than trying to cover everything at once.
3. Refresh a Concrete Patio or Pool Deck
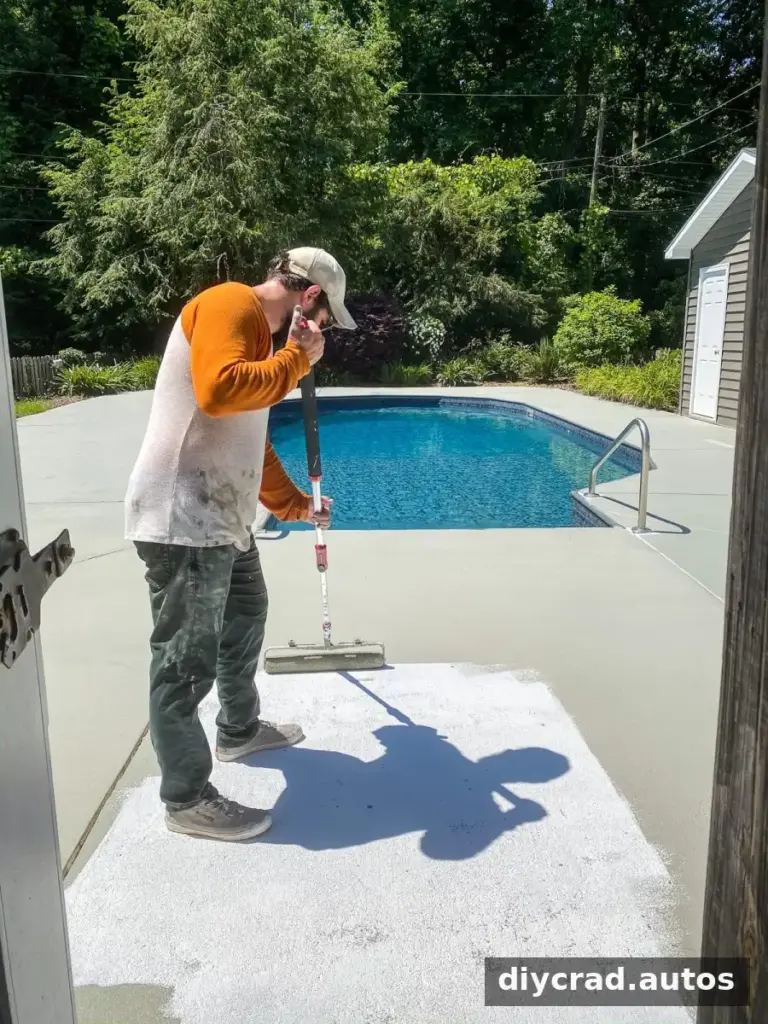
A concrete patio, pool deck, walkway, or garage floor may be a candidate for a coating designed for concrete. A project completed in summer 2020 on a concrete patio and pool deck was reported to be holding up well. Successful results depend on suitable materials and thorough preparation: clean the concrete, address surface issues, and let it dry as directed before applying the coating. A gray finish can give older concrete a freshly poured look.
4. Update a Floor with a Stencil
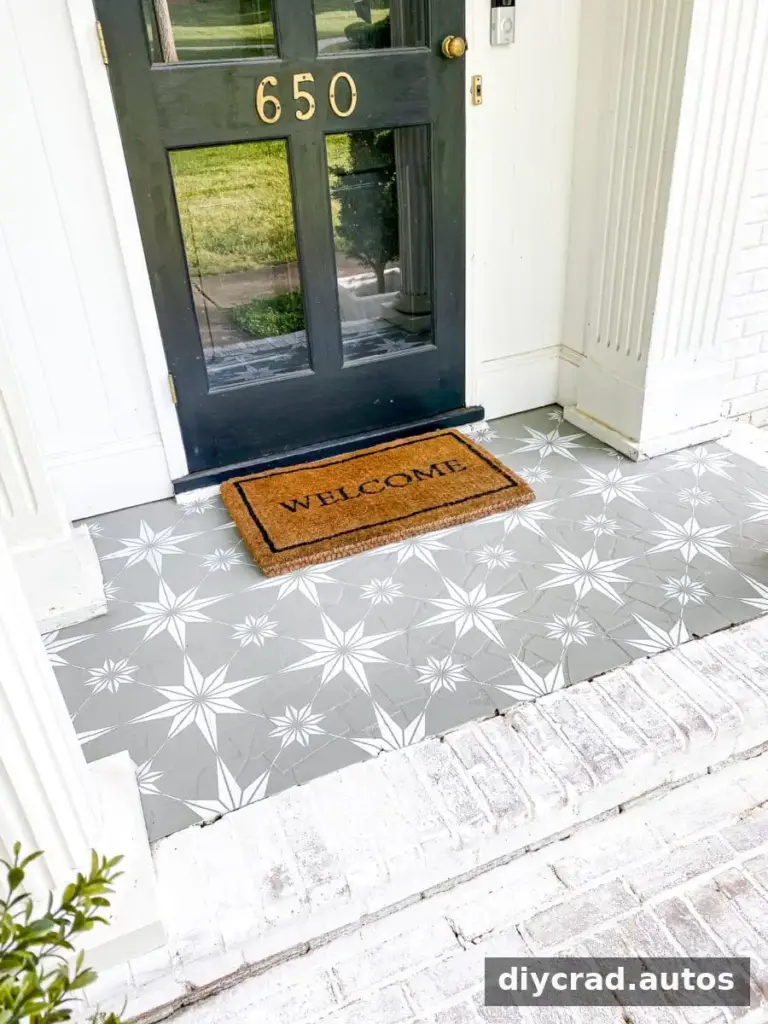
A stencil can add a pattern to a porch floor or bathroom tile floor without replacing the surface. Choose a design that suits the room and check that the paint system is appropriate for the floor material. Secure the stencil, apply paint carefully to limit bleeding beneath its edges, and allow the finish to dry fully before normal use.
5. Know When to Use Primer
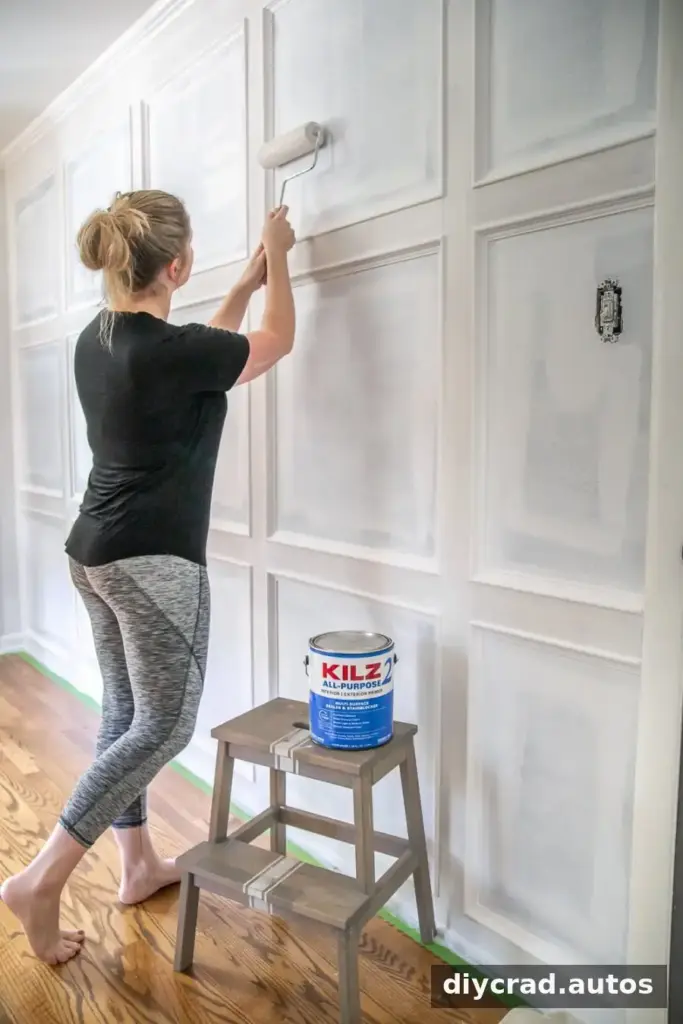
Paint labeled paint-and-primer-in-one does not necessarily remove the need for a separate primer. Bare, stained, uneven, or difficult surfaces may need a primer suited to the material and the paint being applied. Read both product labels and do not skip cleaning, sanding, or other preparation required for the surface.
6. Paint Vinyl Siding
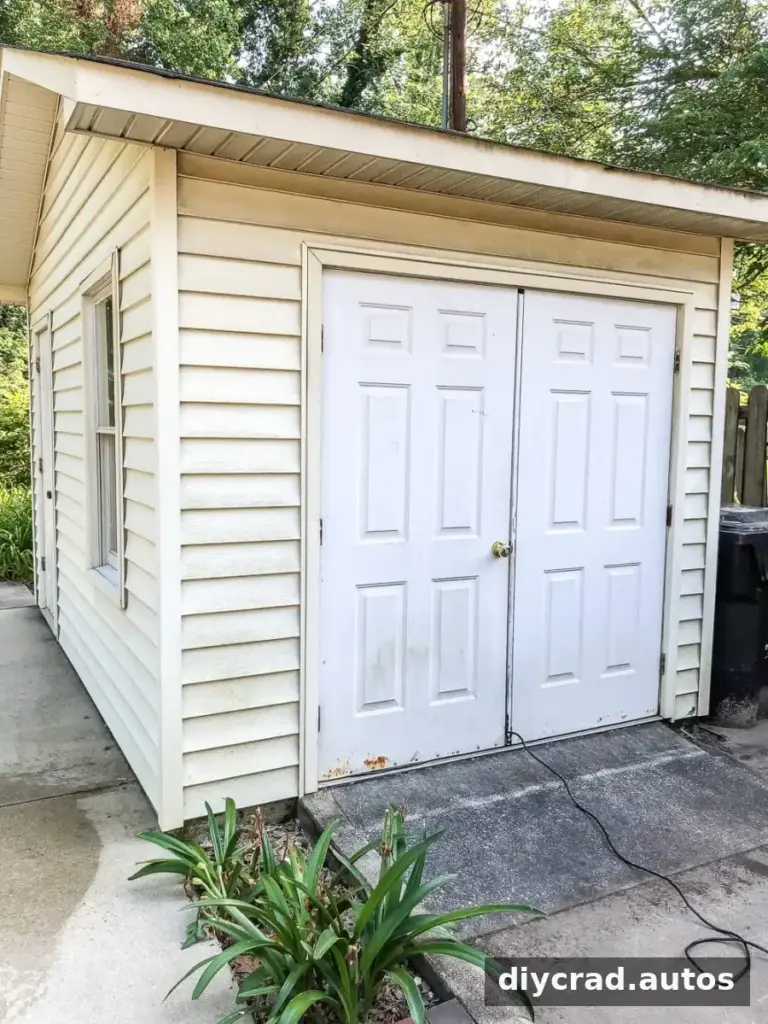
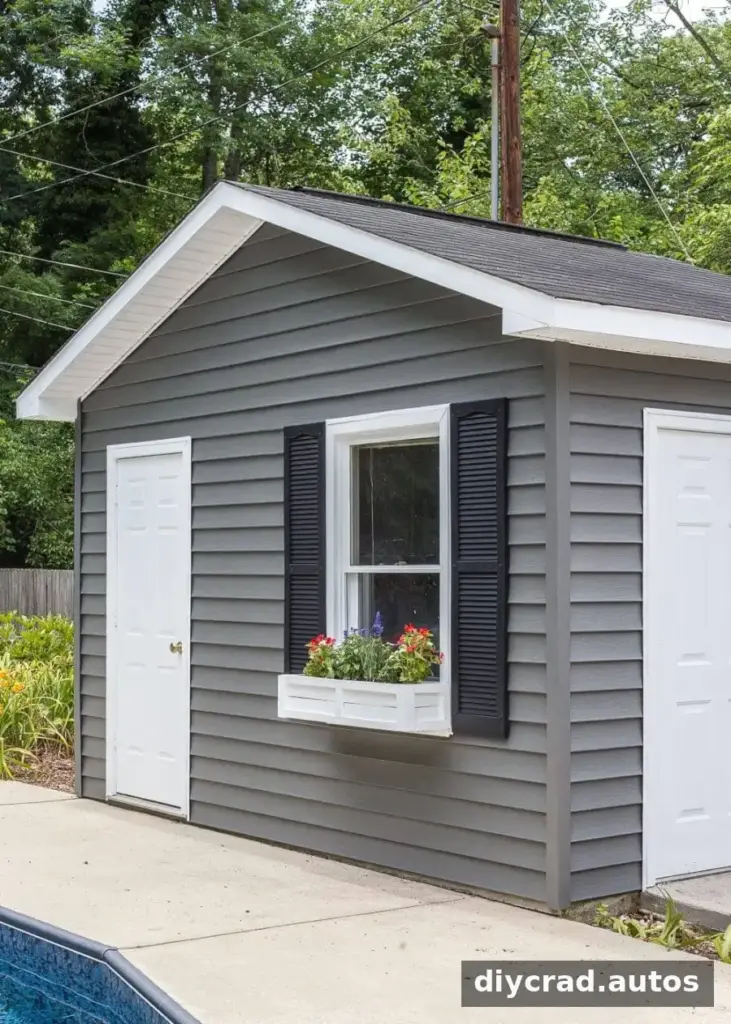
Vinyl siding requires paint and preparation suited to vinyl; using an arbitrary exterior paint may lead to poor results. A shed painted in summer 2019 was reported to still look good. Before painting, check the paint manufacturer’s guidance for vinyl, clean the siding, and follow the recommended application instructions.
7. Add Color to Interior Doors
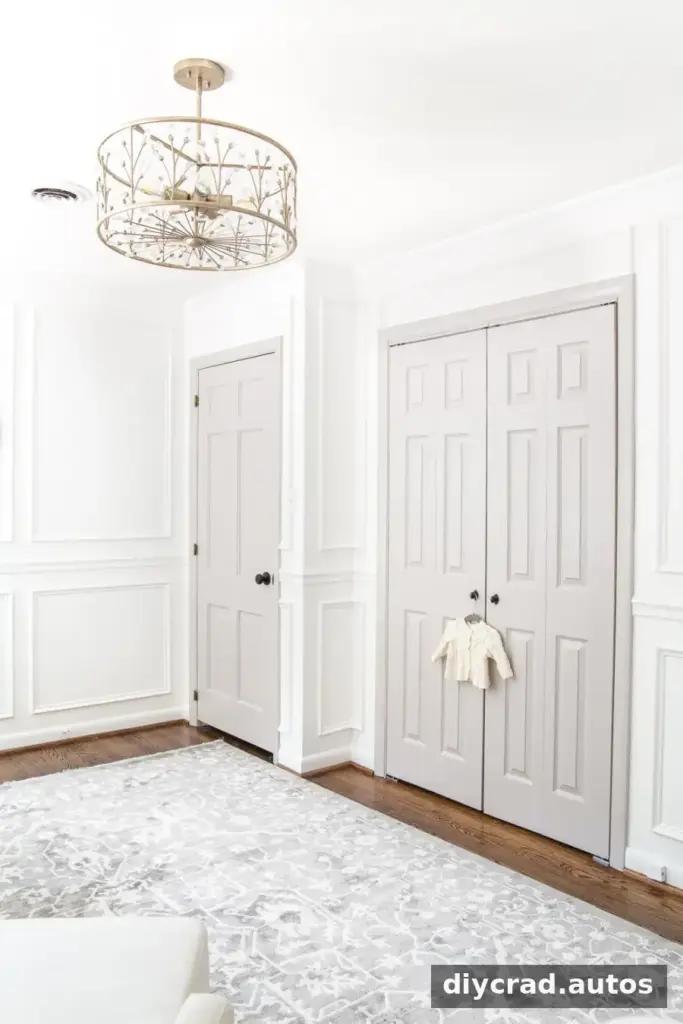
Painting interior doors a color other than white can make them a noticeable part of a room’s design. Coordinate the door color with nearby walls and trim, and remove or protect hardware before painting. Work carefully around edges and allow the finish to dry before closing the door to avoid sticking.
8. Paint Windows and French Doors Neatly
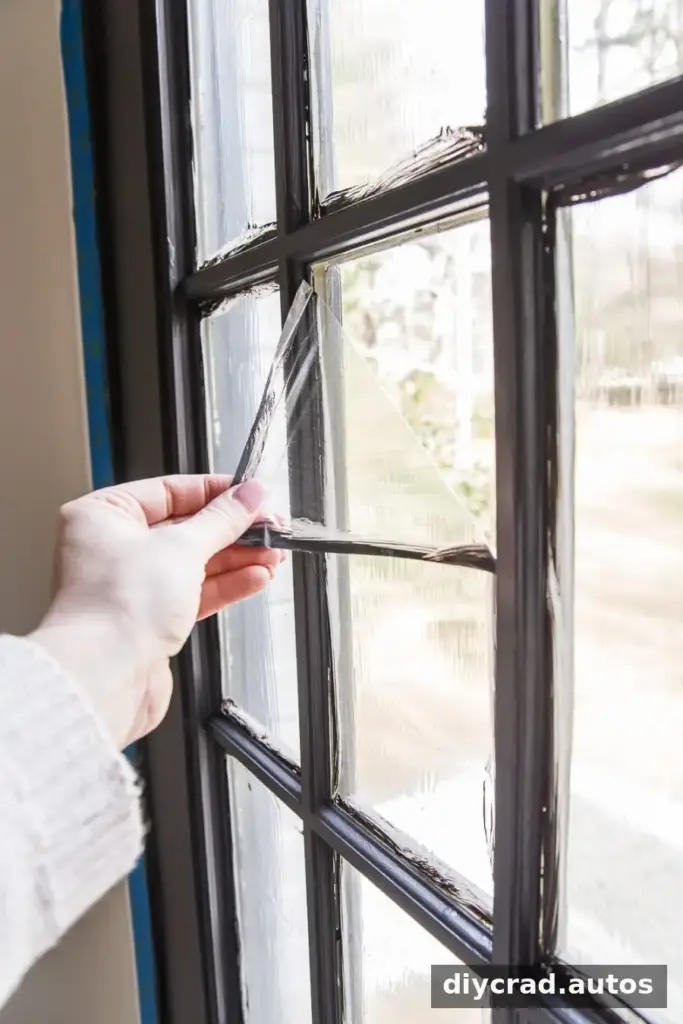
Windows and French doors have narrow edges and glass that can make painting feel fiddly. Use painter’s tape to protect glass and nearby surfaces, press the tape down firmly, and remove it at the stage recommended for the paint. A test area can help confirm that the tape and paint work well together.
9. Limewash Exterior Brick

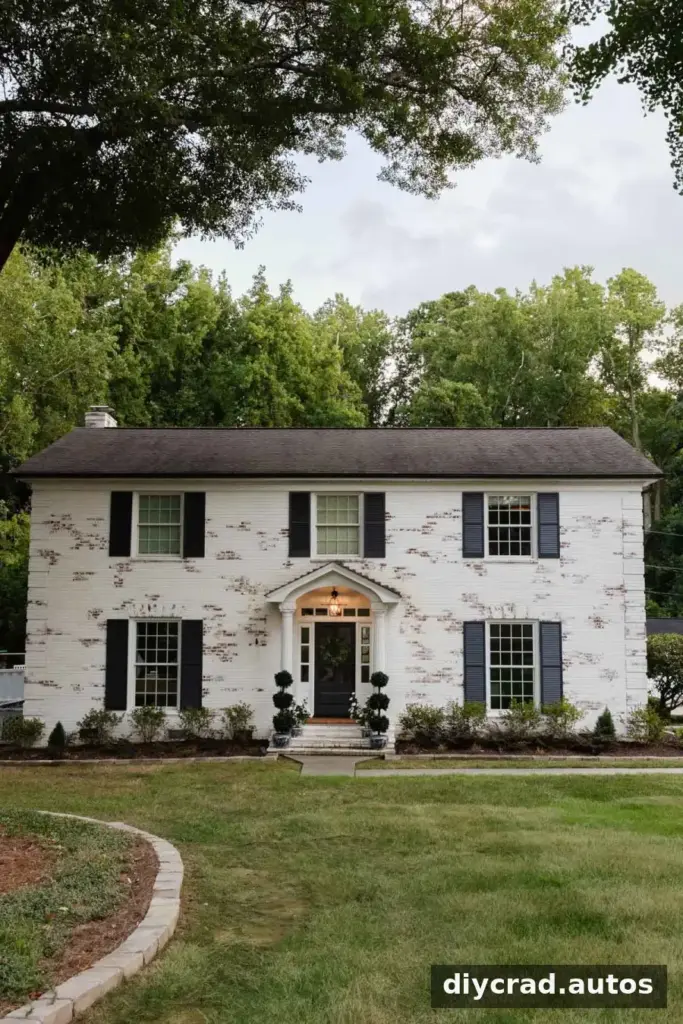
Limewashing can change the appearance of exterior brick while retaining a different look from a conventional painted finish. A limewashed brick exterior completed in December 2017 was described as easier to maintain, with a finish that allows the brick to breathe. Check that the brick is suitable for limewash and follow preparation and application guidance for the specific product.
10. Brighten Old Tile with a Grout Paint Pen
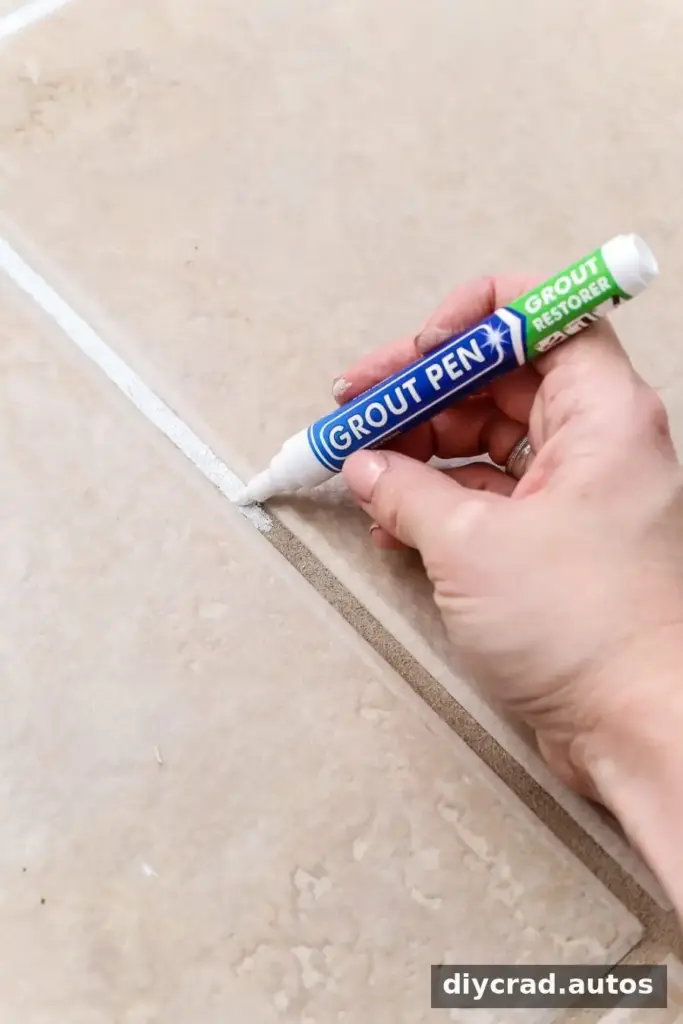
If a tiled floor looks dated, refreshing the grout may be an alternative to painting or replacing the tiles. A grout paint pen can be a relatively quick option for changing grout color, while re-grouting involves removing and replacing the existing grout. Clean the joints first and check the pen’s instructions for suitable grout types and drying time.
11. Refinish a Tub, Shower, Countertop, or Sink
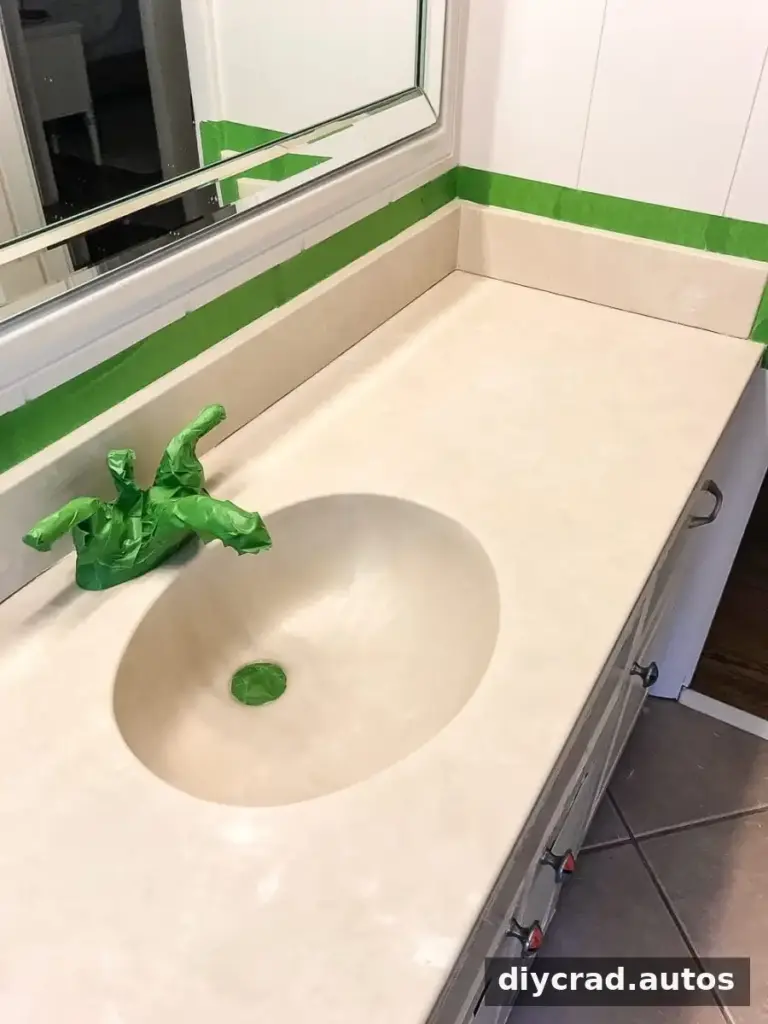
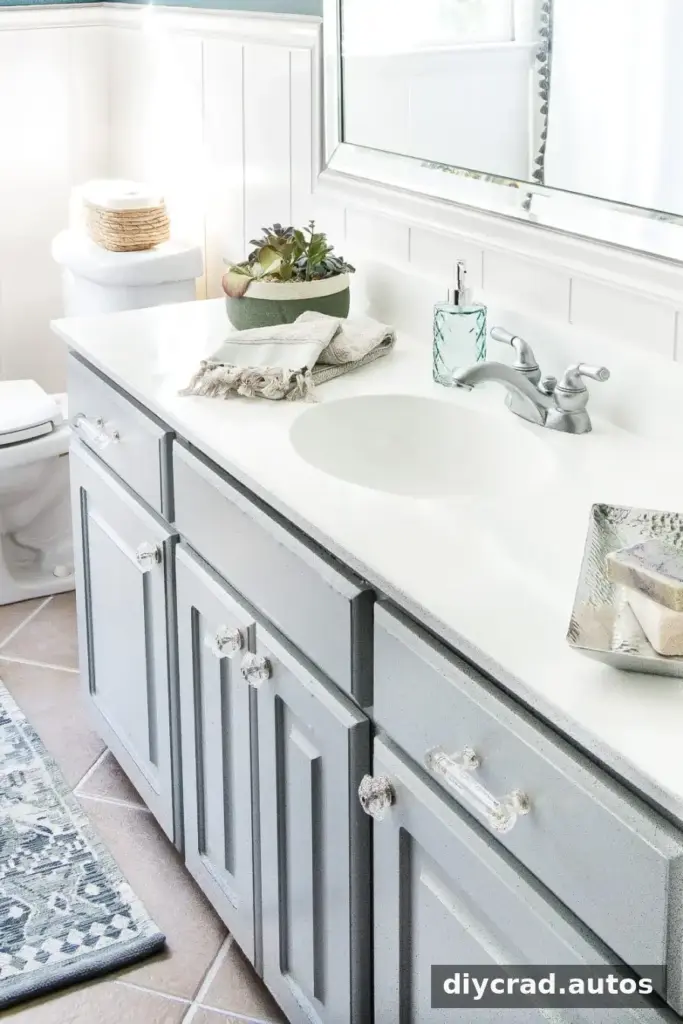
Specialty refinishing kits can update the appearance of tubs, showers, countertops, and sinks. One bathroom project changed beige surfaces to white over a weekend using several paint kits. These surfaces receive frequent contact with water and cleaning products, so use a kit intended for the specific surface and follow every preparation, ventilation, curing, and use instruction.
12. Change the Look of Faucets and Bathroom Fixtures
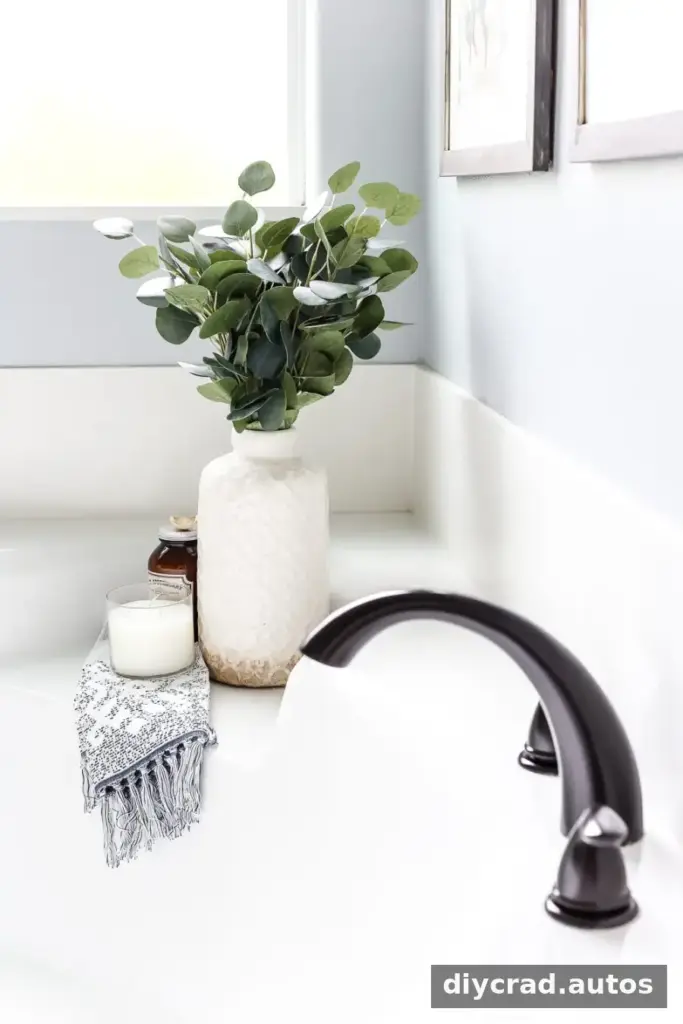
Spray paint may offer a color update for some faucets and bathroom fixtures when replacing them is not the goal. Preparation is essential: clean the fixture, protect surrounding surfaces, and use a coating suitable for the material and intended conditions. A spray-painted tub faucet project was reported to have held up well nearly a decade later, but results depend on preparation and product compatibility.
13. Paint Wall Paneling
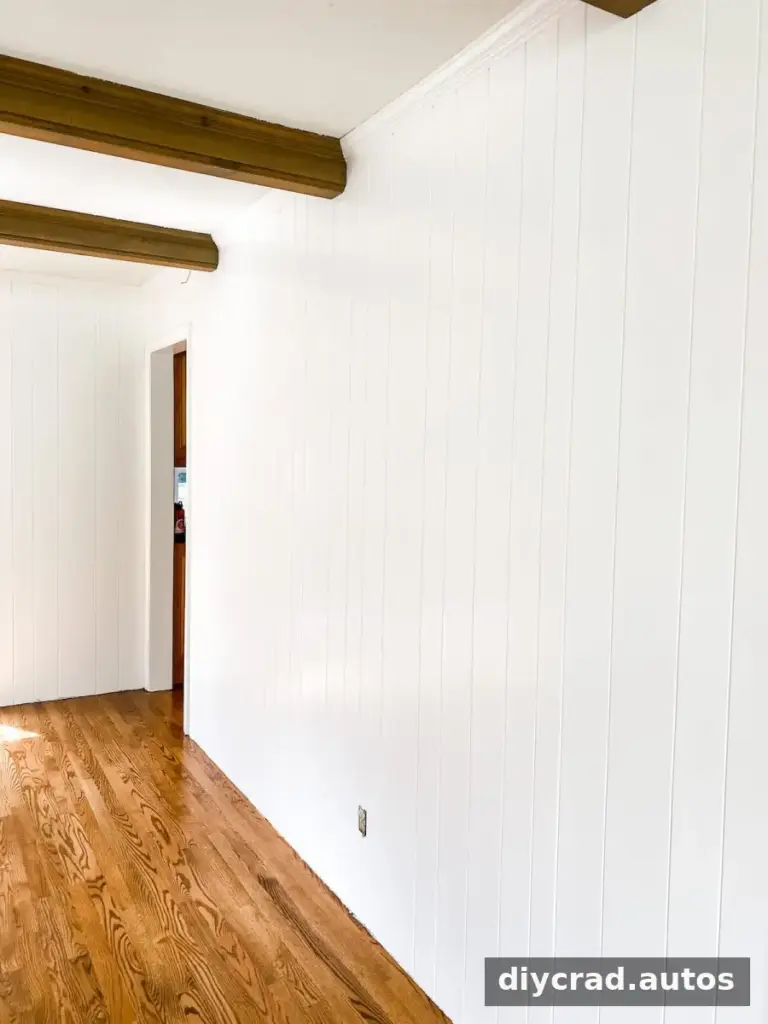
Paint can give retro wood paneling a lighter, more current appearance, or help create the look of a painted plank wall. Stained real wood needs different preparation from drywall, and existing stain can affect the final color. Clean and prepare the paneling as directed, and consider a suitable primer to help reduce bleed-through.
14. Refresh Hardware and Light Fixtures
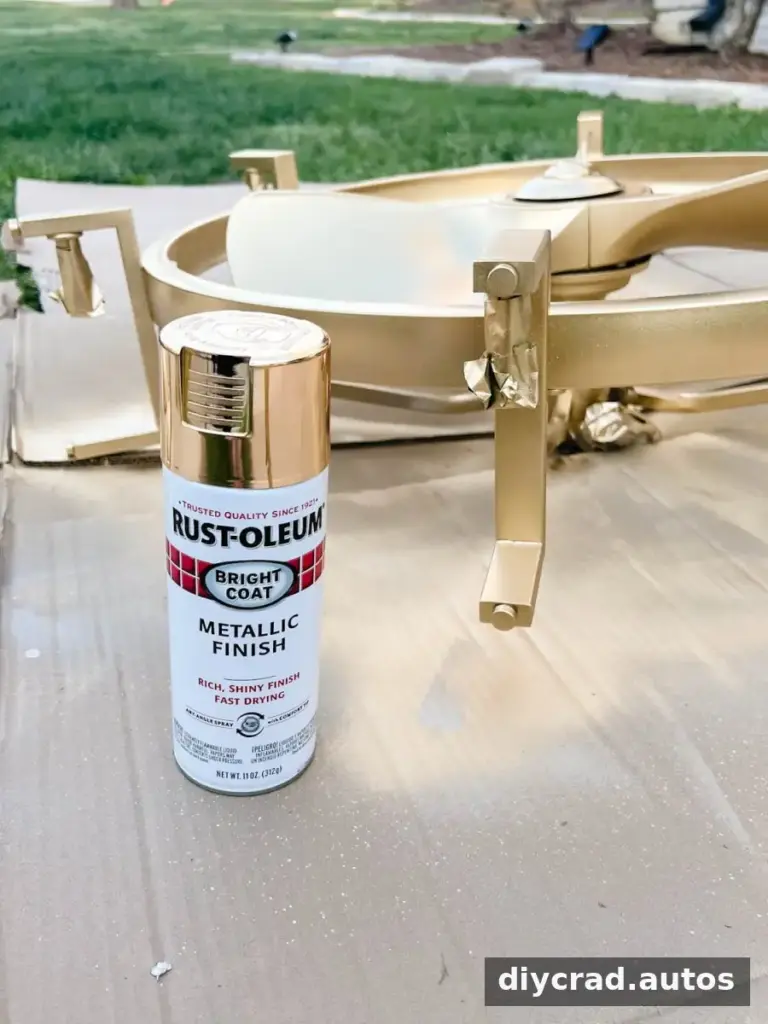

Spray paint can change the finish of furniture pulls and some light fixtures. Remove or carefully mask parts that should not be painted, and apply thin coats in a well-ventilated area while following the product label. Metallic spray finishes are one option for a warmer look; a separate metallic finishing product can add another type of sheen when suitable for the surface.
15. Paint Kitchen Cabinets
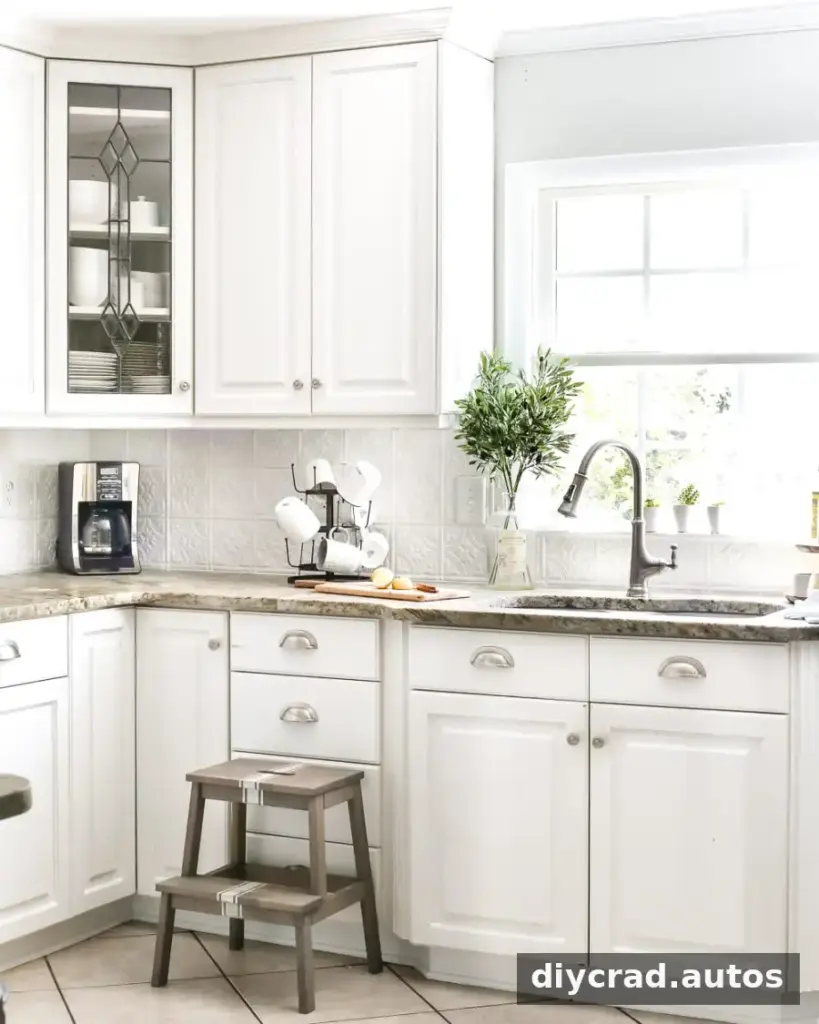
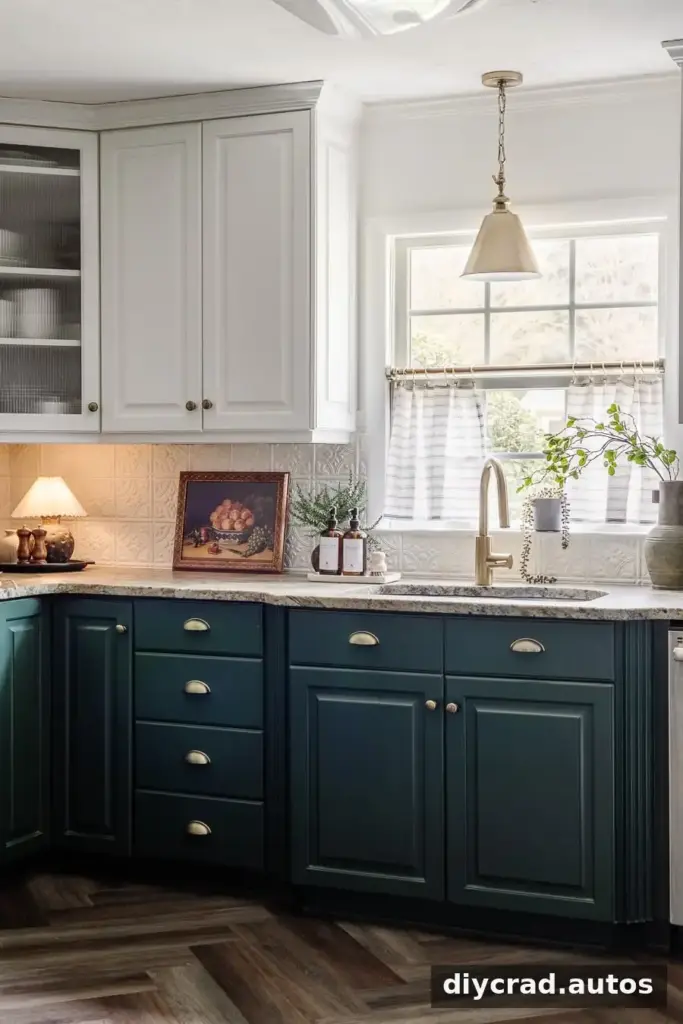
Painting kitchen cabinets can refresh a kitchen without replacing the cabinetry. The result depends heavily on preparation and selecting paint made for cabinets. Clean the doors and frames, label removed hardware so it can be returned to the right place, and follow the recommended drying and curing times before putting items back into regular use.
16. Try Color Drenching
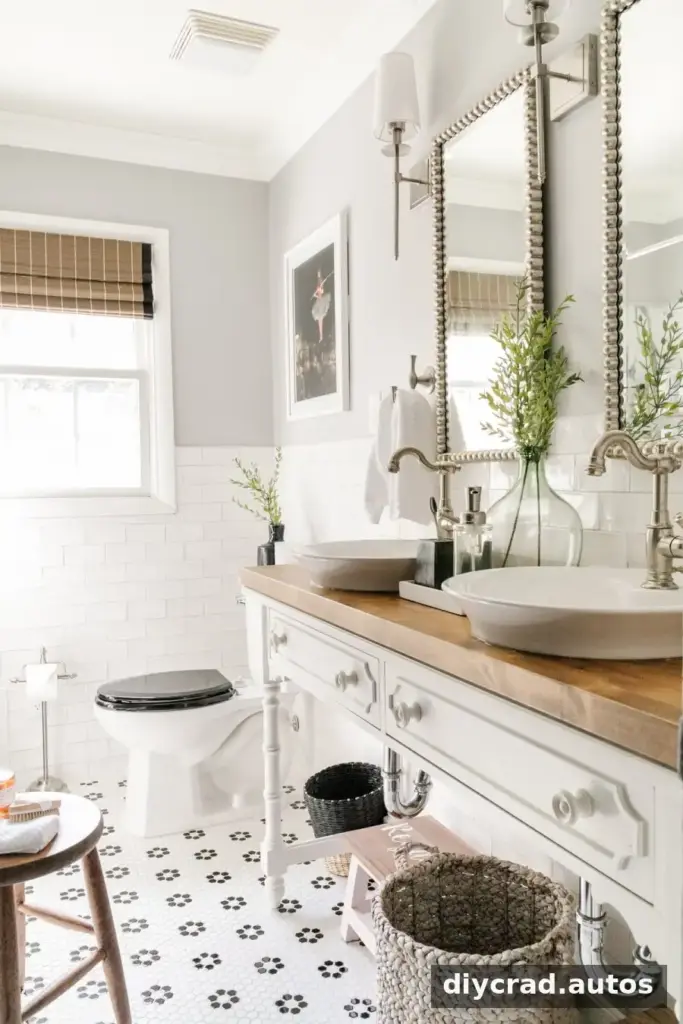
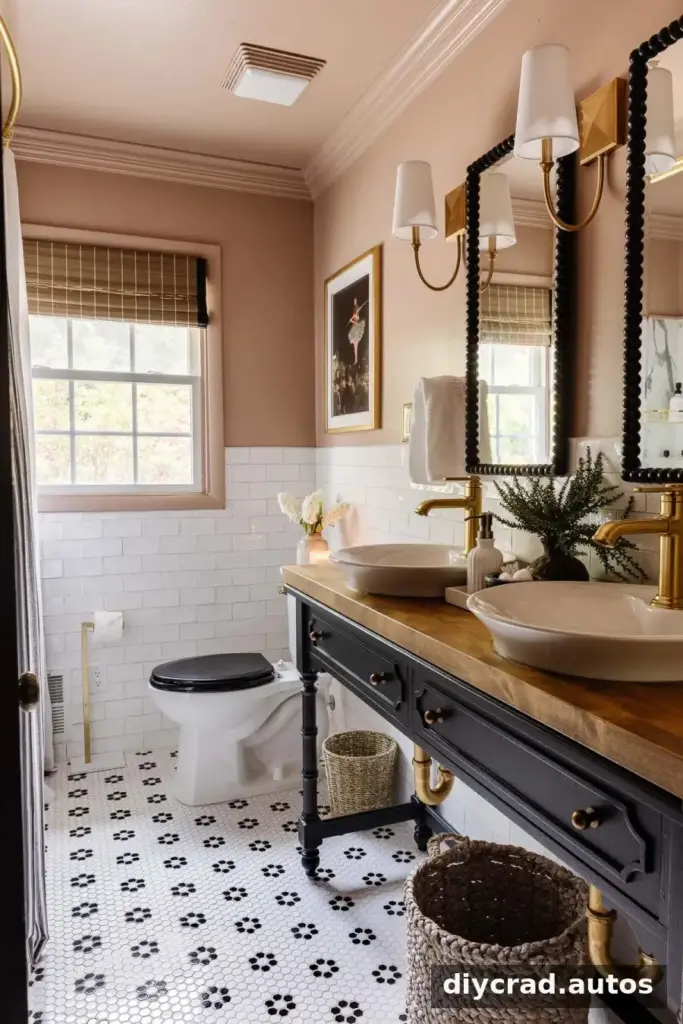
Color drenching means painting the walls, trim, and ceiling the same color. This approach can make a small room feel more unified and create a strong visual effect. Compare the chosen color in the room’s lighting first, and use the appropriate finish for each surface even when keeping the color consistent.
17. Add Color to the Ceiling
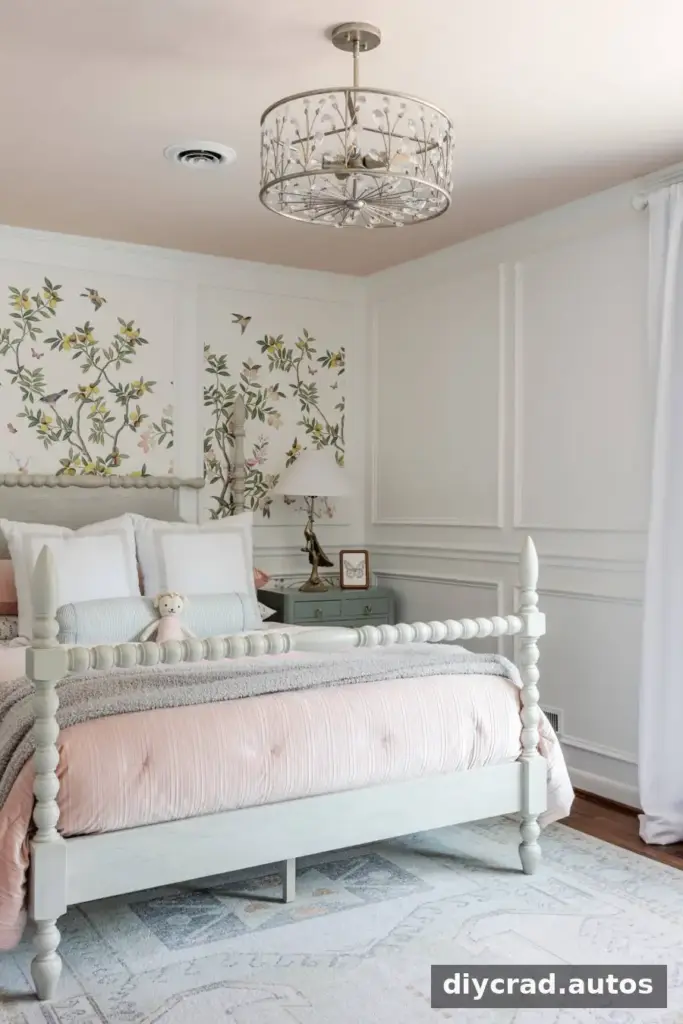
A painted ceiling can introduce color and personality without changing every wall. A gallon of paint may be enough for a modest color update, depending on the ceiling’s size and coverage requirements. Blush pink is one option for adding a gentle sense of warmth. Protect the floor and furniture, and use suitable equipment to work safely overhead.
18. Create a Color-Blocked Wall
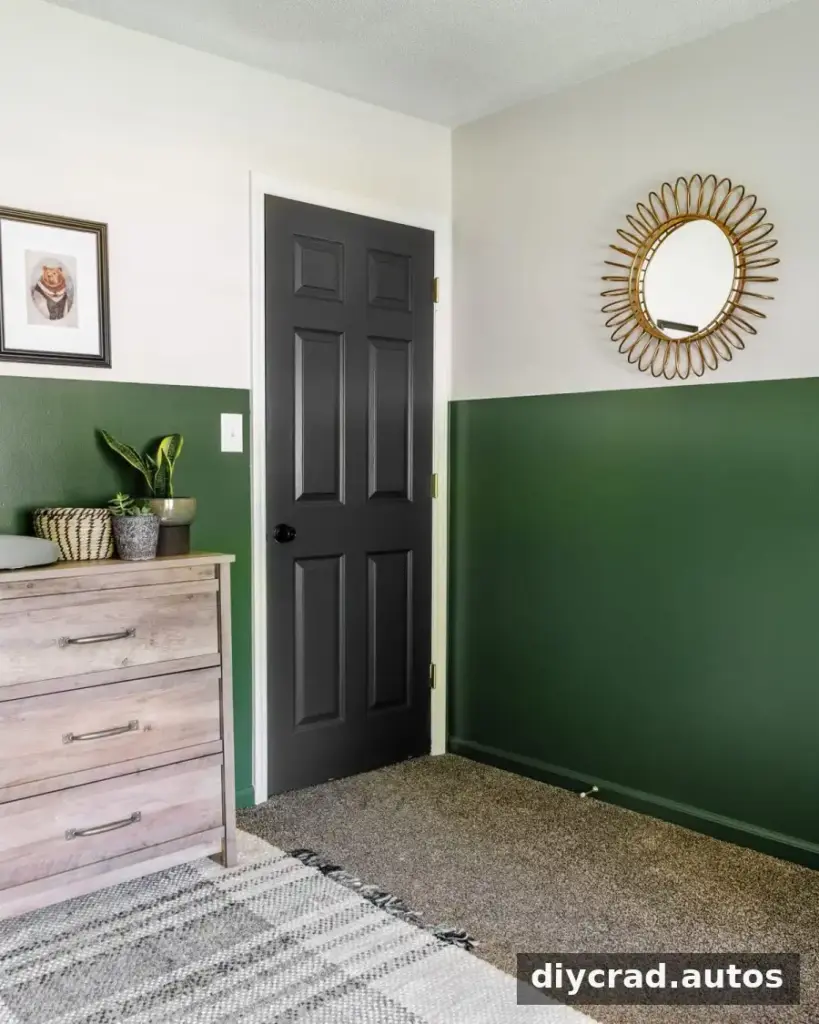
Painting part of a wall in a contrasting color can suggest the look of wainscoting without adding paneling. It can also define an area, such as a nursery, with a clear band of color. Mark the line carefully with painter’s tape. For a crisp edge, a small amount of caulk can be applied along the tape edge and wiped clean while wet before painting over it, as described in this method.
Conclusion: Choose Home Painting Ideas That Fit Your Space
These home painting ideas range from simple color updates to more involved projects for floors, cabinets, fixtures, and exterior materials. Start with the surface that would make the biggest difference, then confirm that your paint or refinishing product is designed for that material. Careful preparation, a small test area, and enough drying time can help make a home painting project more successful.

