Learning how to hang wallpaper is easier when you prepare the wall, measure carefully, and take time to line up each panel. The process can take most of a day, especially for a first project, but the right tools and a helper can make it more manageable. Always check the wallpaper manufacturer’s instructions, since preparation and paste requirements vary by product.
How to Hang Wallpaper: Tools and Materials
Gather your supplies before you begin. Having a long work table is especially useful for measuring, cutting, and applying paste without creasing the paper.
- Wallpaper, plus wallpaper primer or wallpaper size as appropriate
- A trough or extra-large paint tray filled with water for pre-pasted wallpaper
- A plumb bob or laser level, pencil, and tape measure
- Wallpaper paste and a paste brush if the wallpaper is not pre-pasted
- Scissors and an optional L-square tool
- A sponge and clean, damp rags
- A wallpaper hanging brush or plastic smoother
- A metal straight edge and a utility knife with plenty of sharp blades
- A seam roller and a ladder
- A long work table and, if possible, a second person to help
Practical tip: Keep clean water and rags nearby. Removing paste promptly helps keep the wallpaper’s surface clean as you work.
Prepare the Wall and Set a Straight Starting Line
1. Start with a smooth, clean wall. Fill nail holes and other small imperfections with spackle, let the repairs dry, and sand them smooth. Remove old wallpaper before installing new paper.
2. If the wall is dark and your wallpaper is light-colored, consider applying white paint or wallpaper primer in advance. Some wallpaper is not fully opaque, so the underlying color may show through.
3. Apply wallpaper size the night before hanging, if it is suitable for your wall and wallpaper. It can make it easier to slide a panel into position while matching the pattern. Follow the product directions for application and drying.
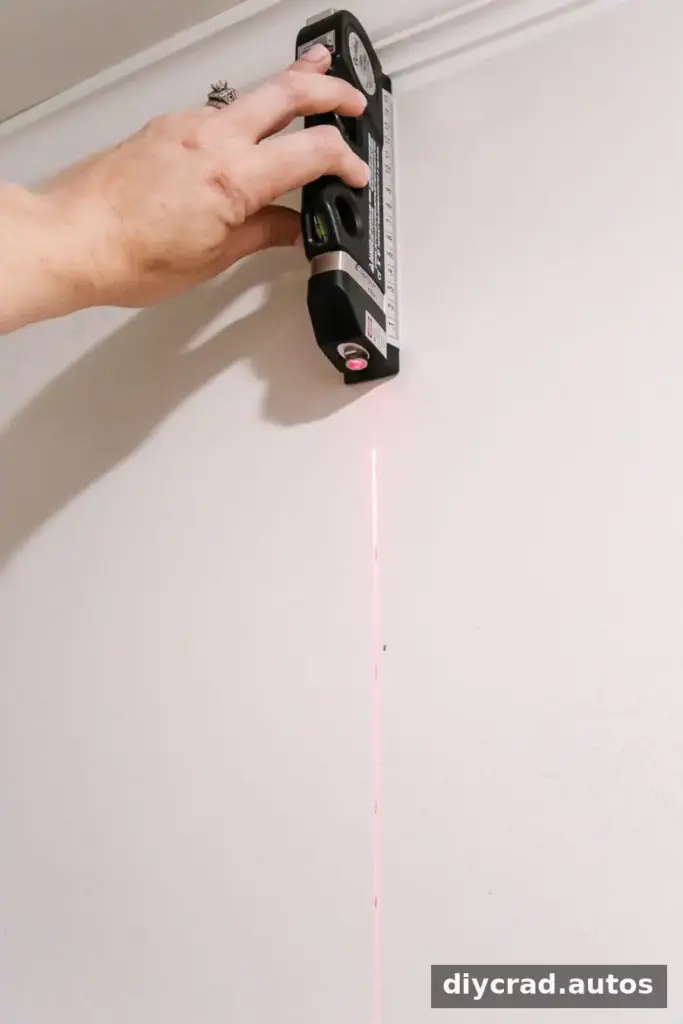
4. Choose a flat wall for your starting point rather than beginning in a corner. Corners are not always perfectly square, while an unobstructed wall gives a beginner room to get used to handling the paper. Use a plumb bob or laser level to mark a straight vertical guide with a pencil.
Measure, Cut, and Prepare Each Panel
5. Measure the wall’s height and add 4 inches to allow extra paper at the top and bottom for trimming.
6. Decide where you want the top of the wallpaper pattern to sit. Unroll the paper on the work table, measure the panel length, and use an L-square tool to mark a straight cutting line.
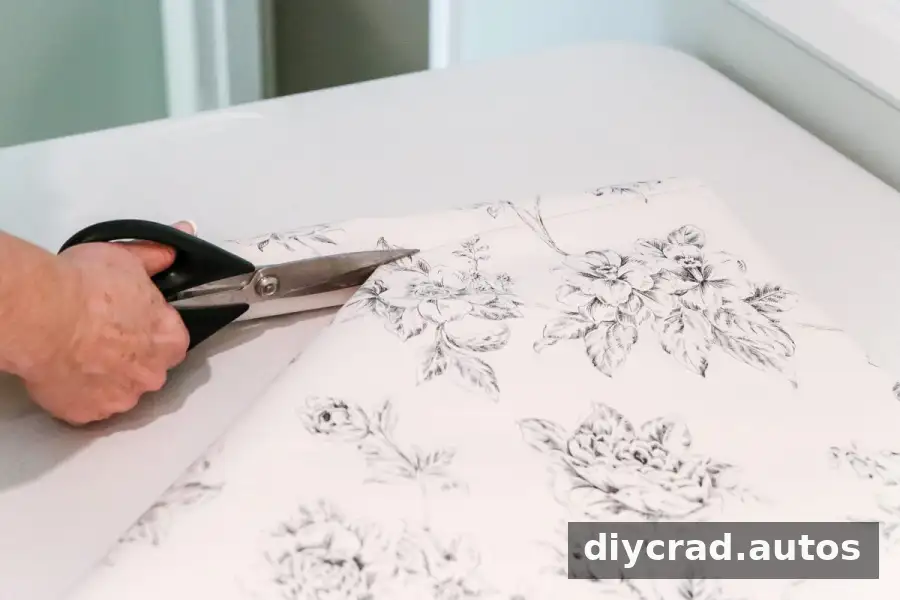
7. Cut along the marked line. Before cutting later panels, check how the pattern repeats so you can align the design from one strip to the next. Matching a pattern may create some offcuts.
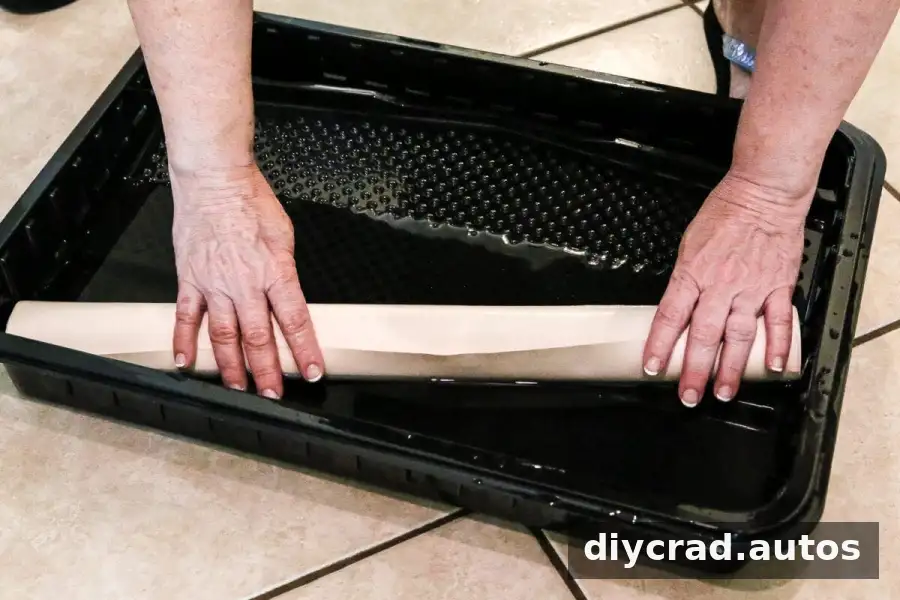
8. For pre-pasted wallpaper, prepare the water in a trough or large tray. Roll the paper with its backing facing outward, submerge it, and make sure the backing gets wet. If using a flat tray, place the paper face down in the water to wet the backing. For unpasted wallpaper, lay it backing-side-up on the work table and apply paste with a brush or roller, following the product directions.
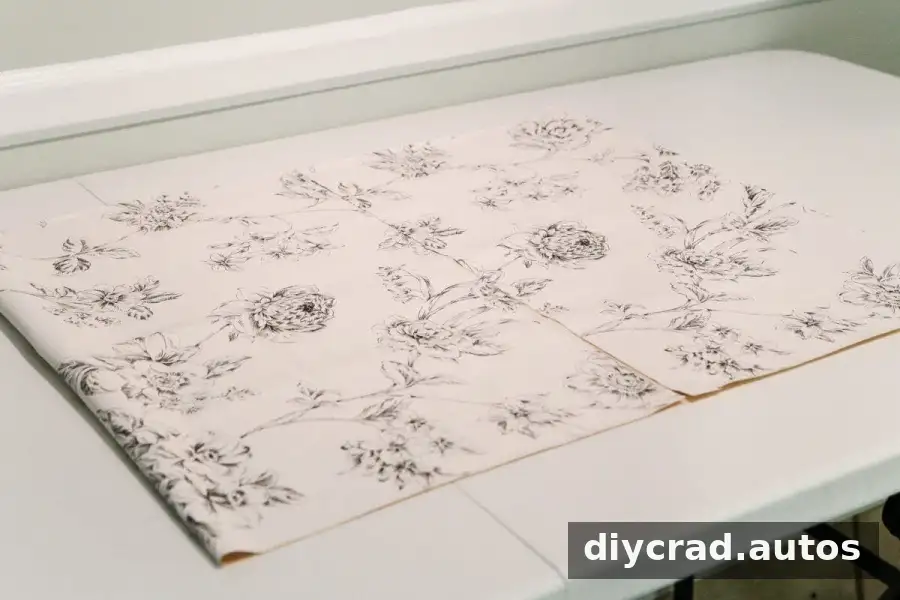
9. Loosely fold both ends of the pasted or activated paper toward the middle, with the pasted sides together. This is called booking. Avoid making sharp creases, and let the panel rest for 2–3 minutes so the paste can activate. Timing can vary by product, so check its instructions. Wipe the table clean and dry it before preparing the next panel.
Hang the Wallpaper and Match the Seams
10. Unfold the booked panel carefully. Having a second person hold the lower portion can make it easier to control while you position the top.
11. Align the panel’s edge with the vertical guide and place it on the wall. Make small adjustments to keep the strip straight.
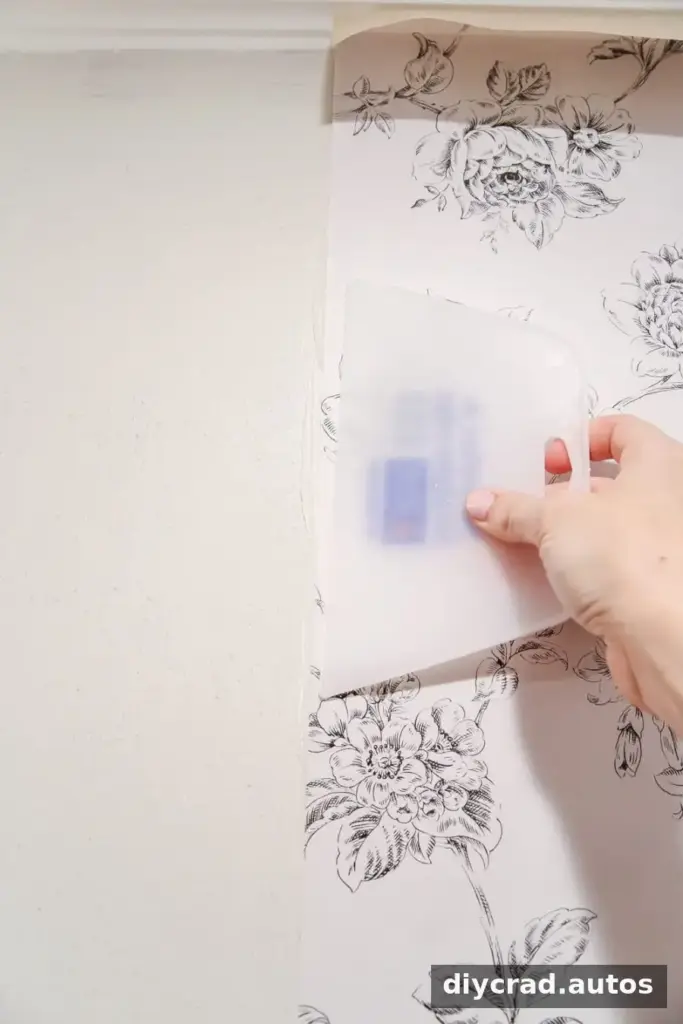
12. Use a wallpaper brush or plastic smoother to press the paper into place, working out air bubbles and excess paste. Wipe away paste with a clean, damp sponge or rag, taking care not to damage the paper. Work patiently until the panel lies flat.
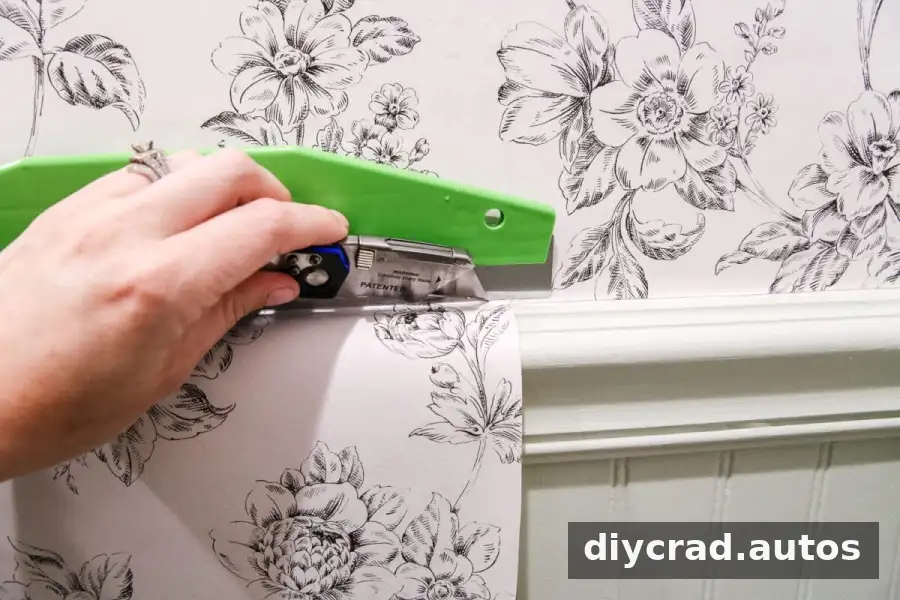
13. Press the wallpaper into the top and bottom edges with a metal straight edge, then trim away the excess with a sharp utility knife. Replace blades when they become dull; a clean, sharp edge helps reduce tearing.
14. Prepare the next panel with the pattern in mind. Check the design before cutting so the pattern can continue across the wall.
15. Place the next strip beside the first, bringing the edges together without overlapping them. Slide the paper gently if needed to align the pattern; wallpaper size can make repositioning easier.
16. Smooth the panel and trim the top and bottom. Run a seam roller lightly along the join to help the edges lie flat, following the wallpaper’s care instructions.
17. At corners and around obstacles, use scissors to make careful diagonal cuts that let the paper sit around the angle. Smooth the paper, then trim excess with the utility knife. Take extra care when cutting near switches or other fittings.
Check the Panels as the Paste Dries
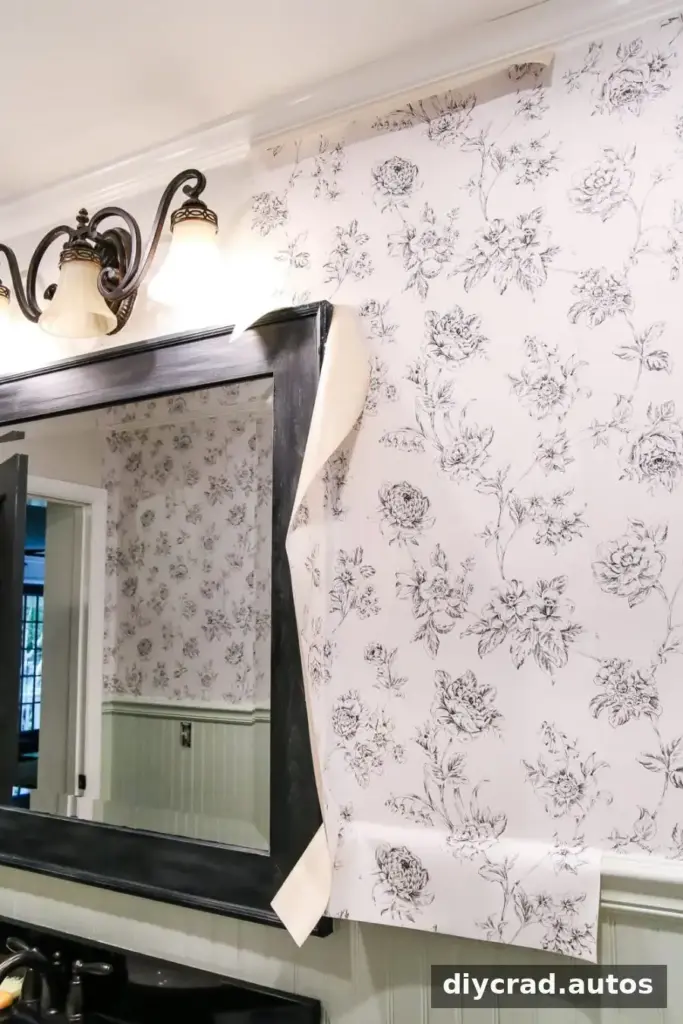
18. Keep checking completed panels as you work. Air bubbles may appear while the paste dries. Smooth them with a brush or plastic smoother; if a small bubble remains, a sharp pin can be used to release the trapped air before pressing the area flat.
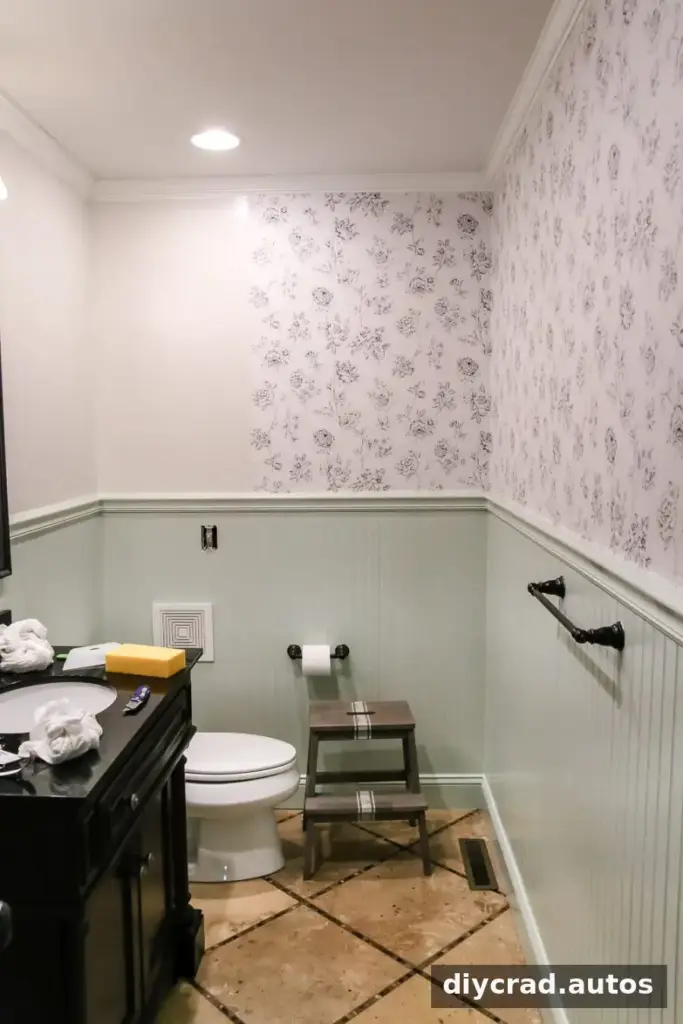
A wallpapering project may take nearly an entire day, particularly when measuring, matching patterns, and learning the process for the first time. Work steadily, keep tools clean, and pause to check that each panel is straight and its seams meet neatly.
Final Tips for Hanging Wallpaper
Before starting, confirm that you have enough wallpaper for the wall and any pattern matching, and read the product instructions for paste, soaking, and cleaning. Prepare one panel at a time so the adhesive does not dry before installation. If you are working alone, shorter sections of wall or a second pair of hands can make positioning easier.
For a powder room or another small space, wallpaper can be one part of a larger update alongside paint, lighting, hardware, flooring, and decor. Plan the order of those jobs so that wet paint, dust, or other work does not damage newly installed paper.
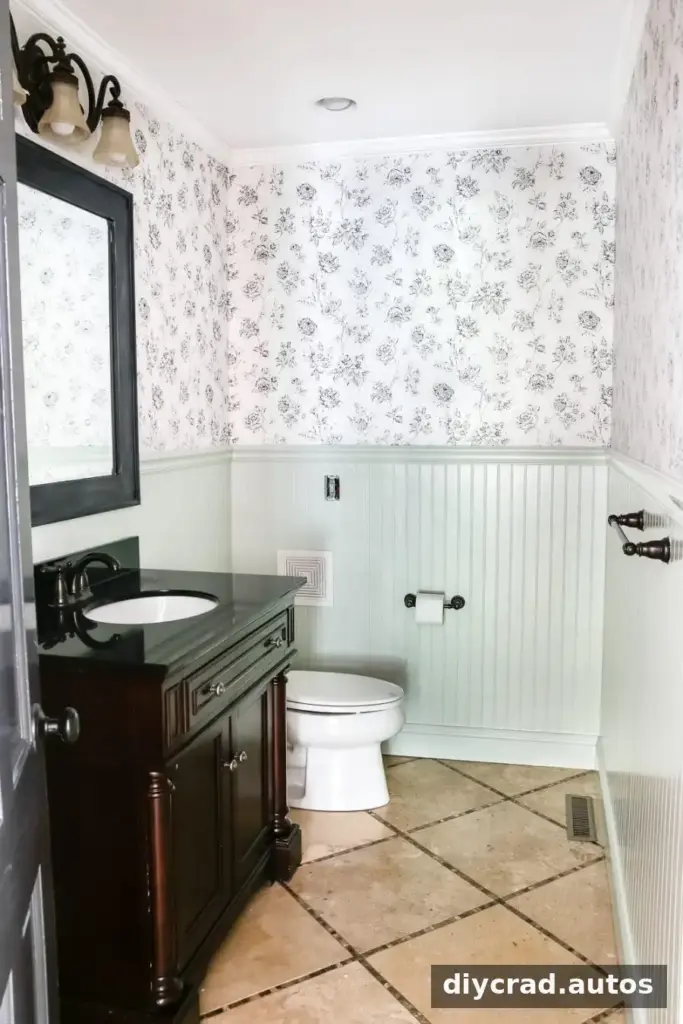
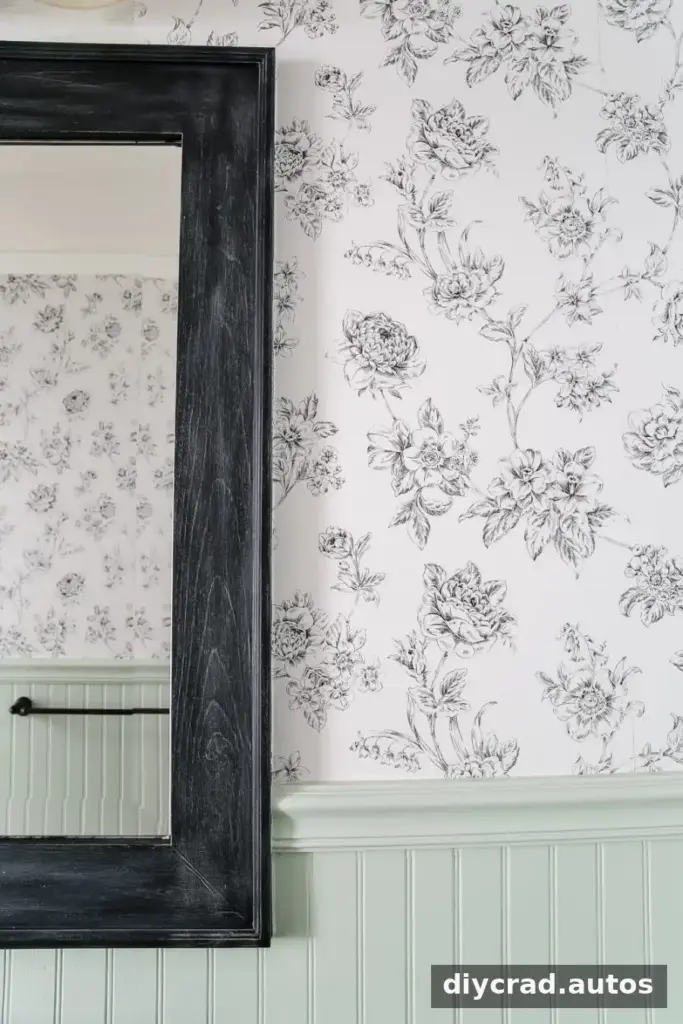
With a clean surface, a straight guide, careful pattern matching, and patient smoothing, how to hang wallpaper becomes a practical project rather than a mystery. Measure twice, trim with a sharp blade, and check every seam as you go for a neat finish.