


Learning how to paint furniture can help you refresh a tired piece, personalize your home, or make a secondhand find more useful. The key to a finish that lasts is choosing suitable paint, preparing the surface carefully, and allowing enough time for each coat to dry. This beginner-friendly guide covers the process from finding a piece to adding the final details.
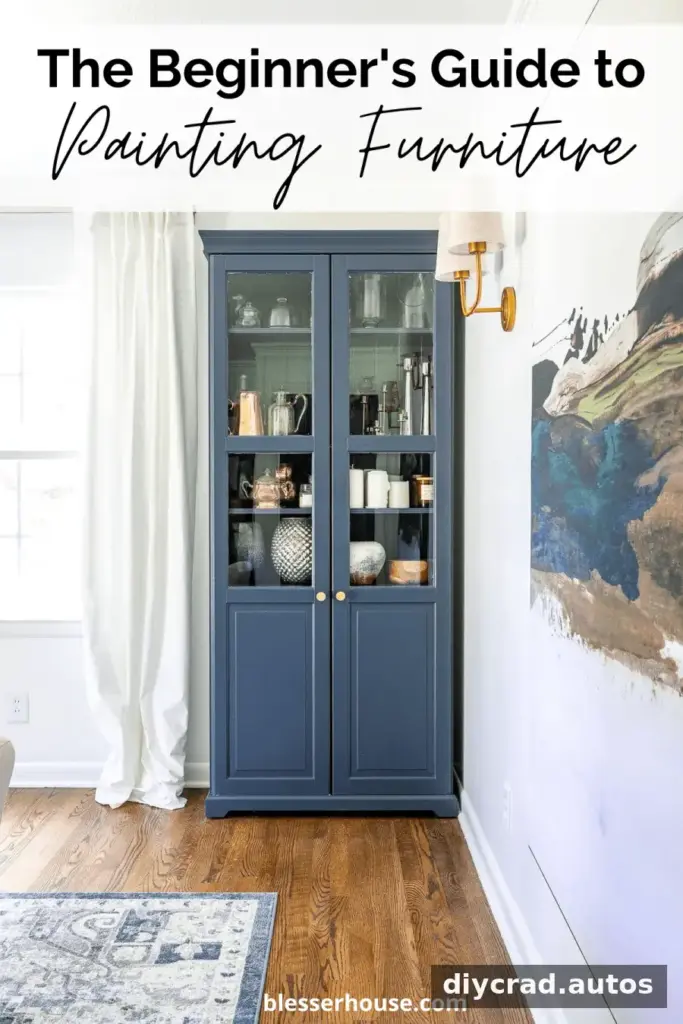
How to Paint Furniture as a Beginner
Start with a sturdy piece in good condition. A small table, dresser, or chair is a manageable first project. Check that drawers and doors work, inspect for loose joints or peeling veneer, and make sure you have a clean, well-ventilated place to work. If the furniture may be an antique or has an unknown coating, take extra care before sanding; older finishes can require specific precautions.
Painting furniture does not require advanced skills, but patience matters. Give yourself time for cleaning, repairs, coats, and drying rather than trying to finish everything in one session.

Where to Find Secondhand Furniture to Paint
Secondhand furniture is often available through online marketplaces, thrift and consignment shops, estate sales, yard sales, moving sales, and local buy-and-sell groups. Prices and condition vary, so compare several listings and inspect an item before committing when possible.
What to Check Before You Buy
- Look for solid construction, stable legs, and drawers that open and close.
- Check for water damage, strong odors, pests, and extensive veneer separation.
- Measure the piece and the space where you plan to use it.
- Include the cost of paint, primer, repairs, and hardware in your budget.
A piece with cosmetic scratches can be a good project; structural damage may take more time and skill to repair.
Secondhand Furniture Shopping Sources
- Online marketplaces and local buy-and-sell groups
- Thrift and consignment shops
- Antique stores
- Estate, yard, garage, and moving sales
- Neighborhood selling apps and community listings
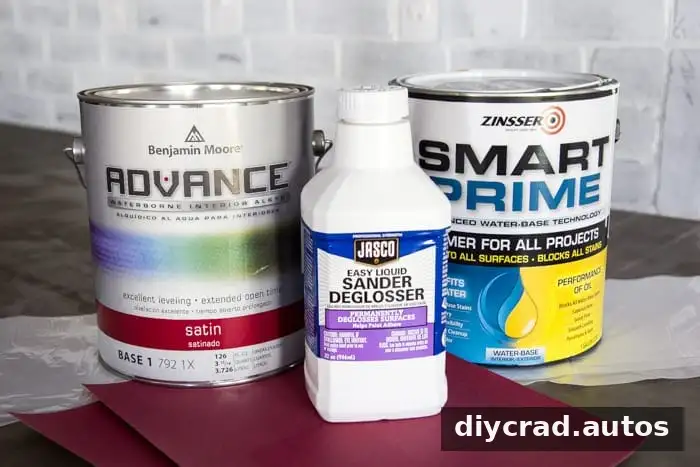
Supplies for Painting Furniture
Basic Supplies
- Drop cloth or protective covering
- Household cleaner suitable for the surface
- Clean, dry rags and chemical-resistant gloves
- Screwdriver for removing hardware
- Wood filler and a putty knife
- Medium- and fine-grit sandpaper
- Paint suitable for furniture
- Quality angled brush and, for broad smooth areas, a small foam roller
- Tack cloth or another lint-free method for removing sanding dust
Optional Supplies
- Adhesion primer for slick surfaces or demanding use
- Stain-blocking primer for dark or tannin-rich wood
- Paint tray, detail brushes, or a wire brush for special finishes
- Furniture wax for a compatible decorative finish
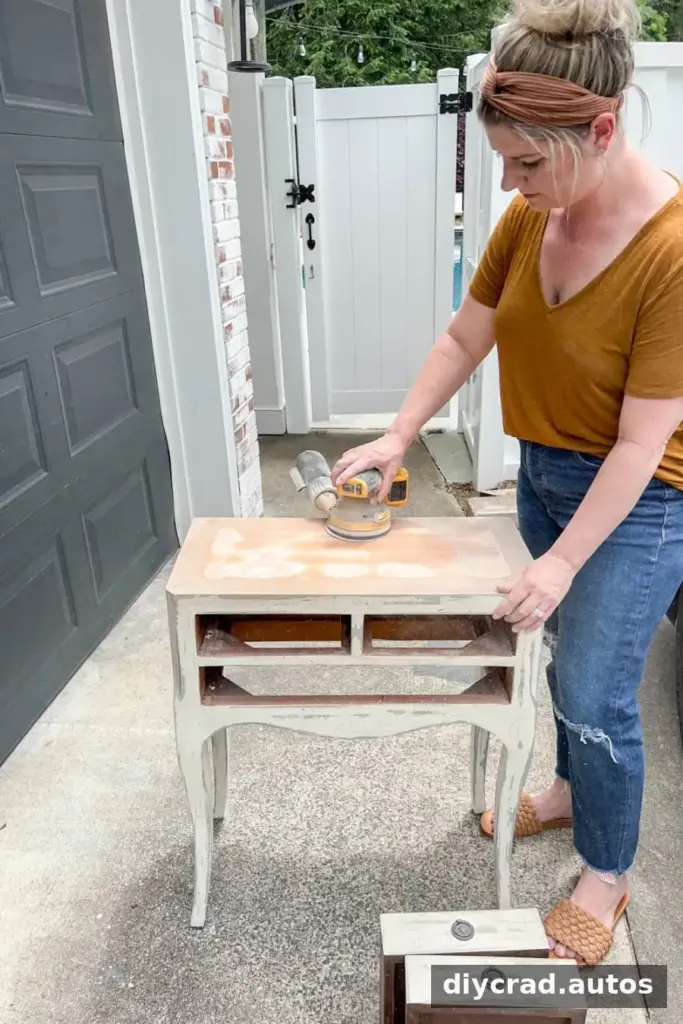
- Orbital sander if removing an existing finish
- Water-based protective topcoat for surfaces that need added wear resistance
Read product labels before use, especially for ventilation, protective equipment, drying times, and surface compatibility. Do not mix cleaning products.
Choosing Paint for Furniture
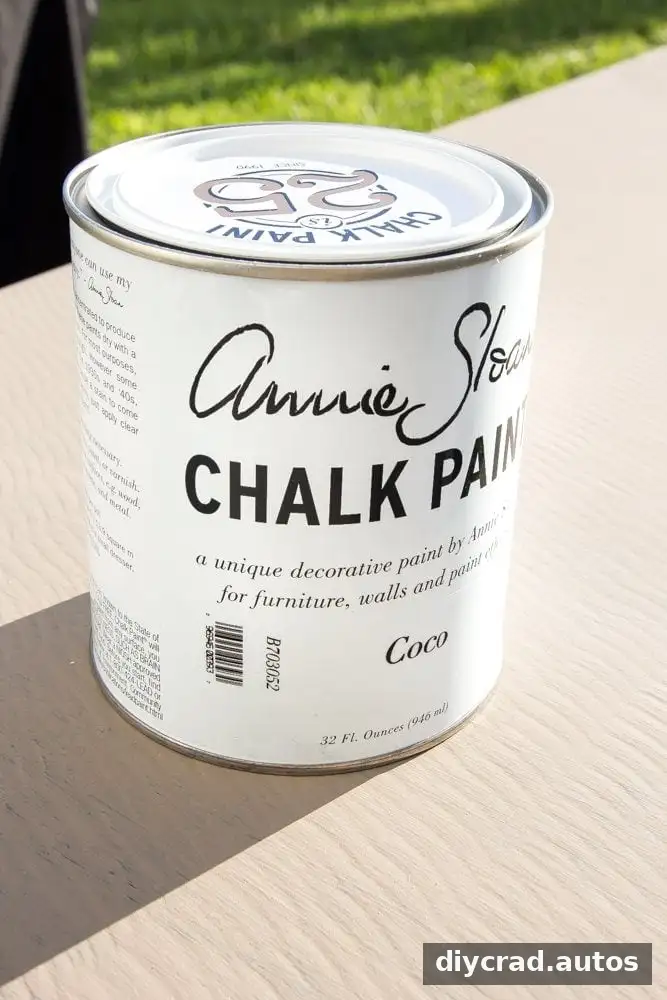
Chalk-Style Paint
Chalk-style paint is often chosen for a very matte appearance or a finish that will be distressed. Brush marks may remain visible, and many formulations need a compatible wax or topcoat for protection. Check the label rather than assuming every product has the same preparation or sealing requirements.
- Usually has a flat or low-sheen appearance.
- Can suit decorative, aged-looking finishes.
- May need a protective finish, particularly on frequently handled surfaces.

Mineral Paint
Mineral paints are available in formulations that can offer a smooth, low-sheen finish with limited preparation on some surfaces. Follow the manufacturer’s directions: the need for primer or a sealer depends on the product and the furniture’s condition.
- Often provides a satin-like appearance.
- Can be suitable for decorative effects and light distressing.
- Confirm whether a topcoat is recommended for the intended use.
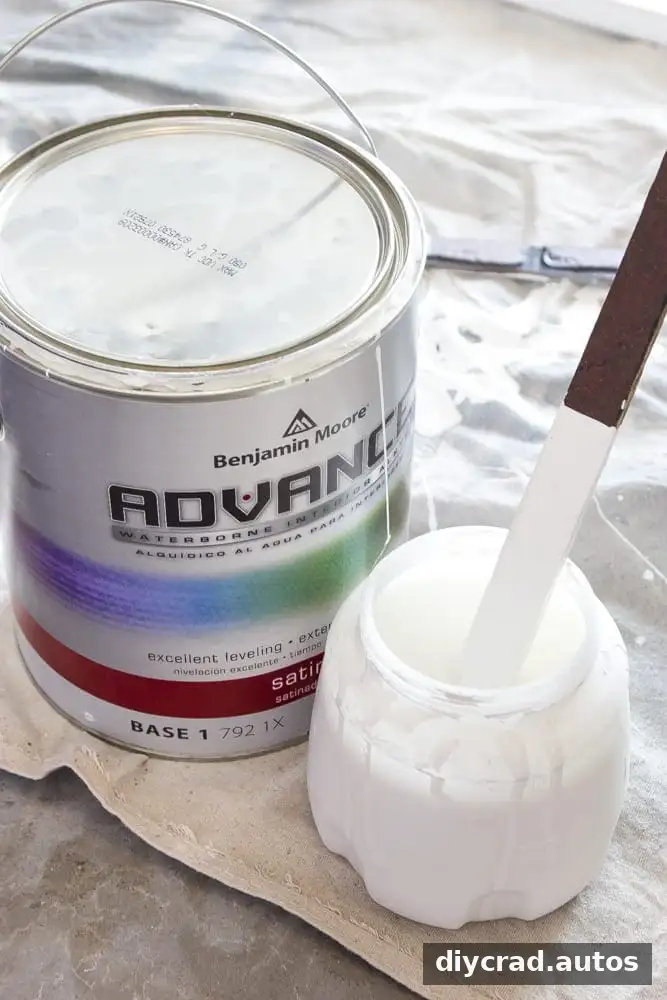
Water-Based Alkyd and Urethane Acrylic Enamel
These paints are commonly used where a harder-wearing finish is important, such as on tables, doors, or other frequently used pieces. They may self-level as they dry, but surface preparation and primer may still be necessary.
- Available in different sheens, depending on the product.
- May require primer, especially on slick or stained surfaces.
- Often does not need a separate sealer; follow the label.
The paint type and the existing surface determine how much preparation is needed. Always test your plan on an inconspicuous area if you are unsure.
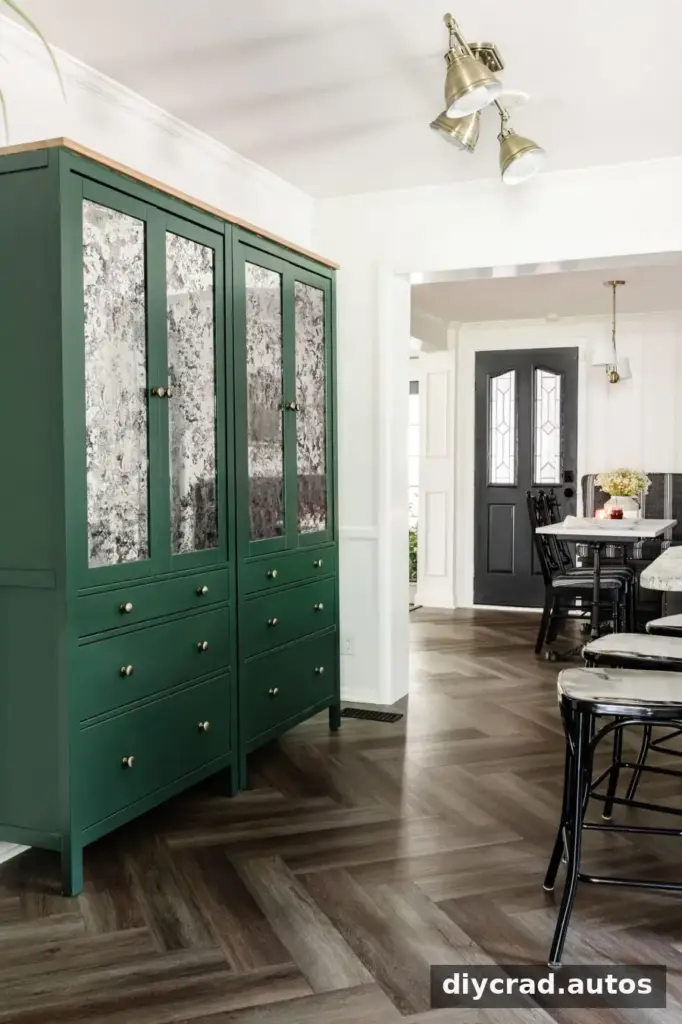
How to Prepare Furniture for Paint
Preparation helps paint adhere and creates a more even finish. Work in a ventilated area, protect the floor, and let cleaned surfaces dry fully before painting.
1. Clean the Furniture
Remove dust, grease, and residue with a cleaner appropriate for the material. Some heavy-duty cleaners require rinsing, so follow their instructions. Wipe the piece dry and let it air-dry before sanding or priming.
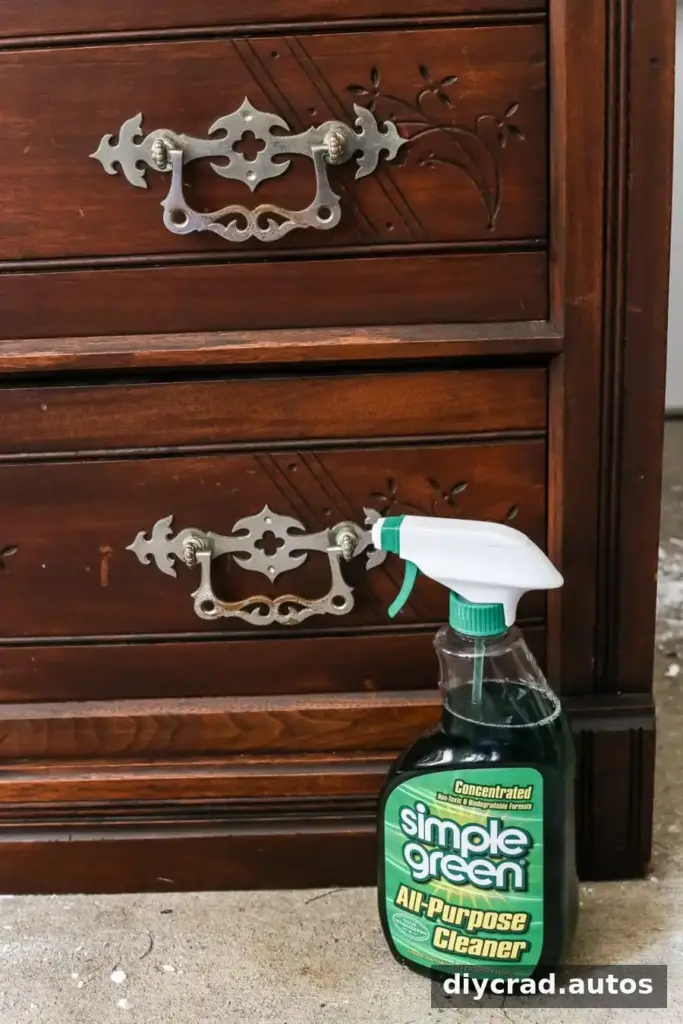
2. Remove Hardware and Repair Damage
Take off knobs, pulls, and other removable hardware. Remove doors and drawers where practical, and keep screws and fittings together in a labeled container.
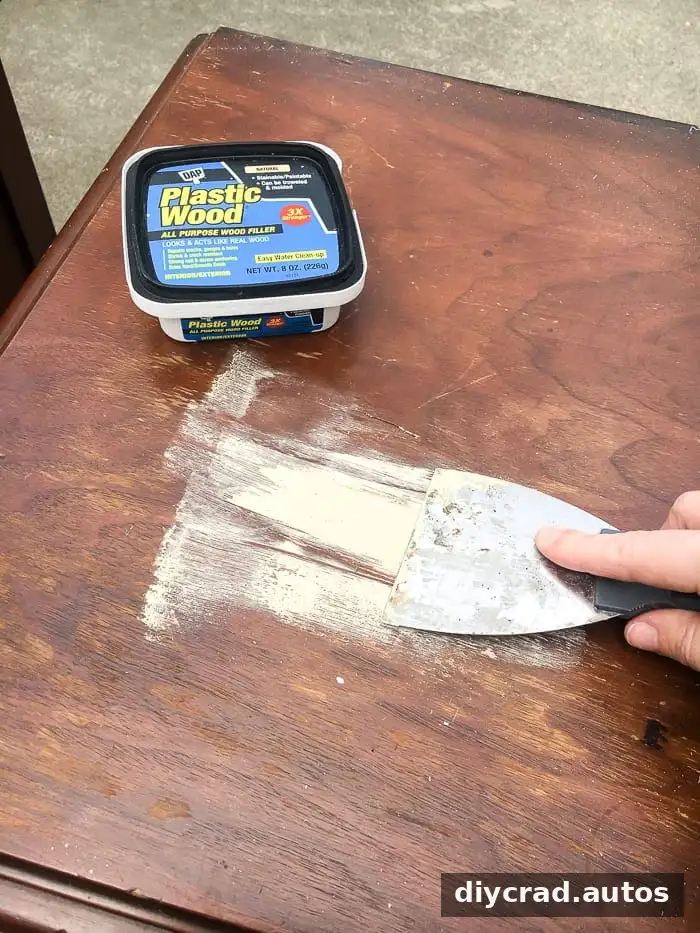
For loose or peeling veneer, remove only material that is already lifting, then assess whether the area can be repaired. Press wood filler into small dents, holes, or abandoned hardware holes if you plan to change the fittings. Let the filler dry according to its label.
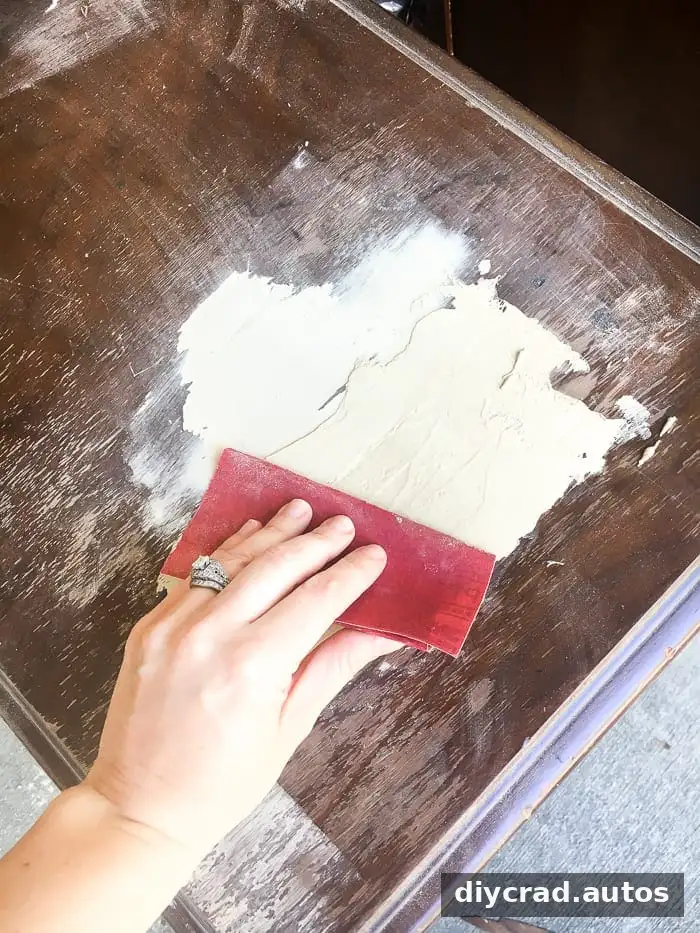
Sand repaired areas with medium-grit paper until smooth, then remove dust. Avoid sanding unknown older coatings until you have checked the appropriate safety guidance.
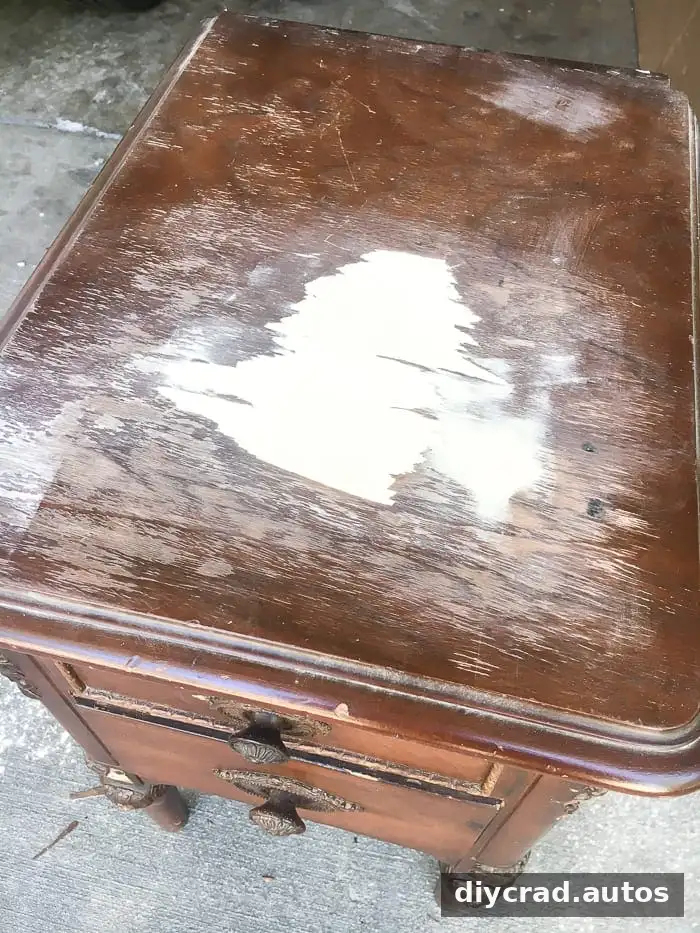
If dark stain or wood tannins may bleed through a light paint color, apply a compatible stain-blocking primer. This is especially useful when painting a pale color over dark wood. Test a small area first and follow the primer’s instructions.
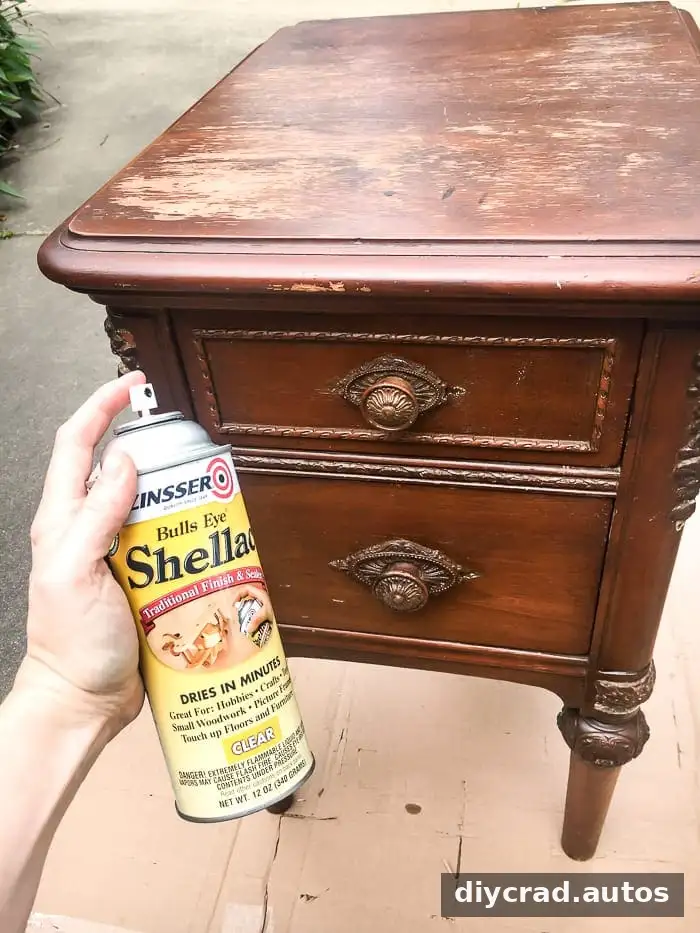
3. Apply Primer When Needed
Primer can improve adhesion and help cover stains. It is often useful on laminate, slick finishes, repaired spots, or furniture that will receive frequent use. Choose a primer made for the surface and topcoat, and apply the number of coats stated on its label.
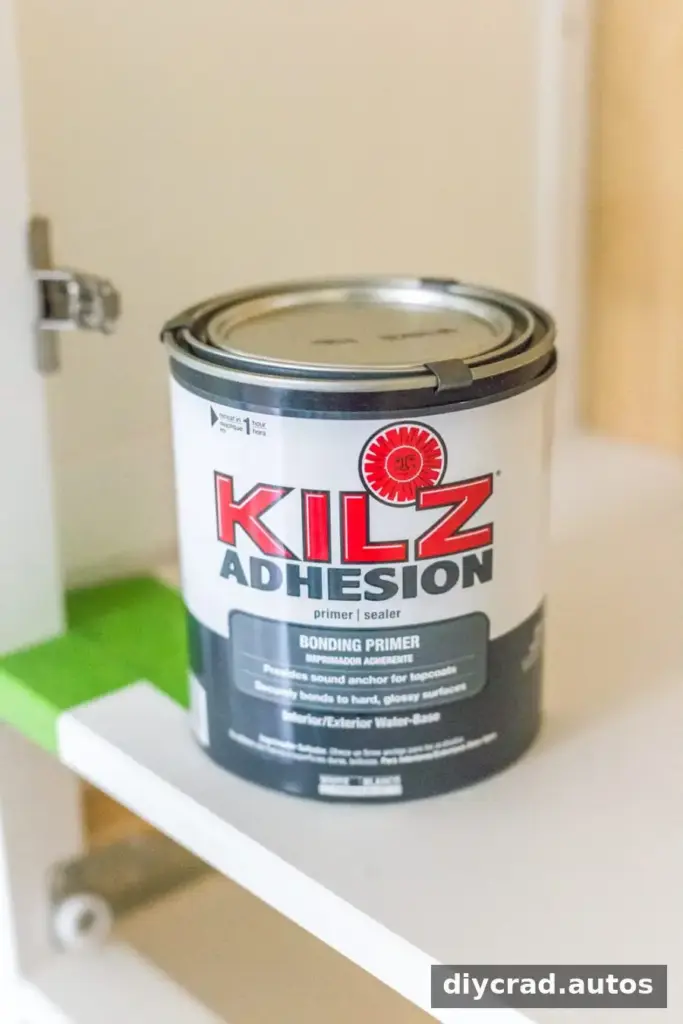
4. Paint the Furniture
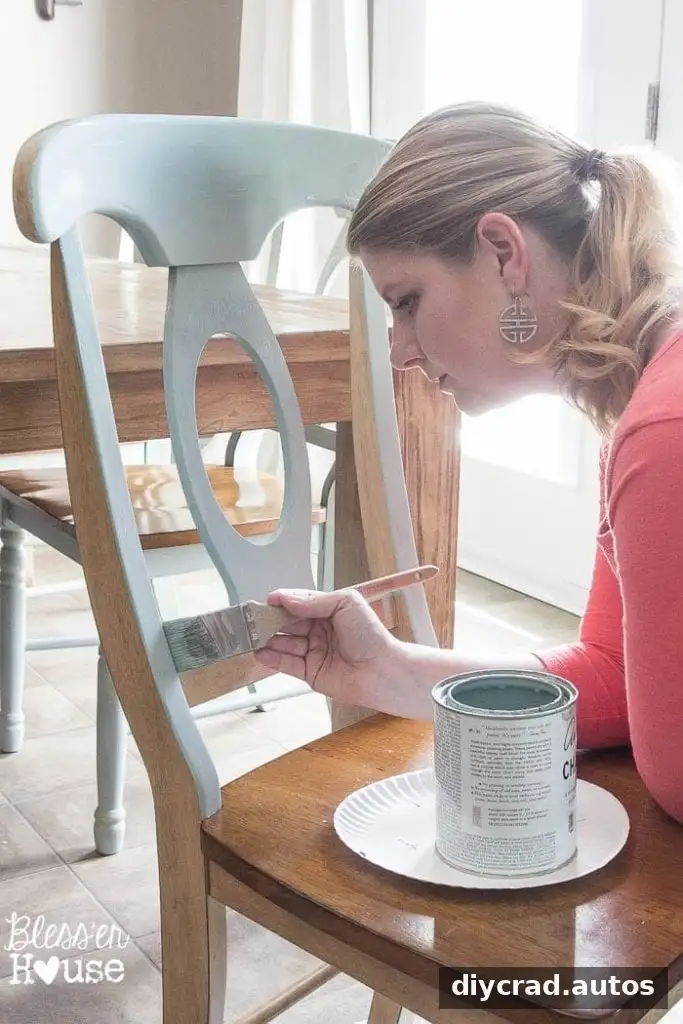
Use an angled brush to reach corners and carved details. A small roller can help cover large, flat areas evenly. Apply thin coats rather than one heavy coat, which can drip or dry unevenly.
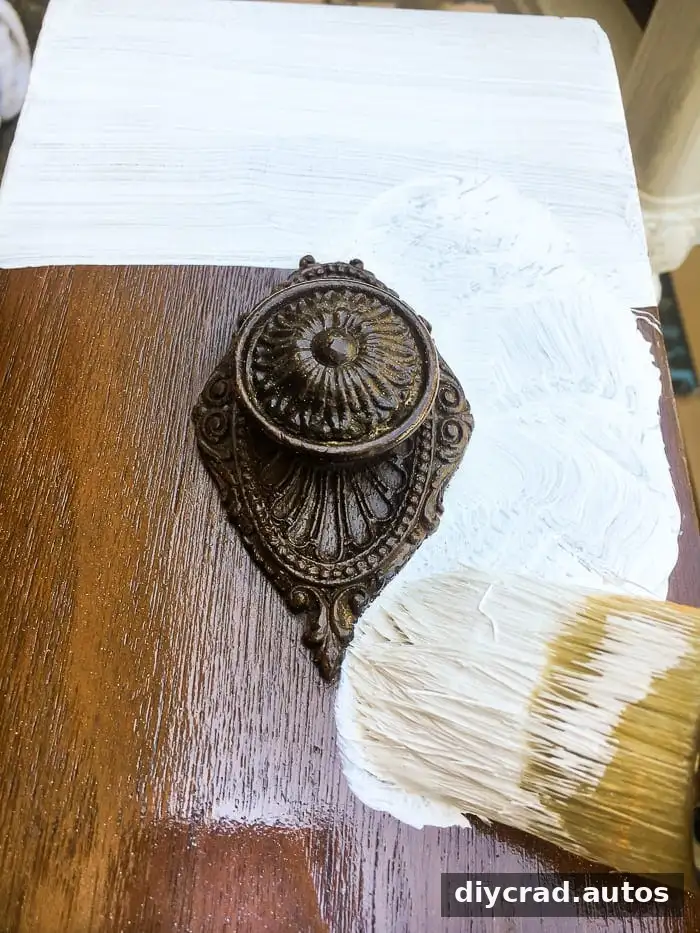
Keep brush strokes moving in a consistent direction and watch for runs around edges and details. Many projects need two coats; a very dark surface painted a light color may need another. Allow each coat to dry for the time specified by the paint manufacturer.
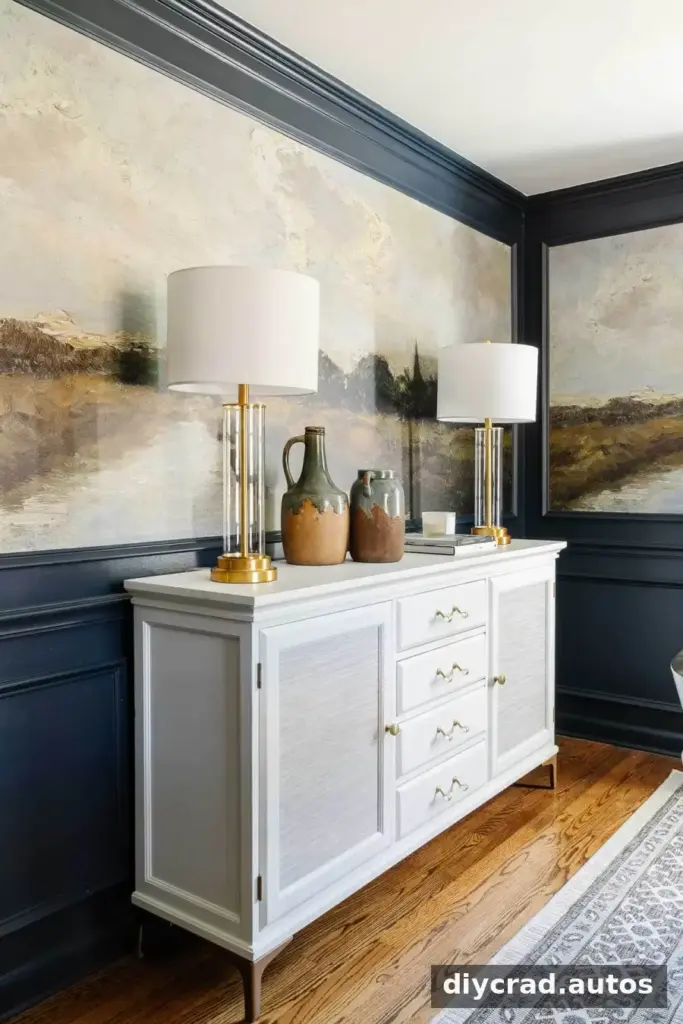
For a smoother finish: Use paint designed for furniture or cabinetry, apply thin coats, and avoid repeatedly brushing paint that has started to set. A sprayer may also work when the paint label permits it; follow instructions about ventilation, protective gear, and thinning. Never heat paint in a household appliance.
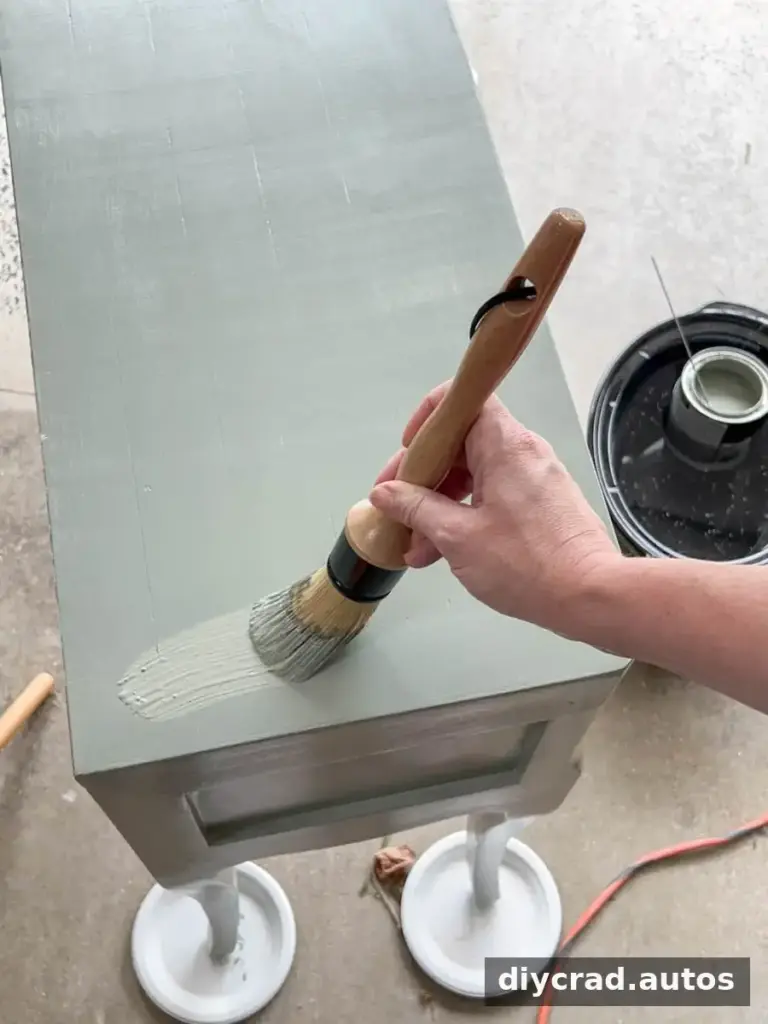

5. Seal the Furniture When Appropriate
Sealing Chalk-Style Paint
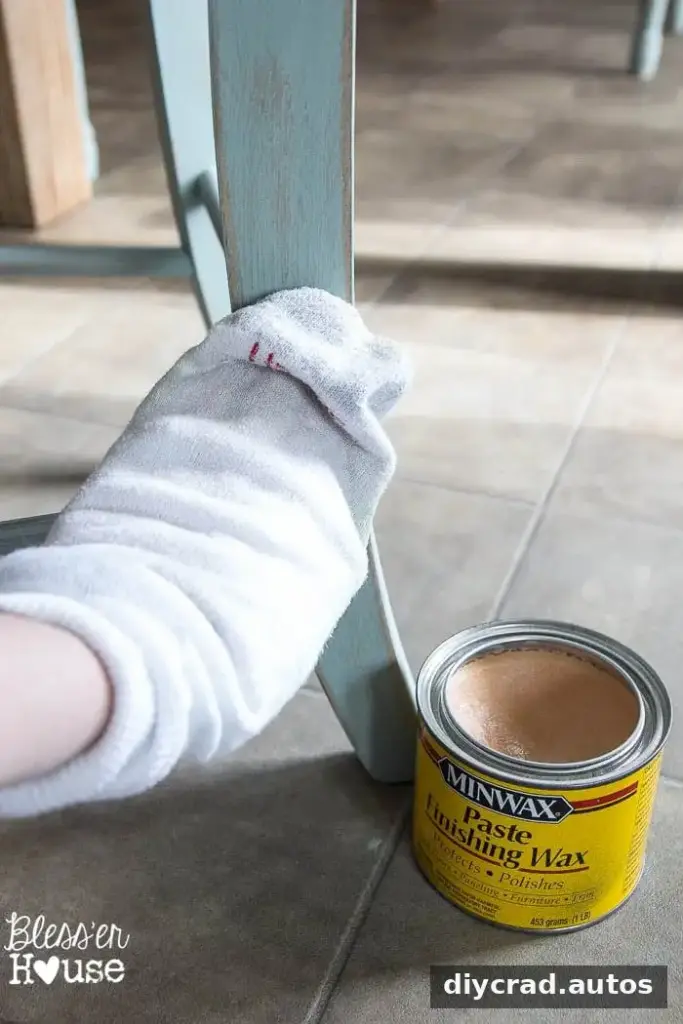
Some chalk-style paints benefit from a clear wax or compatible topcoat. Apply a thin, even layer in small sections and buff or recoat as directed. A wax finish may need periodic maintenance, so consider how often the furniture will be used before choosing it.
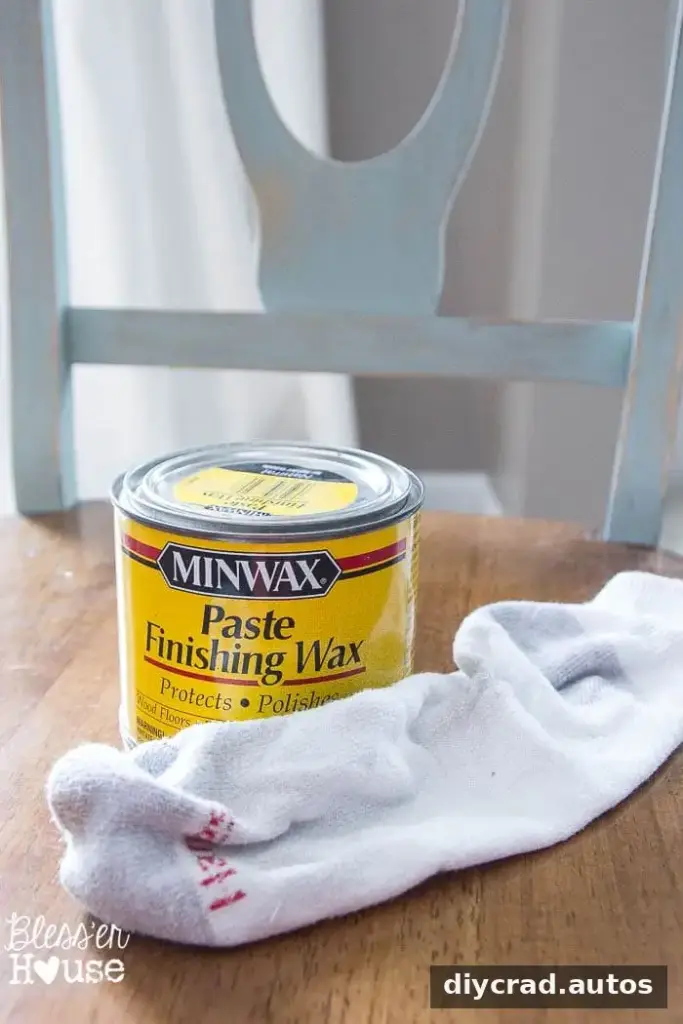
Sealing Other Paint Finishes
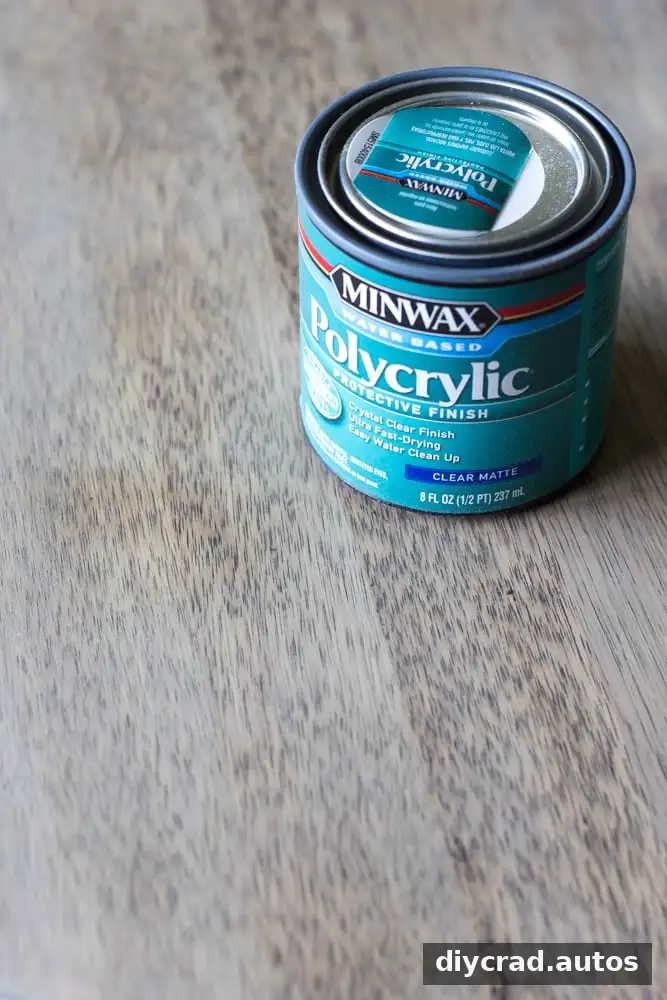
Many enamel and mineral paints are designed to be used without an additional sealer, but high-wear surfaces may benefit from a compatible protective topcoat. For a tabletop or similar surface, apply thin coats of water-based polyurethane if the paint manufacturer confirms compatibility. Let the finish dry and cure as directed before placing objects on it or using the furniture heavily.
Once the paint and any protective finish have dried, reinstall the hardware. Remember that dry-to-touch and fully cured are not always the same; avoid heavy use until the product’s recommended cure time has passed.
Ways to Add Character to Painted Furniture
Distressing
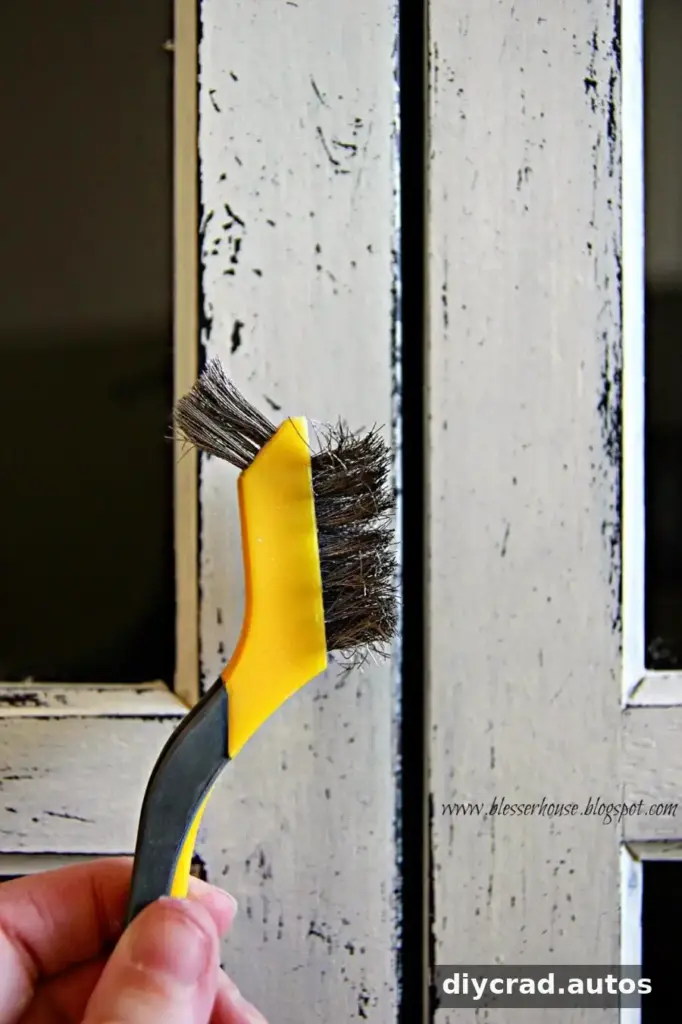
For a worn, aged appearance, lightly sand selected corners, edges, and raised details where natural wear might occur. Use fine- or medium-grit sandpaper and check your progress often so you do not remove more paint than intended. A wire brush can create a stronger, rougher effect, but use it cautiously.
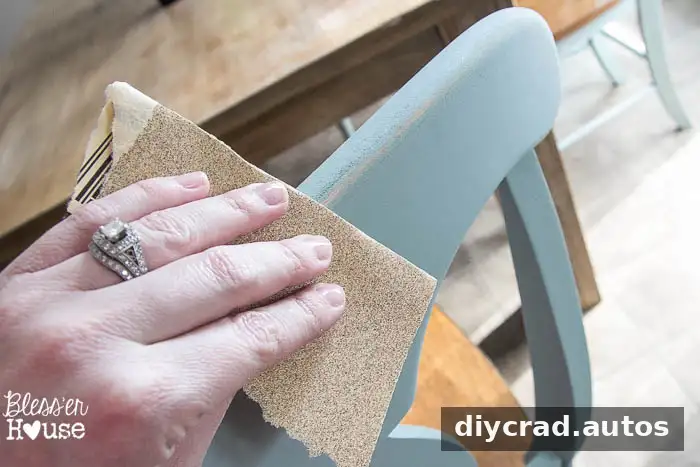
Test the technique on an inconspicuous area first. Distressing is optional; a fully covered finish is often more practical for pieces that need a clean, easy-to-wipe surface.
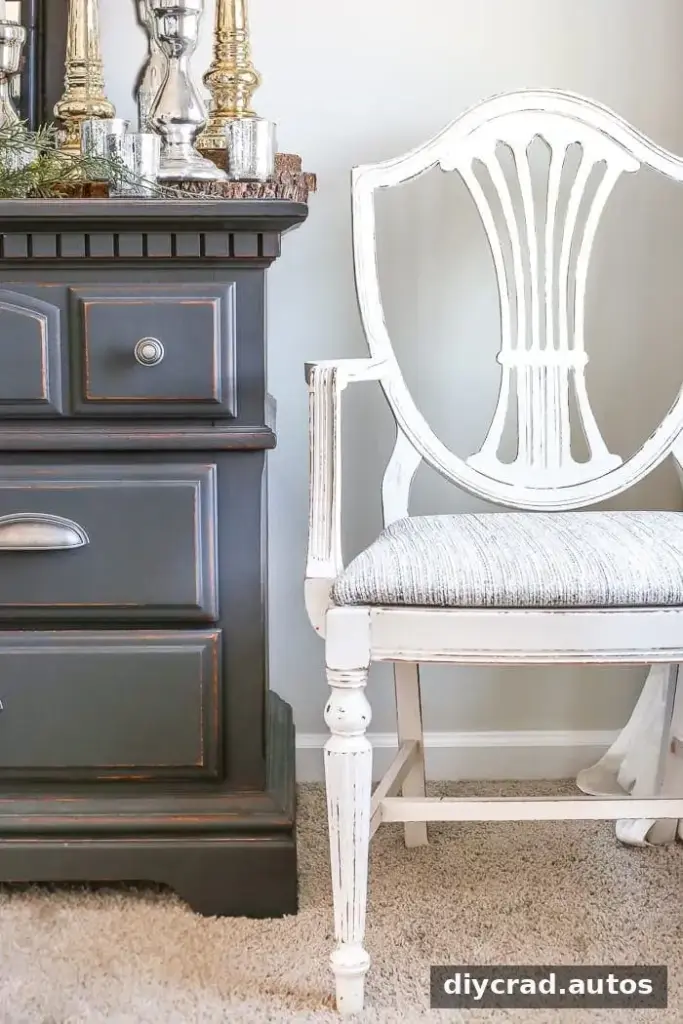
A wire brush can make a heavily distressed finish, but it may scratch the wood. Use light pressure and eye protection, and avoid this approach on delicate veneer.
Aged Effects with Wax
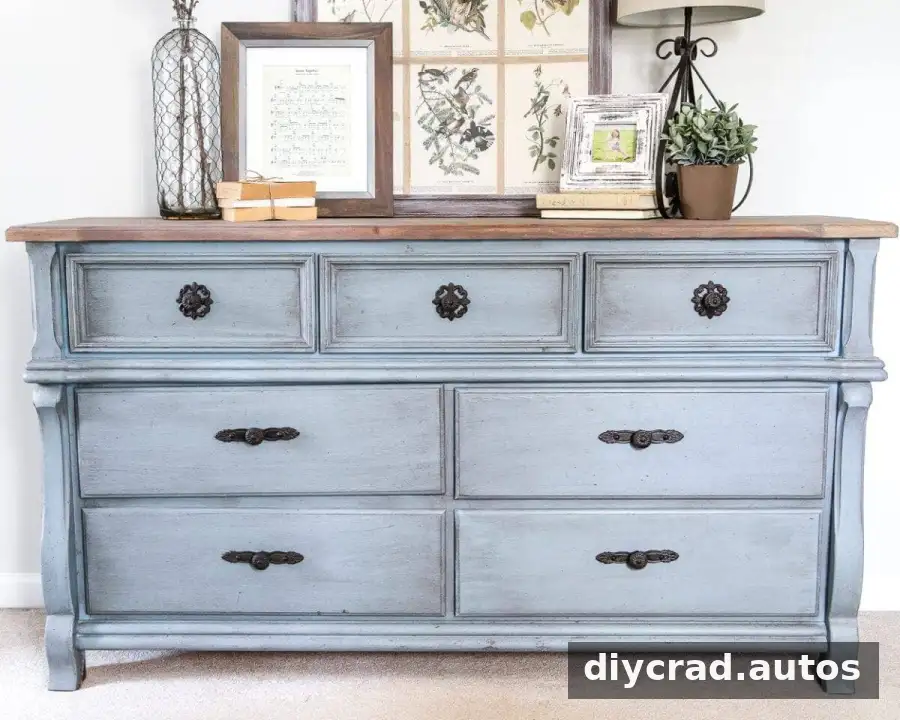
Wax can emphasize grooves and carved details on compatible painted surfaces. Practice on scrap material first, and use only products recommended for your paint finish.
Creating an Antique Look
- Apply a compatible clear base finish if the product directions call for one.
- Work on a small section at a time, applying a small amount of dark wax with a suitable brush.
- After the label’s recommended wait, wipe or buff away excess with a clean cloth.
Keep the layer thin and build gradually; removing excess is easier before the wax sets.
Creating a Light Limed Effect
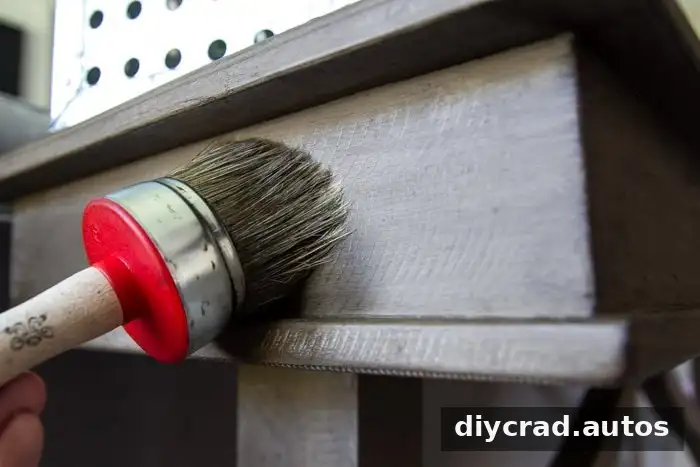
White wax can create a pale, beach-inspired effect on suitable surfaces. Apply it sparingly to grooves and textured areas, then remove excess according to the product directions.
Dry Brushing
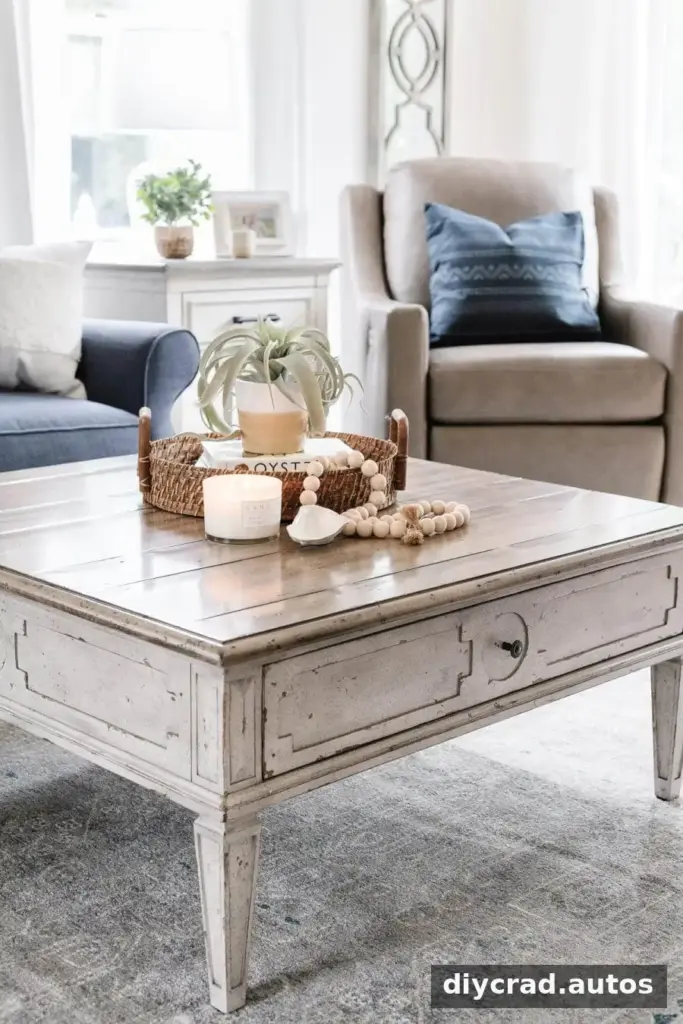
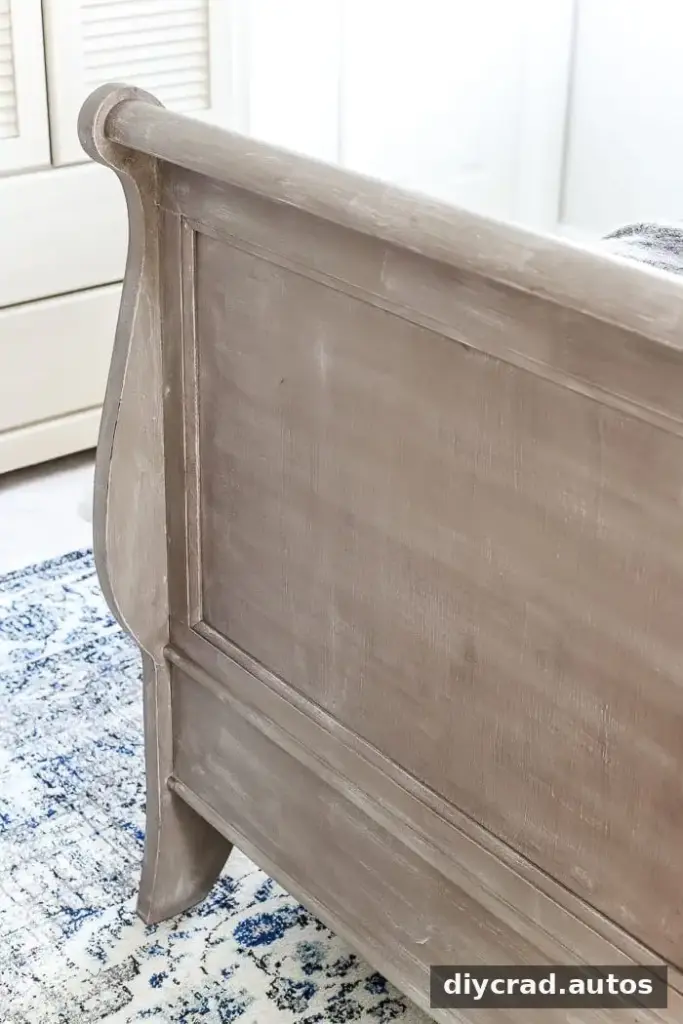
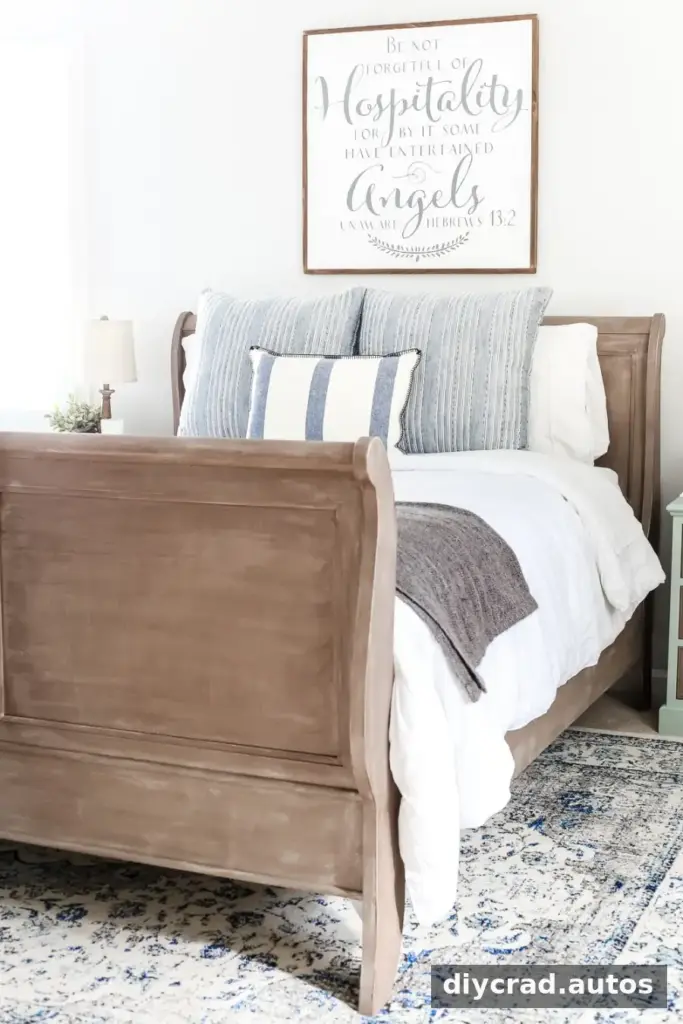
Dry brushing adds subtle contrast and can bring out raised grain or decorative details. Choose a color that contrasts with the base coat and use a clean, dry brush.
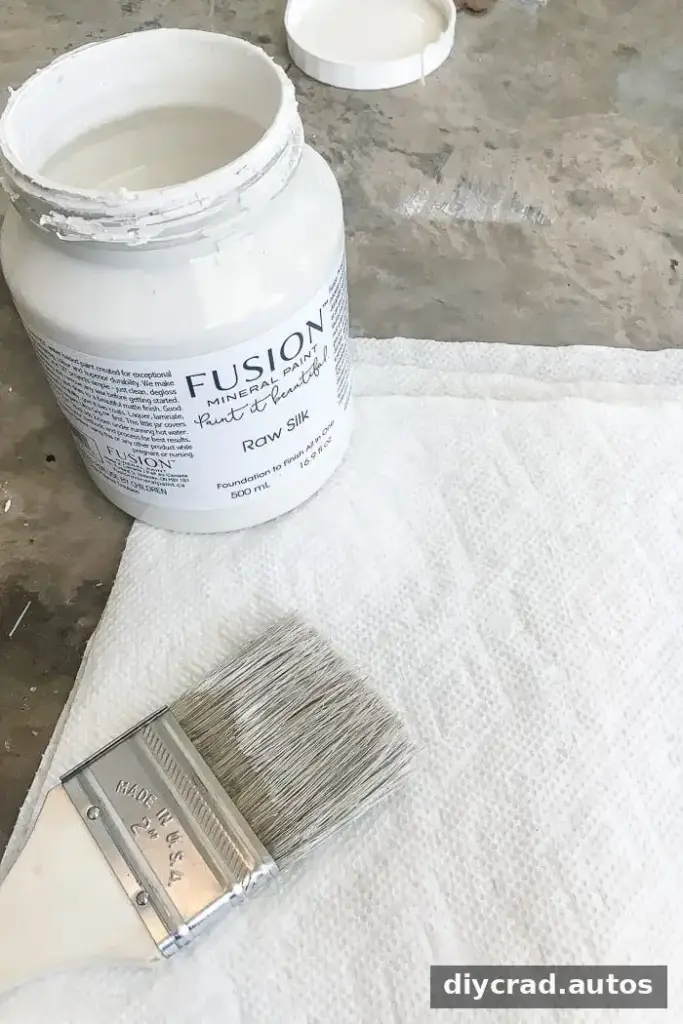
- Dip only the tips of the brush into the contrasting paint.
- Wipe most of the paint onto a dry cloth or paper towel.
- Lightly brush over the furniture in one direction.
- Add more gradually until the effect looks balanced.
Adding a Metallic Detail
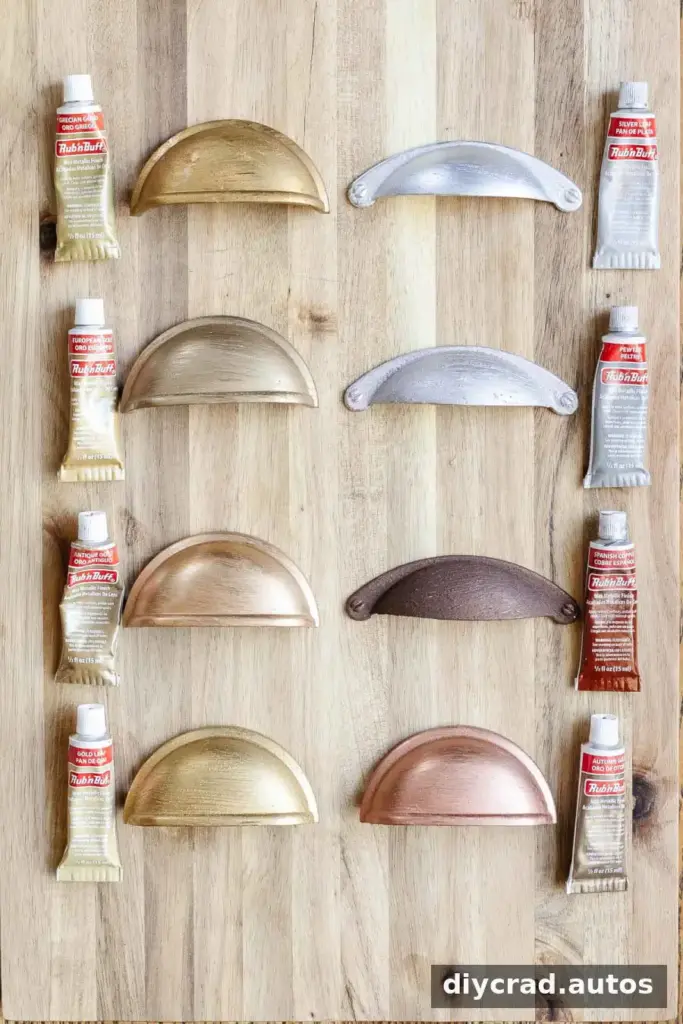
Metallic finishing paste can refresh knobs, hinges, and other small accents. Apply a very thin layer with a detail brush, following the label. If it does not adhere to a smooth surface, lightly scuff the surface only if the material and product instructions allow it.
Creating a Crackle Effect
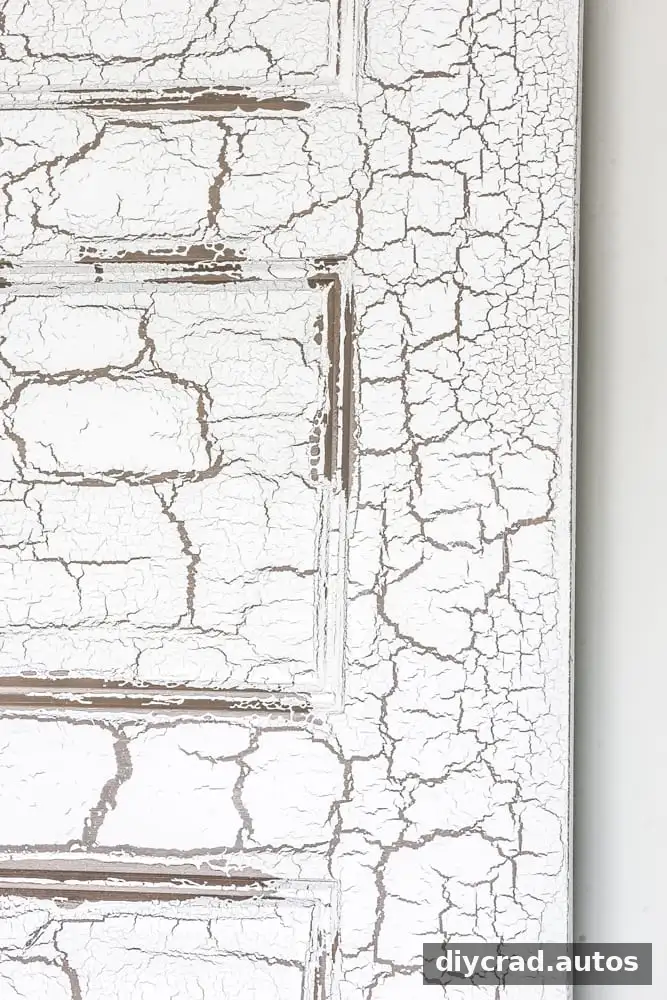
A crackle medium can create a weathered effect between two paint colors. Paint the base color and let it dry, apply the crackle product as directed, then add the top color within the stated timing. Test on a sample first because application and drying conditions affect the pattern.
How to Strip and Restain Furniture
If you want to reveal the wood rather than paint it, removing the old finish and applying stain is another option. Sanding can be messy and may not be suitable for veneer or unknown coatings. Use appropriate safety precautions and follow local guidance for older finishes.
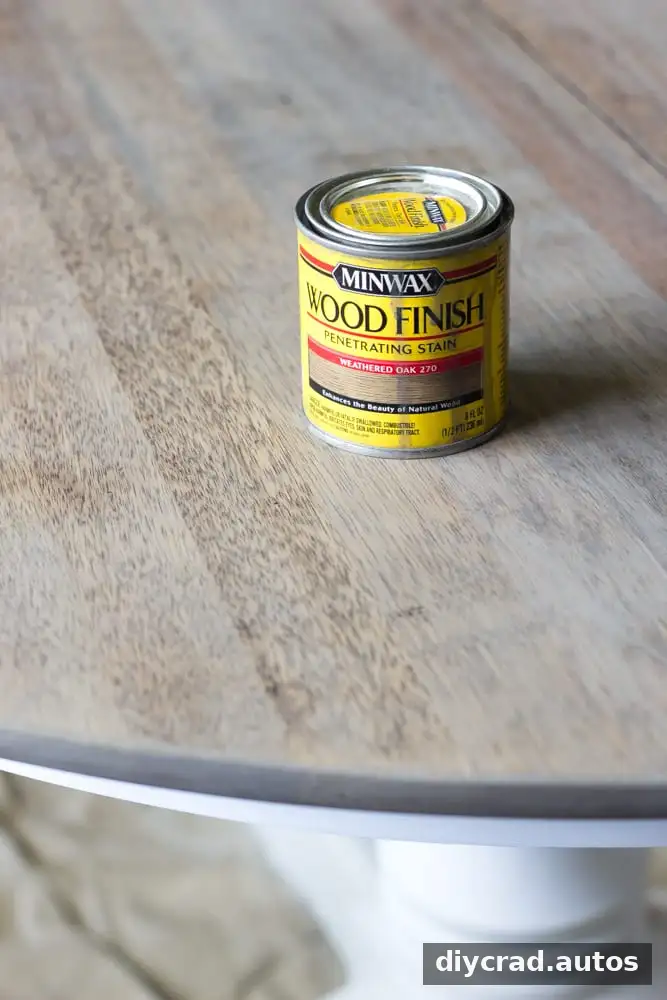
Once the surface is prepared, apply wood conditioner if the stain instructions recommend it. Apply stain with a brush or cloth, leave it for the specified time, and wipe away excess. Additional coats may deepen the color; allow the stain to dry fully before sealing.
For added protection, apply a compatible clear finish in thin coats, following its label for drying and recoating times. Avoid over-brushing a coat as it begins to dry, which can leave marks.
Reinstalling Hardware
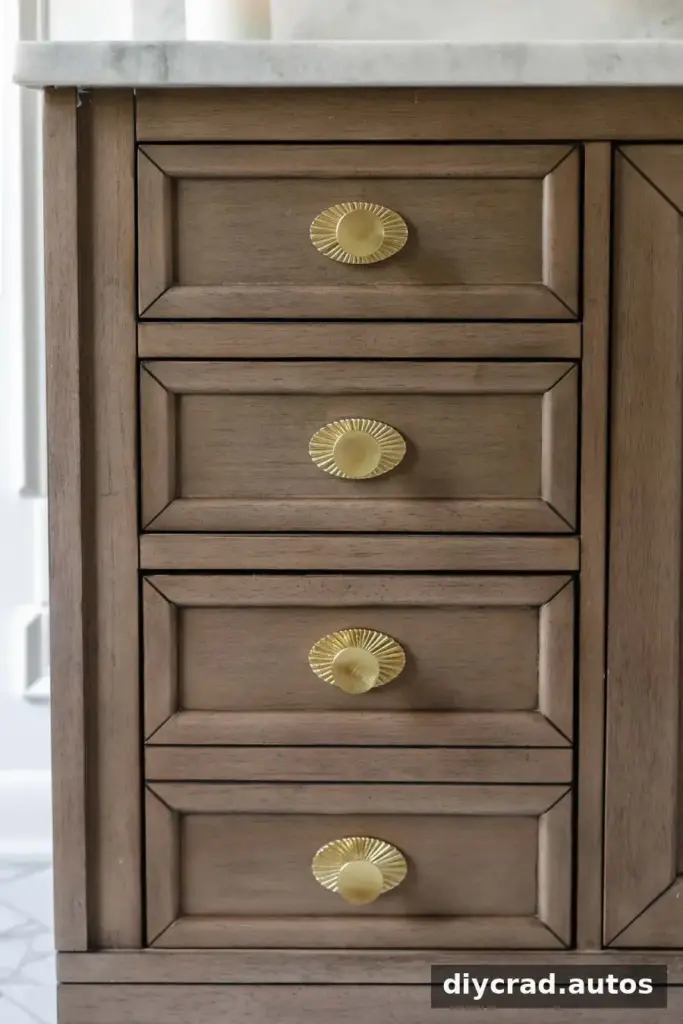
When the finish is ready for handling, reinstall the original hardware or fit new knobs and pulls. Measure carefully before drilling new holes, and use a hardware template if available. Protect the painted surface while tightening screws.
For a first project, choose a manageable piece, prepare it carefully, and follow the product instructions at every stage. Practice with a small amount of paint before working on visible areas, and allow plenty of drying time. A few small imperfections are normal and can help you improve on the next project.
Frequently Asked Questions
Can I paint over chalk-style paint?
Yes, but first determine whether the surface has been sealed with wax. Wax can interfere with adhesion. Use a cleaner and removal method suitable for the wax and furniture, lightly scuff the surface if appropriate, remove residue, and use a compatible primer before painting. Follow the product labels and test a hidden area.
What paint sheen is best for furniture?
Satin is a versatile option for many furniture styles because it has a modest sheen and is generally easier to clean than a flat finish. The best choice depends on the look you want and the paint’s intended use.
What happens if I skip cleaning or priming?
Grease, dust, and slick finishes can prevent paint from adhering well, increasing the chance of peeling or uneven coverage. Primer is not required for every project, but cleaning is an important first step, and primer can help on challenging surfaces.
How can I reduce brush marks?
Use a suitable quality brush, apply thin coats, and avoid going back over paint that is already beginning to dry. A paint sprayer may produce a smooth result when the paint is suitable for spraying and you can follow the required safety precautions.

With the right preparation, paint, and drying time, how to paint furniture becomes a straightforward process that can refresh a useful secondhand find or update a piece you already own.

