A DIY canopy crown can add a soft, storybook feel to a bedroom without the cost of a store-bought canopy. This project turns a small decorative shelf into a wall-mounted crown and pairs it with sheer curtains and a tension rod. The original setup cost about $45 and was reported to be $250 less than the comparable RH Baby and Child version.
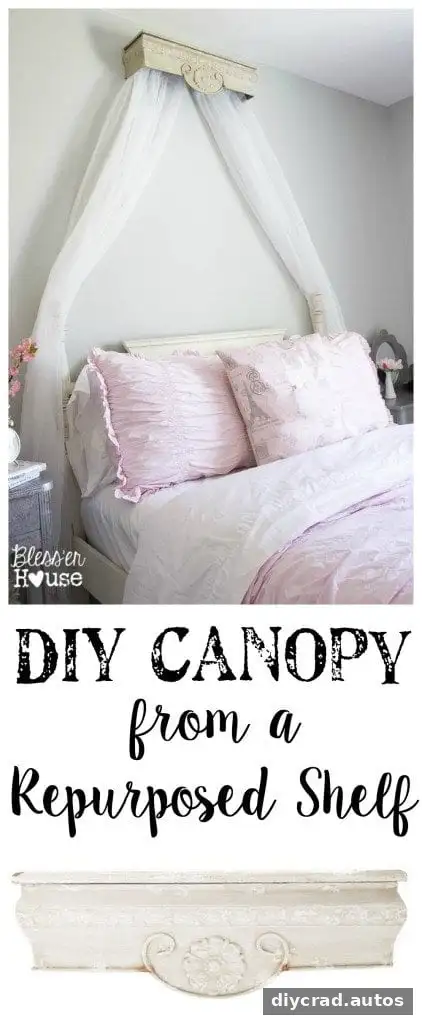
How to Make a DIY Canopy Crown
The idea began with a decorative shelf found at Hobby Lobby. It was on sale for 50% off, and a coupon was also used. Sheer Teresia curtains from IKEA and a tension rod completed the canopy materials. Prices and product availability can change, so check current costs before starting and measure the space to make sure the shelf and curtains will fit.
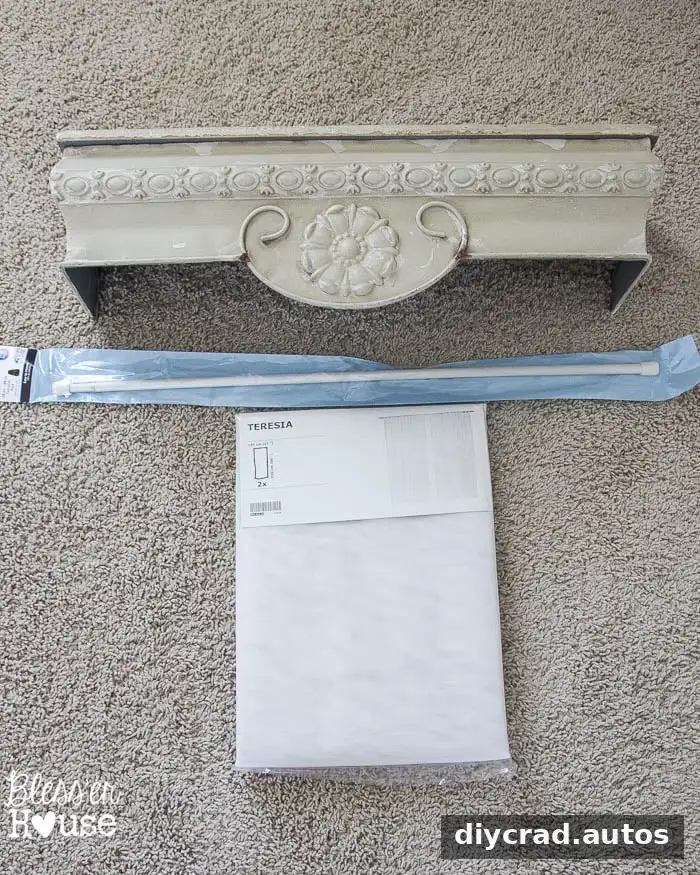
Materials and preparation
- A small shelf suitable for mounting above a bed
- Sheer curtains, such as the Teresia panels used in this project
- A tension rod sized to fit beneath the shelf
- Screws and appropriate mounting hardware
- A level and a tool for locating wall studs
Before installation, decide how wide and high the canopy should be. Check that the curtain panels have enough fullness to drape attractively, and confirm that the rod fits securely under the shelf. If the shelf includes hardware, verify that it is appropriate for the wall and the intended installation.

Mount the shelf and hang the curtains
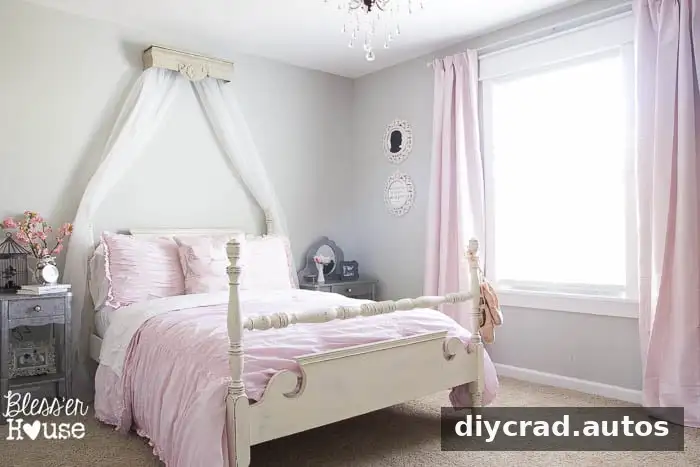
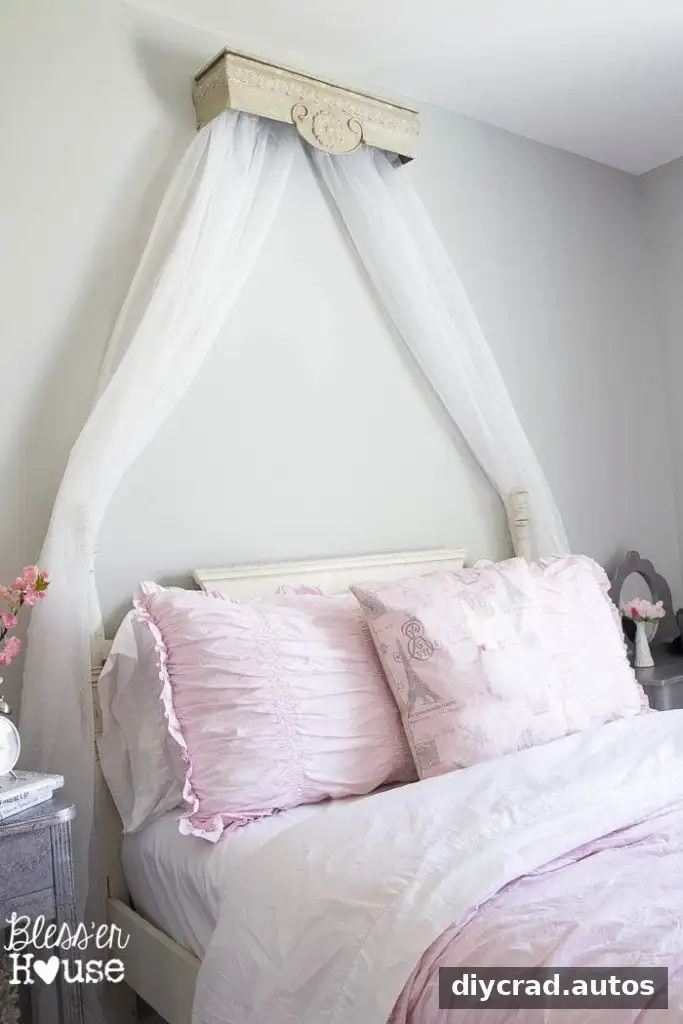
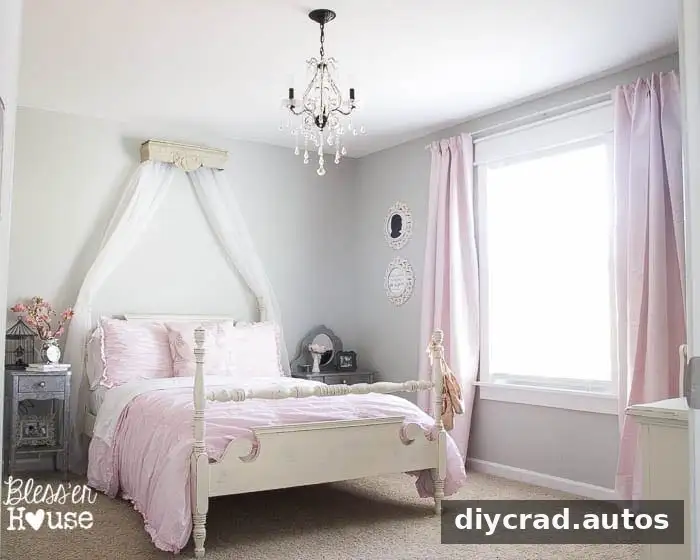
For this bedroom, the shelf was positioned in the center of the wall behind the bed. It was secured into wall studs, with a level used to check its position before the screws were installed. Mounting into studs helps provide a secure attachment; if the shelf cannot align with studs, choose suitable anchors based on the wall type and the shelf manufacturer’s instructions.
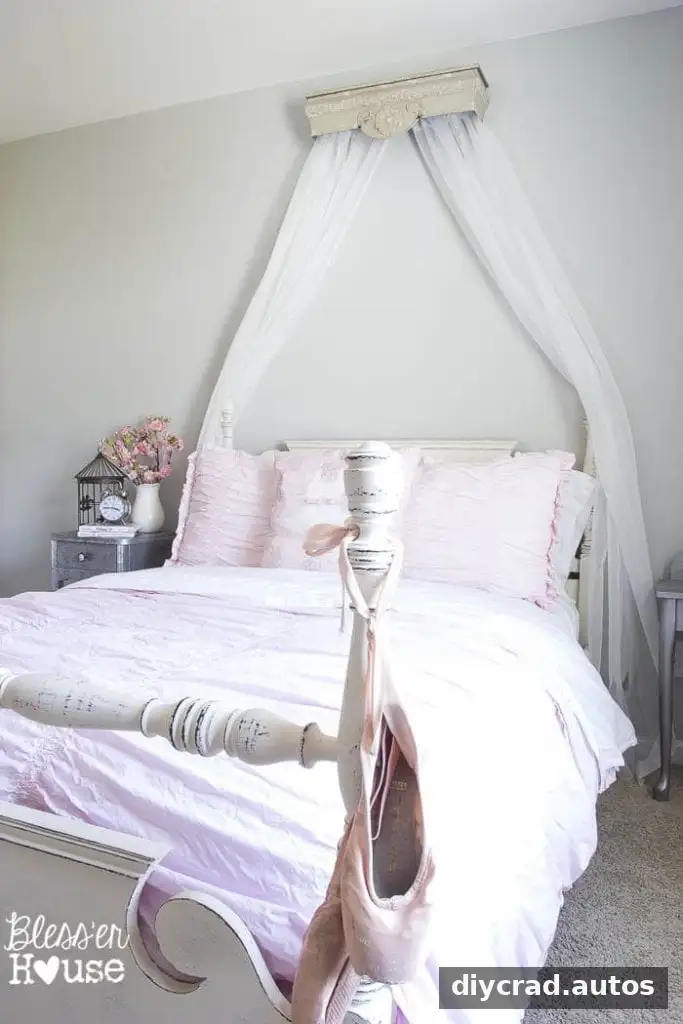
Next, slide the sheer curtains onto the tension rod. Tighten the rod beneath the shelf so it stays in place, then arrange the fabric evenly on both sides. Check that the rod is stable and that the curtains hang clear of anything that could pull them down. The reported installation took about 15 minutes, though locating studs and preparing the wall can add time.
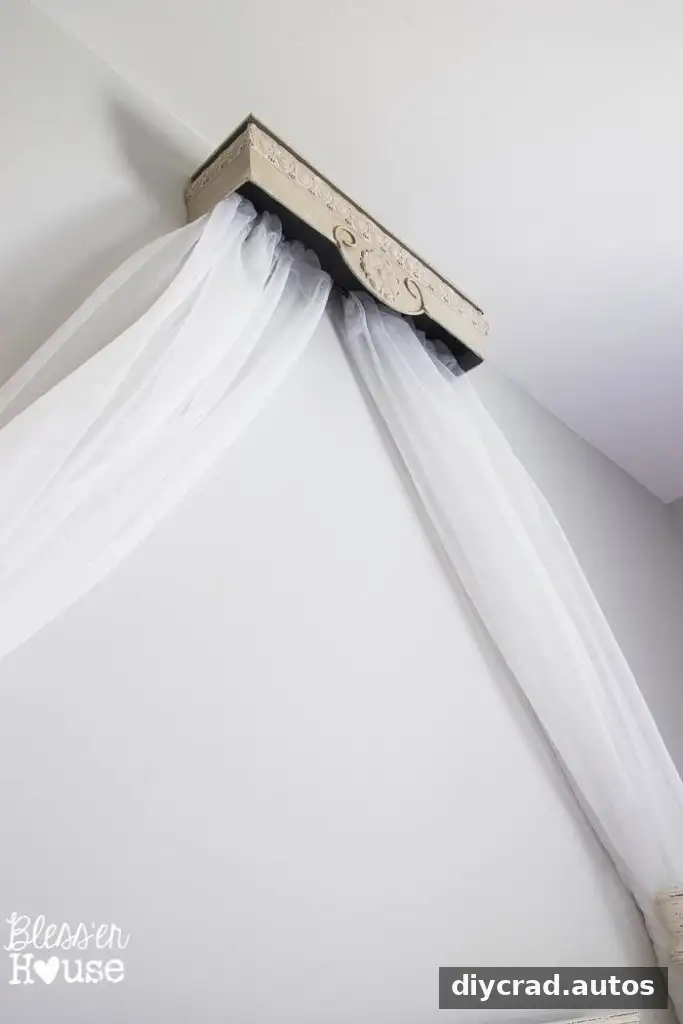
The finished canopy created a decorative focal point above the bed. The young bedroom occupant reportedly described it as a princess-style feature, illustrating how a simple fabric treatment can help set the mood of a room without a complicated build.
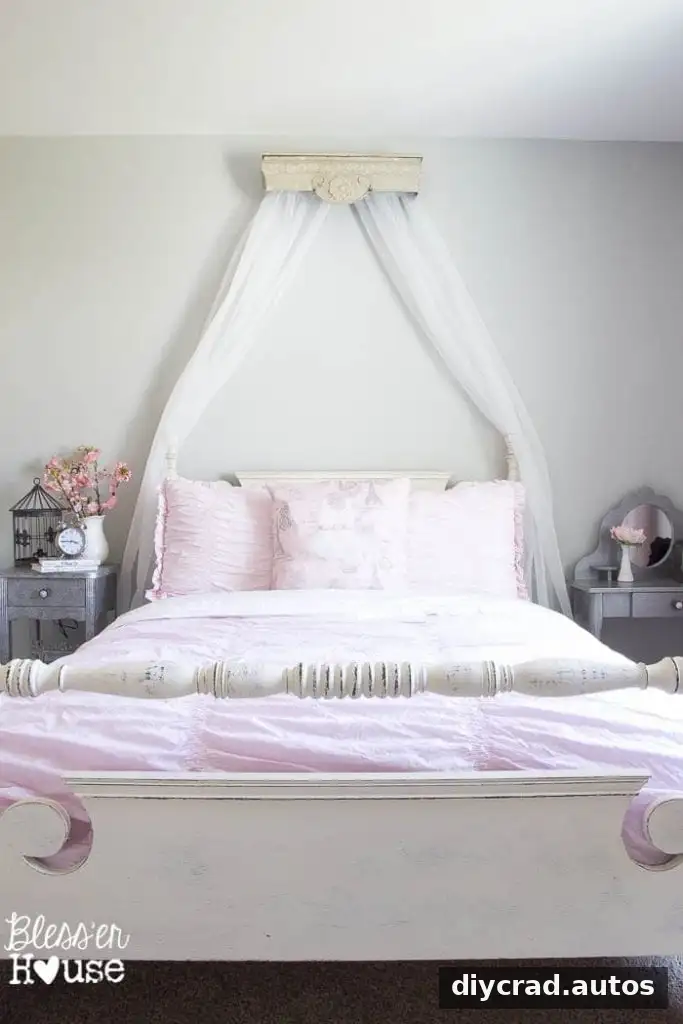
Finishing the bedroom around the canopy
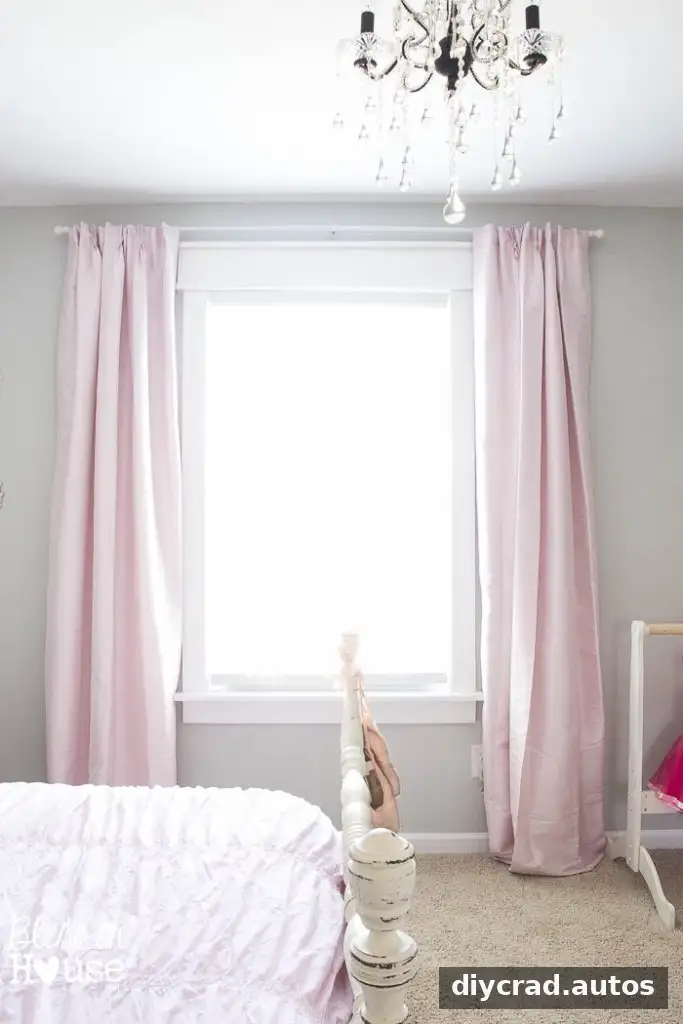
Window curtains were added as part of the room update. The selected panels came from Target and were chosen to coordinate with the bedding. When pairing curtains with a canopy, compare fabric color and texture in the room’s actual lighting; soft pinks, for example, can look noticeably different next to bedding than they do in a store.
A decorative piece was also planned for the wall above the headboard. The canopy already draws attention, so it can help to live with the arrangement before adding framed art beside it. Leaving some wall space open is a valid choice, especially in a smaller bedroom where extra decor could make the bed area feel crowded.
Window treatments and DIY molding can make a window feel more prominent and give a room a more finished appearance. The project space still needed an area rug, showing that a room makeover can be completed in stages rather than all at once. For a cohesive result, choose later additions by considering the colors and materials already in the room.
Practical tips before you begin
- Measure first: Check the wall width, shelf placement, curtain length, and rod fit before buying supplies.
- Prioritize secure mounting: Use a level and attach the shelf to studs where possible. Select appropriate hardware for the wall if studs are not available.
- Keep fabric clear of hazards: Position curtains away from heat sources, lamps, and other items that could snag or pull on them.
- Plan the overall look: Coordinate the canopy with bedding and window curtains, then add artwork or accessories only if the space needs them.
A repurposed shelf, a tension rod, and sheer panels can create an affordable bedroom feature with a soft, custom look. With careful measuring and secure installation, this DIY canopy crown is a straightforward way to refresh the area above a bed while keeping the design flexible for future changes.