
A DIY canvas frame is a simple way to give an old farmhouse sign a fresh look without replacing its canvas. Add a vintage art print, fit a narrow wooden frame around the edges, and you can turn a dated sign into a more polished piece of wall art. This project uses basic tools and can also be adapted for some wooden signs.
How to Make a DIY Canvas Frame from an Old Sign
Repurposing an existing sign can be a practical option when its canvas is still in good condition but its style no longer suits the room. A floral print or another vintage-inspired image can soften the original look, while stained lattice strips create a finished border. Before starting, check that the sign is clean, dry, and structurally sound.

Choose an image and frame finish that work with the room’s colors and furnishings. Vintage-style art can complement both traditional and more modern classic interiors, making this a flexible project for spaces such as a bathroom, hallway, or bedroom.
Materials and Supplies
- A vintage art print, either printed at home or through a print service
- Decoupage glue
- An old canvas farmhouse sign; a wooden sign may also work if its surface is suitable
- Scissors
- A pencil or pen
- A tape measure
- Lattice strips
- Finish nails and a hammer, or a nailer
- Wood filler
- Fine-grit sandpaper
- Wood stain
Gather the materials before you begin, and confirm that the lattice strips are wide enough to create the border you want. If you are using a printed image, make sure the print is large enough to cover the sign without leaving exposed edges.

Step-by-Step Instructions
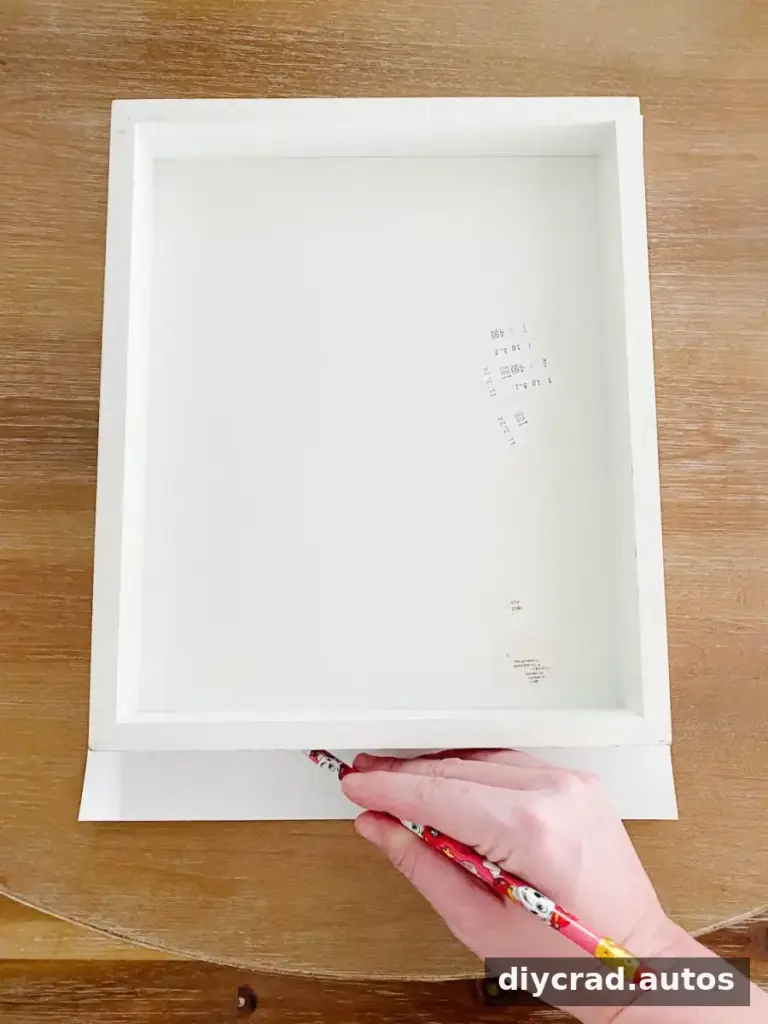
- Trim the artwork to fit. If the sign is not a standard size, place the print face down and position the sign over it. Trace around the sign on the back of the print, then cut along the outline. Measure twice before cutting so the image covers the full canvas.
2. Measure the top and bottom. Use a tape measure to check the width of the canvas. Mark and cut two lattice strips to match the top and bottom edges. A clean, square cut helps the frame pieces meet neatly at the corners.

3. Attach the top and bottom strips. Position one strip along each edge and secure them to the canvas with finish nails. Use care when hammering so the canvas remains supported and the strips stay aligned.
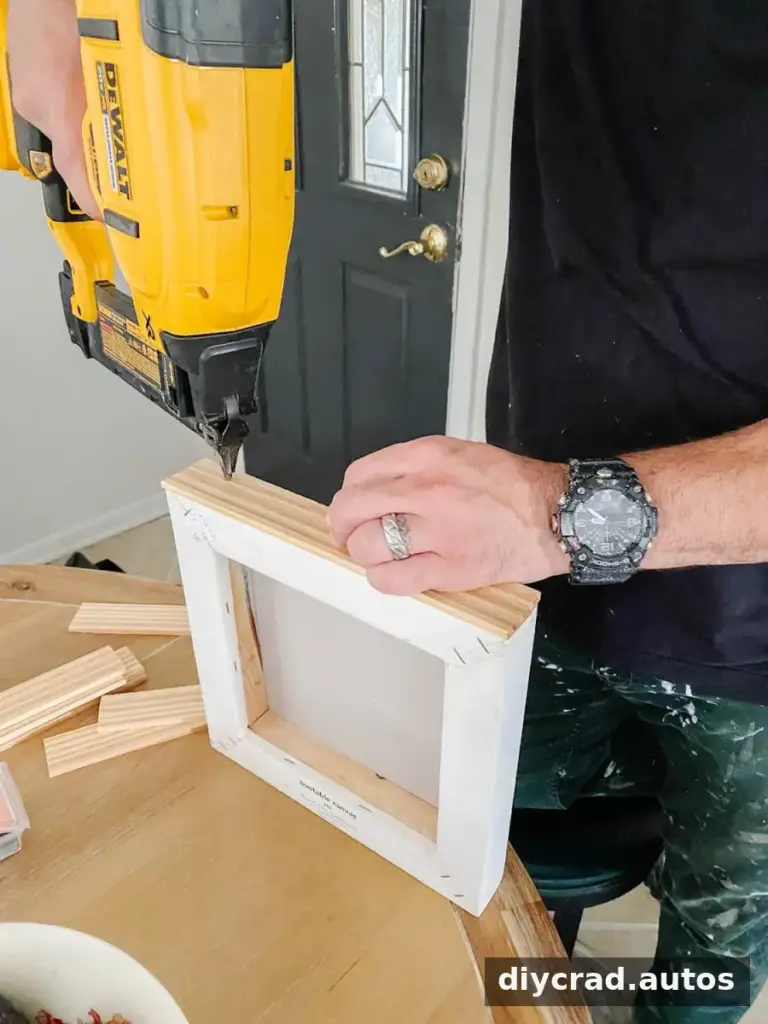
4. Measure the sides. With the top and bottom pieces in place, measure the remaining side edges. Cut two more strips to fit between or slightly beyond the attached pieces, following the layout of your frame. Check both sides individually, since small differences in the canvas can affect the fit.
5. Secure the side pieces. Nail the remaining lattice strips along the sides to complete the simple frame. Check that the corners sit evenly before moving on.

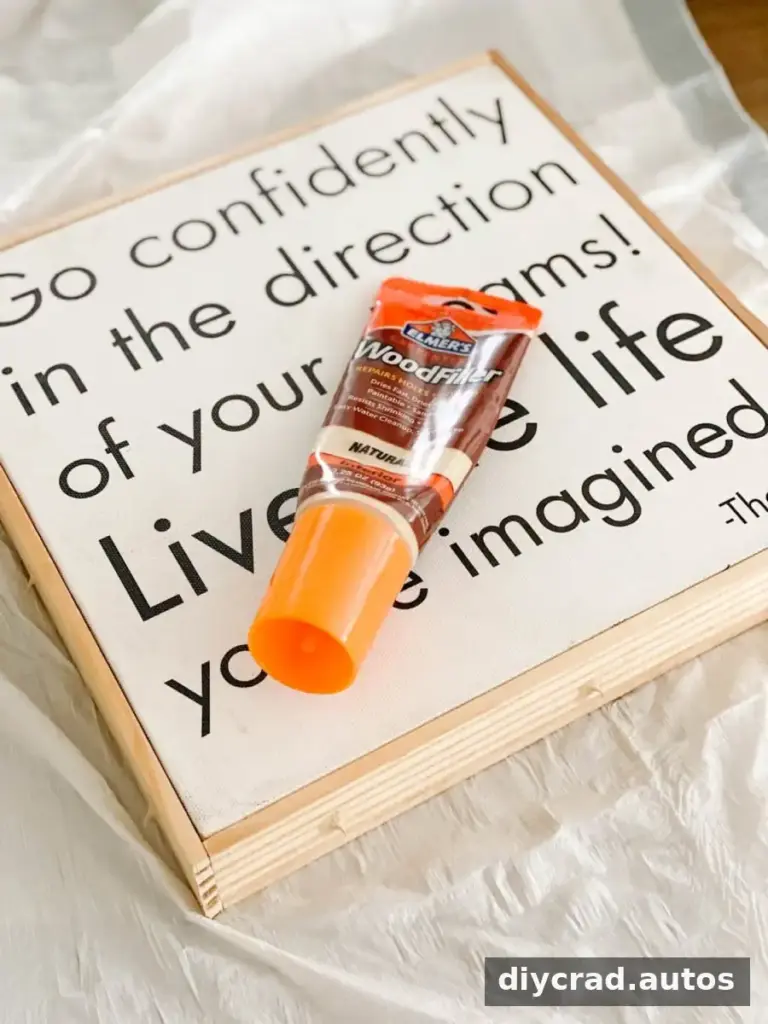
6. Fill the nail holes. Apply wood filler to visible holes and allow it to dry according to the product directions. Use only enough filler to cover each opening so there is less excess to sand away.
7. Sand the filled areas. When the filler is fully dry, smooth it with fine-grit sandpaper. Wipe away sanding dust before applying stain so the finish can be more even.
8. Stain the frame. Apply wood stain to the lattice strips and let it dry as directed on the container. Work in a well-ventilated area and protect the surrounding surface from drips. Test the stain on a spare piece of wood first if you are unsure how its color will look.

9. Attach the print. Brush a coat of decoupage glue onto the back of the print and the front of the canvas. Carefully position the image, then smooth it from the center toward the edges to reduce wrinkles and trapped air. Place a few books on top to help keep it flat while it dries; protect the print with a clean sheet of paper if needed. Follow the adhesive instructions for drying time before handling or hanging the finished piece.
This DIY canvas frame gives an old sign a new purpose with a relatively short list of supplies. Careful measuring, neat corners, and allowing each layer to dry fully can make the finished wall art look more considered and cohesive.
Display and Care Tips
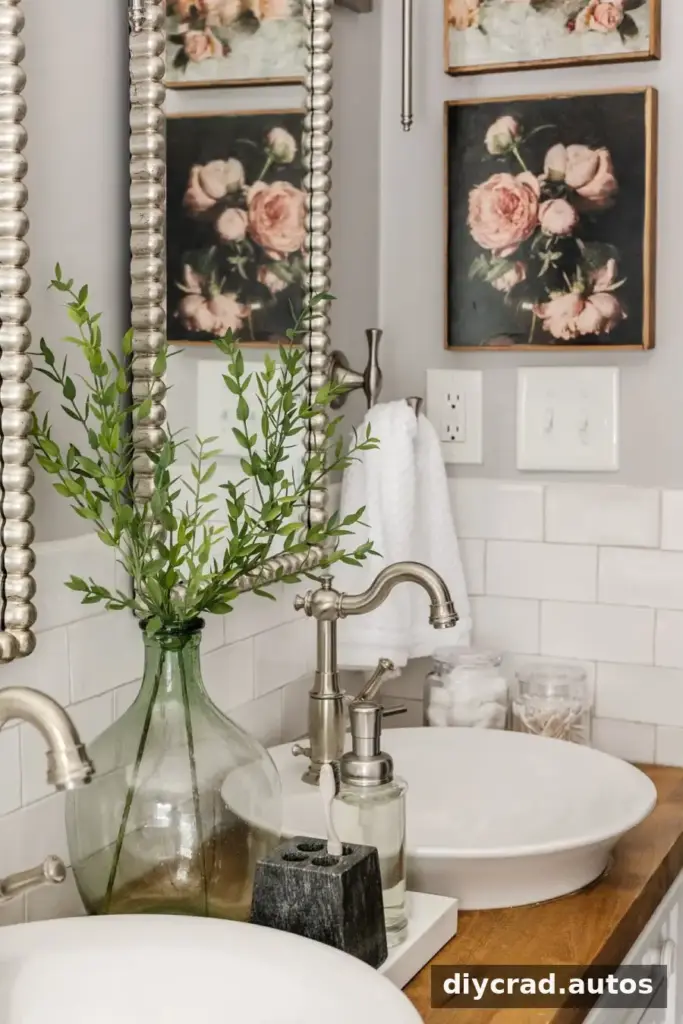
Choose a hanging location that suits the print and keeps the frame away from persistent moisture. In a bathroom, for example, good ventilation can help protect paper and wood from damp conditions. Before hanging, check that the sign and frame are secure, and use hanging hardware appropriate for the finished piece and wall surface.
For a coordinated display, repeat a color or motif from the print elsewhere in the room rather than matching every detail. The same framing approach can also be used to refresh other suitable canvas signs, provided the surface is clean and the added frame can be attached securely.