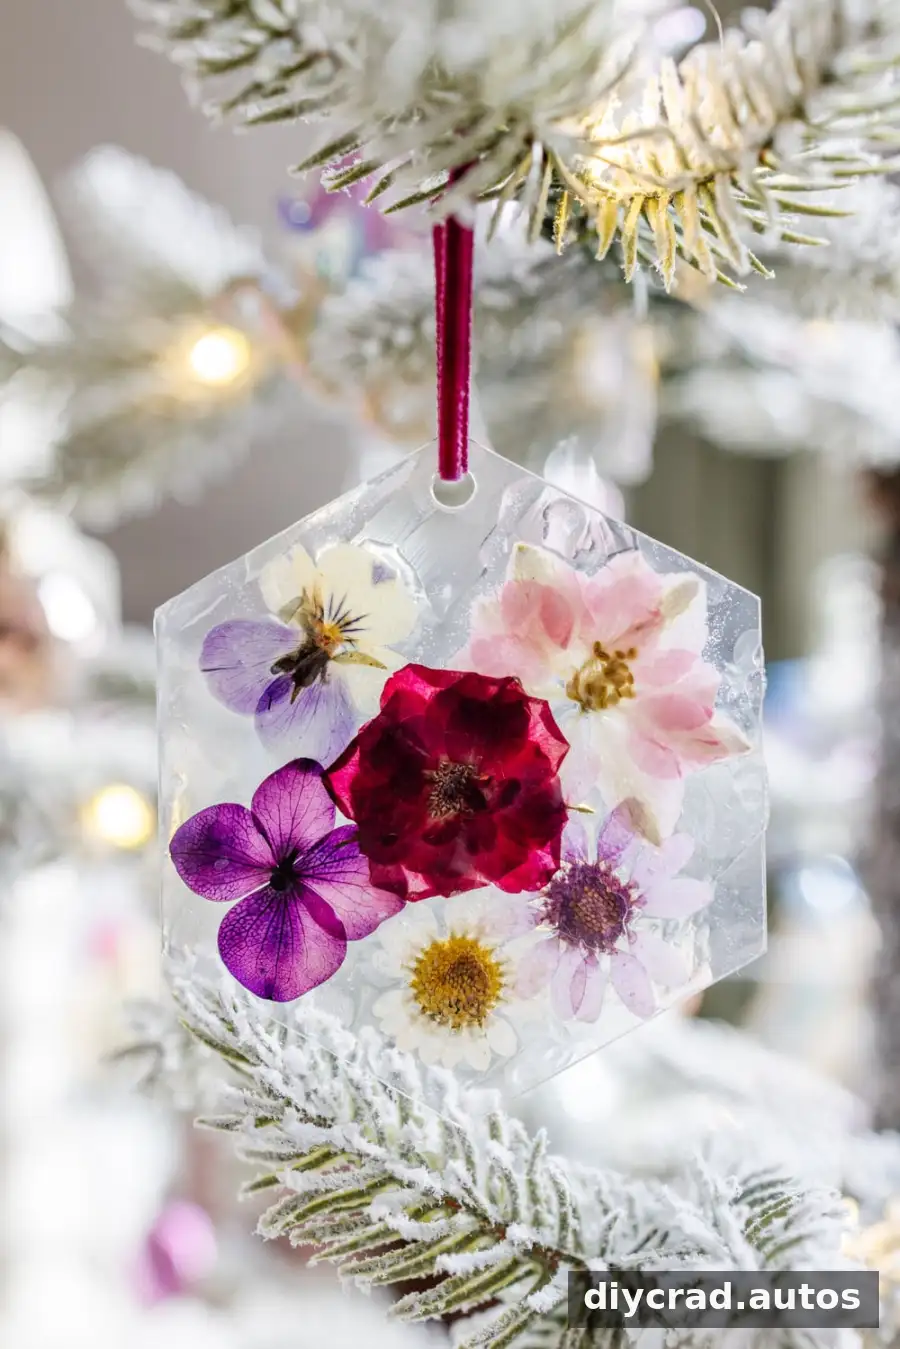
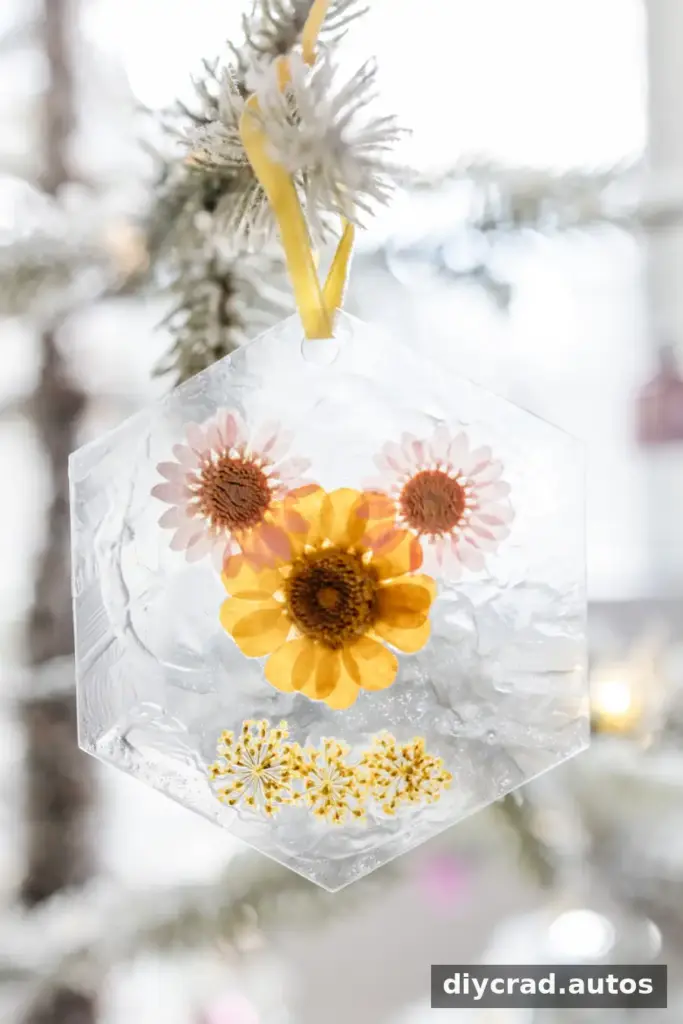
Pressed flower ornaments are a simple way to add a handmade touch to Christmas decorations. With pressed blooms, clear acrylic tags, a matte decoupage medium, and ribbon, you can create delicate ornaments that let light shine through the petals. The steps are straightforward, making this project suitable for a relaxed craft session, a children’s activity with adult help, or a thoughtful handmade gift.
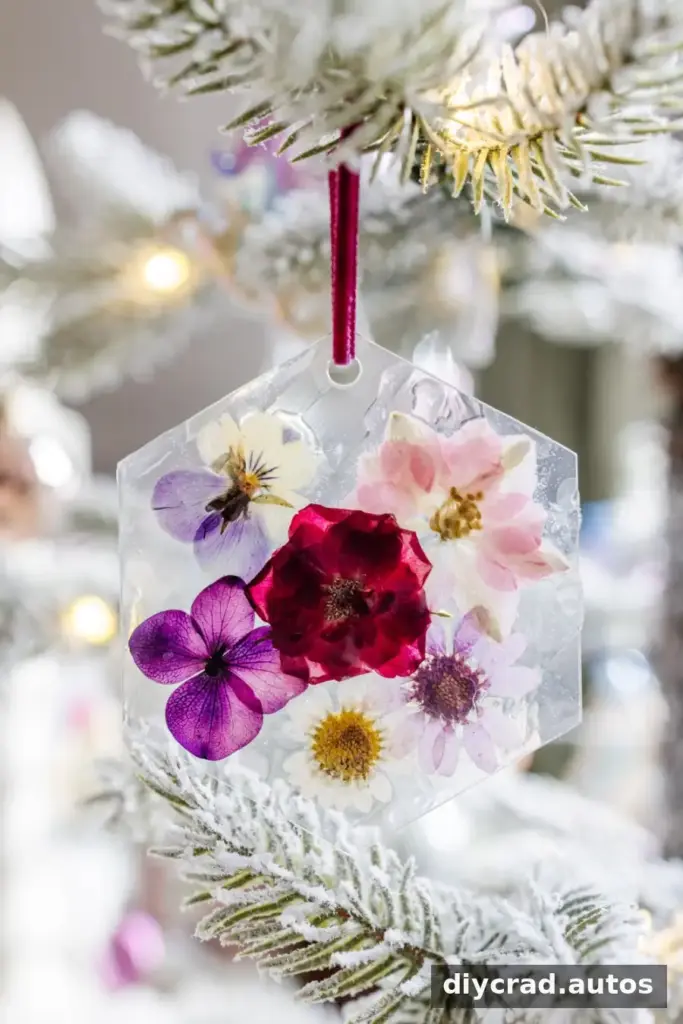
The materials are easy to prepare, and the finished ornaments can be personalized with different flowers and arrangements. Making a batch is also a practical option for decorating several branches or putting together small gifts. The original project estimate was about $1 per ornament when making 48, though actual costs depend on the supplies you choose.

For a personal touch, select flowers that have meaning for the recipient, such as a birth-month flower. You can also experiment with simple patterns or shapes. Before you begin, arrange the flowers on a dry acrylic tag to decide where each bloom will go; this makes placement easier once the adhesive is applied.
Supplies for Pressed Flower Ornaments
- Clear acrylic tags with a hole for hanging
- Matte decoupage medium
- Craft brush
- 1/8-inch ribbon
- Pressed flowers, either purchased or pressed from fresh flowers
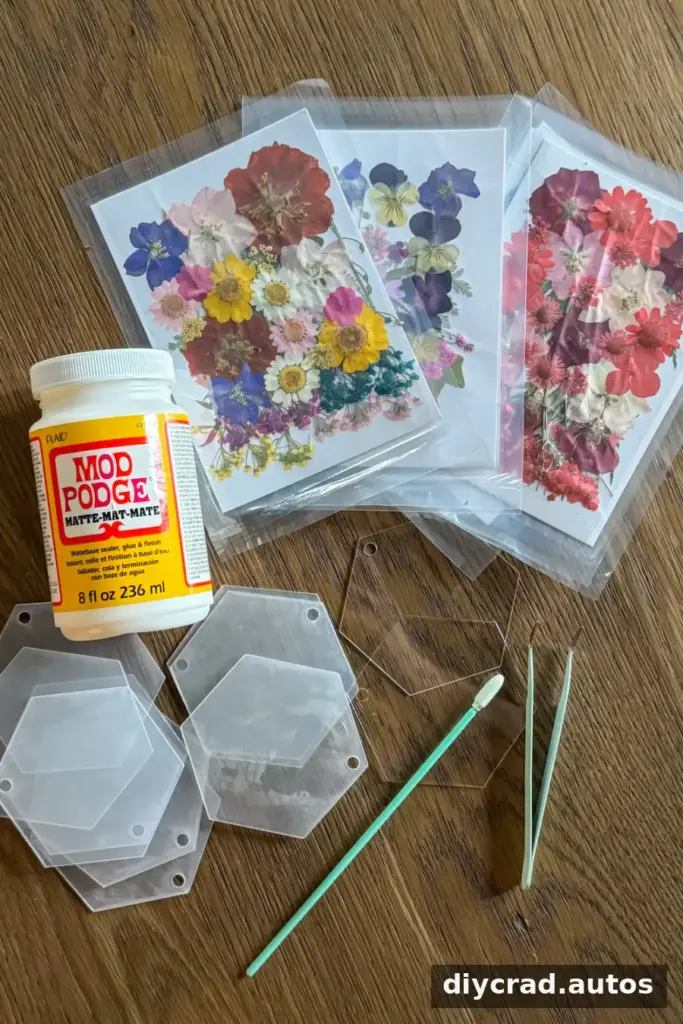
Choose flowers that are fully dry and flat so they sit neatly against the tag. A small craft brush gives you better control over the adhesive, especially around delicate petals. Keep a clean, dry surface nearby where the ornaments can rest while they dry.
How to Make Pressed Flower Ornaments
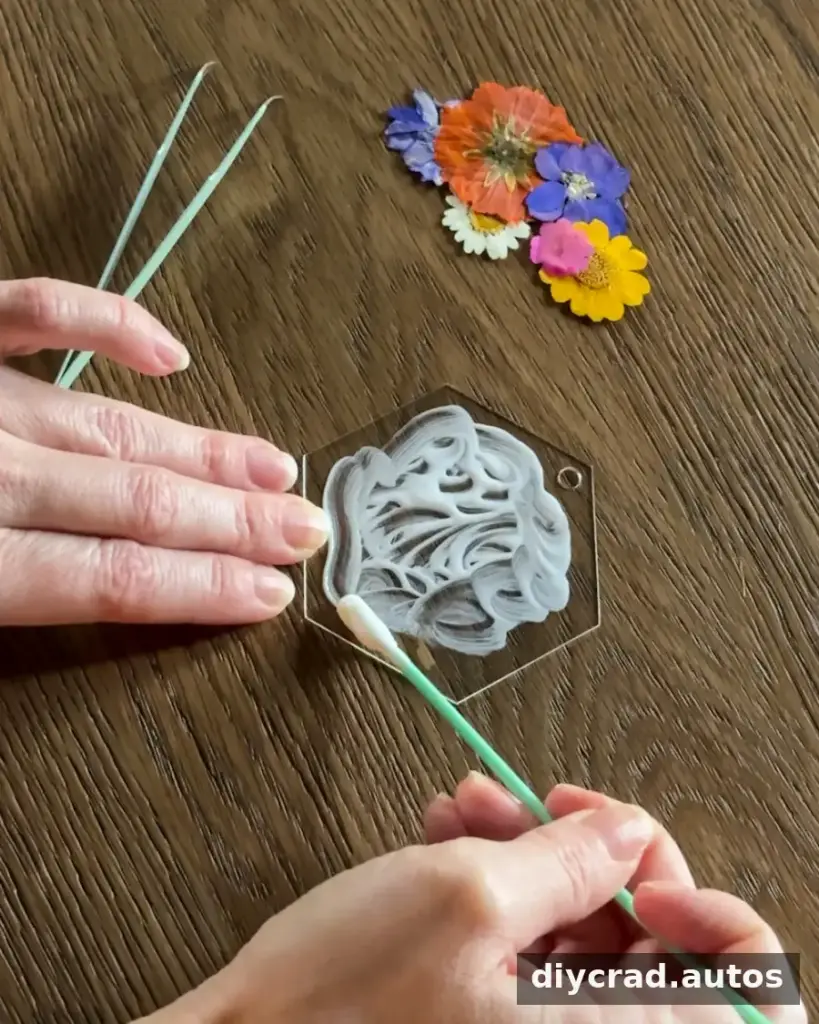
Apply the adhesive. Place the acrylic tag on your work surface and brush a thin, even layer of matte decoupage medium over the area where you want the flowers. A light coat helps prevent excess adhesive from spreading beyond the design.
Arrange the flowers. While the medium is still wet, position the pressed flowers on the tag. Use the craft brush to gently press each petal into place so it lies flat. Handle the blooms carefully; pressed petals can be fragile. Let the adhesive dry before moving to the next step.
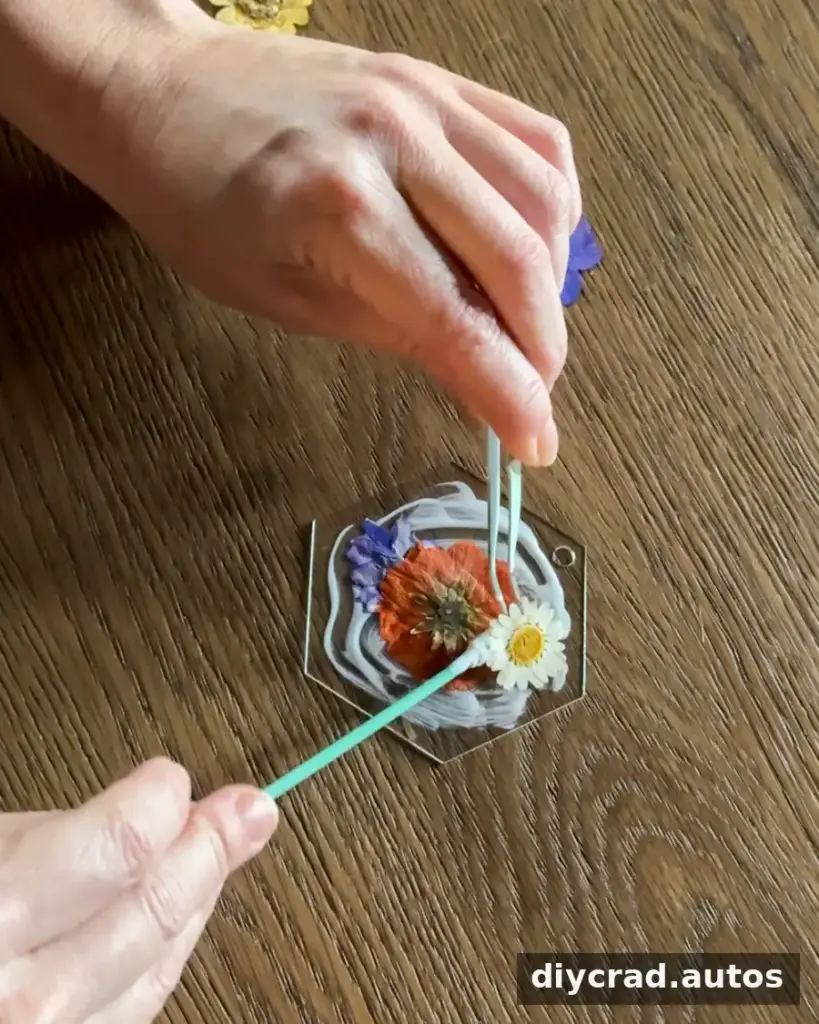
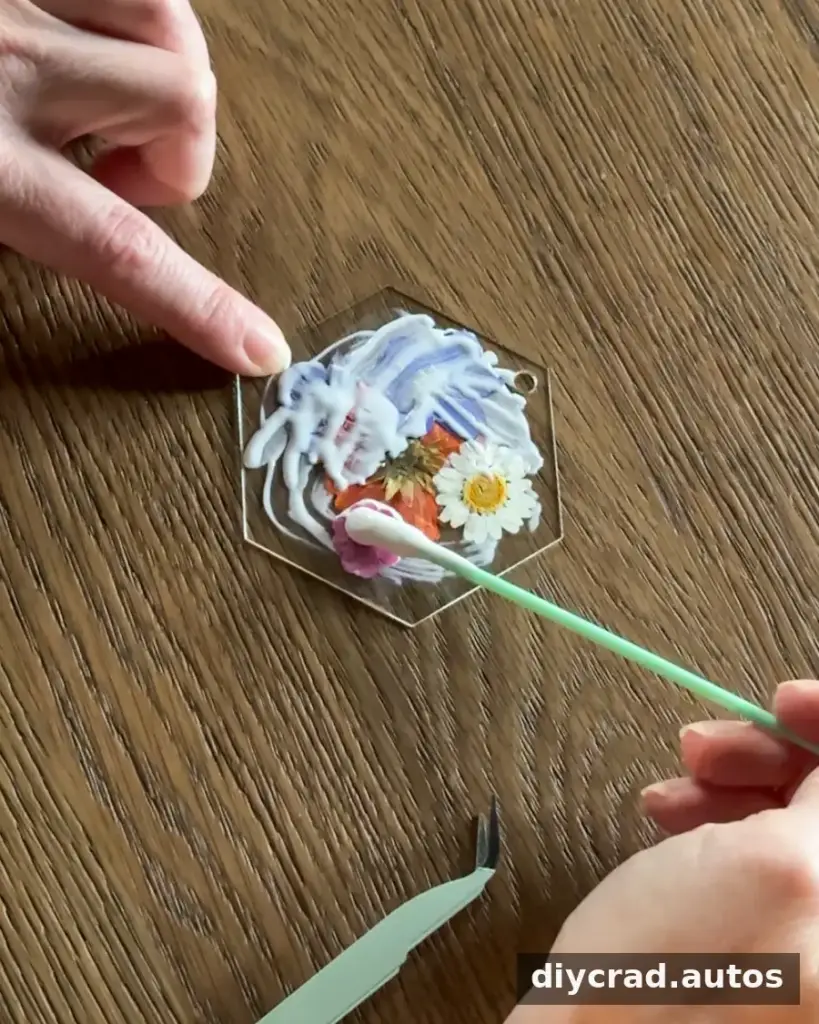
Seal the design. Brush a second thin layer of decoupage medium over the entire tag to cover and seal the flowers. Apply it gently to avoid shifting the arrangement, then leave the ornament to dry completely. Follow the drying guidance on the product you use.
Add the ribbon. Thread a length of 1/8-inch ribbon through the hole in the acrylic tag and tie it into a loop. The ornament is then ready to hang on a Christmas tree or include with a gift.
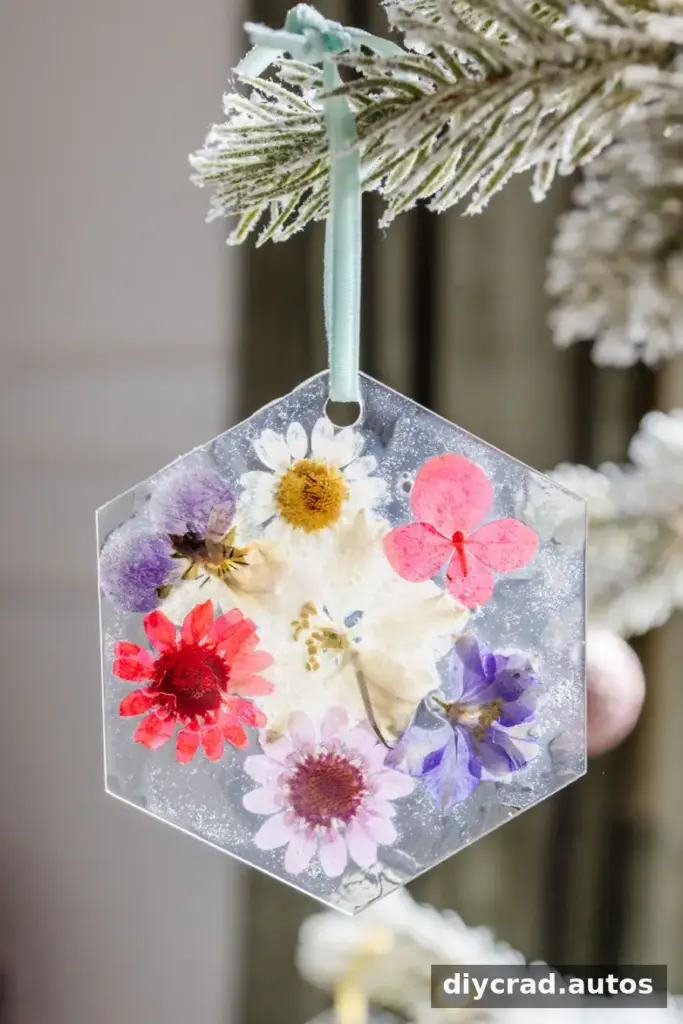
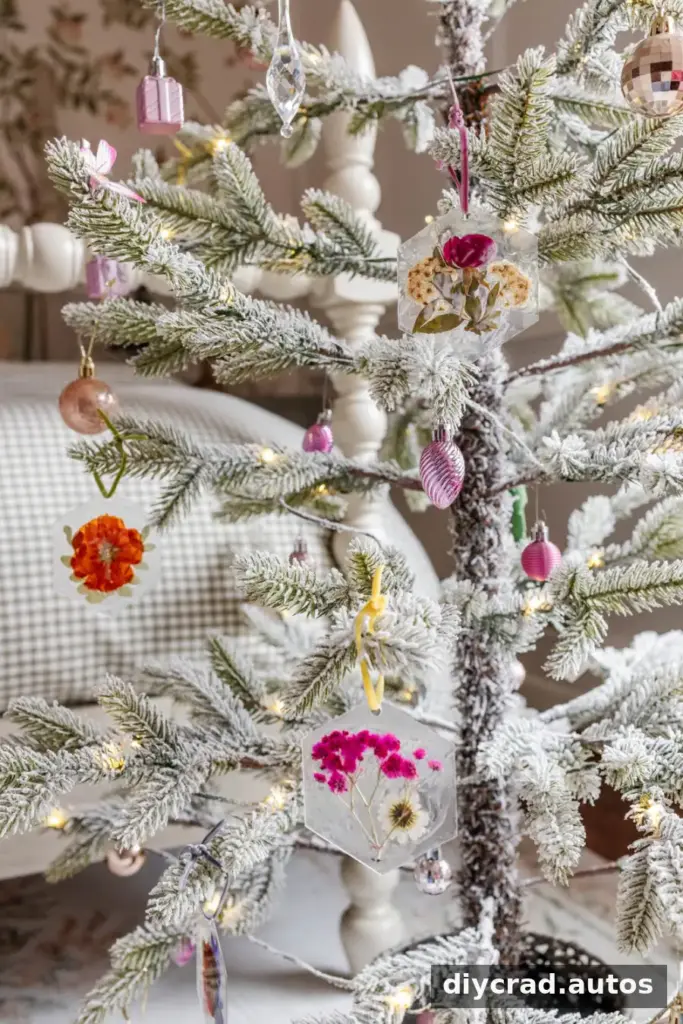
The transparent tag allows light to pass through the design, giving the finished pieces a stained-glass-like appearance. For a playful variation, arrange the flowers in a recognizable shape or motif. Keep the design simple if you are making these with children, and have an adult help with delicate flower placement.
Tips for a Neat Finish
- Test the flower layout before brushing on adhesive so you can adjust the composition while everything is dry.
- Use thin layers of decoupage medium and let each layer dry fully before handling the tag.
- Keep the finished ornaments on a clean surface while drying to help prevent dust or petals from shifting.
- Make a few different arrangements to create a coordinated set with natural variation.
Pressed flower ornaments are an easy, adaptable craft that can make a tree feel more personal without requiring complicated tools or techniques. Whether you create one as a keepsake or make a larger batch for decorating and gifting, allow the adhesive to dry fully before hanging each ornament. With a few pressed flowers and a little care, these handmade decorations add a delicate, light-catching detail to holiday décor.