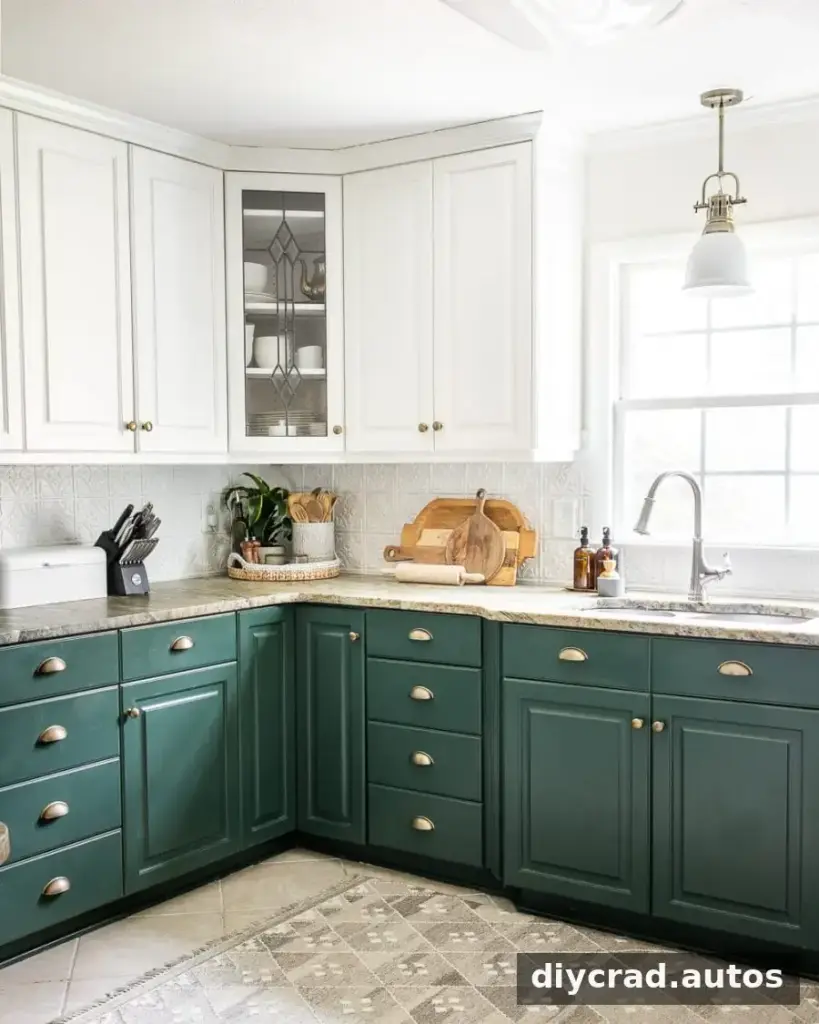
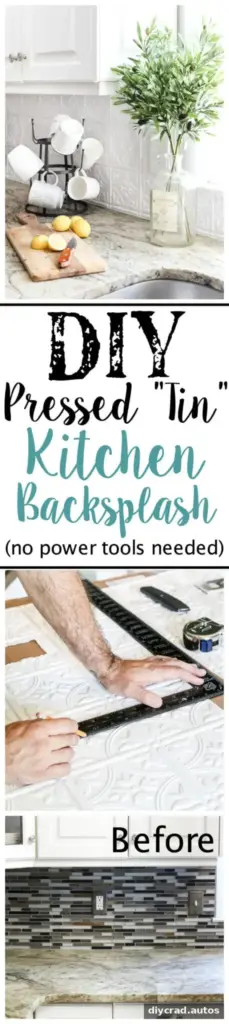
A DIY pressed tin backsplash can refresh a kitchen without the time and expense of removing existing tile. In this project, white pressed-tin-style PVC panels were installed over a tiled backsplash for a farmhouse-inspired look. The update cost $104 and took about 6 hours, and it required no power tools.
Why choose a DIY pressed tin backsplash?
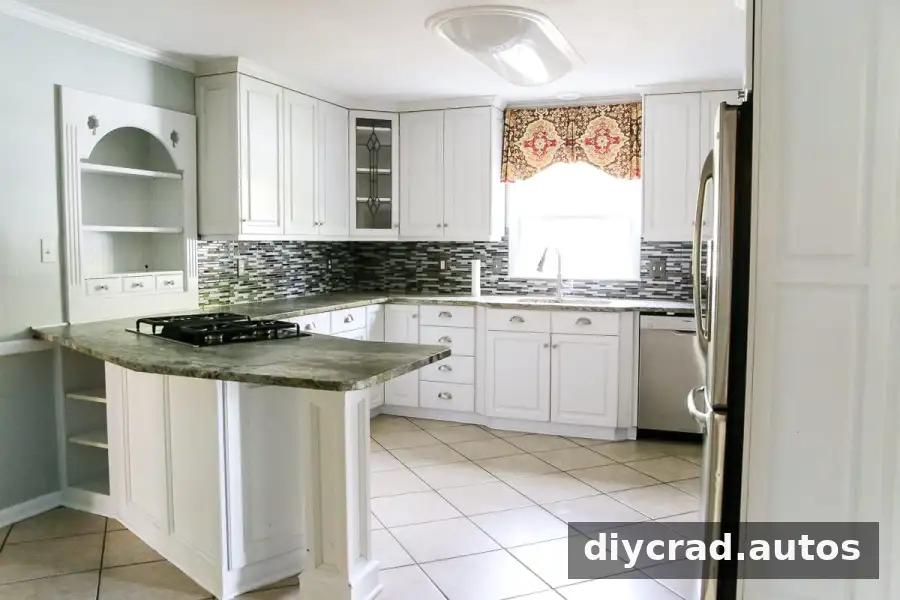
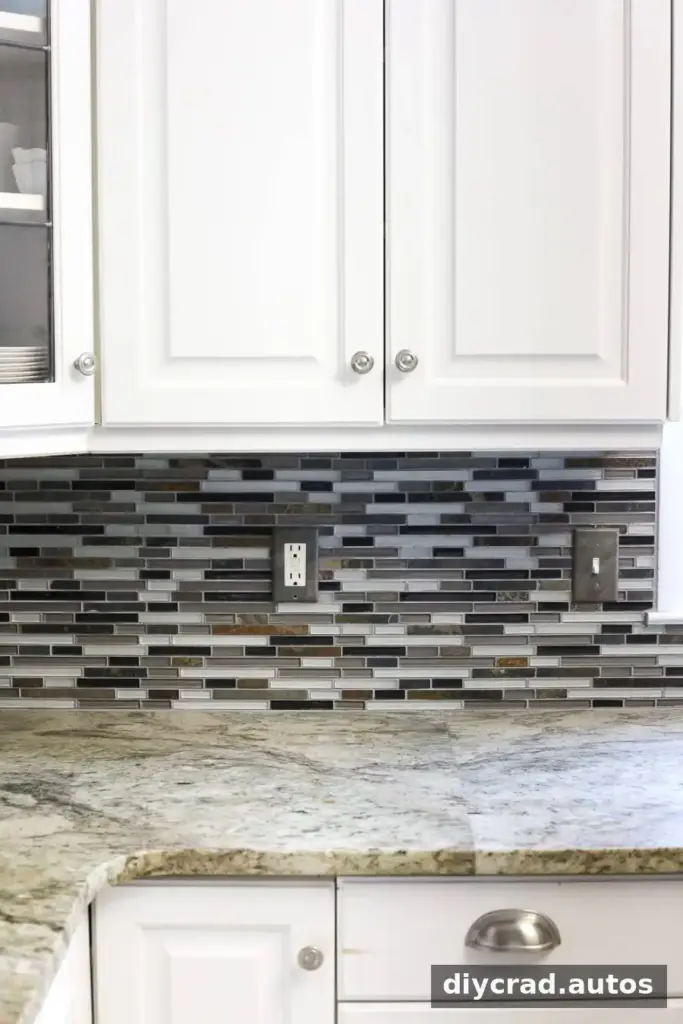
The existing backsplash was in good condition, but its colors, texture, and pattern competed with the granite countertops. Rather than remove the tile before a larger kitchen renovation, the temporary plan was to cover it with white panels that had a tile-like appearance.
Pressed tin is often used on ceilings, but lightweight PVC panels can also work as a decorative backsplash in suitable locations. They offer a quick visual change while leaving the existing tile in place. Before starting, check the panel manufacturer’s installation instructions and confirm that the surface is suitable for adhesive.
Materials and tools
The project used these supplies:
- Primer
- Paint brush
- Pressed-tin-style PVC panels
- Utility knife with a sharp blade
- Pencil and tape measure
- L-square or another straight-edge measuring tool
- Caulk gun
- Construction adhesive suitable for the panels and existing surface
- White caulk
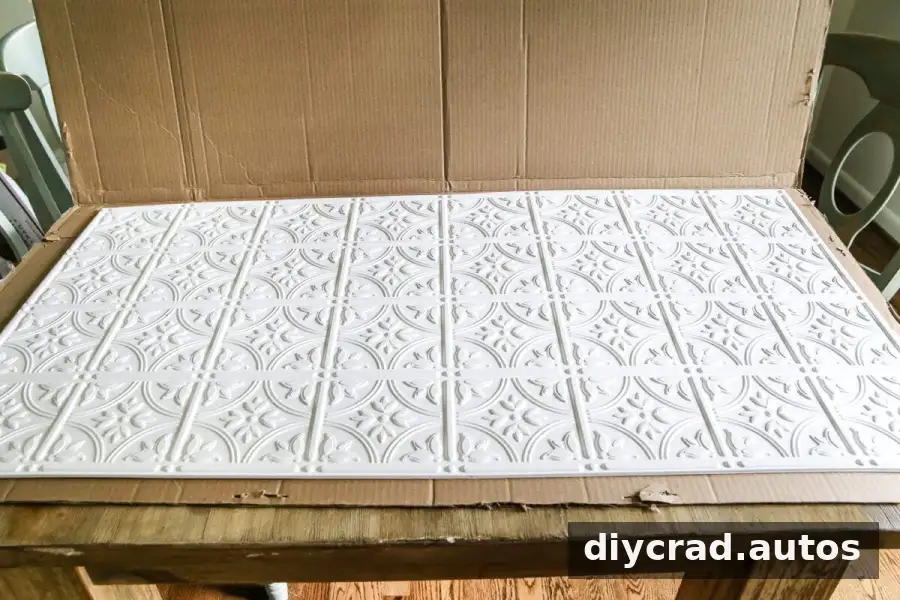
The panels came in 2-by-4-foot sheets. If you are planning to install a backsplash behind a stovetop, do not assume PVC panels are appropriate: the PVC used for this project is rated to 140°F. Use a suitable real-tin panel in that location and follow its installation instructions.
How to install pressed tin backsplash panels
1. Prime the existing tile
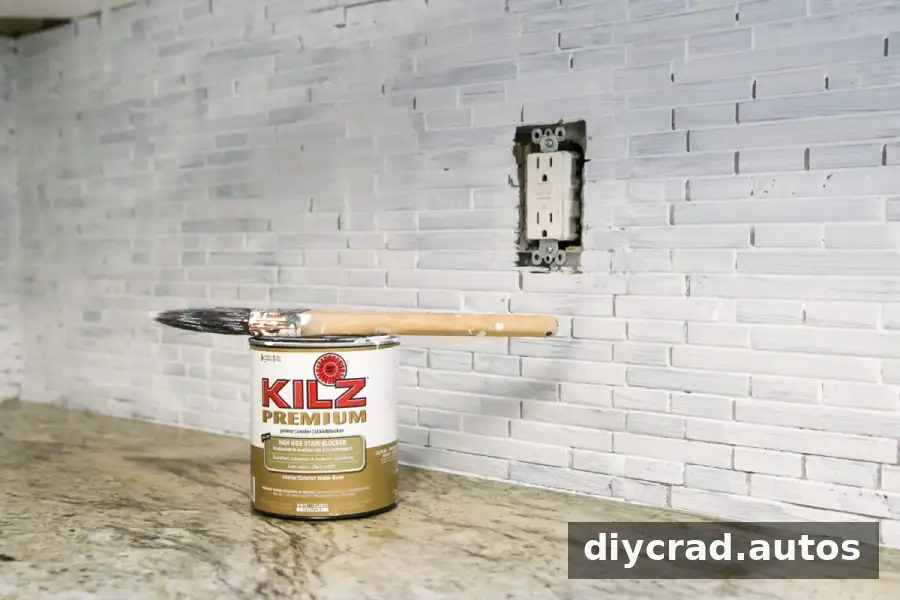
A coat of white primer was applied to the blue-gray tile so its color would not show through the white panels. Allow the primer to dry according to its label before attaching anything. A clean, dry surface helps you assess the area and prepare it for the next step.
2. Measure and mark each panel
Start at one end of the backsplash and work in manageable sections. The least noticeable corner can be a useful place to begin, since it gives you a chance to check your measuring and cutting approach before reaching a more visible area.
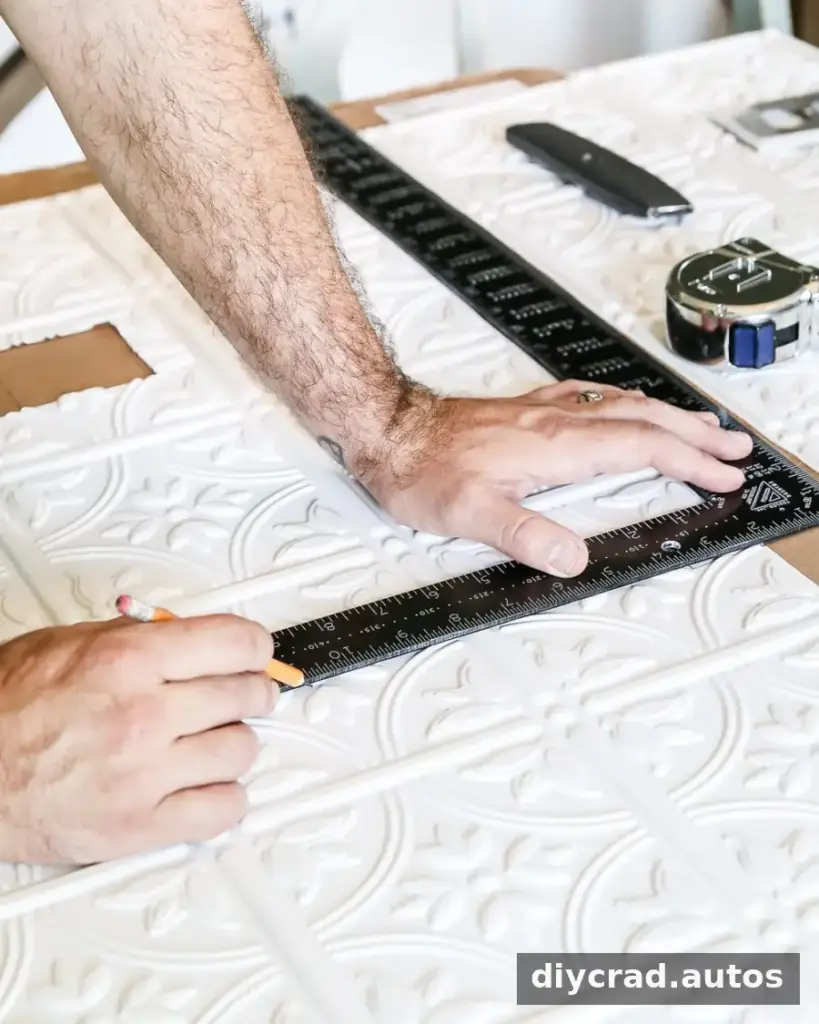
Measure the section, then mark the panel with a pencil and square so the cut line is straight. Measure carefully, especially around corners and edges, because small errors can become more noticeable as the panels meet.
3. Cut the panel to size
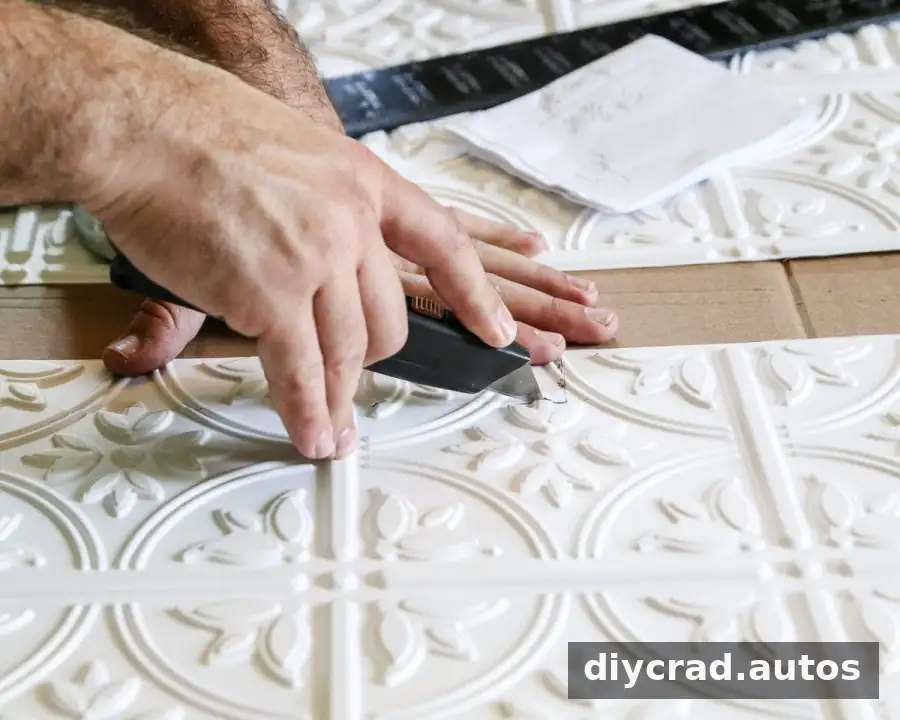
Use a sharp utility knife to cut along the marked line. Place cardboard beneath the panel to protect the work surface, and cut carefully rather than rushing. Follow the panel maker’s guidance for handling and cutting the material.
4. Cut openings for outlets and fixtures
Mark the positions of switch plates, outlets, and under-cabinet lighting on the panel before cutting. This is one of the more challenging parts of the job, so double-check each measurement and opening location. Keeping an extra panel available can help if a cut is inaccurate.
For any work near electrical fittings, take appropriate precautions and seek qualified help if you are unsure how to proceed. Do not cover access points or make openings that interfere with the safe installation of electrical components.
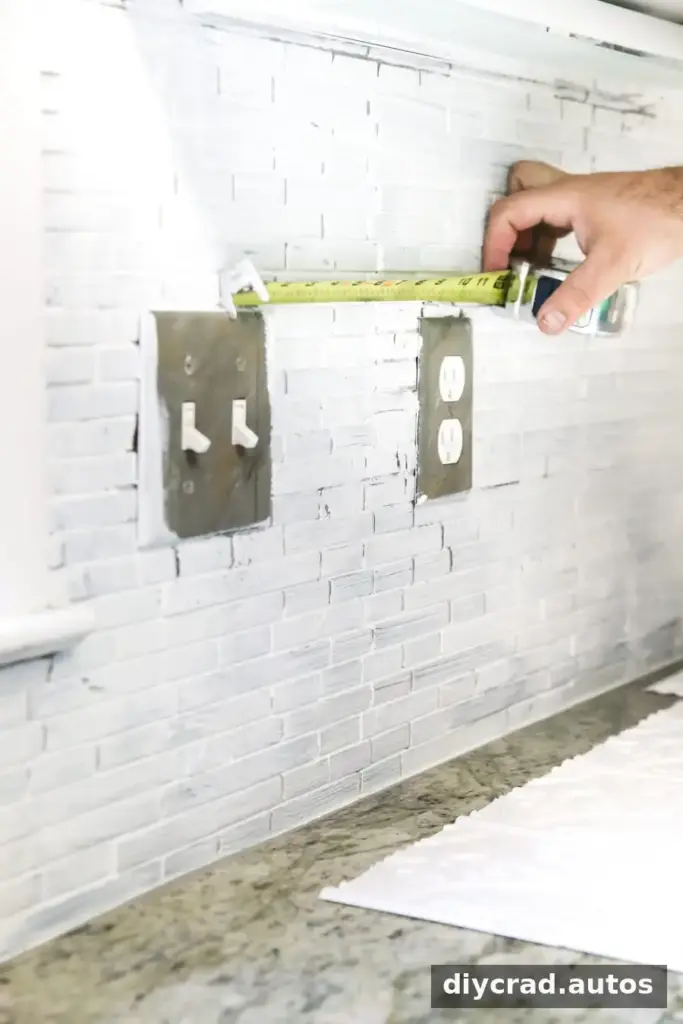
5. Apply adhesive and position the panels
Apply construction adhesive to the back of the panel as directed by its manufacturer. In this project, adhesive was placed about an inch in from the edges, with three or more marks through the middle. Avoid applying more adhesive than needed; excessive glue may create an uneven fit or squeeze out at the edges.
Position the panel carefully and press it against the tiled surface. Check alignment before moving on to the next section, and follow the adhesive’s instructions for setting and curing.
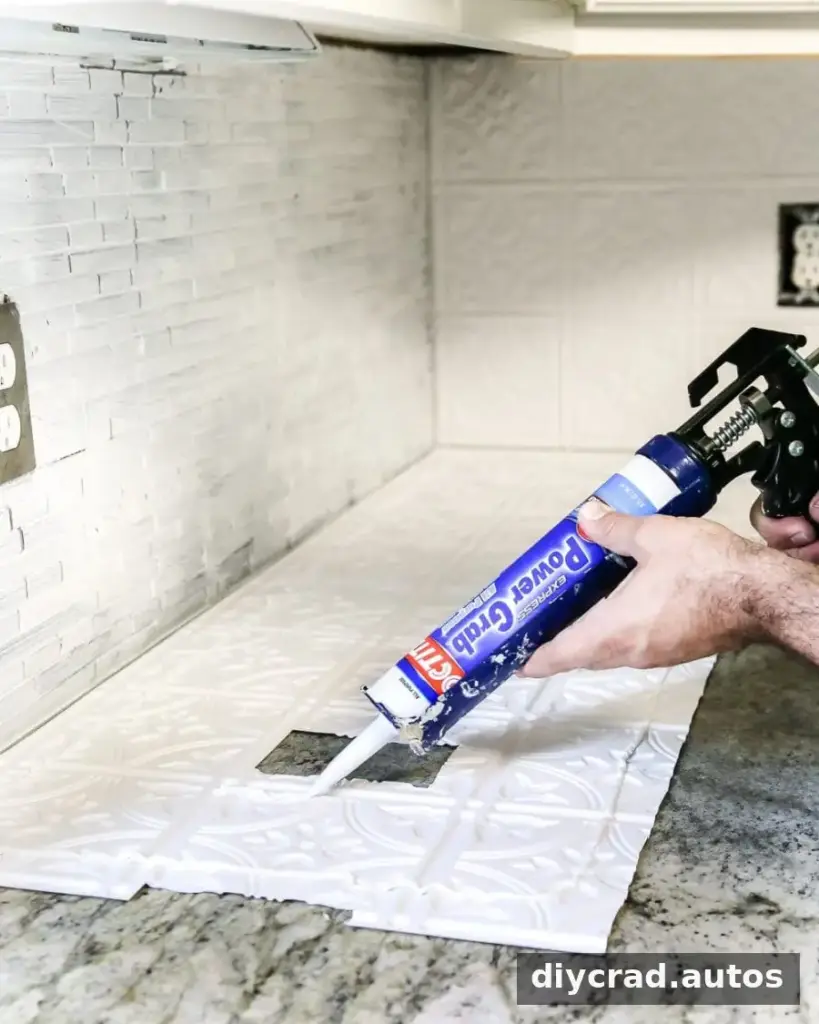
6. Repeat and finish the seams
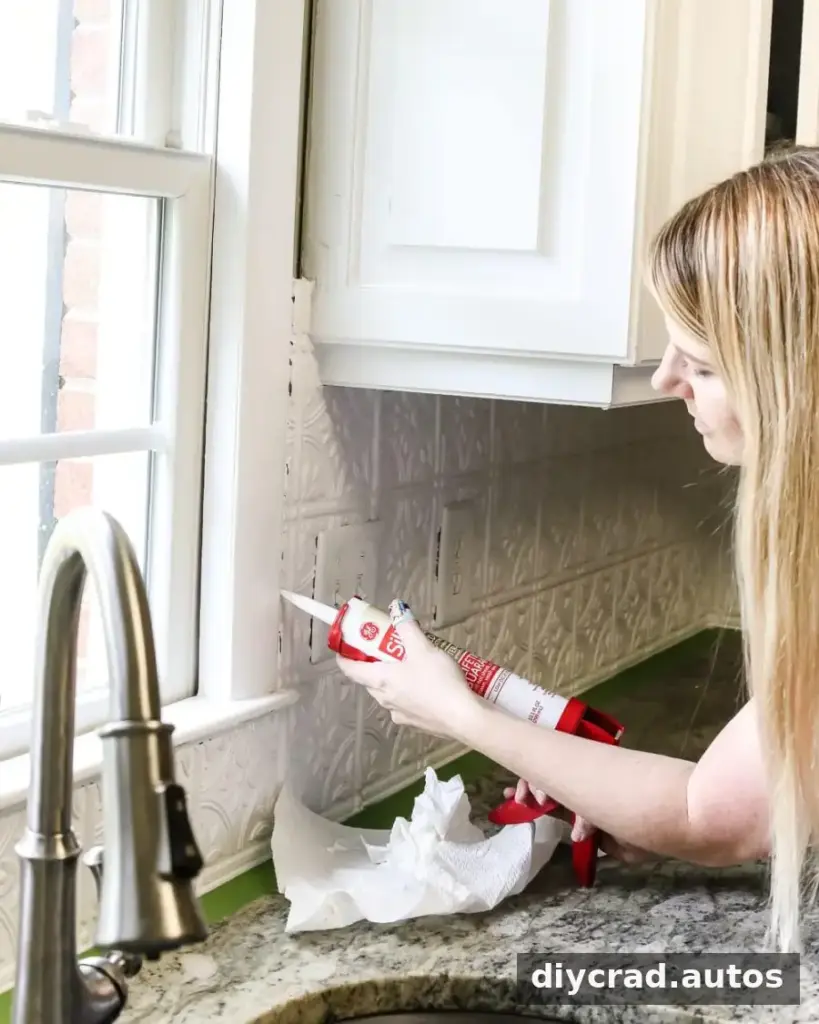
Continue measuring, cutting, and attaching panels around the backsplash. Once the panels are in place, use white caulk to cover visible cracks or seams for a neater finish. The panels can be painted with an appropriate primer and paint if you want a different color or sheen; this project kept them white.
Results and care
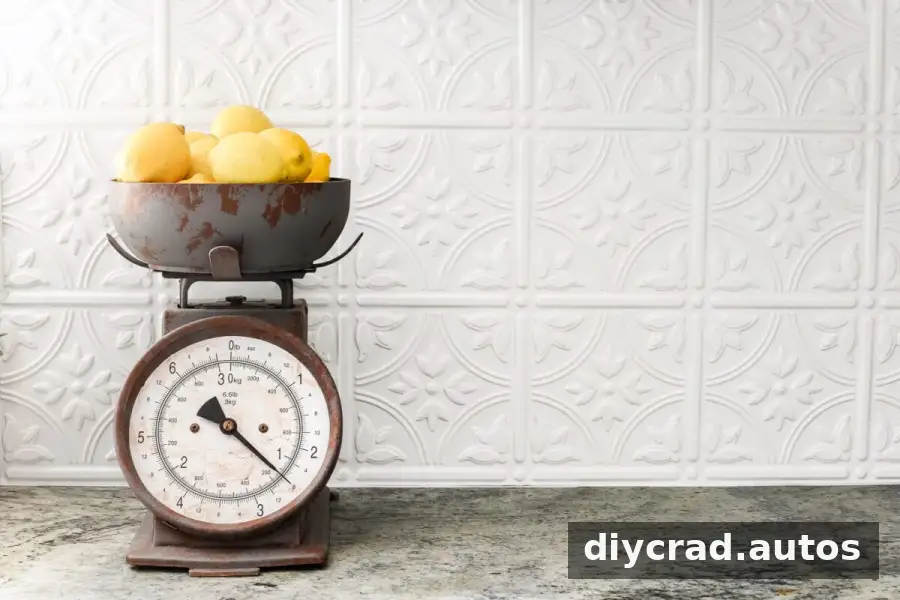
The white panels created a simpler backdrop that paired better with the countertops and gave the kitchen a more traditional farmhouse feel. This approach is especially useful when you want to update a room now but plan to replace the backsplash with permanent tile later.
More than three years after installation, the panels were still holding up well. For routine cleaning, wipe them with a damp cloth. Avoid assuming every panel has the same heat tolerance or cleaning requirements: check the product instructions for the specific material you choose.
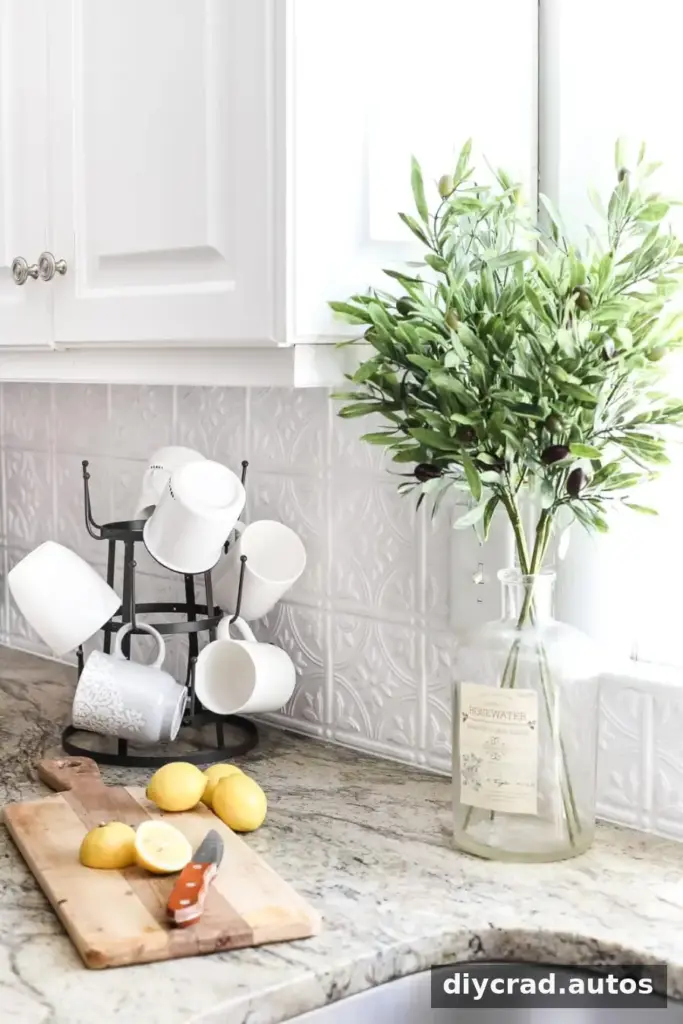
A temporary backsplash can be a practical way to test a new look before committing to a larger renovation. It is still important to choose materials suited to the location, particularly near cooking appliances, and to make sure the existing surface is sound enough for an adhesive installation.
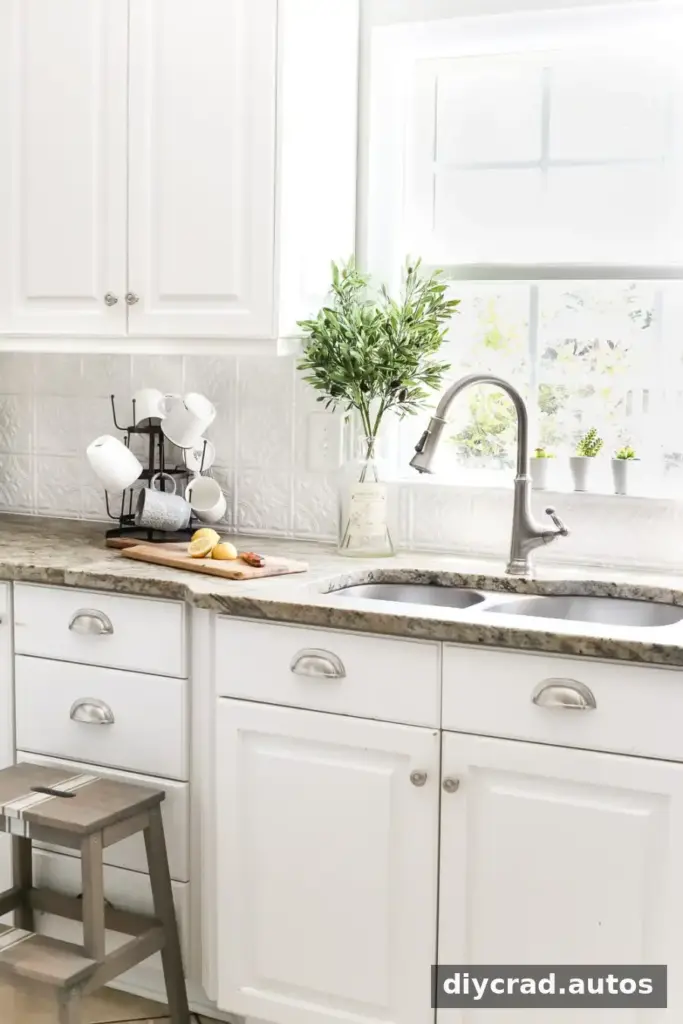
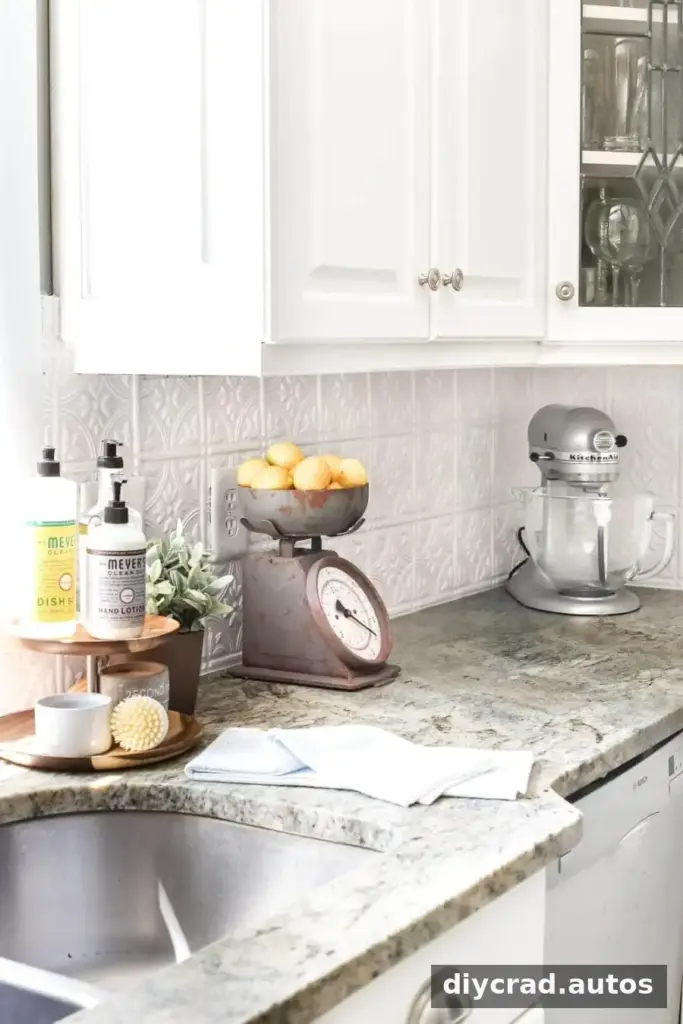
Simple white panels can also make a busy kitchen feel more visually consistent without changing the cabinets, counters, or floor. If you are planning future updates, consider how the backsplash color and pattern will work with those elements before choosing a finish.
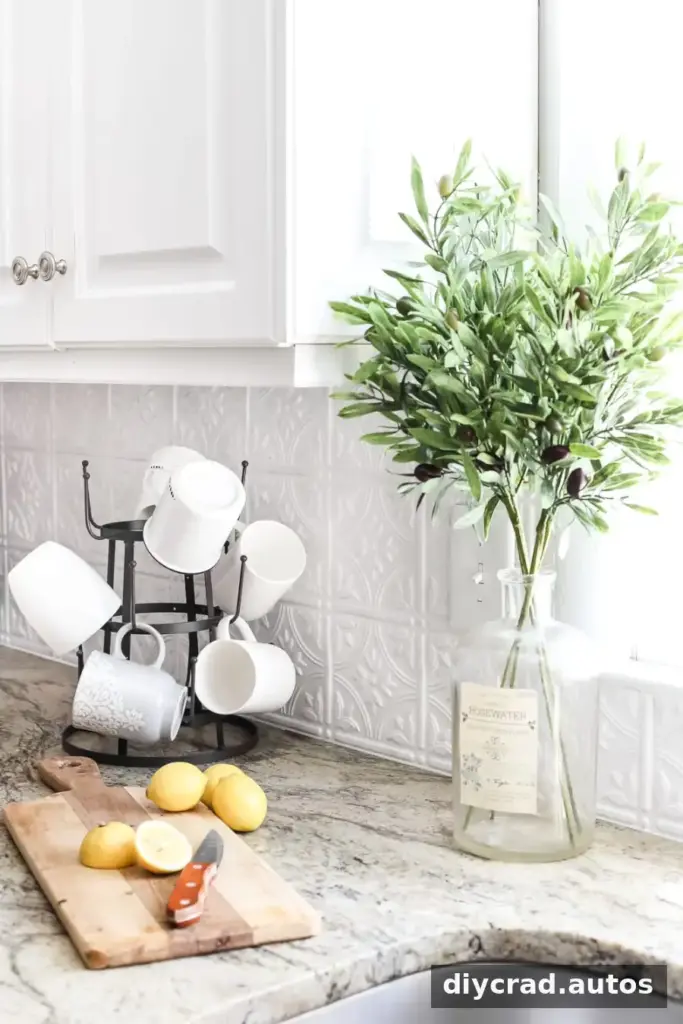
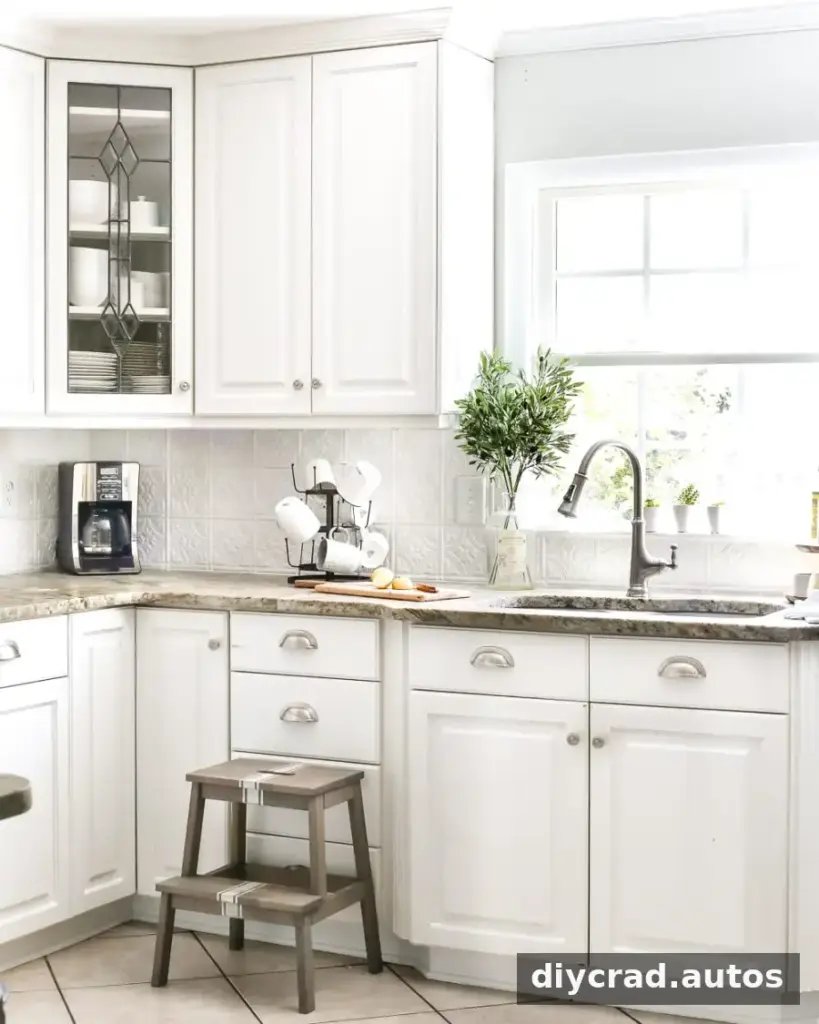
Decorative details can be added after the installation is complete. Keep countertop accessories away from areas where they could interfere with cooking, cleaning, or access to outlets.
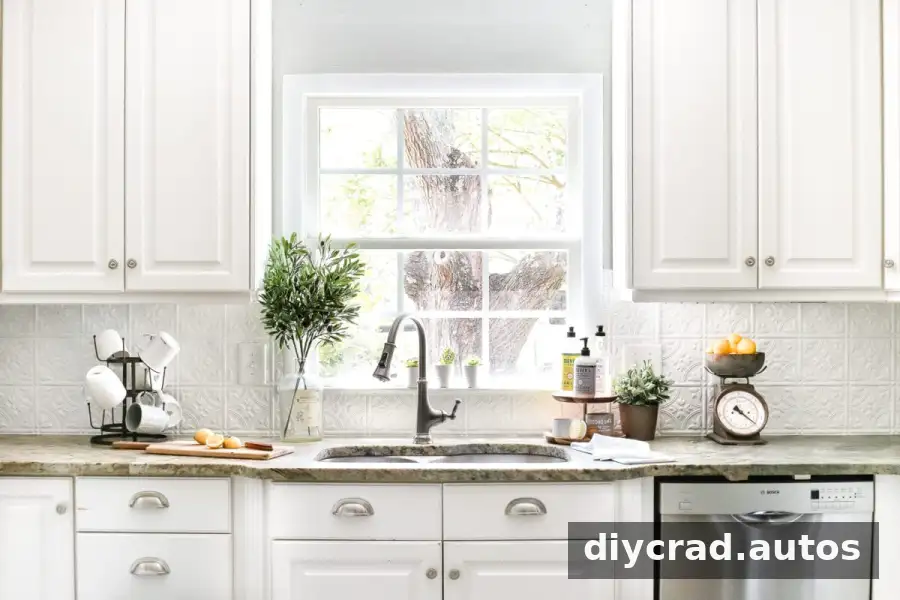
Frequently asked questions
What is the easiest backsplash to install?
Wallpaper and peel-and-stick vinyl tiles are common straightforward options for DIY backsplash updates. Beadboard and faux-brick panels may also be suitable, depending on the room, surface, and product instructions. Compare installation requirements and cleanability before choosing.
Is a pressed tin backsplash heat resistant?
Heat resistance depends on the material. The PVC panels used in this project are rated up to 140°F, so they should not be used behind a stovetop. Choose a suitable real-tin panel for that area and follow the manufacturer’s instructions.
How long does this project take?
This installation took about 6 hours and cost $104. The time and expense can vary with the backsplash size, the number of outlets or fixtures, and the panels and adhesive selected. Careful measuring before cutting can help reduce errors and delays.
A DIY pressed tin backsplash can be a relatively quick way to give an existing kitchen a new look while keeping the original tile in place. For a lasting, safe result, use panels suited to the installation area, measure openings carefully, and follow the product directions throughout the project.