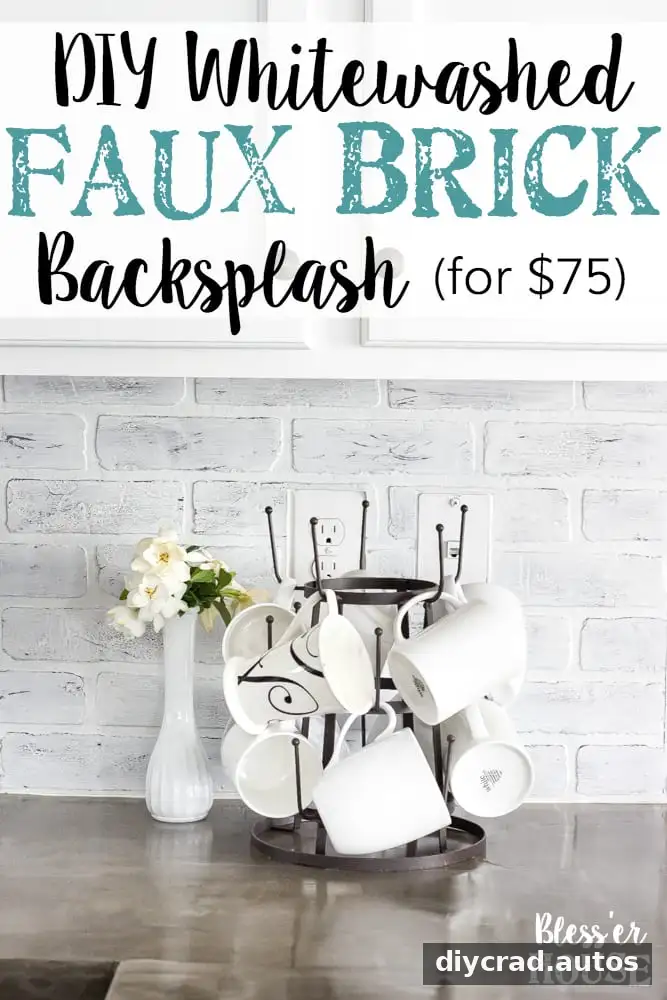
A whitewashed faux brick backsplash can refresh a dated kitchen without the mess of removing existing tile. This budget-friendly project used two sheets of faux brick paneling and cost less than $75. With careful measuring and basic cutting tools, the panels can be fitted over a clean, sound backsplash and finished with a soft, weathered whitewash.
The project took about four hours. Before starting, check that the paneling is suitable for your kitchen and that covering the existing surface will not interfere with outlets, switches, or appliances.
Where to Use a Faux Brick Backsplash
Faux brick paneling can add texture to a kitchen backsplash, basement bar, or coffee station. It can also be used on a larger plain wall to create a brick-inspired feature at a lower cost than installing real brick.
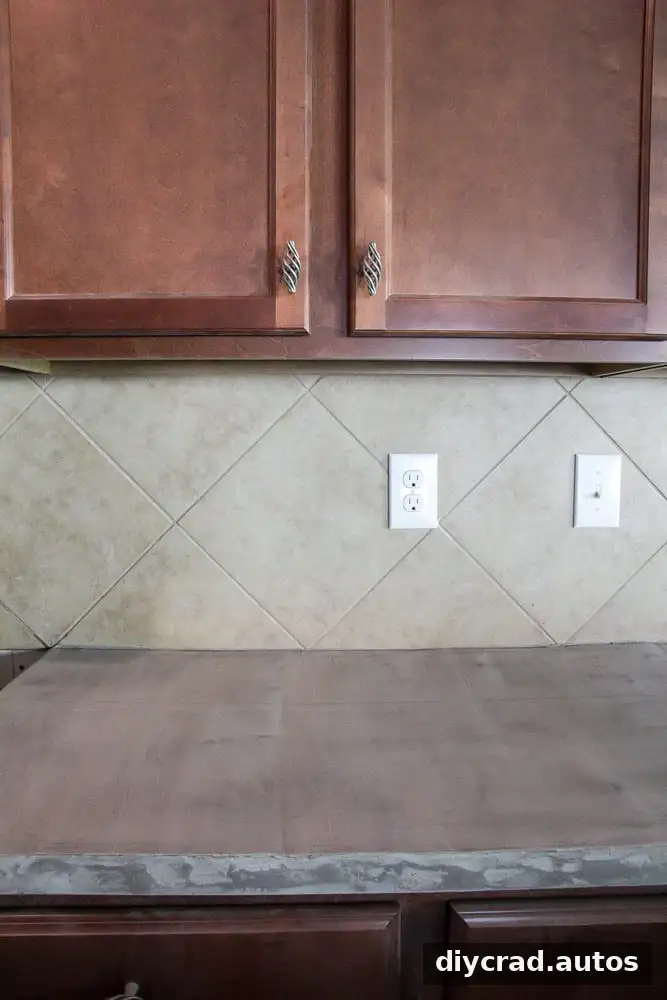
In this project, the panels were installed over existing tile. The tile was in usable condition but no longer suited the room’s style. Leaving it in place avoided demolition, and its added thickness helped the finished surface resemble real brick.
Why a Whitewashed Faux Brick Backsplash Works for Beginners
This approach avoids heavy demolition and major construction. The main tasks are cleaning, measuring, cutting, and attaching the panels. If you can make a straight cut with a circular saw or table saw and carefully use a jigsaw for outlet openings, the work is manageable for many beginner DIYers.
Allow enough time to measure each section accurately and test-fit every piece before applying adhesive. Cutting all panels at once without checking their fit can lead to avoidable gaps or wasted material.
Materials and Tools
- Degreaser and a clean, dry rag
- 120-grit sandpaper and a tack cloth
- Construction adhesive, approximately six tubes
- Two sheets of faux brick paneling
- Circular saw or table saw, plus a jigsaw
- Chalk line, measuring tape, and pencil
- One pint of white semigloss paint
- Small bucket and paintbrush
- Clean, damp cotton rag
- Plastic drop cloth and painter’s tape
- Latex caulk
- Clear protective topcoat suitable for the paneling
How to Install a Whitewashed Faux Brick Backsplash
- Clean the existing backsplash.
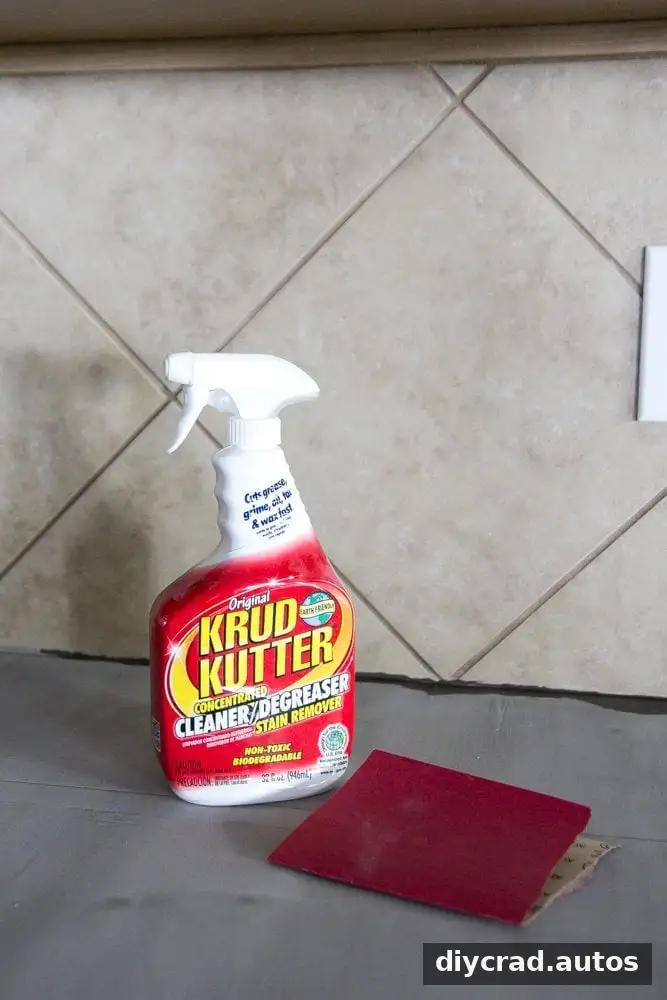
Remove cooking residue and grease with a degreaser, then let the surface dry completely. The panels in this project were installed over existing tile; removing the tile first is another option if you prefer to attach the panels directly to the wall.
- Lightly sand the tile.
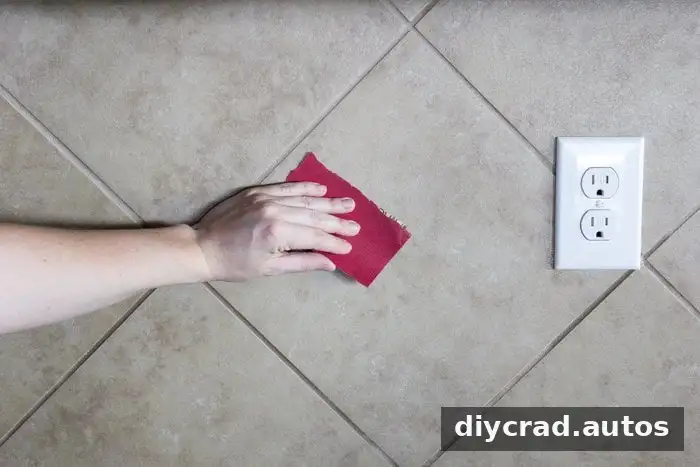
Once dry, scuff the tile with 120-grit sandpaper to help prepare the surface for adhesive. Wipe away all sanding dust with a tack cloth before continuing.
- Measure each section.
Measure one backsplash area at a time and record the dimensions. Breaking the wall into sections makes it easier to account for corners, edges, and openings.
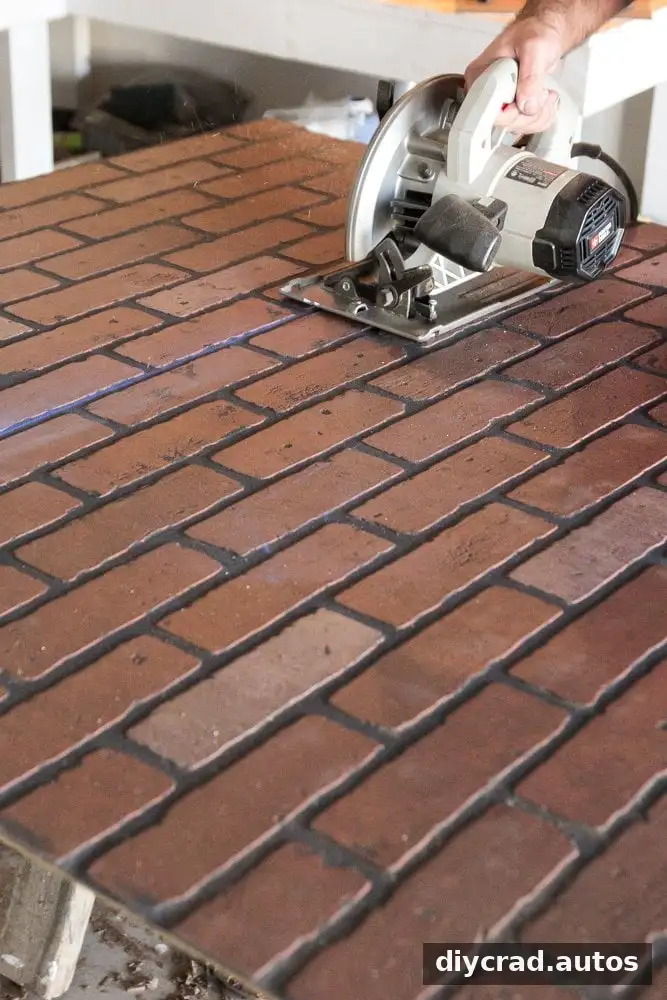
- Cut the panels.
Mark straight cut lines with a chalk line. A table saw is useful for long cuts; a circular saw can also be used. Follow the tool manufacturer’s safety instructions and support the panel while cutting.
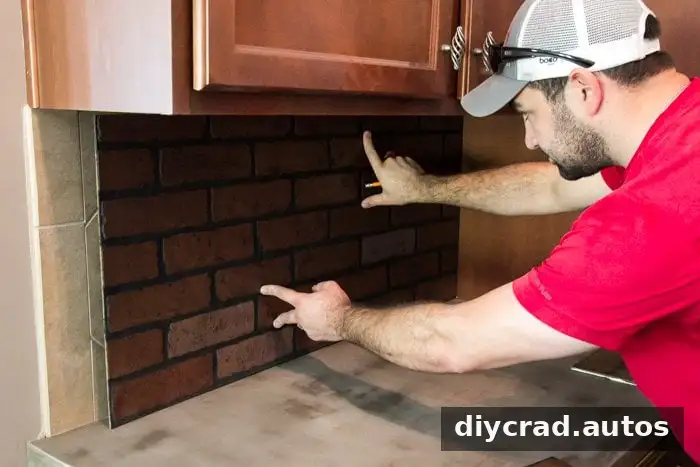
- Test-fit the cut pieces.
Position each panel without adhesive to confirm that it fits. Make any needed adjustments before moving on.
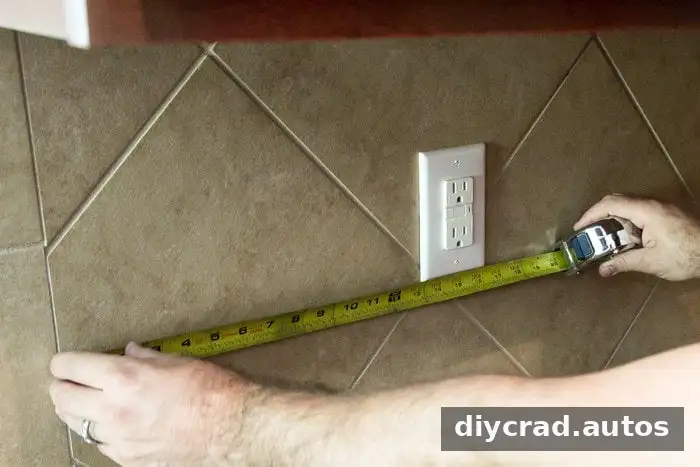
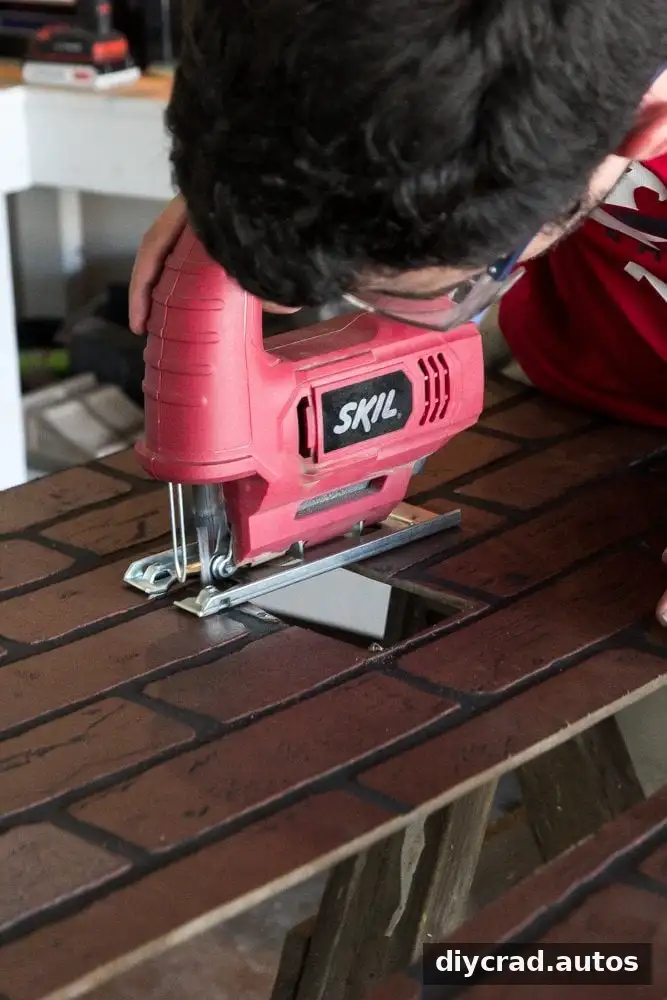
- Mark and cut outlet openings.
Measure the location of each outlet and mark it on the panel. Cut the opening with a jigsaw, then test-fit the panel again. Turn off power to the relevant circuit before working around electrical outlets, and follow local requirements for outlet extensions or trim.
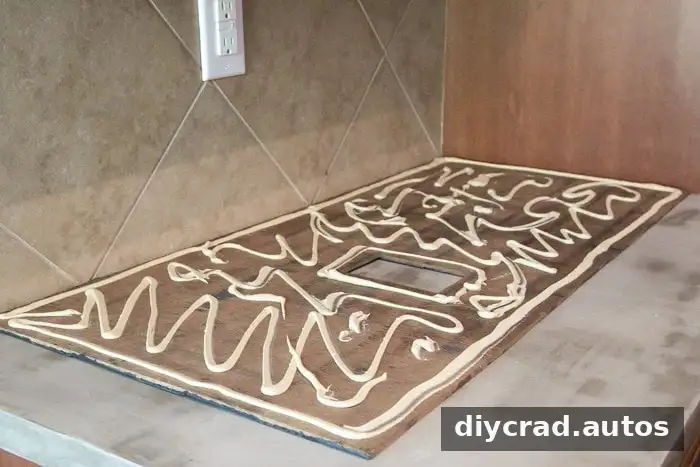
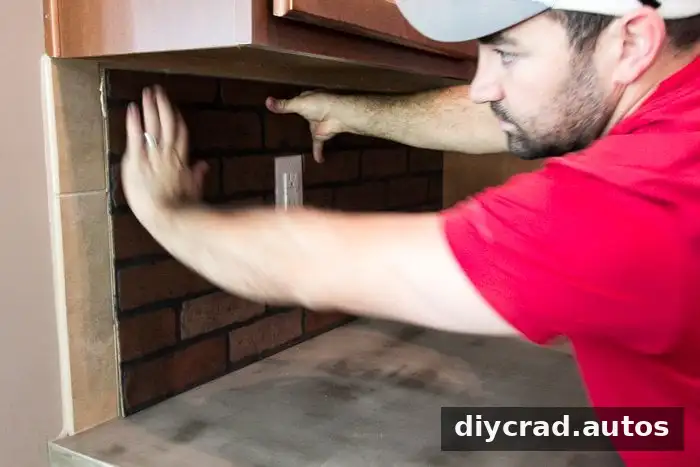
- Attach the panels.
Apply construction adhesive across the back of a panel, following the adhesive label for application and setting instructions. Press the panel firmly into place and hold it as directed. Repeat the measuring, cutting, and fitting process for the remaining sections.
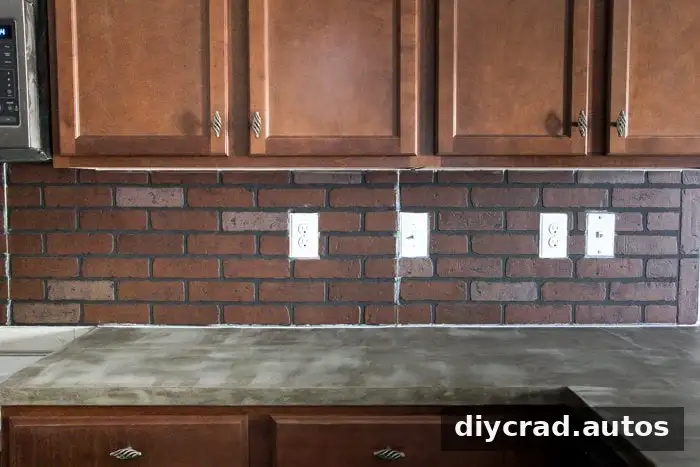
- Caulk the seams.
Once the panels are in place, fill the visible seams with latex caulk. Smooth the joints neatly and allow the caulk to dry according to its label before painting.
- Protect nearby surfaces.
Cover countertops with a plastic drop cloth and secure it with painter’s tape. This helps prevent paint from splattering onto work surfaces.
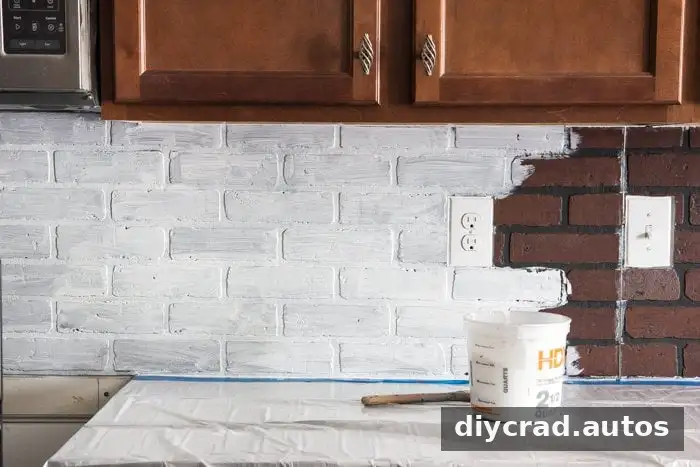
- Apply the whitewash.
Mix approximately one part white semigloss paint with one part water in a bucket. Brush the mixture over the faux bricks, then let the first coat dry before applying a second coat.
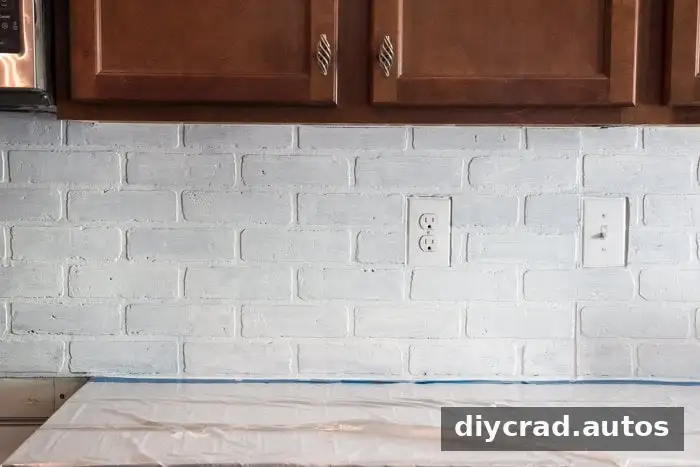
- Distress the finish if desired.
After the second coat dries, use a clean, damp rag to gently remove some paint from selected areas. This creates variation and a more weathered appearance. Work gradually so you can control how much of the underlying color shows through.
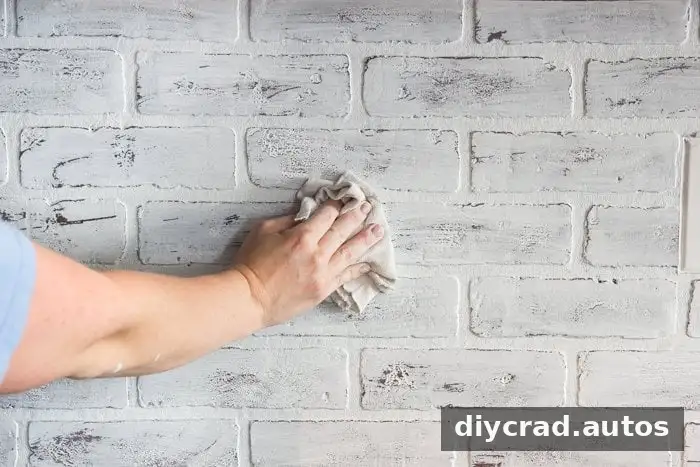
- Seal the backsplash.
Apply two coats of a clear protective topcoat that is compatible with the paneling and paint. Let each coat dry as directed. A suitable non-yellowing finish can help protect the white paint from routine cooking splashes and cleaning.
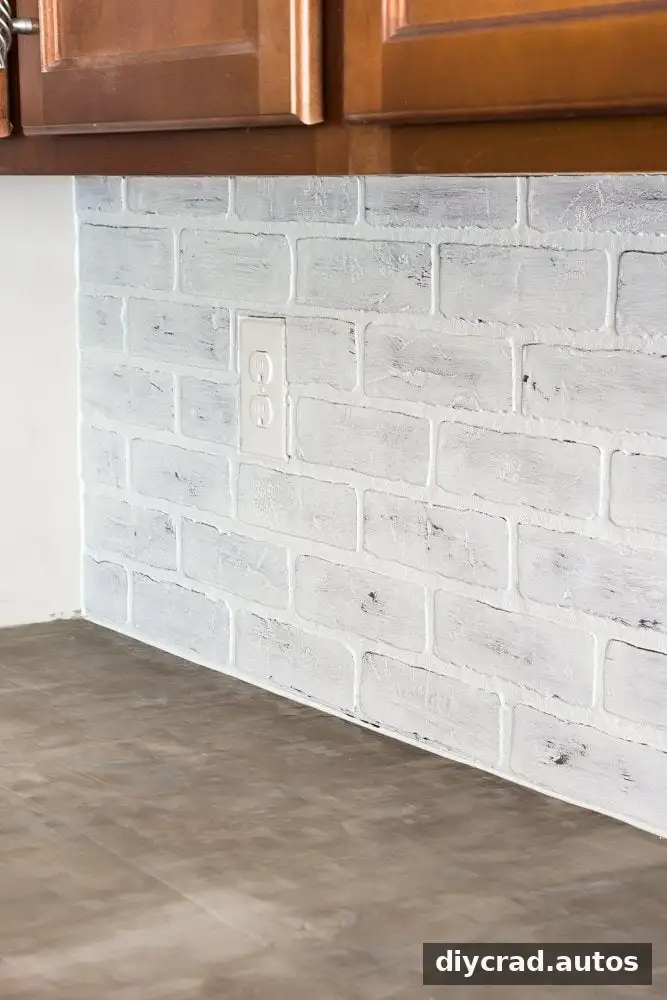
After installation, touch up surrounding wall paint as needed. The finished surface offers the look of whitewashed brick while leaving the original tile in place.
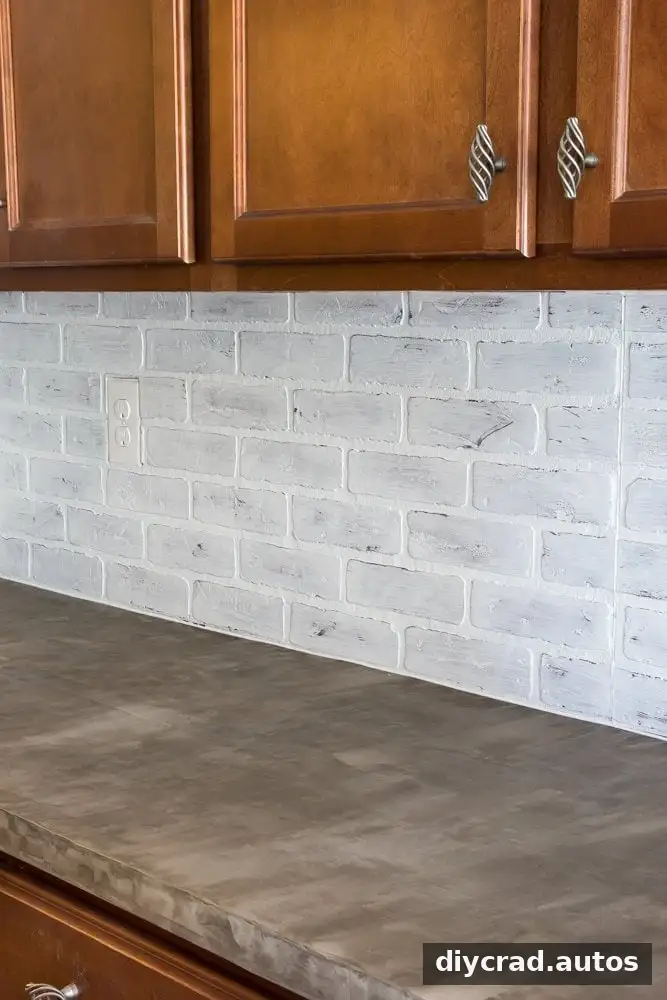
The Finished Kitchen
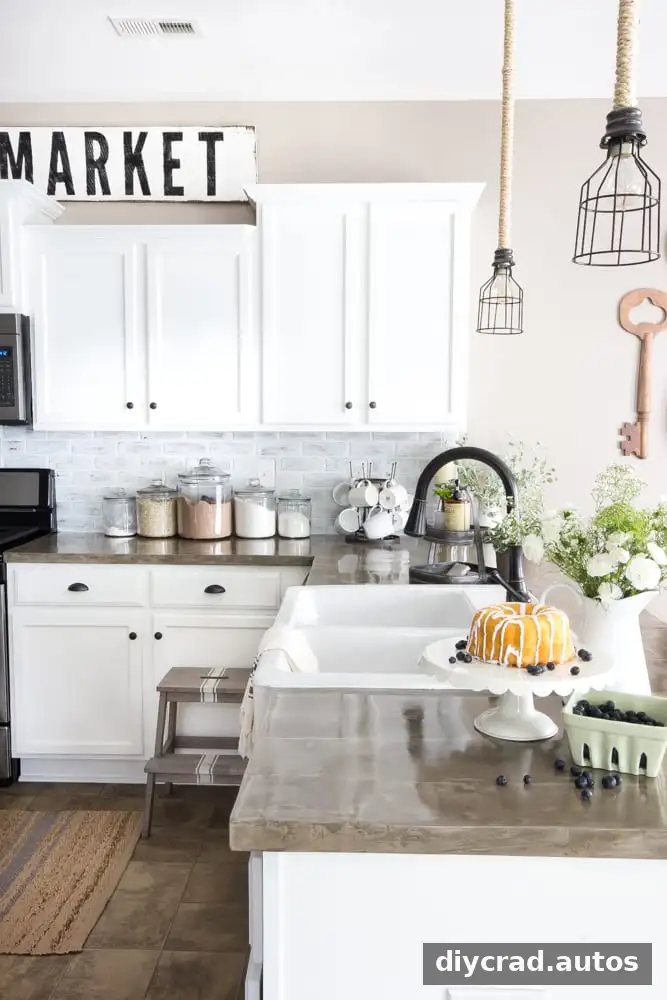
Combined with painted cabinets and a concrete countertop, the faux brick panels helped give the kitchen a farmhouse-inspired look without the cost and disruption of installing real brick. The project was completed five years ago, and the backsplash was reported to have remained in good condition after the homeowners moved.
Frequently Asked Questions
How should faux brick panels be cleaned?
Wipe the surface with a damp rag and a small amount of all-purpose cleaner. Avoid scrubbing, which could damage the paint or protective finish. Always check the panel and coating care instructions before using a cleaning product.
Can the panels be installed temporarily?
Finishing nails can be used to attach panels over drywall instead of adhesive. When the panels are removed, the nail holes can generally be filled with spackle and touched up. The result will depend on the condition of the wall and the installation method.
Are faux brick panels fireproof?
No. The HDF panels described for this project are fire resistant, but they are not fireproof and can burn. Keep them away from direct flame and check the product’s safety information and suitability for the intended location.
Can faux brick panels be used outdoors?
No. The panels used for this project are not rated for outdoor use. Choose a material specifically designed for exterior conditions if the installation will be exposed to weather.
Final Tips for a Whitewashed Faux Brick Backsplash
A whitewashed faux brick backsplash is a practical option when you want a textured update without removing existing tile. For the best result, prepare the surface carefully, dry-fit every panel, protect countertops during painting, and use a compatible sealer. Confirm that the panel material is appropriate for your kitchen and follow product instructions for adhesive, paint, and cleaning.