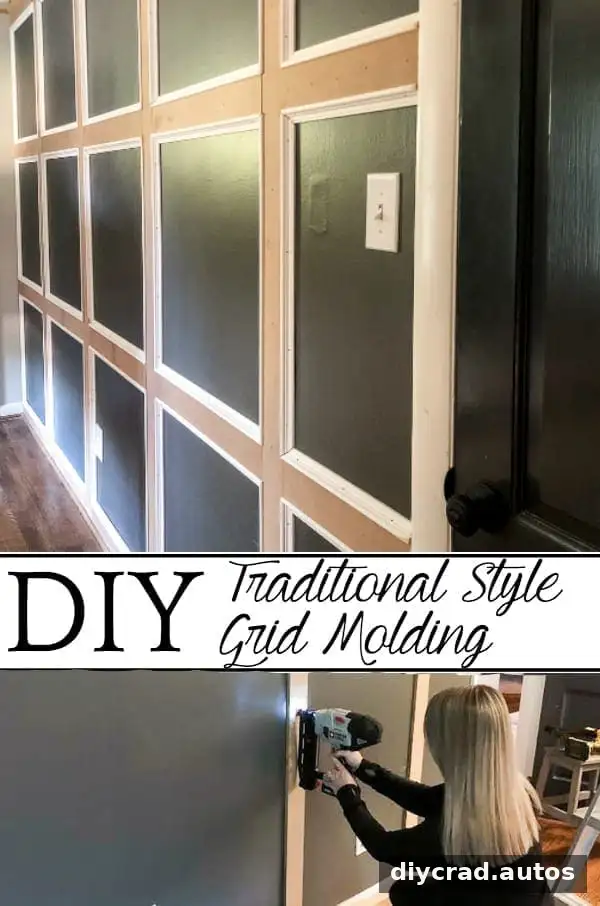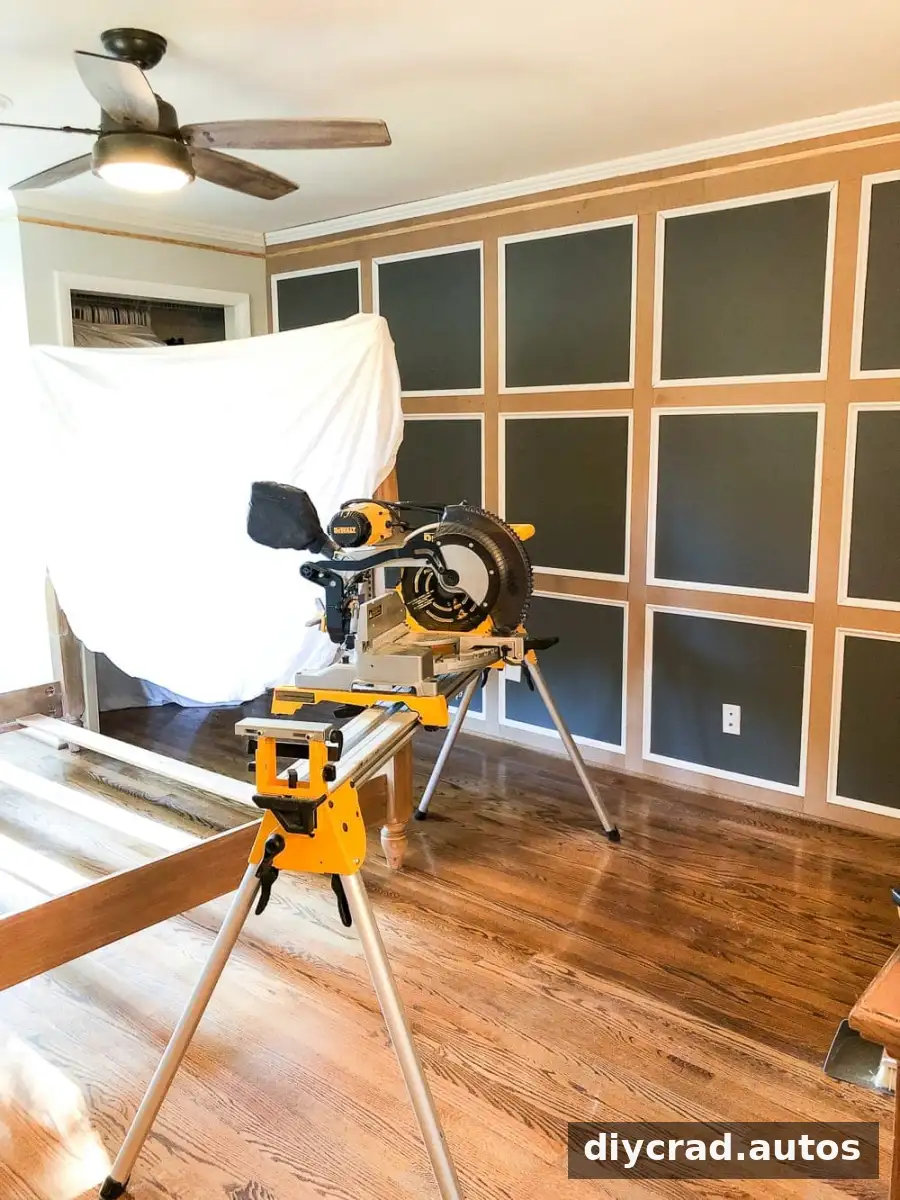
A DIY traditional grid molding focal wall can add architectural detail and visual depth to a bedroom or another room without requiring a complete renovation. This intermediate project uses MDF boards to create a measured grid, then adds finger-jointed panel cap molding for a more traditional finish. Careful planning is essential: a full-scale layout helps you check the proportions before cutting materials.
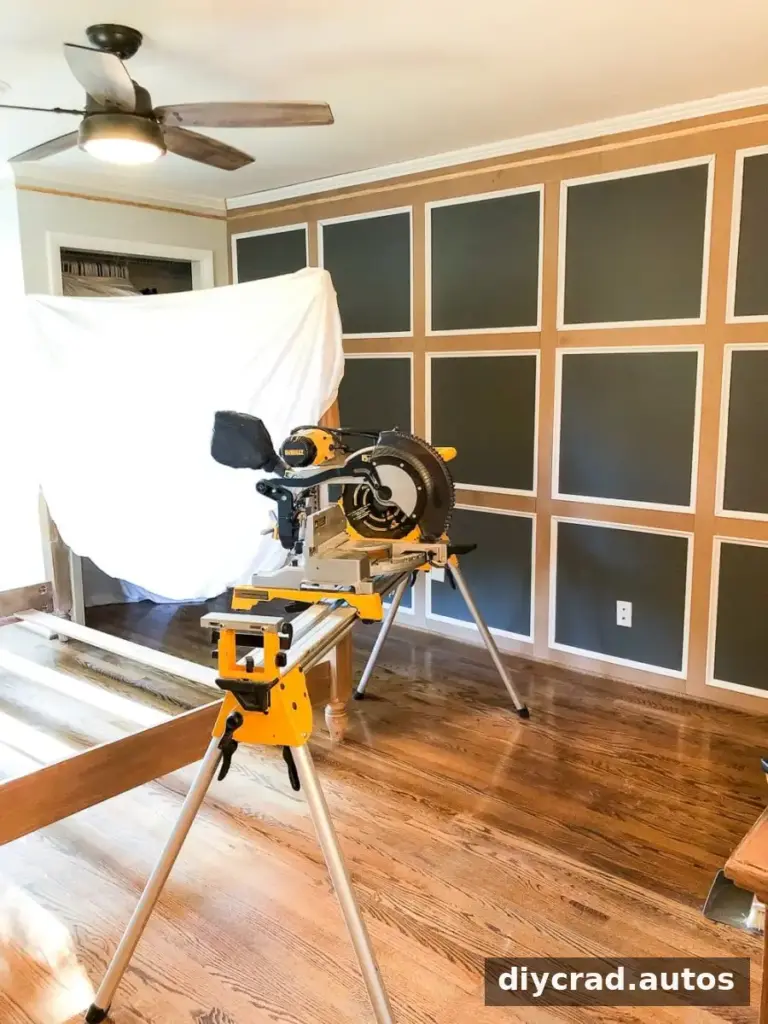
DIY Traditional Grid Molding Focal Wall: Project Overview
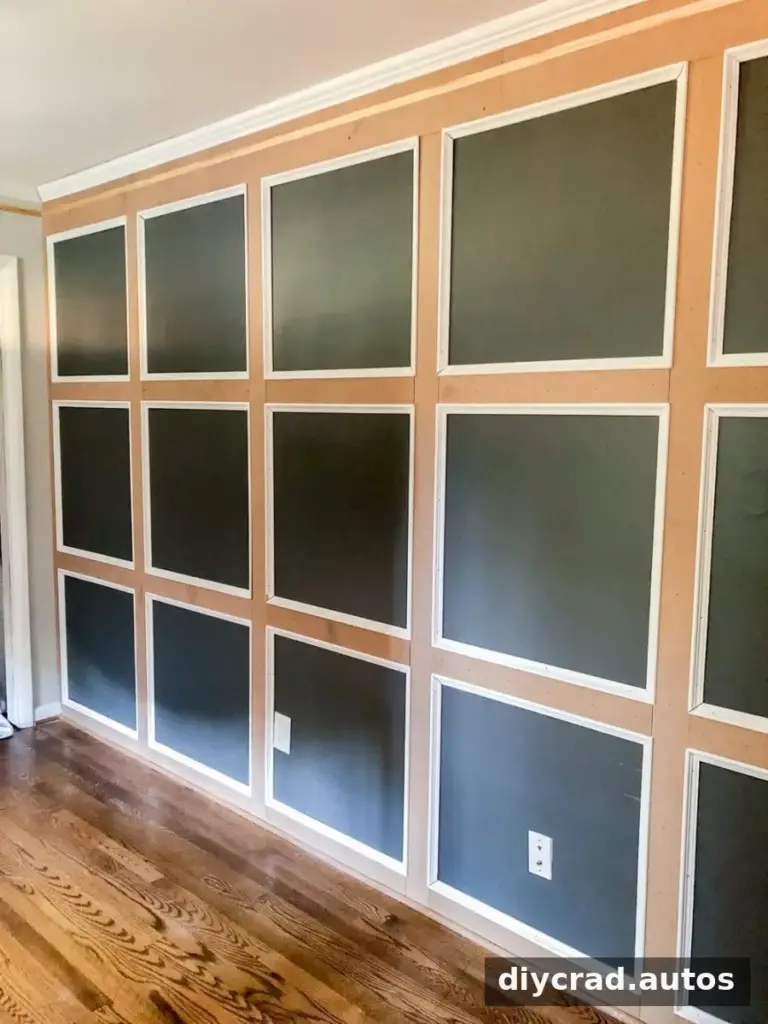
The design combines vertical and horizontal MDF boards with decorative molding. The example project used approximately 14 MDF boards and included an 8-inch header board and a 3 1/2-inch footer board in place of the existing crown molding and baseboard. Those dimensions describe this particular installation; measure your own wall and plan your layout before deciding on board lengths or spacing.
Skill level: Intermediate
Estimated time: 48 hours for carpentry, caulking, priming, and painting
Supply cost: $358, excluding tools
Materials and tools
- Two 1/2-inch by 4-foot by 8-foot MDF panel sheets
- Finger-jointed panel cap molding
- Table saw and miter saw
- Construction adhesive and a cordless finish nailer
- Level, tape measure, carpenter square, and pencil
- Safety glasses and a mask
- Caulk and caulk gun
- Wood filler and putty knife
- Medium- and fine-grit sandpaper
- Primer and paint
Prepare a clear work area and use suitable eye and respiratory protection when cutting MDF. Follow the instructions for your tools, adhesive, filler, primer, and paint. Check that your measuring and cutting tools are set up safely before starting.
Plan the grid and prepare the wall
1. Measure the wall. Decide how many rows and columns you want, then work out the size of each square or rectangle. Consider the wall’s overall proportions and any existing features that the grid must fit around. Sketch the layout before cutting.
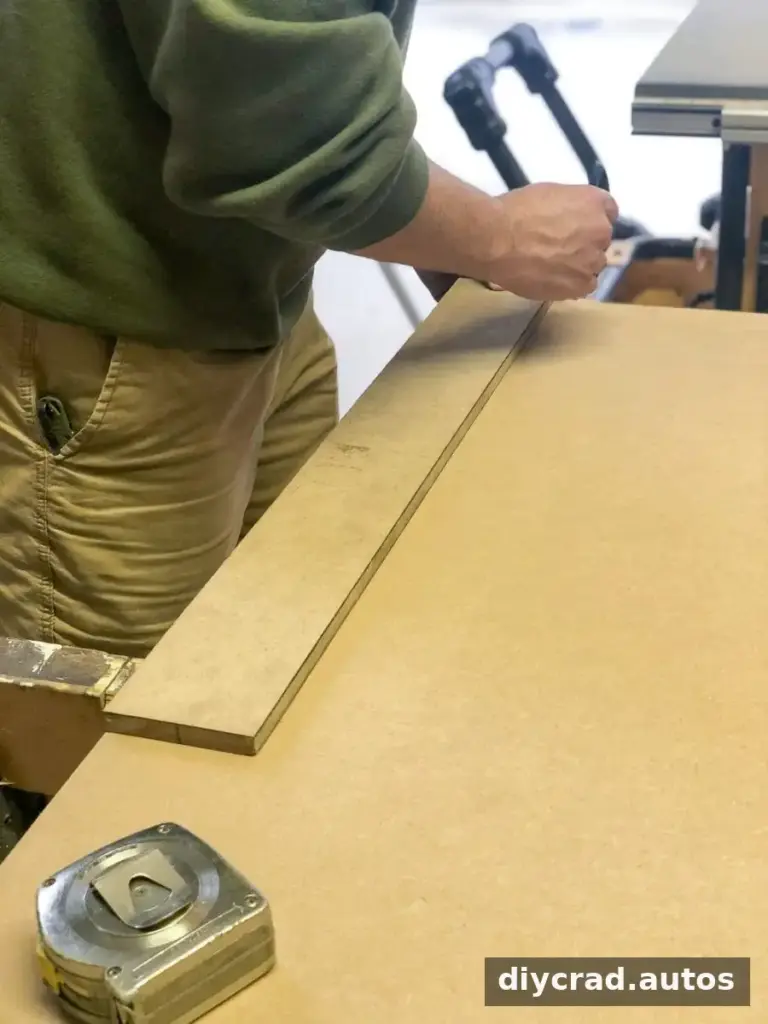
2. Make a spacer template. Cut a strip of MDF to the planned board width. The example used a 3 1/2-inch-wide strip. Use the template to mark consistent board widths and spacing on the wall and on the MDF sheets.
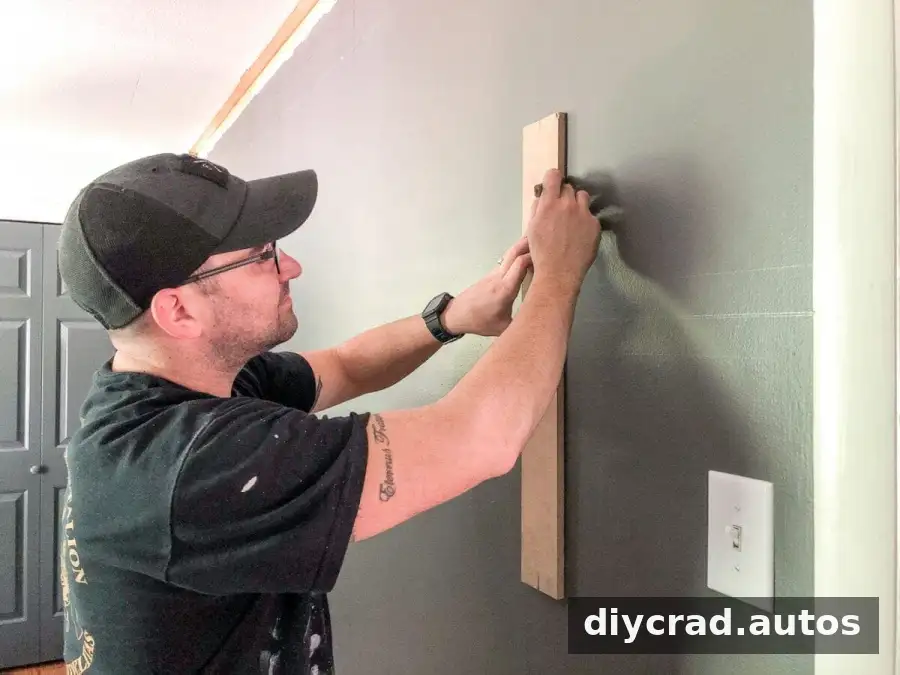
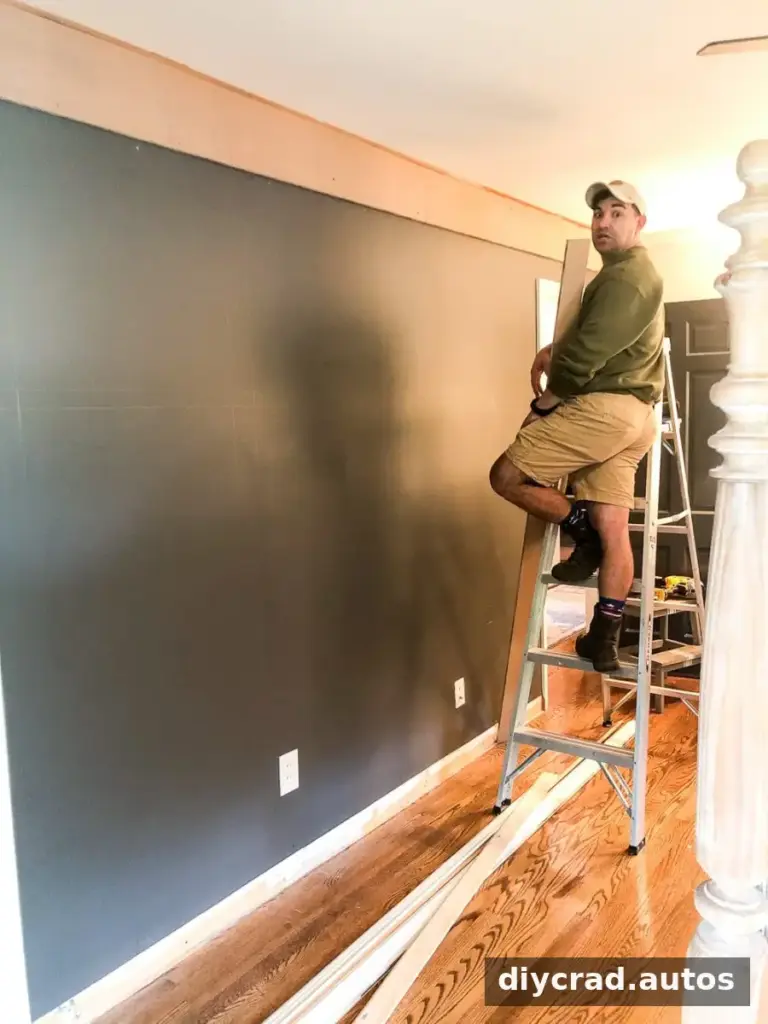
3. Decide whether to adjust the trim. In the example, the existing baseboard and crown molding were removed, and an 8-inch header board and 3 1/2-inch footer board were installed first. This step is optional. If you plan to remove existing trim, check how the new boards will meet the wall and surrounding finishes before proceeding.
Cut and attach the MDF grid
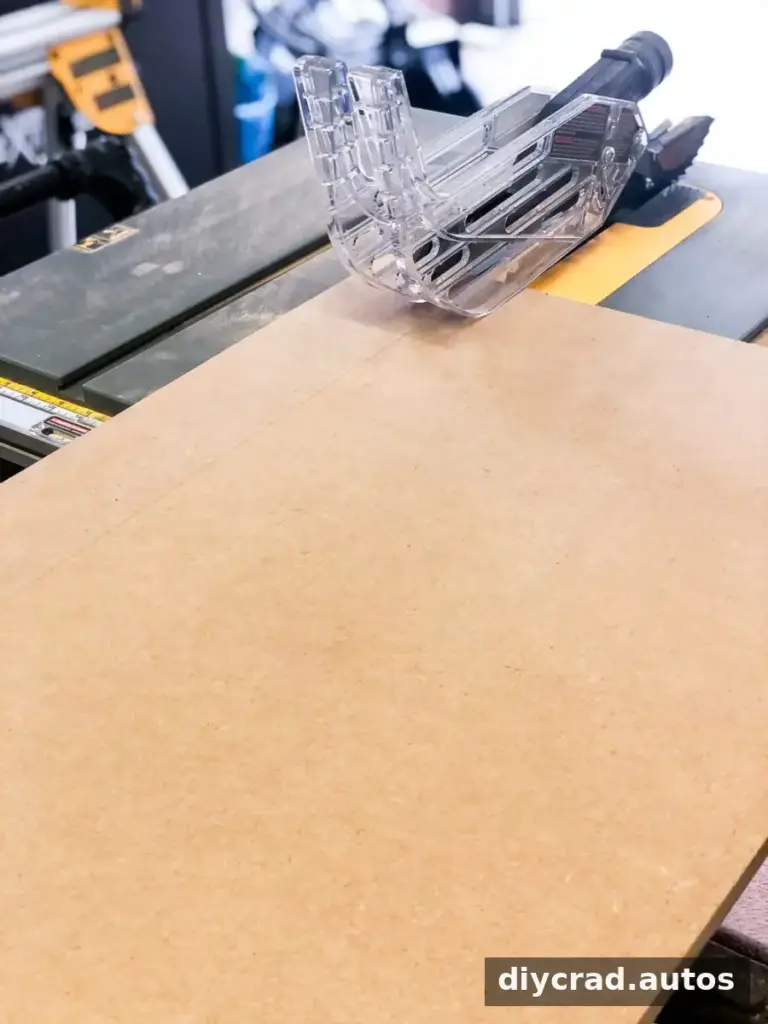
4. Mark and cut the boards. Once the wall layout looks right, transfer the measurements to the MDF sheets, using the spacer template to help mark the cuts. Cut the pieces to fit the planned vertical and horizontal sections.
5. Install the vertical boards. Apply a line of construction adhesive to one side of a vertical board. Position it over the pencil marks, check that it is aligned, and secure it with a finish nailer. Repeat for each vertical section.
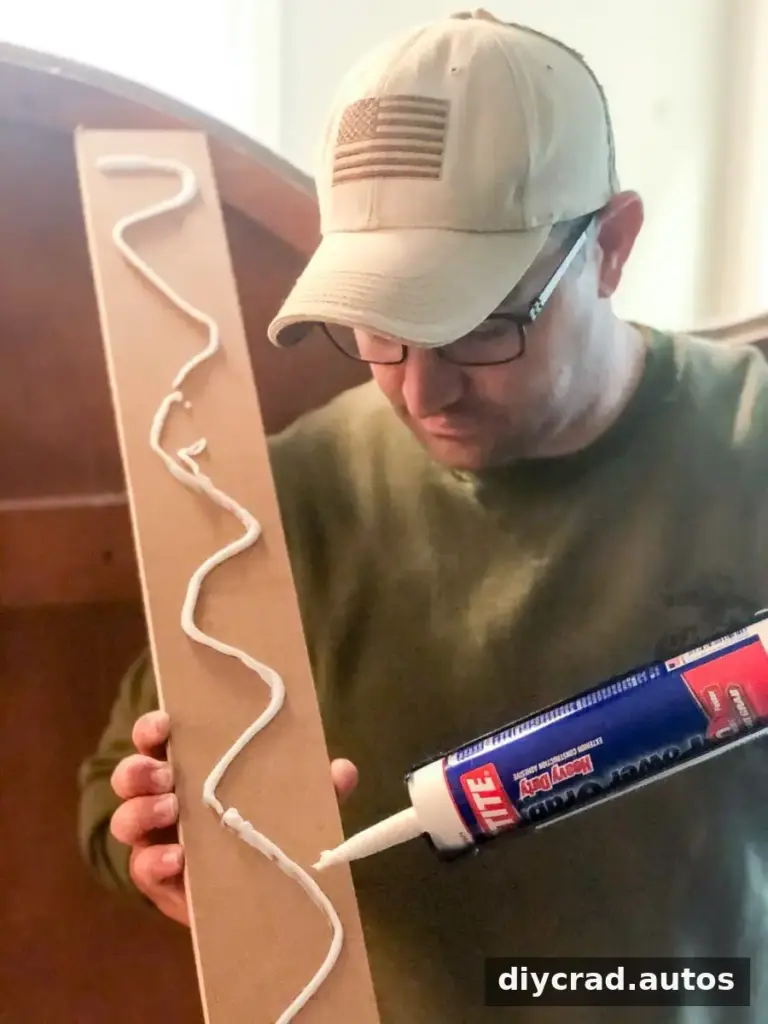
Take time to confirm each board’s position before fastening it. A level can help keep the vertical pieces aligned, while the pencil layout helps maintain consistent spacing.
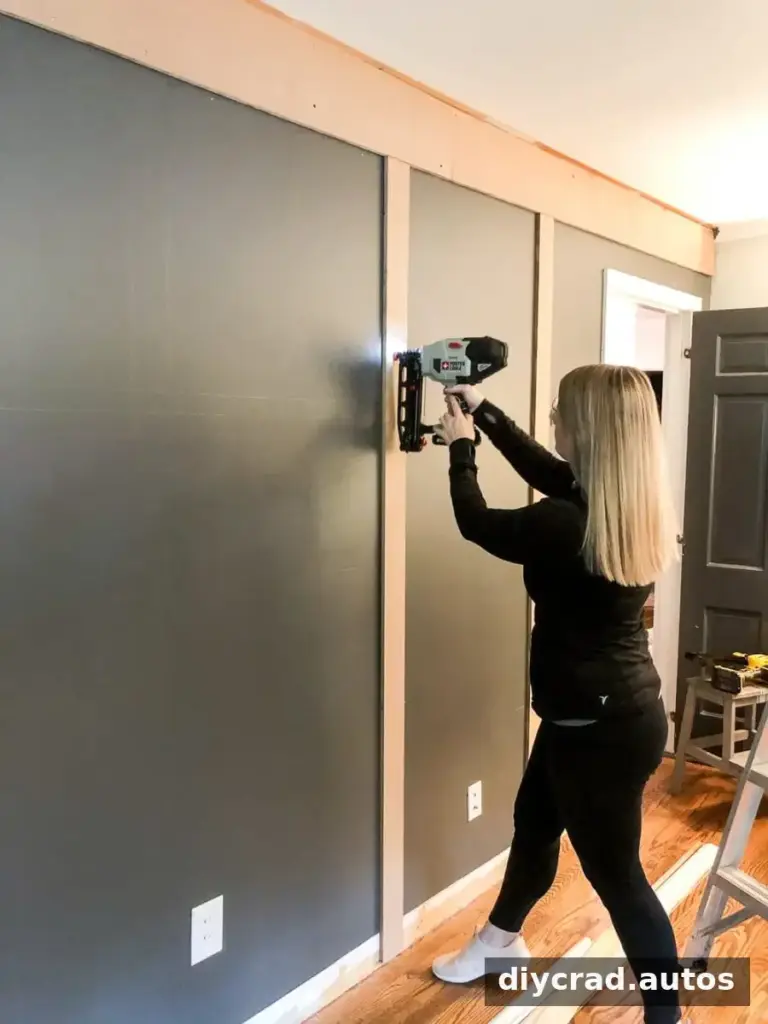
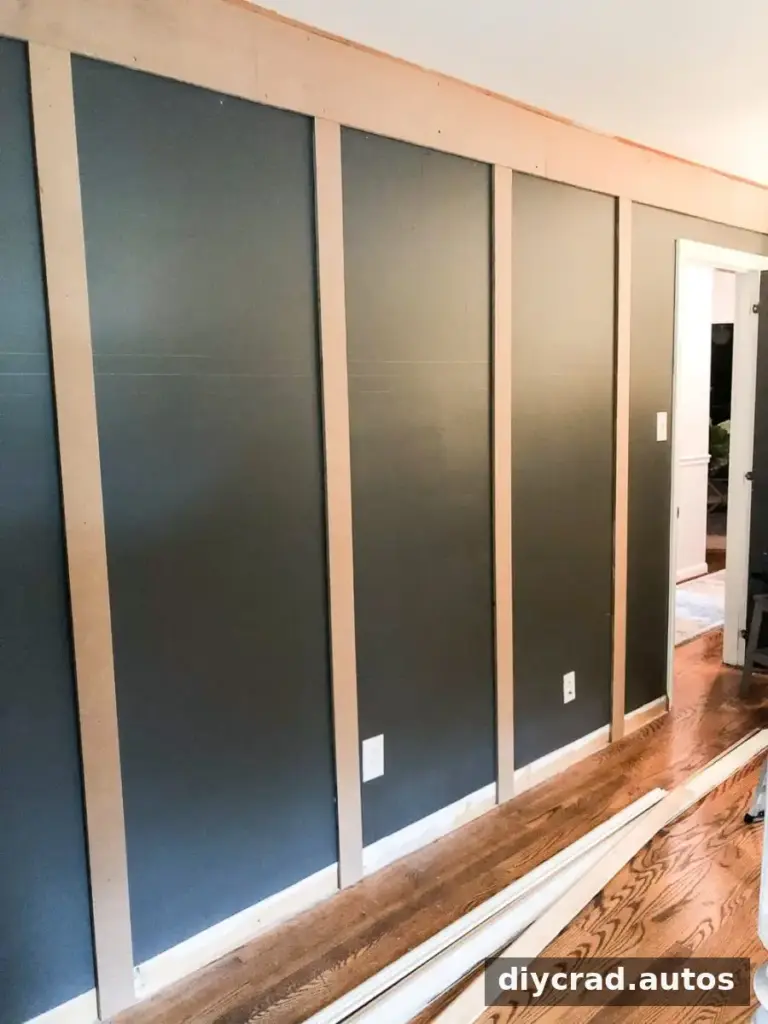
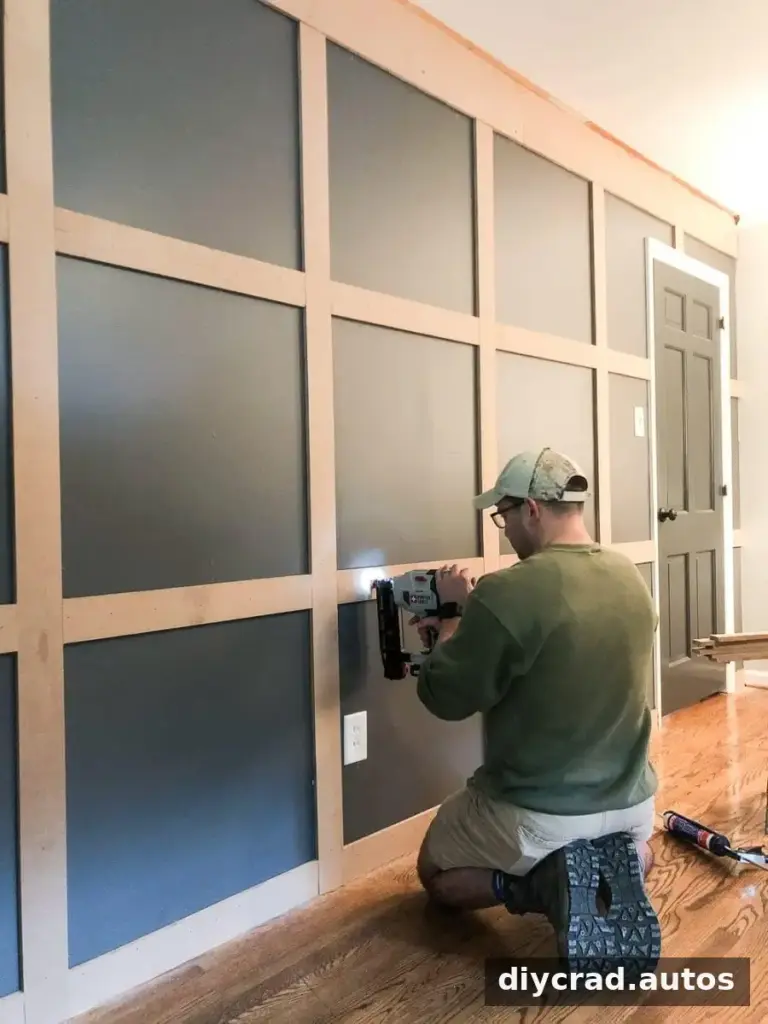
6. Measure and install the horizontal boards. After the vertical boards are in place, measure the gaps between them and cut the horizontal pieces to fit. Apply construction adhesive and fasten each board with the finish nailer, following the same approach used for the vertical pieces.

Add decorative molding and finish the wall
7. Choose the level of detail. For a simpler, Craftsman-style appearance, the grid can be filled, caulked, primed, and painted without the additional cap molding. For the more traditional look shown here, continue with the finger-jointed panel cap molding.
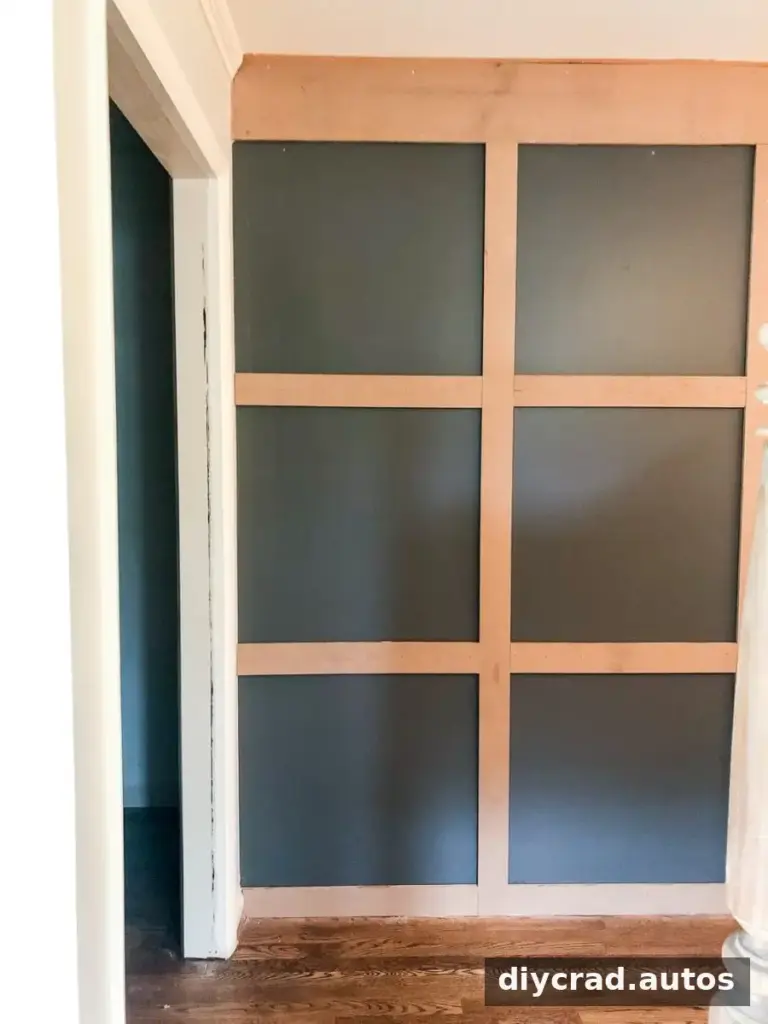
8. Cut the panel cap molding. Measure each MDF board, mark the corresponding molding, and use a miter saw to cut the ends at 45-degree angles. Measure carefully before cutting each piece so the trim fits the board edges.
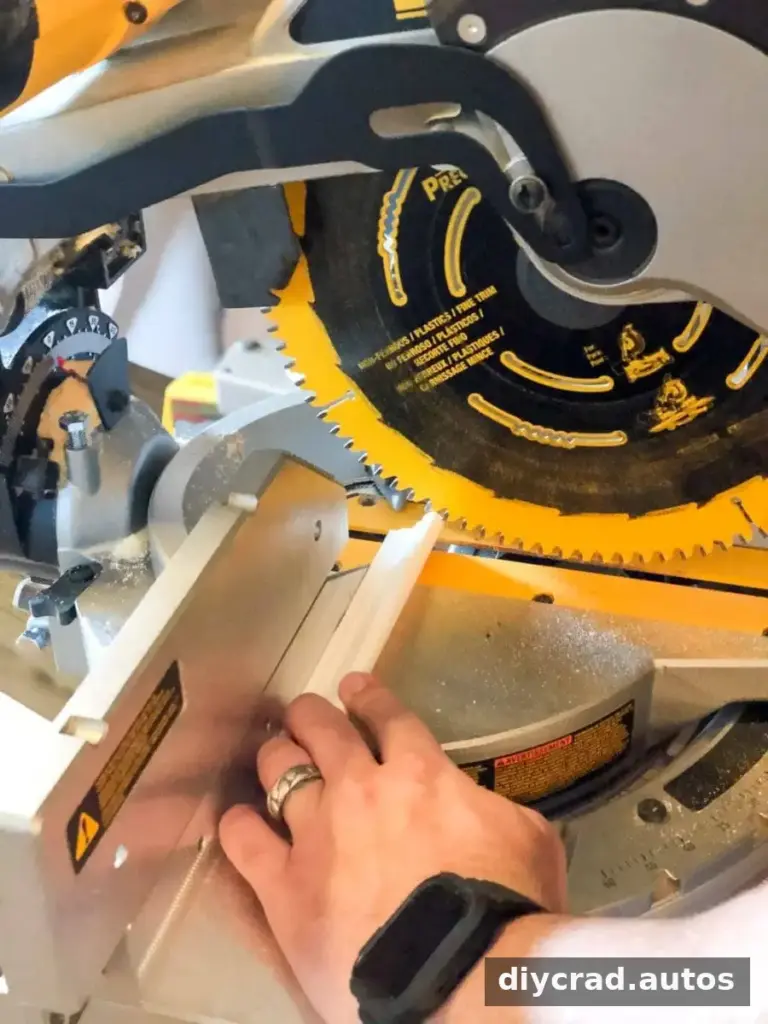
9. Attach the molding. Apply construction adhesive to the back of each piece and secure it with the finish nailer. Repeat this process around the grid. This detailed trim work takes time, so check each section as you go.
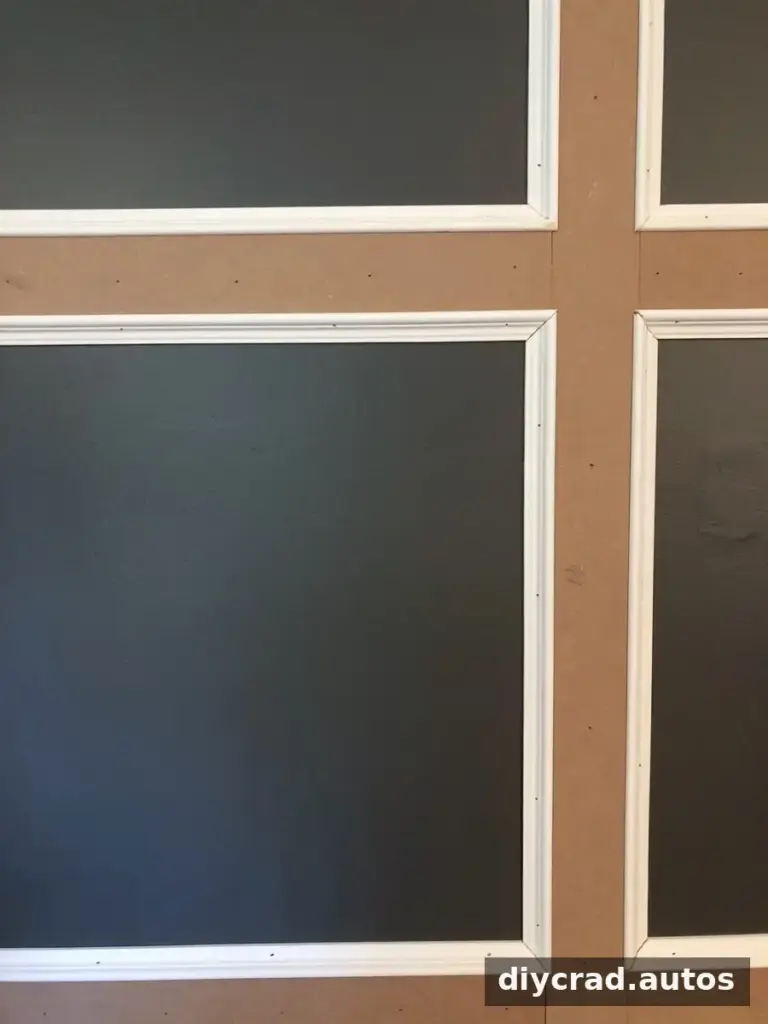
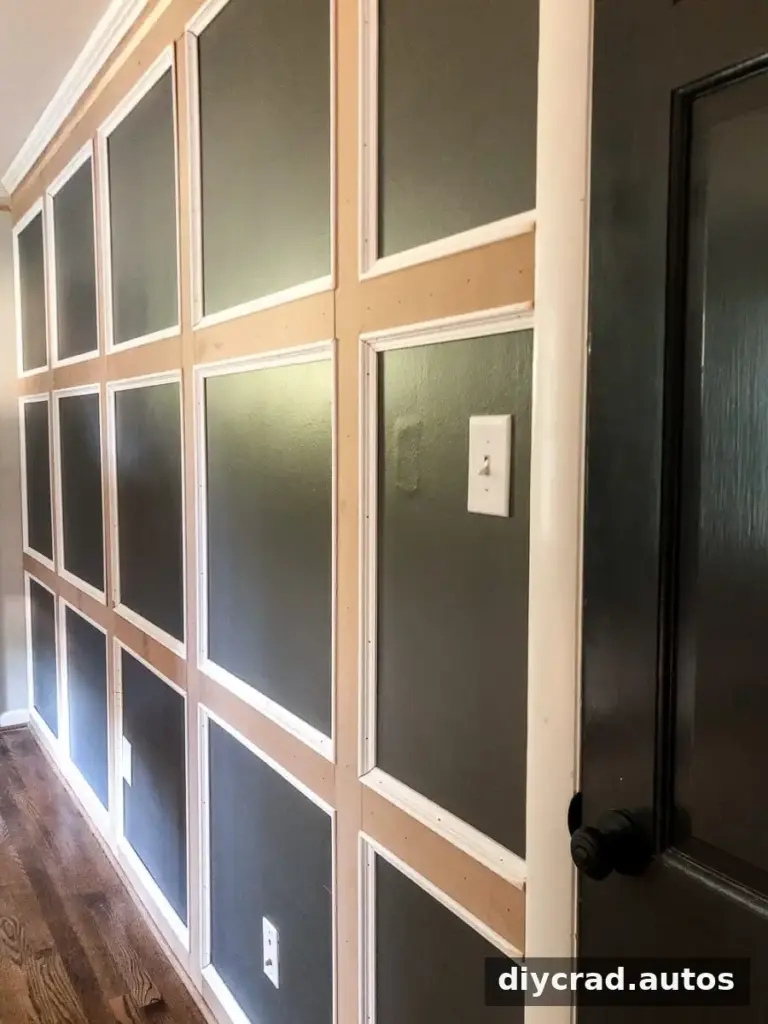
10. Reinstall trim and prepare for paint. Once the panel cap molding is in place, reinstall the crown molding and quarter-round molding on top of the header and baseboard. Fill nail holes with wood filler, allow it to dry, and sand the surface smooth. Caulk seams, cracks, and gaps, then let the caulk dry before priming and painting.
Final checks for a polished result
Before painting, inspect the wall in good light and look for uneven joints, visible nail holes, or gaps that need attention. Follow the drying instructions on the filler, caulk, and primer packaging; applying the next finish too soon can affect the final surface. Confirm that the paint is suitable for the room and the prepared surface.
A DIY traditional grid molding focal wall is a multi-step project, but careful measuring and a consistent layout make the work easier to manage. The finished grid can bring traditional character to a room, while the choice to add or omit panel cap molding lets you adjust the level of decoration to suit your space.