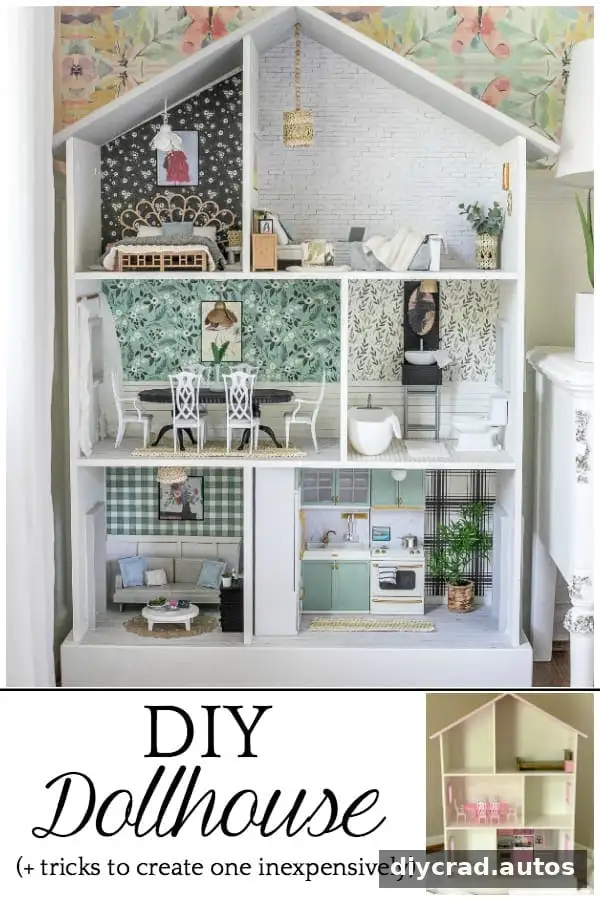
A DIY dollhouse makeover can turn a secondhand bookcase and everyday household scraps into a detailed miniature home. With scrapbook paper, leftover paint, old doll furniture, and a little imagination, you can create inviting rooms without buying everything new. Start with what you already have, then add only the pieces needed to complete the look.
Planning a DIY Dollhouse Makeover
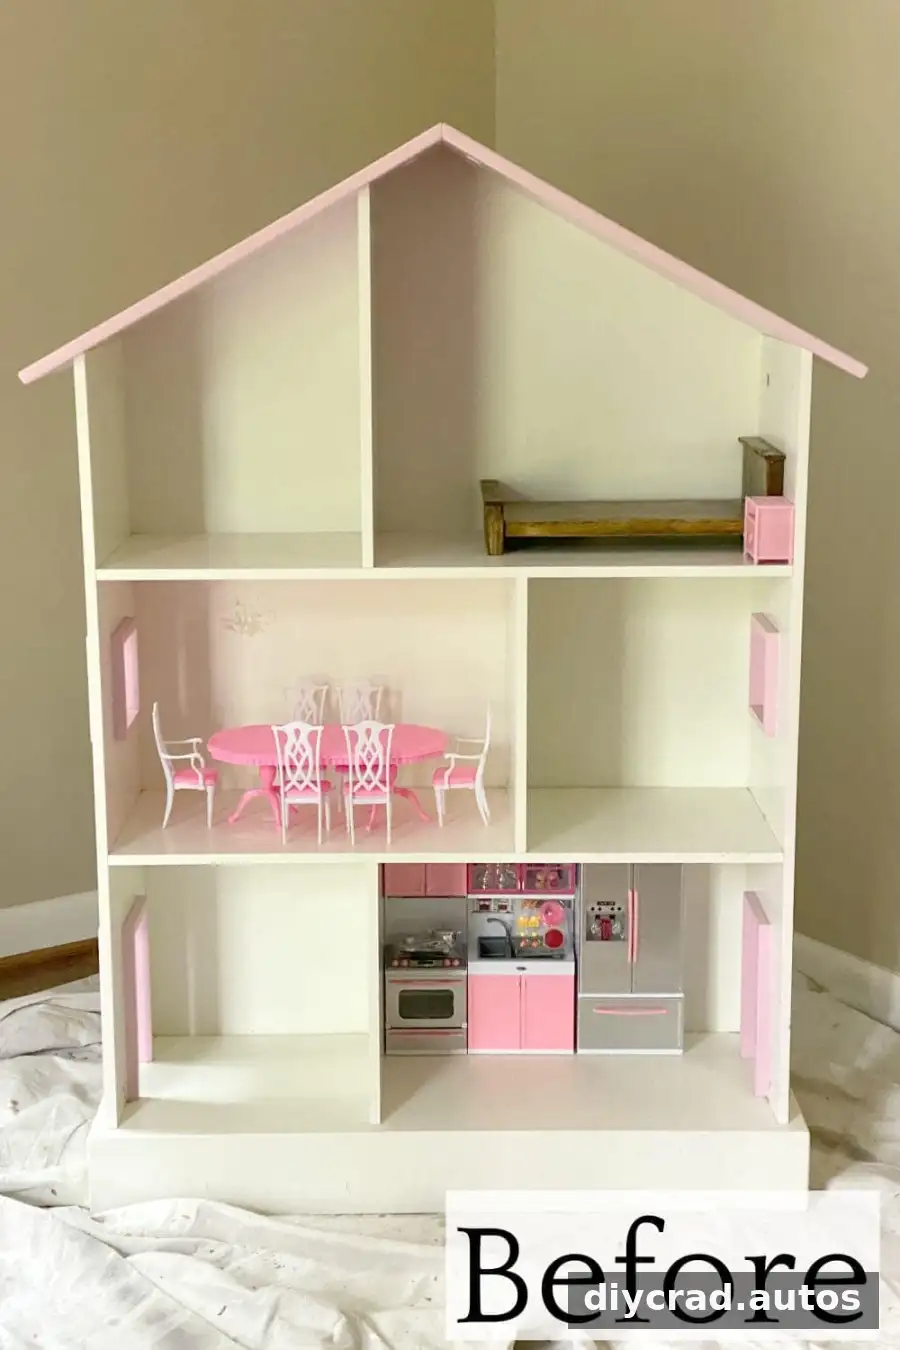
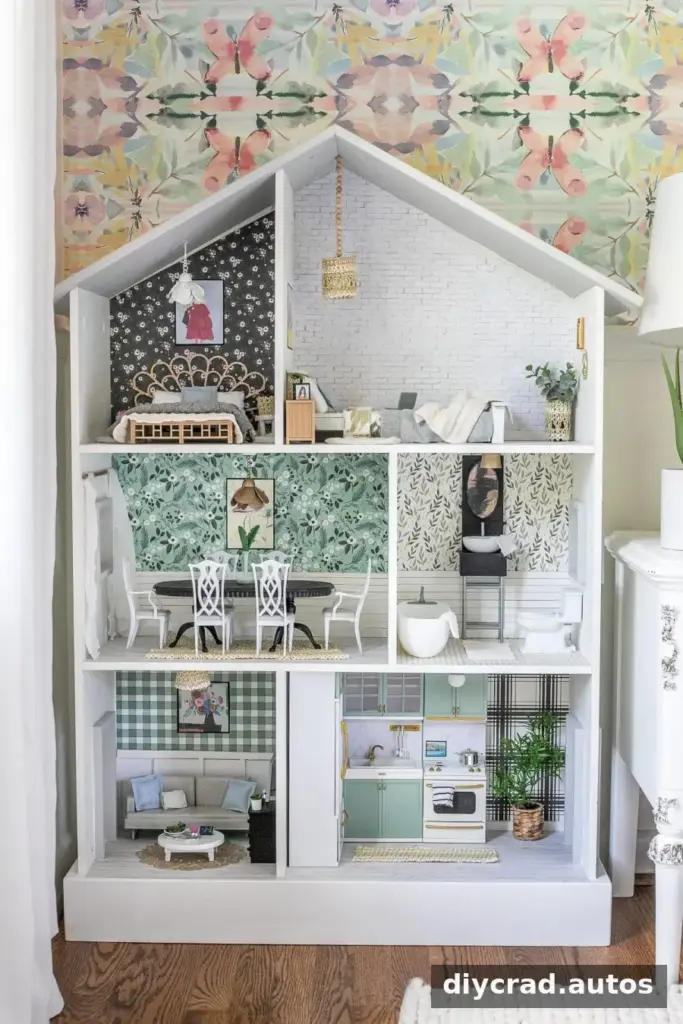
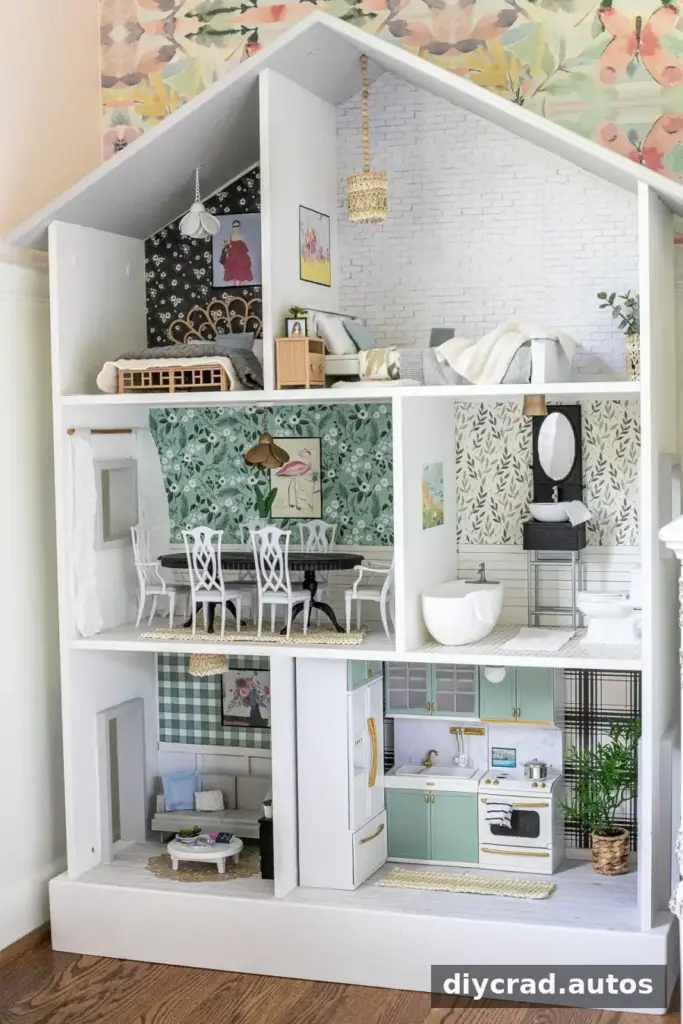
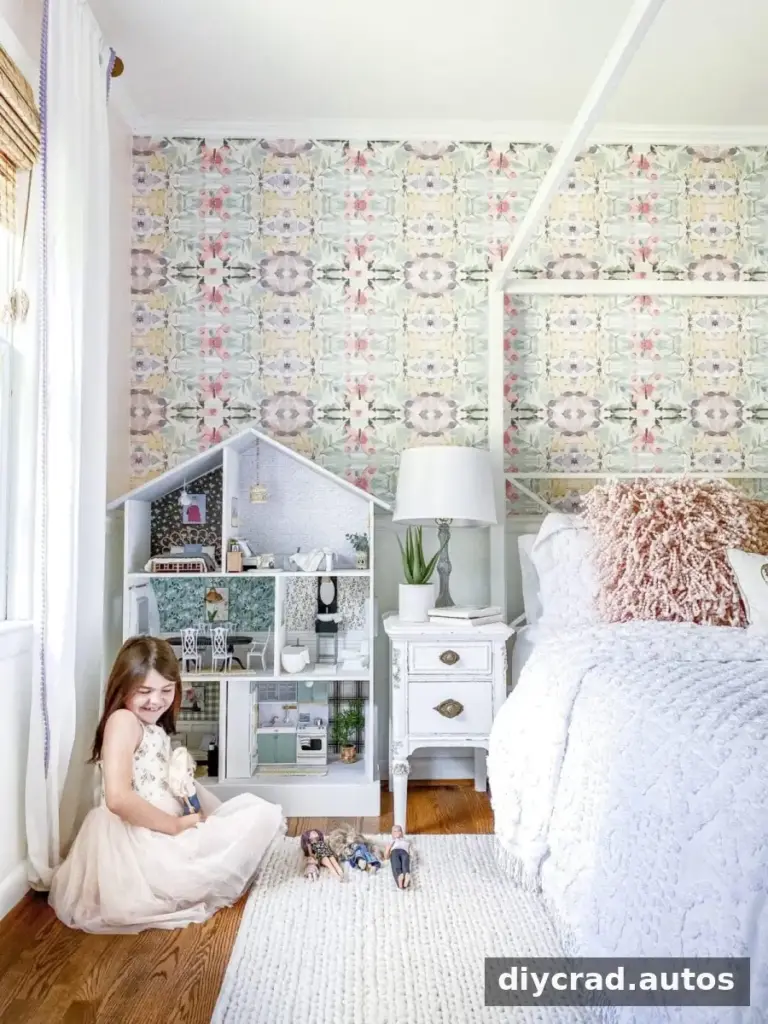
A dollhouse bookcase purchased at a consignment sale for $60 became the starting point for this project. What began as a quick plan to paint the shelves and decorate the backs gradually grew into a room-by-room makeover. Taking time to plan each space helps the finished house feel cohesive while leaving room for creative details.
Before
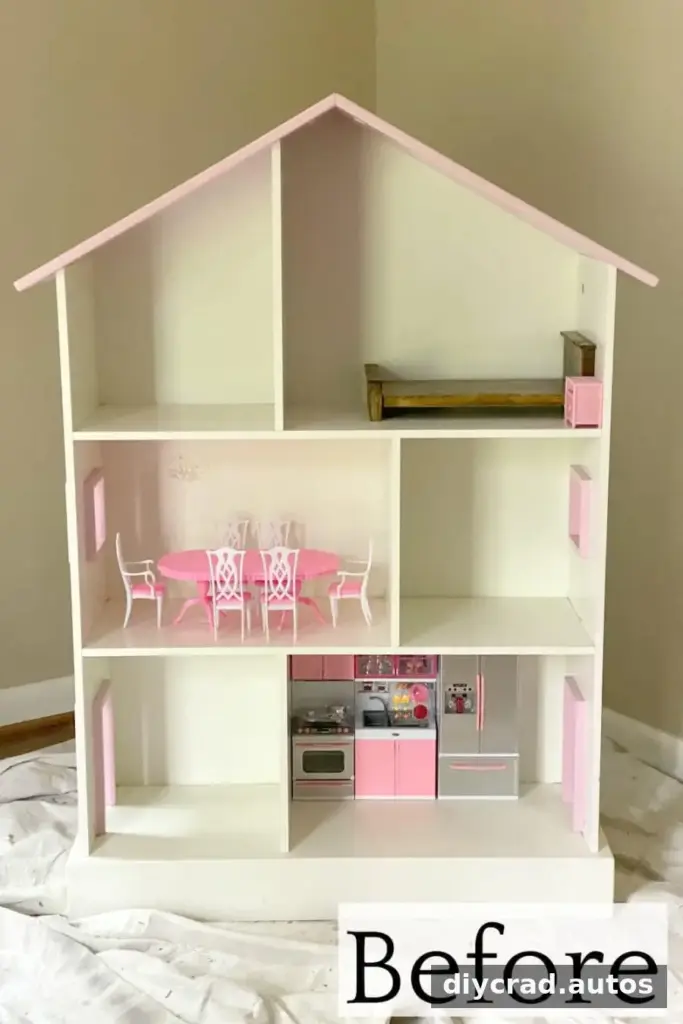
Choose a few wallpaper patterns before you begin, and consider how the colors will look together from one room to the next. A child can help select patterns or furniture, while leaving some details as a surprise. Working on one small area at a time also makes a large project feel more manageable.
After
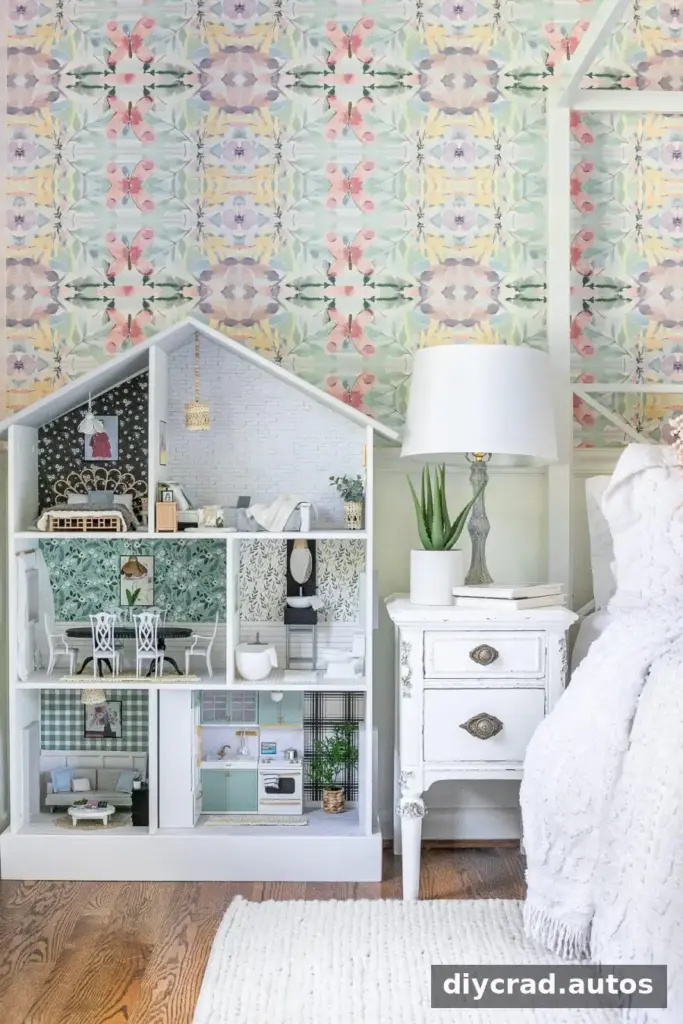
Supplies for a Thrifted Dollhouse Makeover
Gather reusable materials first. The project used a mix of old and new doll furniture, leftover spray paint, and inexpensive items repurposed from around the house.
- Scrapbook paper: Use different sheets for wallpaper, shiplap-style walls, wood-look flooring, or white brick.
- Doll furniture: Combine pieces you already own with secondhand finds and a few new items if a room needs a specific feature.
- Spray paint and acrylic paint: Leftover spray paint can refresh larger pieces; acrylic paint and small brushes are useful for knobs and other details.
- Fabric scraps: Outgrown clothes can become bedding, rugs, pillows, towels, or curtains.
- Small household items: Clean toothpaste lids, bottle caps, and other small objects can be transformed into planters, light fixtures, stools, or baskets.
- Adhesives: Rubber cement can attach paper smoothly, while hot glue is useful for small fabric and miniature craft details.
Test paper and paint on spare material before applying them to the dollhouse. This helps you check color and adhesion, and can prevent damage to the finished surfaces. Use adhesives in a ventilated area and keep hot glue and small parts away from young children.
Kitchen
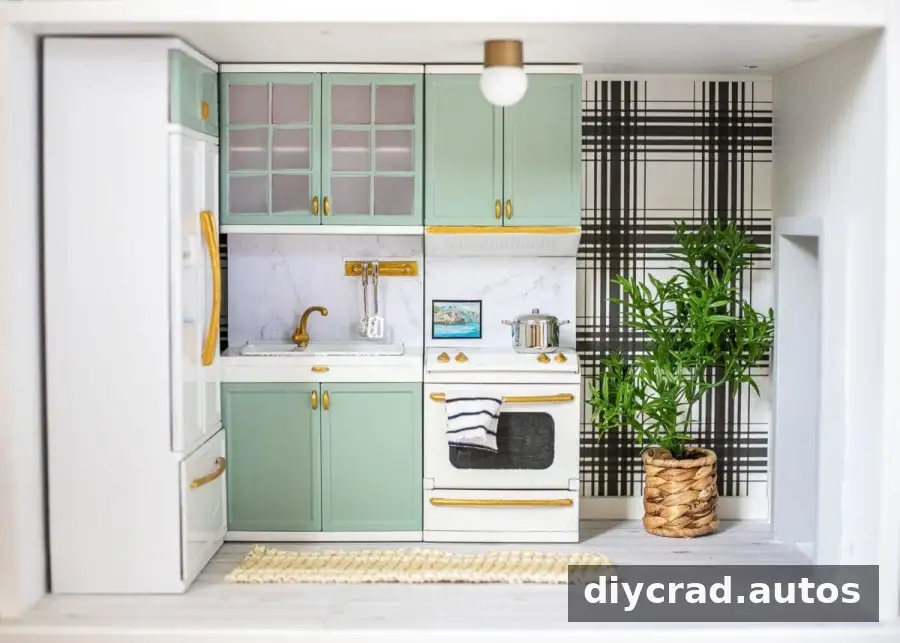
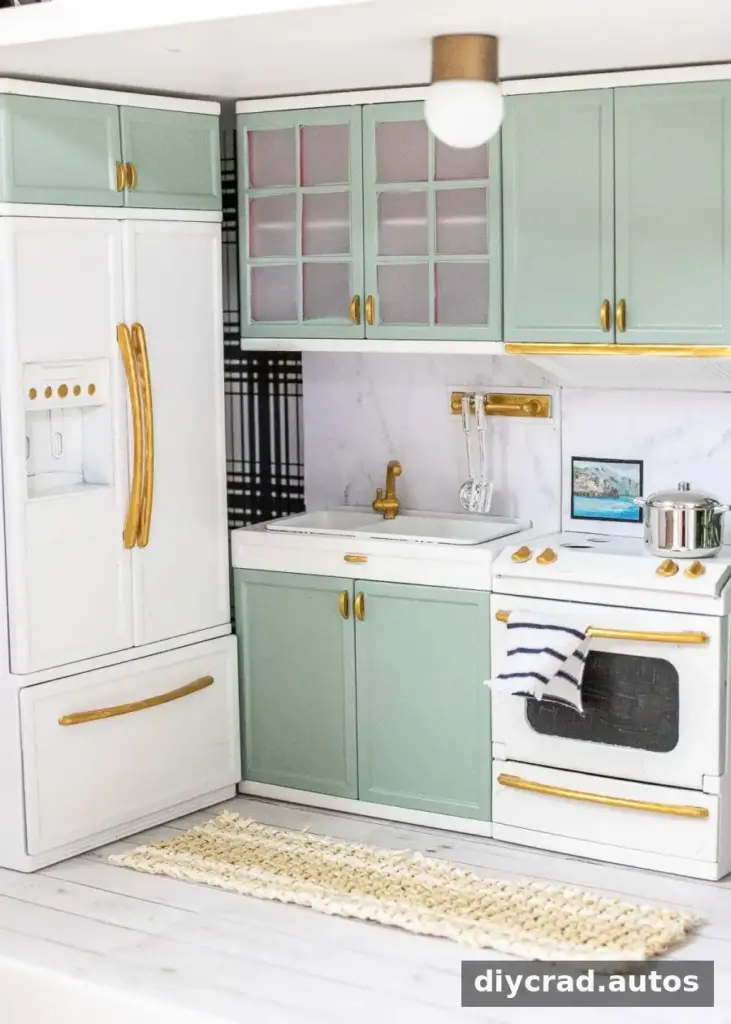
- Kitchen set: Remove the doors and spray-paint them a soft blue; paint the rest of the set white. Add gold acrylic paint to the handles and knobs.
- Backsplash: Marble-patterned scrapbook paper creates a stone-like look. Marble-effect contact paper is another option if you have it available.
- Plant: Use a woven napkin ring as a basket and secure a faux stem inside with aluminum foil. Paint the visible foil black to resemble soil.
- Rug: Cut a small piece from a straw hat.
- Light fixture: Paint a face-wash bottle lid brass and attach a mini ping-pong ball with hot glue.
- Wall art: Print a small landscape on cardstock and position it above the backsplash.
Living Room
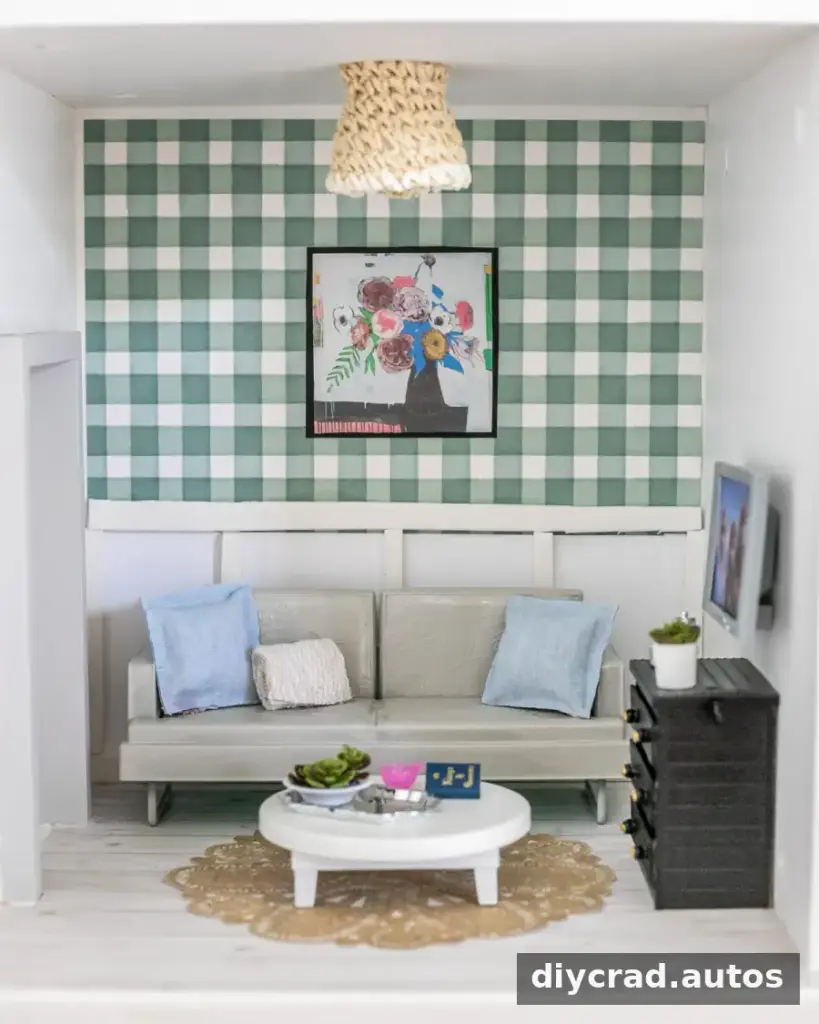
- Wall detail: Make a simple board-and-batten effect with a foam sheet and white cardstock attached to the back wall.
- Jute-style rug: Print a rug image on cardstock and glue it to the floor.
- Sofa and coffee table: Refresh existing furniture with spray paint, following the paint label’s drying instructions.
- TV stand: Paint a small piece of furniture, then attach popsicle sticks as drawer fronts and beads as knobs.
- Throw pillows: Cut fabric from old clothes and glue the edges together.
- Television: Add a favorite movie image to the front of a toy television set.
- Planter: Glue a small faux succulent inside a toothpaste cap.
- Light fixture: Decorate half of a plastic egg with a straw-hat scrap.
- Wall art: Print a floral image on cardstock for a simple finishing touch.
Dining Room
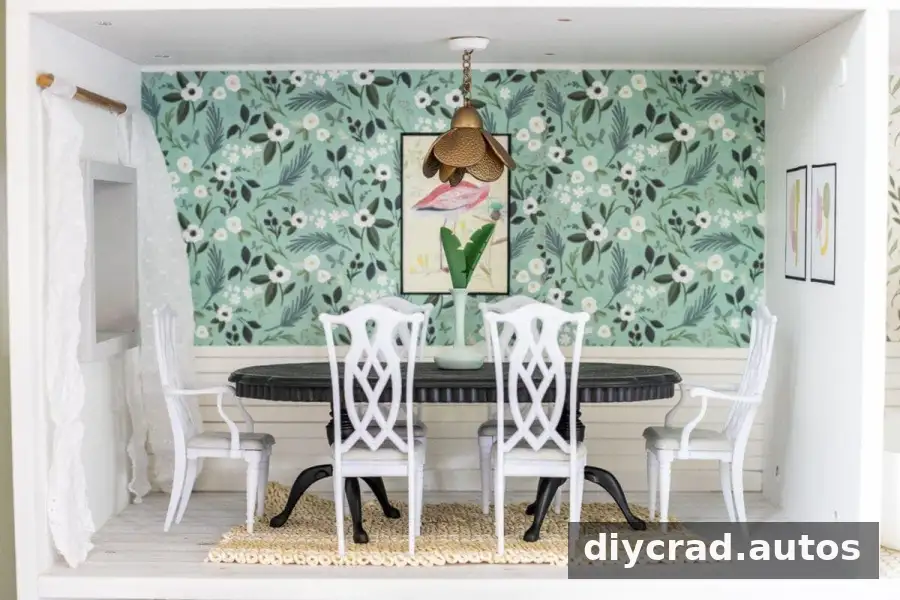
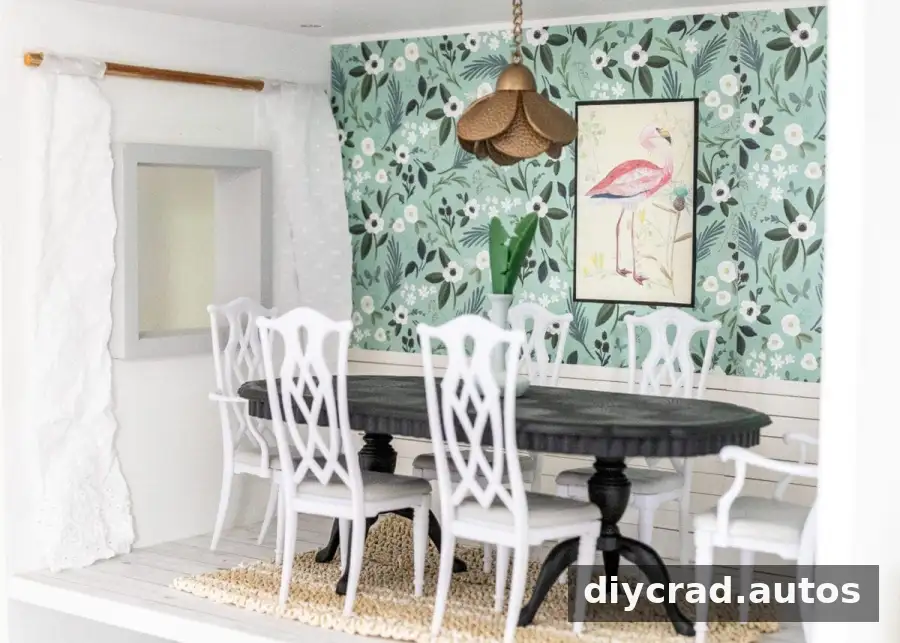
- Dining set: Use leftover black and gray paint to give the furniture a coordinated finish.
- Rug: Reuse a straw-hat remnant.
- Curtains and rod: Cut curtains from an old shirt and use a chopstick as the rod.
- Chandelier: Repurpose a small keychain as a decorative ceiling fixture.
- Art: Print flamingo and geometric designs on cardstock. Choose images that suit the room’s colors or the child’s interests.
Bathroom
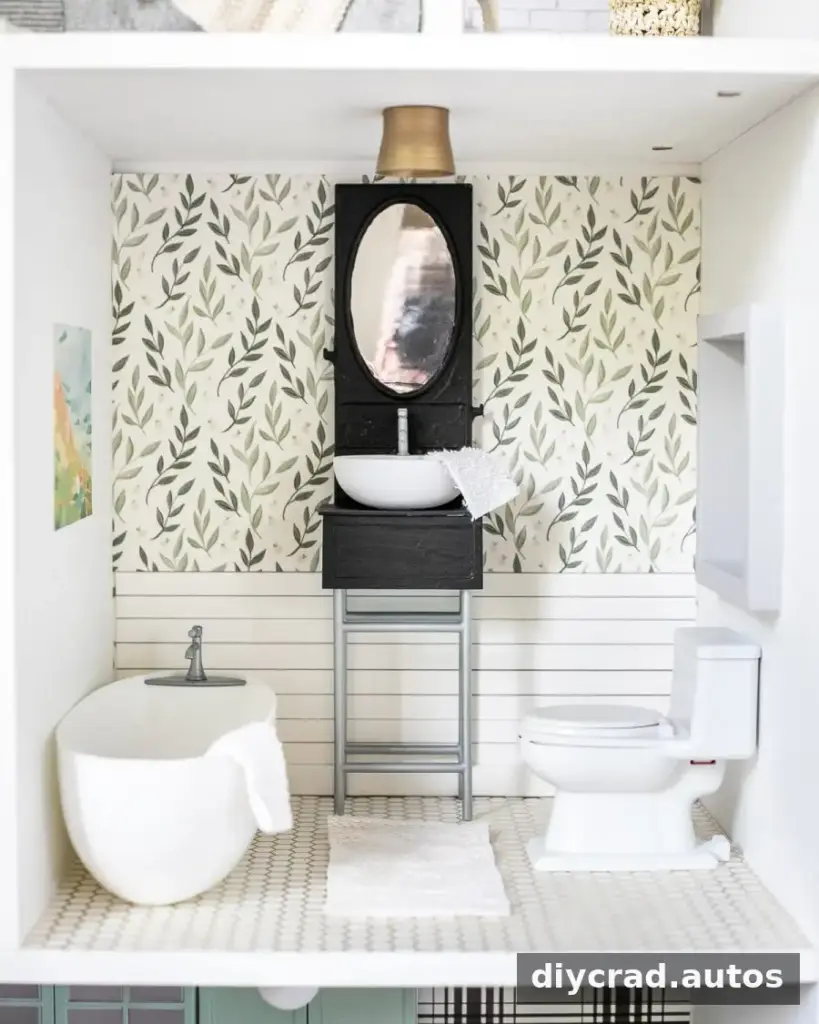
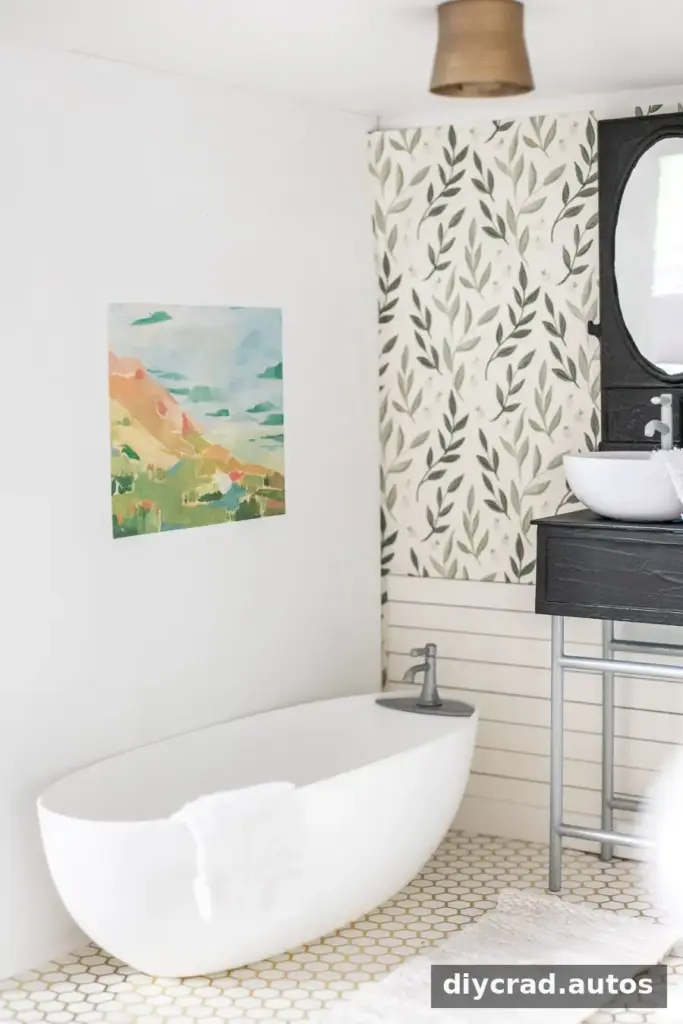
- Furniture: Mix older dollhouse pieces with furniture the child already owns.
- Rug and towels: Cut a rug from an old sweater and towels from a worn washcloth.
- Wall art: Print an abstract landscape on cardstock.
- Light fixture: Paint a toothpaste cap brass and use it as a miniature accent.
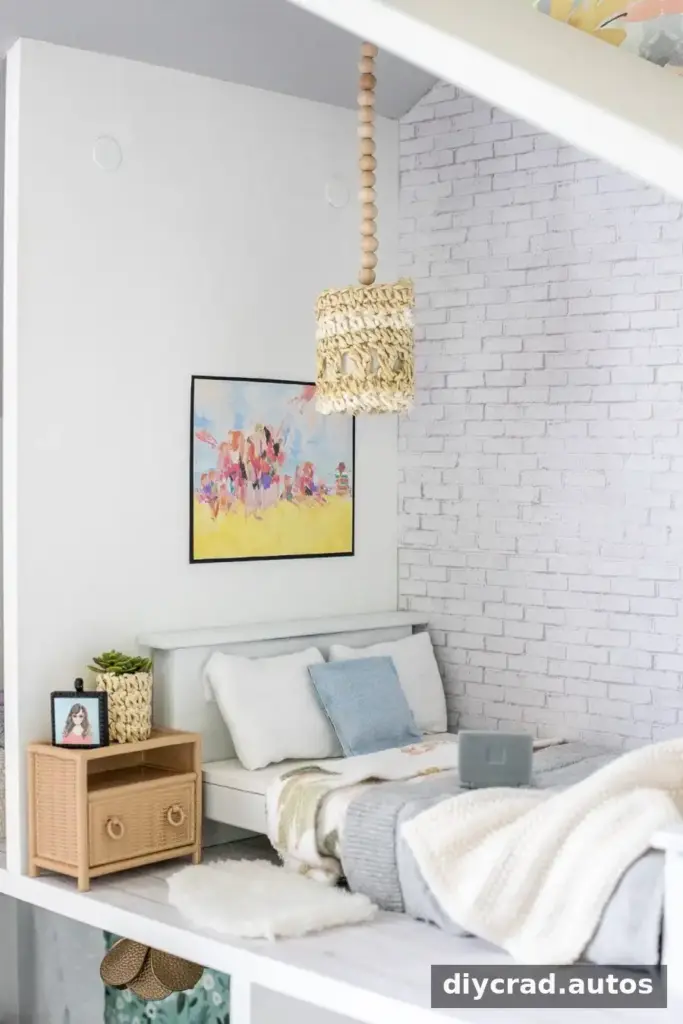
Bedroom 1
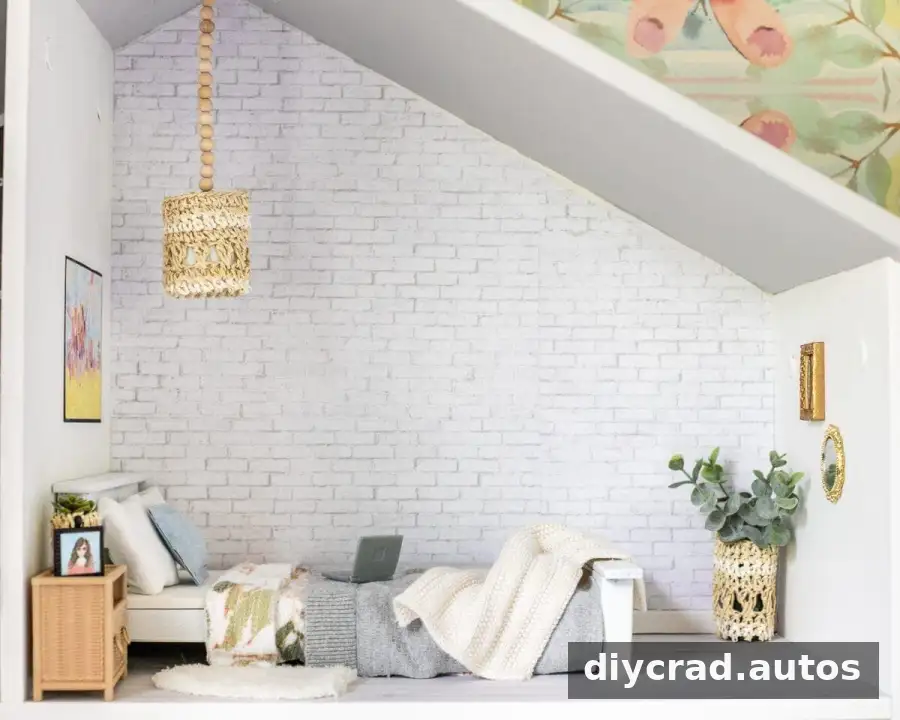
- Bed and nightstand: Use secondhand miniature furniture to furnish the room.
- Large plant: Wrap a hairspray cap with a straw-hat scrap and secure faux stems inside with aluminum foil.
- Mirrors: Small fairy-garden accessories can work as decorative mirrors.
- Bedding: Cut fabric from old clothes to make miniature linens.
- Sheepskin-style rug: Repurpose a piece of fleece mitten.
- Picture frame and pendant: Use a photo-frame charm for a picture and decorate a hairspray cap with a straw-hat scrap for a hanging light.
- Wall art: Print a kite-flying image on cardstock.
Bedroom 2
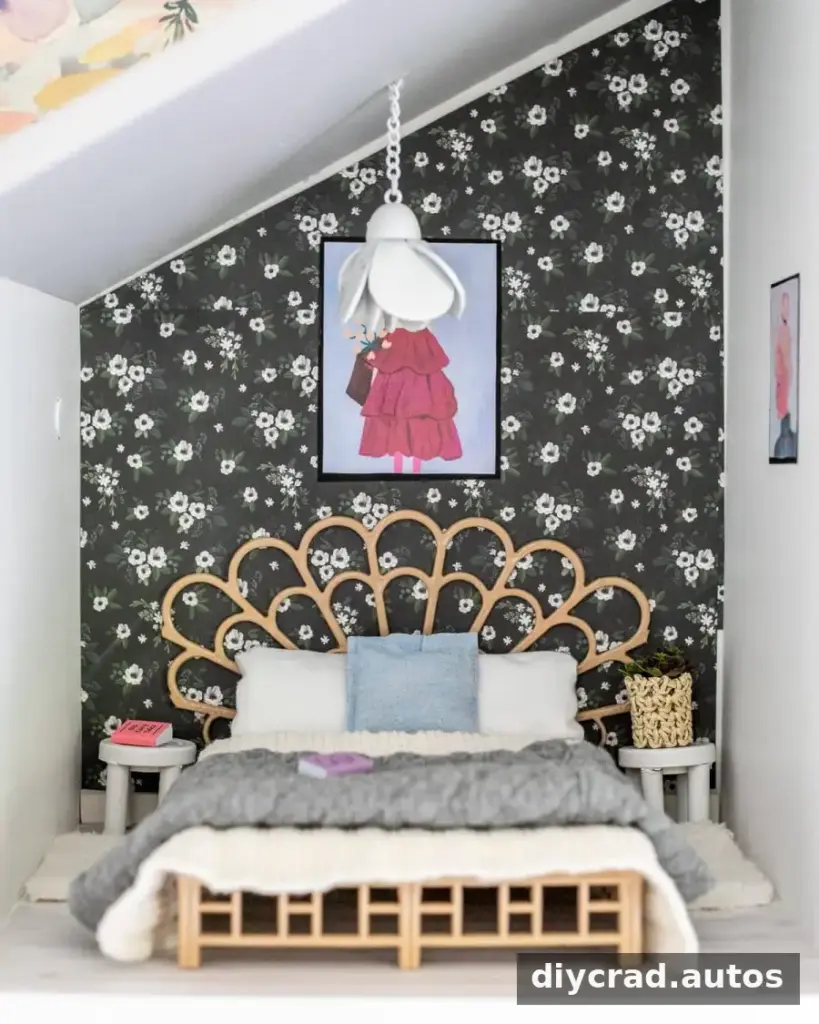
- Bed: A vintage secondhand find can add character.
- Nightstands: Assemble small pieces from old toys with hot glue.
- Accessories: Fairy-garden items can serve as miniature books or decor.
- Bedding: Use fabric scraps from clothing.
- Planter: Cover a hairspray cap with straw-hat remnants, then add faux succulents.
- Wall art: Print abstract portraits on cardstock.
- Chandelier and rugs: Repurpose a keychain as a chandelier and cut fleece mitten pieces for sheepskin-style rugs.
Finishing Touches and Practical Tips
Miniature projects are especially enjoyable because ordinary objects can take on entirely new roles. Before gluing anything in place, arrange the pieces in the room and check that doors, furniture, and play areas remain accessible. Keep small decorative parts secure, particularly if younger children will play with the dollhouse.
For a consistent result, repeat a few colors or materials across different rooms. Fabric from one old shirt might become curtains in the dining room and bedding in a bedroom, while similar paper finishes can tie separate areas together. Save offcuts in a small container; even tiny scraps may be useful for pillows, artwork, or trim.
Once the first room is complete, it can be tempting to keep adding details. Set aside a small supply budget and finish one room before starting another to keep the project organized. The finished dollhouse can still be a play space, so sturdy, simple details are often more practical than delicate decorations.
Frequently Asked Questions
What is the most popular dollhouse scale?
The 1:12 scale is the most common dollhouse scale. Furniture and accessories are widely available in this size, which makes it a convenient choice when shopping for compatible pieces. Check an item’s listed scale before buying, since miniature furniture can look similar in product photos.
What dollhouse scale works for Barbie-sized dolls?
Dolls the size of Barbie require a 1:6 scale dollhouse. Before purchasing furniture, compare its dimensions with the doll and the room; scale labels can help, but actual measurements are useful when mixing pieces from different sets.
Conclusion
A DIY dollhouse makeover can be an affordable way to reuse furniture, fabric, paper, and small household objects while creating a personalized play space. Begin with the materials you have, plan a few coordinating colors, and add details room by room. Careful measuring and securely attached decorations help make the finished dollhouse both charming and practical for play.