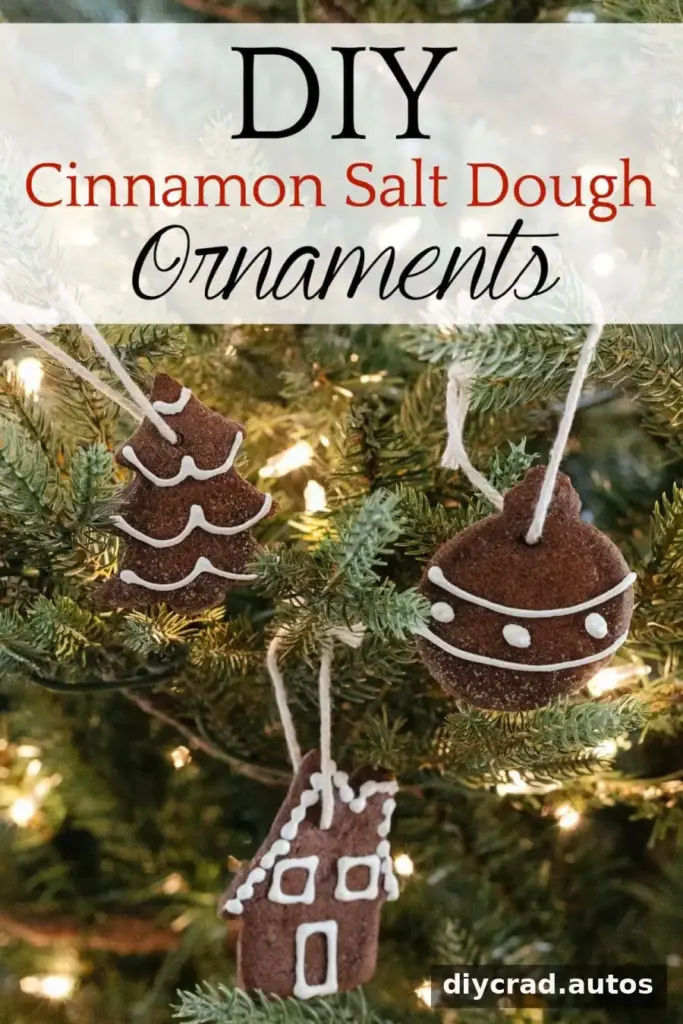
Cinnamon salt dough ornaments are an easy holiday craft that gives your decorations a warm, gingerbread-inspired look and a pleasant seasonal scent. With flour, salt, cinnamon, and a few basic supplies, you can make ornaments to hang on a tree, display in a window, or save as keepsakes. These are decorative crafts, not cookies, so do not eat them.
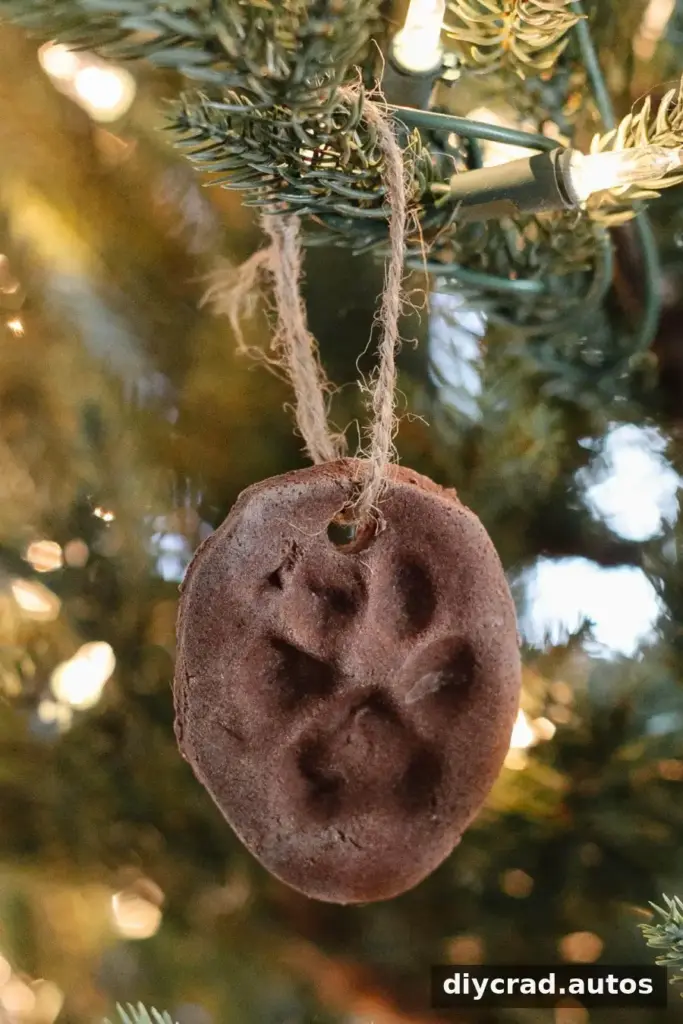
They’re also a fun project for families: children can help mix the dough and choose shapes, while an adult handles the oven and any paint. The ornaments can be personalized with simple icing-style designs or made into keepsakes using a handprint or paw print.

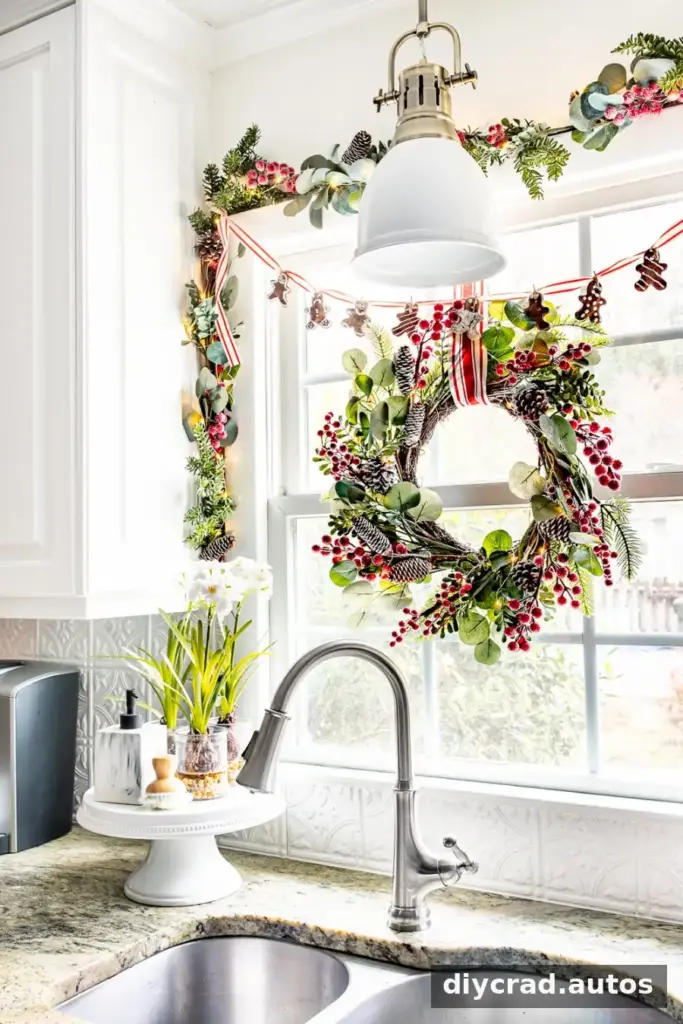
After the dough has been baked and decorated, thread ribbon or twine through each ornament to hang it. A group of different shapes can also be arranged into a festive garland.
How to Make Cinnamon Salt Dough Ornaments
Set out your ingredients and tools before you begin. The dough should be thick enough to roll and cut, similar to cookie dough, but it is intended for crafting only.
Ingredients and Supplies
- 3 cups all-purpose flour
- 1 cup ground cinnamon
- 1 cup salt
- 1 3/4 cups water
- 10–12 drops of essential oil, if desired; cinnamon bark, peppermint, clove, and orange are suitable seasonal options
- Parchment paper or cooking spray
- Cookie cutters
- A toothpick
- White puffy craft paint
- Baker’s string, jute twine, or ornament hooks
Keep the essential oil optional, and follow the product label when handling it. If children are helping, have an adult measure and add the oil. Remember that the finished ornaments are not food, even though they may look like gingerbread cookies.
Step 1: Mix the Dry Ingredients
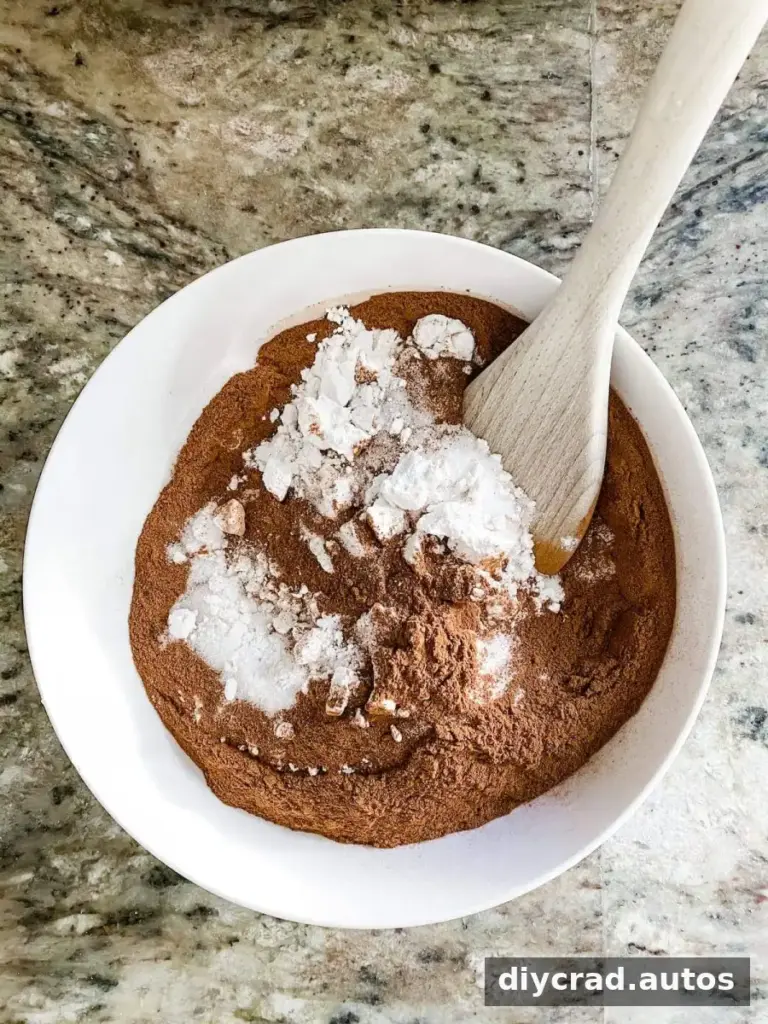
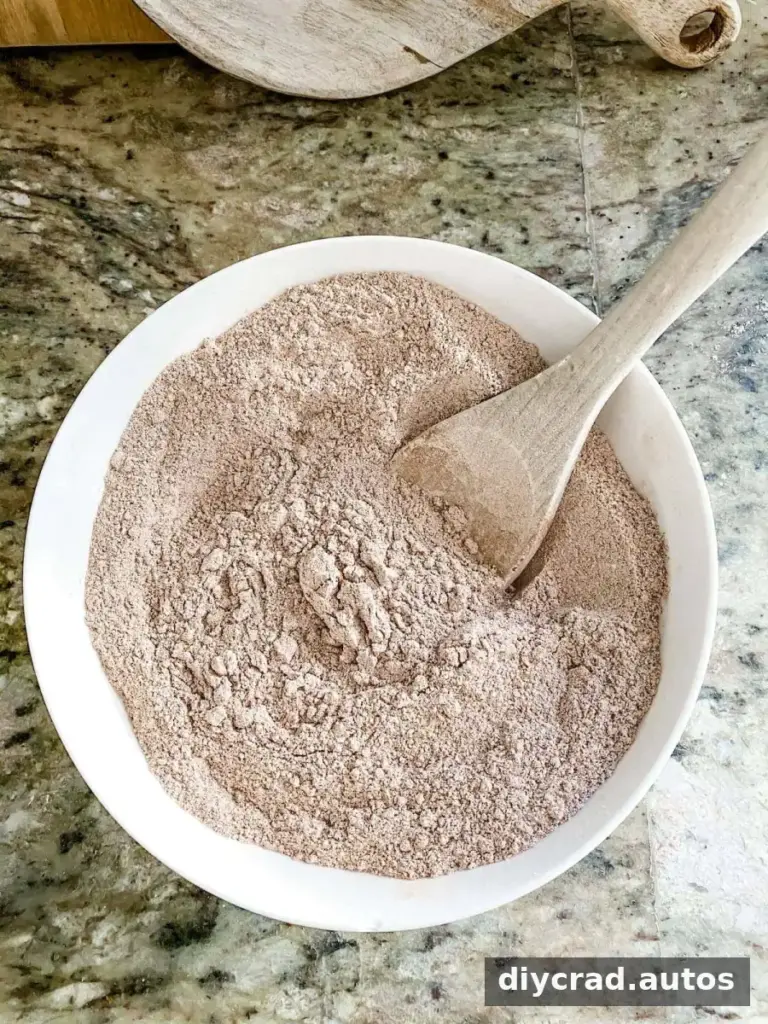
Combine the flour, ground cinnamon, and salt in a bowl. Set aside 1/2 cup of the dry mixture to dust the work surface later. Keeping some mixture back makes it easier to roll the dough without adding too much flour to the main batch.
Step 2: Add Essential Oil to the Water
If using essential oil, stir 10–12 drops into the 1 3/4 cups of water. Peppermint, clove, or orange can be used instead of cinnamon bark. You can also skip the oil; the ground cinnamon already gives the dough its characteristic fragrance.

Step 3: Combine the Wet and Dry Ingredients
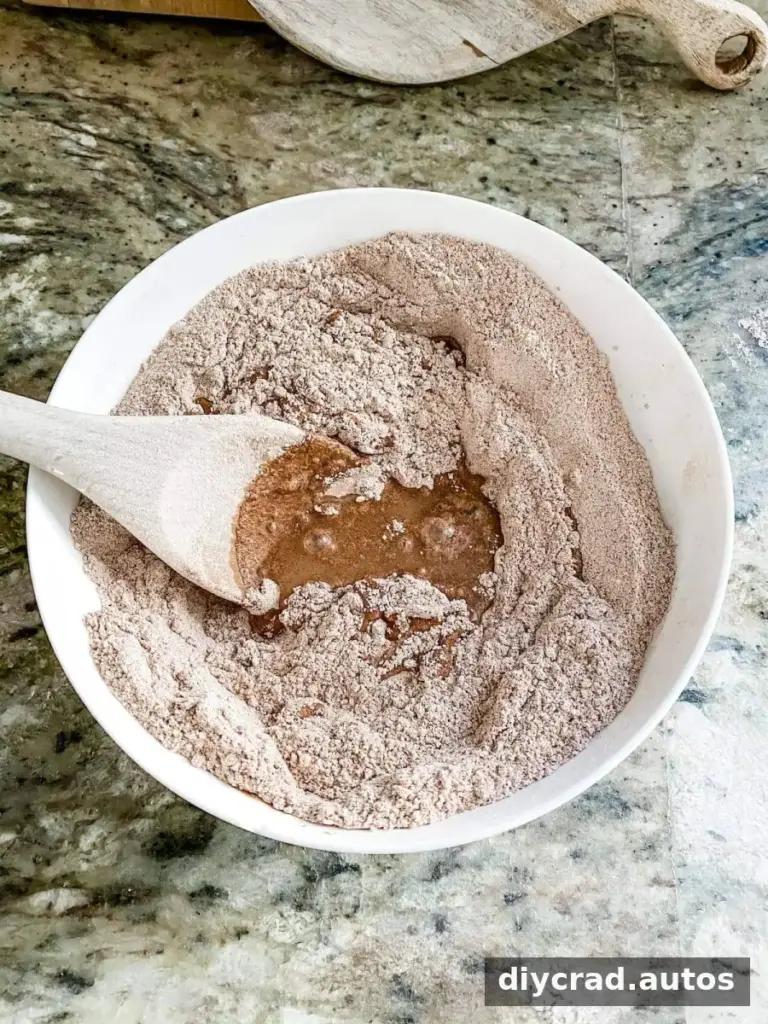
Pour a small amount of the water mixture into the dry ingredients and begin stirring. Add more gradually, mixing as you go. Adding the liquid in stages helps you control the dough’s consistency.
Step 4: Mix Until a Dough Forms
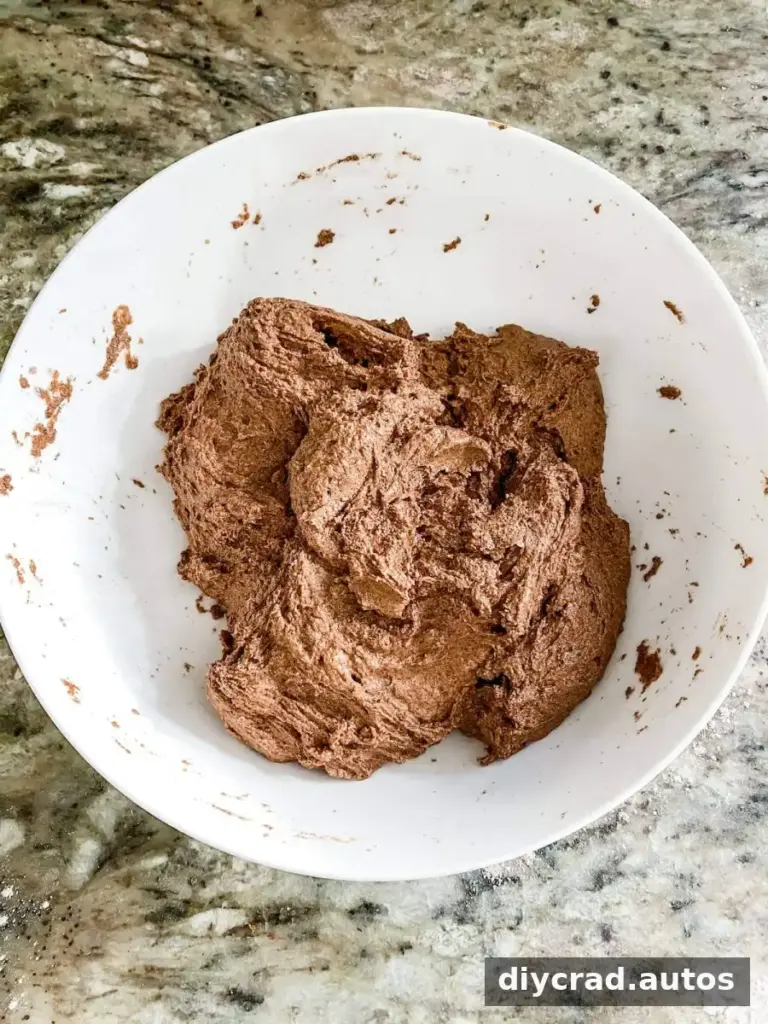
Continue stirring until the mixture becomes a thick, workable dough. If needed, pause to scrape the sides of the bowl so the flour and cinnamon are incorporated evenly. The dough should hold together well enough to roll out.
Step 5: Roll and Cut the Shapes
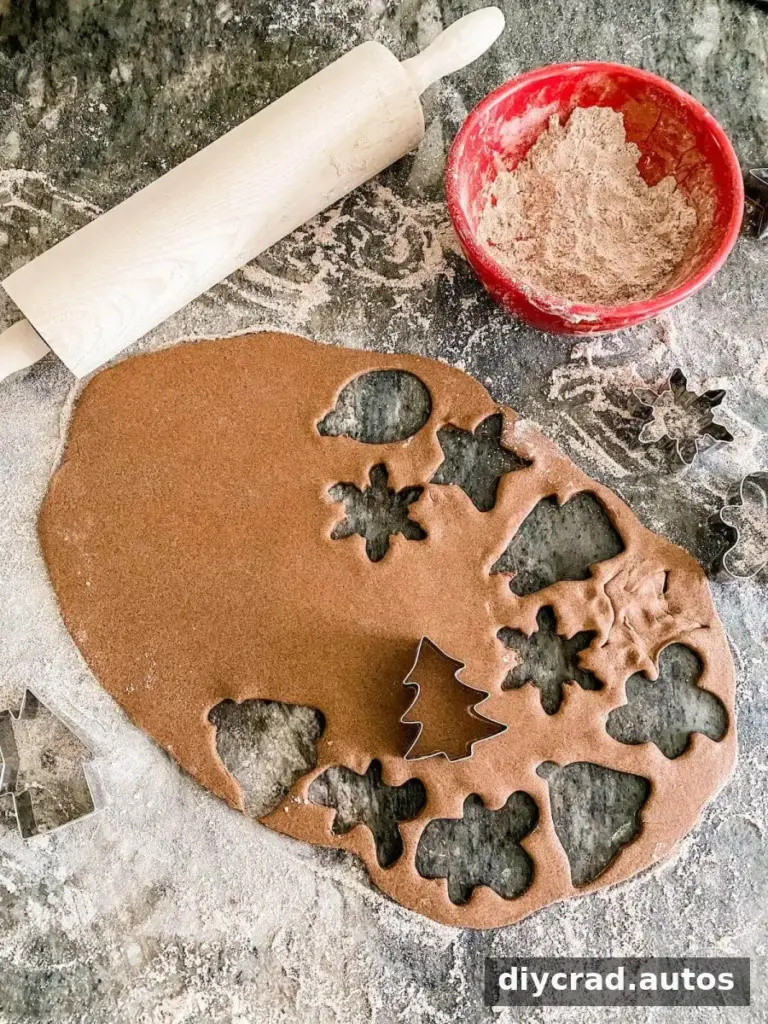
Sprinkle the reserved dry mixture onto a clean countertop or cutting board. Roll the dough to approximately 1/4 inch thick, then cut out shapes with cookie cutters. Place them on a greased baking sheet or a sheet lined with parchment paper.
Try to keep the ornaments a similar thickness so they bake at roughly the same rate. If the dough sticks, dust the surface lightly with some of the reserved mixture.
Step 6: Make a Hole for Hanging
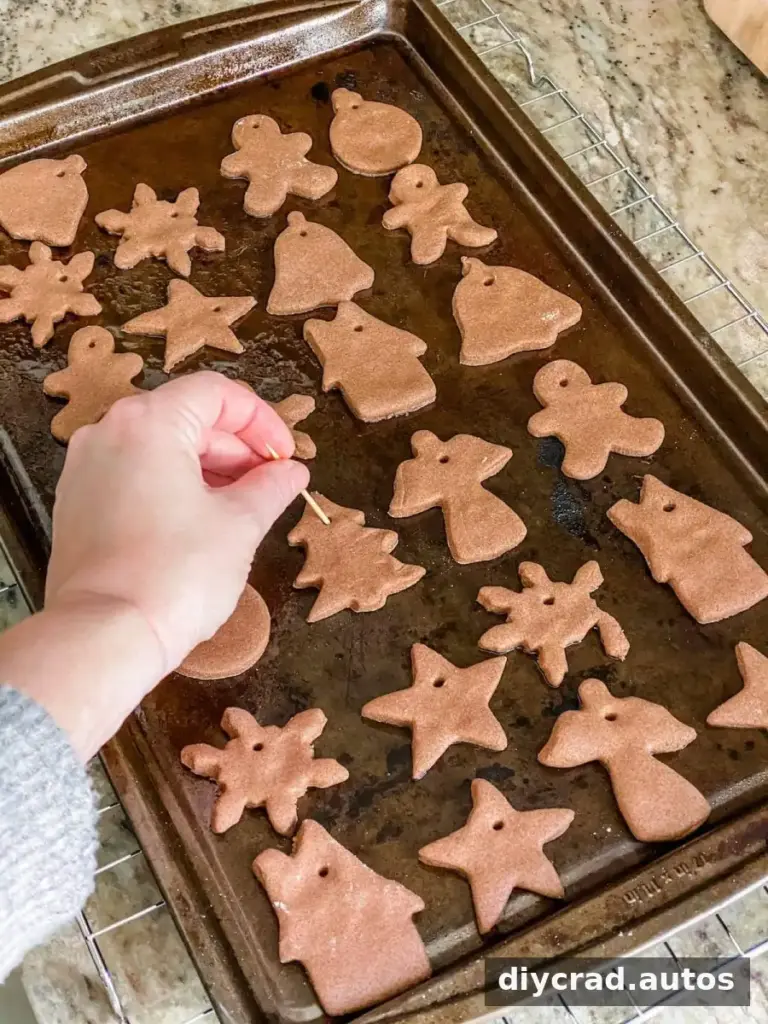
Use a toothpick to make a hole near the top of each shape. Make it wide enough to thread with string once the ornament is finished, and leave enough space around the hole so the dough is less likely to break there.
Step 7: Bake and Cool
Bake the ornaments at 300°F for 30–40 minutes. Baking time can vary with the thickness and size of the shapes, so check that they have dried before removing them. Let them cool completely on a wire rack before decorating.
Adult supervision is recommended when using the oven. Do not handle the ornaments while they are hot, and keep them separate from food during preparation and storage.
Step 8: Add Icing-Style Designs
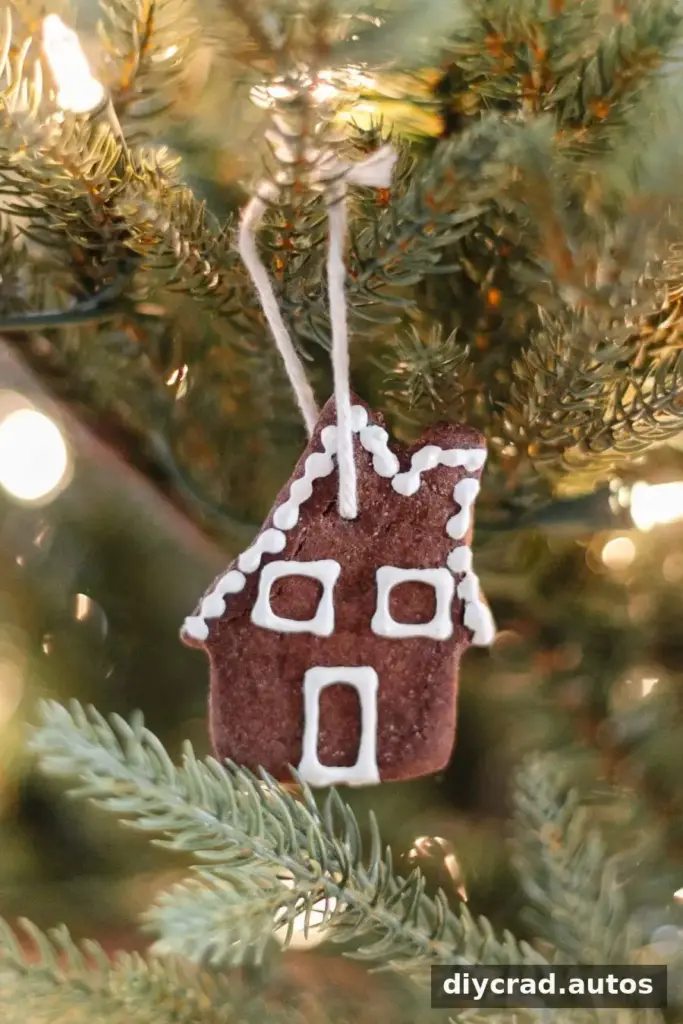
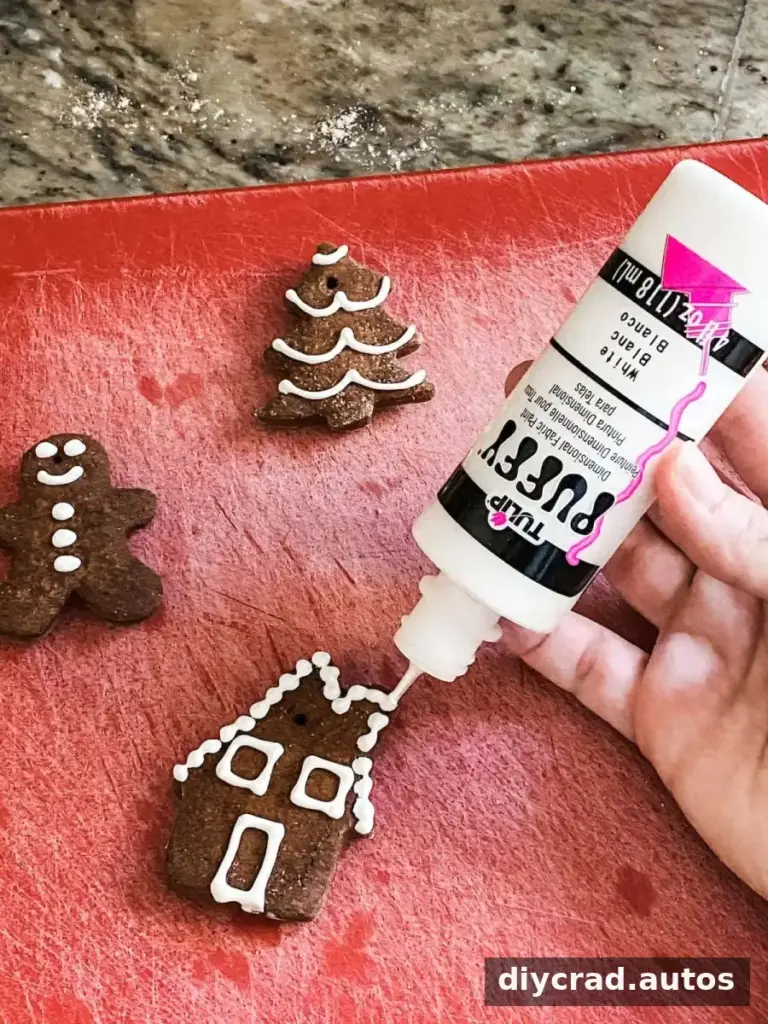
Once the ornaments are cool, use white puffy craft paint to draw lines, dots, or other designs that resemble gingerbread icing. Let the paint dry according to its packaging before handling or hanging the ornaments.
Step 9: Add String and Display
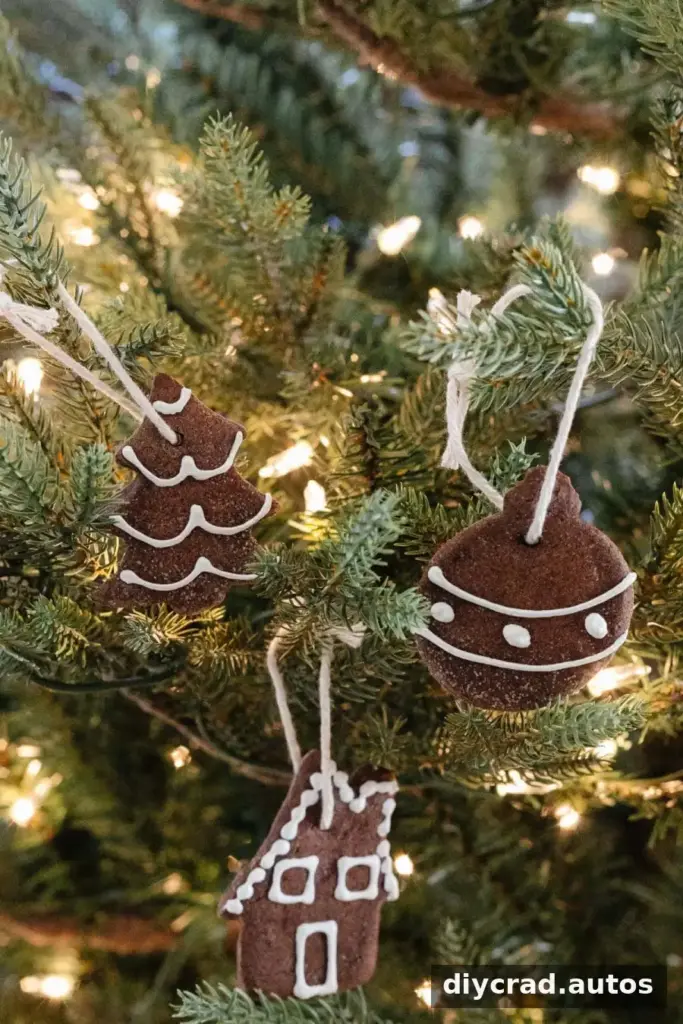
Thread baker’s string, jute twine, or an ornament hook through each hole. Hang the finished decorations on a tree or arrange several along a ribbon to make a garland. Handle them carefully, especially around the holes and thin edges.
More Simple Christmas Craft Ideas
If you’d like to create a coordinated seasonal display, pair these ornaments with inexpensive handmade decorations, a dried orange garland, or ribbon art. Choose a few colors and materials that work together to keep the finished display cohesive.
Store the ornaments in a dry place when the season is over, and pack them so they are not pressed against heavy objects. Because they are made from salt dough, keeping them dry and handling them gently can help them remain in good condition for future holidays.
Conclusion
Cinnamon salt dough ornaments are a straightforward way to make personalized holiday decorations from everyday craft ingredients. Roll the dough to about 1/4 inch, make hanging holes before baking, and allow the shapes to cool completely before adding paint. With careful handling and dry storage, these cinnamon salt dough ornaments can become a festive part of your seasonal decorating tradition.