

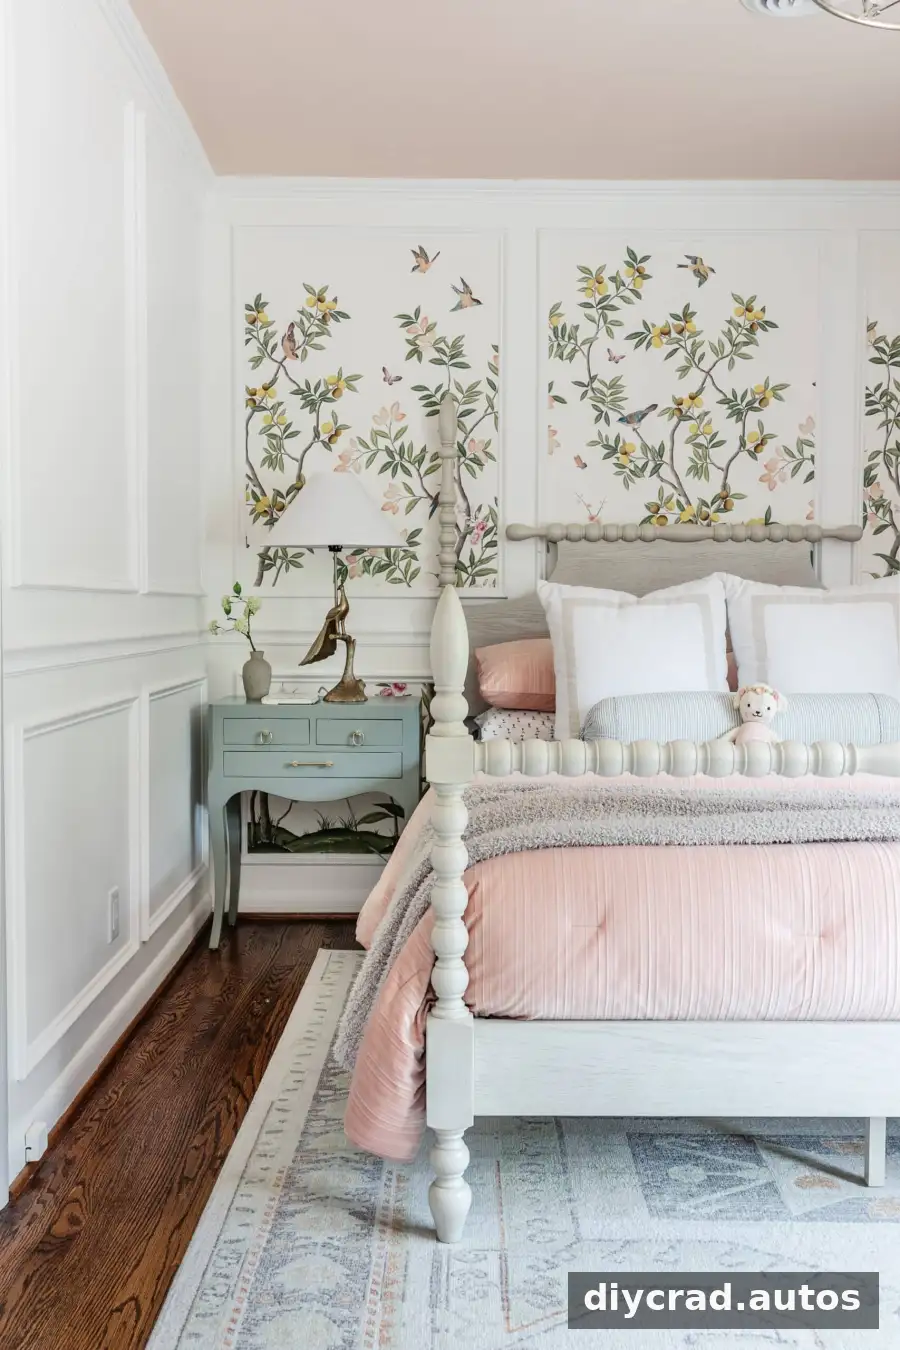
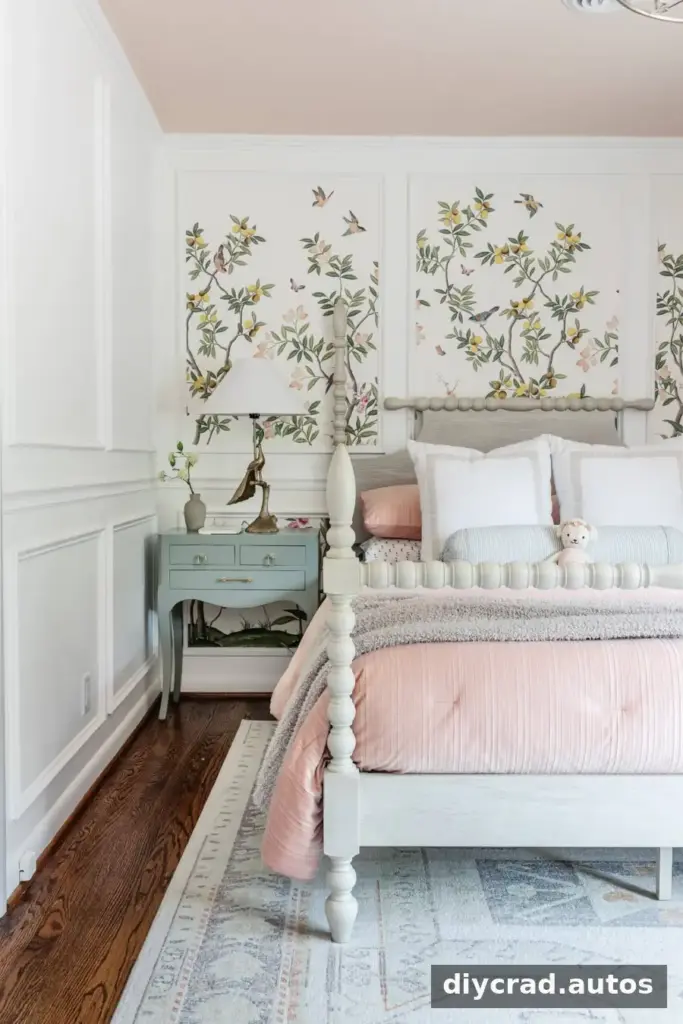
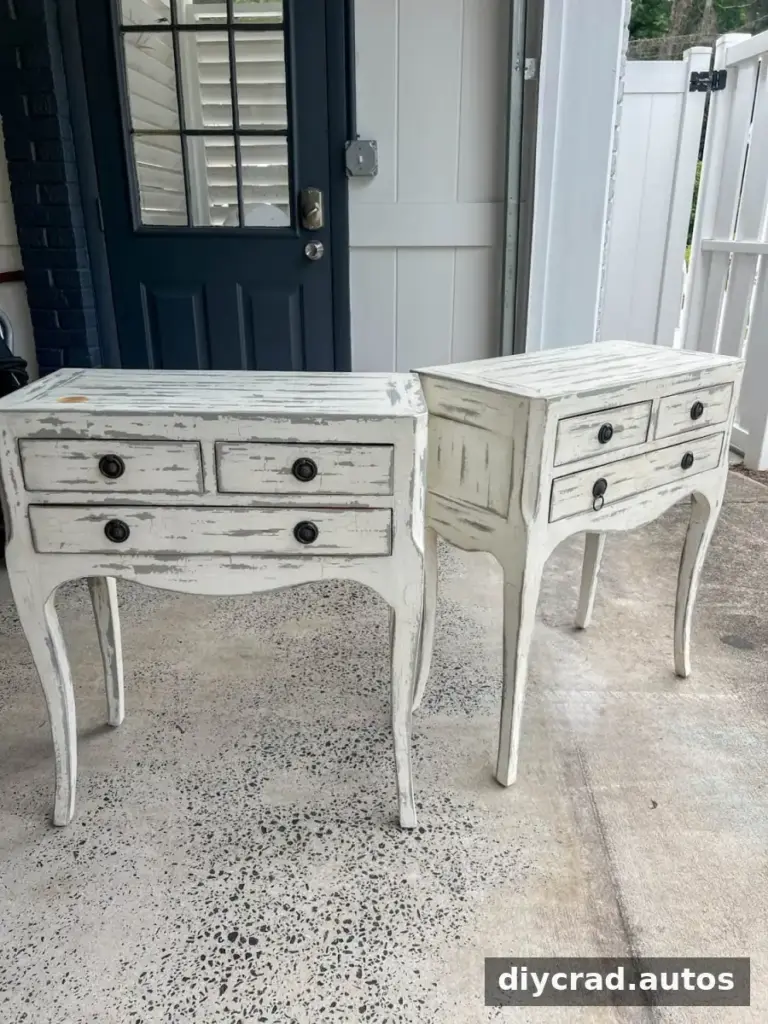
DIY painted bedside tables can refresh a bedroom and give secondhand furniture a polished new look. These solid-wood nightstands, found for $100 each, had dovetailed drawers and a heavily distressed, crackled finish. Careful surface preparation and several thin layers of paint transformed them into smooth, minty-green gloss bedside tables.
Gloss paint reflects light and is easy to wipe clean, but that sheen also makes dents, scratches, and brush marks more noticeable. The key to a neat finish is to remove the rough texture before painting, use a suitable bonding primer, and allow each coat to dry according to its label.
DIY Painted Bedside Tables: Supplies and Preparation
Gather the following before starting:
- Orbital sander
- Coarse-, medium-, and fine-grit sanding pads
- Extra-fine sandpaper
- Wood filler, if moving or replacing the drawer hardware
- INSL-X STIX Bonding Primer
- Round furniture paintbrush
- Gloss enamel paint; the tables were painted with Sherwin Williams Emerald Urethane Trim Enamel in Gloss, color Evergreen Fog
- Replacement knobs or pulls, if desired
Before sanding older furniture, check whether its existing finish may contain lead and follow local guidance for testing and safe handling. Work in a well-ventilated area, use appropriate eye and respiratory protection, and keep sanding dust contained.
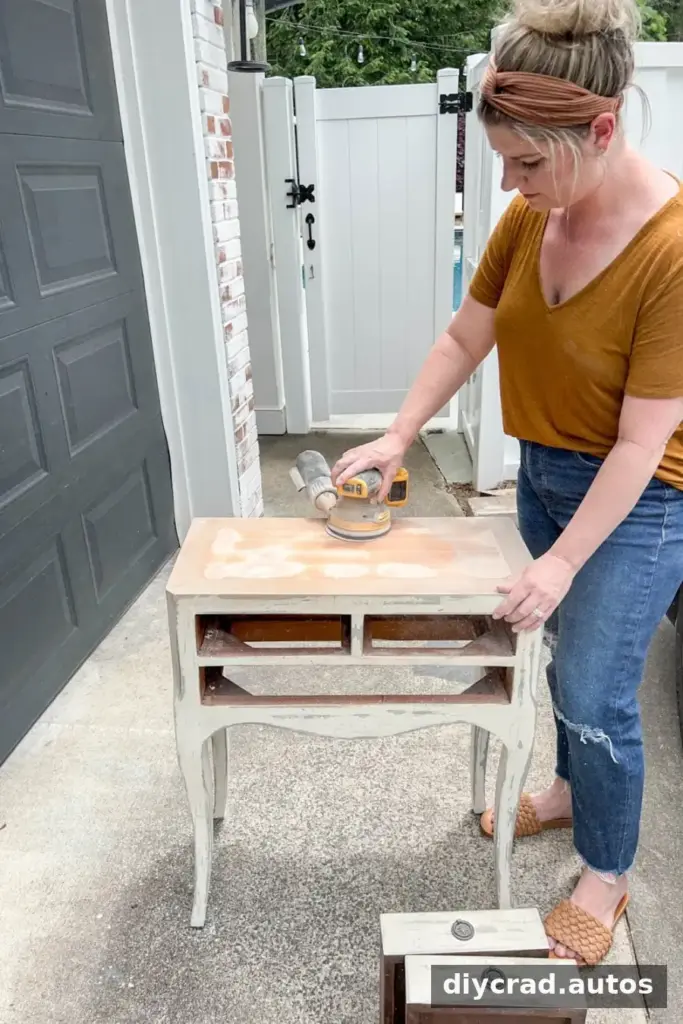
1. Remove the distressed finish with coarse-grit sanding
Use an orbital sander with a coarse-grit pad to take down the crackled paint and uneven texture. A less abrasive pad may be enough for furniture with a smoother existing finish, but deeply distressed surfaces need more preparation to achieve a uniform gloss result. Avoid pressing too hard, which can gouge the wood.
If the knobs or pulls will be repositioned, fill the old holes with wood filler. Let the filler dry as directed, then sand it level with the surrounding surface. A chemical stripper is another option, although it generally requires extra time and careful cleanup.
2. Refine the surface with medium- and fine-grit sanding
After removing the old paint, sand the wood again with a medium-grit pad, then finish with a fine-grit pad. Move evenly over the surface and check the edges and drawer fronts by touch. Removing rough patches now helps prevent them from standing out under reflective paint.
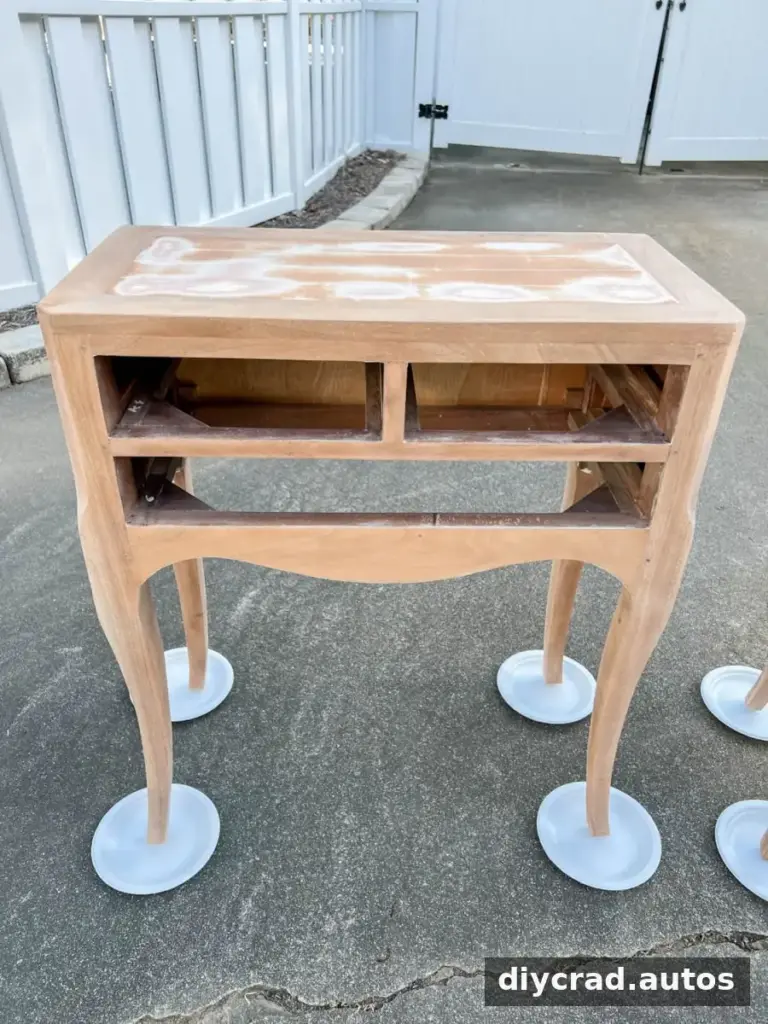
3. Apply a bonding primer
Brush on a bonding primer that is compatible with the furniture and chosen topcoat. INSL-X STIX Waterborne Bonding Primer was used for these tables. Apply an even coat and follow the product label for coverage and drying time before painting.
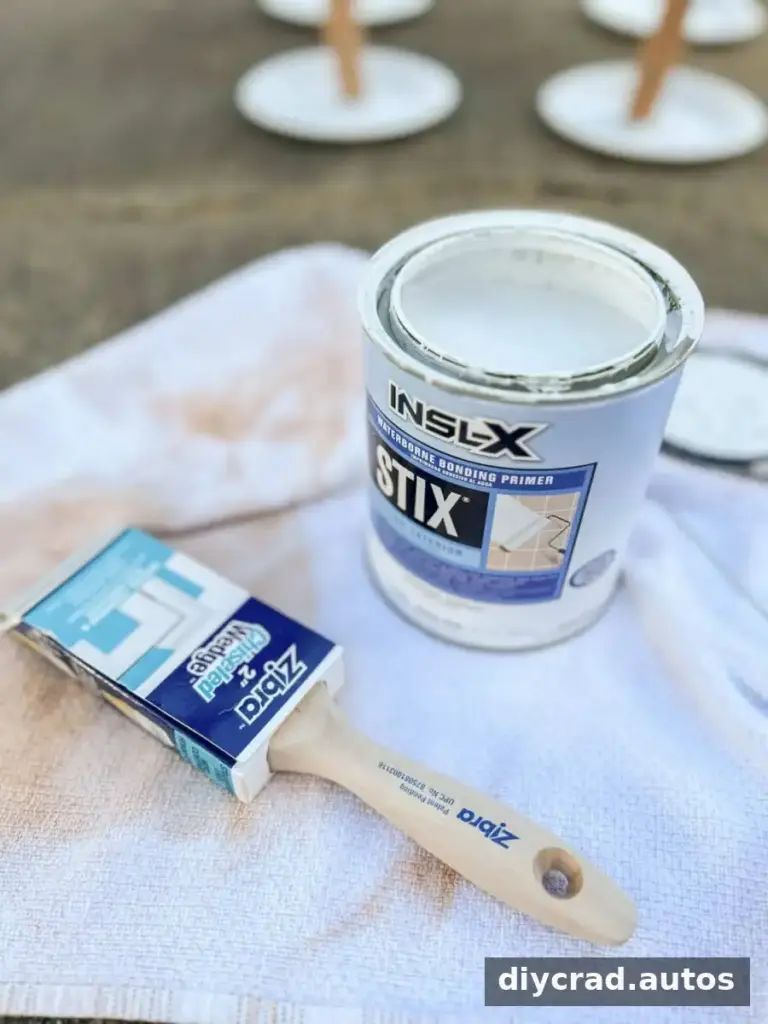
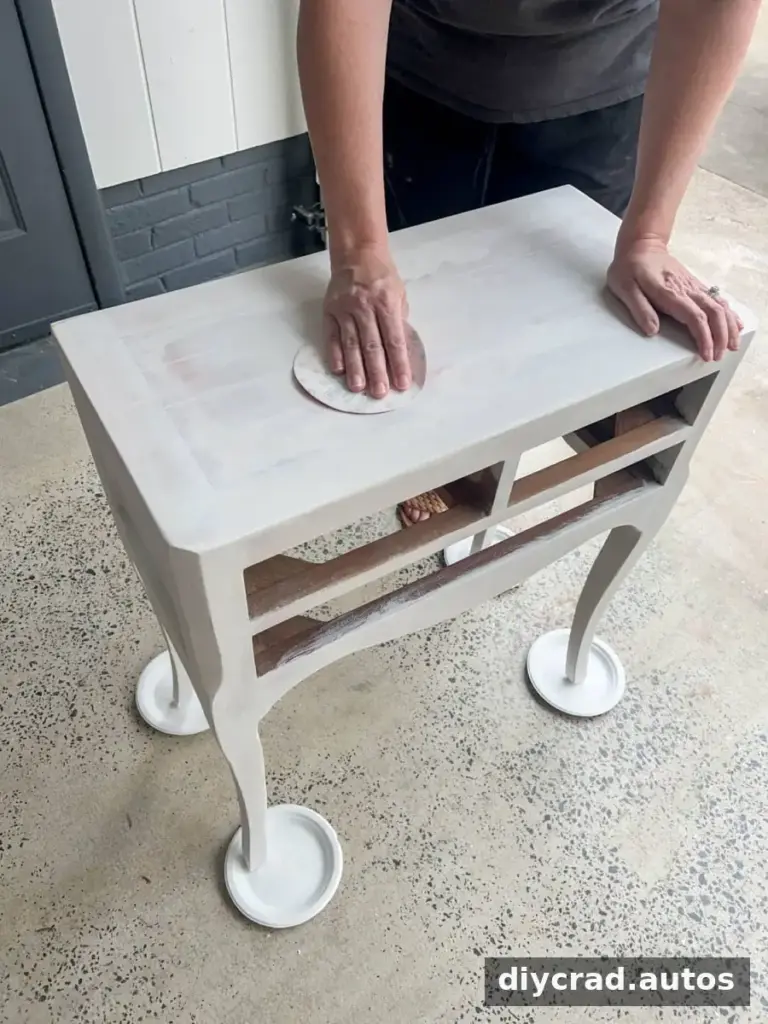
4. Lightly sand the primer
Once the primer is fully dry, lightly hand-sand it with extra-fine sandpaper. This smooths small drips or brush marks without removing the primer. Wipe away sanding dust with a clean, lint-free cloth before moving on.
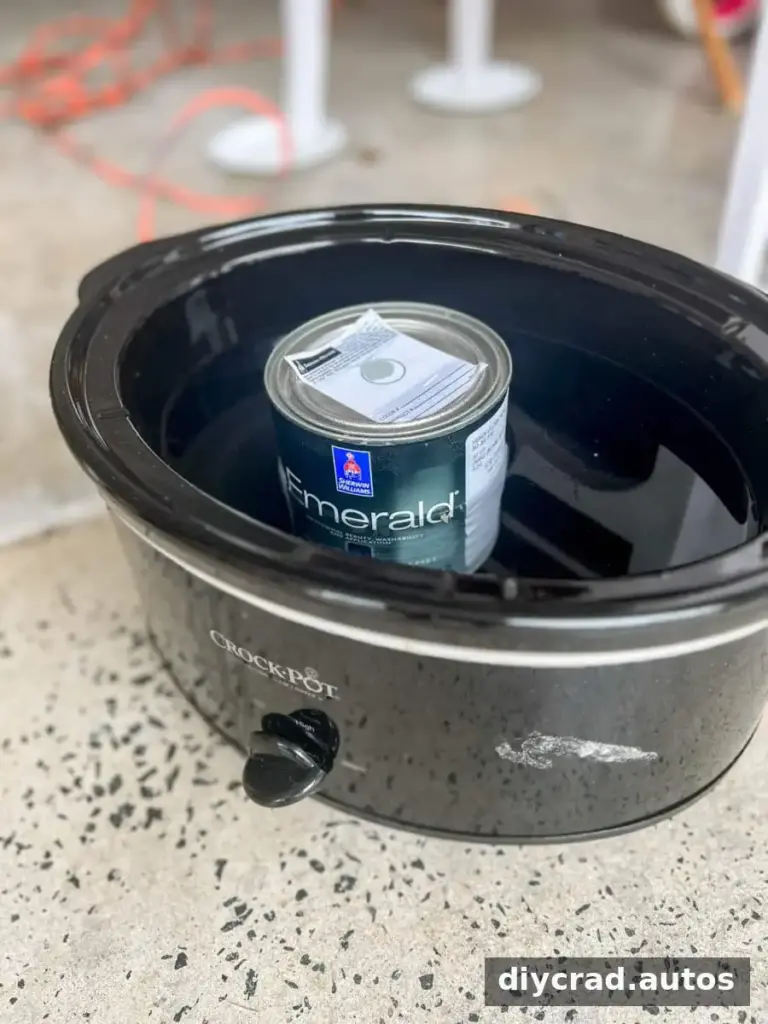
5. Bring the paint to room temperature
Warm paint can sometimes flow more smoothly, and this project used a warming technique shared by The Southern Gail. However, placing a paint can in a slow cooker is not recommended: household cooking appliances are not designed for paint, and heating can create safety or product-performance risks. Instead, store the paint at the temperature recommended on its label and stir it thoroughly. Do not heat paint unless its manufacturer specifically permits a safe method.
A paint sprayer is another way to apply a smooth coat, but brushing avoids sprayer setup and cleanup. Choose the method that suits the paint instructions and your workspace.
A well-prepared surface and an even application help create a smoother finish than relying on paint alone.
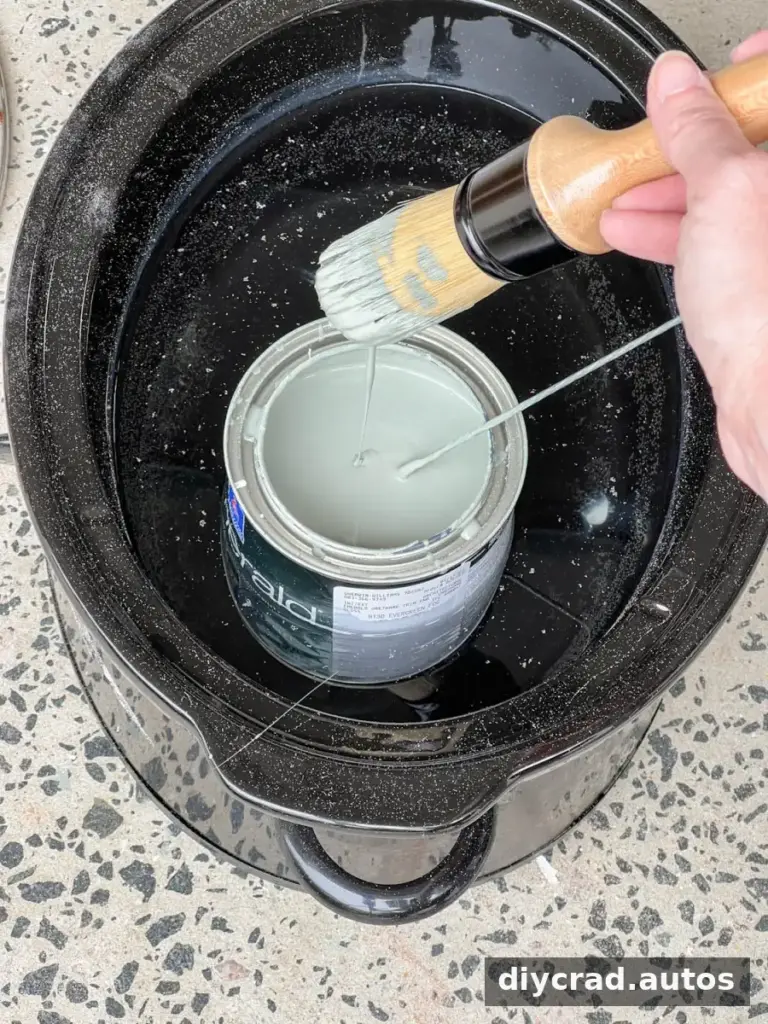
6. Apply the first coat with a round brush
A round furniture brush holds a generous amount of paint and can make it easier to cover drawer fronts and detailed edges evenly. Apply a consistent coat without making it excessively thick. Avoid repeatedly brushing over areas that have started to dry, since that can leave visible marks. Some waterborne alkyd paints are designed to level as they dry, but follow the specific product directions.
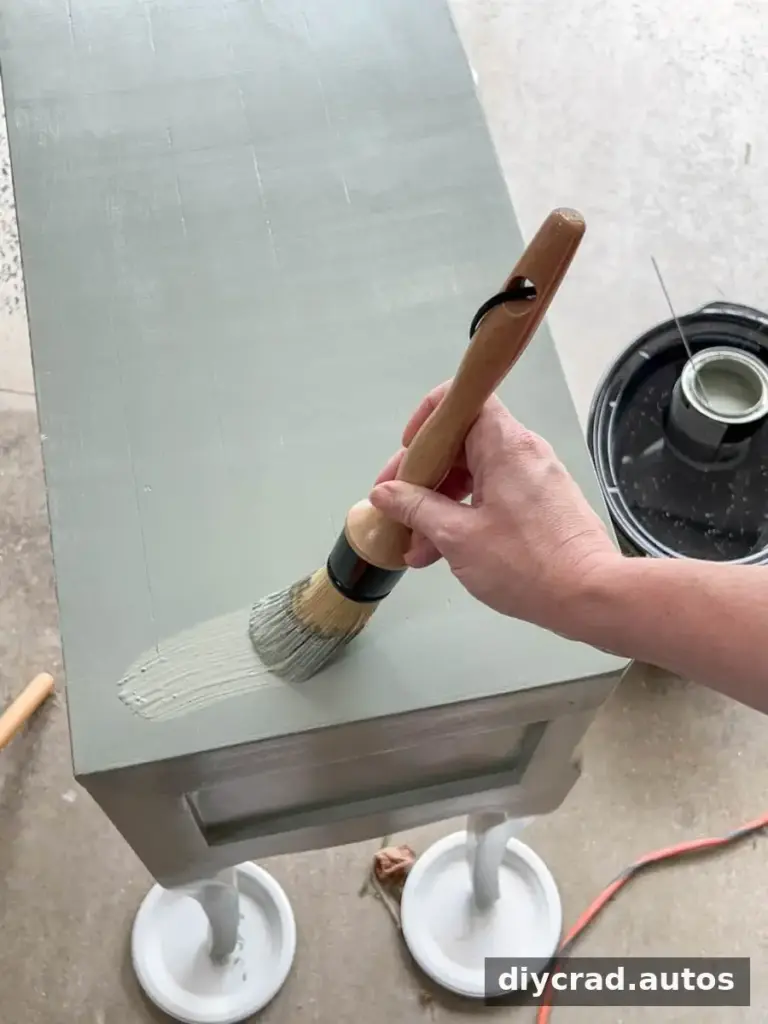
7. Sand lightly between coats
When the first coat has dried for the time stated on the label, gently scuff the surface with extra-fine sandpaper to remove minor imperfections. Use a light touch, then remove the dust before applying the next coat. This step is particularly helpful when a smooth, reflective gloss finish is the goal.
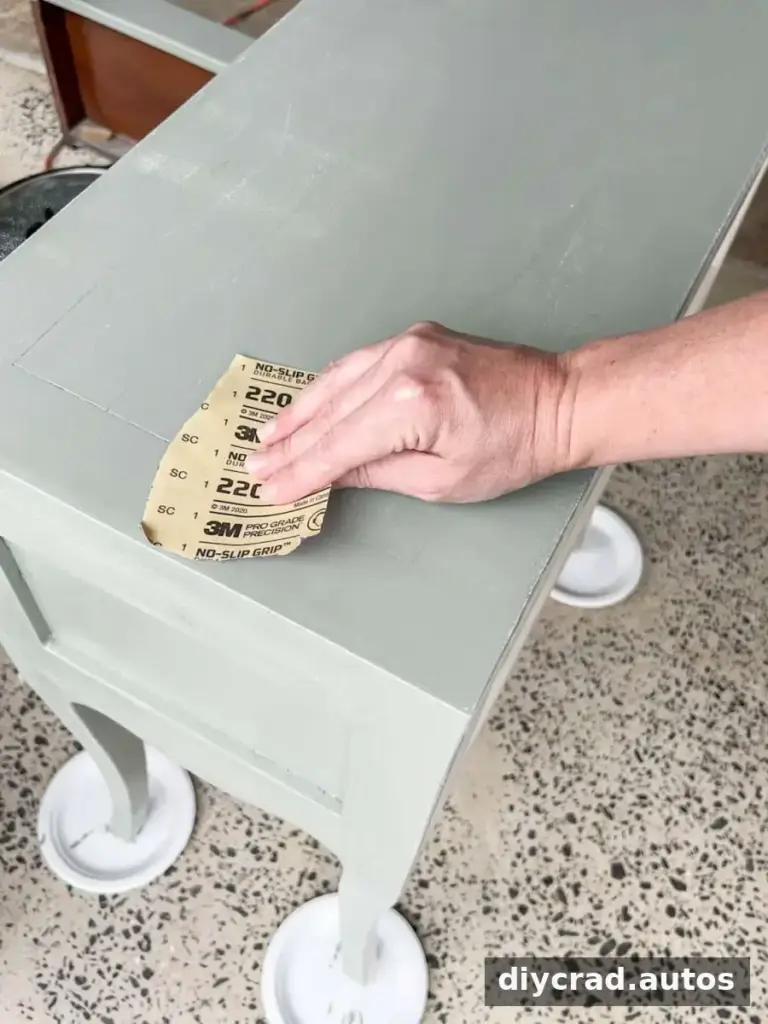
8. Apply the final coat and replace the hardware
Brush on a second even coat and allow the paint to dry and cure as directed before using the drawers or placing objects on the tables. Install the chosen knobs or pulls after the finish is ready. Waiting for full curing—not just surface dryness—can help reduce scratches and sticking during everyday use.
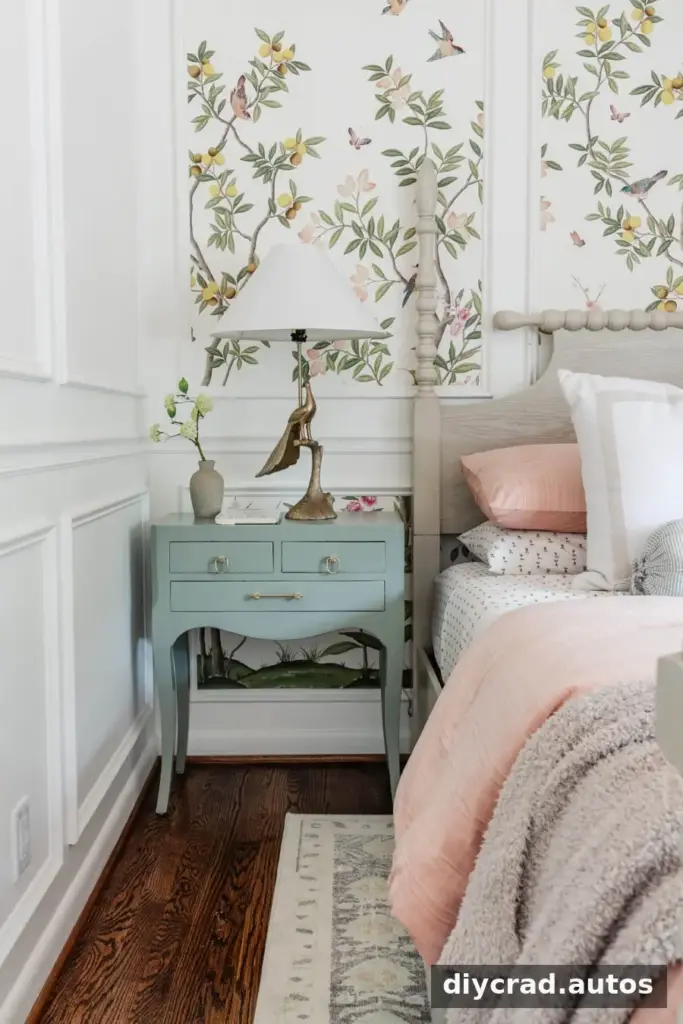
The Finished Gloss Painted Bedside Tables
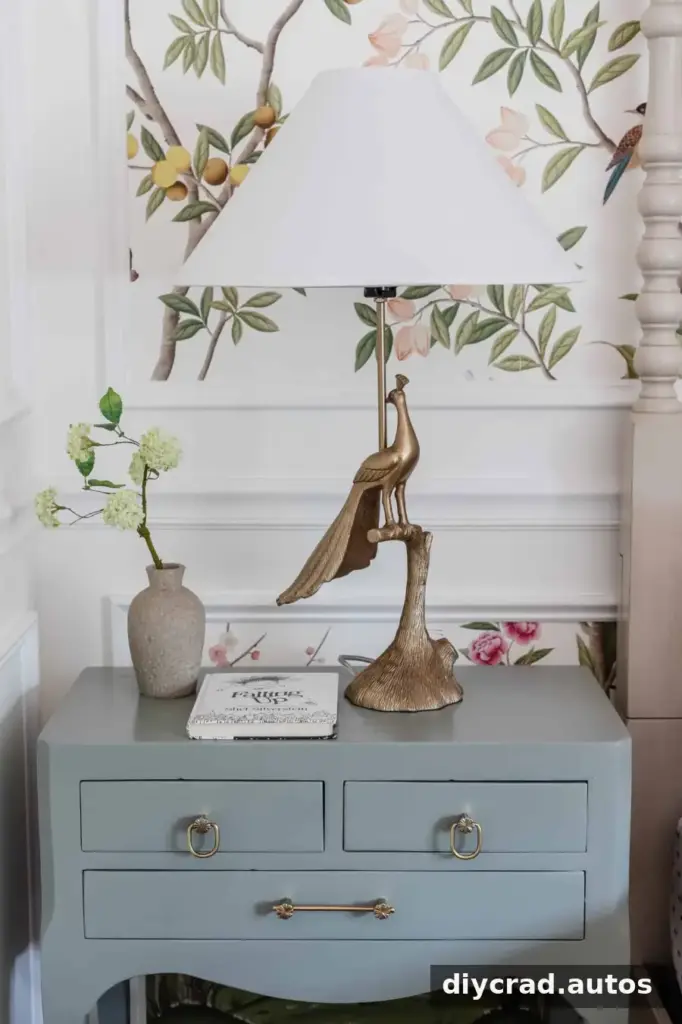
The completed nightstands have a smooth, glossy Evergreen Fog finish that looks very different from their original distressed farmhouse surface. The same paint color can appear different from one room or piece of furniture to another because lighting, surrounding colors, and surface sheen affect how it is perceived.

Bedroom Color and Decor Sources
The room included these paint colors and decor items:
- Ceiling color: Romabio Barefoot Dance
- Wall color: Magnolia Home True White
- Poster bed
- Wallpaper
- Blush comforter set
- Tulip print sheet set
- Stitched cream quilt
- Bolster pillow
- Euro pillows
- Peacock lamps
- Bud vase
- Rug
For a practical finishing touch, choose hardware that fits the existing holes or measure carefully before drilling new ones. Overall, DIY painted bedside tables can be a worthwhile furniture update when the surface is thoroughly prepared, the paint is applied in controlled coats, and sufficient drying and curing time is allowed.

