

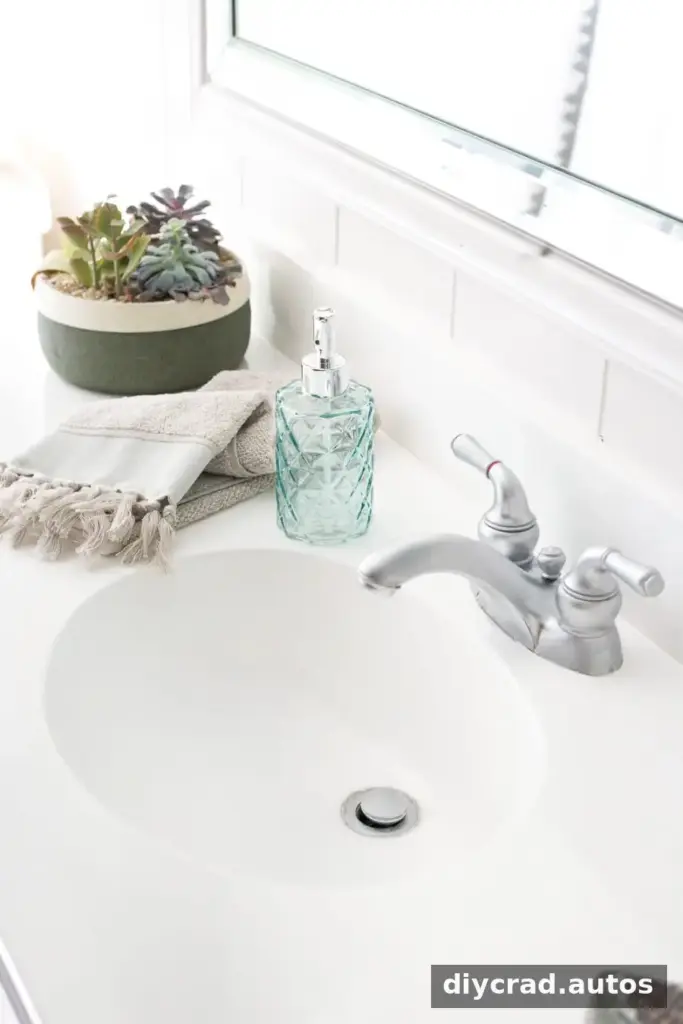
A DIY painted bathroom sink countertop can brighten a dated bathroom without the cost and disruption of removing the existing surface. A tub-and-tile refinishing kit can be used to renew a sink and countertop, but careful preparation, good ventilation, and patience between coats are essential for a smoother result.
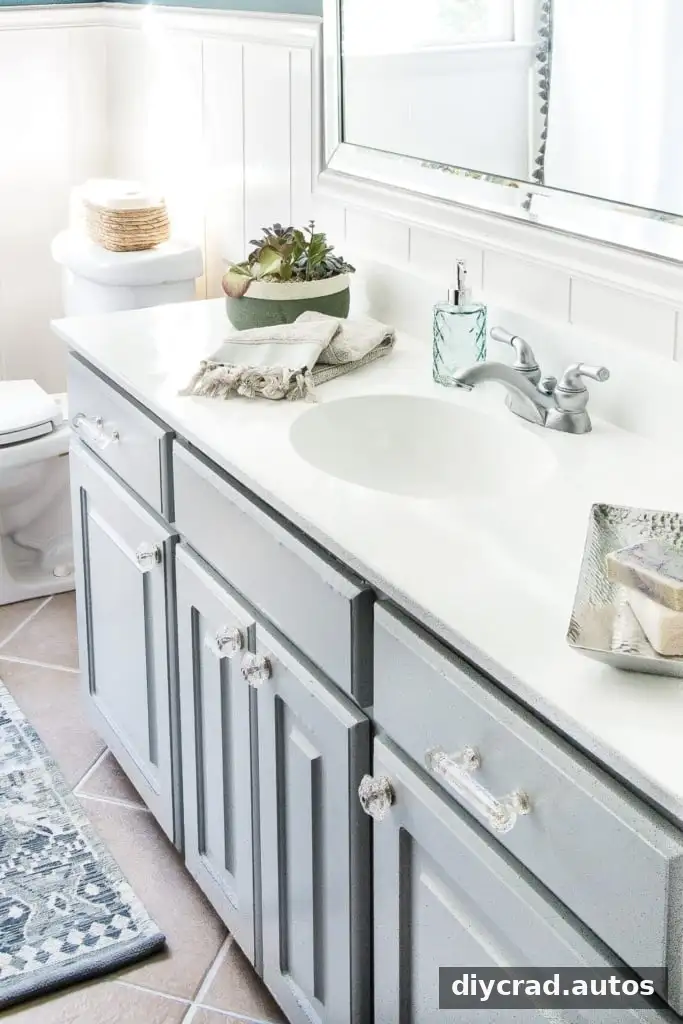
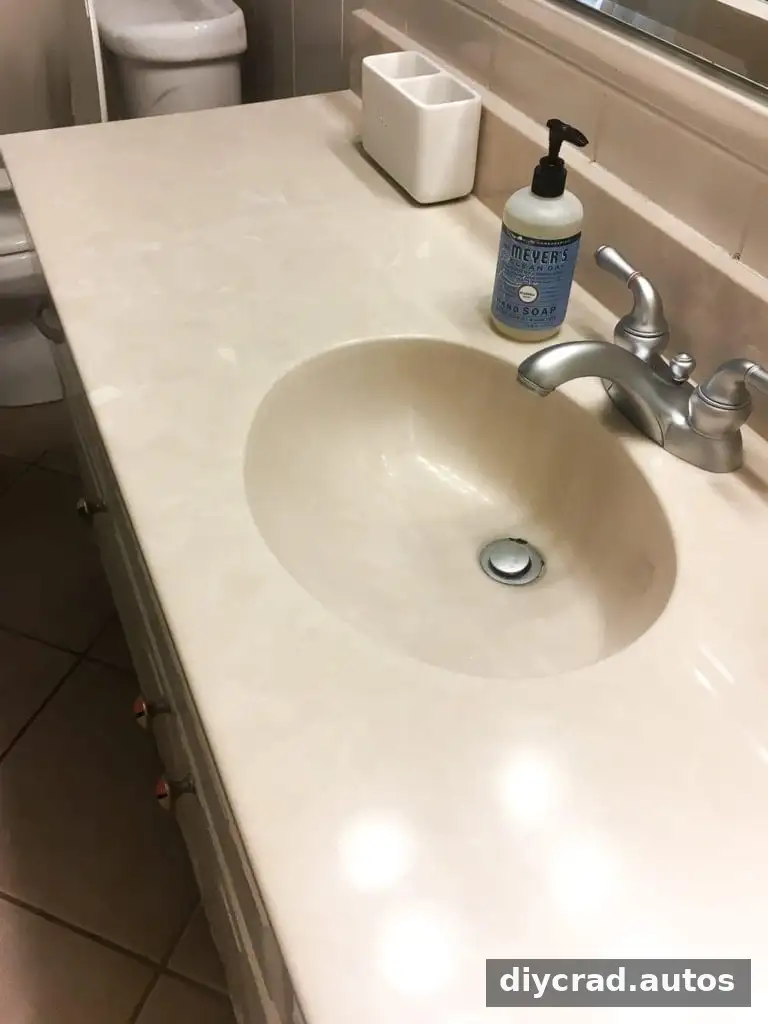
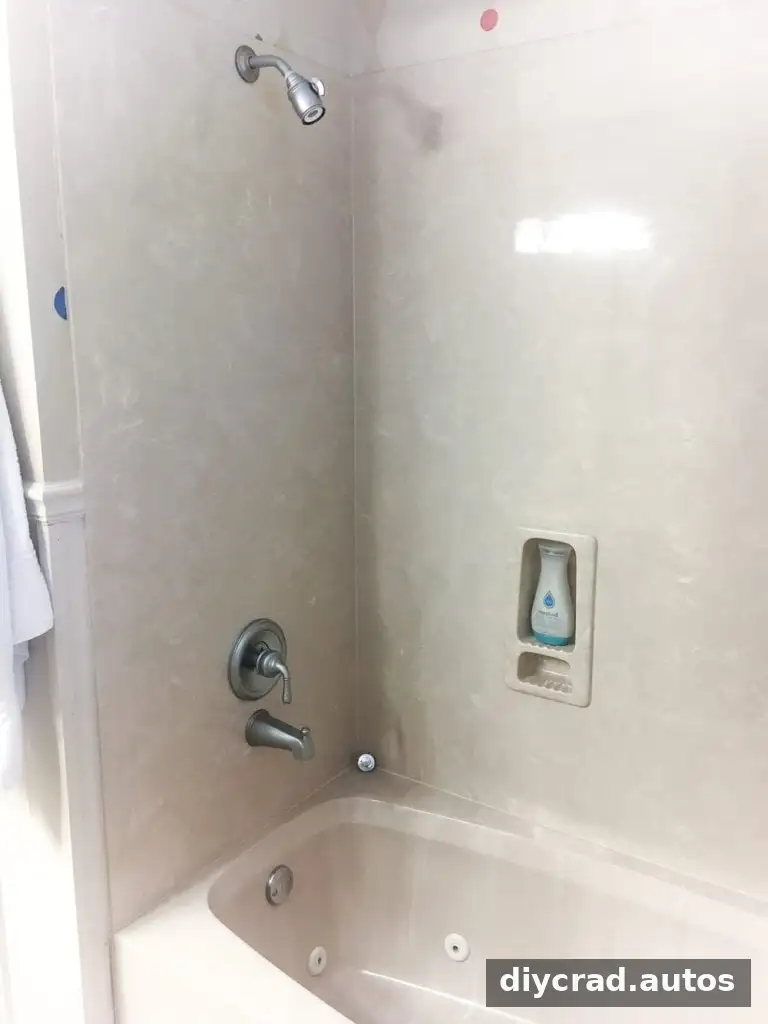
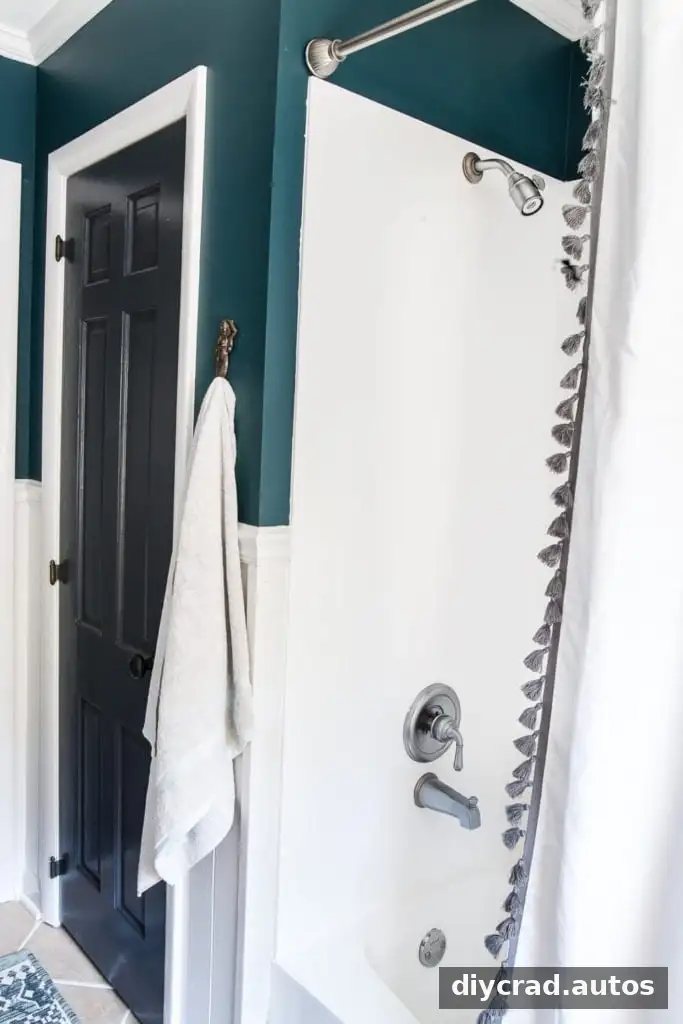
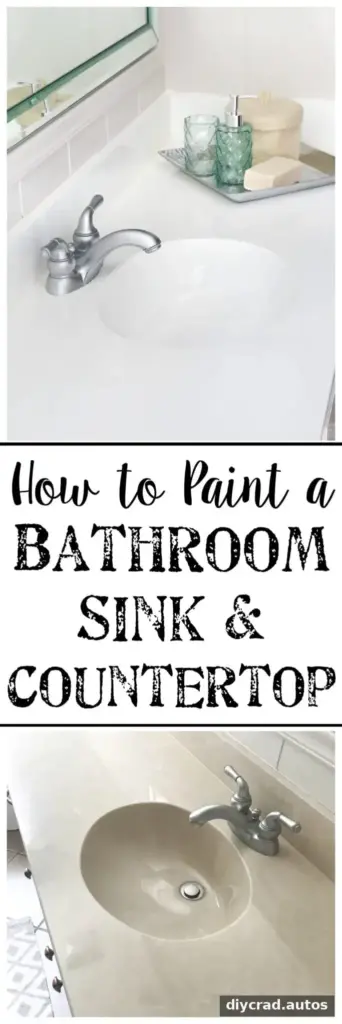
This project changed an outdated beige cultured-marble surface to a bright white finish. The same refinishing approach was later used on the tub and shower. It is best viewed as a lower-cost update rather than a substitute for a full remodel, so check that your surface is suitable for the product before starting.
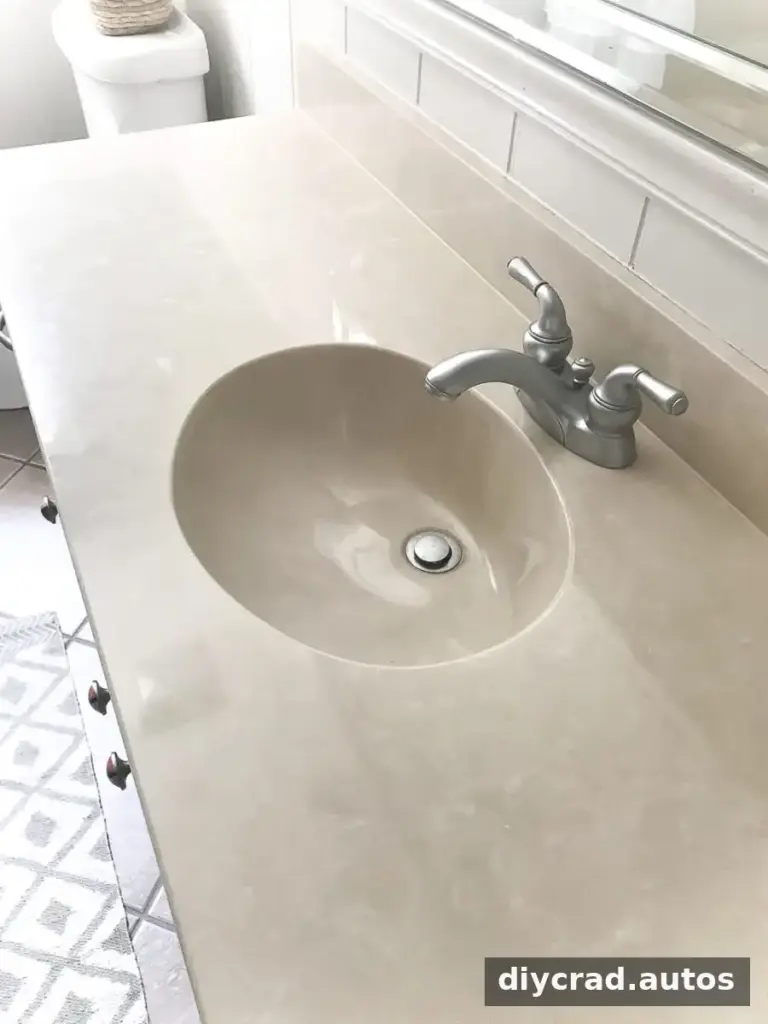
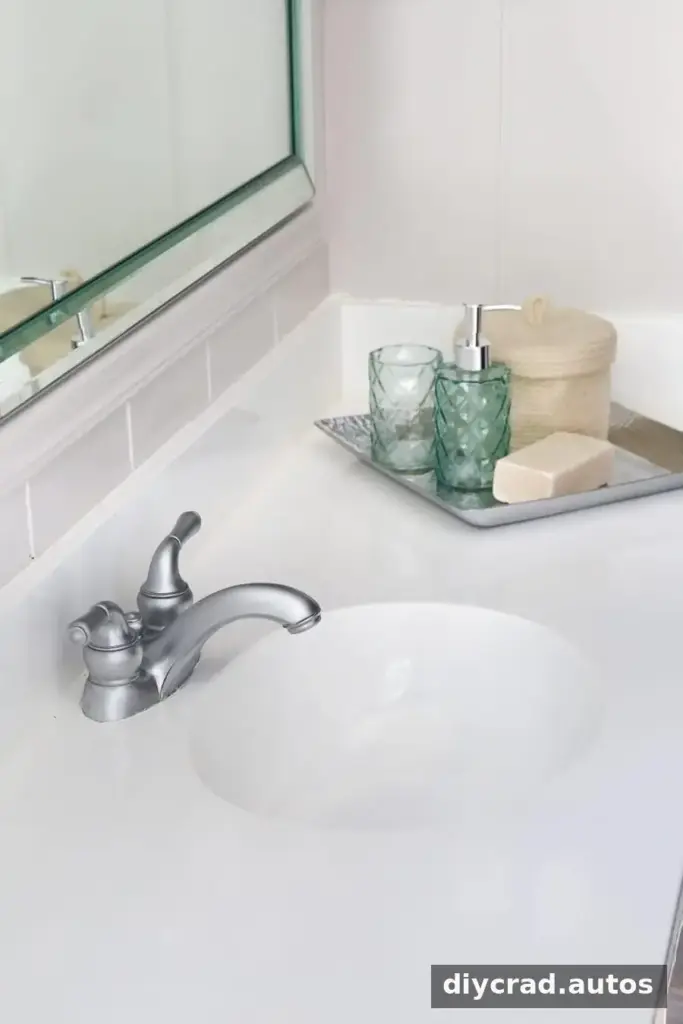
What to Know Before Painting a Bathroom Countertop
Refinishing paint can have strong fumes. In this project, the odor lingered enough that the household stayed elsewhere during the work. Plan ahead: keep children and pets away, ventilate the space as directed on the product label, and use the specified protective equipment. A fan may help move air toward an open window, but it does not replace a respirator or the kit’s safety instructions.
Preparation takes time, especially removing old silicone caulk and cleaning the surface. Do not rush these steps; residue, dust, or leftover caulk can interfere with adhesion. Also, never combine cleaning products. Rinse thoroughly between cleaners and follow each product label.
DIY Painted Bathroom Sink Countertop Supplies
- Tub-and-tile refinishing kit (one box covered the sink and countertop in this project)
- Abrasive cleaning pads and a suitable powdered cleanser
- Limescale remover, used according to its label
- 400-grit sandpaper and a tack cloth
- Window scraper and utility knife with fresh blades
- Mineral spirits for removing caulk residue, if appropriate for the surface
- Spray bottle with water and a clean, dry towel
- Painter’s tape
- 1.5-inch angled paintbrush, foam roller, spare roller covers, and a small roller tray
- Respirator, chemical-resistant gloves, and safety glasses
- Drop cloths and, optionally, a box fan
- White silicone caulk and a caulk gun
How to Paint a Bathroom Sink Countertop
1. Remove the Old Caulk
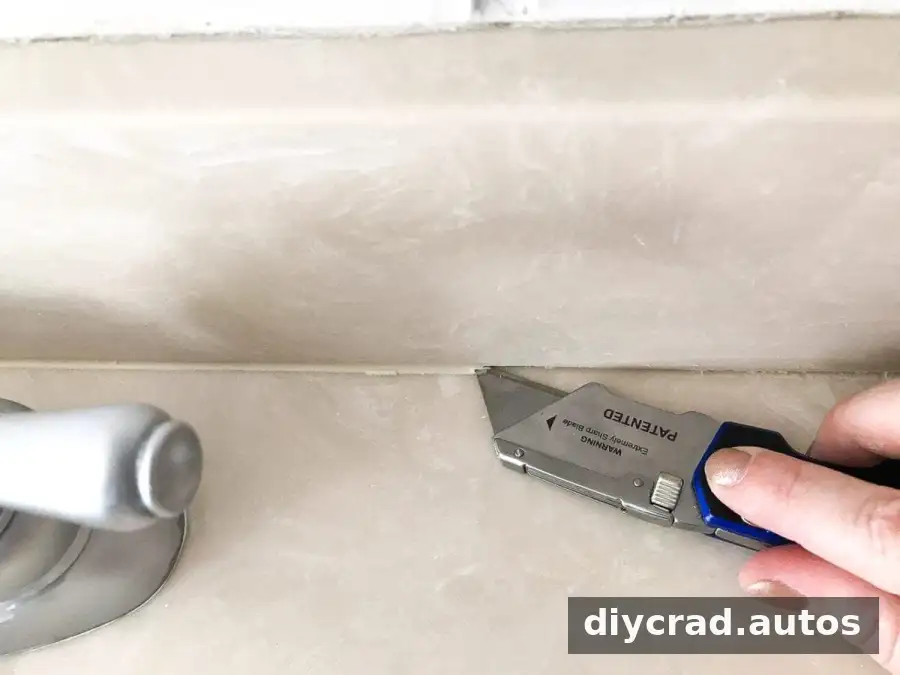
Use a window scraper and utility knife to remove the silicone caulk around the countertop. Replace blades as needed so you can work carefully without forcing the tool against the surface. Wipe away remaining residue with a suitable product, following its label and ensuring the area is clean afterward.
2. Clean the Sink and Countertop
Scrub the surface with an abrasive pad and a cleaner suitable for the material. Rinse thoroughly and dry it. If using a second cleaner to remove mineral deposits, first rinse away the initial cleaner completely; do not mix cleaning products.
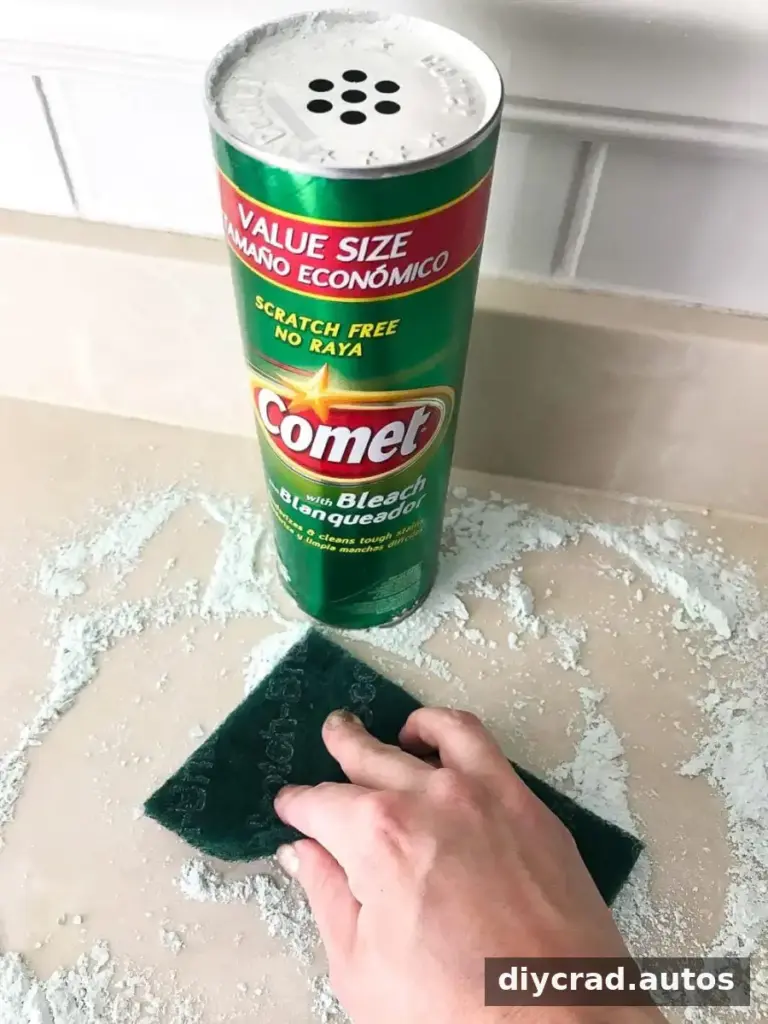
3. Remove Remaining Residue
Use a limescale remover only as directed on its packaging, then wipe and rinse as required. The surface needs to be free of cleaner residue before sanding and painting.
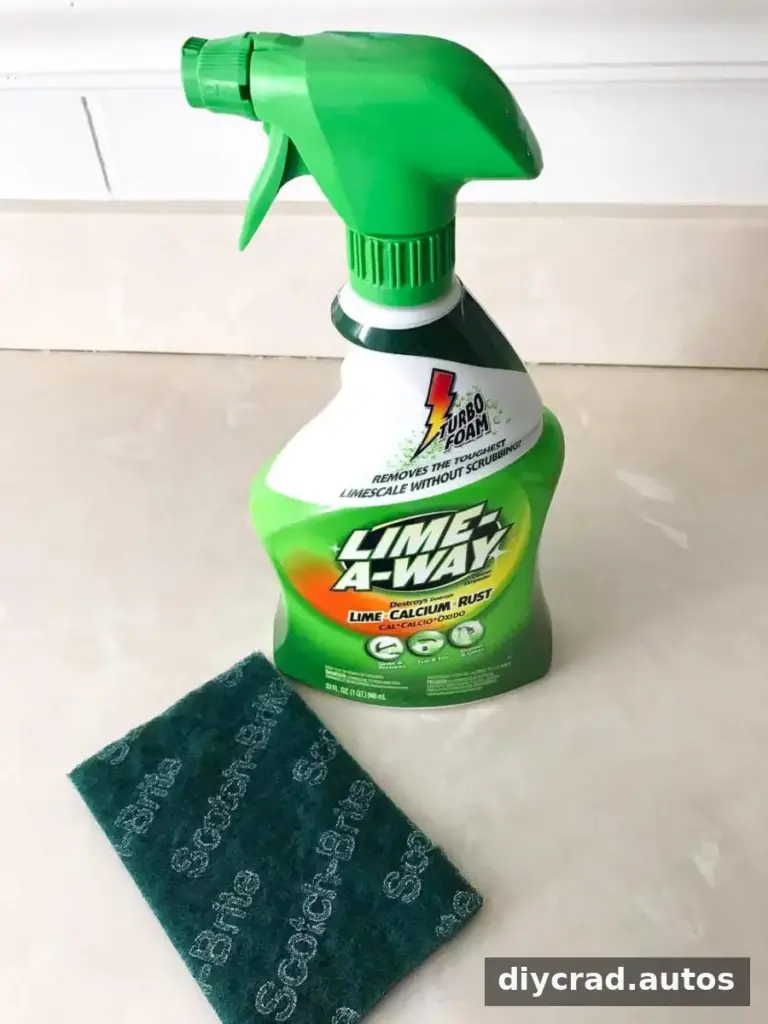
4. Sand and Remove Dust
Lightly sand the entire sink and countertop with 400-grit sandpaper, as recommended for this project. Wipe away sanding dust with a tack cloth. Follow the refinishing kit’s instructions if they specify different preparation for your particular surface.
5. Tape Off and Let the Surface Dry
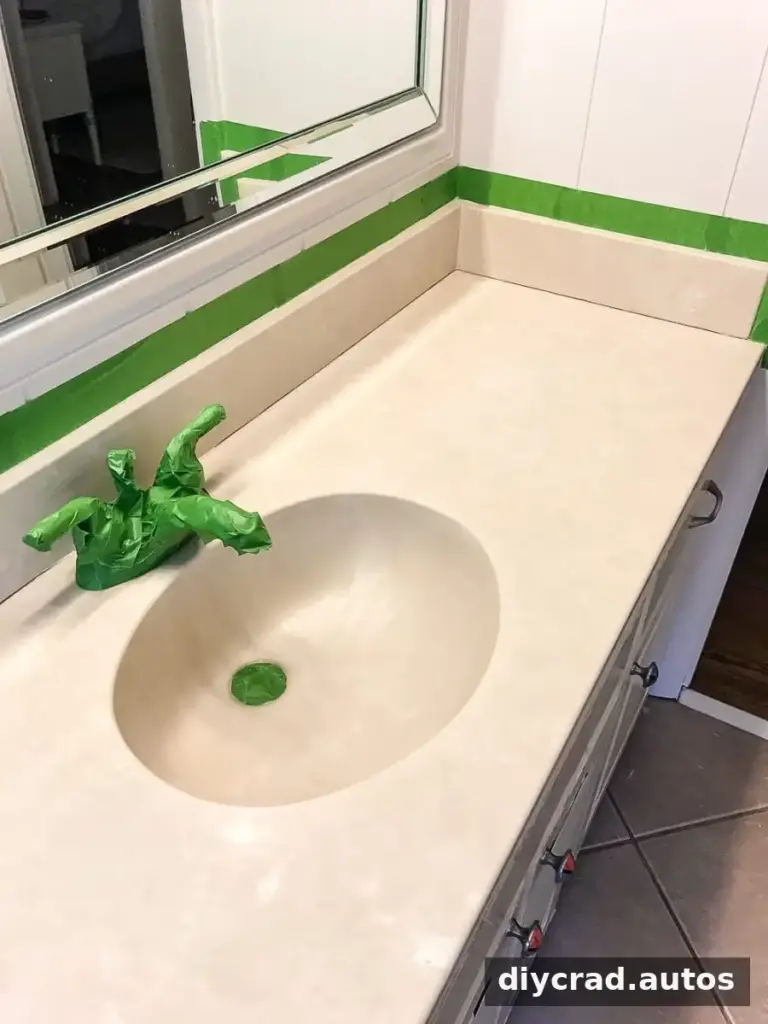
Allow the cleaned surface to dry completely; here, it was left for a couple of hours after preparation. Use painter’s tape to protect the faucet and drain. Removing fixtures can make it easier to coat the edges, but only do so if you can safely disconnect and reinstall them.
6. Put on Safety Gear and Mix the Kit
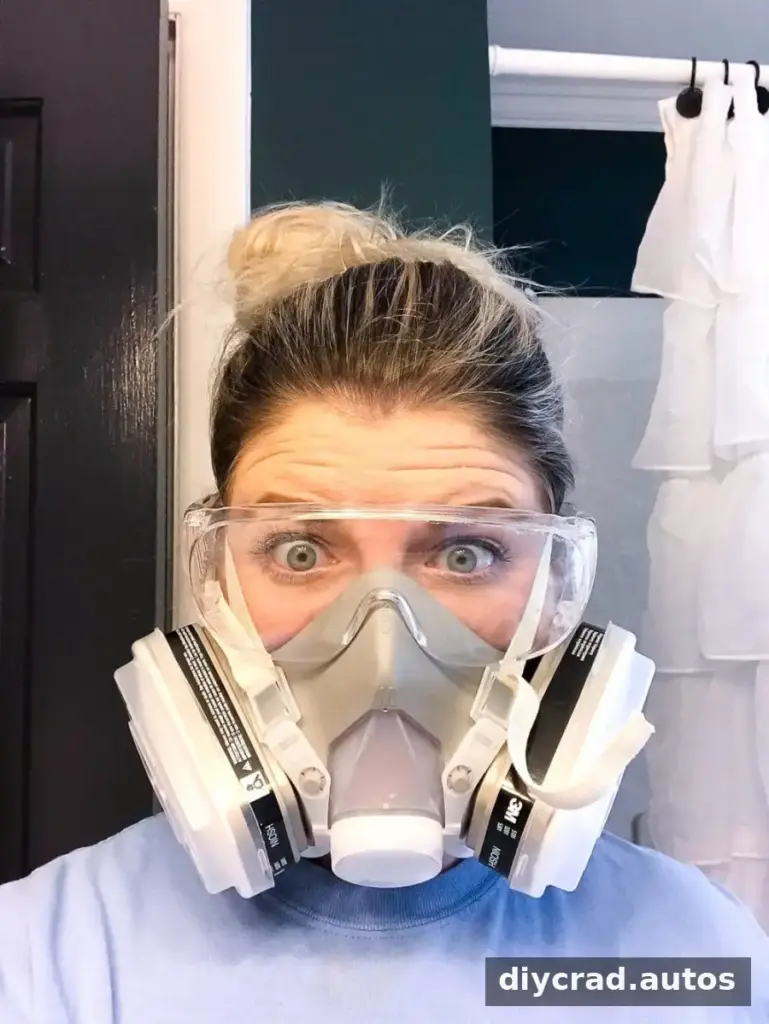
Wear the respirator, gloves, and safety glasses before opening the product. Open a window and provide ventilation as directed by the manufacturer. The kit used here contained two components that were combined immediately before painting; follow the package instructions for mixing and working time.
7. Paint the Edges and Corners
Use a 1.5-inch angled brush to coat corners, edges, and rounded areas that are difficult to reach with a roller. Apply a thin, even layer rather than loading the brush with excess paint.
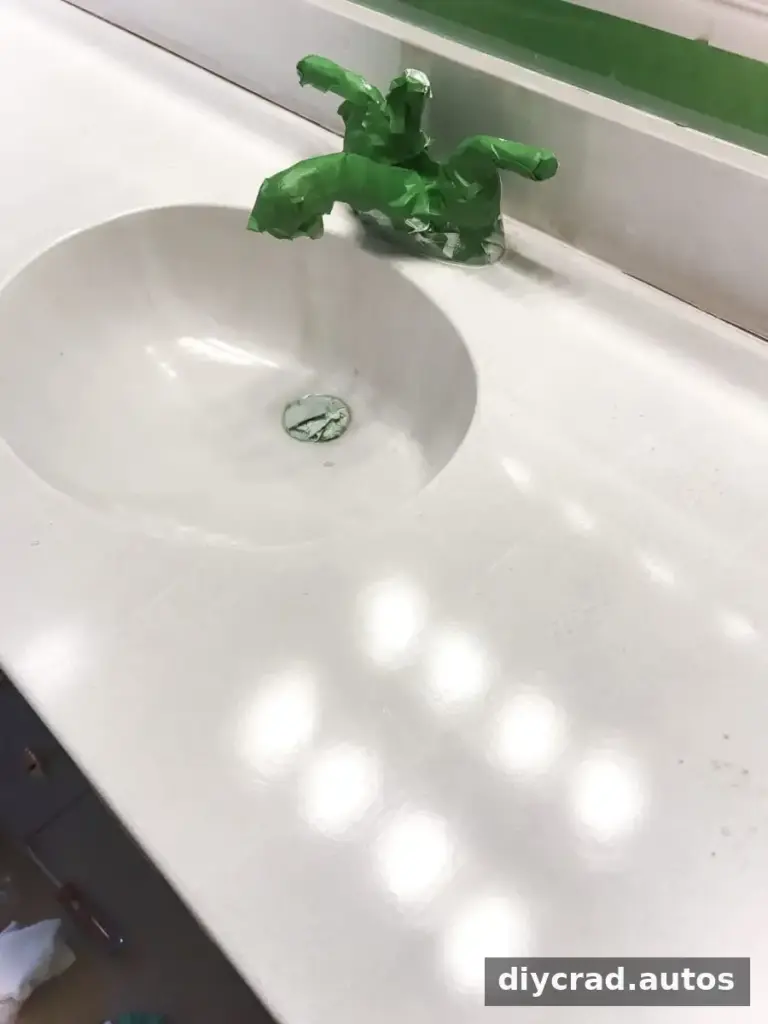
8. Roll the Flat Areas
Use a foam roller for the larger flat areas. Avoid repeatedly brushing or rolling over the same spot: overworking the coating can leave visible marks. The refinishing paint used in this project was self-leveling, so light, even application helped produce a smoother finish.
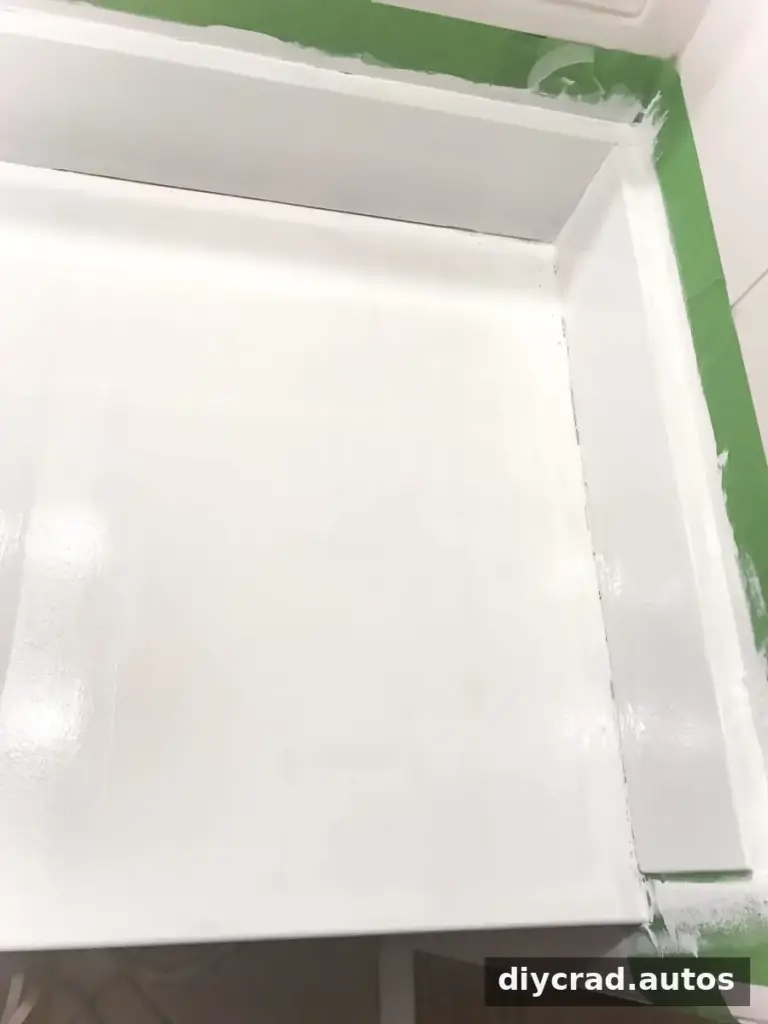
Allow one hour between coats, as specified for this project. Three coats were applied to achieve an even white finish. Check your kit’s instructions for its exact recoat time and apply thin coats rather than trying to cover everything in one pass.
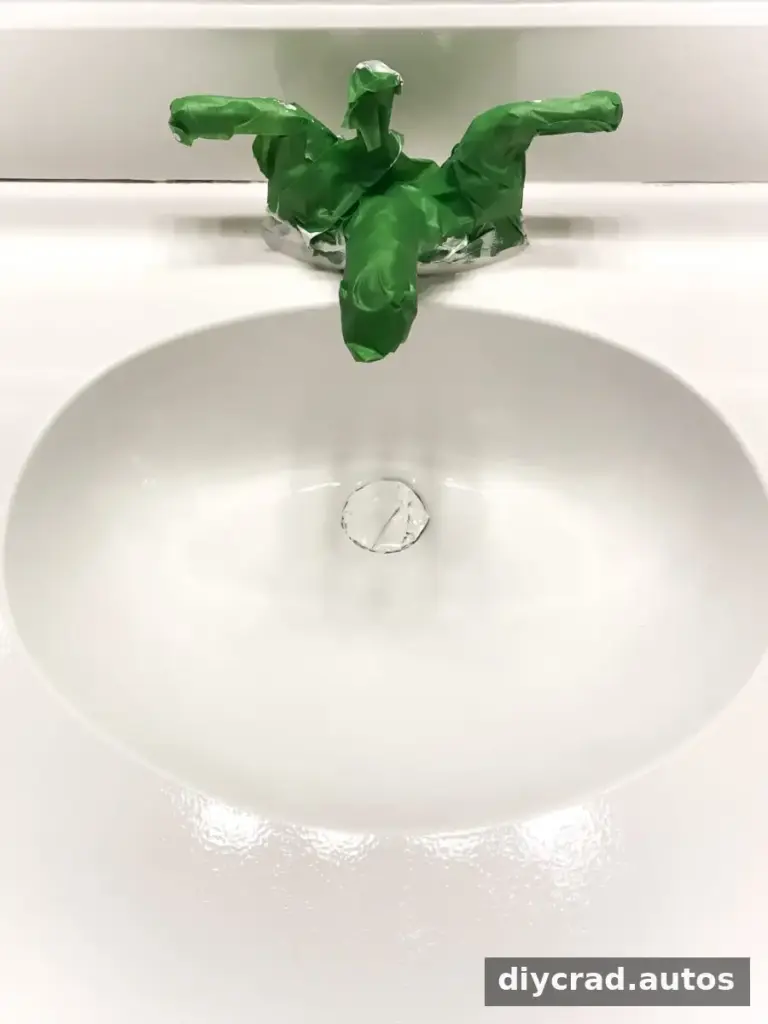
9. Remove Tape and Reapply Silicone Caulk
Once the coating is dry enough for the next step, remove the tape carefully. After the paint has cured as directed, seal the countertop’s cracks and edges with new white silicone caulk. Removing the old caulk before painting helps the new bead adhere to the intended joint.
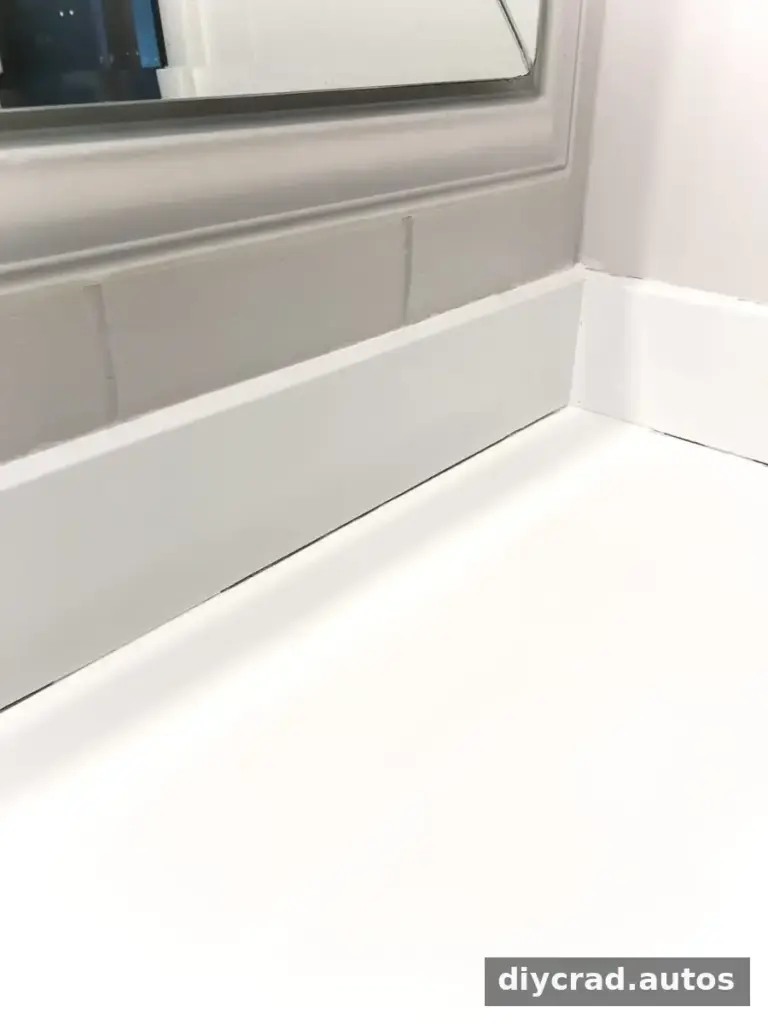
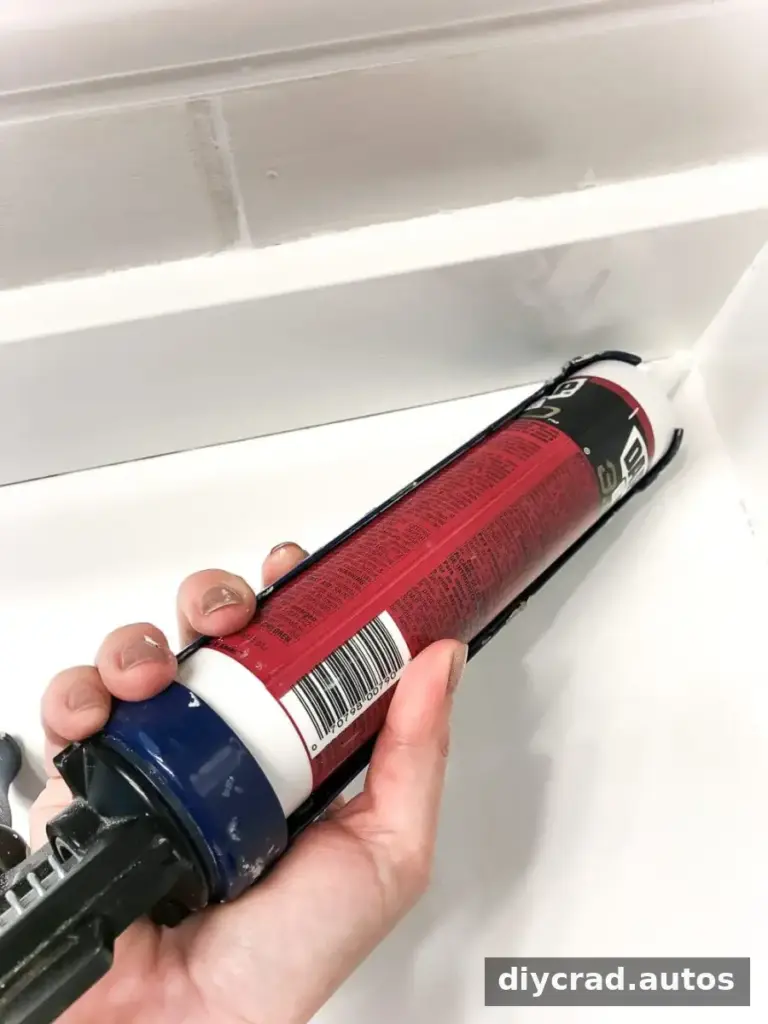
10. Clean Small Paint Spots and Allow Full Cure
If paint gets onto a metal faucet or drain, a small amount of acetone may help remove it. Check that it is suitable for the fixture, test discreetly, and follow its safety instructions. Leave the painted surface undisturbed for at least three days before exposing it to water, or longer if the kit manufacturer requires it.
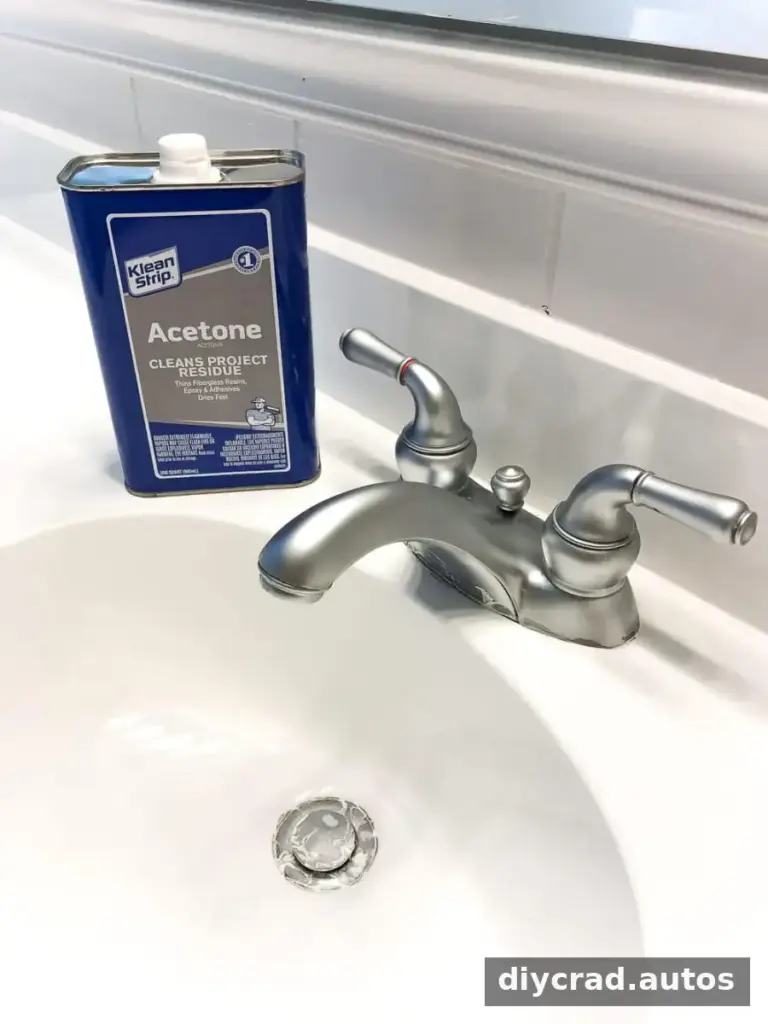
The sink and countertop were completed before the tub and shower, which required additional paint and time. Make sure you have enough product for the whole area before beginning a larger project.
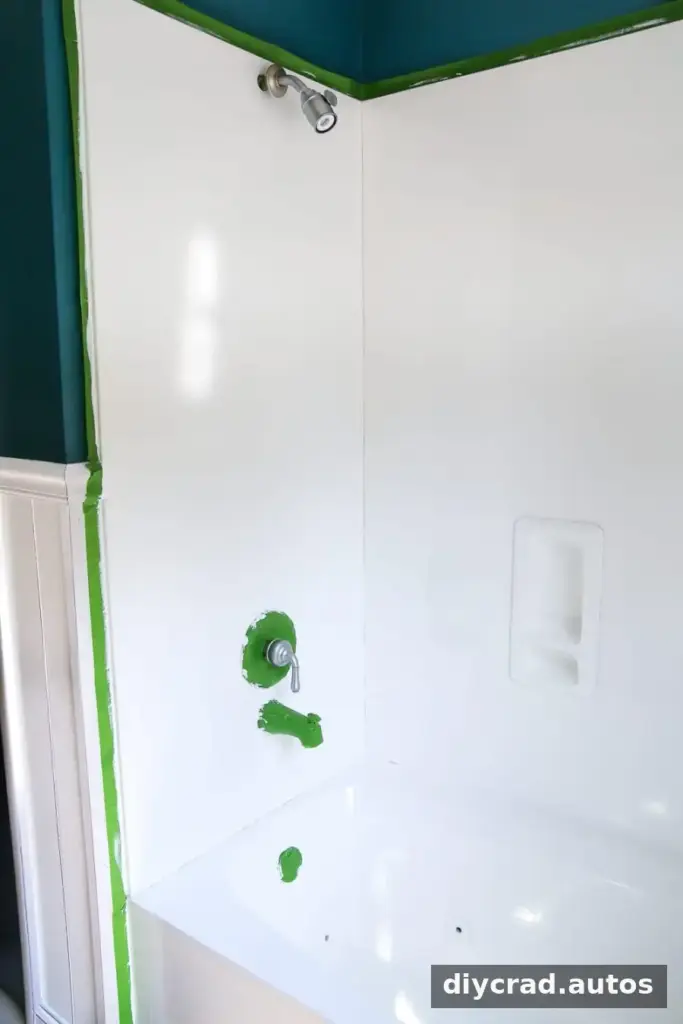
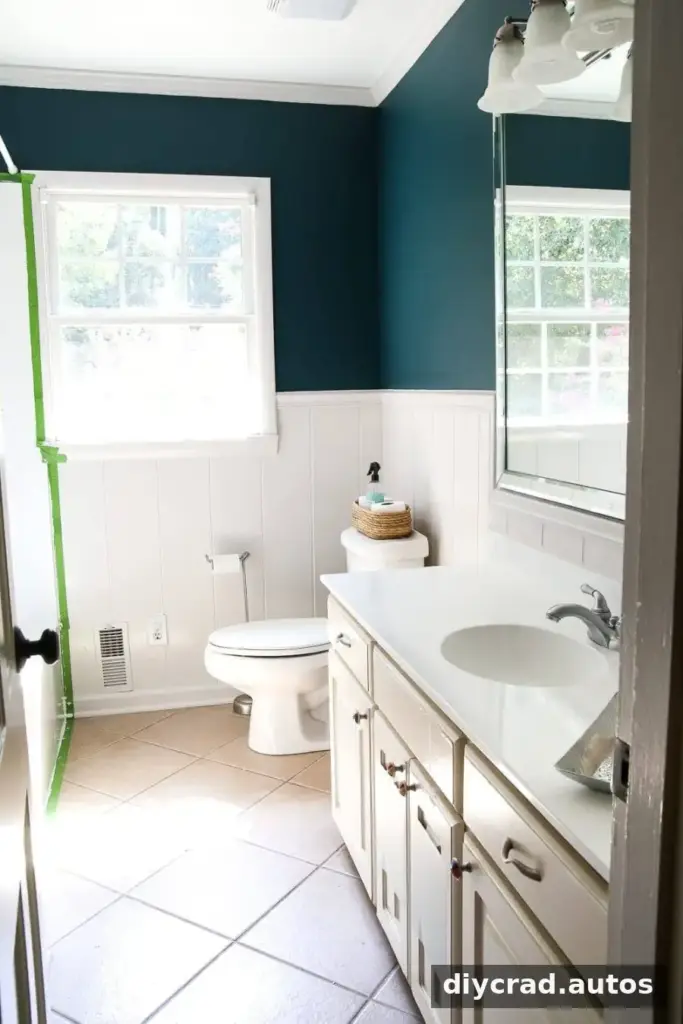
How Does the Countertop Paint Hold Up?
The painted sink was part of a first-phase update intended to improve the bathroom before a later renovation. The original project included an eight-month follow-up, but durability depends on preparation, application, curing, and everyday use. Avoid abrasive cleaners and follow the refinishing kit’s care instructions to help protect the coating.
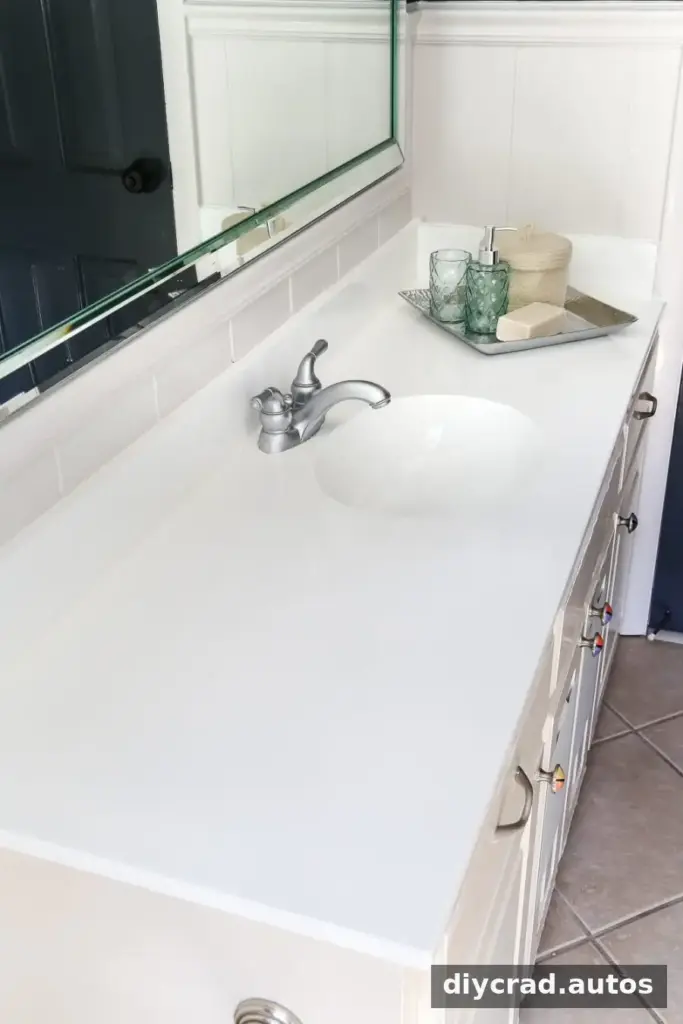
For a temporary refresh, a painted surface can make a dated bathroom look brighter without demolition. It is still important to treat the finish as a coating: prevent prolonged standing water during curing and avoid harsh cleaning methods unless the product label says they are safe.
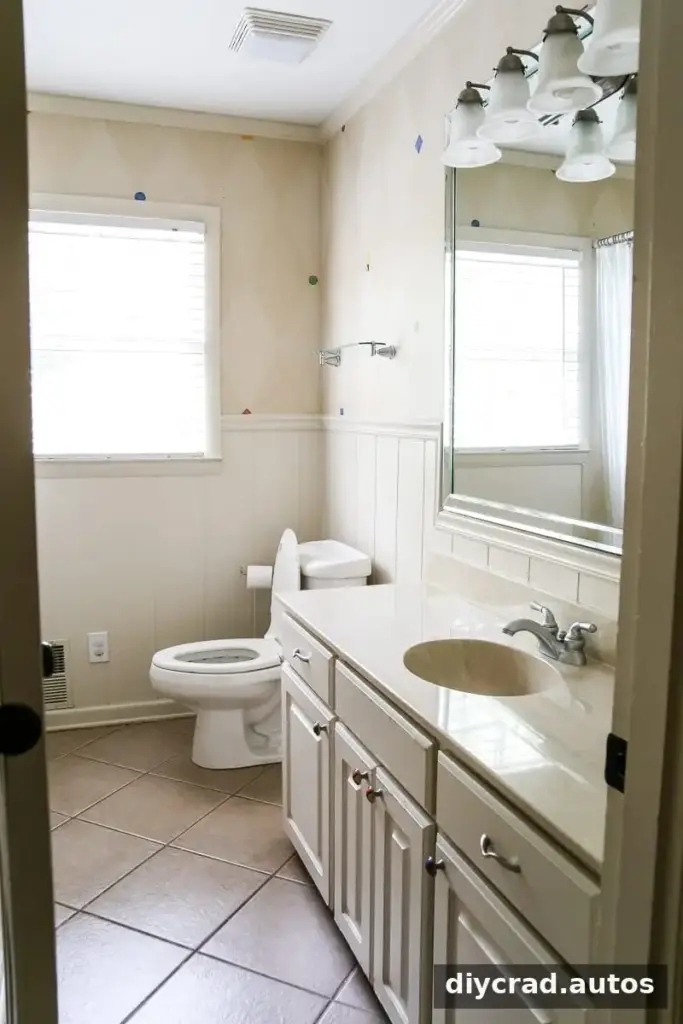
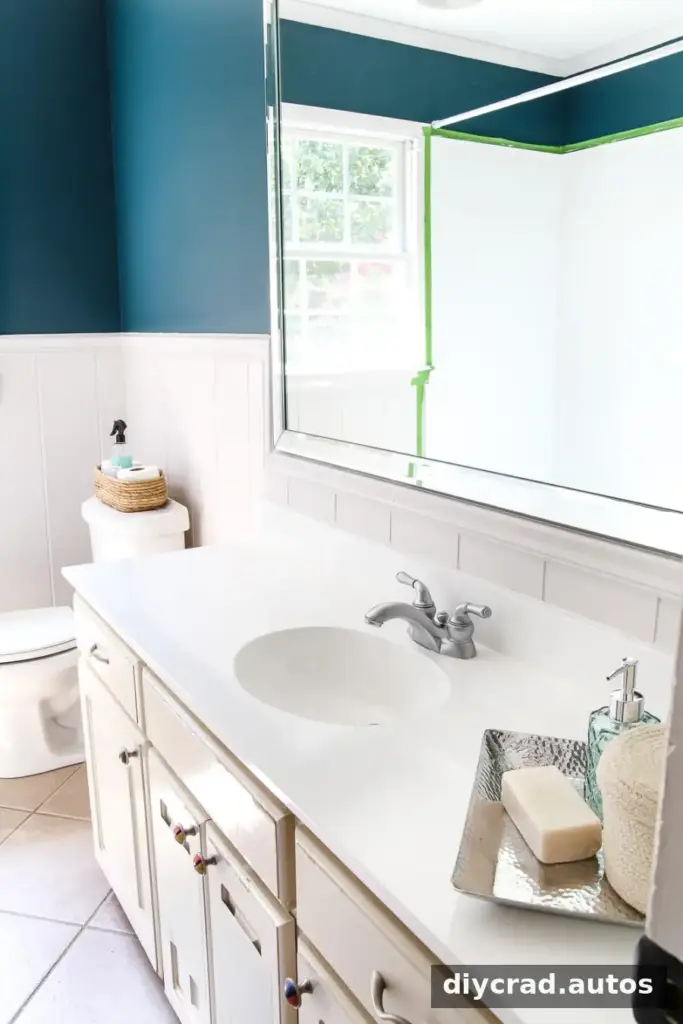
Painting other bathroom features, such as the vanity, can help create a more coordinated update. Complete one surface at a time and protect finished areas from drips, dust, and accidental contact while the coating cures.


Frequently Asked Questions
Do you need to remove old caulk before using a tub-and-tile refinishing kit?
Yes. Remove the old silicone caulk before painting, then apply new silicone caulk to the joints after the coating has cured as directed. Take care not to gouge the countertop while scraping.
Can this paint be used on a kitchen countertop?
The project described here covered a bathroom sink countertop, not a kitchen surface. Do not assume that a bathroom refinishing product is suitable for kitchen countertops, especially where food is prepared. Check the product label for approved surfaces and intended use, and do not rely on an untested finish for food-contact areas.
Should you paint the countertop or cabinets first?
Paint the countertop first if that sequence helps prevent drips from damaging freshly painted cabinets. Protect the cabinets with drop cloths and tape, and allow each coating to dry fully before working nearby.
Conclusion
A DIY painted bathroom sink countertop can be a practical way to refresh an older bathroom when the existing surface is in suitable condition. The key steps are removing old caulk, cleaning and sanding thoroughly, applying thin coats with proper ventilation and protective gear, and allowing the finish to cure for at least three days before water use.

