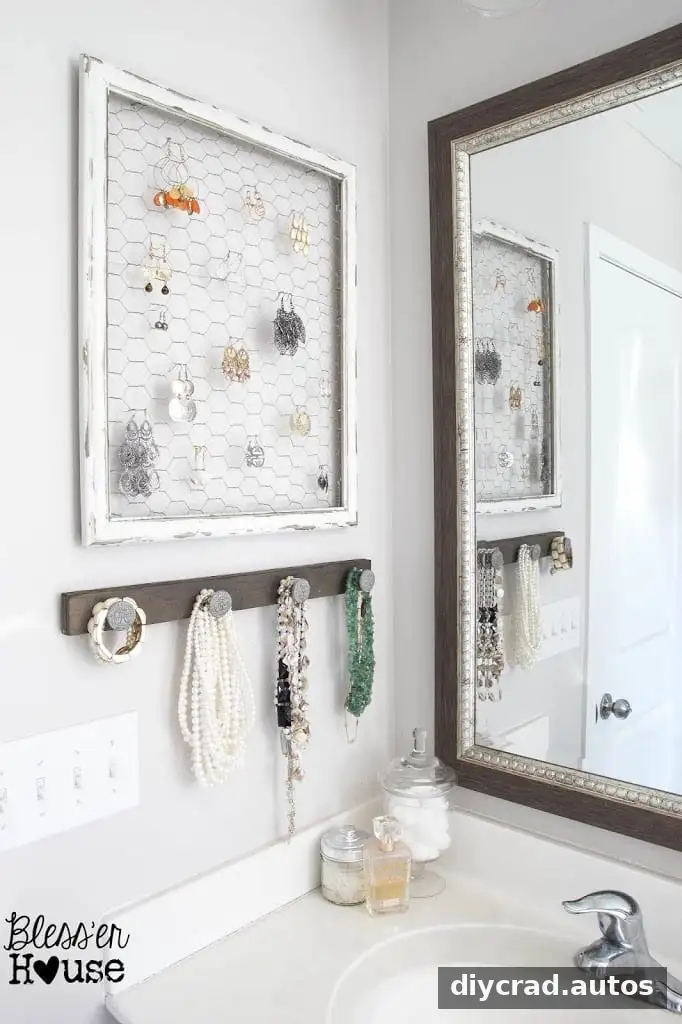
A DIY rustic industrial jewelry organizer can turn a few leftover materials into practical bathroom wall decor. This project combines a repurposed picture frame and chicken wire for earrings with a stained wood board and decorative knobs for necklaces and bracelets. The original organizer took about 45 minutes to make and cost approximately $17, using materials already on hand for much of the work.
DIY Rustic Industrial Jewelry Organizer Materials
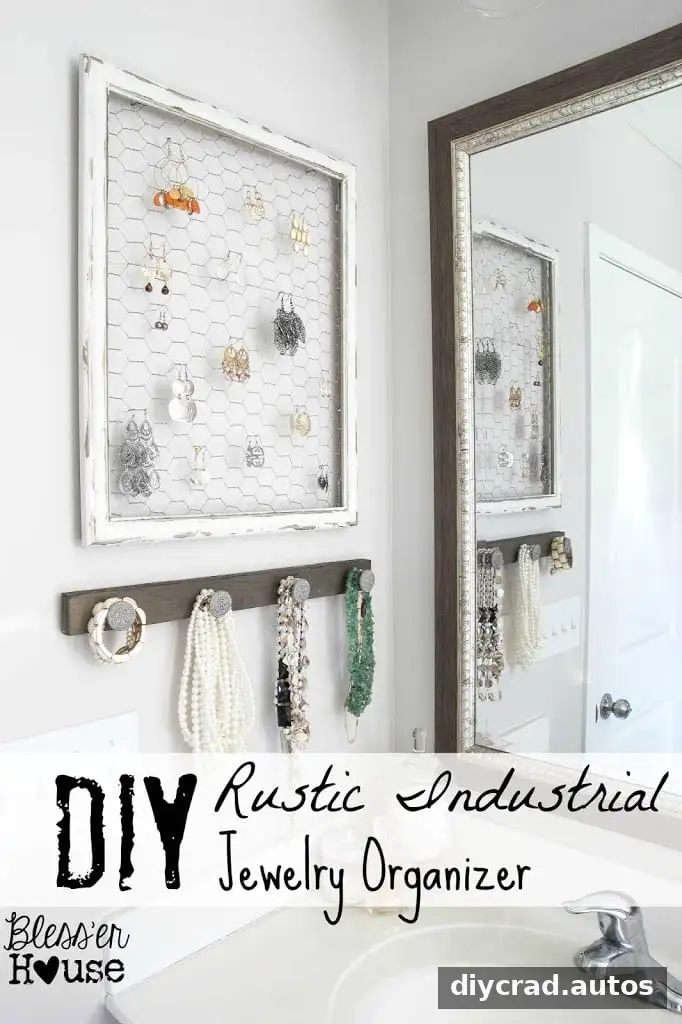
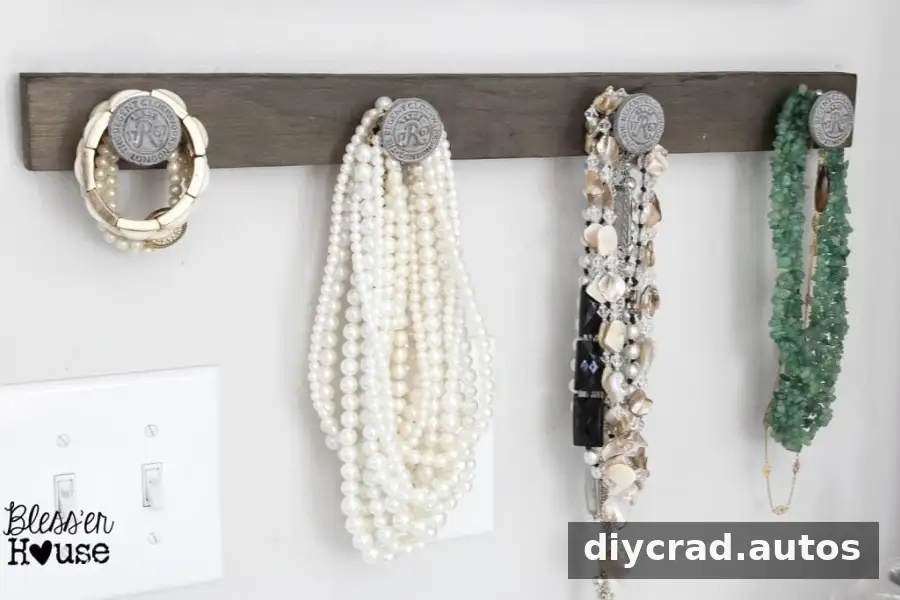
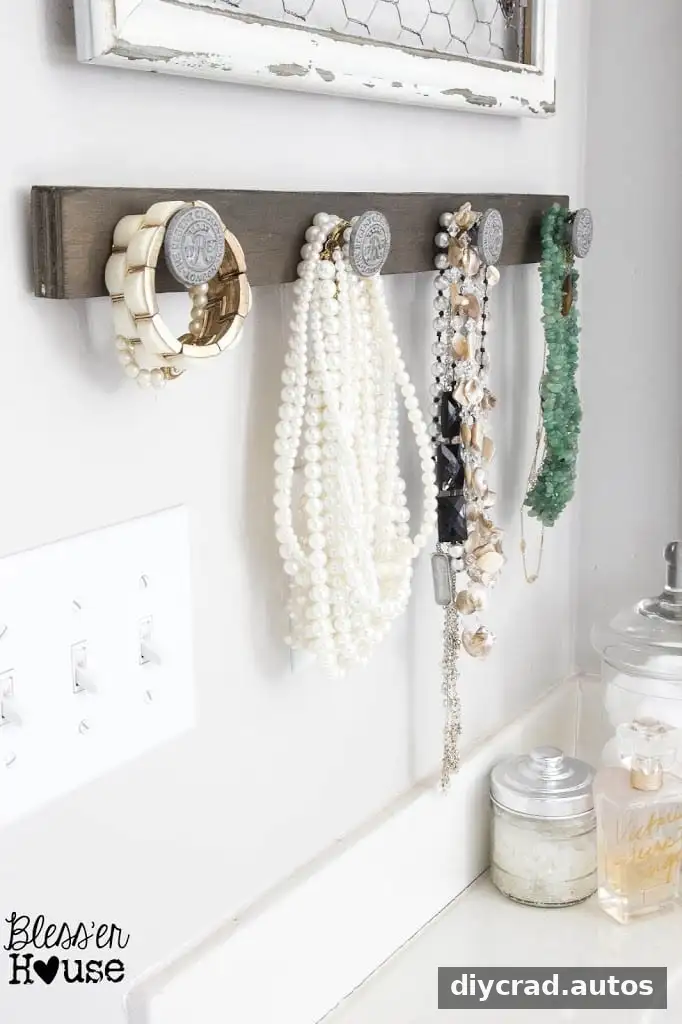
The design has two parts: a framed mesh panel for hanging earrings and a wooden rail fitted with knobs for other accessories. Reusing a frame and scrap wood can help keep the cost down, while the finish and hardware bring the two pieces together.
- An old picture frame; a secondhand frame can cost around $2–$5.
- A piece of scrap wood, or a 1×2 pine or oak board.
- A roll of chicken wire, listed with the board at around $10–$12 if purchased for the project.
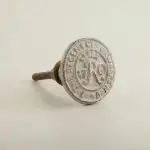
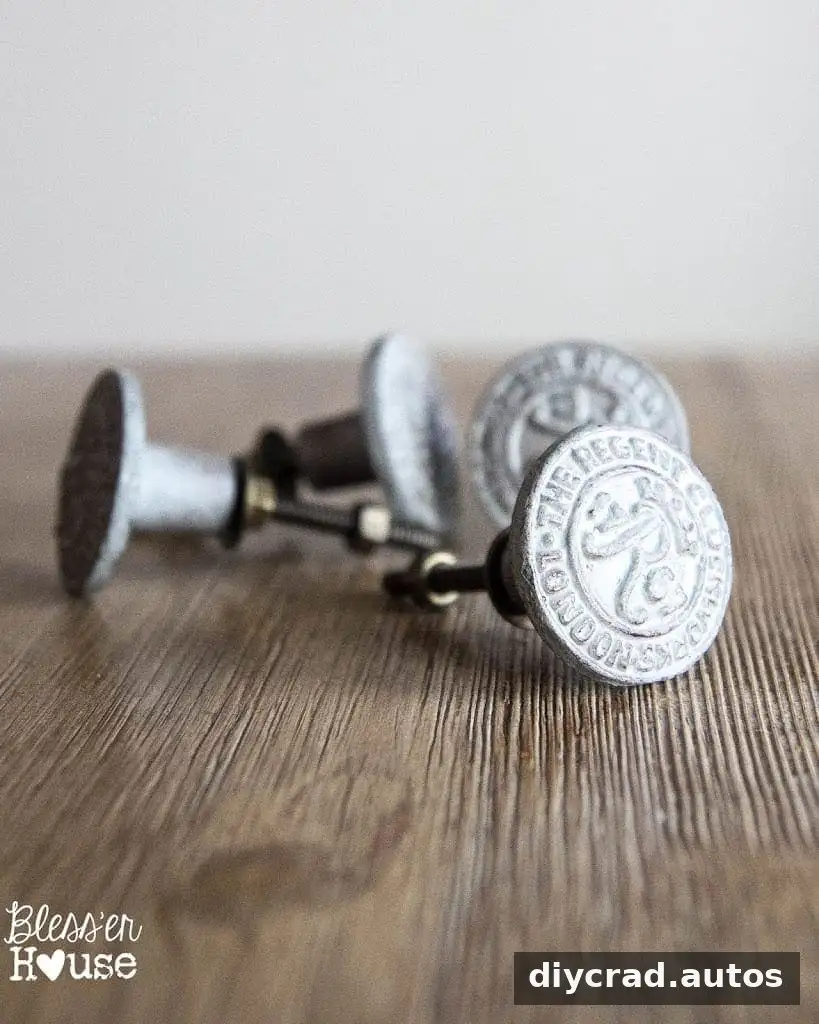
- Decorative knobs, or simple hooks as a lower-cost alternative.
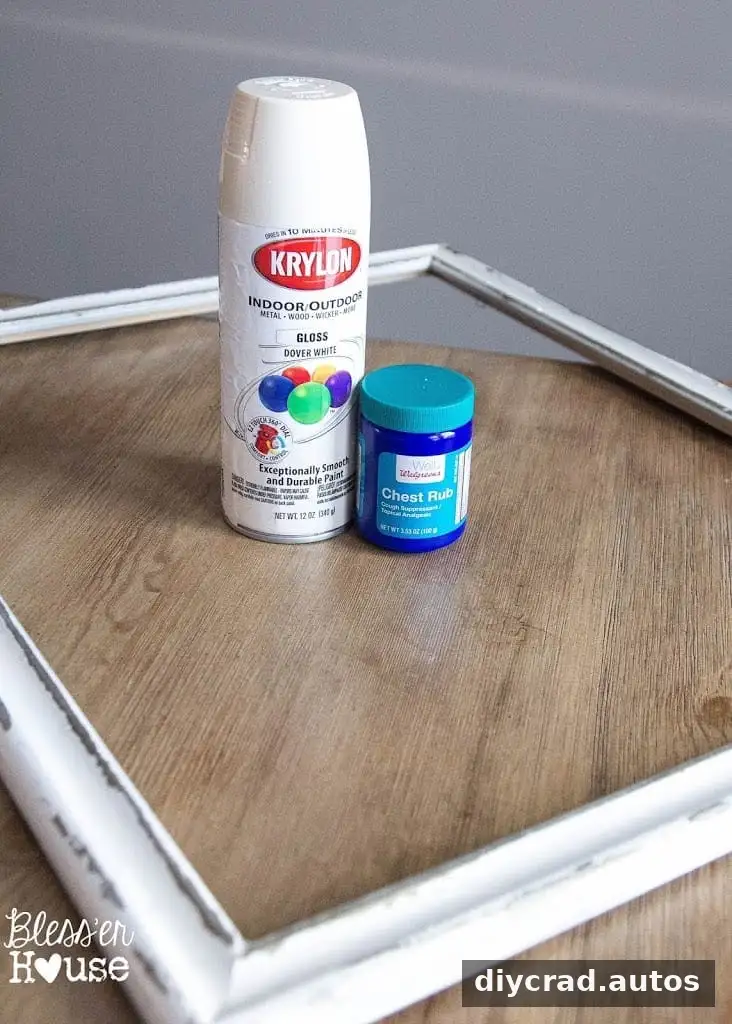
- Spray paint, wood stain, a staple gun, staples, a drill, and basic measuring tools.
Before starting, check that the frame and board are sturdy enough to hold jewelry. Measure the intended wall space as well, so both sections fit where you plan to hang them.
Prepare and Finish the Picture Frame
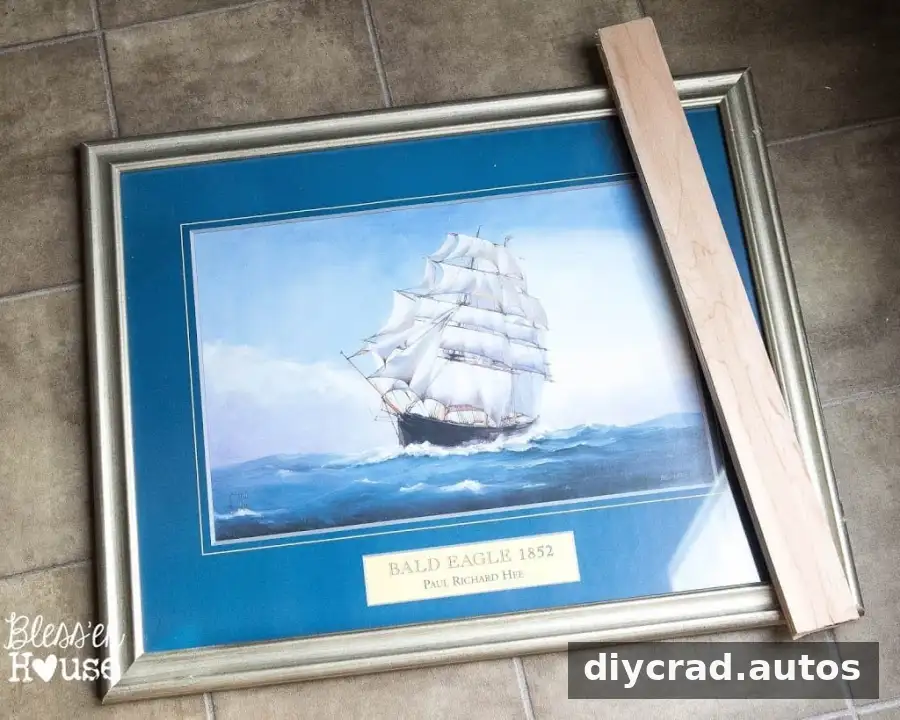
Remove the picture and glass from the frame, keeping the frame for the earring holder. The original frame came from a thrift store for $2. Its nautical picture was removed because that style did not suit the bathroom; the frame itself was the useful part.
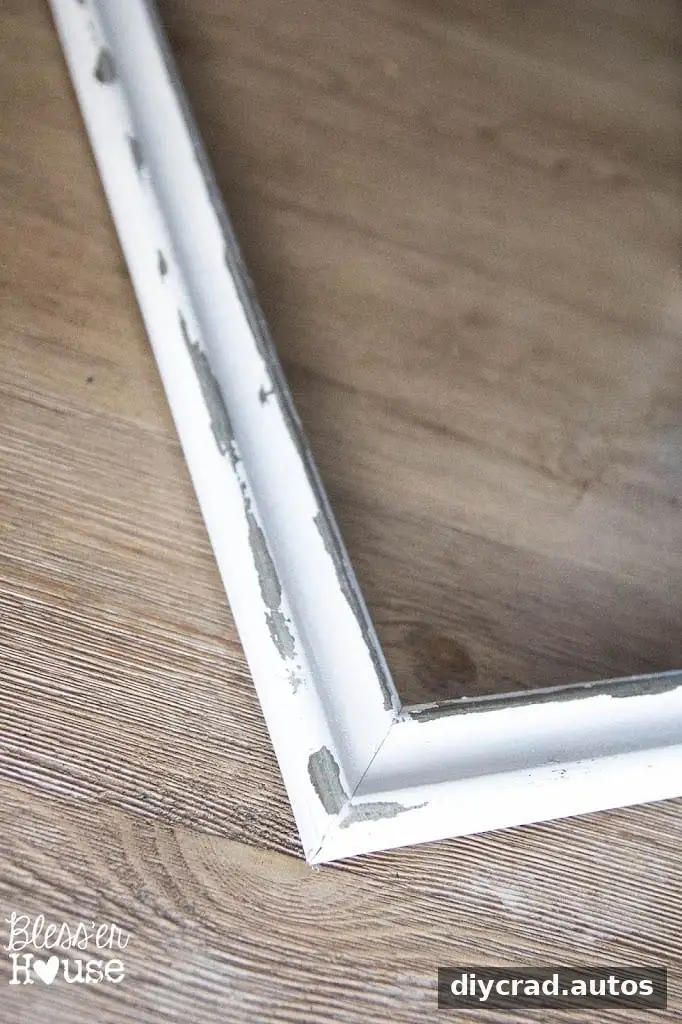
A distressed finish gives the frame its weathered appearance. In this project, a silvery layer shows through the white spray paint. Apply paint in a well-ventilated area and follow the product label. Allow each coat to dry as directed before handling the frame.
Fit the Chicken Wire
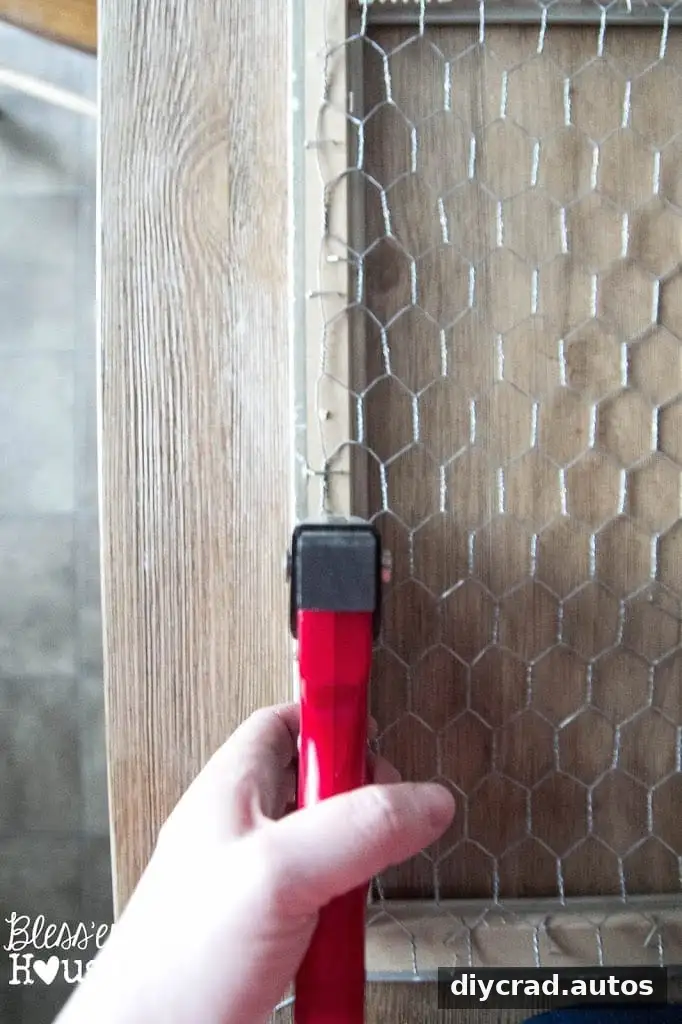
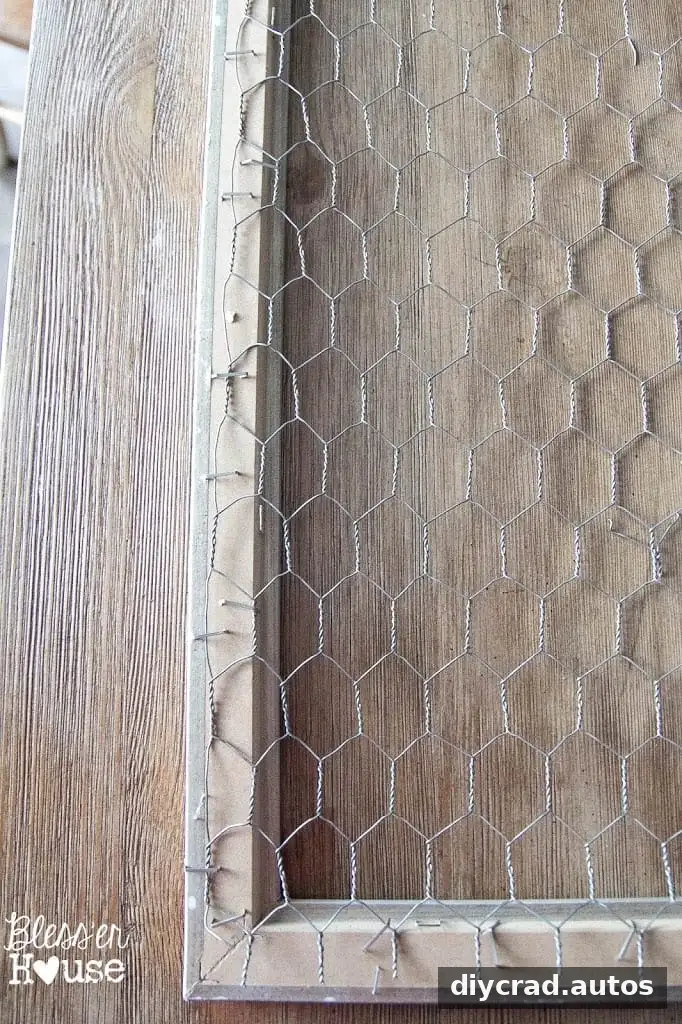
Measure the inside of the frame and cut a piece of chicken wire to fit. The wire can curl while you work, so flatten it carefully on a stable surface before attaching it. Wear suitable gloves when cutting and handling the edges, since wire ends can be sharp.
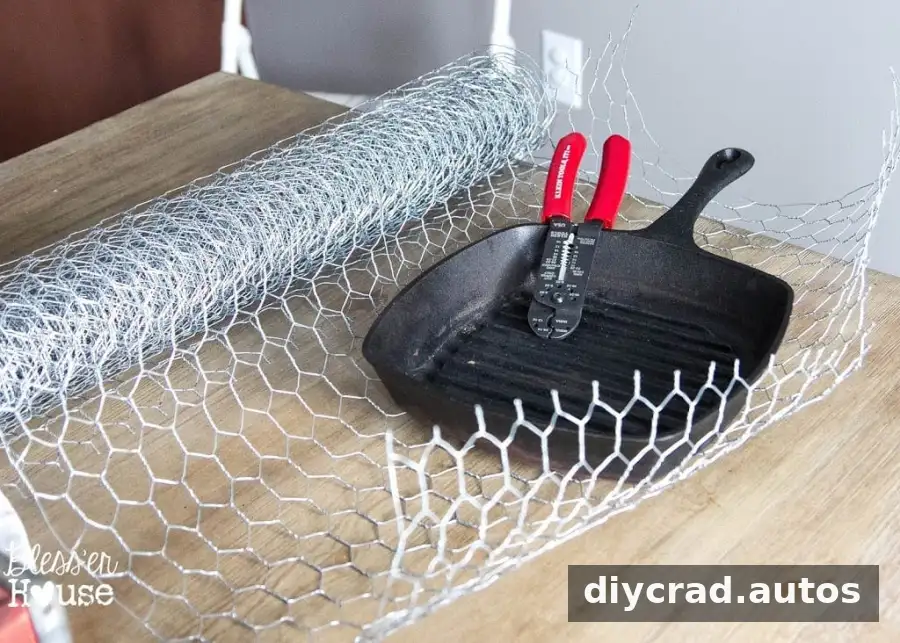
Use a manual staple gun to secure the mesh to the back of the frame. Pull it taut as you work and place staples about every two inches, as in the original project. Check that no loose wire ends extend beyond the frame, then make sure the mesh is secure before hanging earrings from it.
Make the Necklace and Bracelet Holder
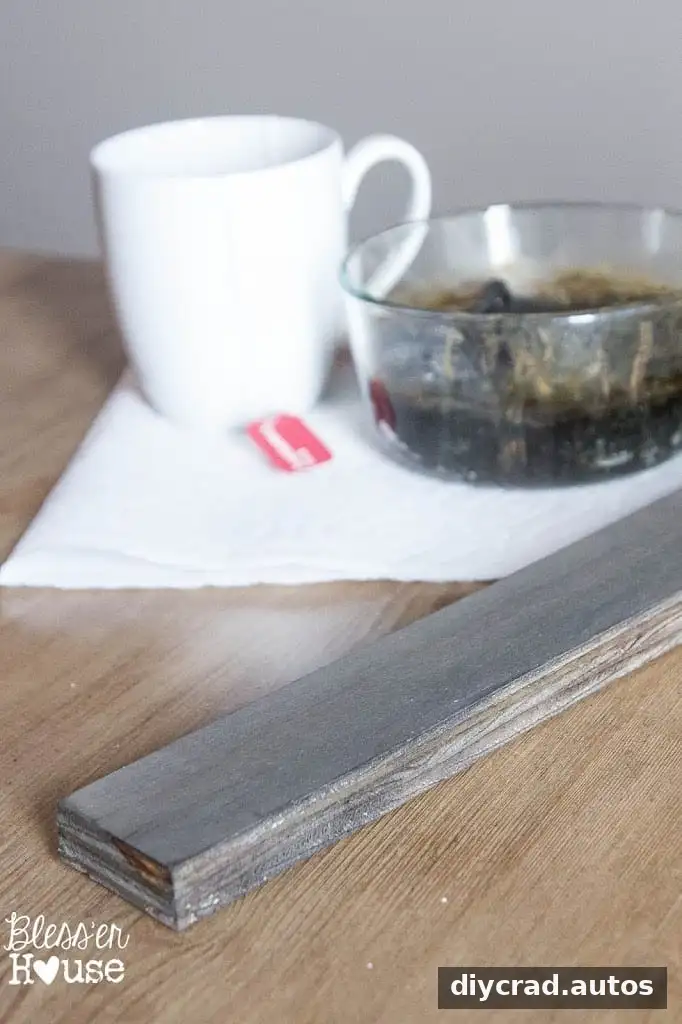
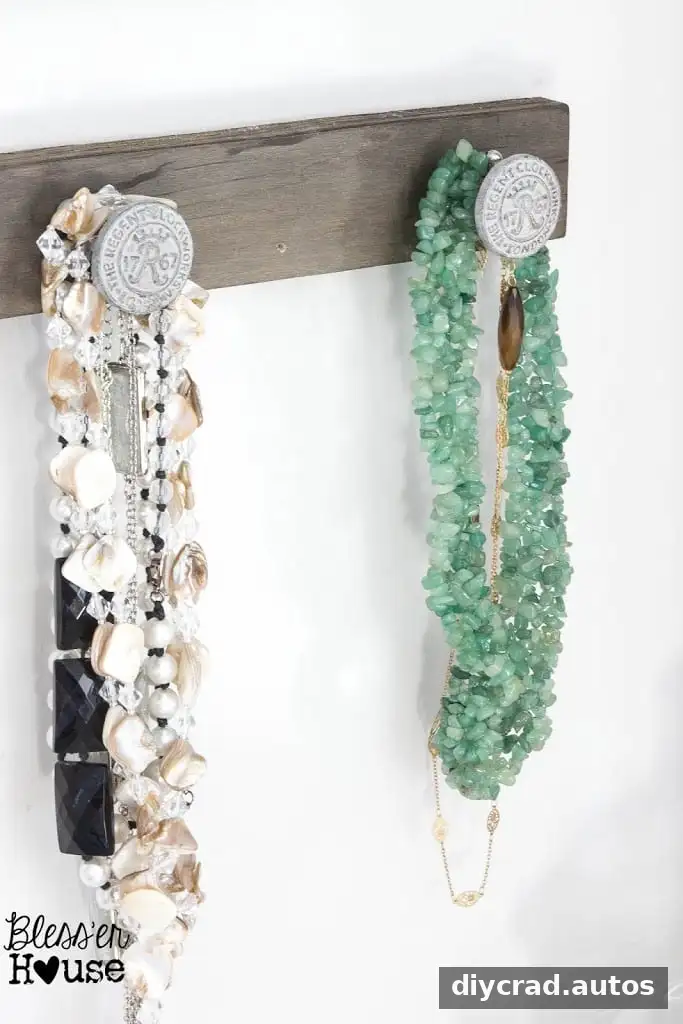
Finish the scrap wood with a barnwood-style stain so it coordinates with the bathroom’s plank wall. The original project used leftover wood from a window makeover. Let the stain dry according to its instructions before adding hardware; this helps avoid smudges and makes the board easier to handle.
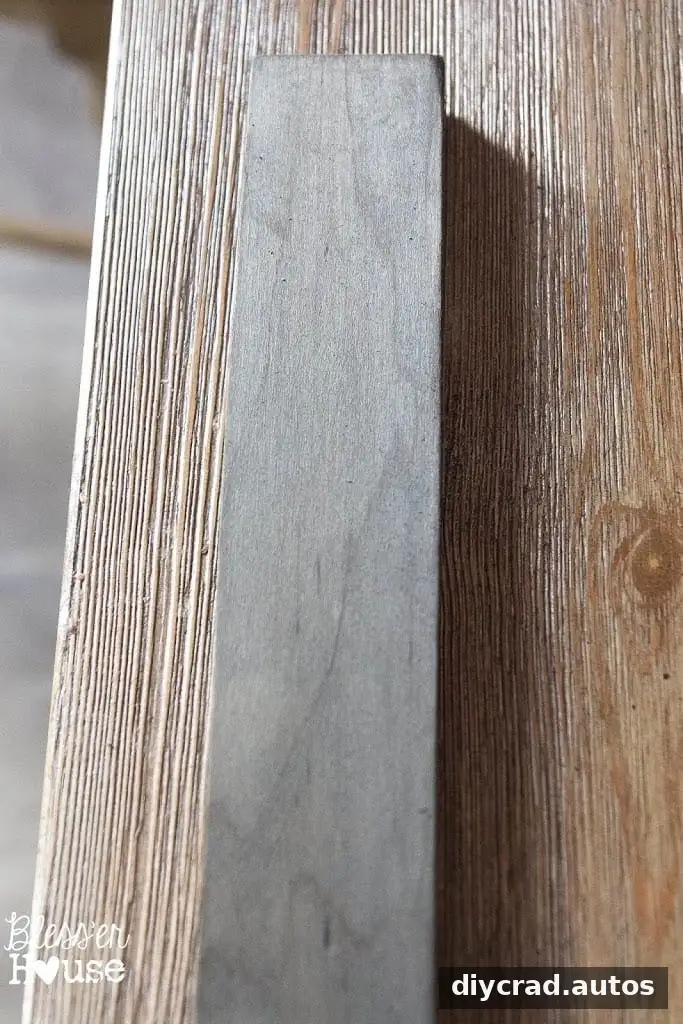
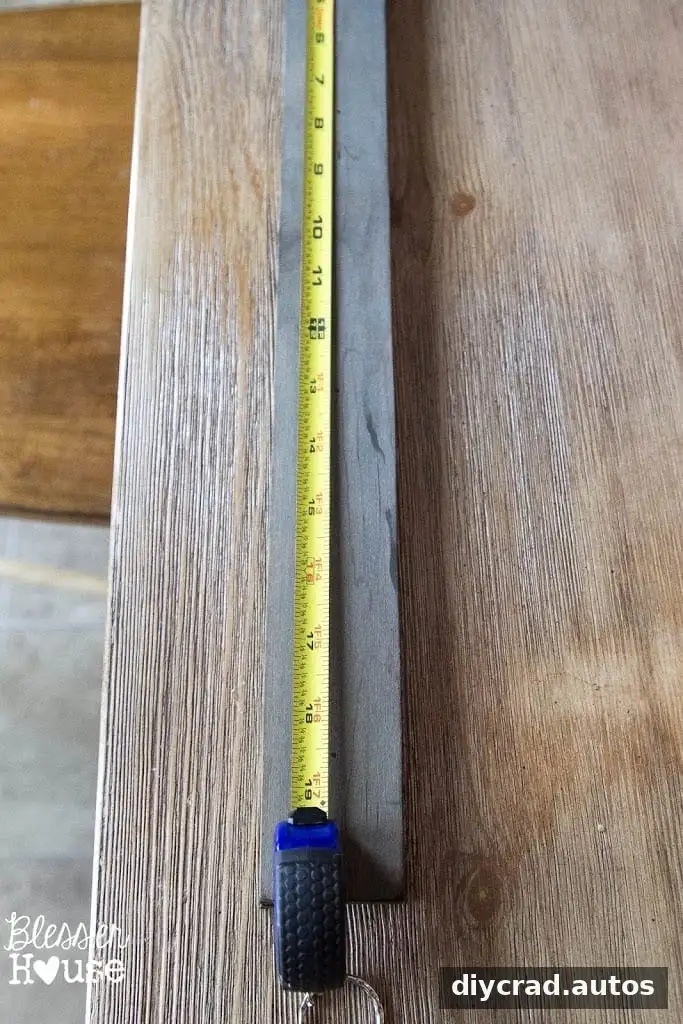
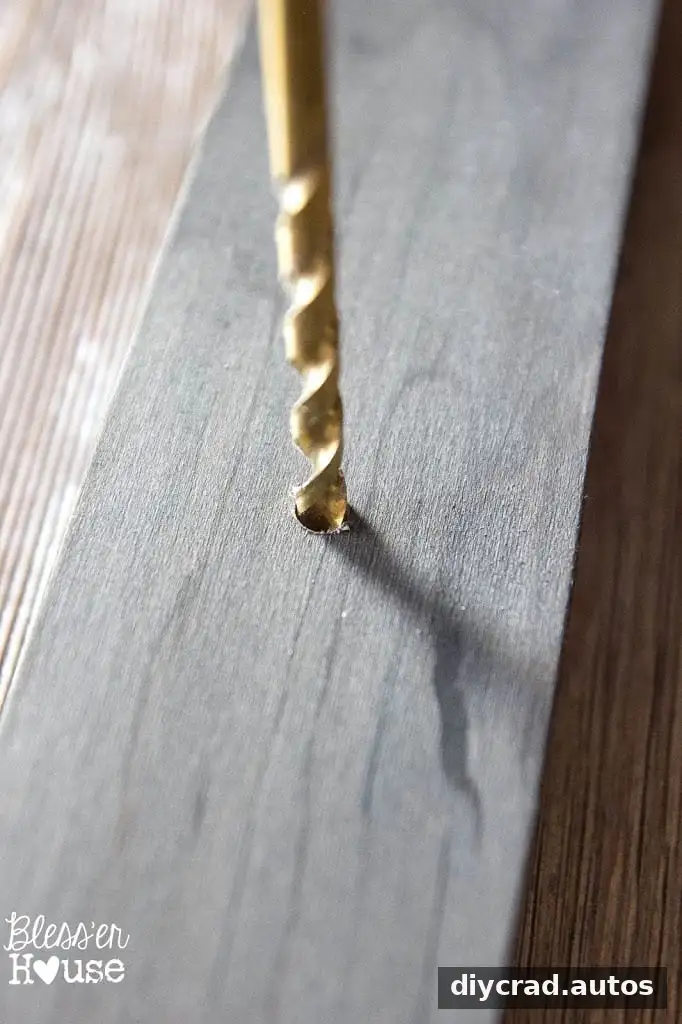
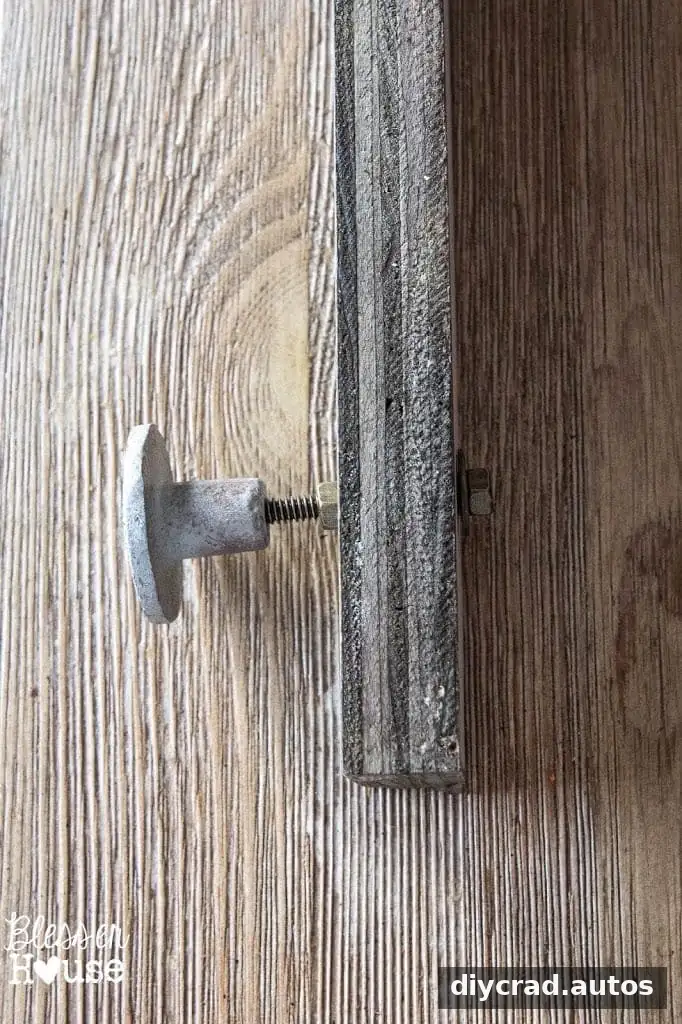
Mark the positions for the knobs along the board, spacing them to suit the jewelry you plan to hang. Measure before drilling, and place the board on a protected, stable work surface. Drill the marked holes, then screw in the knobs. If keeping costs as low as possible is the priority, basic hooks can replace decorative knobs.
Hang and Use Your Organizer
The completed pieces keep earrings, necklaces, and bracelets visible instead of buried together in a jewelry box. Seeing accessories at a glance can make it easier to choose an item quickly and helps reduce the chance of necklaces becoming tangled. The framed mesh and wood rail can also function as wall decor beside a bathroom counter.
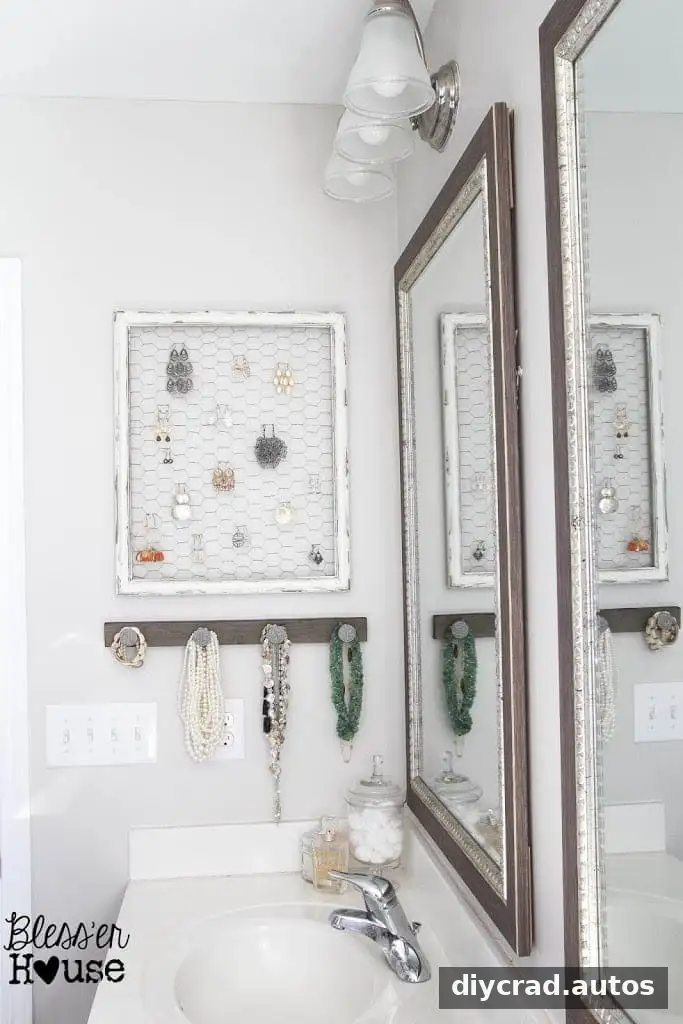
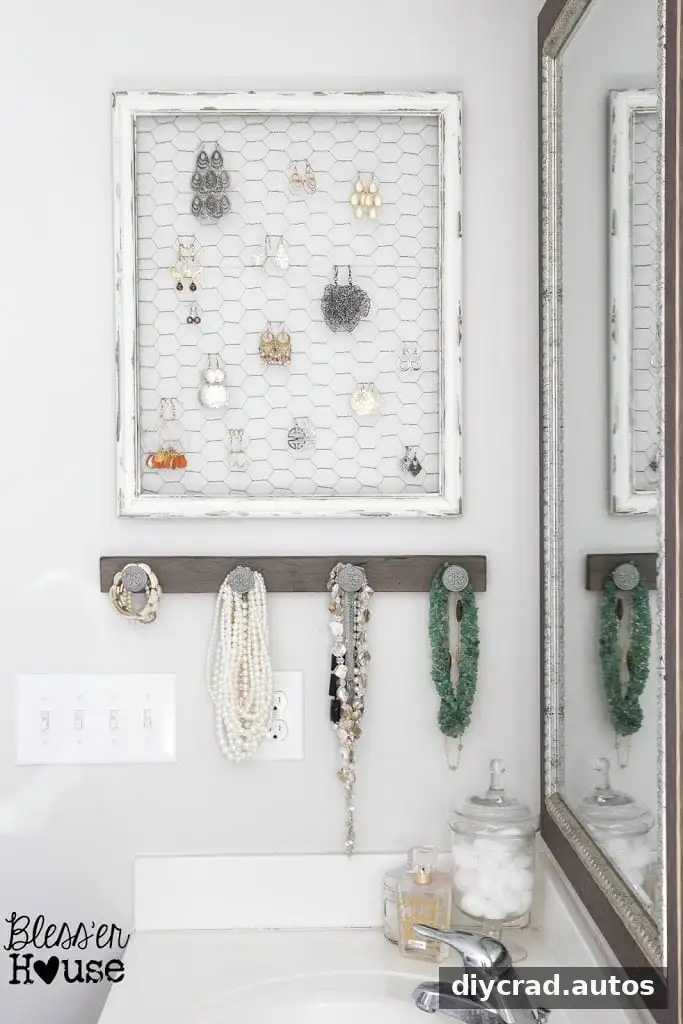
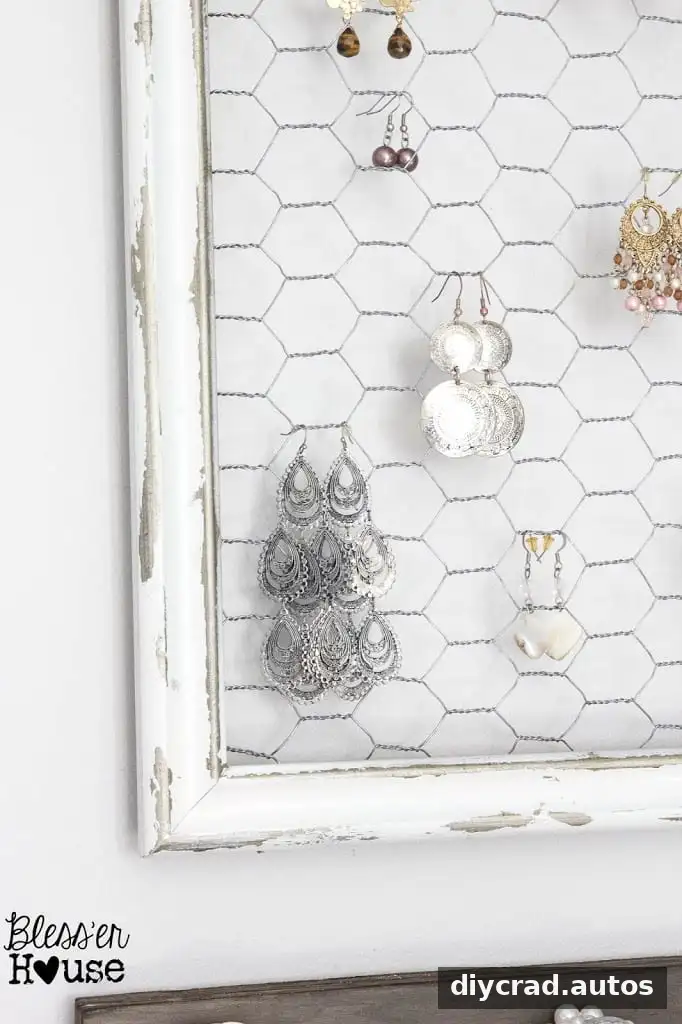
The contrast between the white, weathered frame, the silvery undertone, and the industrial-style knobs ties the two parts together. Arrange frequently worn pieces where they are easiest to reach, and avoid putting excessive weight on the wire or board.
Cost and Customization Tips
The project cost about $17 and took roughly 45 minutes, with leftover craft supplies and scrap wood helping keep the expense modest. For a similar build, secondhand frames may cost around $2–$5, while a 1×2 pine or oak board and a roll of chicken wire were estimated at around $10–$12. Costs can vary by location and by the hardware you choose.
Adapt the finish to your room by choosing a different paint color or stain, and adjust the number and spacing of knobs to fit your collection. The main idea behind this DIY rustic industrial jewelry organizer is simple: reuse a frame for earrings, add a small wood rail for necklaces and bracelets, and make both pieces work with your available wall space.