


DIY no-sew curtains are a practical way to refresh plain panels with decorative trim, without needing a sewing machine. With iron-on hemming tape, you can update existing curtains or make new panels from fabric. This step-by-step guide covers measuring, attaching a curtain header and adding trim for a polished look.

Decorative passementerie curtains can be expensive, while adding trim yourself can cost much less. In this example, existing curtains were reused and the two-panel project cost about $50. The trim used cost $3 per yard. Actual costs will vary depending on fabric, panel size and the materials you choose.
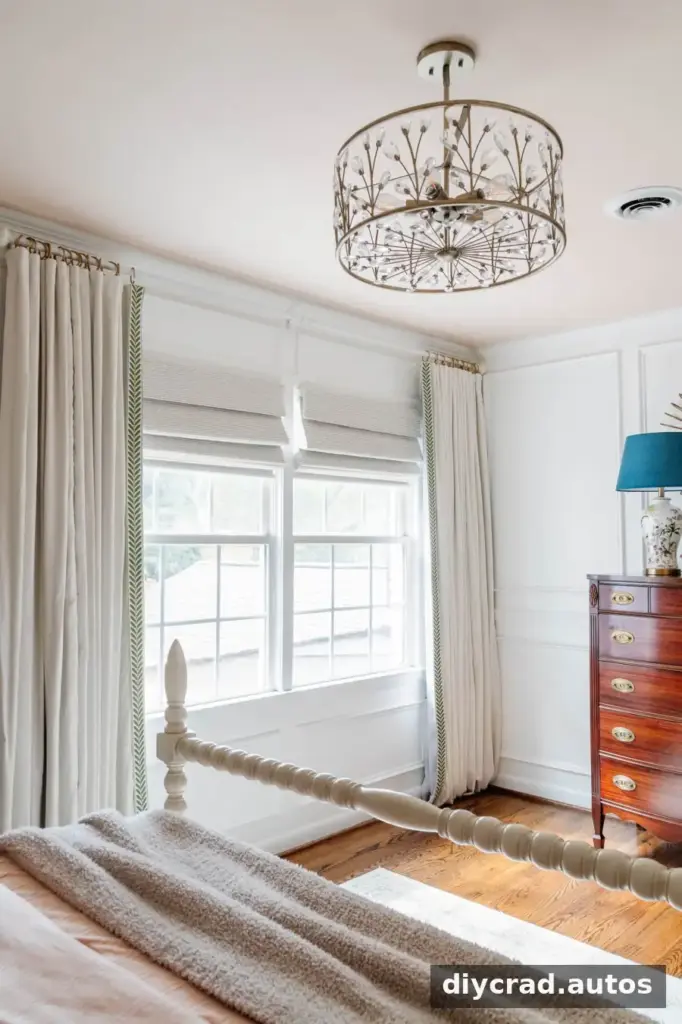
How to Make DIY No-Sew Curtains
Hemming tape is a fabric adhesive that bonds when pressed with an iron, making it a useful alternative to stitching for many curtain projects. It can be used to finish fabric edges, attach a curtain header or secure decorative trim. Hot glue and micro-stitch kits are other possible options, but the result may not be as durable.
Before starting, check the tape packaging for fabric compatibility and temperature instructions. Test the adhesive on a small, hidden area or fabric offcut first, especially if the curtains are delicate or heat-sensitive.
You can use this method to update curtains you already own or to create panels from fabric. Reusing suitable curtains may help keep the project cost down.
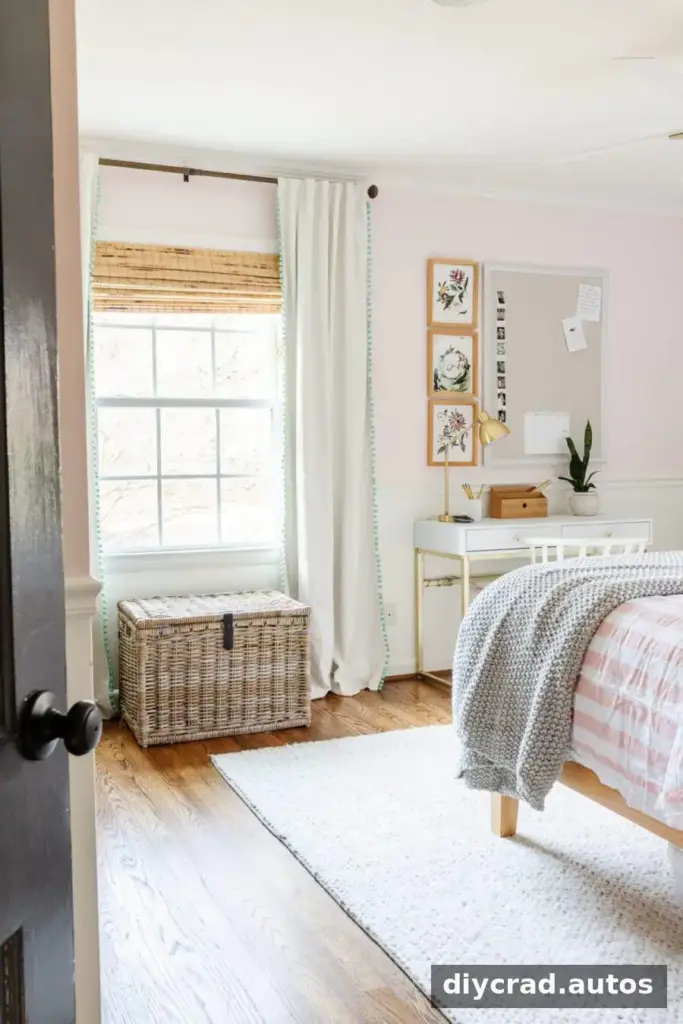
Supplies
- Heavy-weight iron-on hemming tape
- Iron and ironing board
- Sharp fabric scissors or a seam ripper
- Tailor’s tape
- Decorative curtain trim
- Optional: curtain header tape
- Optional: curtain rings with eyelets and pleating hooks
- Optional: clear nail polish or a lighter for sealing cut trim edges; use a lighter cautiously and away from fabric
Prepare the Curtain Panels
Step 1: Remove old trim and adjust the length
Use fabric scissors or a seam ripper to remove existing embellishments. Measure the window and decide how the finished panels should sit. If shortening the curtains, leave about 3 inches of extra fabric at the bottom to turn under and create a hem. Measure twice before cutting; the added header and hooks can affect the final drop.
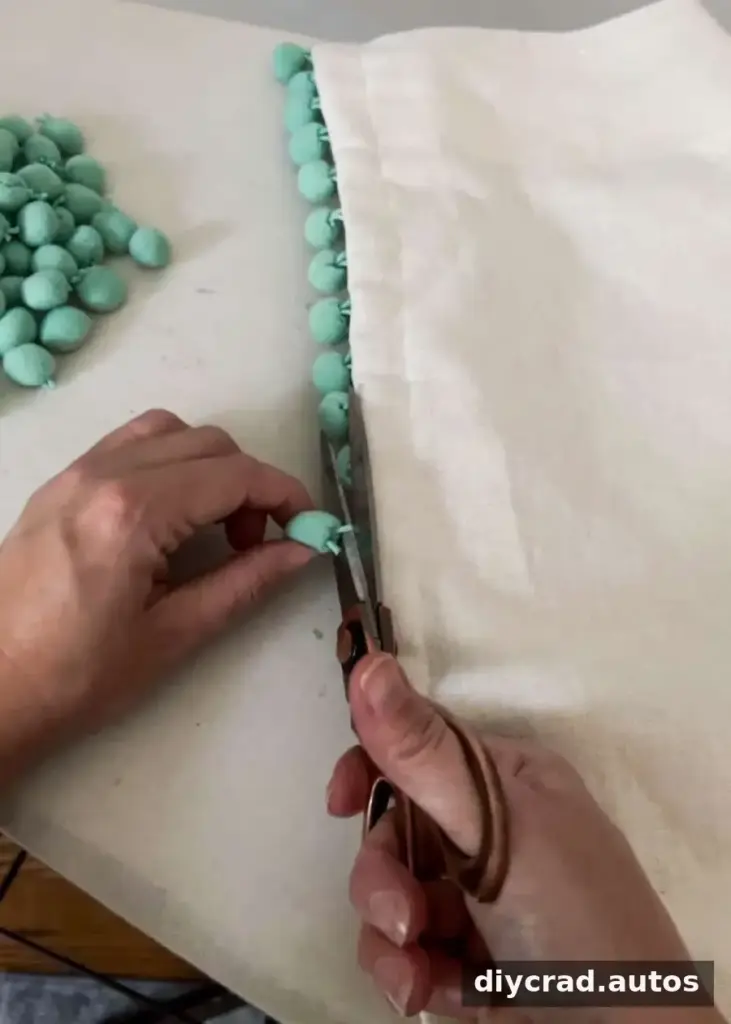
Step 2: Remove the tabs if changing the header
If you plan to hang the curtains from rings and want to add header tape, cut away the existing back tabs. Take care not to cut into the curtain panel itself.
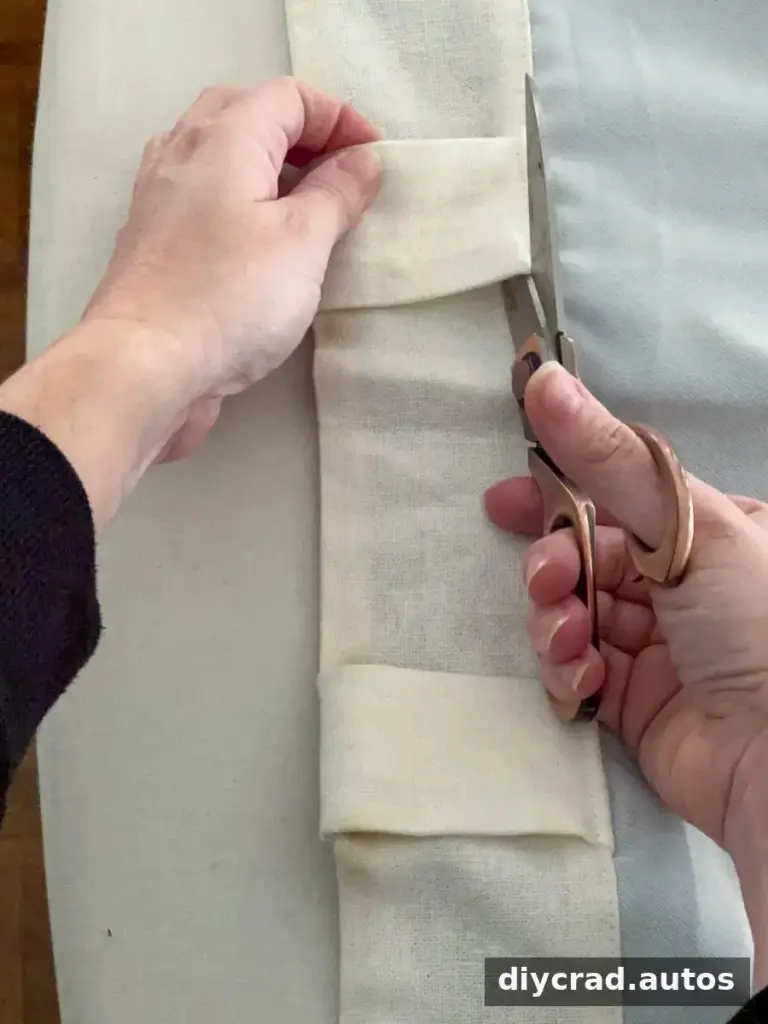
Step 3: Measure and prepare the header tape
Measure the curtain’s top edge and cut the header tape to match. To help prevent fraying, apply clear nail polish to the cut edge or carefully pass a lighter near the edge. Keep any flame well away from the curtain and other materials, and allow the edge to cool before continuing.
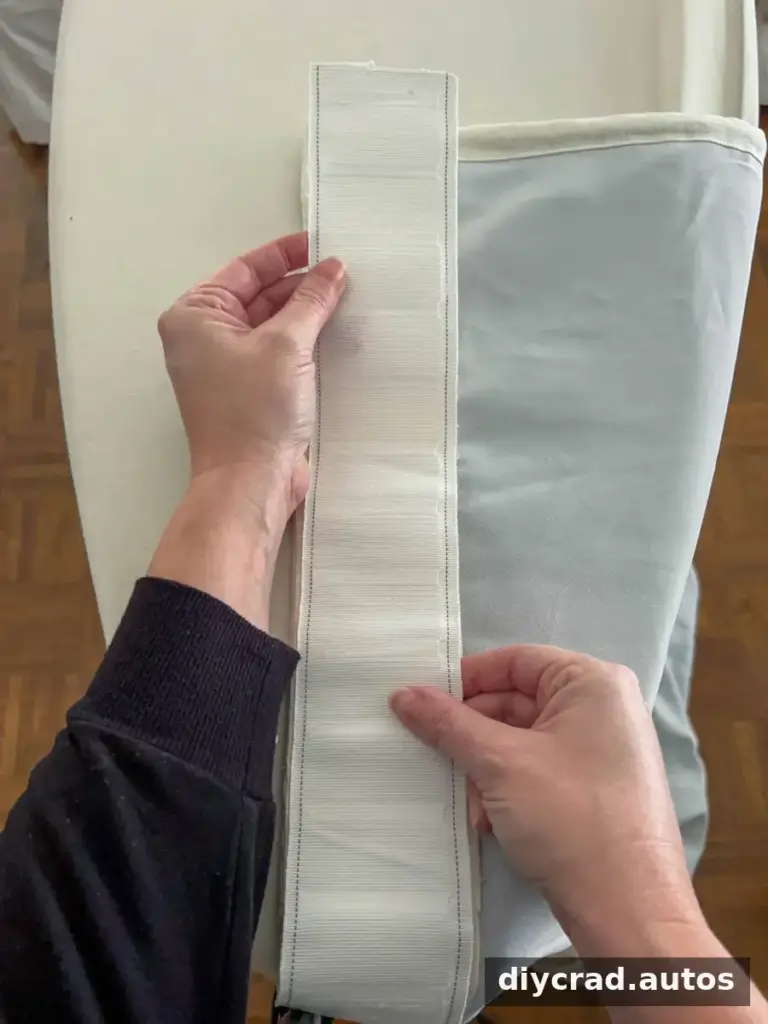
Step 4: Apply hemming tape to the curtain
Cut two lengths of hemming tape to fit the back of the curtain-panel header. Use a weight suitable for the fabric and the job; heavier curtains generally need a stronger tape. Follow the product instructions if they differ from these steps.
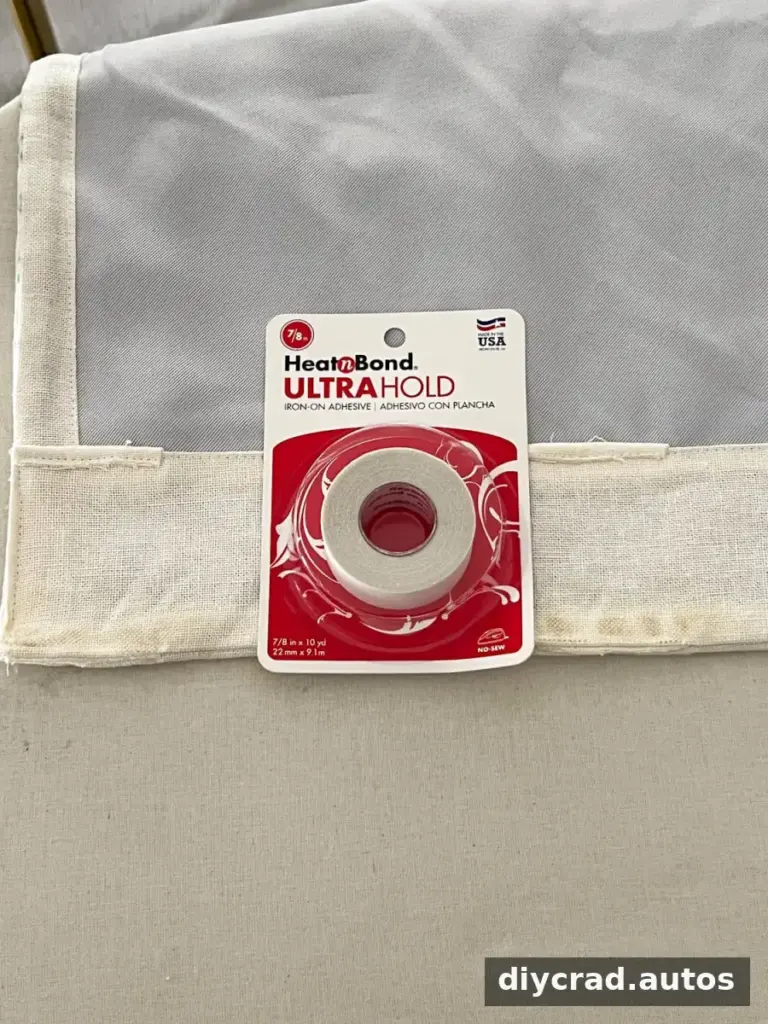
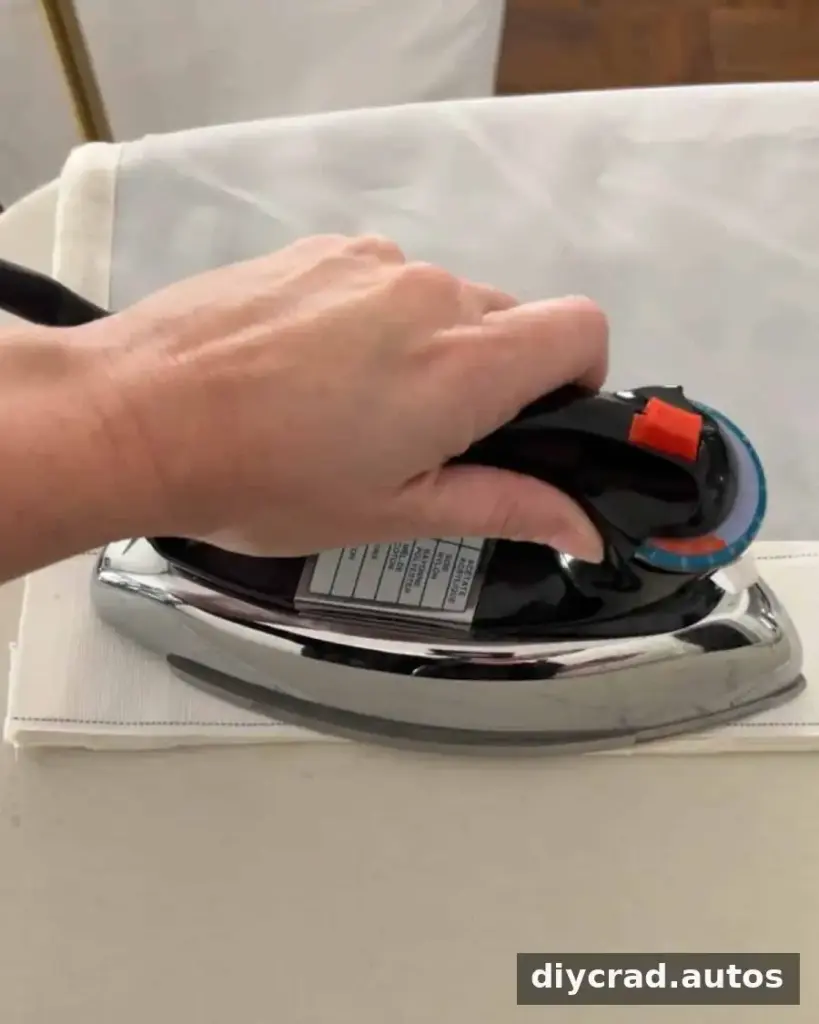
Remove the backing from one side of the tape and position its adhesive side on the back of the curtain. Set the iron to the temperature recommended for the fabric and tape. Press and hold it for a few seconds at a time until the tape bonds. Avoid sliding the iron if doing so could shift the tape.
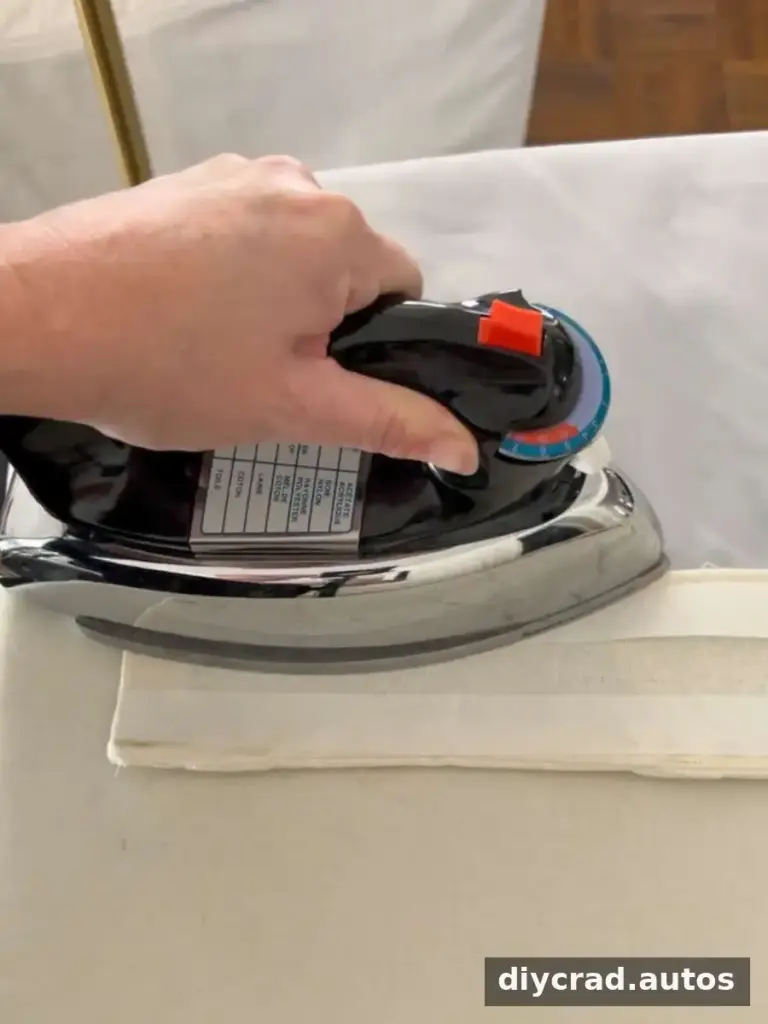
Step 5: Attach the curtain header tape
Peel away the remaining paper backing. Lay the header tape over the adhesive, keeping it straight and aligned with the panel’s top edge.
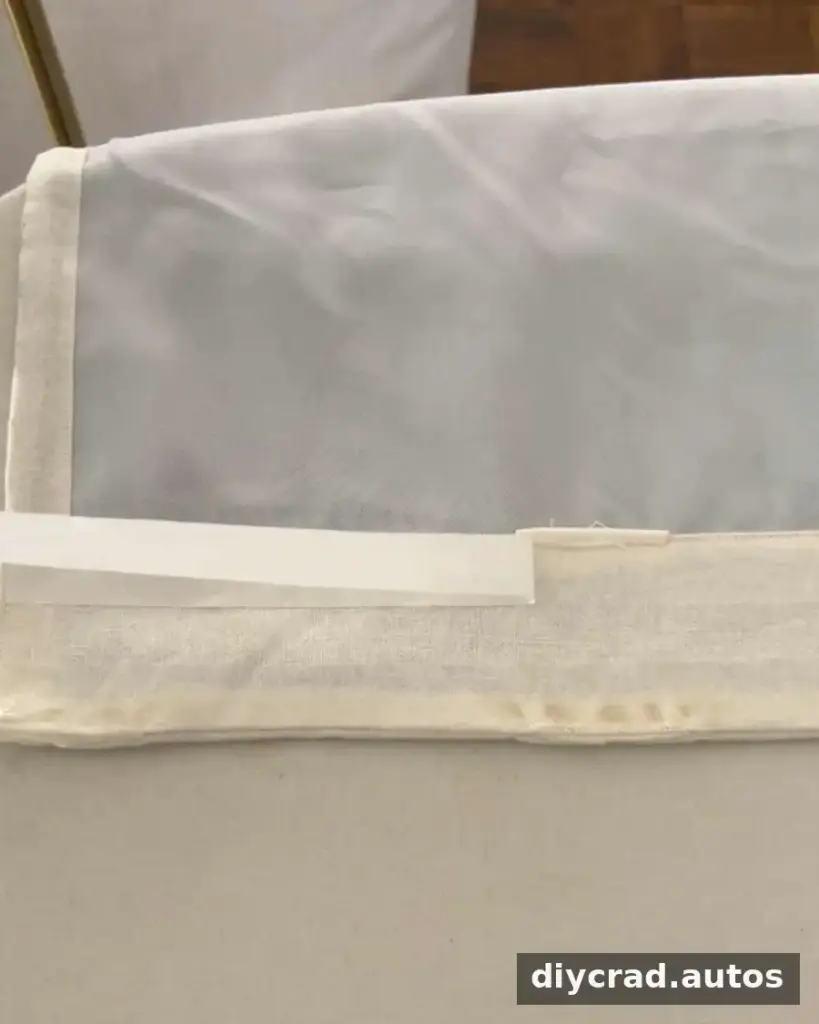
Press the iron onto the header tape in short sections, following the adhesive instructions. Let the bond cool before handling or hanging the curtain. The finished header can be used with suitable hooks.
How to Add Curtain Trim Without Sewing
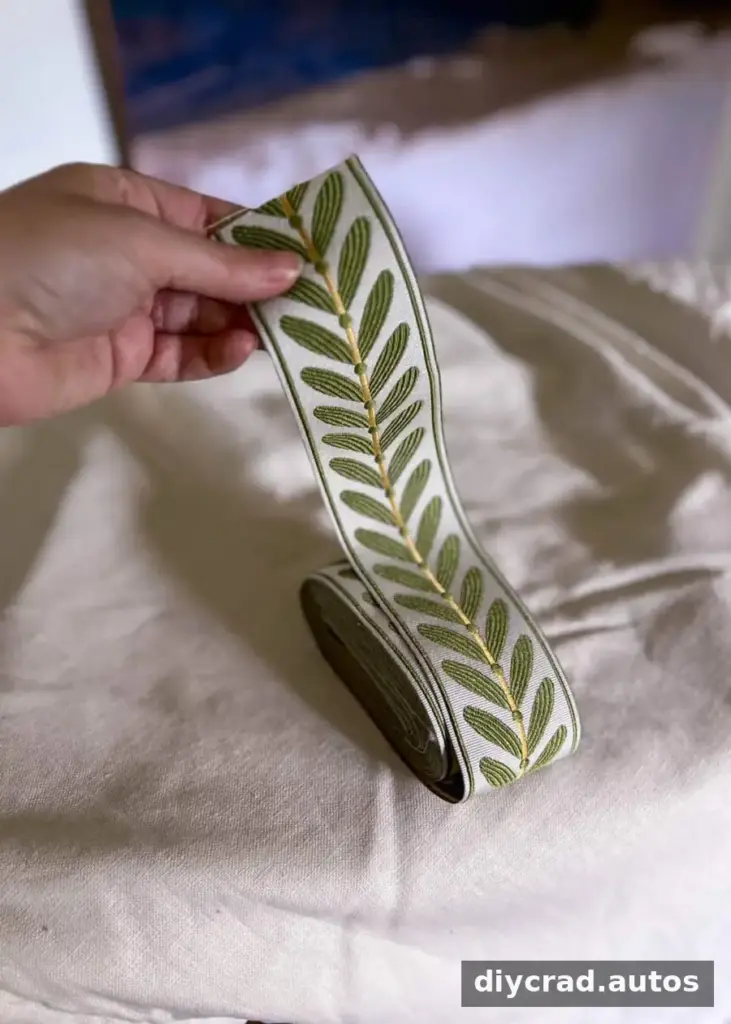
Decorative trim can create a border along one or more edges of a curtain panel. Before attaching it, decide which sides should face the center of the window and how the trim’s pattern should run.
Step 1: Measure and cut the trim
Measure the edge of each panel and cut the trim and hemming tape to the same length. Check the design direction before cutting, and leave enough material to align the trim neatly from top to bottom. Seal the cut edge if the trim is prone to fraying.
Step 2: Apply the hemming tape
Use the same iron-on method to attach hemming tape along the chosen curtain edge. Place it on the back of the panel, and check that the adhesive is positioned where the trim will sit.
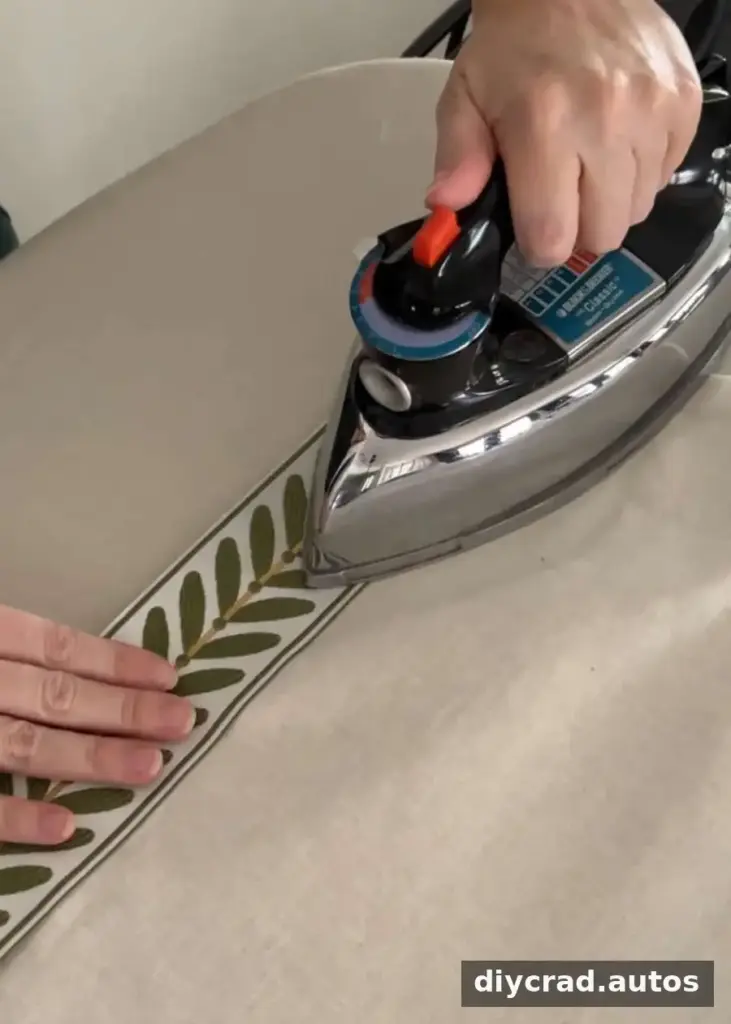
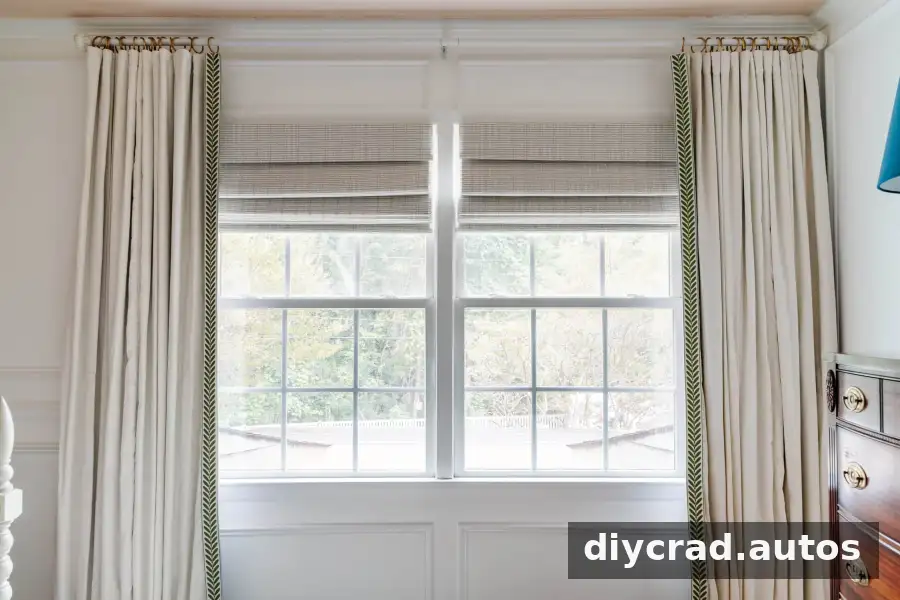
For a pair of curtains that meet in the middle, place the trim on the inner edge of each panel: the right side of the left panel and the left side of the right panel. Lay the panels out first to confirm the placement.
Step 3: Bond the trim in place
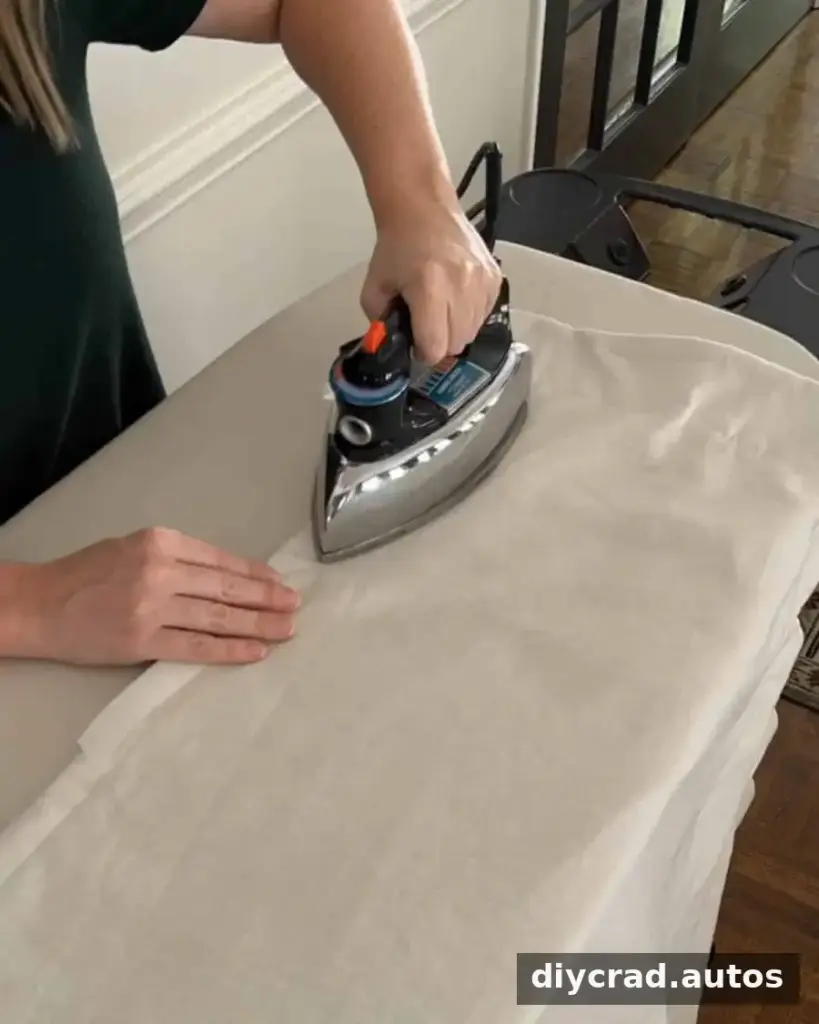
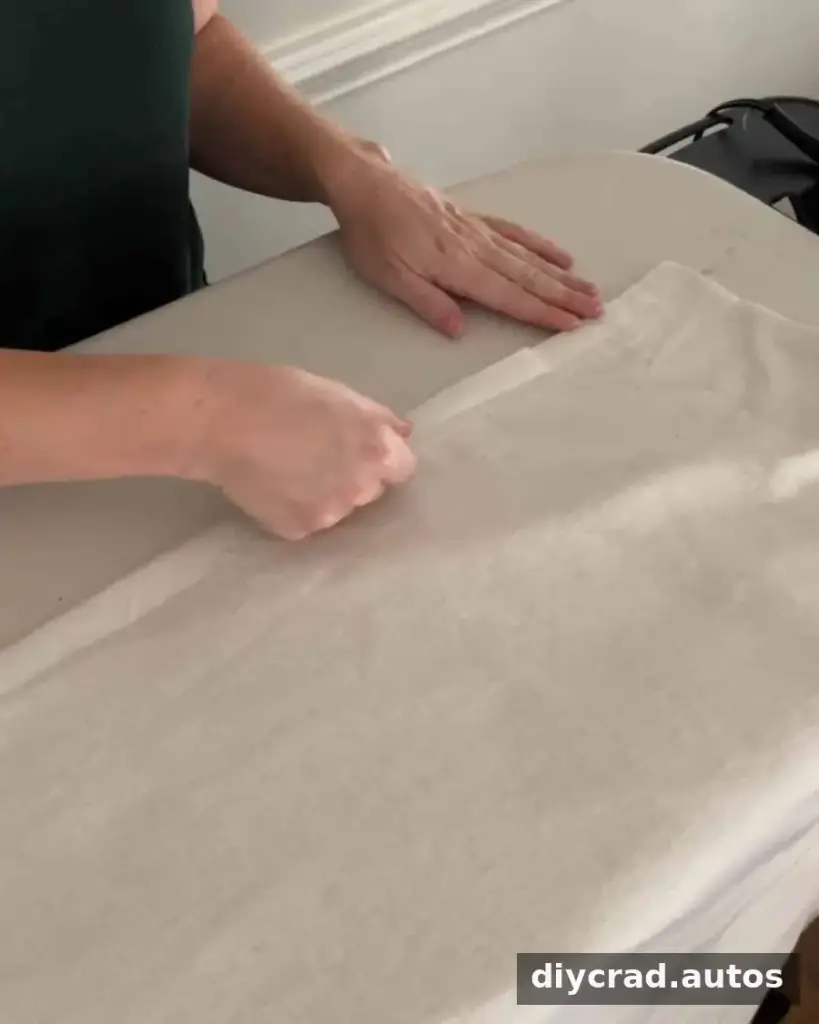
Make sure the pattern faces the intended direction before removing the tape’s paper backing. Position the trim over the adhesive and press it with the iron in short sections. Allow it to cool completely, then check that the full length is secure before hanging the curtains.
Hang and Finish the Curtains
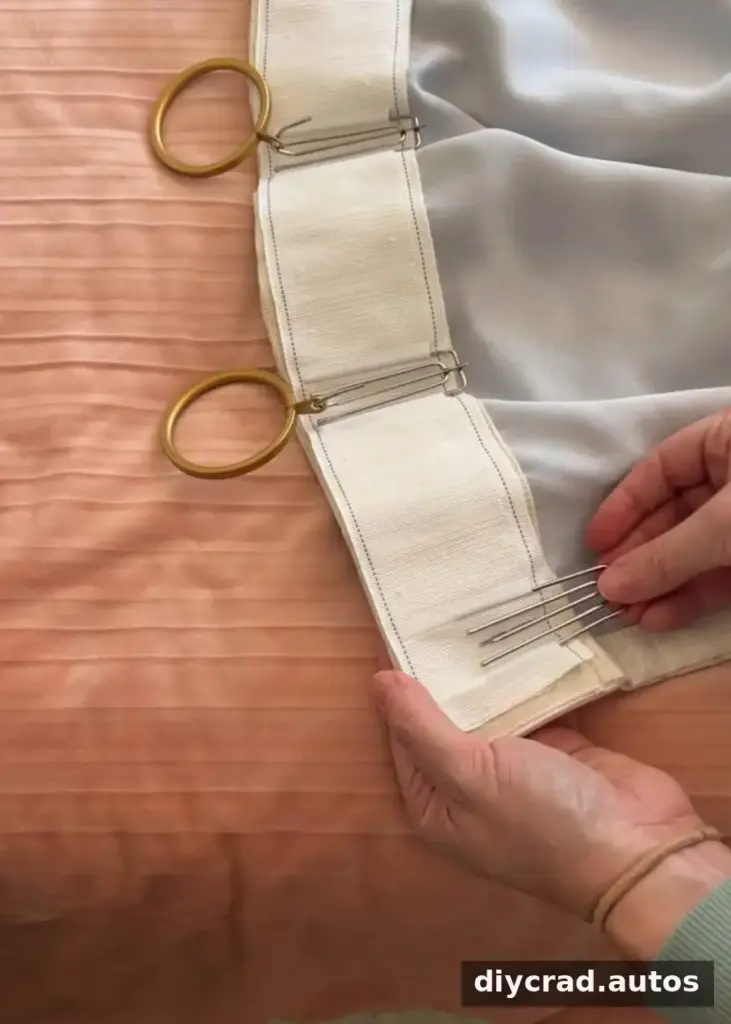
Header tape offers different ways to arrange pleats. Pleating hooks can be inserted into the openings in the tape, and curtain rings can then be attached to the hooks. Space the hooks consistently for an even appearance, and use rings that are compatible with the curtain rod.
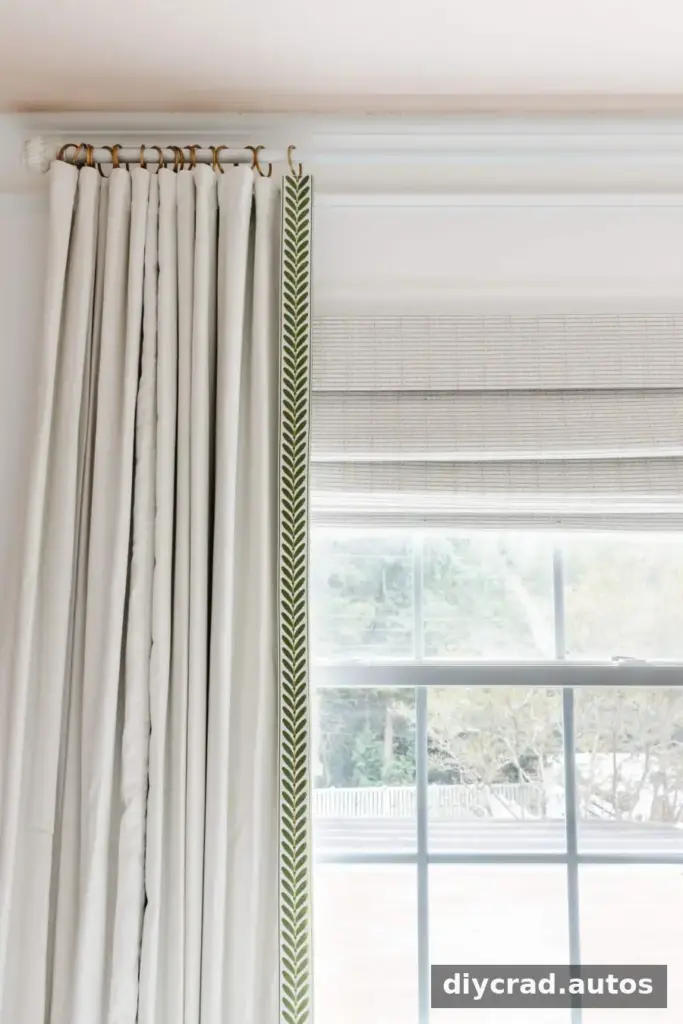
For a balanced look, hang curtains “high and wide”: position the rod about 2–6 inches below the crown molding and leave about 12–18 inches on either side of the window for the panels. Check the measurements against your room and window before installing the rod.
A garment or upholstery steamer can help release wrinkles after installation. Keep it at a suitable distance and follow its instructions, particularly with delicate fabrics. Check the curtain length once the panels are hanging; a small adjustment may be needed because hooks and rings affect how the fabric falls.
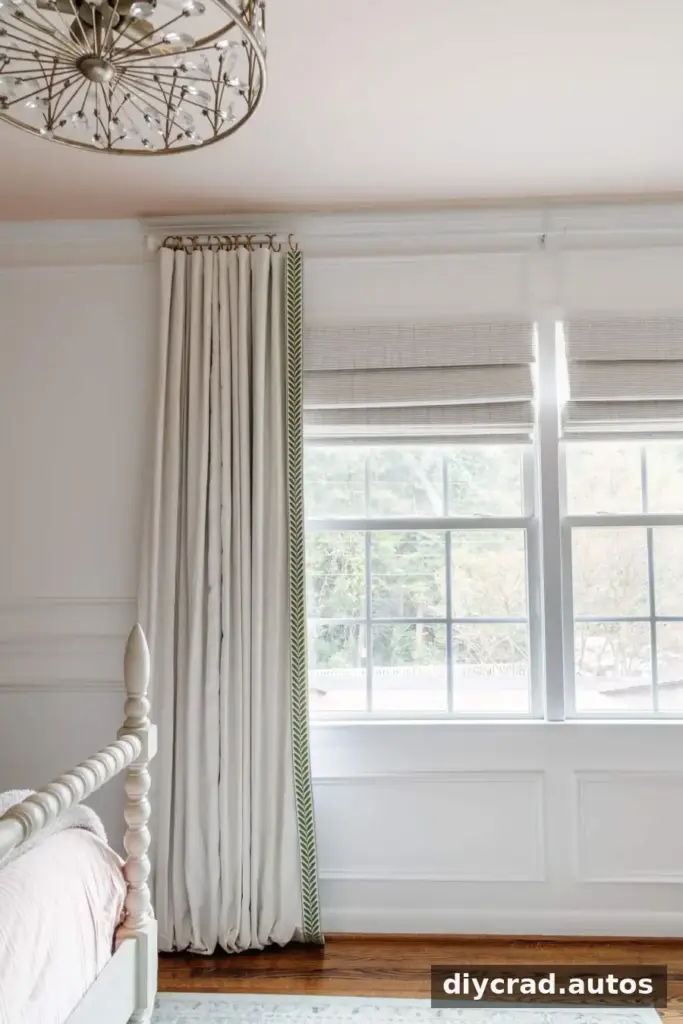
The finished panels in this project cost about $50 for both, compared with more than $2,000 for the curtains that inspired the look. Decorative trim can also work in living rooms and dining rooms, provided the fabric and colors suit the space.
What Is Passementerie?
Passementerie refers to decorative trimmings and ornamental details used on textiles, furnishings and clothing. These embellishments can be made with materials such as ribbons, cords, beads and metallic or silk threads. On curtains, a trim border adds texture and visual detail to otherwise plain panels.
Curtain Trim Ideas
For a simple update, add a narrow border along the inner edge of each panel. You can also use trim along the bottom edge or around the full perimeter. Choose a trim weight that suits the curtain fabric, and keep the pattern and color coordinated with the room. A small sample can help you check the combination before applying trim to both panels.
Frequently Asked Questions
What can I use as a makeshift curtain?
Tablecloths, drop cloths and flat bed sheets can be used as temporary curtains. Clip rings offer a straightforward way to hang them from a rod. Kitchen towels can also work as short café curtains. Check that the fabric is large enough for the window and that the rod and clips can support its weight.
Is it cheaper to make your own curtains?
Making curtains can cost less than buying ready-made panels, especially if you already have suitable fabric or curtains to reuse. The final cost depends on the fabric, trim, tape and hardware. Consider the time involved as well as the material cost when comparing options.
Conclusion
DIY no-sew curtains can give existing panels a tailored look with iron-on hemming tape and decorative trim. Measure carefully, choose tape that suits the fabric, and test the bond before completing the full project. With those checks in place, this method offers a simple way to customize curtains without sewing.

