

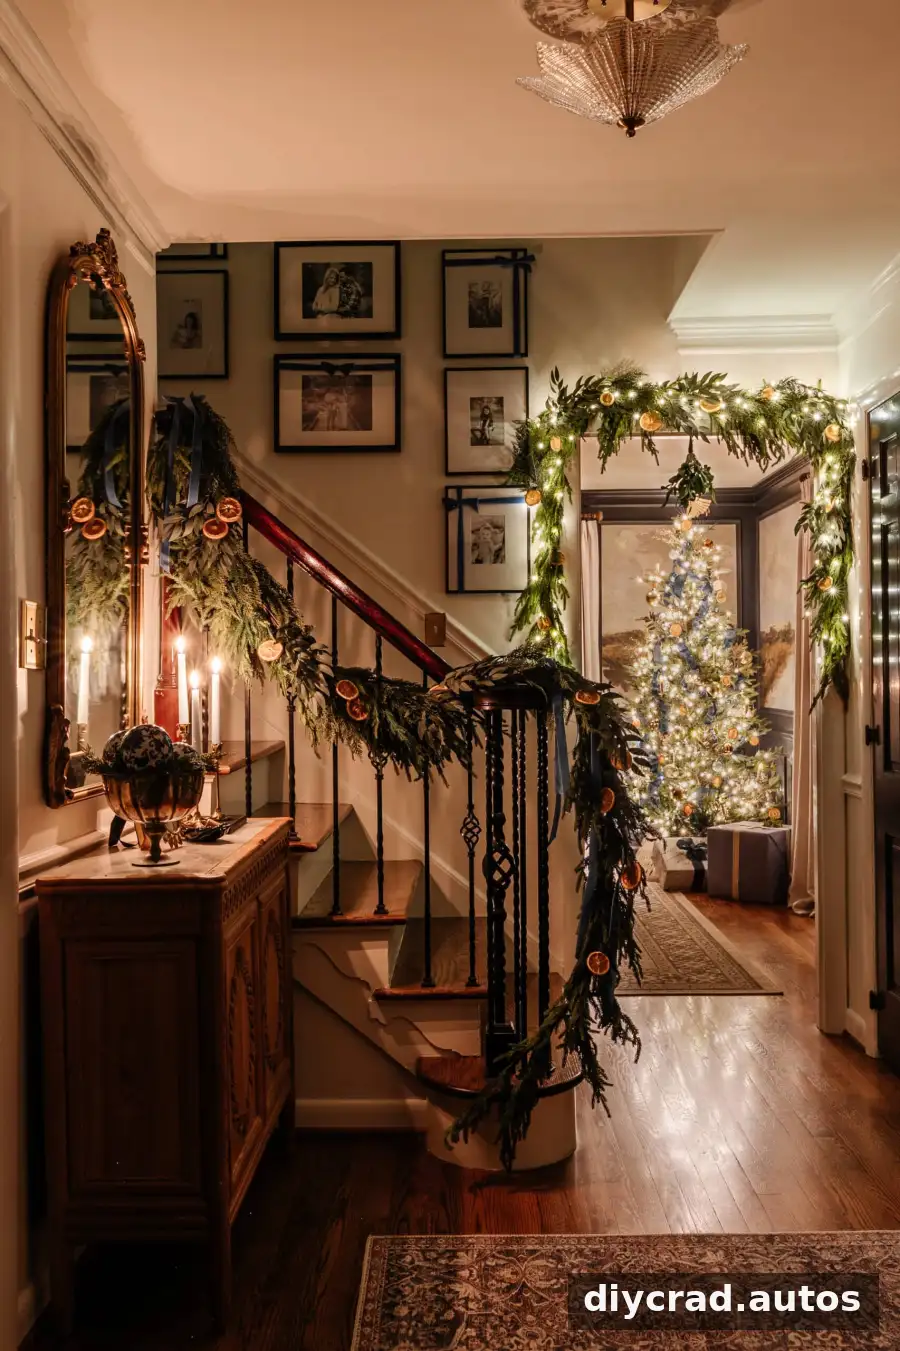
Learning how to photograph Christmas tree lights at night can help you capture the warm glow of holiday decorations without losing detail in the room. With a few adjustments to lighting, camera position, and exposure, both phone and dedicated-camera users can create clear, atmospheric photos by candlelight.
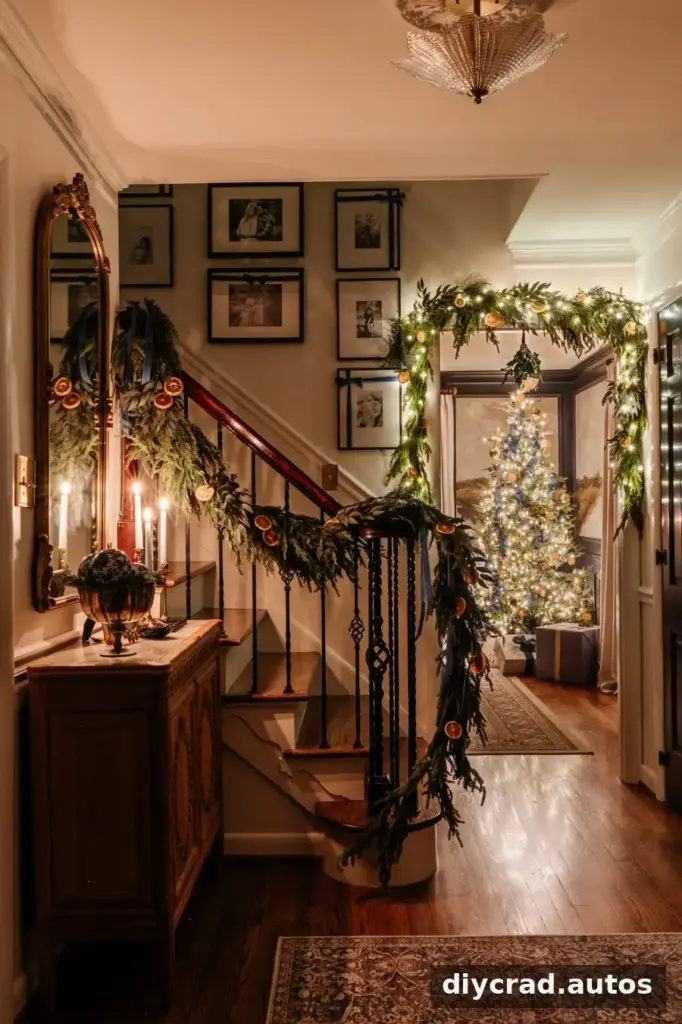
Night photography indoors can feel challenging because the room is dim while the bulbs and candles are bright. The goal is to balance those light sources so the decorations glow softly and the surrounding space remains visible. You can try the techniques below with equipment you already own.
How to Photograph Christmas Tree Lights at Night
A DSLR or mirrorless camera offers more control over exposure and depth of field, but a modern phone can also take appealing low-light photos. The most useful starting points are to switch off unwanted lights, keep the camera steady, and experiment with framing.
Choose a Phone or Dedicated Camera
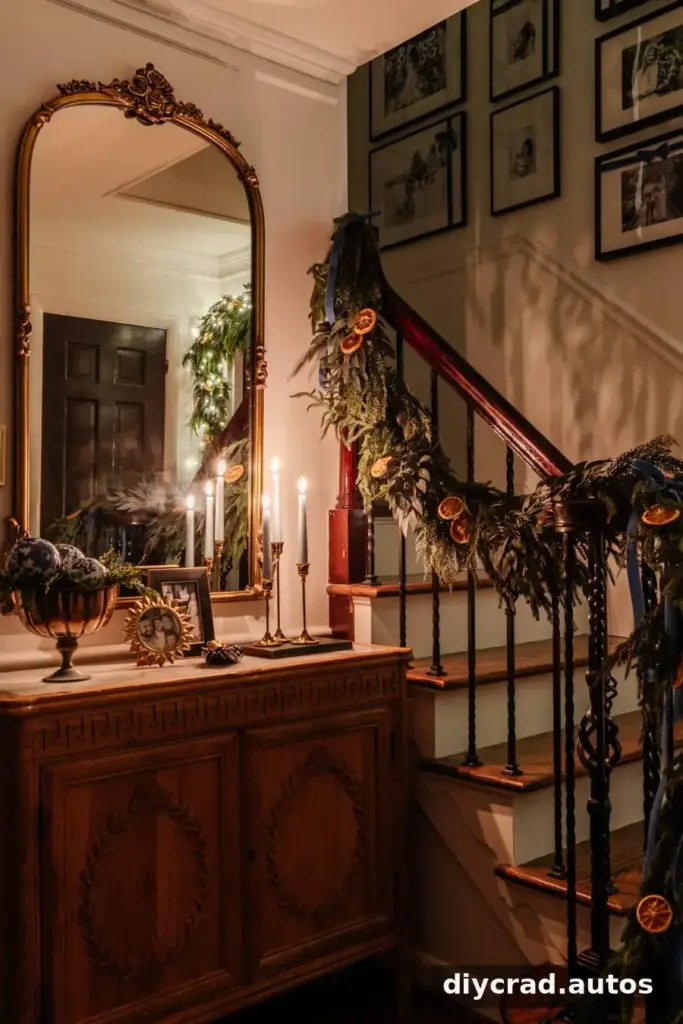
A DSLR or mirrorless camera can produce sharper results with more control over depth and image noise in low light. One example setup is a 6D camera body with a 35mm f/1.4L II USM lens. A phone, such as an iPhone 13 Max Pro, is more convenient and offers useful night-photography features. Older phone models may also work well.
Whichever device you use, take several test shots and review the brightest lights as well as the darker parts of the room. This helps you decide whether to adjust exposure, change your position, or add a small light source.
Set Up the Room’s Lighting
Turn Off Overhead Lights
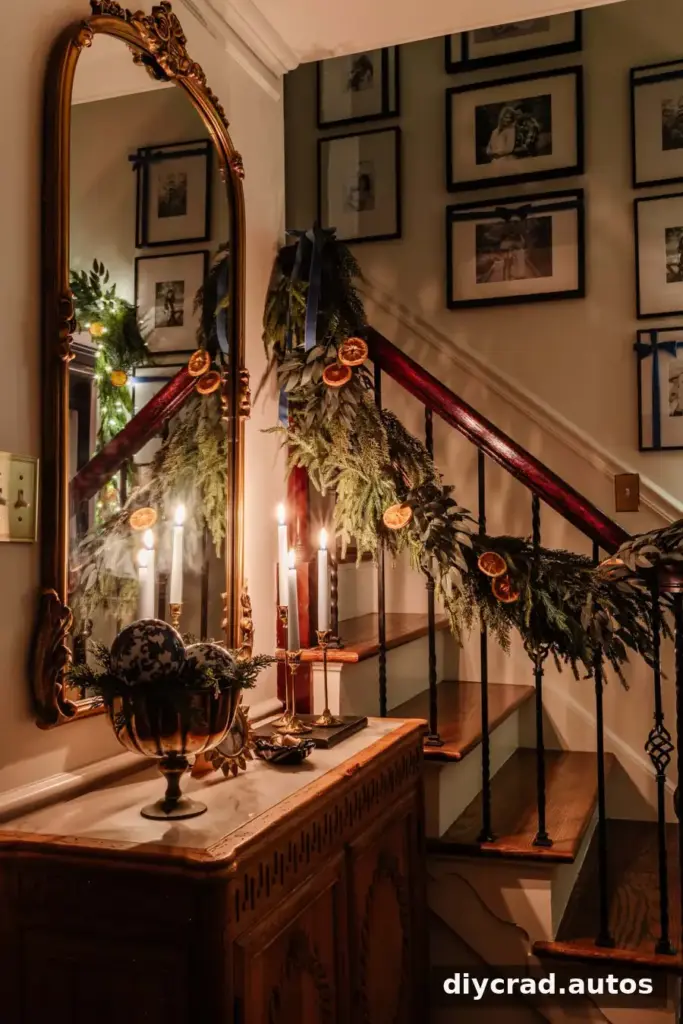
Before taking a photo, switch off most overhead lighting and other strong sources. This lets the tree lights and candles create the main atmosphere and helps avoid flattening their glow. A small dimmed lamp may help in some rooms, but test a frame with it both on and off to see which looks more natural.
Use at Least Two Small Light Sources
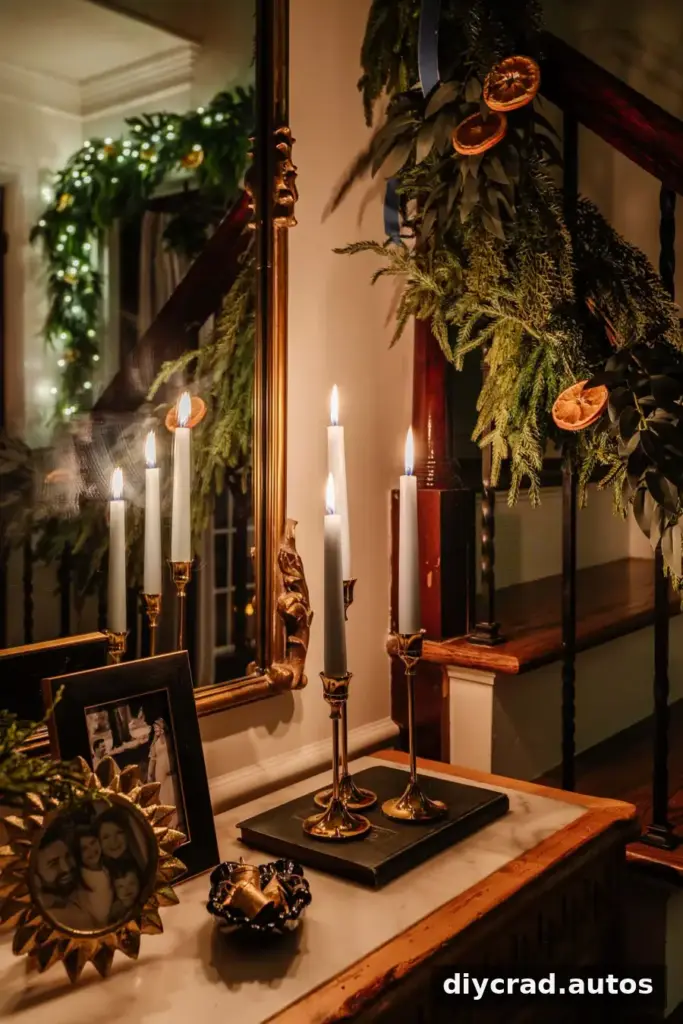
Two light sources spaced apart can make a dim room easier to photograph. For example, combine the tree lights with a candle on a dining or coffee table. The additional glow can reveal nearby details without overpowering the scene.
Light placement also affects shadows. Candles beside a staircase or on an entryway table can cast gentle shadows on a nearby wall, adding depth. Keep flames away from decorations, fabric, and other materials that could catch fire, and never leave lit candles unattended.
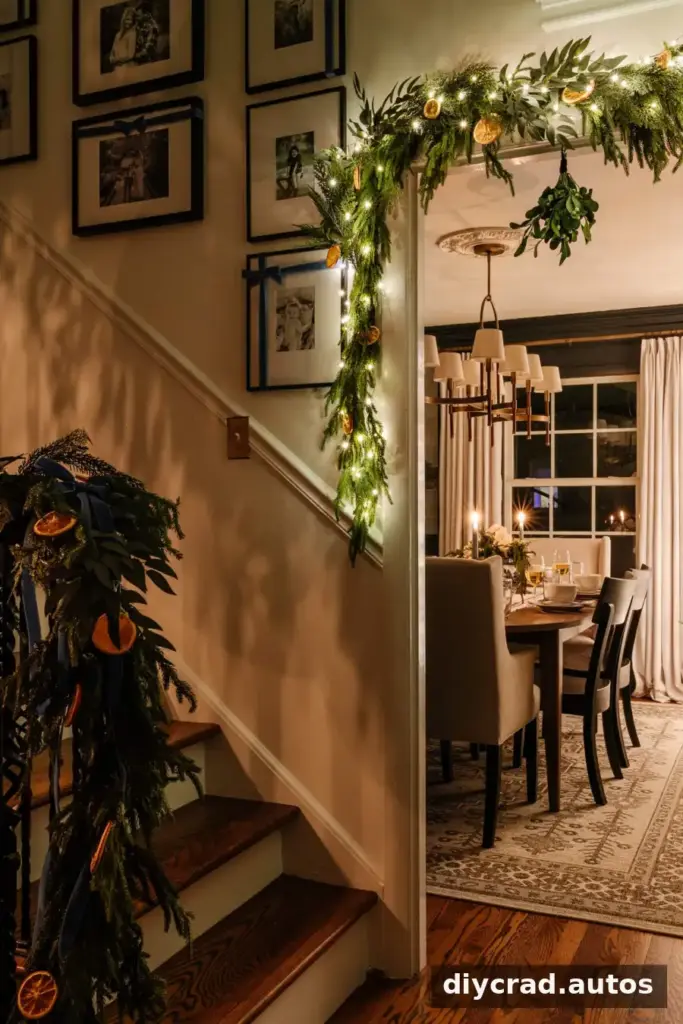
Helpful Equipment and Composition Tips
Turn Off the Flash
Disable flash on both phones and cameras. Direct flash can overpower small lights, create harsh shadows, and make a candlelit room look less inviting. If the image is too dark without flash, use a tripod, adjust exposure, or reposition an existing light source instead.
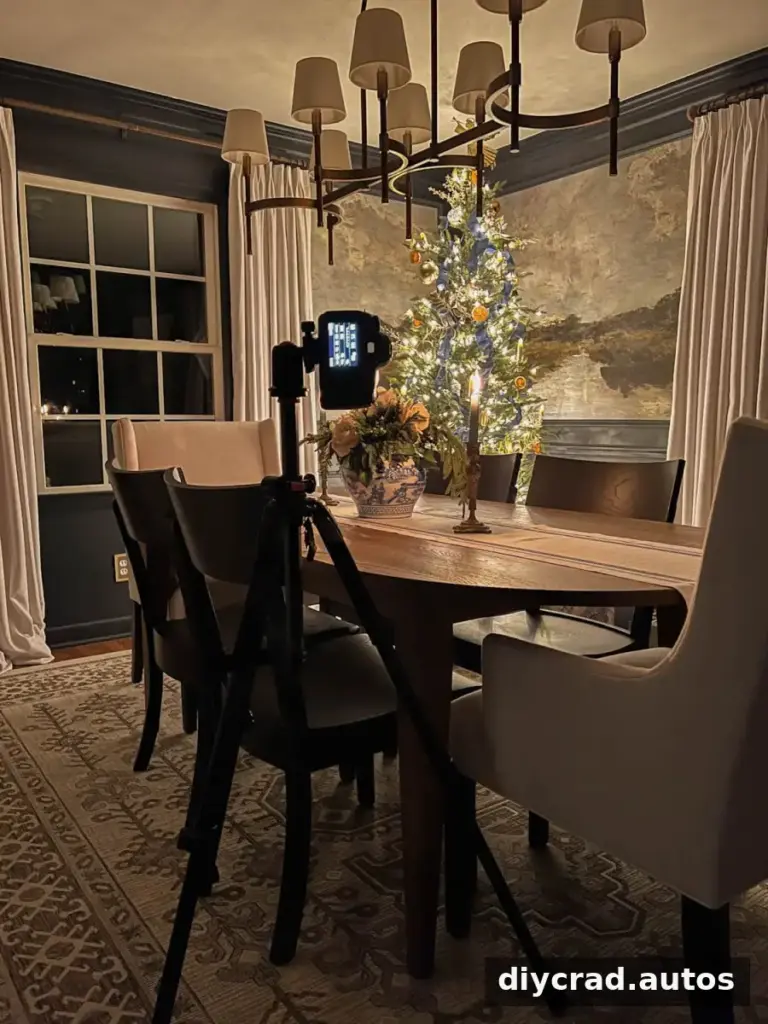
Use a Tripod or Timer
A tripod helps prevent camera shake during the longer exposures often needed in low light. A two-second timer or remote shutter can reduce movement caused by pressing the button. If you do not have a tripod, hold the phone with both hands, tuck your elbows against your sides, and brace your arms on a stable surface.
Try a Spare Strand of Lights
In a very dark room, an extra strand of string lights placed just outside the frame can gently brighten shadows. Check the edges of the image to ensure the strand itself and its reflections are not visible.
Experiment with Position and Framing
Try photographing the room from a slightly lower position so the floor and ceiling both appear in the frame. Photograph the tree from several angles, and take both wide room scenes and close-ups of ornaments or candles. For tabletop details, bring the camera closer and frame the subject at its level.
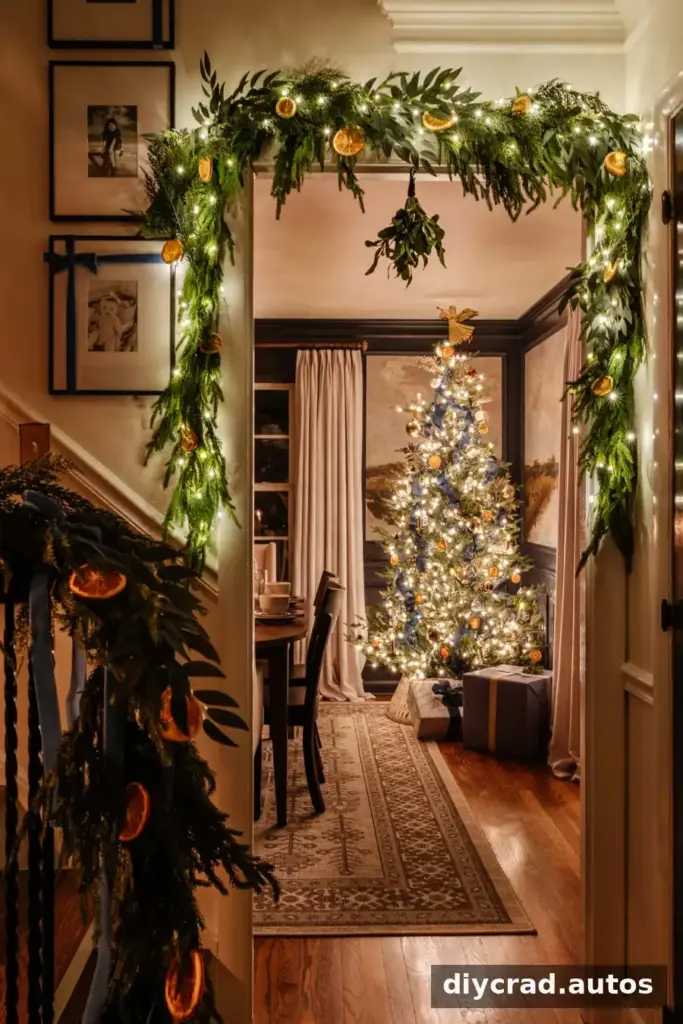
How to Photograph Christmas Tree Lights at Night With an iPhone
Phone features vary by model, but the following steps apply to the camera controls described here. Use the phone’s built-in camera app to capture the original image, then make any edits afterward. A steady phone is especially important when night mode uses a longer exposure.
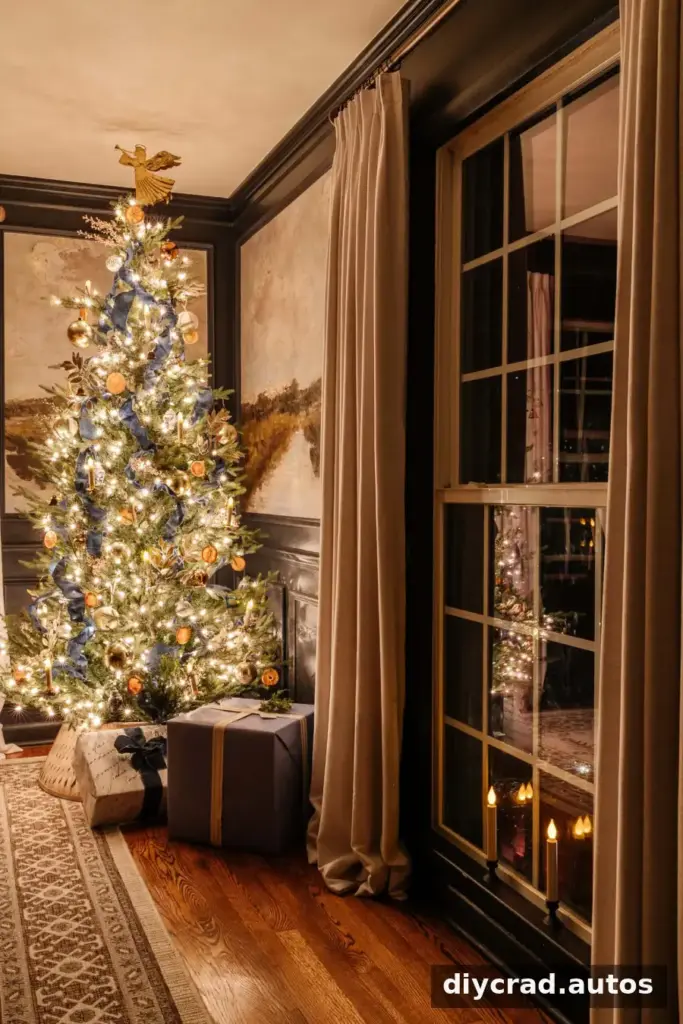
Use Night Mode
Night mode is available on iPhone models 12, 13, and 14, as well as the telephoto and wide lenses on iPhone 11. Availability and controls can vary by model and software version.
- Open the Camera app and look for the moon icon. It appears at the top left in portrait orientation and at the top right in landscape orientation.
- If the icon is gray, night mode is available but is not currently enabled automatically. A yellow icon indicates that it is active.
- Tap the moon icon to adjust the exposure time manually, when that option is available.
- Keep the phone still while the photo is being captured. The icon indicates the exposure duration, and a countdown appears above the shutter button.
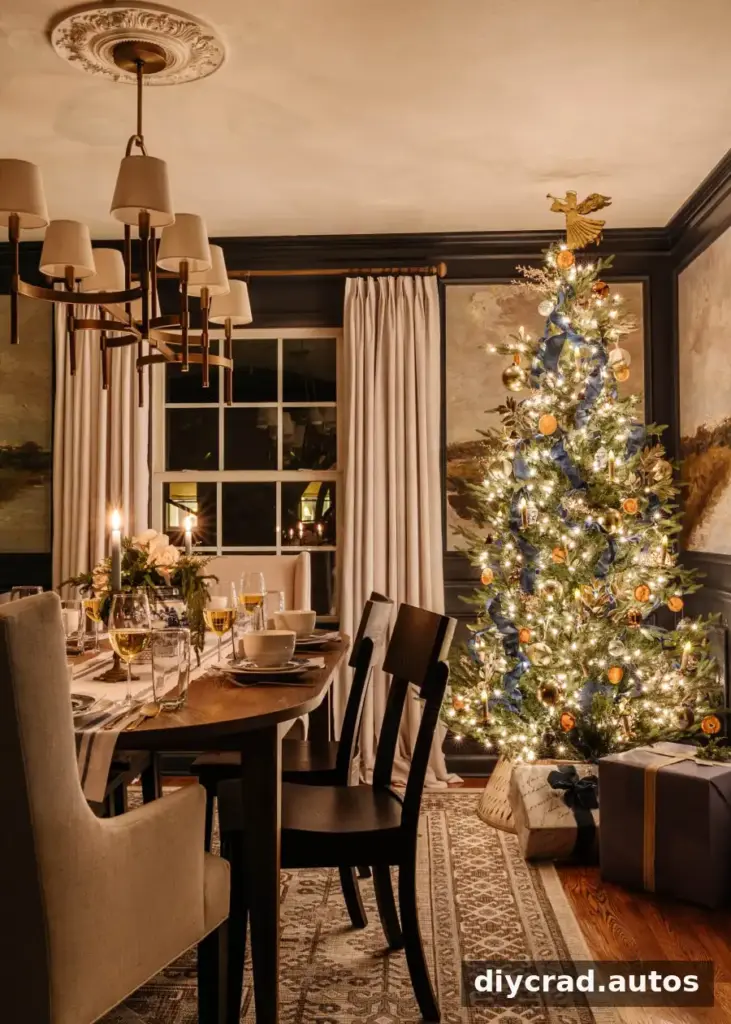
Adjust Exposure and Lock Focus
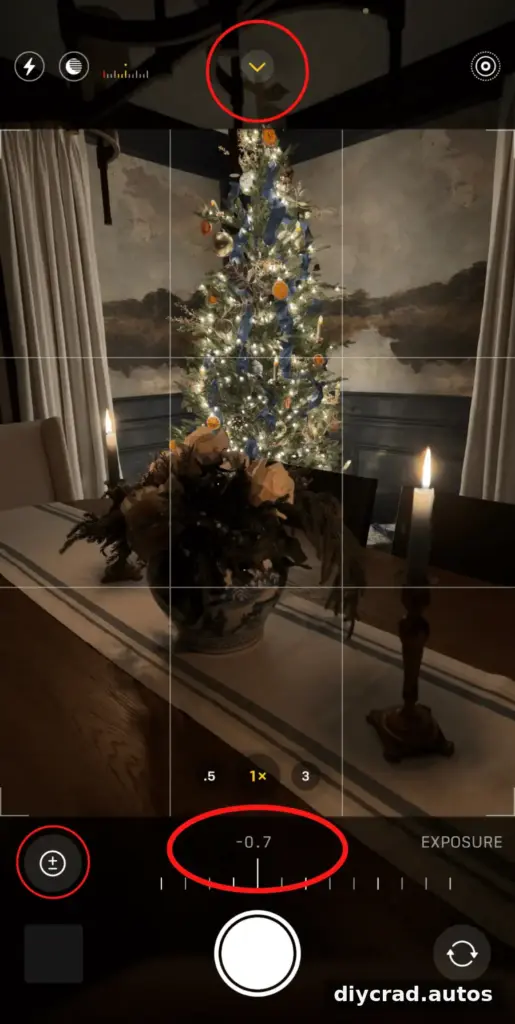
To change exposure, open the Camera app, compose the image, and tap the area you want in focus. A yellow box appears around the selected point. Tap the arrow at the top of the screen, then select the plus-and-minus exposure control in the menu below the shutter button. Swipe to adjust brightness and review the result on screen.
For a consistent frame, press and hold the yellow focus box until AE/AF LOCK appears. This locks focus and exposure so they are less likely to change if the lighting or framing shifts slightly. Tap elsewhere on the screen to release the lock.
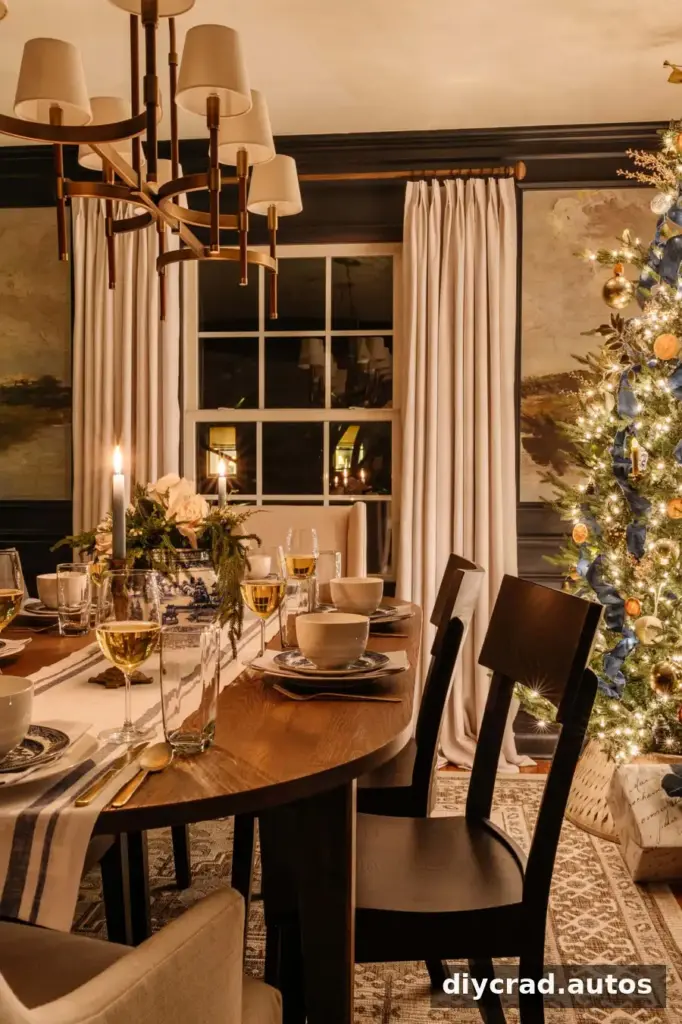
In a scene with very bright bulbs, a slightly darker exposure can help preserve the visible shape and color of the lights. Take a few versions at different brightness levels so you can compare them afterward.
Create a Soft Background with Portrait Mode
If your phone has Portrait mode, try it for close-ups of ornaments, candles, or other foreground details. It can blur lights behind the subject into a soft bokeh effect. Keep the main subject within the camera’s recommended distance and check that the edges look natural before saving the photo.
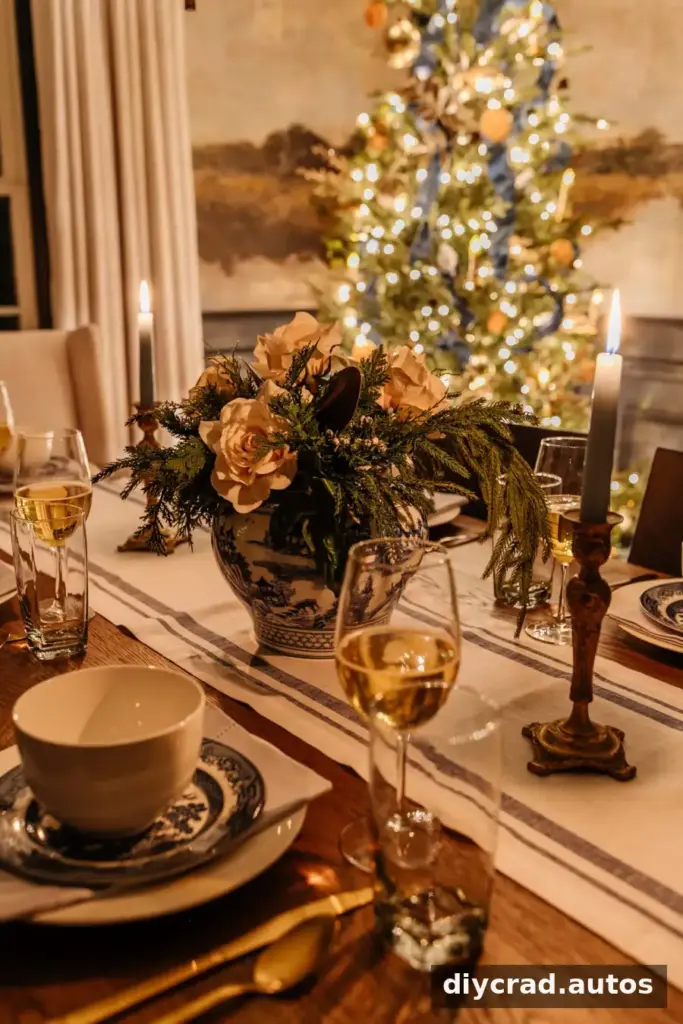
DSLR and Mirrorless Settings for Christmas Lights
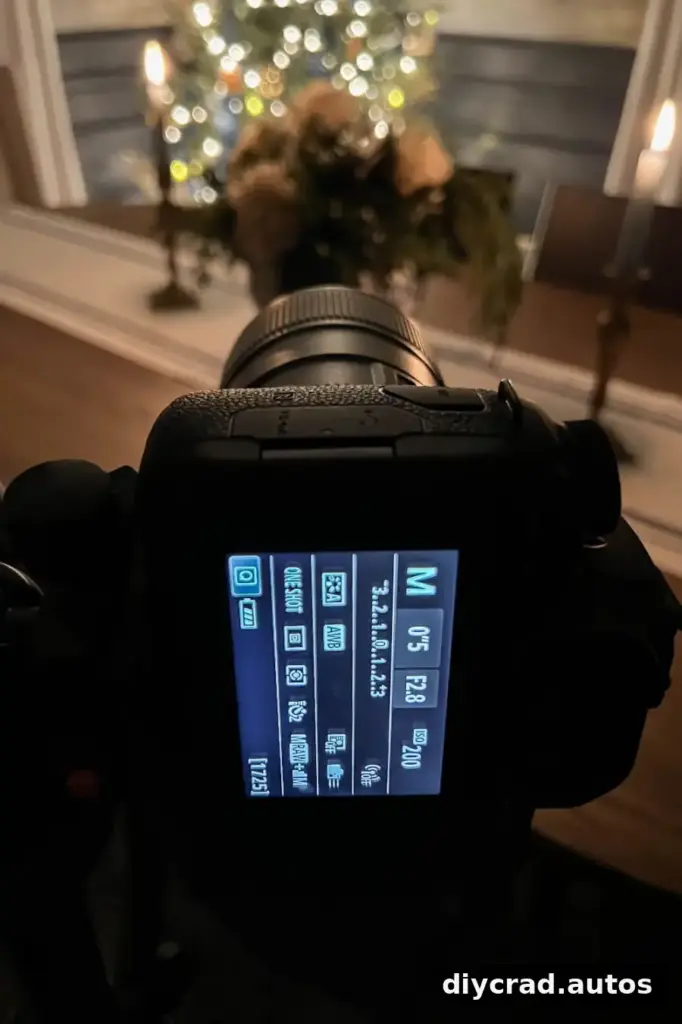
Manual mode gives you direct control over aperture, ISO, and shutter speed. If manual settings are new to you, change one setting at a time and take a test image after each adjustment. Use a tripod for long exposures and keep overhead lights off while comparing results.
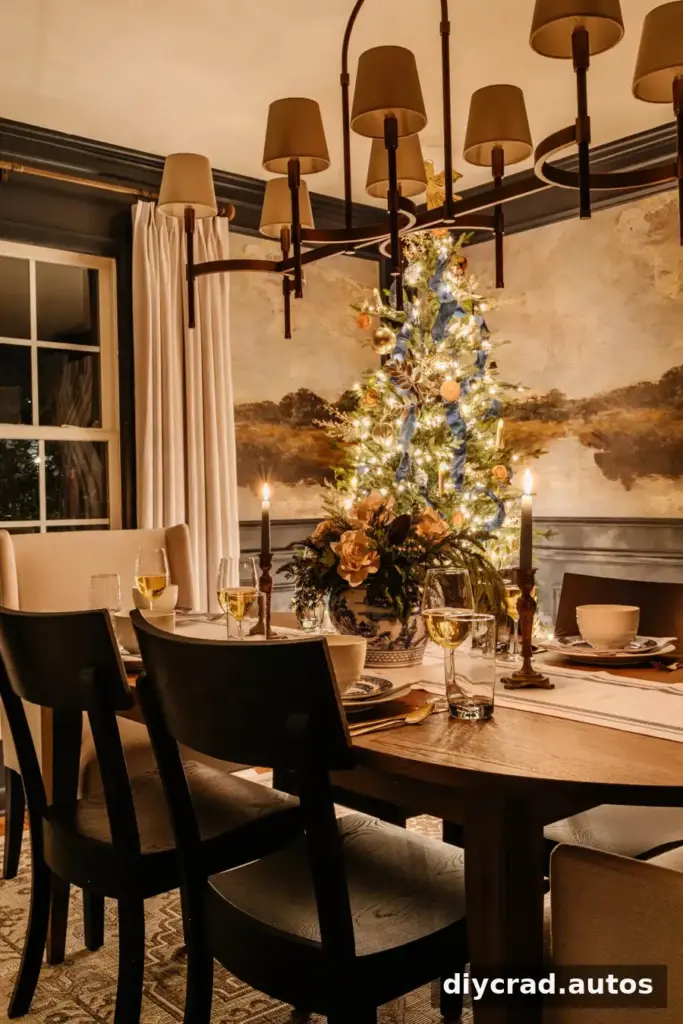
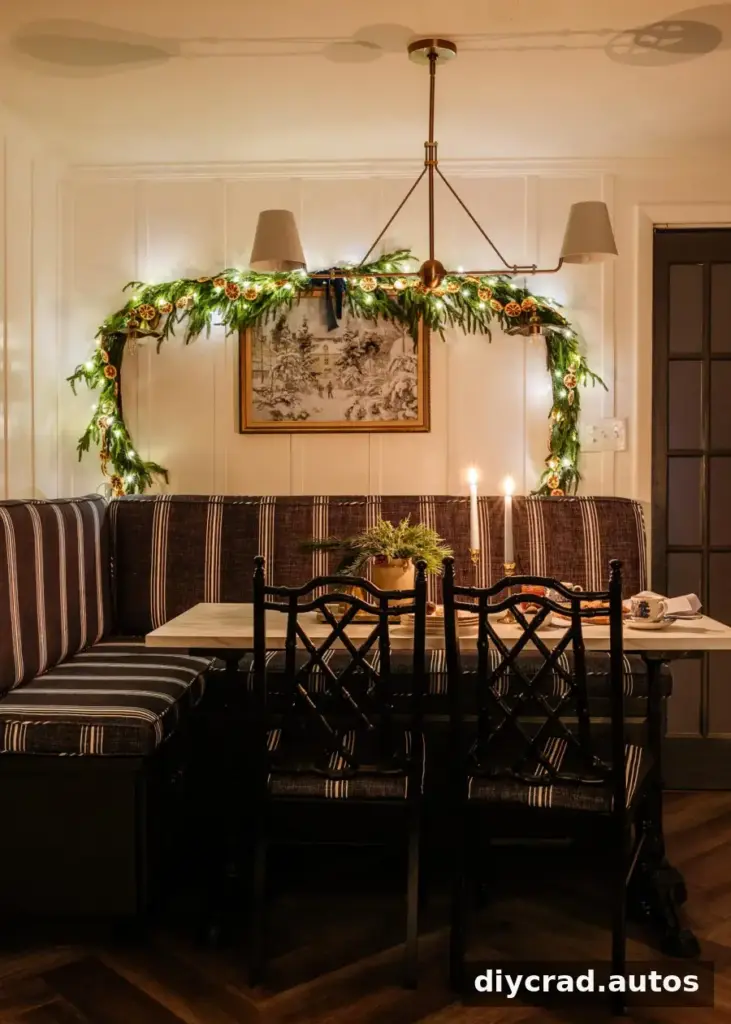
Settings for a Wide Room Photo
For a wide view where most of the room is in focus, use these settings as starting points:
- Aperture: Start at f/10 or higher. A smaller aperture can keep more of the room in focus and make small lights appear star-like.
- ISO: Try a value between 100 and 400 to help reduce graininess in the dark setting.
- Shutter speed: Adjust it according to the camera’s exposure meter. A long exposure, sometimes as long as 30 seconds, may be needed to gather enough light. Use a tripod to keep the image sharp.
- White balance: Auto white balance can be a practical starting point because candlelight can vary from room to room.
Slight underexposure can help prevent tree lights from becoming overly bright and losing detail. Check the image after each test shot: if the room is too dark, lengthen the shutter time on a stable tripod; if the bulbs look washed out, reduce exposure.
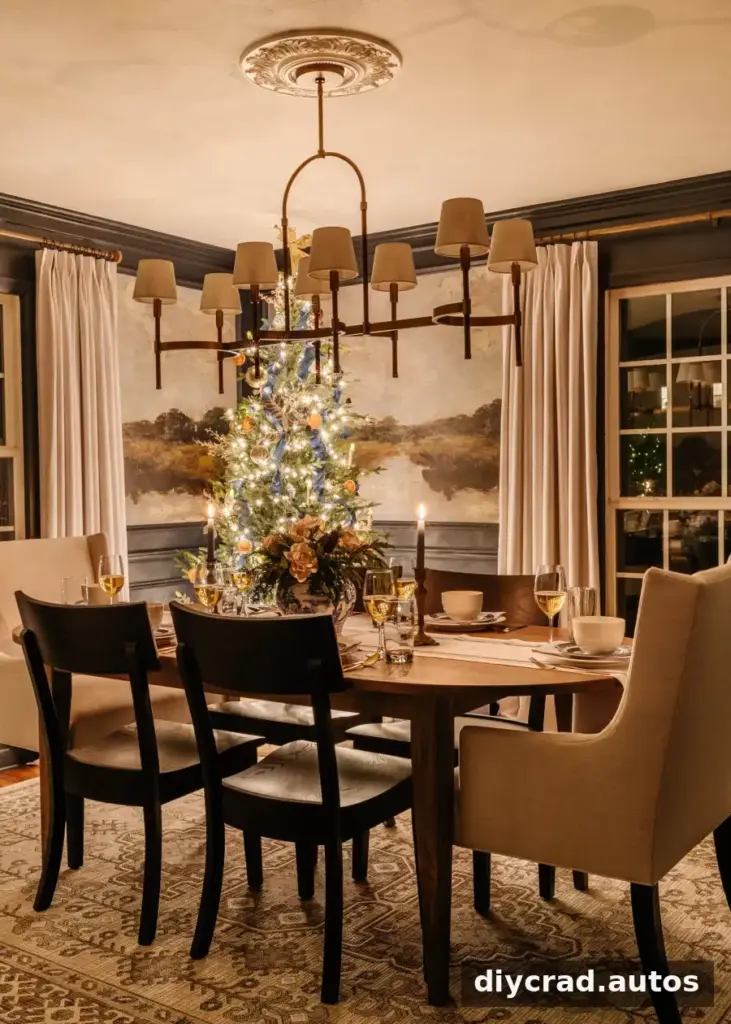
A smaller aperture can render candle flames and garland lights as distinct points while keeping more of the scene sharp. The effect depends on the lens, distance, and composition, so take a few test frames before settling on a setting.
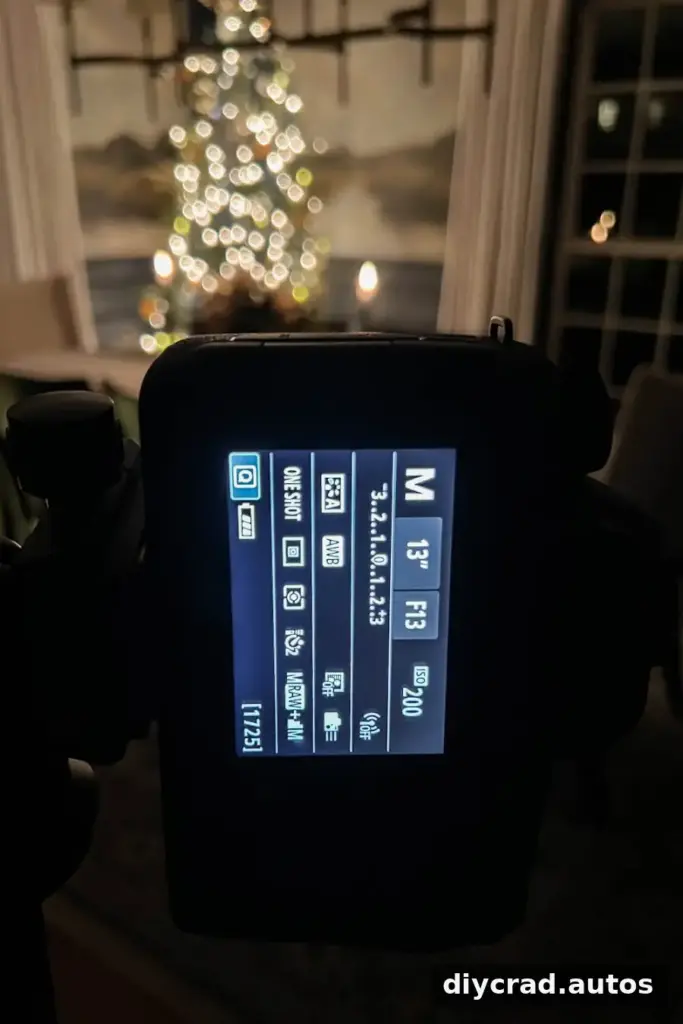
Settings for Close-Ups with a Blurred Background
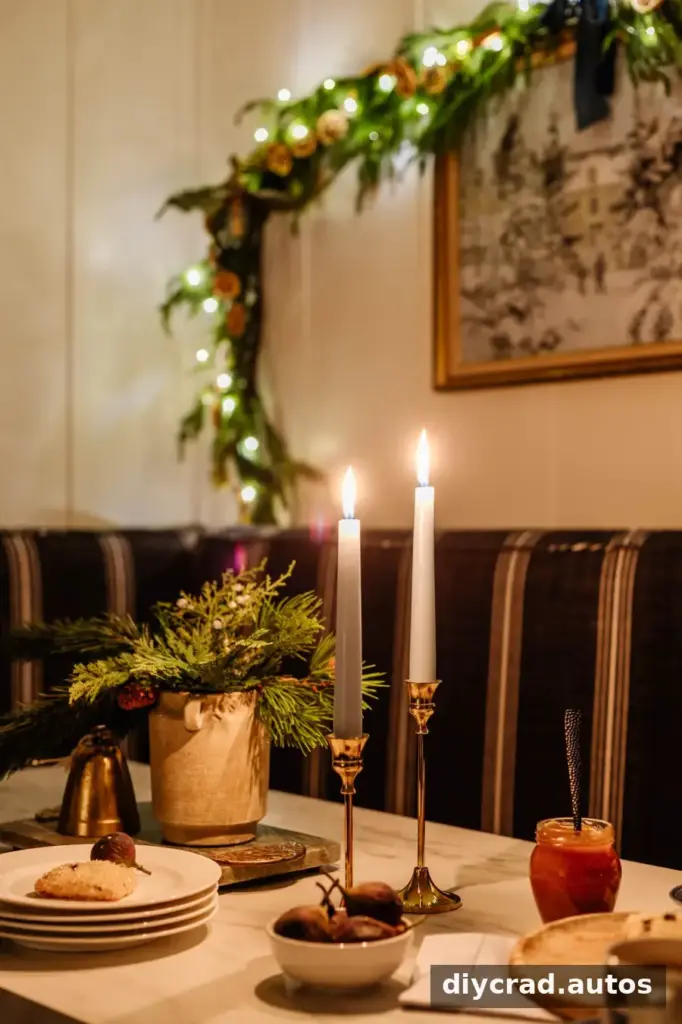
For a close-up with the subject sharp and the tree lights blurred behind it, use a wider aperture:
- Aperture: Try a range between f/1.8 and f/4.0. Focus on the foreground subject to blur the background lights into bokeh.
- ISO: Begin between 100 and 400 to help limit graininess.
- Shutter speed: Set it according to the exposure meter. A wider aperture lets in more light, so a somewhat faster shutter speed may be possible than for a full-room image.
Make sure the focus point is on the object you want to emphasize. With a shallow depth of field, a small change in focus can make the subject soft.
Edit Candlelight and Christmas Light Photos
Editing can help balance the bright bulbs and darker areas without removing the natural atmosphere. Use an image-editing app to make modest adjustments to exposure, contrast, and white balance. Lowering highlights can recover some detail in bright lights, while lifting shadows can reveal parts of the room.
Avoid brightening every shadow too much, since that can make a night scene look flat or introduce visible image noise. Compare the edited image with the original and keep the color of the candles and tree lights believable.
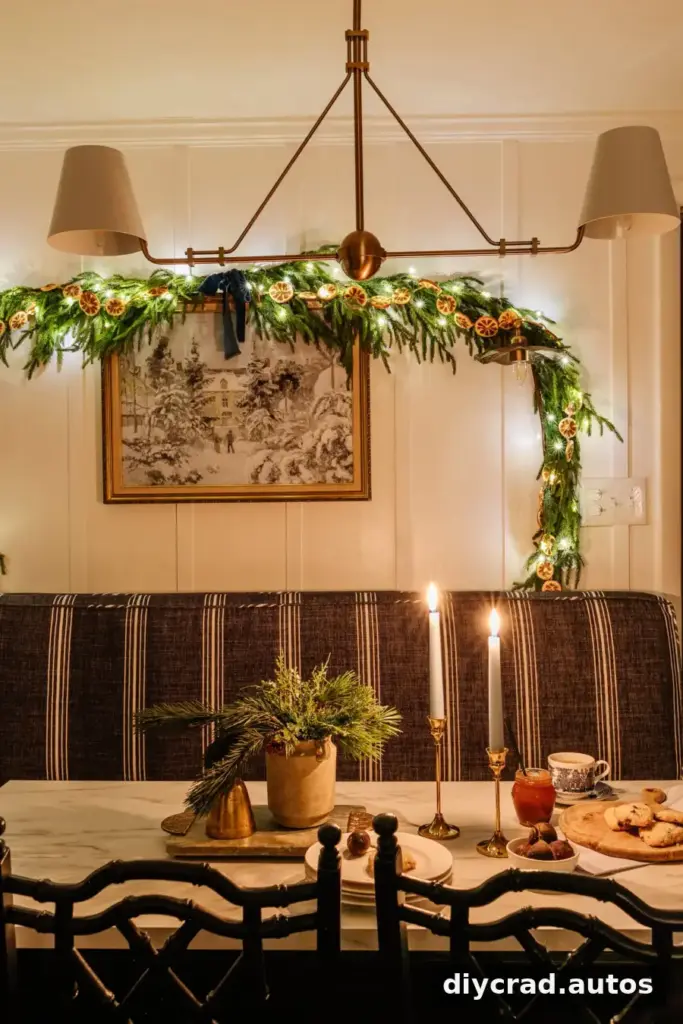
Practice with a few different compositions and exposure settings rather than expecting every frame to work on the first try. Small changes in camera position or light placement can noticeably affect how a room feels in the finished image.
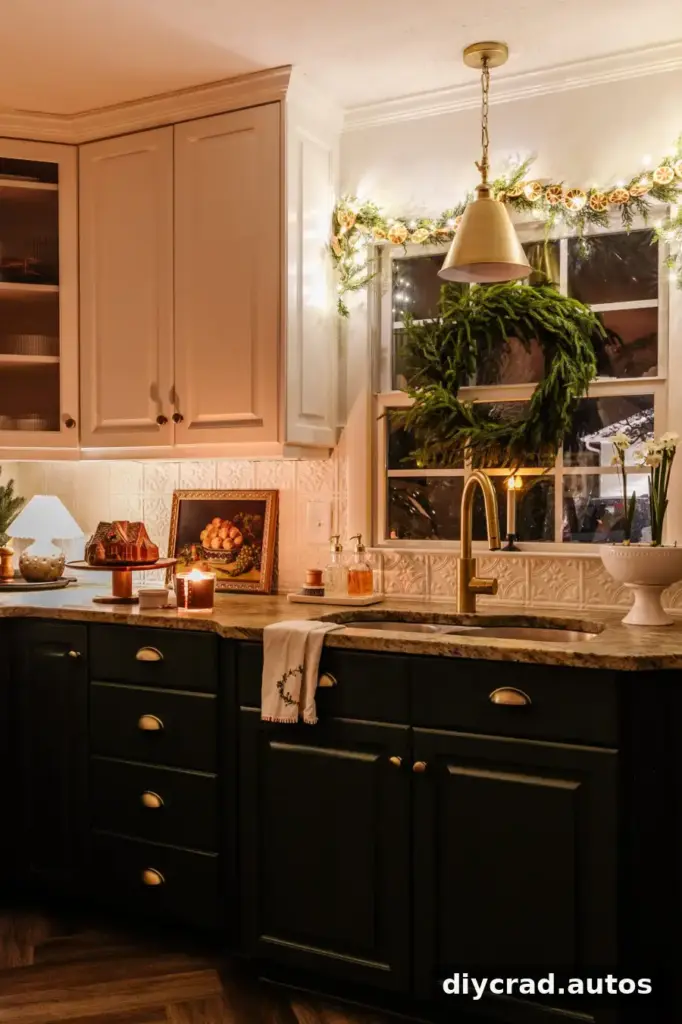
Photography is a useful way to document seasonal decorations and everyday moments. You do not need to master every camera setting at once: start with a steady camera and controlled lighting, then experiment with focus and exposure as you become more comfortable.
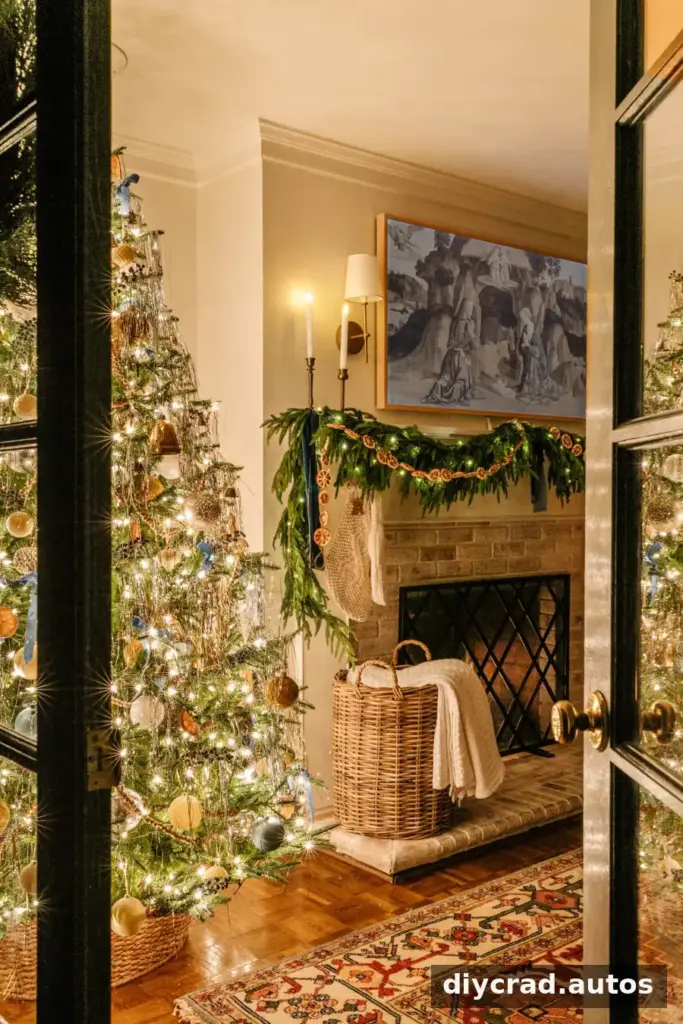
There are many ways to express a scene through photography, from a wide view of the whole room to a close-up of a single ornament. The most effective approach is the one that captures the details and mood you want to remember.
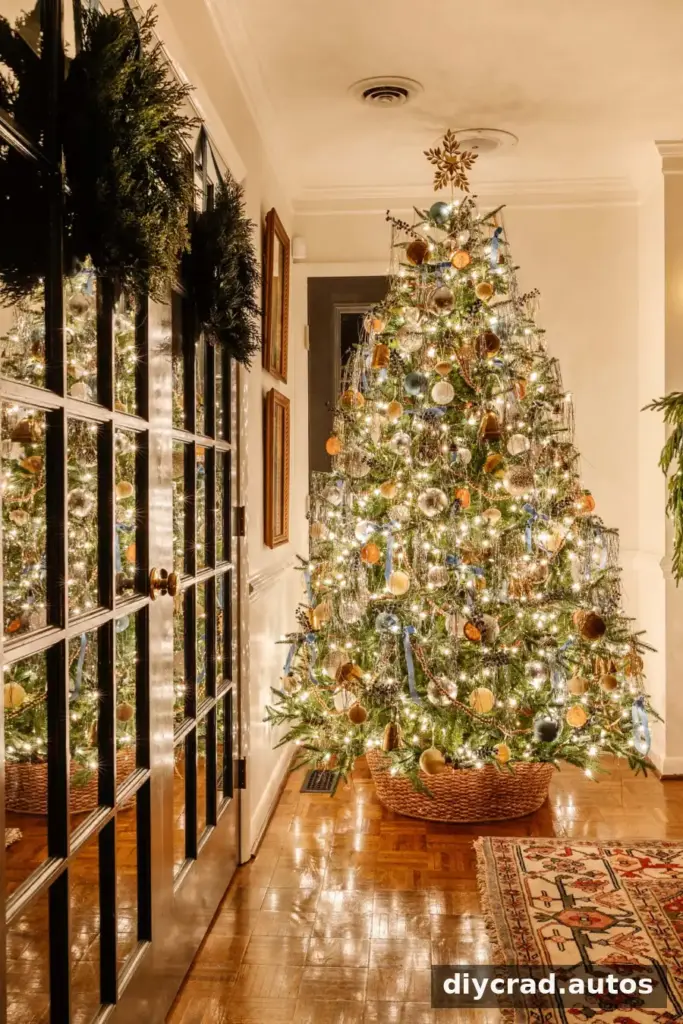
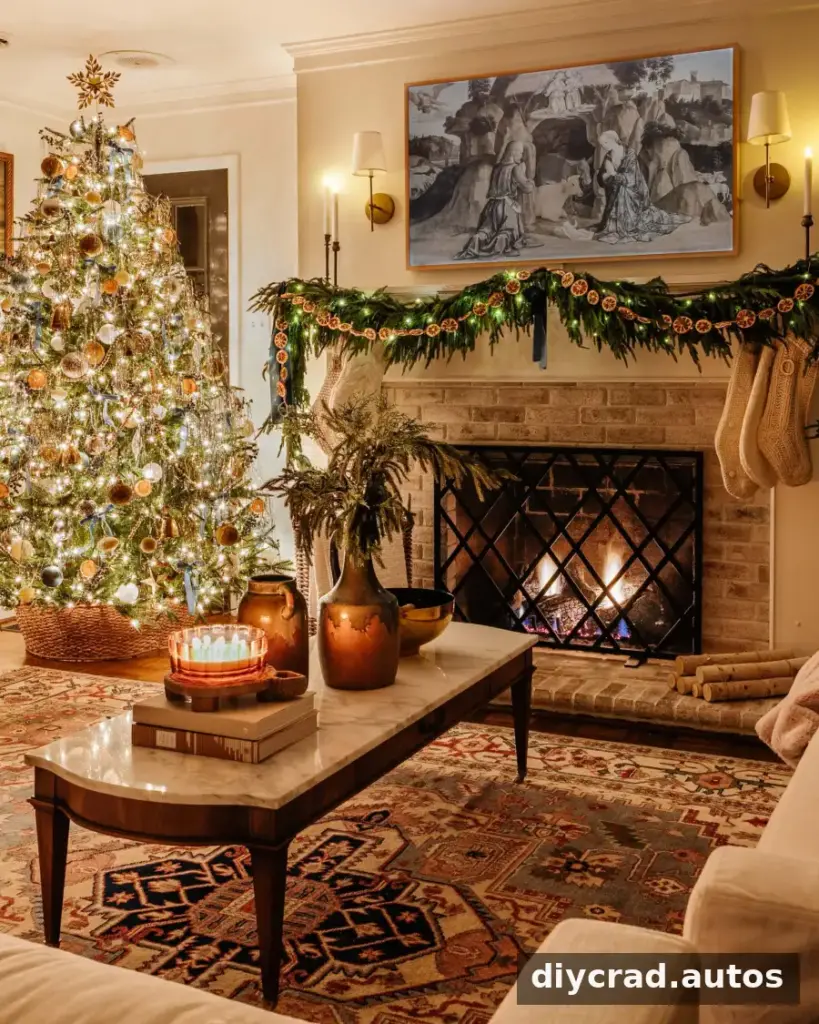
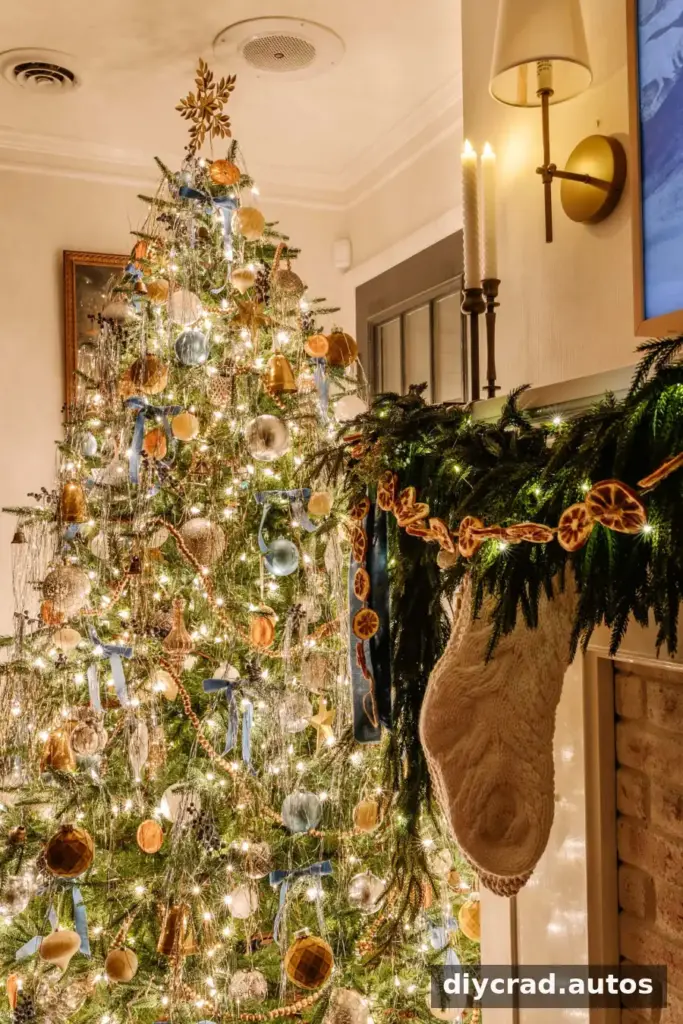
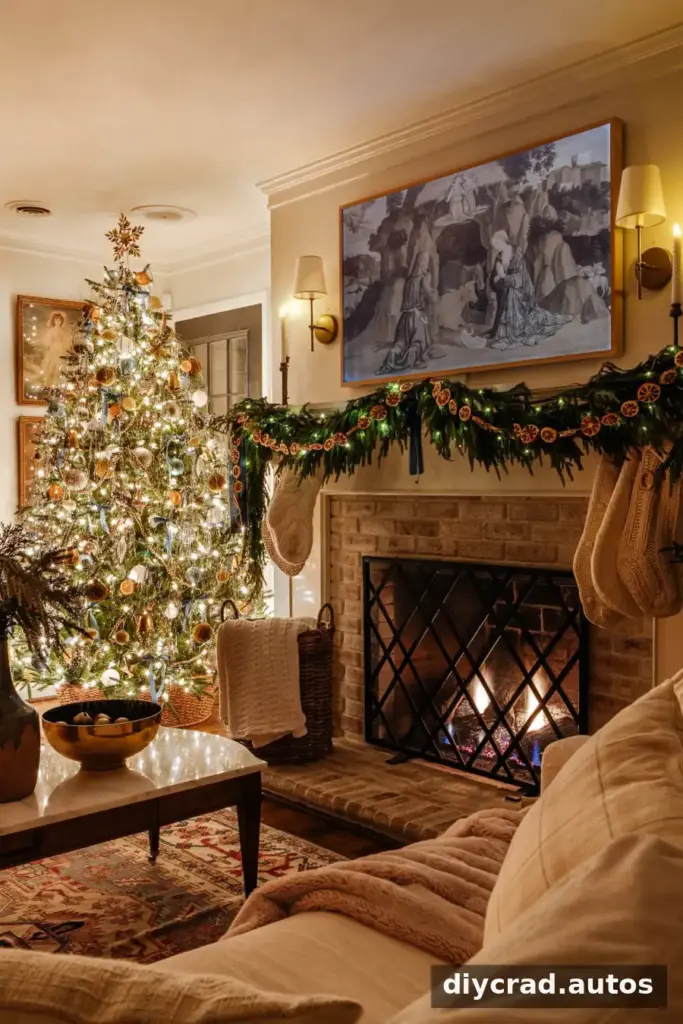
To photograph Christmas tree lights at night, begin by switching off overhead lights, using at least two gentle light sources, and stabilizing your camera. Then adjust exposure for either a sharp room-wide view or a close-up with a softly blurred background. A few test shots will help you find a balanced, natural-looking result.

