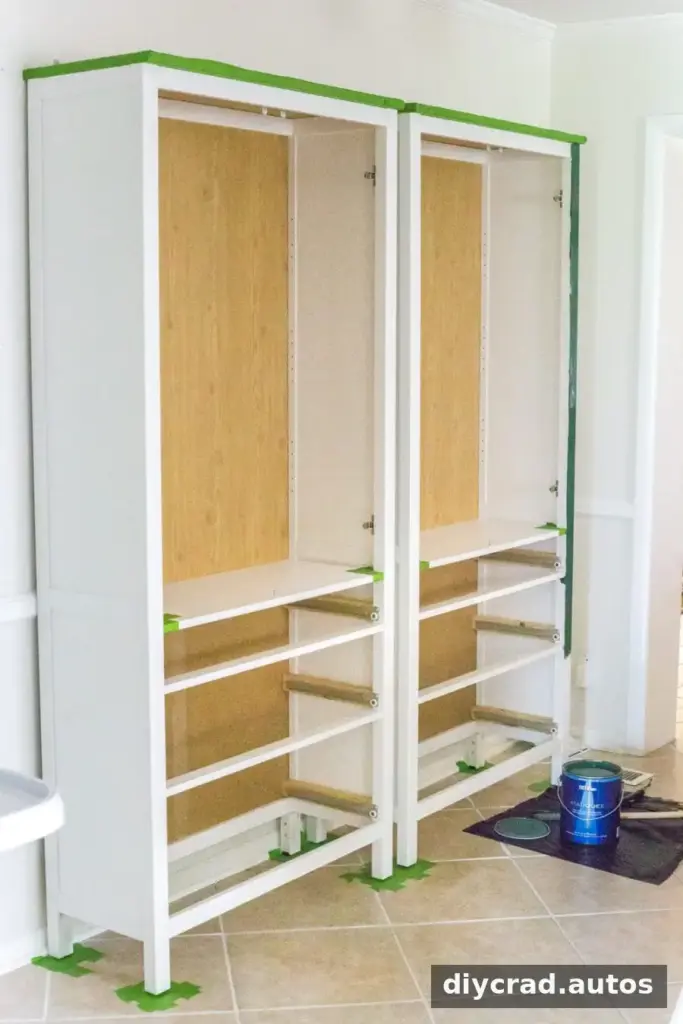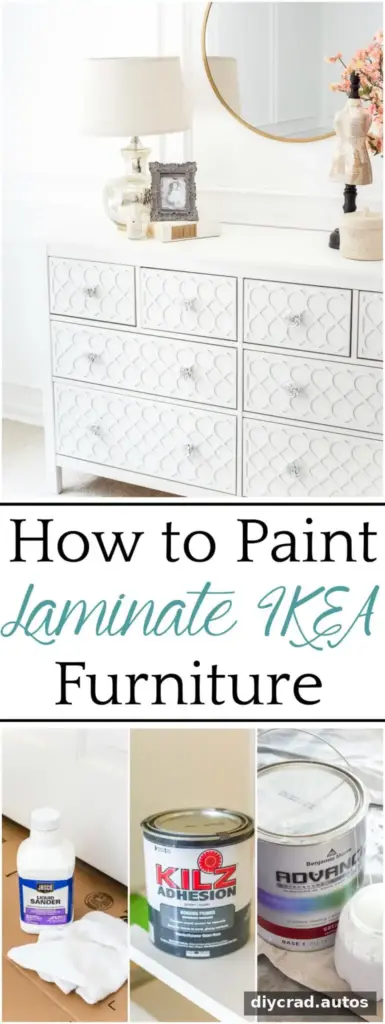
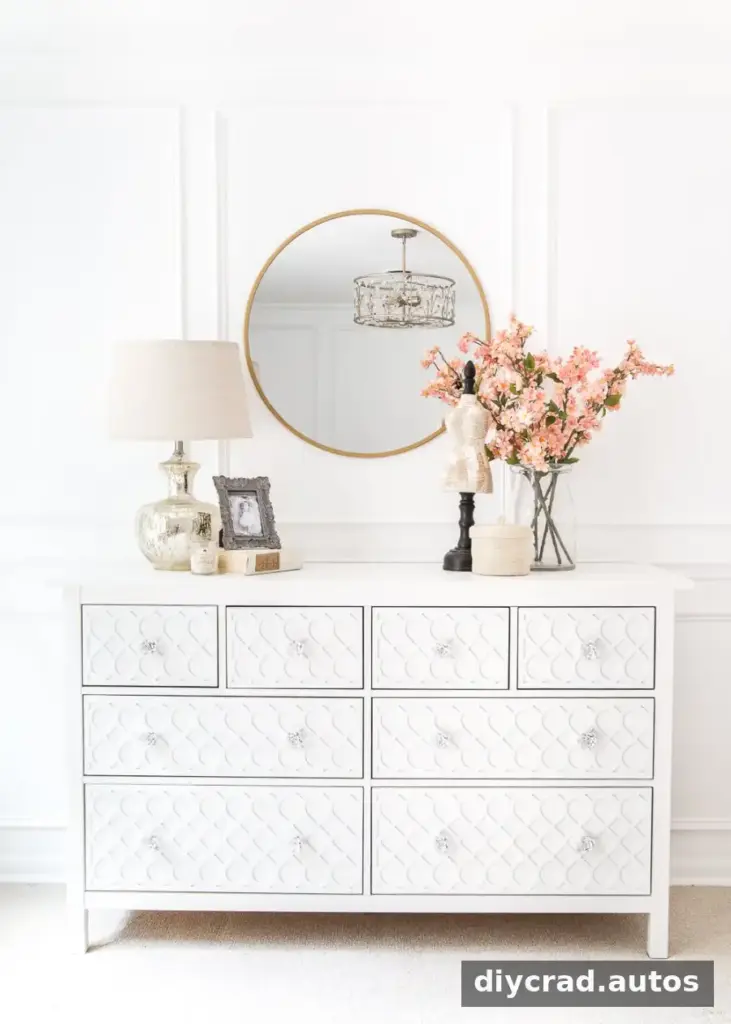
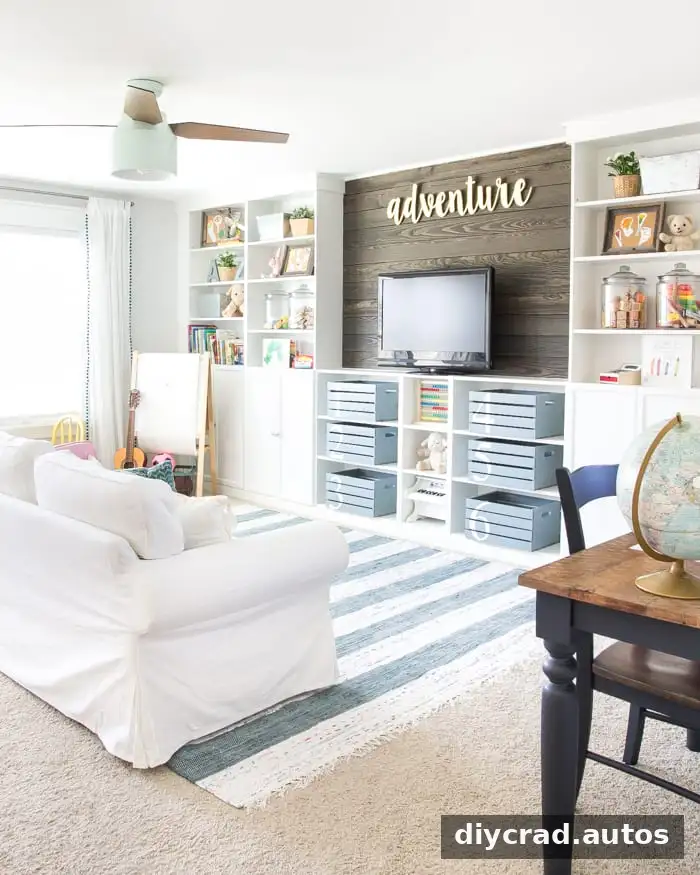
To paint laminate IKEA furniture successfully, focus on surface preparation and primer before applying your topcoat. Laminate is smooth and nonporous, so paint may peel or scuff if it is applied directly without the right prep. These three steps can help create a more durable finish for dressers, bookcases, cabinets, and other pieces.
How to Paint Laminate IKEA Furniture
Painting laminate furniture is a practical way to customize its appearance, but the result depends on following the product directions and allowing enough time for each coat to dry. If possible, work in a clean, well-ventilated area and protect the floor and nearby surfaces from drips.

Supplies
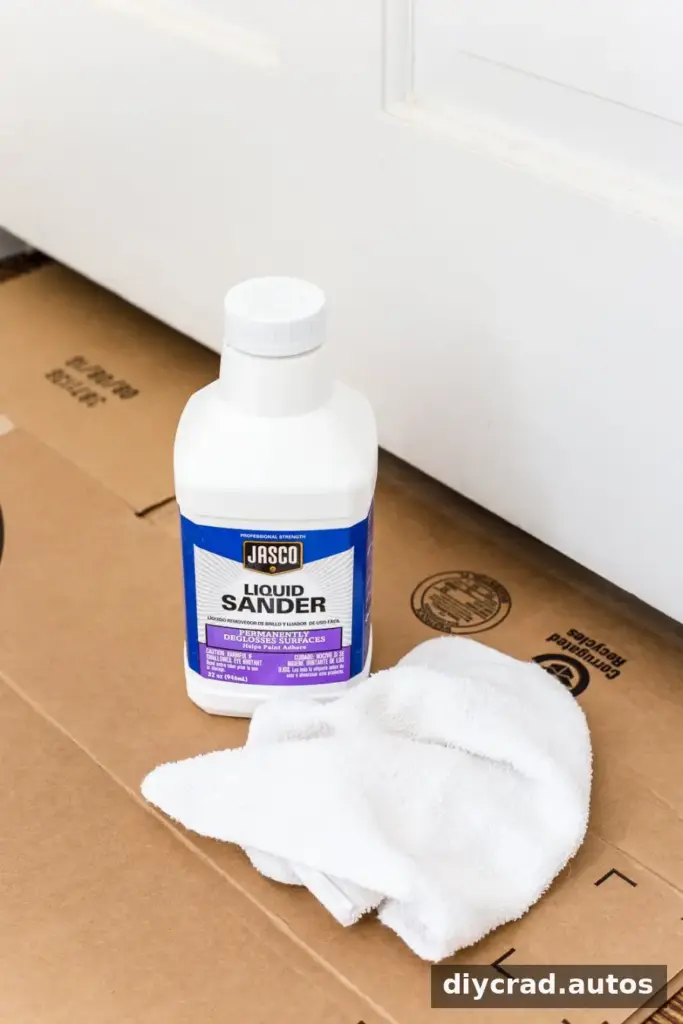
- Liquid deglosser
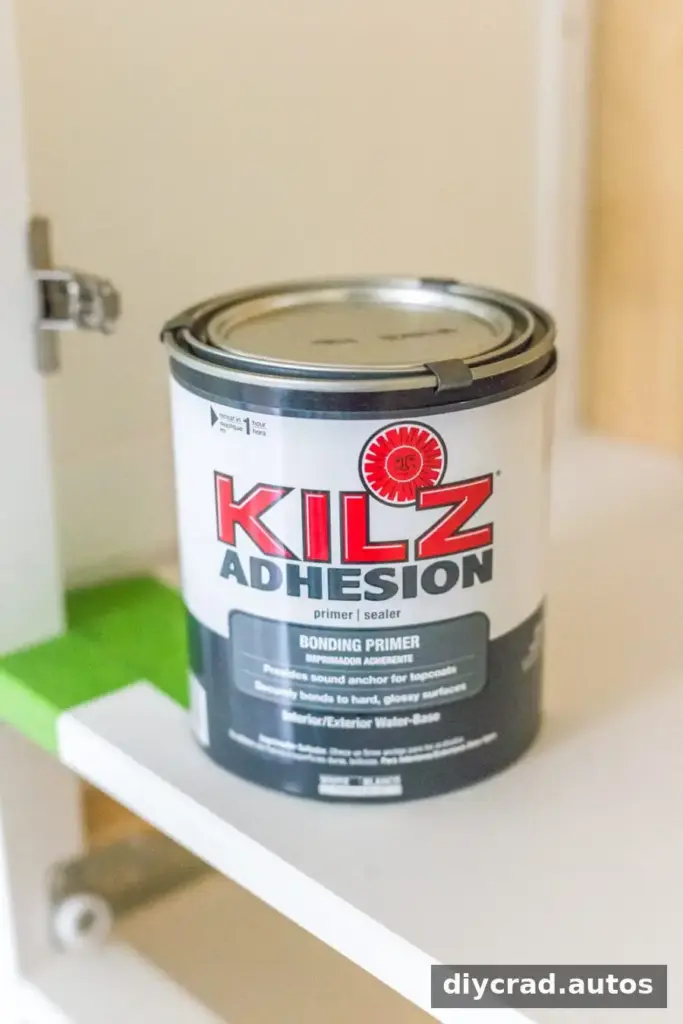
- Bonding primer formulated for slick or difficult surfaces
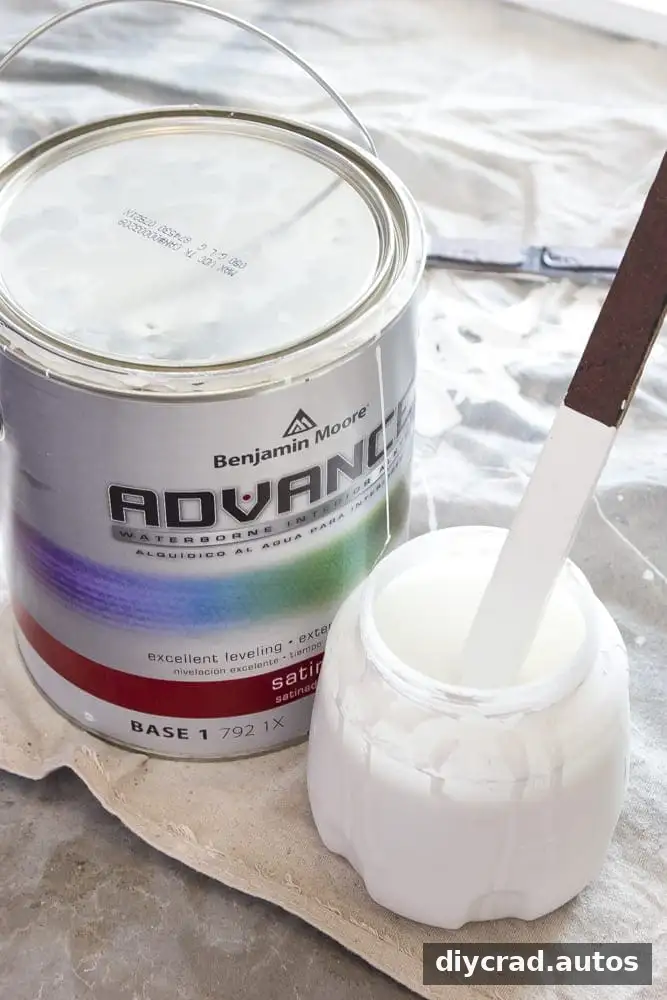
- Enamel paint suitable for cabinets or trim
- A clean, dry rag
- A paintbrush, mini roller, or paint sprayer
Check the labels before starting: confirm that the deglosser, primer, and paint are suitable for your project and compatible with one another. Follow each product’s safety, application, and drying instructions.
Step 1: Clean and degloss the surface
Whenever practical, paint the furniture pieces before assembly. This can make edges and hard-to-reach areas easier to coat, although it may extend the overall project time while the pieces dry. Place the parts on a protected, stable surface.
Wipe each surface with liquid deglosser using a clean rag, following the product directions. Allow the pieces to air-dry for about 10–15 minutes, as described in the original process, and confirm they are ready for priming according to the label. Avoid touching the prepared surfaces with dirty or oily hands.
Step 2: Apply bonding primer
Apply an even coat of bonding primer with a brush, mini roller, or sprayer. Use a tool that suits the size and shape of the piece: a brush can help reach corners, while a roller or sprayer may make it easier to cover broader panels evenly.
If the furniture is still in separate pieces, let one side dry as directed, then carefully turn the parts over and prime the other side. Do not rush this stage; the primer needs to dry according to its instructions before paint goes on.
Step 3: Paint and allow the finish to dry
Once the primer is dry, apply enamel paint intended for cabinets or trim. Work in thin, even coats and avoid loading the brush or roller with too much paint, which can leave drips or uneven areas. A sprayer can produce a smoother-looking finish when used correctly, but the manufacturer’s guidance for application and ventilation still applies.
Depending on the paint color and the coverage of the first coat, a second coat may be needed. Let each coat dry for the time stated on the label before applying another one or handling the pieces.
Tips for a More Durable Finish
- Do not skip preparation. Cleaning and deglossing help the primer adhere to the smooth laminate surface.
- Use products as directed. Drying times and application requirements can differ between products, so follow their labels rather than relying on a general timetable.
- Handle carefully after painting. Paint may feel dry before it has fully hardened. Give the finish time to cure as directed before regular use or assembly.
- Test your approach if unsure. A small, inconspicuous area can help you check the appearance and compatibility of the products before coating the entire piece.
Skipping the prep work can make a painted laminate finish more vulnerable to peeling and scuffs. Taking the time to clean, prime, and paint in separate stages is a more reliable way to customize furniture. With suitable products and careful drying between coats, you can paint laminate IKEA furniture for a refreshed look that is better prepared for everyday use.