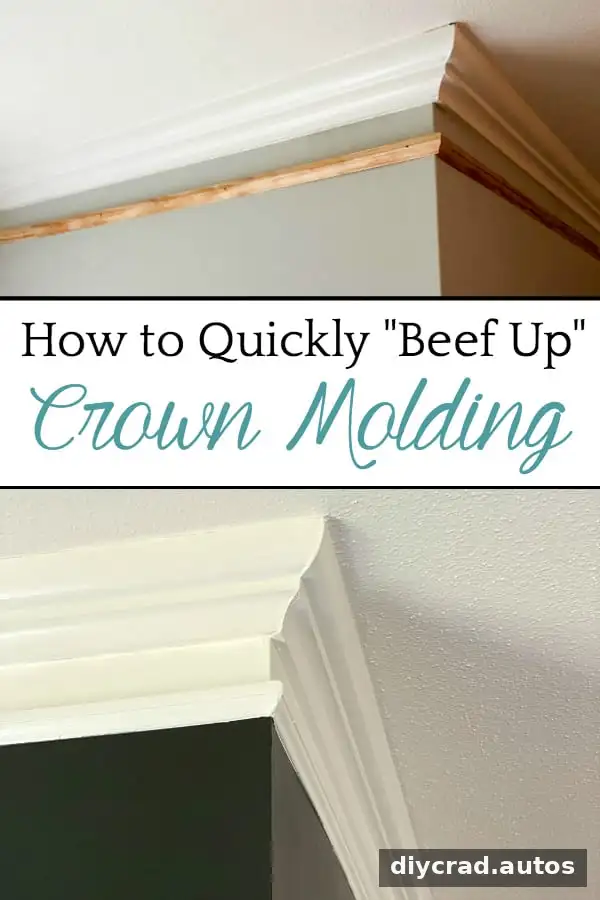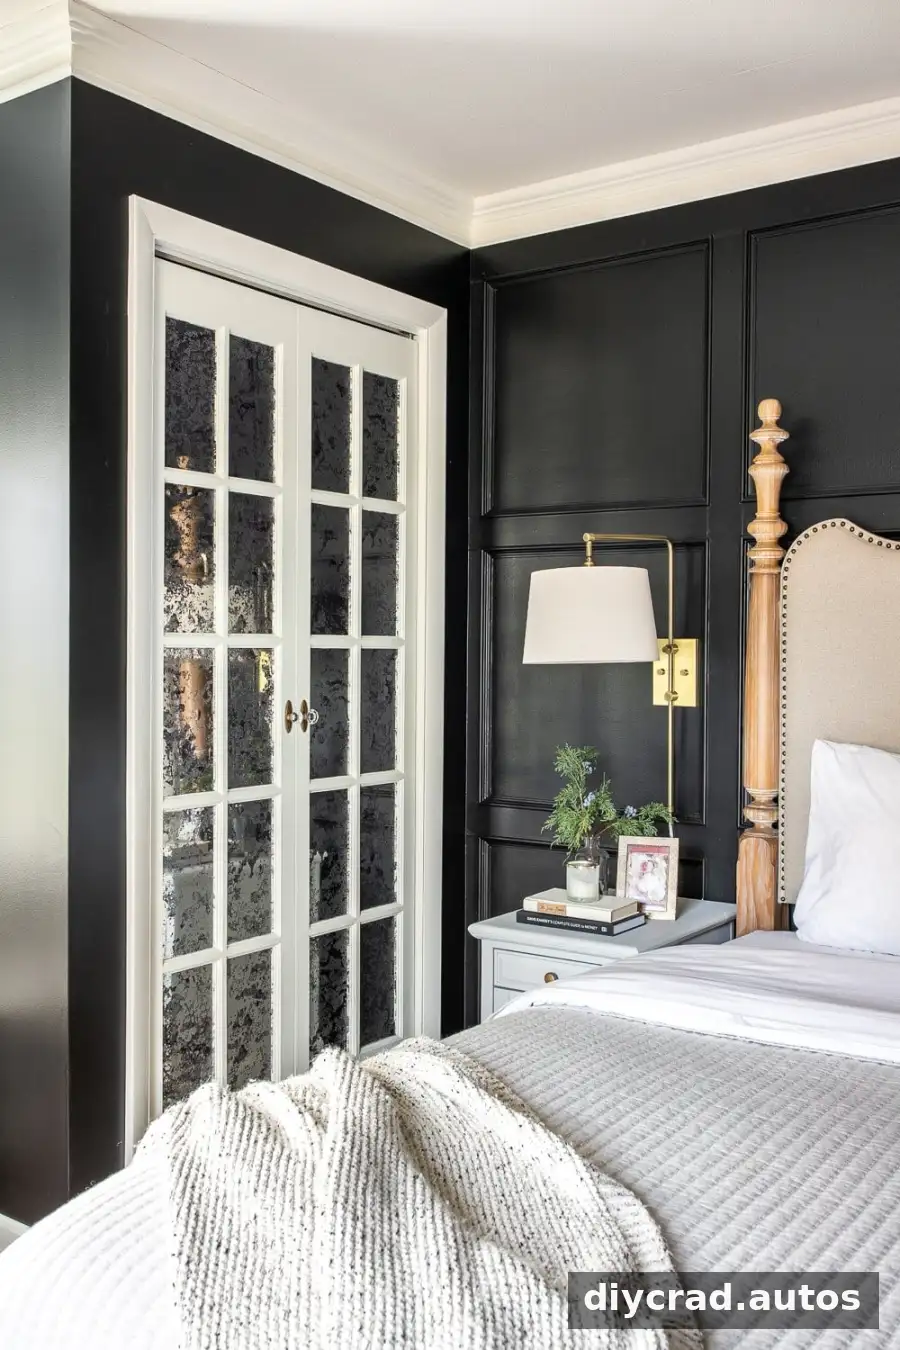
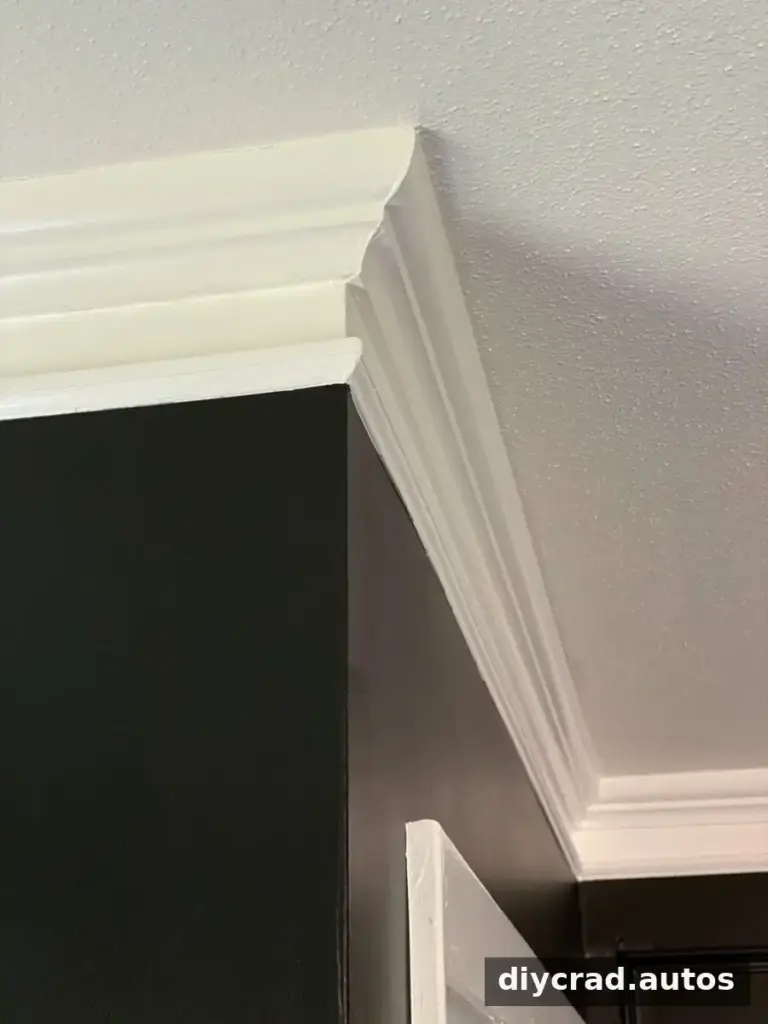
If your crown molding or baseboards look too narrow for a room, you can beef up crown molding visually without removing the existing trim. Add a slim strip of molding to the wall and paint the space between the pieces to match the trim. This straightforward update can create the appearance of taller, more substantial woodwork with limited demolition.
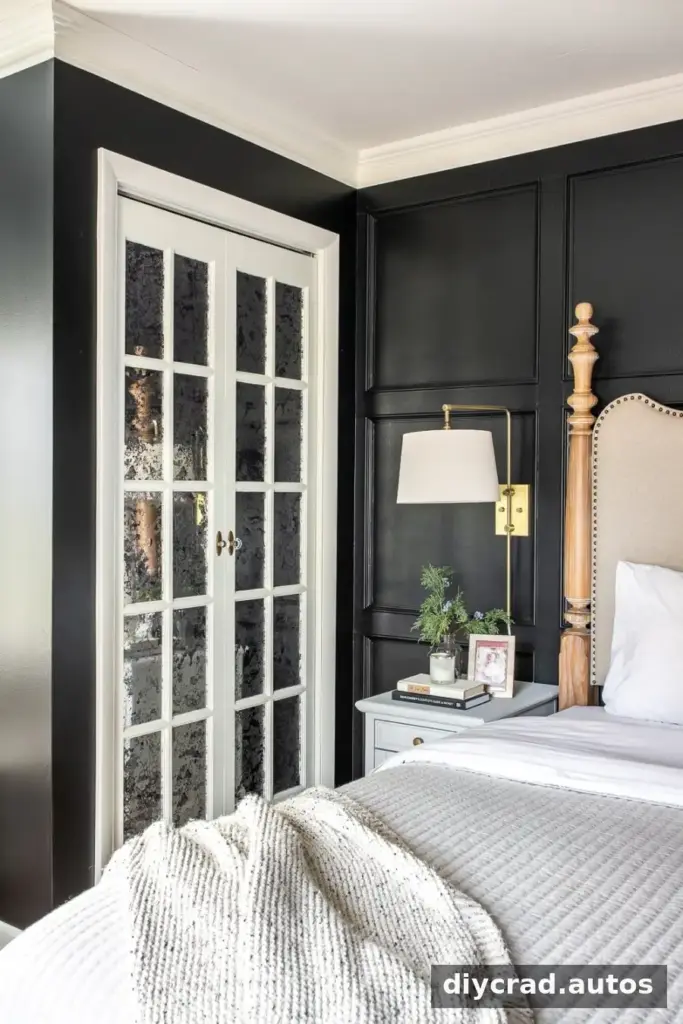
How to beef up crown molding and baseboards
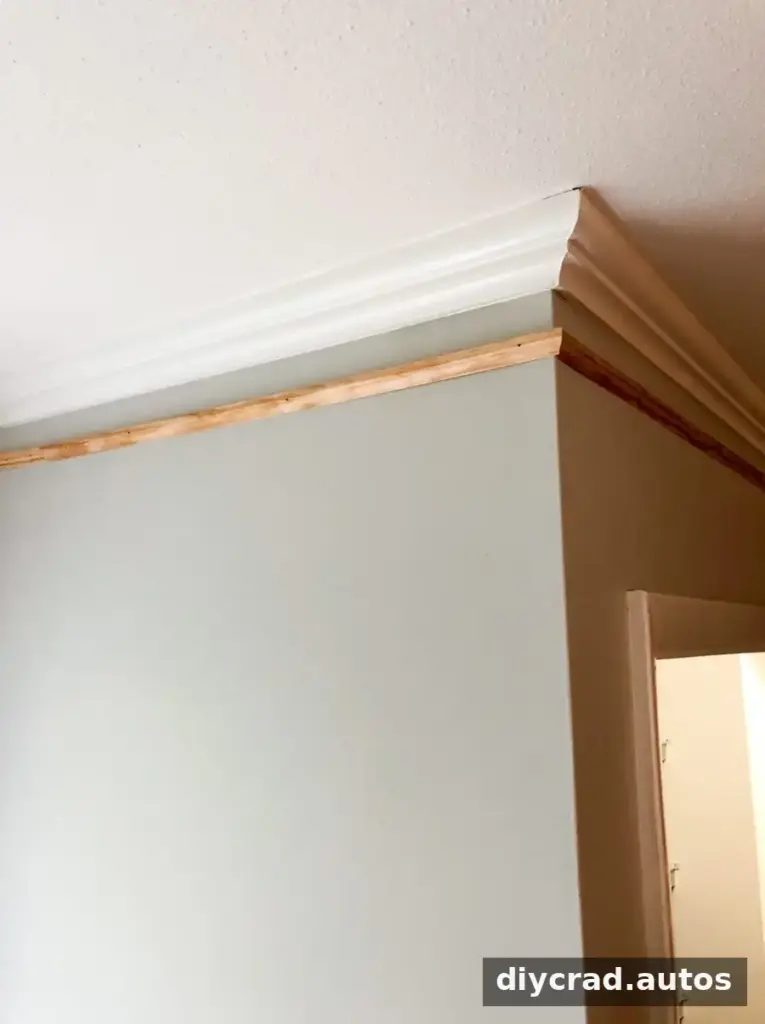
The method uses a strip of base cap molding as a secondary detail. For crown molding, install the strip about 2–3 inches below the existing crown. For baseboards, position a strip about 2–3 inches above the existing baseboard. The gap between the old and new pieces becomes part of the finished trim design once it is painted.
The suggested spacing is a starting point, not a fixed rule. Before installing anything, hold a short piece of molding against the wall and check how the gap looks from across the room. Choose a distance that suits the trim profile and repeat it consistently along the wall.
- Base cap molding for the additional trim detail
- A tape measure and pencil for marking the layout
- Appropriate trim fasteners and a hammer or nailer
- Caulk, filler, and paint for finishing
Installation steps
- Plan the position. Measure from the edge of the existing crown molding or baseboard, then mark the intended spacing at several points. Use a level or straightedge to keep the line even, especially on long walls.
- Measure and cut the molding. Measure each wall separately. For corners, test the cuts and fit the pieces before fastening them; corner angles and wall surfaces can vary.
- Fasten the strip. Secure the base cap molding to the wall with suitable trim nails. Where practical, fasten into framing, and take care to avoid damaging nearby wiring or plumbing.
- Fill and seal the joints. Fill nail holes and address small gaps at joints with products suitable for paintable trim. Let the materials dry as directed, then sand lightly if needed.
- Paint the detail. Paint the drywall in the gap with the same trim paint used on the molding. Apply paint carefully along the edges for a clean, continuous appearance.
Tips for a neat, cohesive result
Check the new strip against the existing trim before buying enough material for the whole room. A compatible profile and proportion can make the added detail look intentional. If the current trim has a distinctive shape, a very different molding profile may create a mismatched effect.
Work around the room in sequence and recheck the spacing as you go. Walls may not be perfectly straight, so measuring at multiple points helps reveal changes before the molding is attached. Use painter’s tape to protect nearby surfaces when painting, and follow the product labels for drying times and ventilation.
This approach does not require removing the existing crown molding or baseboards, but the final appearance depends on careful layout and finishing. Material prices vary by location and molding type, so estimate the amount needed and check local costs before starting.
Is this trim update right for your room?
Adding a narrow strip above a baseboard or below crown molding is a practical option when you want a fuller trim effect without replacing the existing pieces. Choose the spacing, molding profile, and paint finish together so the separate elements read as one design. With careful measuring and clean finishing, this simple way to beef up crown molding can also give baseboards a more substantial look.