Learning how to paint kitchen cabinets can update a kitchen without the cost and disruption of replacing the existing cabinetry. A smooth, durable finish depends on more than choosing a color: careful cleaning, suitable primer, thin coats, and patience between stages all matter. This guide covers the process for cabinet doors, drawers, frames, and hardware.
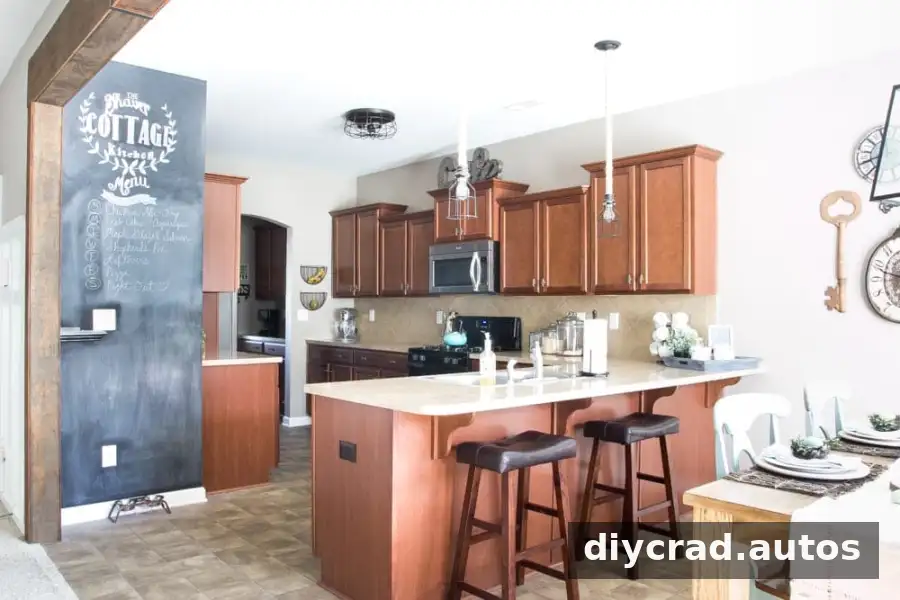
How to Paint Kitchen Cabinets: Supplies and Paint Choices
Gather the materials before you begin and set aside a clean, well-ventilated work area. A simple labeling system helps keep doors, drawers, and hardware matched to their original locations.
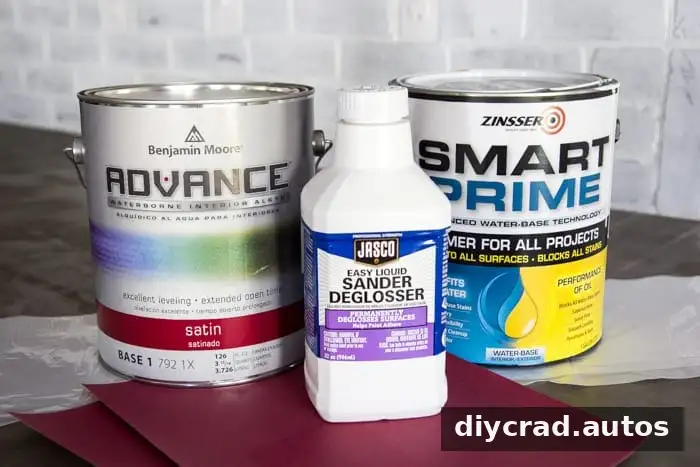
- Degreasing cleaner and liquid deglosser
- Primer suitable for the cabinet material; shellac-based primer is one option for laminate cabinets
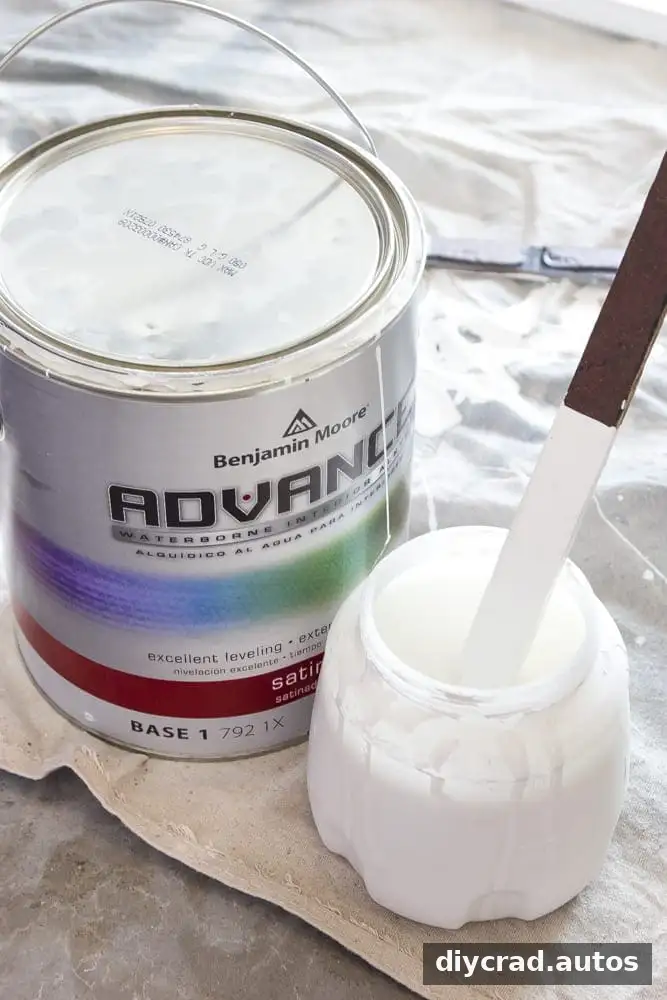
- Durable cabinet paint, such as a satin finish
- A paint sprayer or cabinet roller, four-inch roller covers, and a two-inch angled brush
- Wood filler and fine-grit sandpaper
- Rubber gloves, clean lint-free rags, and a drop cloth
- Painter’s tape and a utility knife
- A drill or driver, a cabinet and drawer template, and replacement knobs or pulls if needed
- Small bags for screws and hardware
A self-leveling waterborne alkyd enamel can create a smooth finish and can be cleaned up with soap and water, subject to the product directions. The project described here used white satin paint, making resistance to yellowing an important consideration. Choose products labeled for cabinets or trim, and check their instructions for compatible primer, application, thinning, recoating, and cleanup. Never thin paint or primer unless the manufacturer allows it.
Prepare the Kitchen Cabinets for Painting
1. Remove and label doors and hardware
Take off the cabinet doors, drawers, and hardware. Sketch the kitchen layout and number each door so it can be returned to the correct opening. Place related screws and hardware in labeled bags. This small organizational step can save time and prevent confusion during reinstallation.
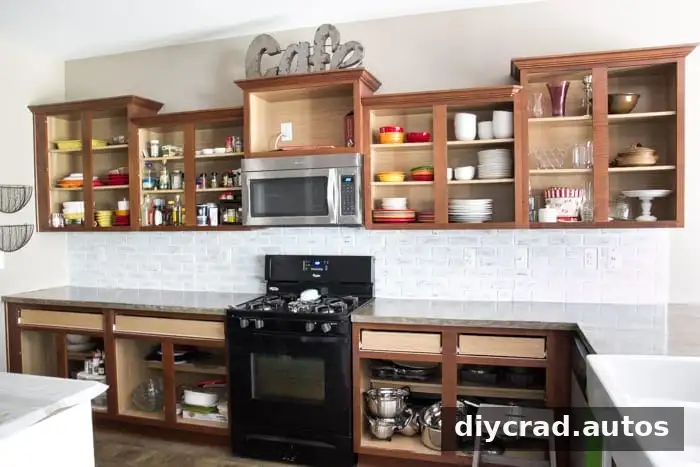
The sketch can be simple. Mark doors discreetly in a spot that will not show once they are rehung.
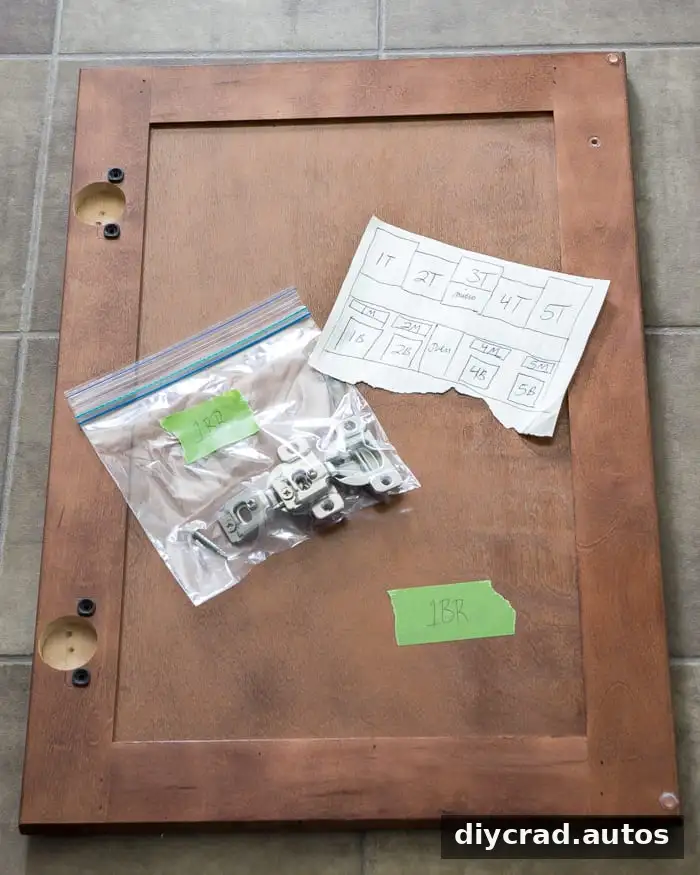
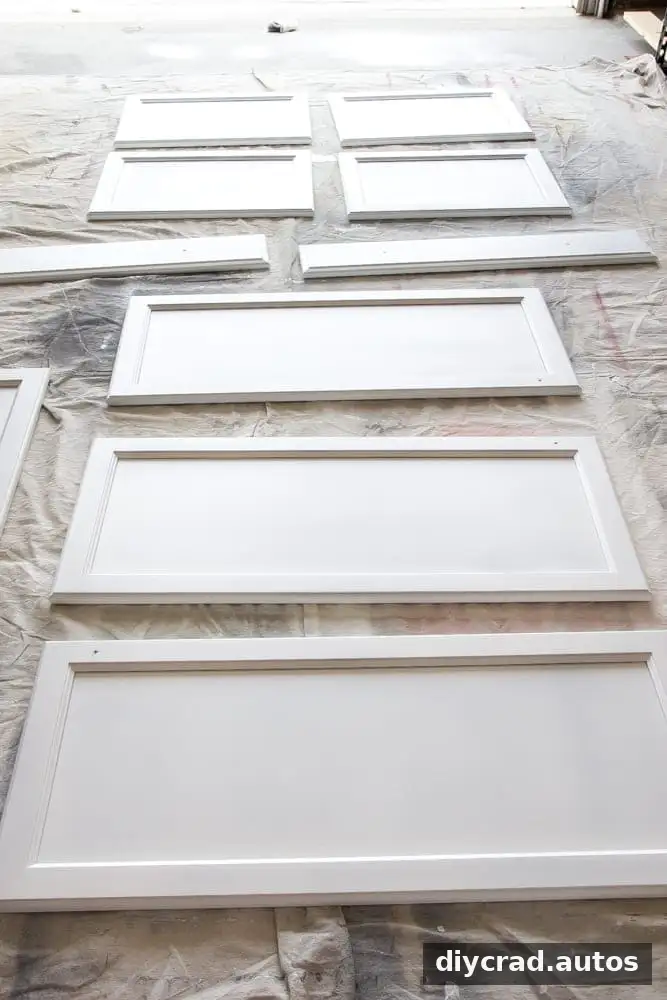
Place the doors on a protected, ventilated work surface with enough room to reach their edges. The project featured 42 doors and drawers, so organizing the pieces and work area was especially useful.
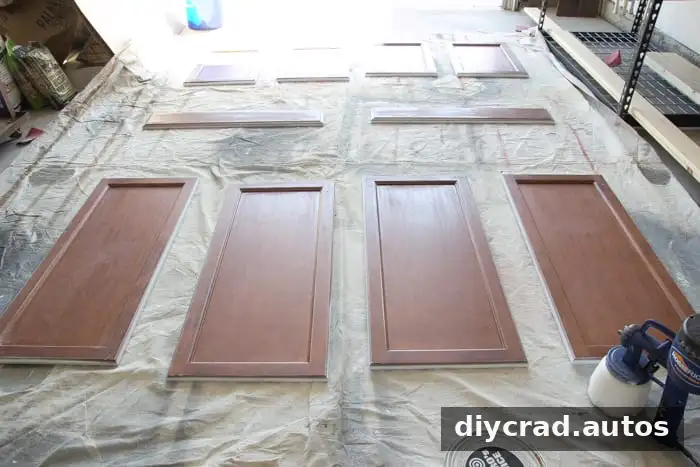
2. Clean the doors and frames
Use a degreasing cleaner according to its label to remove cooking oil, residue, and everyday grime. Wear chemical-resistant gloves if the product instructions call for them. Wipe or rinse away residue as directed, then let the surfaces dry completely. Paint may not adhere well to surfaces that still have grease or cleaner on them.
3. Degloss the surfaces
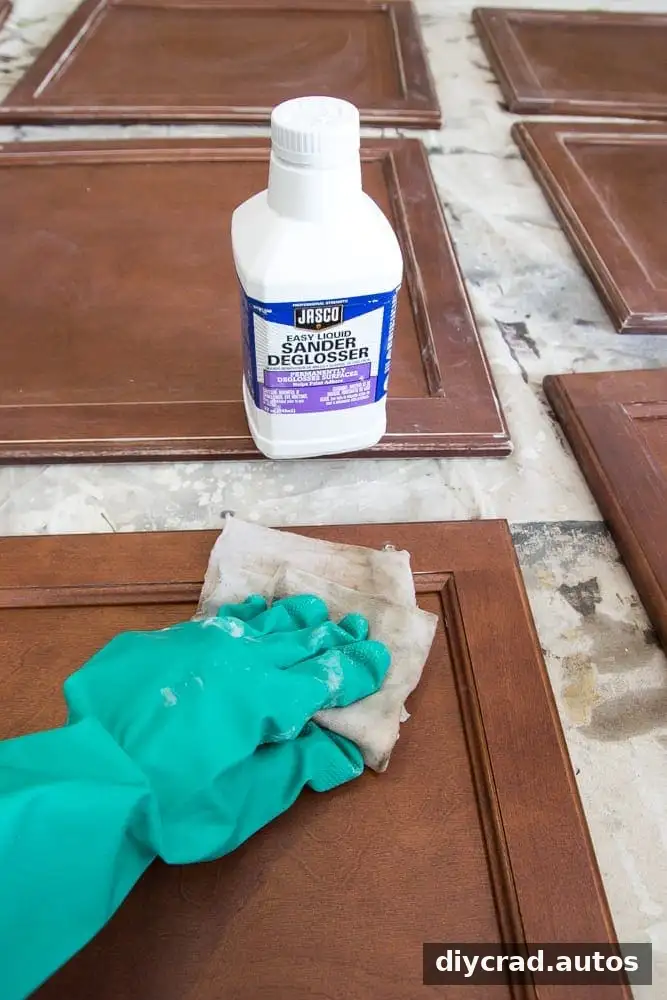
Apply liquid deglosser to the doors and frames as directed by its manufacturer. The method used for this project skipped sanding after cleaning and deglossing, but that approach may not suit every cabinet. Inspect the material first, and smooth rough spots or damaged finishes as needed. Allow the deglosser to dry for at least 30 minutes, or longer if the product label requires it.
4. Fill old hardware holes if necessary
If replacement knobs or pulls will use different positions, fill the old holes with wood filler. Let the filler dry fully, then sand it smooth with fine-grit sandpaper. Check the repair from different angles so the surface is level before applying primer.
Prime and Paint the Cabinet Doors
5. Prime the backs first
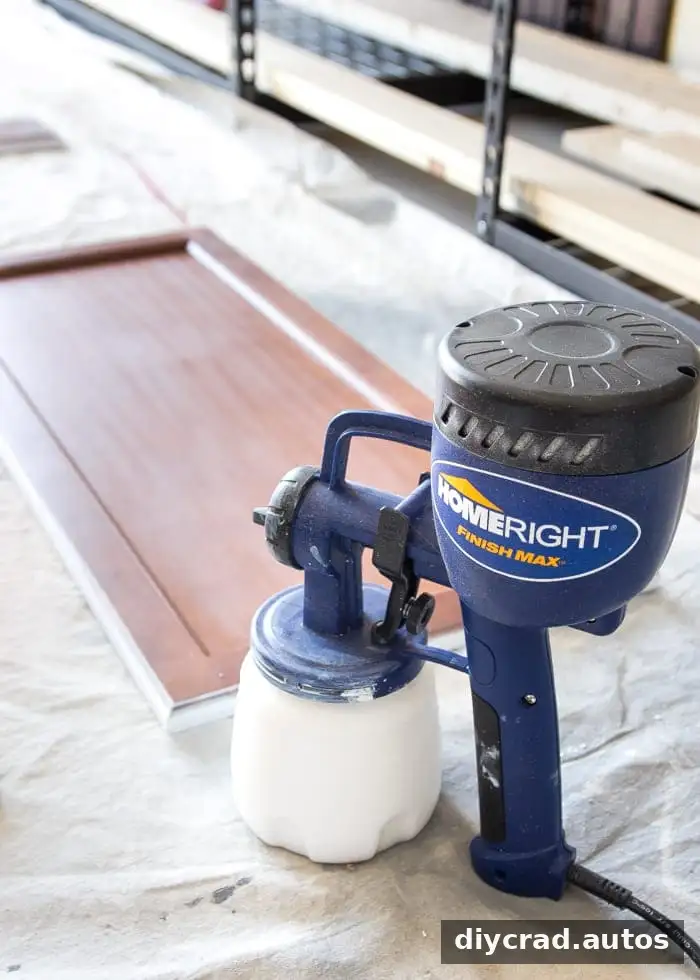
Apply a thin, even coat of primer to the backs of the doors. A sprayer can cover a door quickly: the project estimate was about 60 seconds per coat, compared with 10–15 minutes using a brush and roller. Either method can work when applied carefully. Avoid thick coats, drips, and pooled paint. If spraying, thin the primer only when permitted by the product instructions; the method used for this project added about 10% tap water.
6. Let the primer dry, then coat the fronts
Allow the backs to dry for 24 hours before turning the doors over. Prime the fronts and leave them to dry for another 24 hours. Clean the sprayer between coats according to its instructions. Drying time affects the final result, so do not turn or recoat doors earlier than the product directions recommend.
When possible, plan the work for a period of lower humidity. Humidity can affect drying and curing; check the product label for suitable conditions and timing.
7. Apply cabinet paint in thin coats
Paint the backs of the doors first. The project used about 5% water to thin the paint for spraying, but thinning should only be done when the manufacturer permits it. Apply a second thin coat 12 hours later, then allow the finish to dry for a full 24 hours before flipping the doors.
Repeat the same sequence on the fronts: apply one coat, wait 12 hours, apply a second coat, and allow 24 hours of drying. Coating the backs first can reduce the chance of scuffing the more visible side while handling the doors.
Paint the Cabinet Frames and Reinstall the Doors
8. Protect the room and paint the frames
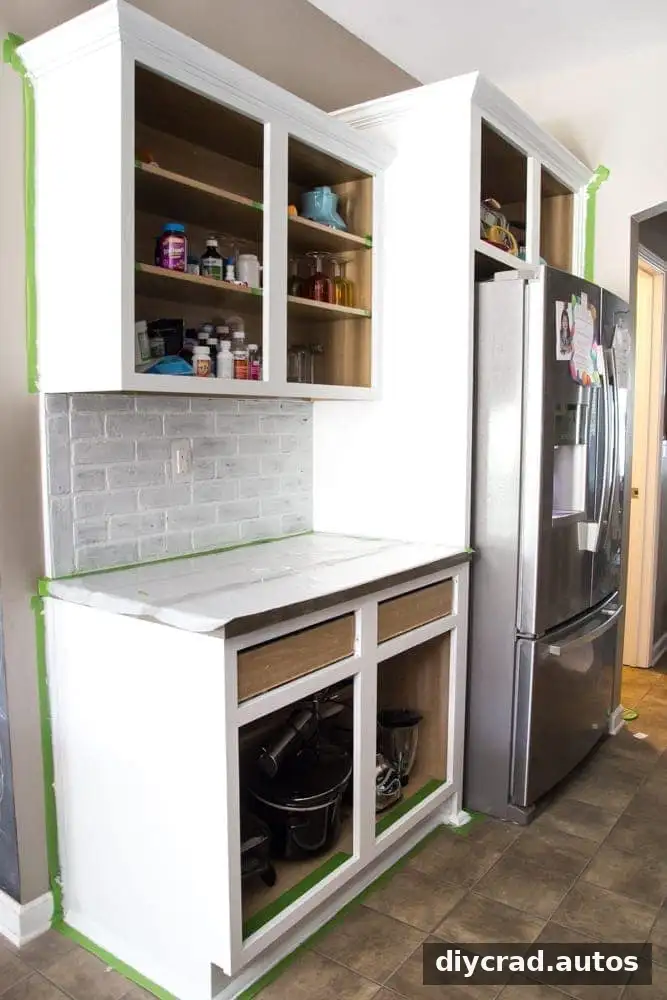
Cover nearby floors and counters with a drop cloth, and use painter’s tape to protect edges around the cabinet frames. Clean and degloss the frames using the same general method as the doors. Allow the deglosser to dry for 30 minutes, or follow the product label if it specifies a different interval.
- Apply one coat of primer with an angled brush and foam roller. Allow it to dry for 24 hours.
- Apply two coats of cabinet paint with the brush and roller, allowing 24 hours between coats.
A sprayer can also be used on frames, but it requires thorough protection of nearby surfaces to control overspray. Using the waiting periods to work on the frames can make the project more efficient without shortening the recommended drying time.
9. Remove painter’s tape with care
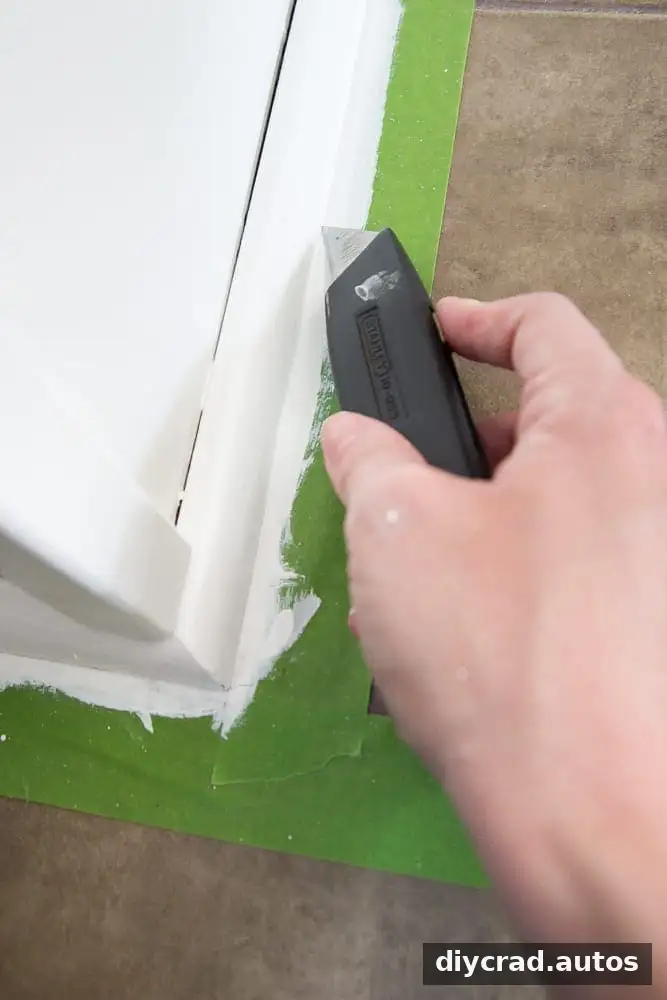
When the paint is dry, score along the tape edge with a utility knife before peeling it away. This can help keep fresh paint from lifting with the tape. Use light pressure so the blade does not cut into the cabinet surface.
10. Reinstall the hardware and doors
Use a cabinet and drawer template to mark consistent locations for new knobs or pulls. Drill carefully, then install the hardware and rehang each door using the labels as a guide. Open and close the doors to check their movement, and adjust alignment if needed.
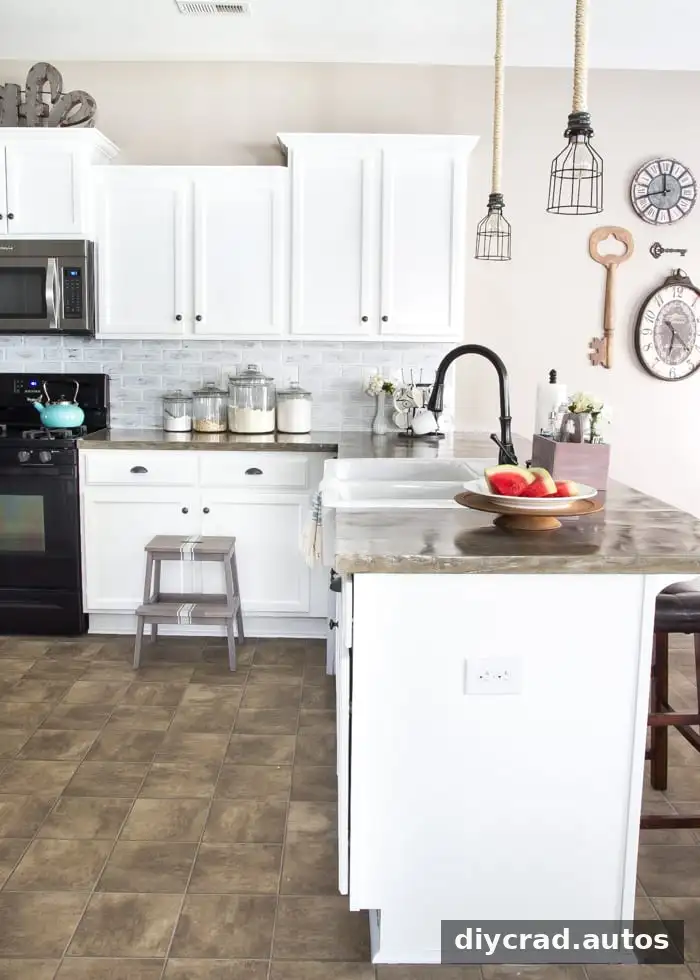
After Painting Kitchen Cabinets
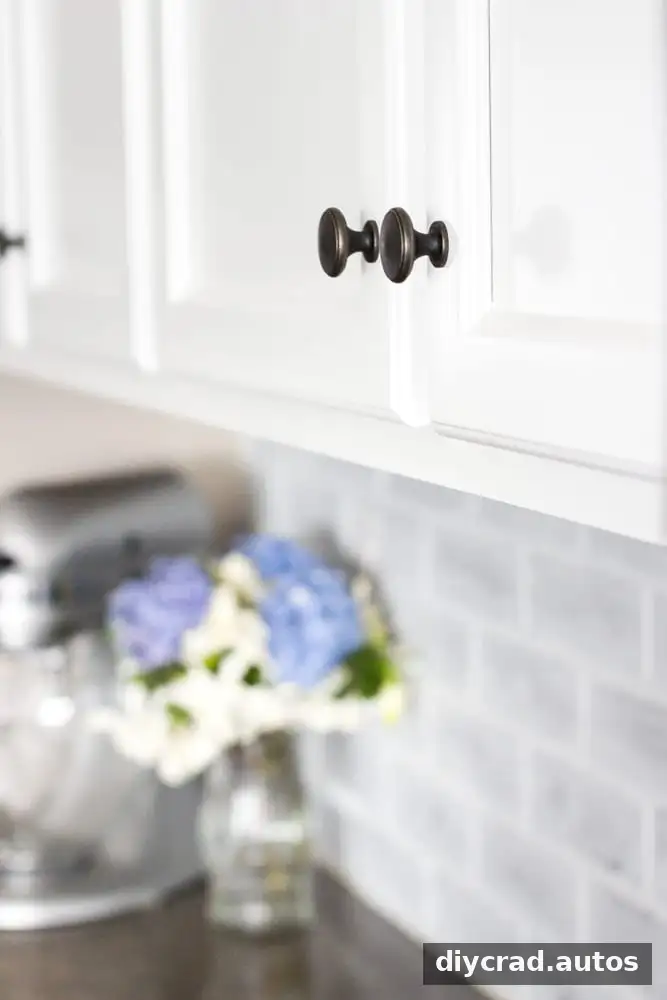
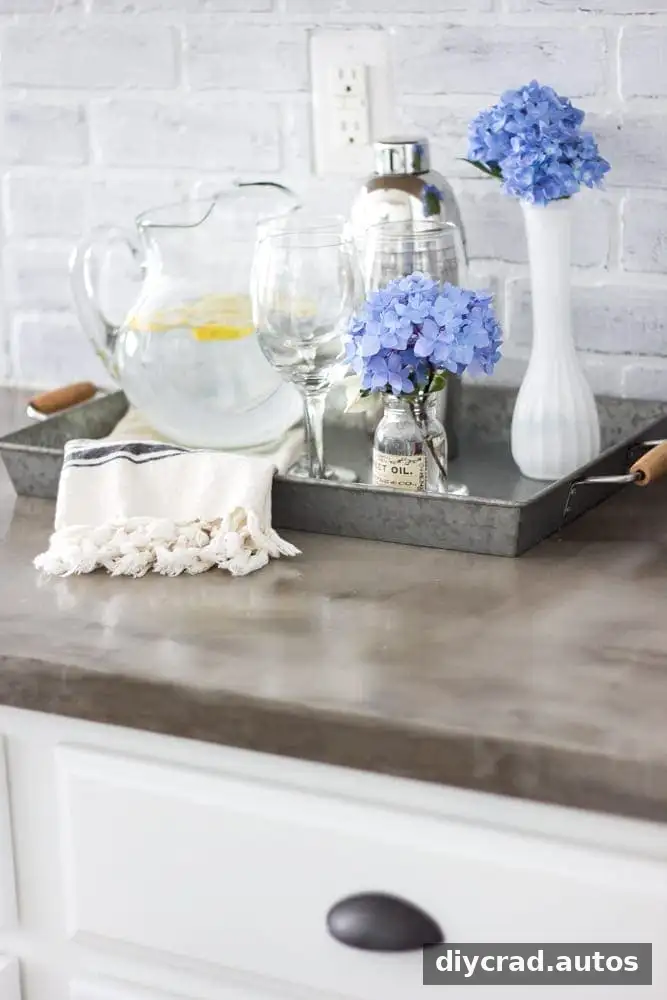
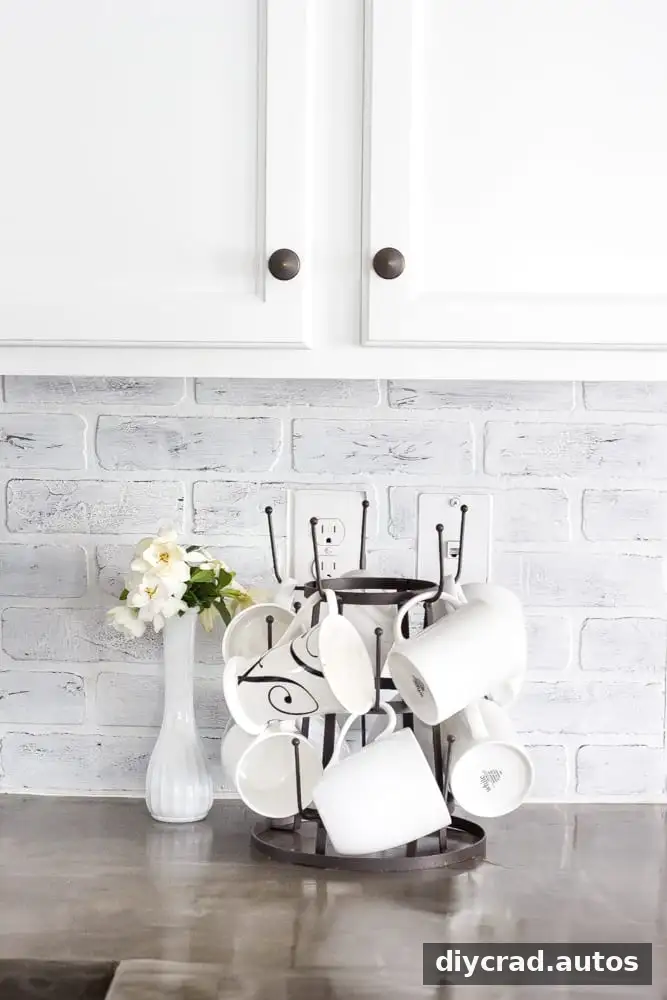
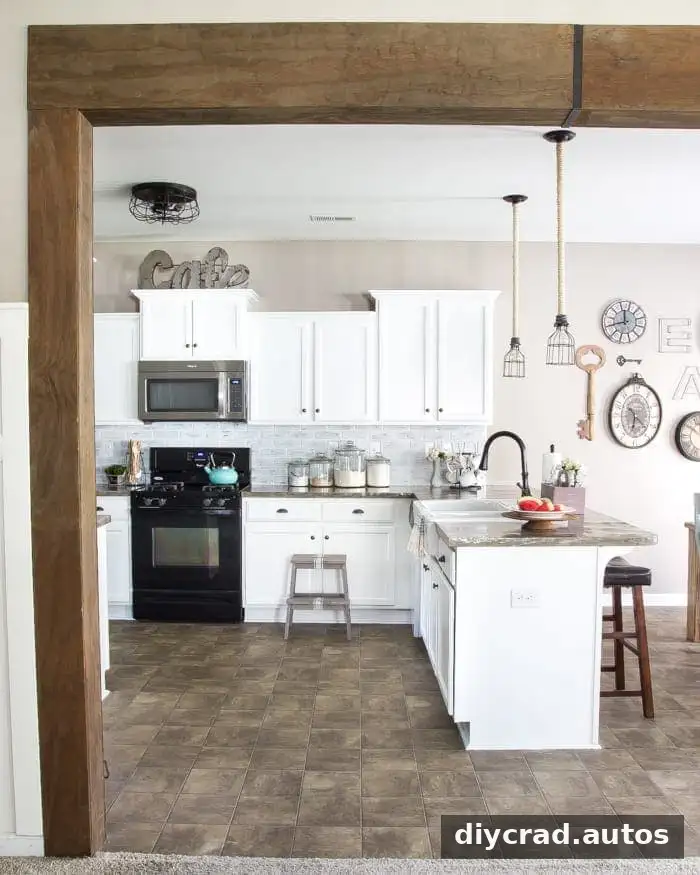
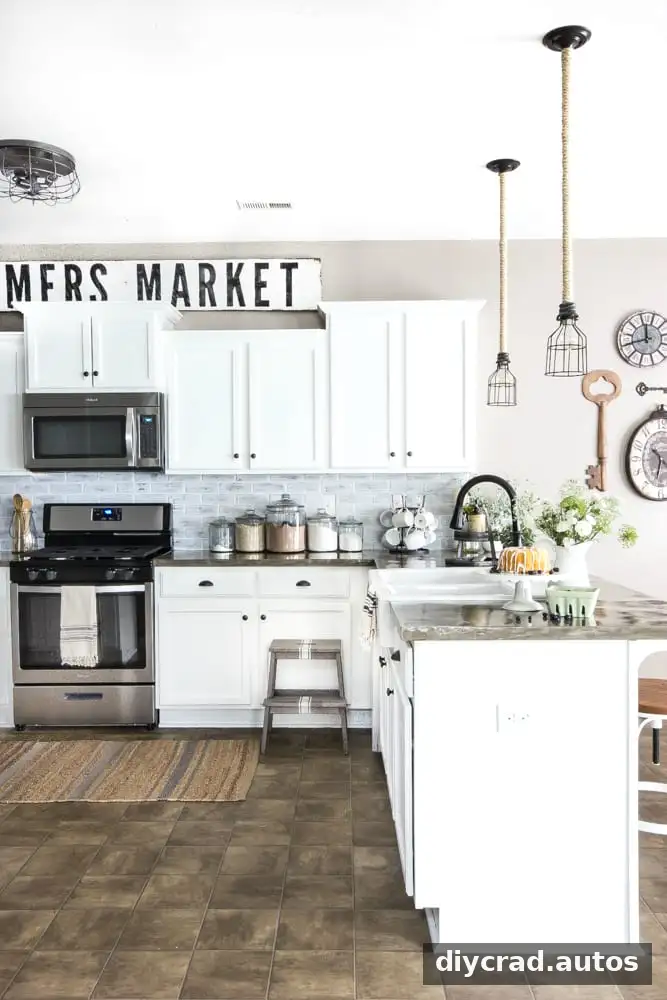
A fresh cabinet finish can make a kitchen feel brighter, particularly when the room has limited natural light. Painting also lets homeowners update existing cabinets without replacing them.
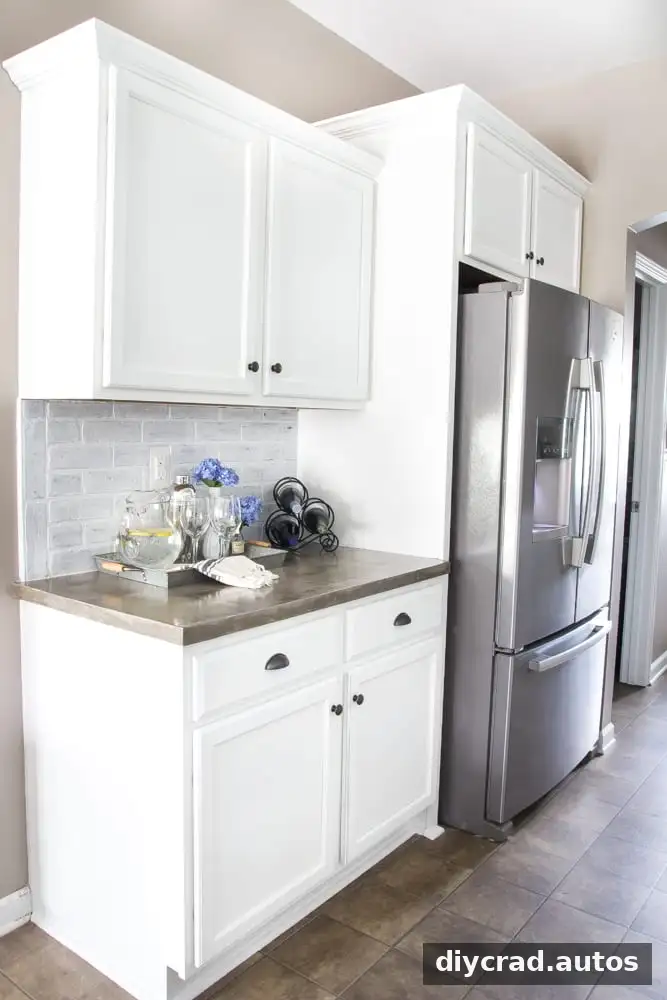
Follow the paint manufacturer’s instructions for curing before exposing the finish to heavy use or cleaning. Paint that feels dry to the touch may not be fully cured. Handle doors gently during this period and avoid placing objects against newly painted surfaces.
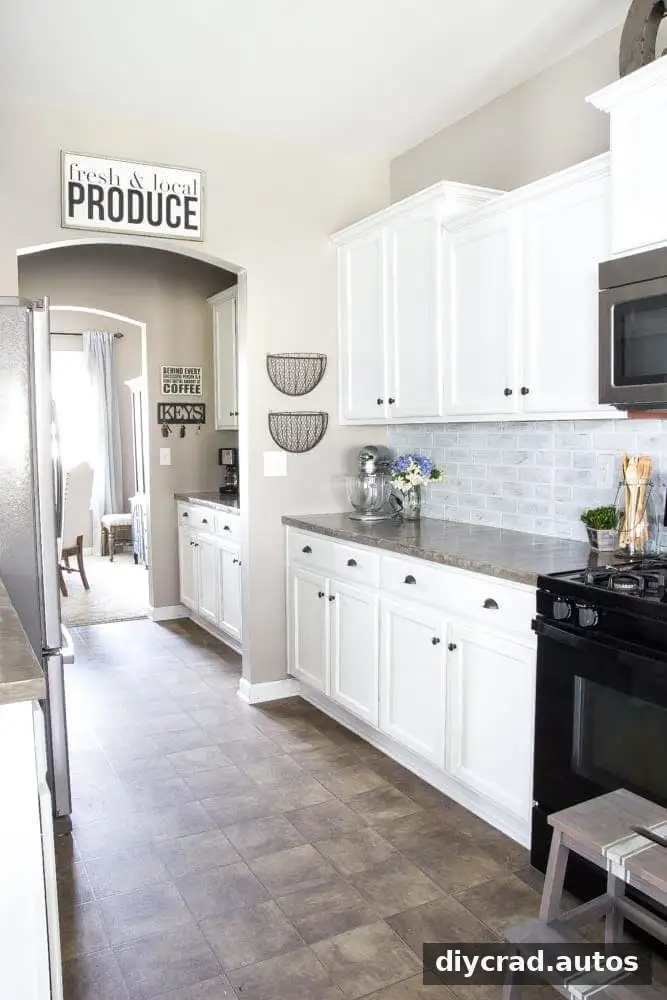
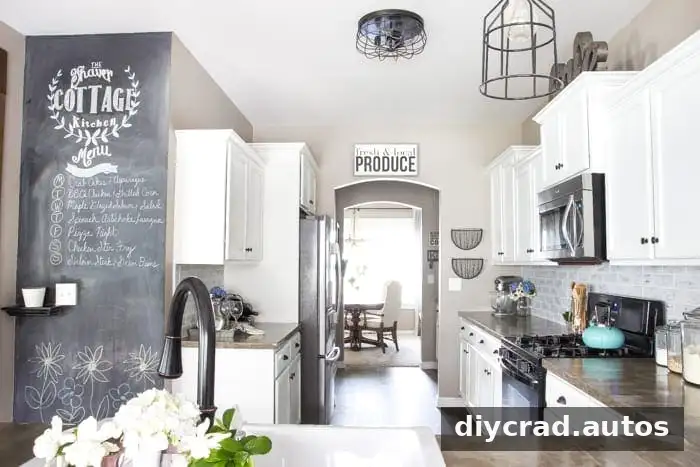
Cabinet painting can be part of a larger kitchen update, but schedule other work so it does not interfere with drying and curing. Keeping the painted surfaces clear helps reduce the risk of marks or damage while the finish hardens.

Frequently Asked Questions
Can I paint kitchen cabinets without sanding?
It may be possible if the cabinets are in suitable condition and the cleaner and deglosser are used correctly. Assess the surface and follow the instructions for both the cabinet material and the products. Sanding is still helpful for smoothing repairs, rough patches, or damaged finishes.
What type of paint should I use on kitchen cabinets?
Choose paint designed for cabinets or trim, such as a waterborne alkyd enamel. Check that the primer is compatible and follow the manufacturer’s instructions for application, drying, and cleanup. Good preparation and thin, even coats are important for a durable result.
How long does it take to paint kitchen cabinets?
Active work time depends on the number of doors, the size of the kitchen, and whether you use a sprayer, brush, or roller. This project involved 42 doors and drawers and included 24-hour drying periods at several stages. Plan for multiple days rather than trying to finish every step at once.
For a lasting result, the essentials of how to paint kitchen cabinets are thorough cleaning, a primer suited to the cabinet material, thin and even paint coats, and adequate drying and curing time. Label doors before removing them, protect nearby surfaces, and use each product’s directions as your guide.