A painted weathered wood bed can update a bedroom while retaining the shape and character of a well-made piece. This makeover transformed a queen-size sleigh bed with a cherry-red finish using layers of beige and off-white paint, followed by a light application of espresso-colored furniture wax. The bed cost $110, and the total spent furnishing the bedroom—including a dresser, armoire, two nightstands, and the bed—was $290.


How to Make a Painted Weathered Wood Bed
The bed was in good condition, although scratches and small dents were visible. Some areas were veneer, so sanding the entire bed down to bare wood was not appropriate for this project. Instead, paint was applied over the existing finish to create a softer, gently aged look.
Before painting, check the bed for loose joints, damaged veneer, or peeling finish. If you are uncertain whether a product will adhere, test it on a hidden spot and follow the instructions on its label. A small test patch can also help you judge the colors and the amount of distressing before working across the whole bed.
Supplies for the Weathered Finish
- Light beige chalk paint
- Off-white mineral paint
- Espresso-colored furniture wax
- 1.5-inch angled paintbrush
- Chip brush
- Wax brush
- Clean, dry, lint-free cloth
- Paper towels
Using materials already available can help control project costs. Before starting, make sure brushes are clean and free of dried paint, and keep a lint-free cloth nearby for wiping away excess wax. Follow each product’s directions, as application and drying requirements can differ.
Step 1: Clean and Prepare the Bed
Remove dust and surface grime with a suitable cleaning method, then allow the bed to dry fully. In this project, the finish did not appear oily or difficult to paint, but cleaning is still a useful preparation step. Paint applied over dust or residue may not adhere evenly.
If the surface feels greasy or unusually slick, consider an appropriate furniture cleaner or liquid deglosser and follow its label. Test the product in an inconspicuous area first. Use care around veneer, which should not be saturated with liquid, and avoid assuming that every existing finish can be painted without preparation.
Step 2: Apply the Beige Base
Brush on two coats of light beige paint, letting the first coat dry before adding the second. Use controlled strokes around the sleigh bed’s curves, grooves, and decorative trim. Several thin, even passes are generally easier to manage than one heavy coat, which can collect in detailed areas.

Step 3: Dry-Brush the Off-White Layer
Dry brushing creates subtle color variation without completely covering the base coat. Dip just the tips of a chip brush into off-white paint, then remove most of the paint by wiping the brush on a cloth or paper towel. Sweep the brush lightly over the surface and build the effect little by little.
The less uniform marks from a chip brush can complement a weathered look. Work in small sections and step back occasionally to check how the finish reads from a distance. If the surface looks too pale, stop before applying more; a restrained layer is easier to balance than an overly opaque one.
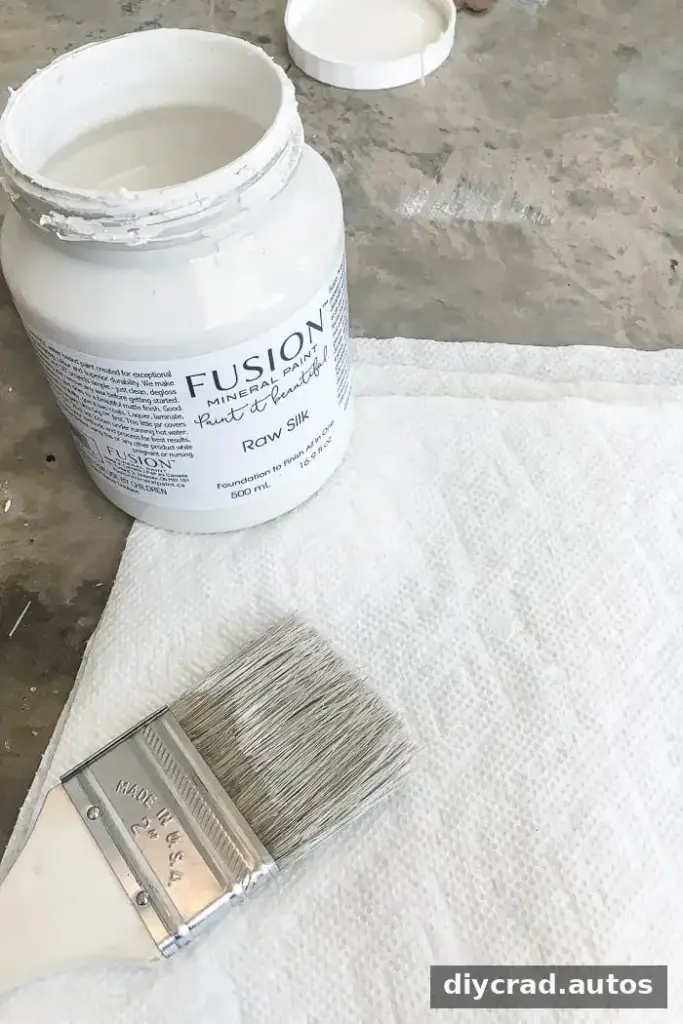
The off-white paint adds depth while allowing the beige underneath to remain visible. Keep the treatment consistent across the bed, with only a little extra emphasis on raised details if desired.

Step 4: Apply a Light Coat of Brown Wax
After the paint has dried, use a wax brush to work a small amount of espresso-colored furniture wax into the grooves. Following the direction of the wood grain, where practical, can help the finish look visually cohesive even though the surface is painted.
Wait about five minutes, then buff the bed with a clean cloth. Apply wax sparingly: too much can leave a sticky surface. Check the product directions for its recommended application and buffing method, and use it in a well-ventilated space.

Step 5: Let the Finish Cure
For this makeover, the wax was left to cure for 24 hours before the bed was moved into the guest room. Cure times vary, so use the timing specified by the wax manufacturer. Until the finish has set, handle the bed gently and avoid pressing bedding or decorative items against freshly waxed areas.
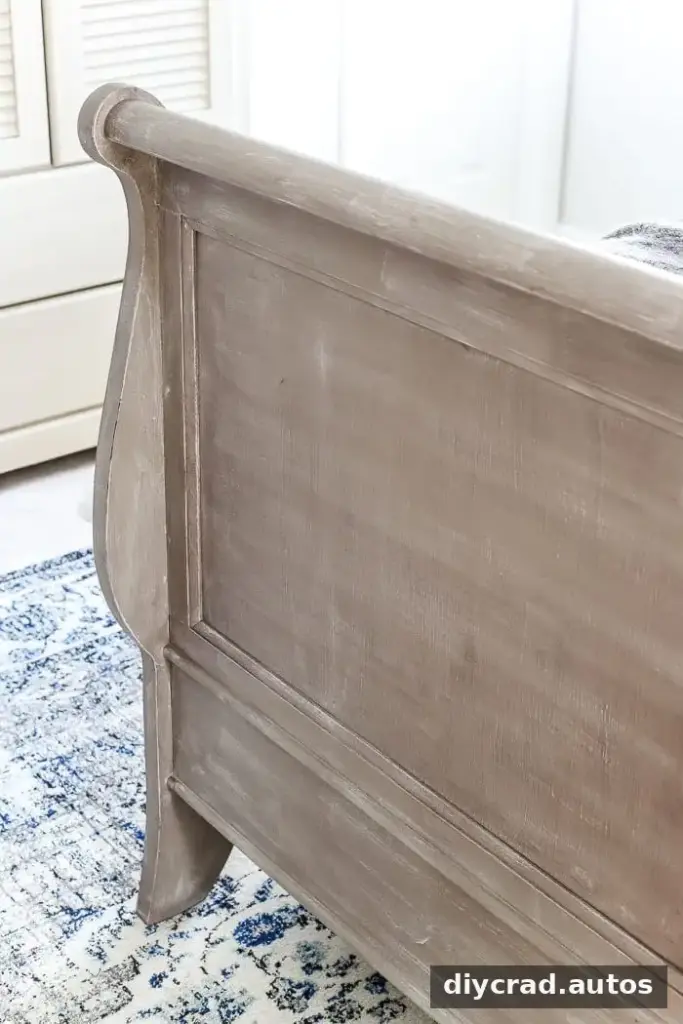
Weathered finishes do not have to be perfectly uniform. Inspect the bed in good light after waxing; small uneven areas can be adjusted with a little more wax and careful buffing. Make any corrections gradually to avoid creating a darker patch.

Coordinate the Bed With the Rest of the Room
The bed’s neutral, layered finish worked alongside two-tone nightstands without making every furnishing identical. Repeating a color or finish in a few places can connect a room while allowing individual pieces to keep their own character. Consider the existing wood tones and paint colors before choosing additional accessories.


A ceiling fan with wood-tone blades suited the room’s vintage-inspired style. When comparing furnishings online, remember that colors may look different on a screen. Check product descriptions and images against the finishes already in the room whenever possible.


Plantation shutters were already in place, so the window was left without curtains. When deciding whether to add window treatments, consider privacy needs, light control, and whether fabric would bring welcome softness to the room.

The bedroom also included a rug, pillows, an armoire, lamps, and other finishing details. Choosing a general color palette before purchasing accessories can help the room feel coordinated without relying on a matching furniture set.

Artwork and pillows for the window seat were still planned for the opposite side of the room. Adding smaller pieces after placing the main furniture makes it easier to assess the colors, proportions, and sizes the space needs.

Conclusion
This painted weathered wood bed makeover demonstrates how layered paint and a restrained application of wax can refresh a sound bed with a dated color while preserving its distinctive shape. Clean the surface, apply thin coats, build the dry-brushed effect gradually, and allow the wax to cure according to its instructions before regular use.