

A process art weaving invitation gives children a chance to explore texture, pattern, and construction at their own pace. For this multi-age studio activity, simple cardboard looms were prepared ahead of time and paired with a wide range of materials. There was no sample to copy and no required technique—the goal was to let children decide what to try.
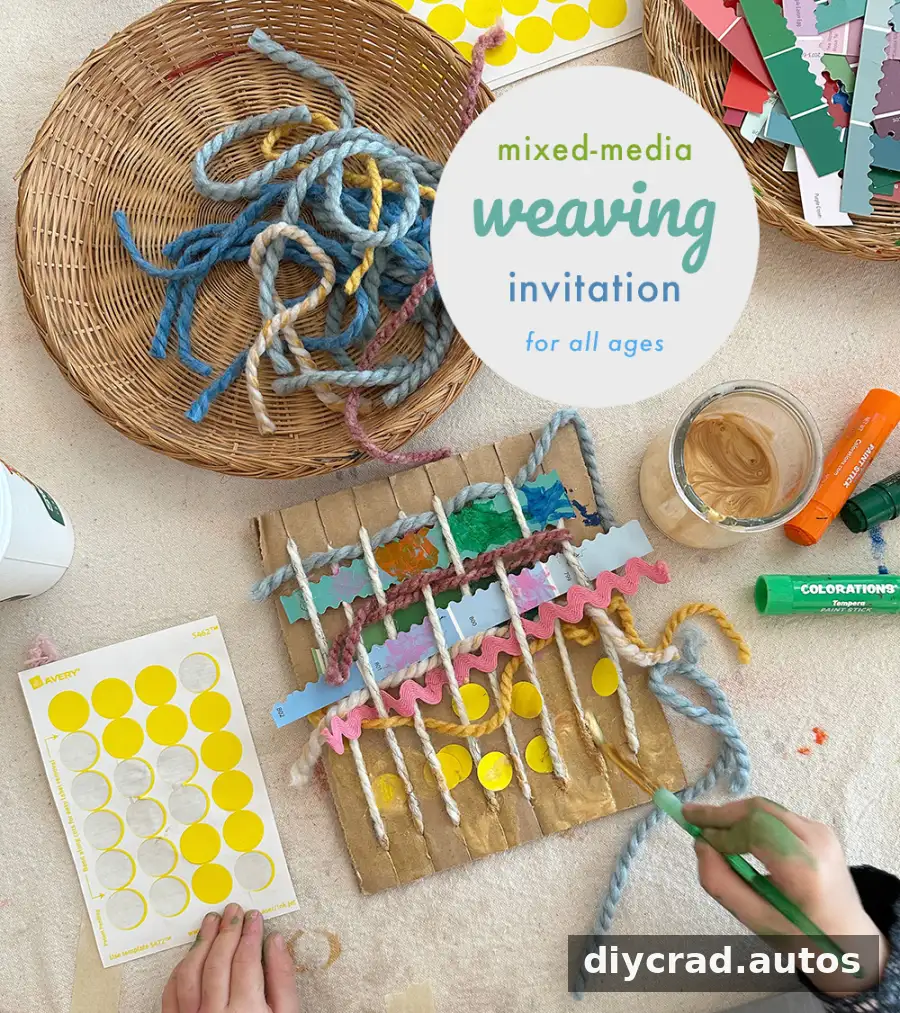
Because weaving can be unfamiliar, the table also included a few materials children already knew, such as tempera paint sticks and dot labels. These offered an easy starting point for anyone who wanted time to look around before experimenting with something new.
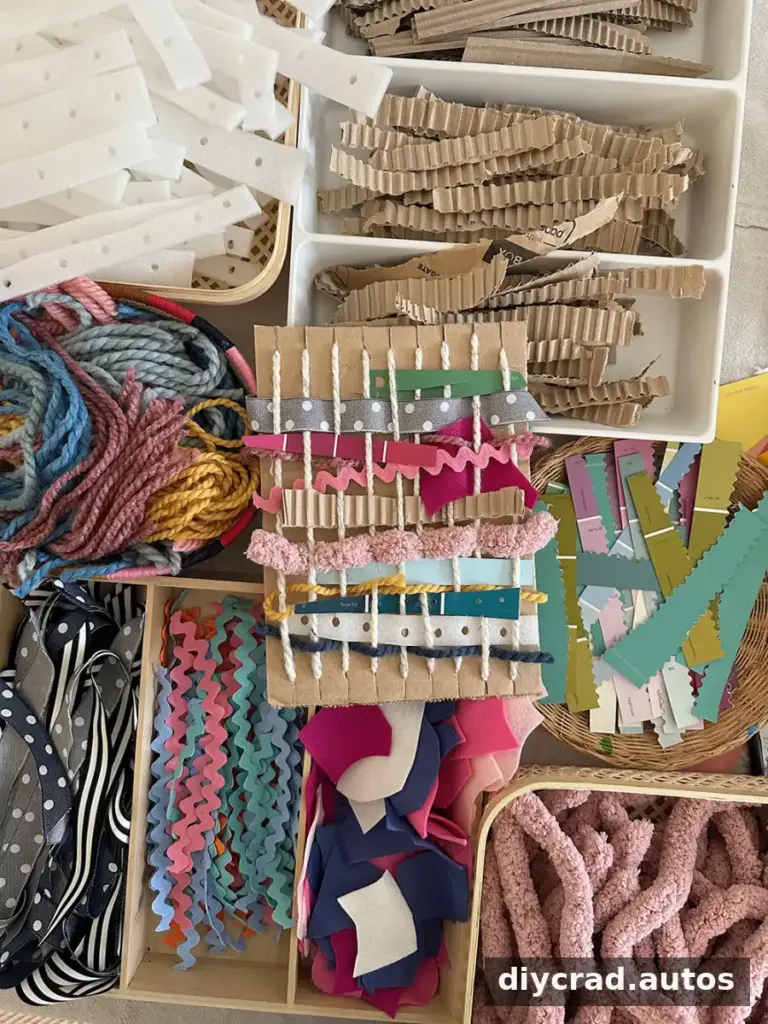
Materials for process art weaving
The materials below were selected from supplies already on hand. Similar items can be substituted, so use what is available and safe for the age group.
- Cardboard pieces, approximately 8 × 10 inches; exact dimensions are not essential
- Strong scissors or a cardboard-cutting tool for preparing the looms
- Scissors for cutting the weaving materials
- Hole punches
- Soft textiles such as yarn, chunky chenille yarn, ribbon, ricrac, felt, and fabric strips
- Reusable or recyclable materials to cut into strips, including corrugated cardboard, thin foam, paint samples, and honeycomb paper
- Twigs collected outdoors; leaves or flowers could also be offered when available
- Dot labels, tempera paint sticks, gold tempera paint, and thin masking tape
For an open-ended activity, variety matters more than having every item on this list. Offer materials with different textures and thicknesses, and check that each piece is suitable for the children using the table.
Preparing the cardboard looms
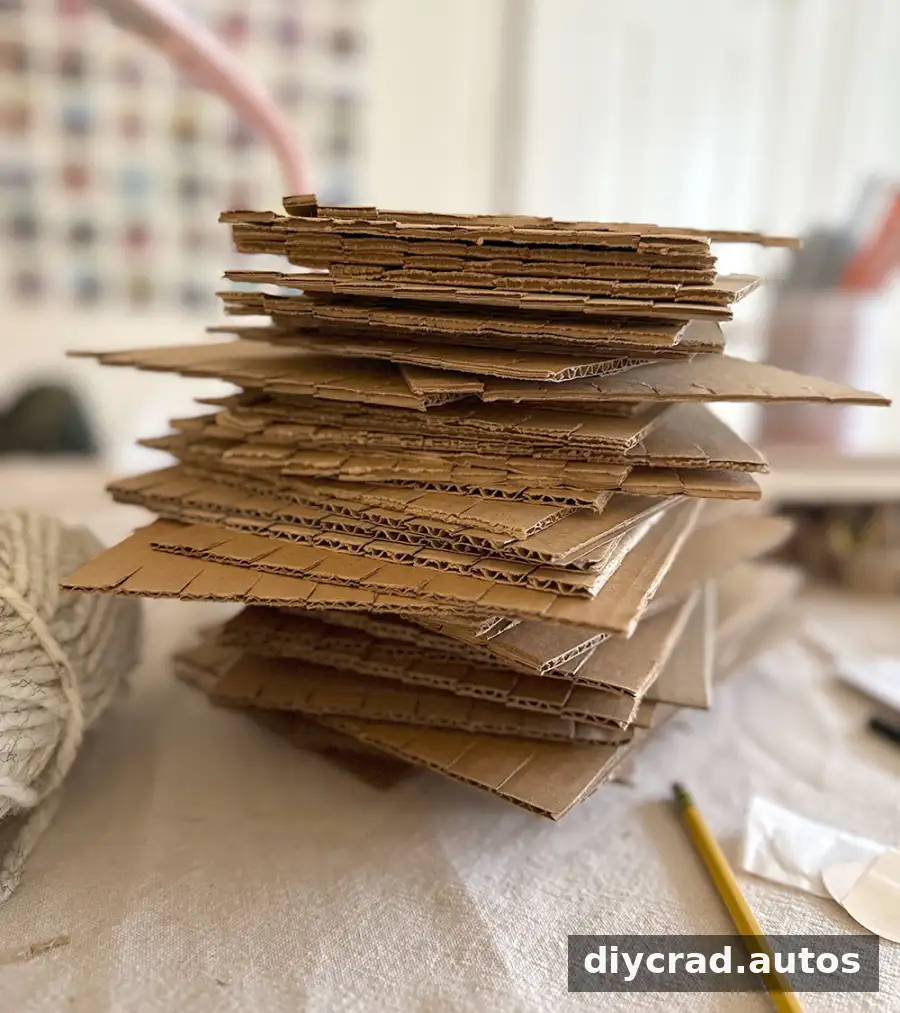
First, cut cardboard boxes into rectangles. The pieces do not need to match exactly; using the easiest workable sections of each box keeps preparation simple.
Use a ruler to mark evenly spaced points along both short ends of each rectangle, then make small snips at the marks. These cuts hold the yarn in place and create the structure children can weave through.
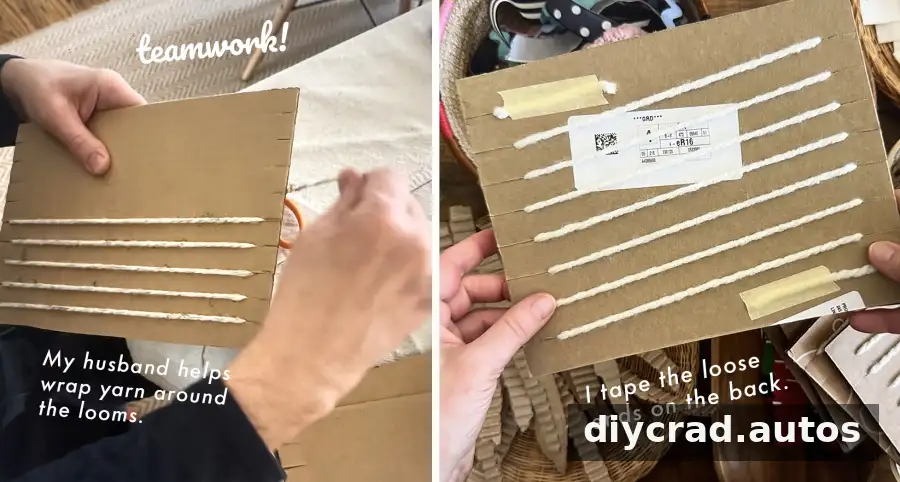
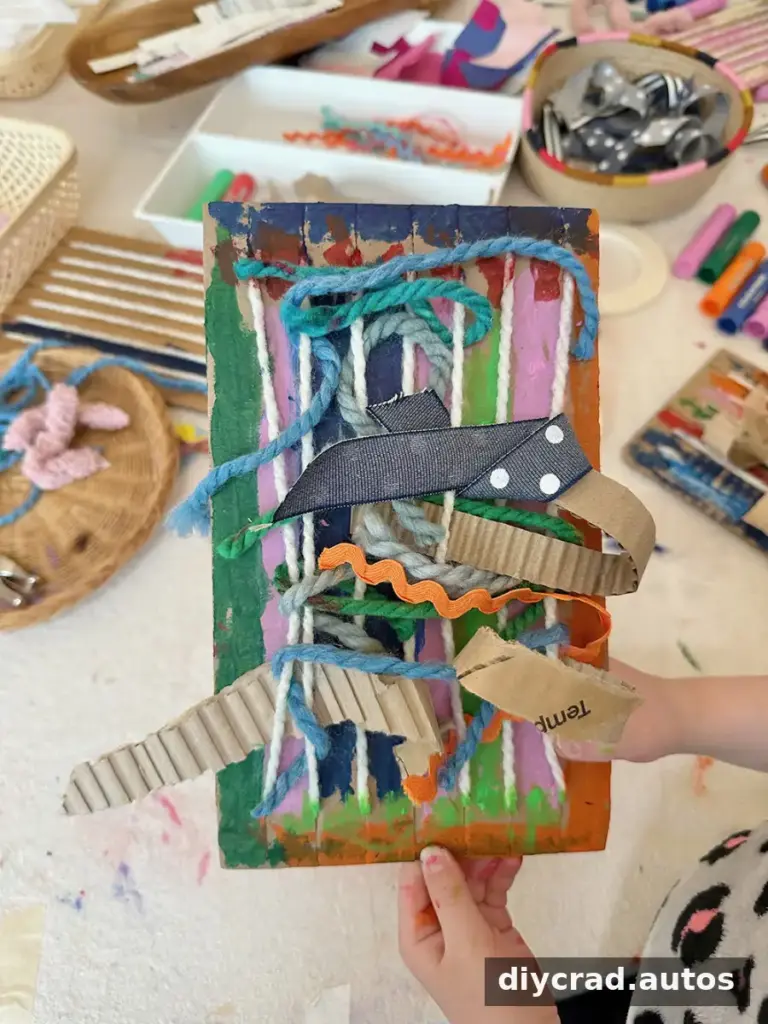
These were quick, fixed looms rather than traditional looms designed to release the finished weaving. Yarn was wrapped around each cardboard piece, with the ends secured on the back using tape. This approach takes some advance work, but it makes the loom straightforward to assemble and ready to use when children arrive.
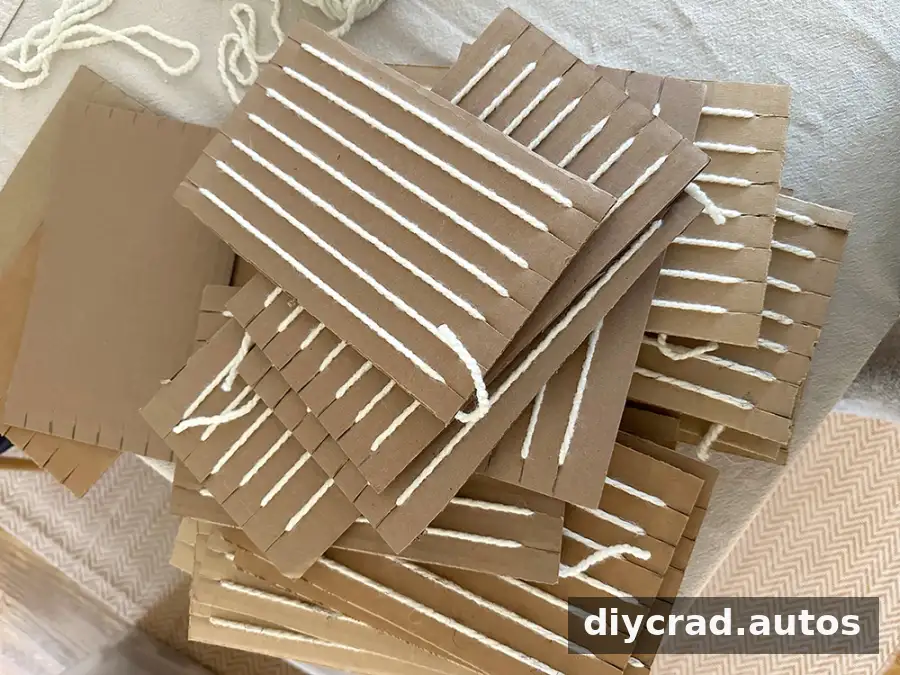
About 60 looms were prepared for an event where approximately 45 children were expected to visit over two hours. Having extras meant a child could make another weaving if they wished. For a smaller group, prepare a few spare looms rather than trying to predict exactly how many each child will use.
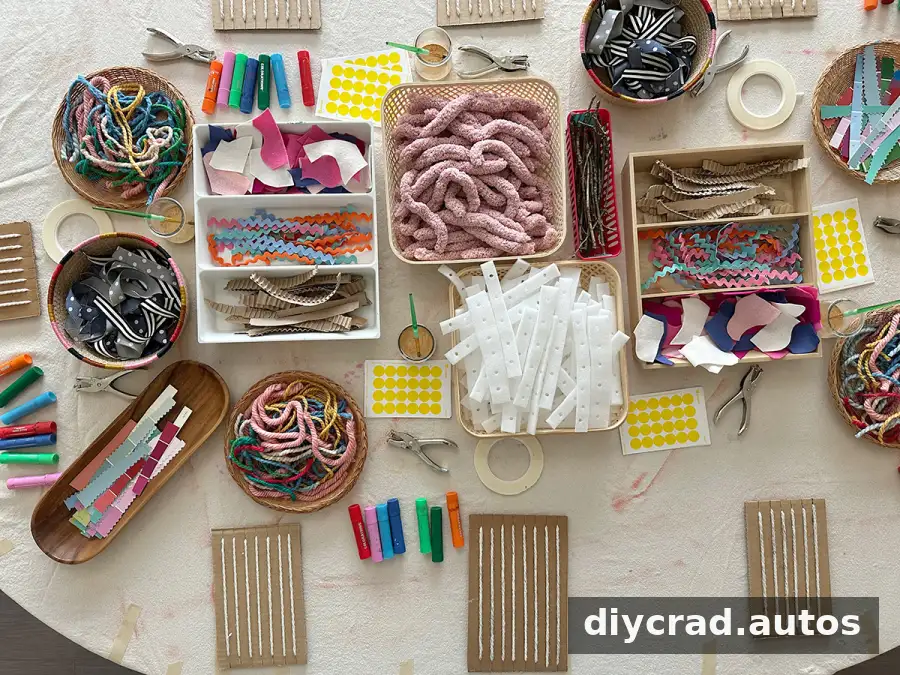
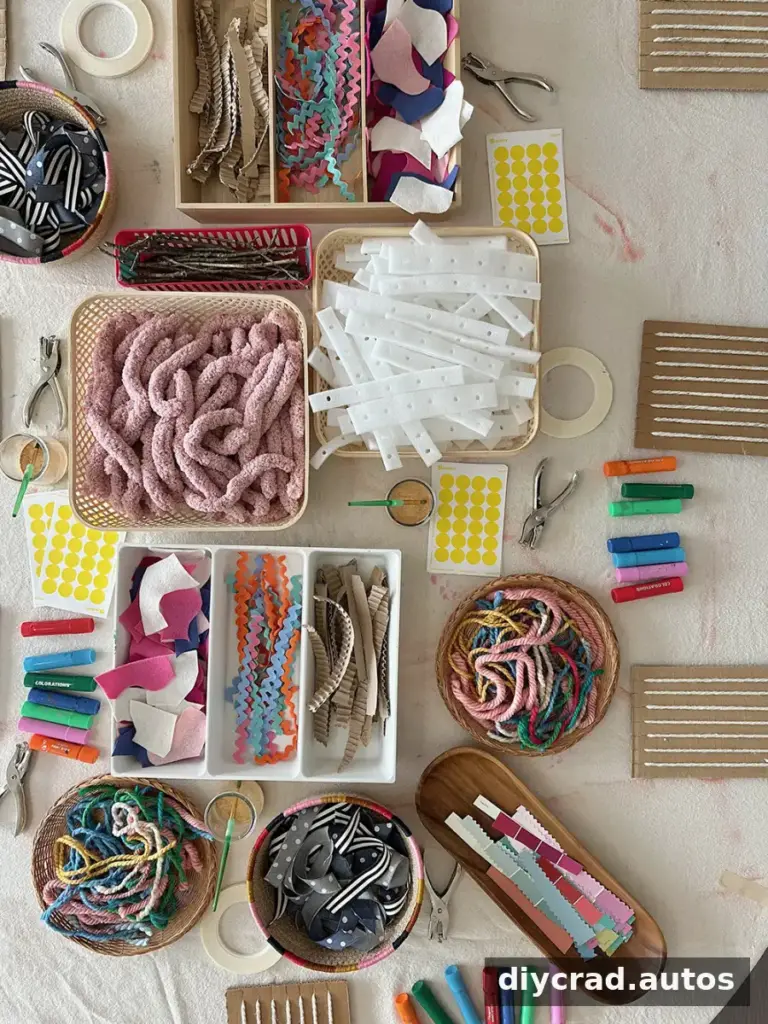
Cut the assorted materials into strips a little longer than the width of the looms. Felt can also be cut into shapes, giving children the option to weave with it or use it in another part of their play.
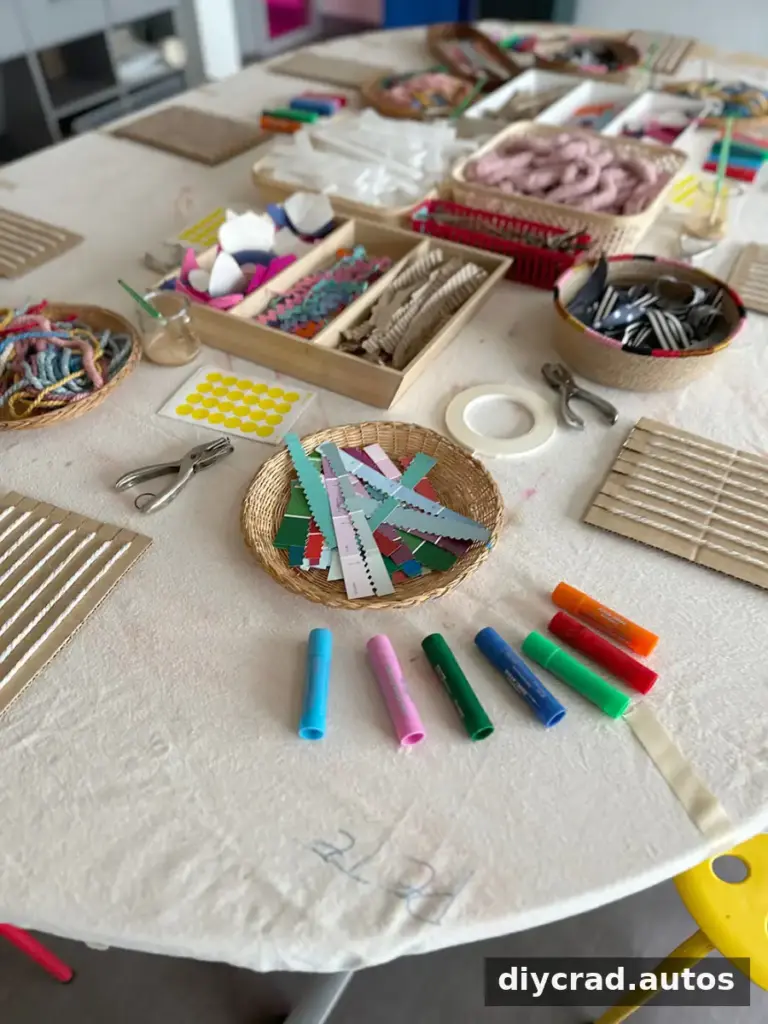
Arrange the supplies in shallow baskets and divided trays. Rather than filling a large container, place a manageable selection—around 20 pieces on a flat tray is one practical example—and keep additional materials nearby for refilling. A smaller display is easier to browse and can help children focus on choosing what interests them.
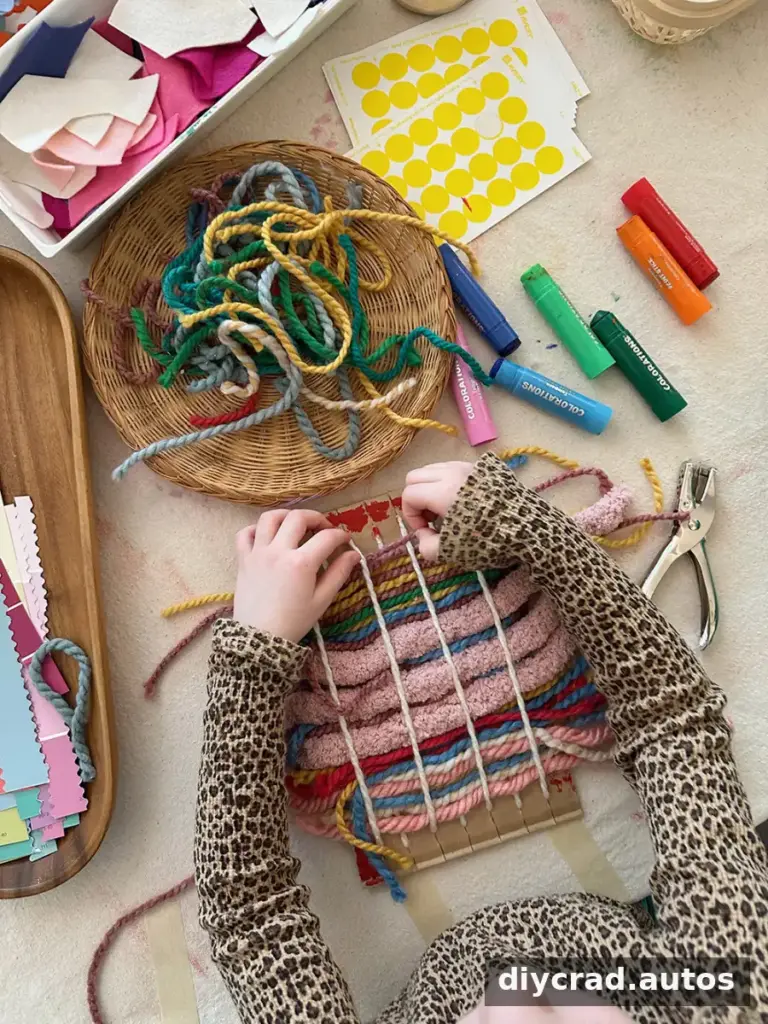
How children approached the weaving table
Process art is guided by children’s choices, but it can take practice for adults to resist demonstrating what they think the finished work should look like. At first, some children visited the table, touched a few materials, and moved on to activities they already knew. Others arrived with adults who were excited to explain weaving. The children who chose their own approach, or already had some familiarity with weaving, often stayed engaged without an adult directing each step.
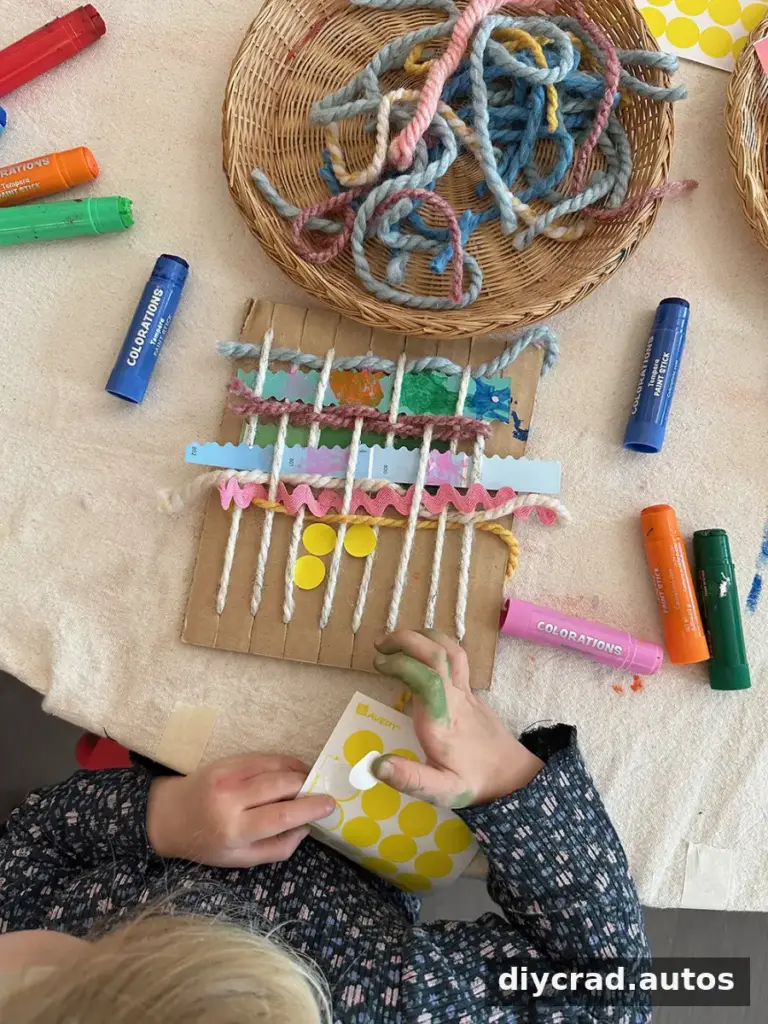
Materials can prompt ideas without an adult needing to prescribe how they should be used. Give children time to make choices, observe what they are trying, and offer support when they ask for it. If a child seems unsure, a calm invitation to explore one material can be more useful than taking over the task.
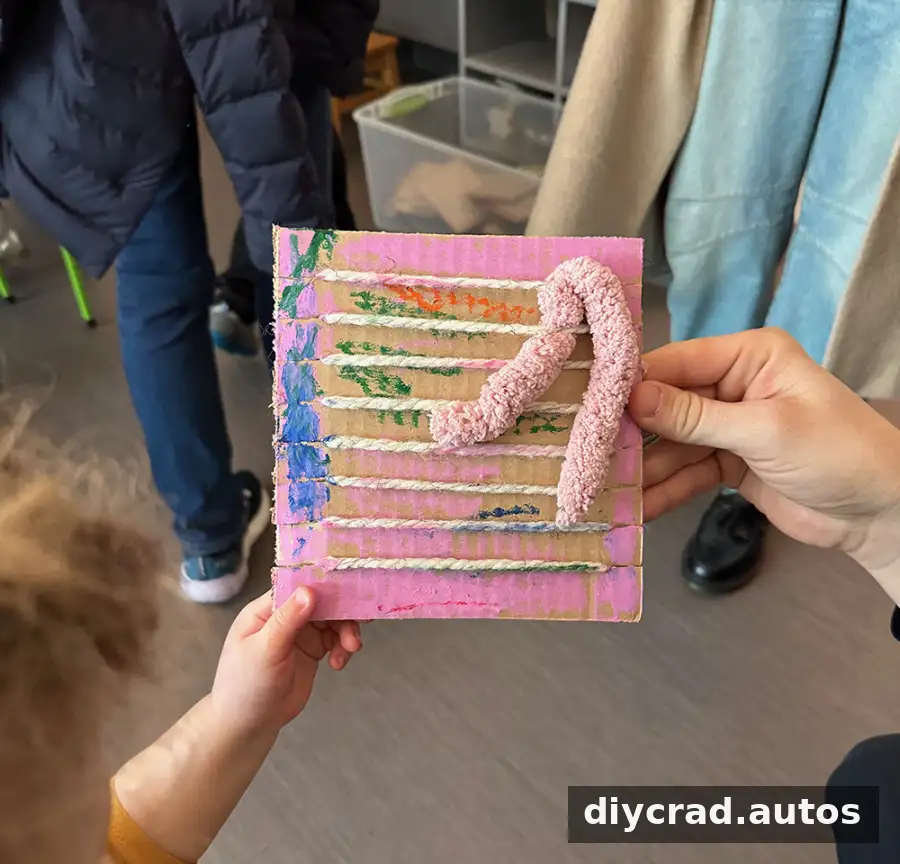
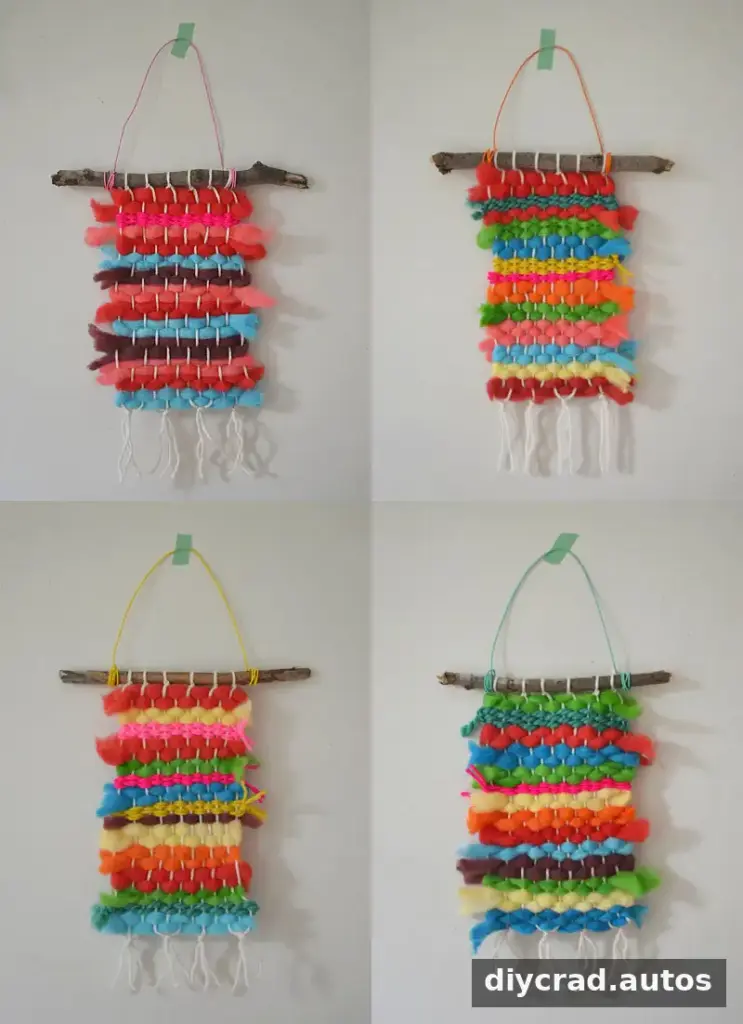
The finished pieces varied widely. Some children used only a few strips, while others filled their looms. Some created orderly repetitions; others experimented freely. An open-ended table has no single correct result, so avoid comparing children’s work or presenting one approach as the goal.
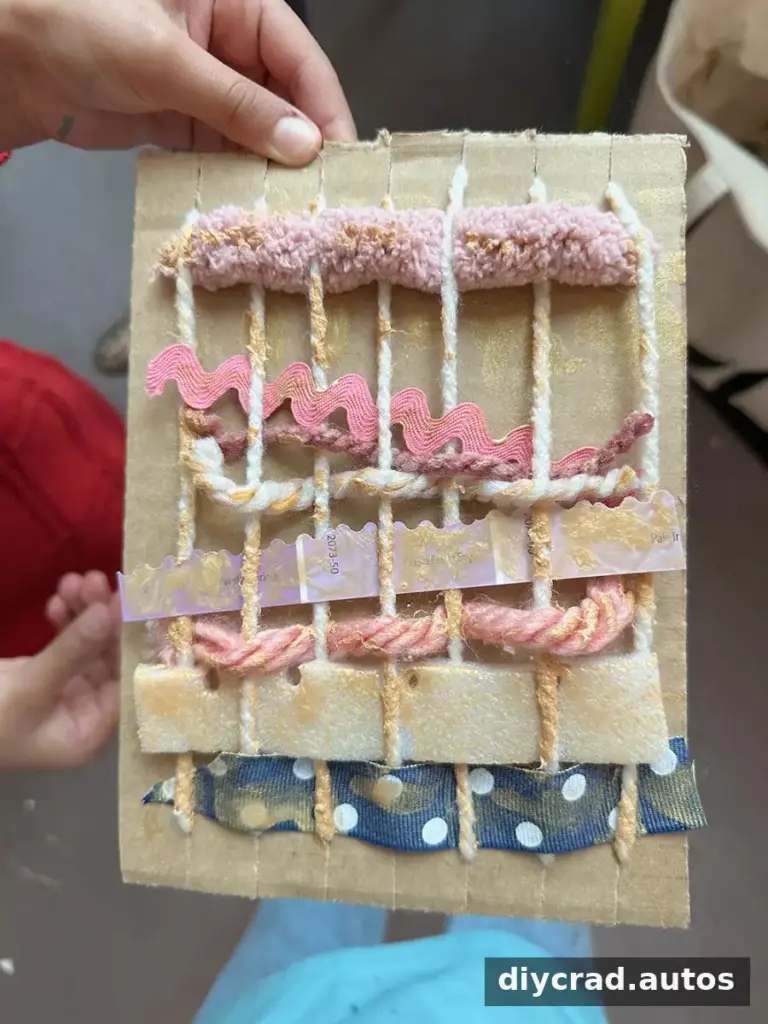
When a child said, “I can’t do it,” some adults encouraged another attempt rather than completing the weaving for them. Patient support gives children room to work through a challenge. Adults can help with a difficult cut or steady a loom when needed while still leaving creative decisions to the child.
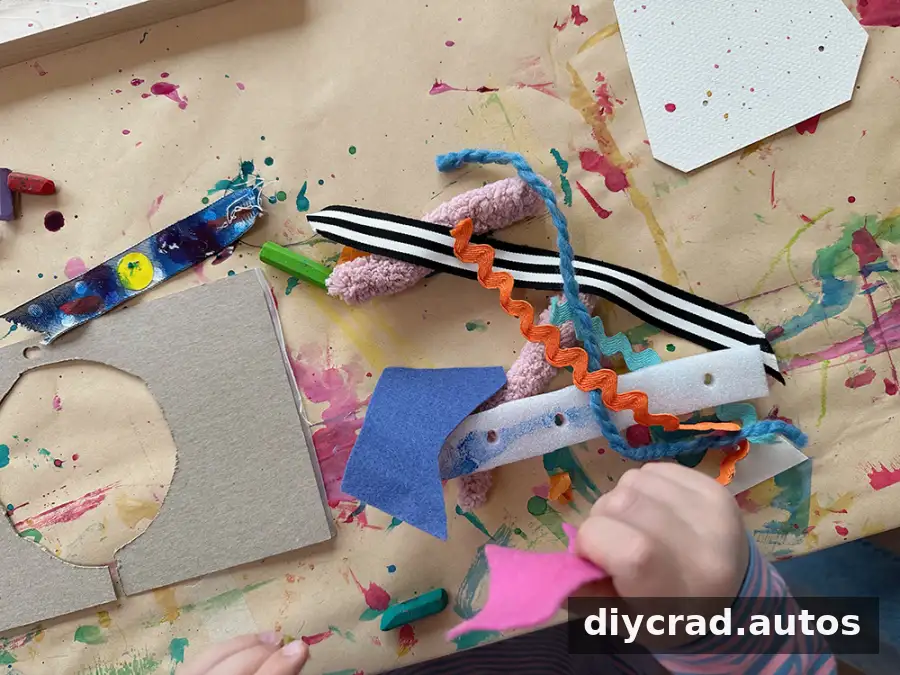
One child carried soft textiles to the painting table and used them to make a toy for a dog. This kind of unexpected crossover is one benefit of having accessible materials and allowing children to develop their own ideas. For a similar activity, consider placing the weaving supplies near other creative stations, while making sure children know which materials can be moved and where they may use them.
Process art weaving works best when children have both a simple structure to begin with and freedom to decide what happens next. Prepare the looms and materials, keep the choices easy to browse, and stay available without taking over. That balance supports experimentation, persistence, and individual creative choices.
— Bar
More weaving ideas
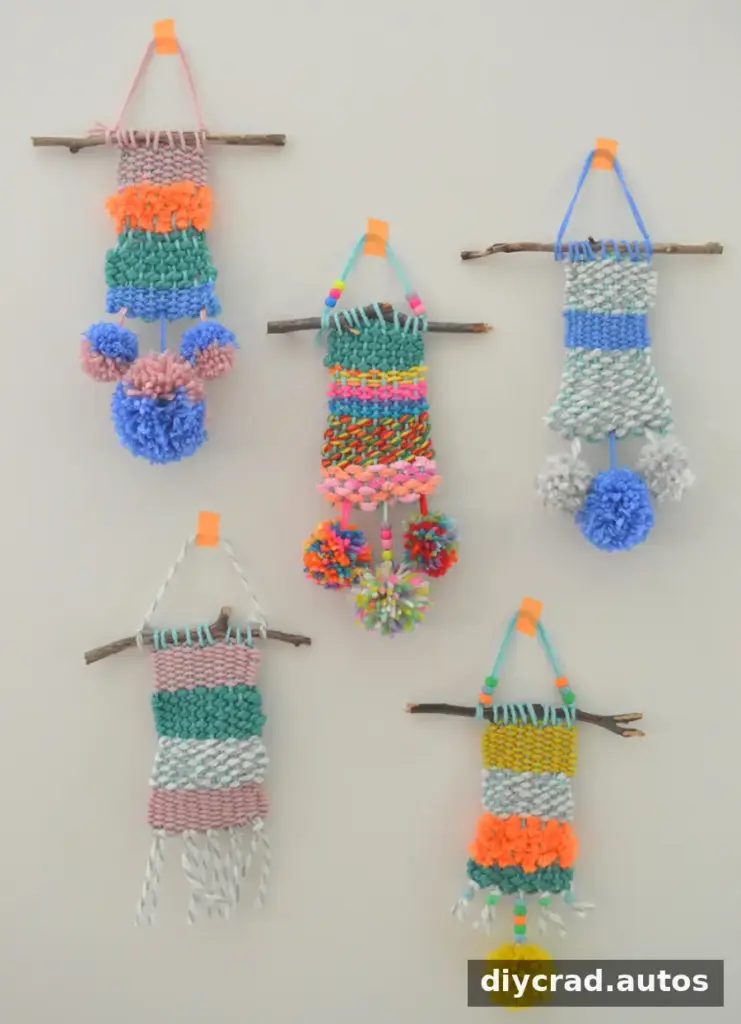
Weaving with Kids Using a Cardboard Loom
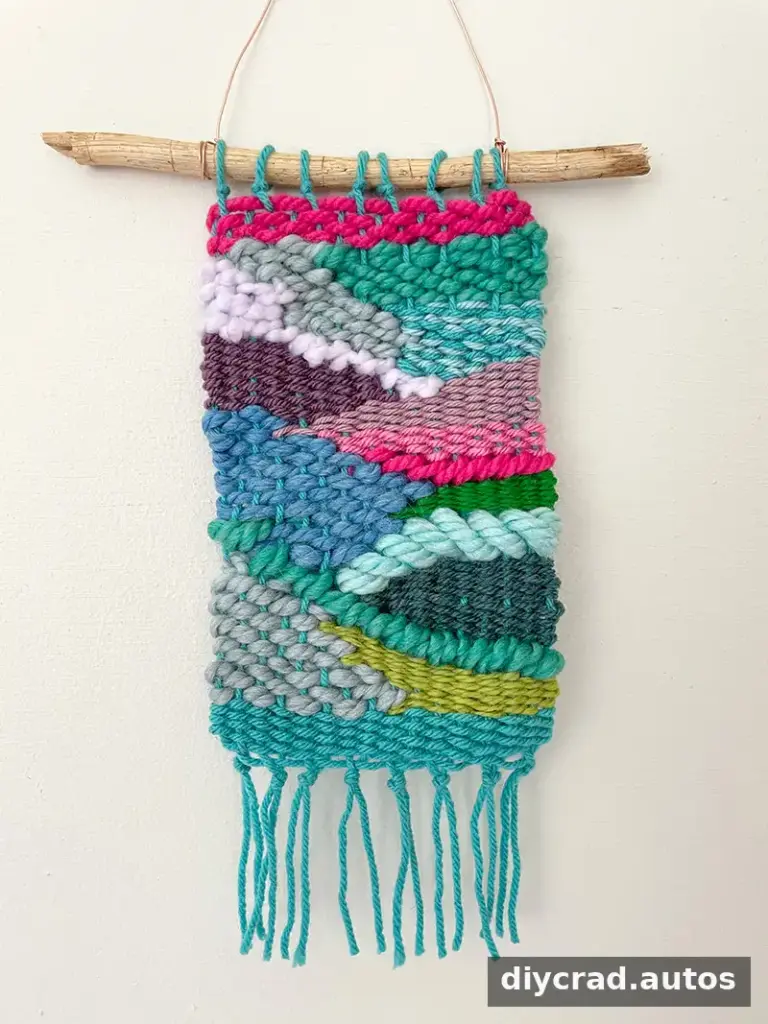
Doodle Weavings
Rainbow Dyed Wool Roving Weavings

