

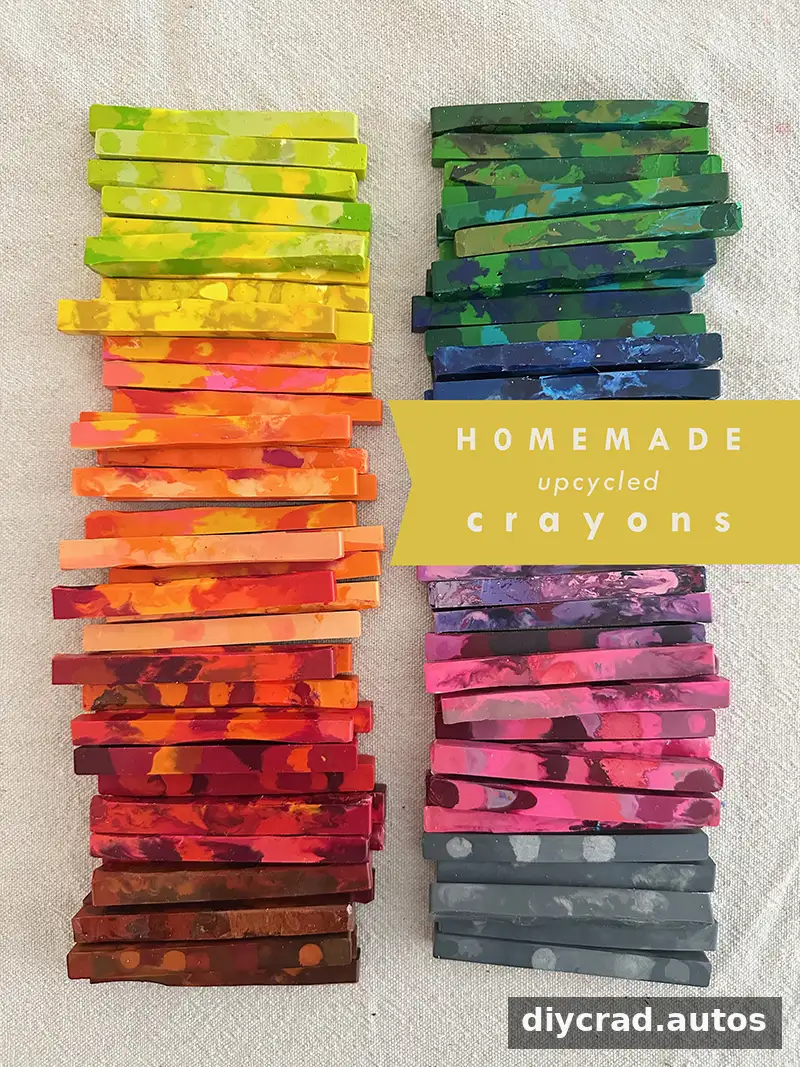
Homemade upcycled crayons turn worn or broken crayons into fresh coloring sticks that are easier to hold and use. This project combines pieces of old crayons in silicone molds, creating chunky new crayons with mixed shades. It takes time to prepare and clean up, but it is a practical way to reuse crayons that might otherwise go unused.
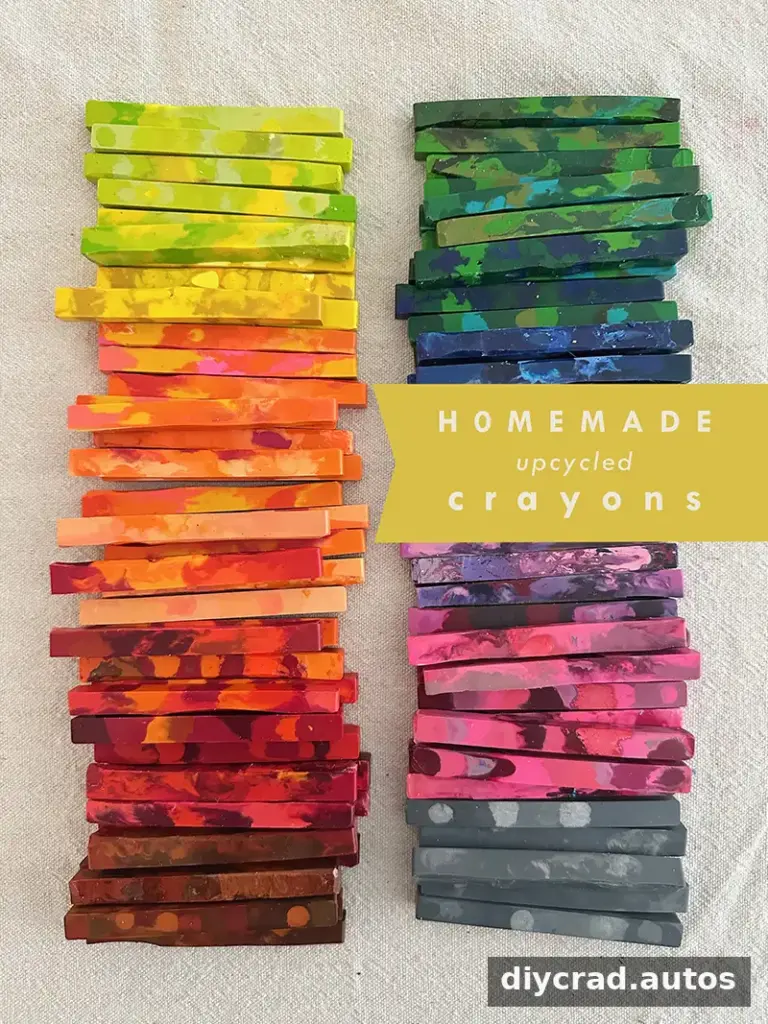
Long, narrow candy-stick molds can make crayons that feel substantial without being too blocky. Each finished stick may use about three old crayons, which can make it sturdier than the small pieces used to create it. Choose a mold shape that is comfortable for the intended user, and check that it is suitable for oven use before heating it.
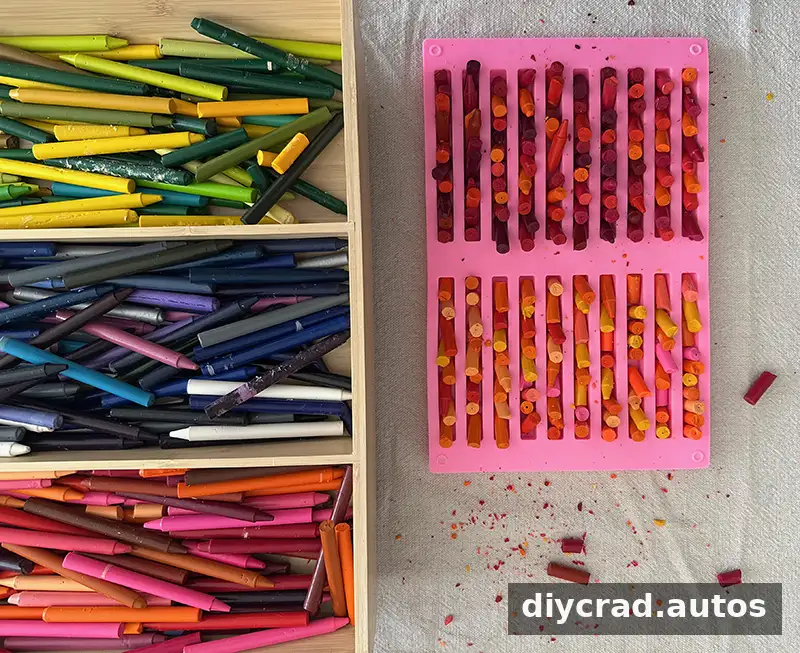
Supplies for homemade upcycled crayons
Gather the materials before you begin so the filled mold can be moved safely and steadily to the oven.
- Used crayons: Remove the paper wrappers. Soaking them in water overnight can make some wrappers easier to peel. For stubborn paper, score the wrapper carefully with a craft knife, keeping the blade pointed away from your hands.
- Silicone mold: Select an oven-safe mold with shapes that are large enough to make useful coloring sticks.
- Old cookie tray: Set the flexible mold on a tray for support when moving it.
- Paring knife: Optional, for trimming excess wax after the crayons cool.
- Scratch paper: Test dark or similar-looking shades before sorting them.
How to make homemade upcycled crayons
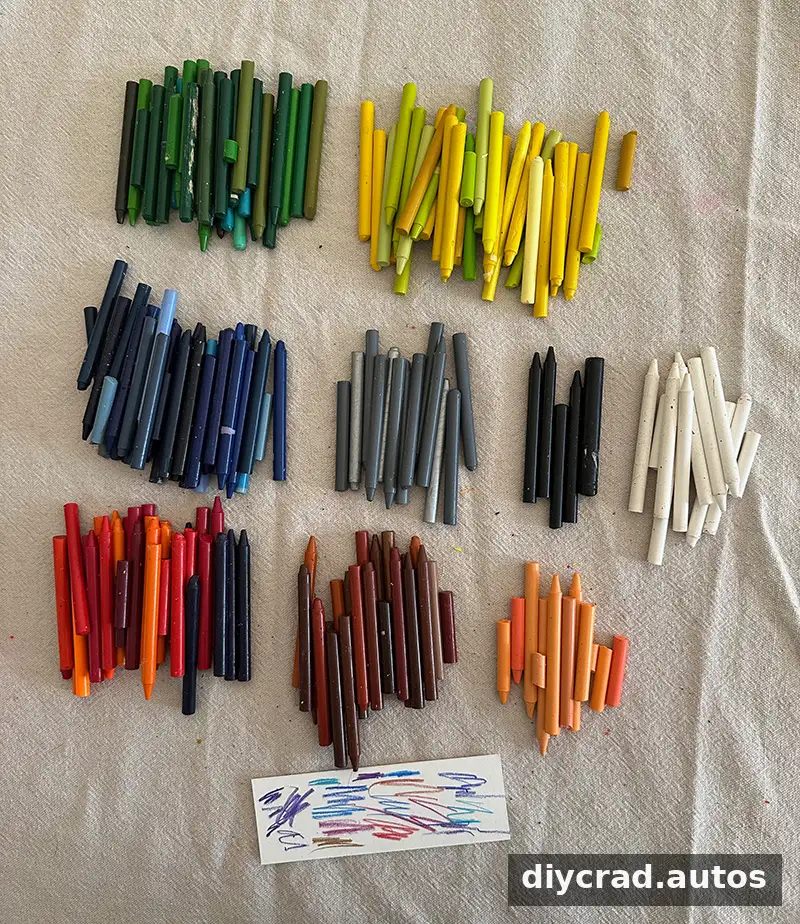
1. Sort the crayons by color
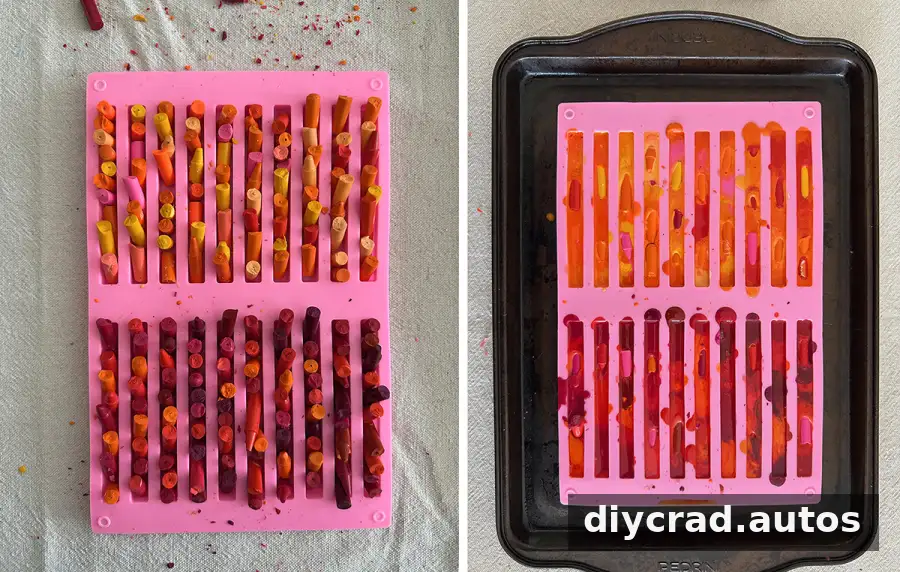
Once the wrappers are removed, group the crayons into color families. You can use a single color in each mold, or combine related shades to make multicolored crayons. Test uncertain colors on scratch paper; very dark shades may be difficult to distinguish by sight alone. Remove any remaining bits of wrapper before continuing.
2. Break the crayons into pieces
Snap or cut the crayons into small pieces and distribute them in the mold. The right amount depends on the shape and size of the cavities. If a mold is underfilled, the finished crayon may be too thin; a slight excess is easier to trim once the wax has cooled. Make a note of how much you use so you can adjust the next batch.
3. Melt the wax
Place the silicone mold on the old cookie tray and heat the oven to 300°F. Bake for about 10–12 minutes, or until the crayon pieces have melted. Keep an eye on the oven, since the wax can produce an odor and may become smoky. The microwave did not work for this project, so the oven method is the one described here.
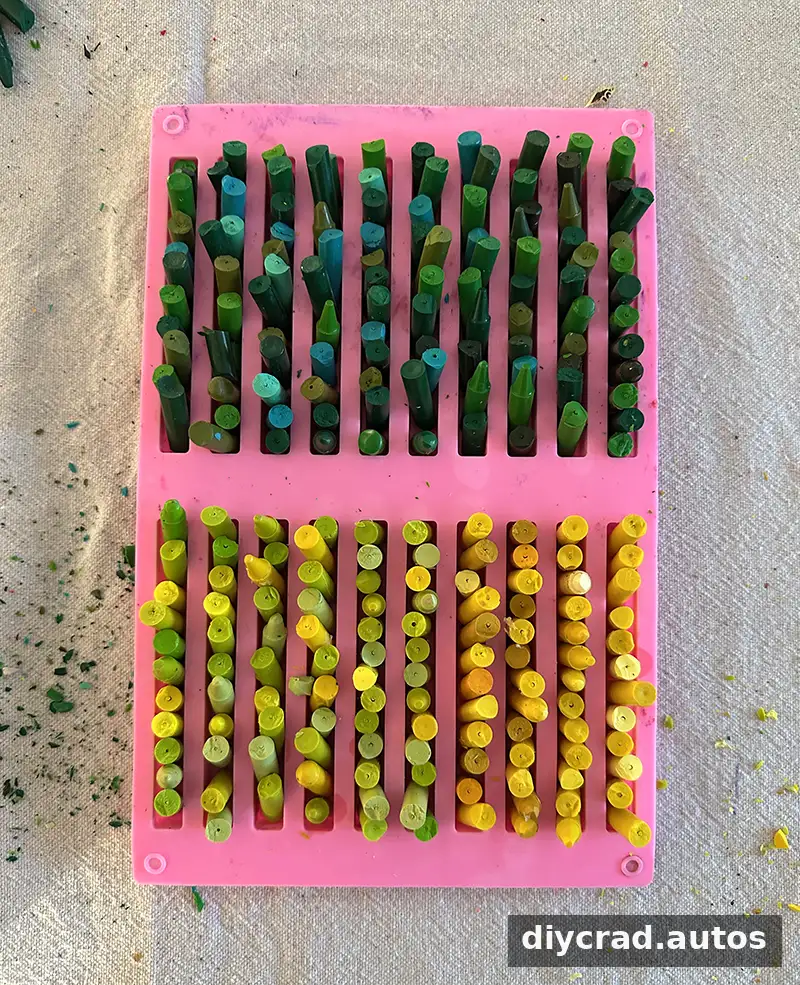
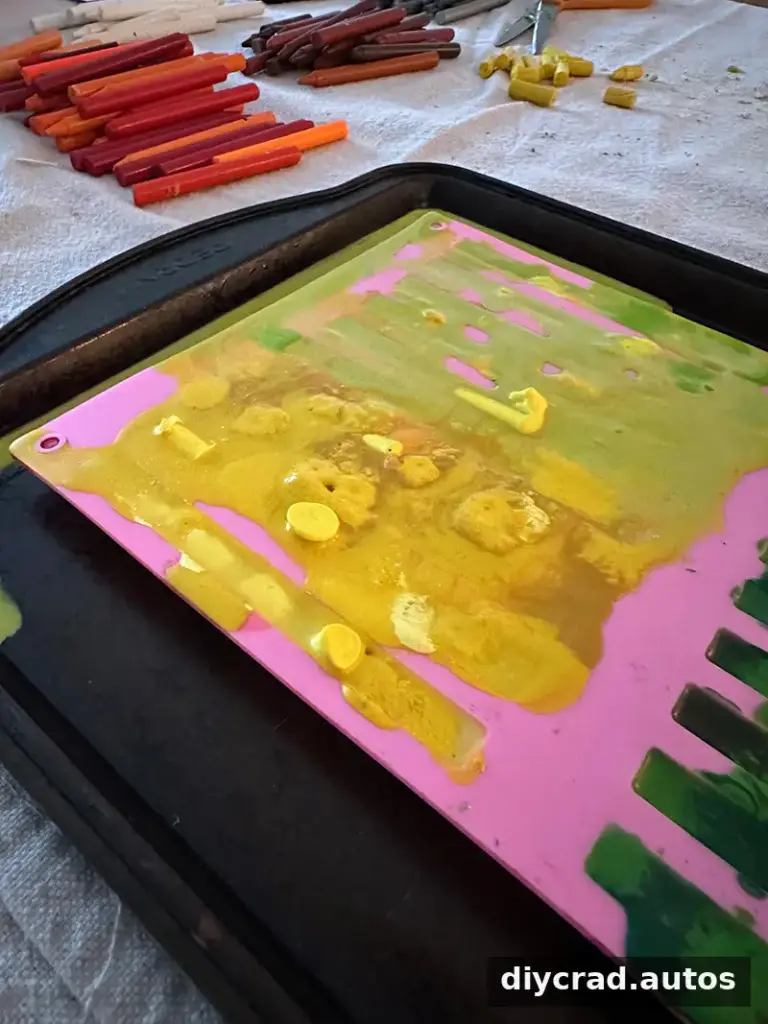
Some pieces may not melt completely. This can happen with crayons that have different compositions. After cooling, any unmelted or rough spots can be trimmed carefully. Before removing the tray, clear a stable, heat-safe surface nearby. Move the tray slowly and keep it level so the liquid wax does not spill.
4. Cool and trim the crayons
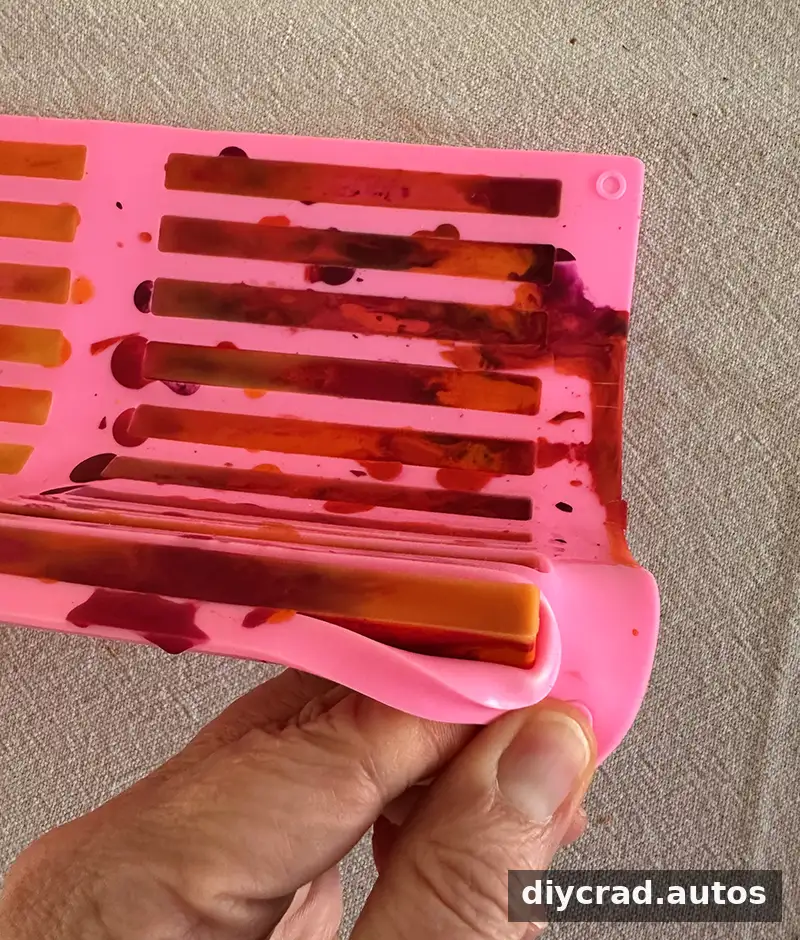
Leave the mold undisturbed until the wax is fully cool; allow about an hour. Then gently remove the crayons. If the mold was overfilled, break away excess wax or use a paring knife to neaten the edges. Work carefully, and keep sharp tools away from children.
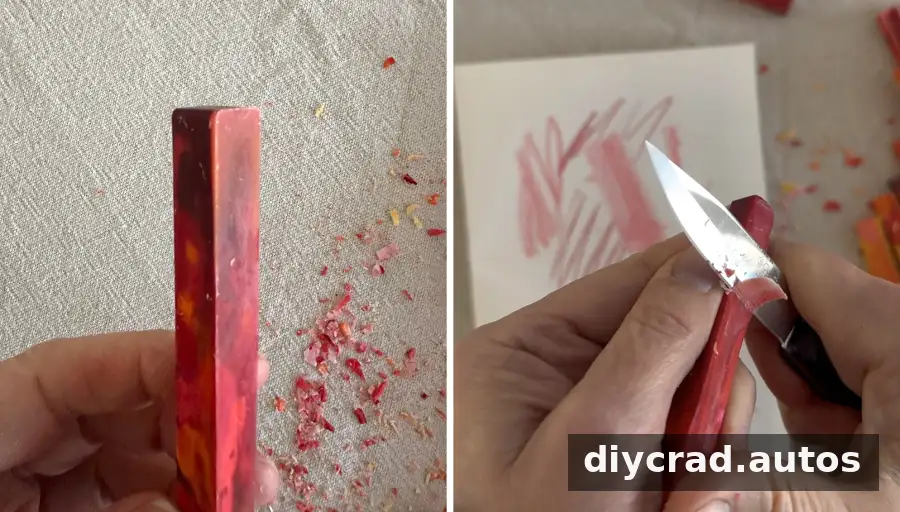
Sometimes pigment settles as the wax melts, leaving a pale or nearly clear layer on one side. Trimming that layer can help the crayon leave a visible mark on paper. A lower oven temperature, such as 250°F, has been suggested as a possible way to reduce this effect, but it was not tested for this project, so results may vary.
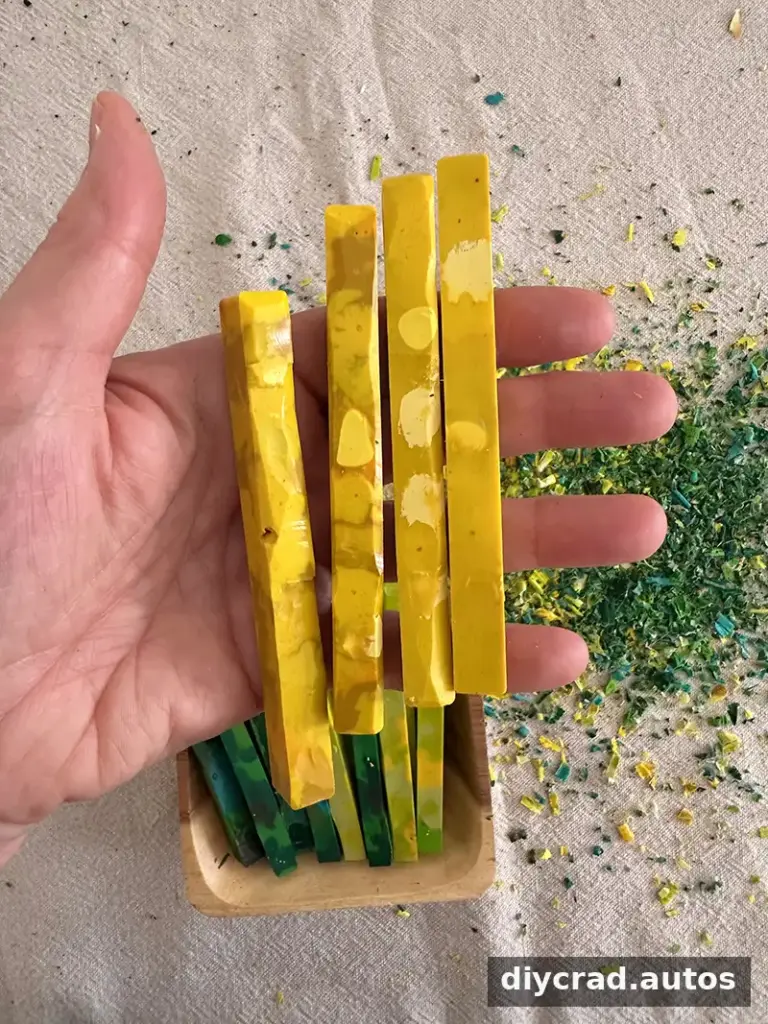
Small unmelted flecks may remain in a finished crayon. They can add texture, but remove any sharp or loose pieces before giving the crayons to a child. Cover the work surface with paper rather than a fabric drop cloth; paper is easier to roll up and discard when wax crumbs are left behind.
5. Clean the mold and tray
Let leftover wax harden, then flex the silicone mold to loosen the residue. Pick off remaining pieces and wash the mold with soapy water. Do not rinse wax into the drain. To clean the tray, carefully pour boiling water over the wax residue and wipe it away with paper towels, disposing of the wax and used towels in the garbage rather than the sink.
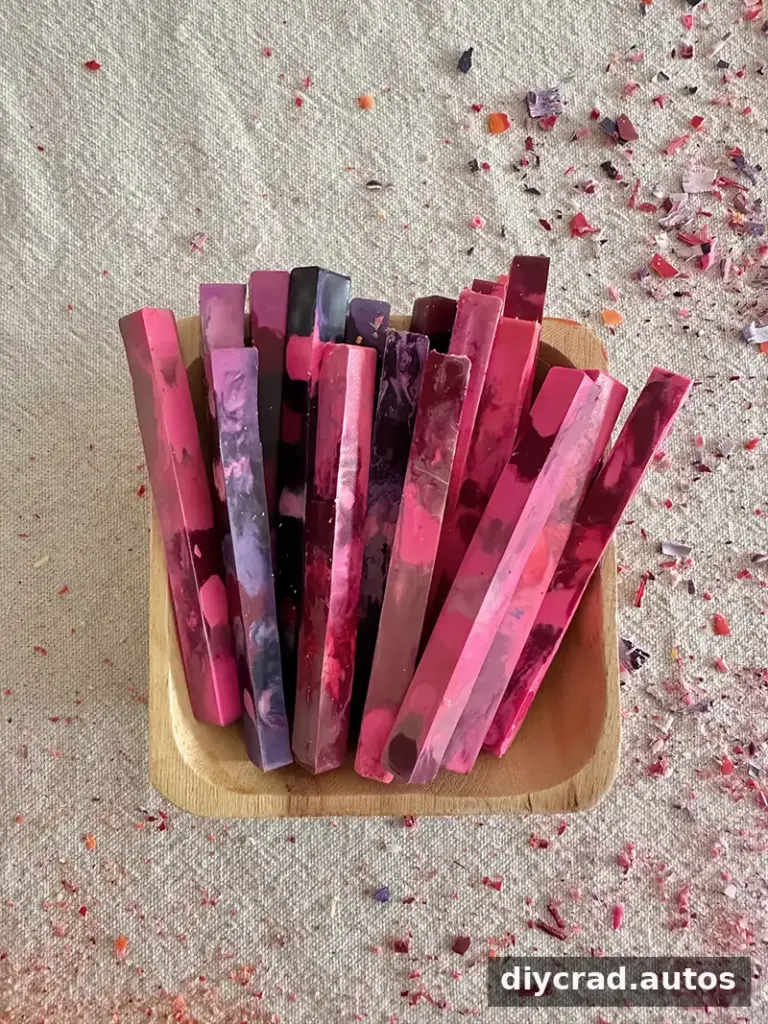
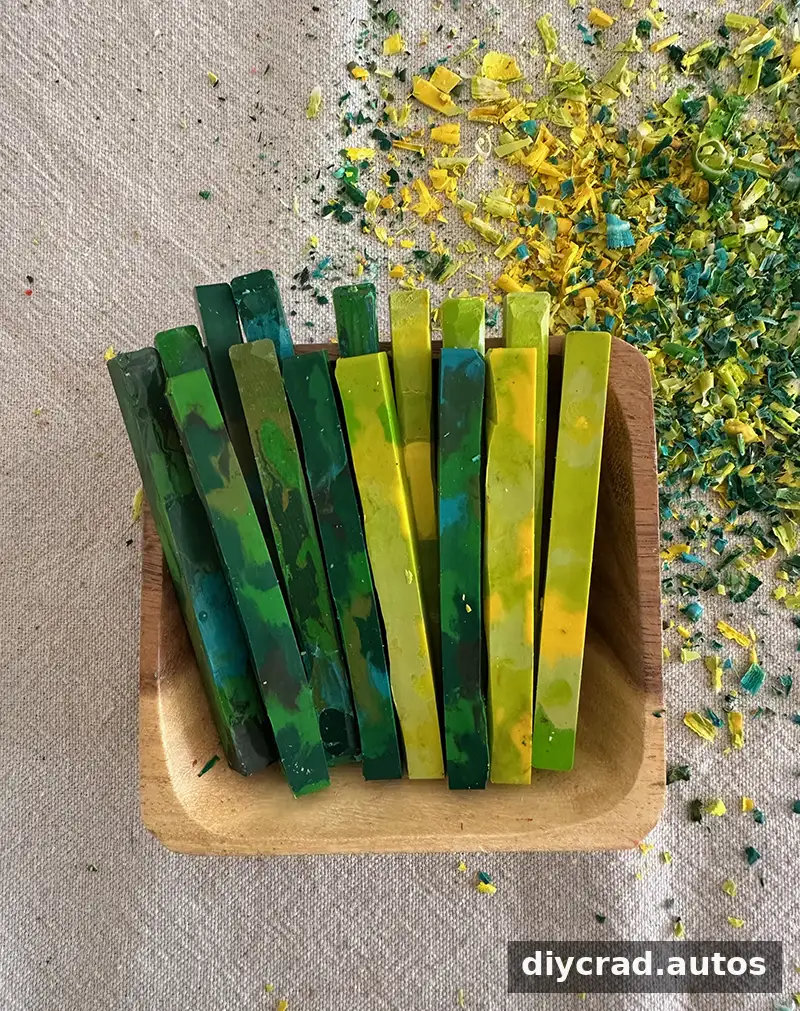
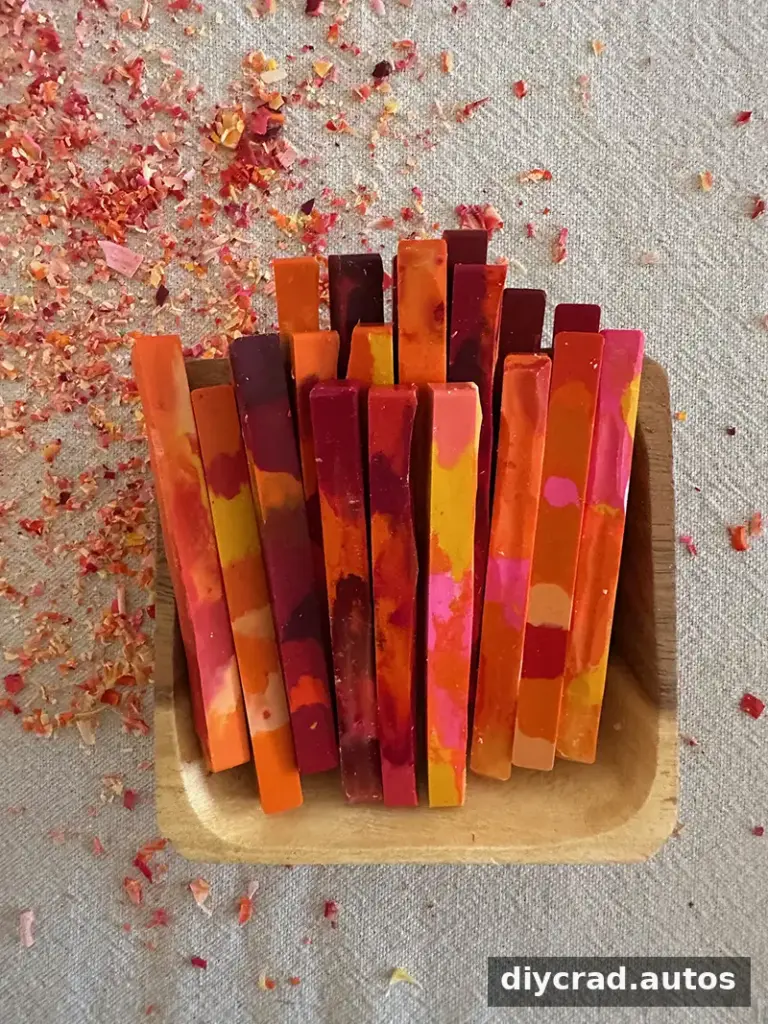
Are homemade upcycled crayons worth the effort?
This is a hands-on project with several steps, and the preparation and cleanup take time. Smaller molds may be easier to fill and can work well if you prefer making compact shapes. For longer crayons, take care when moving the hot tray and allow the wax to cool completely before handling. With those precautions, homemade upcycled crayons offer a useful way to give leftover coloring supplies another life.
— Bar
More ideas for making art materials
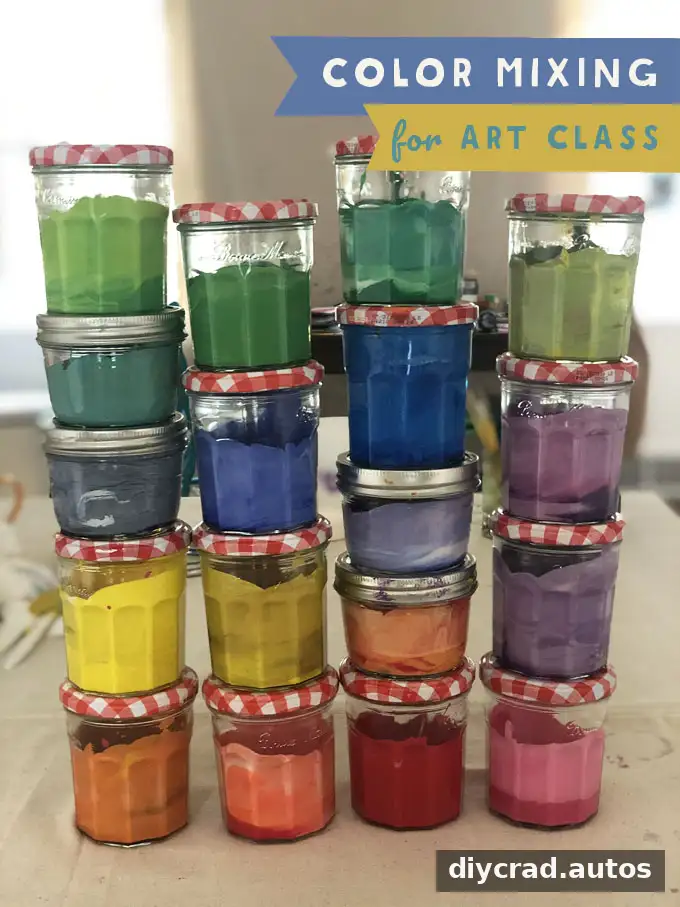
Color Mixing with Tempera Paints
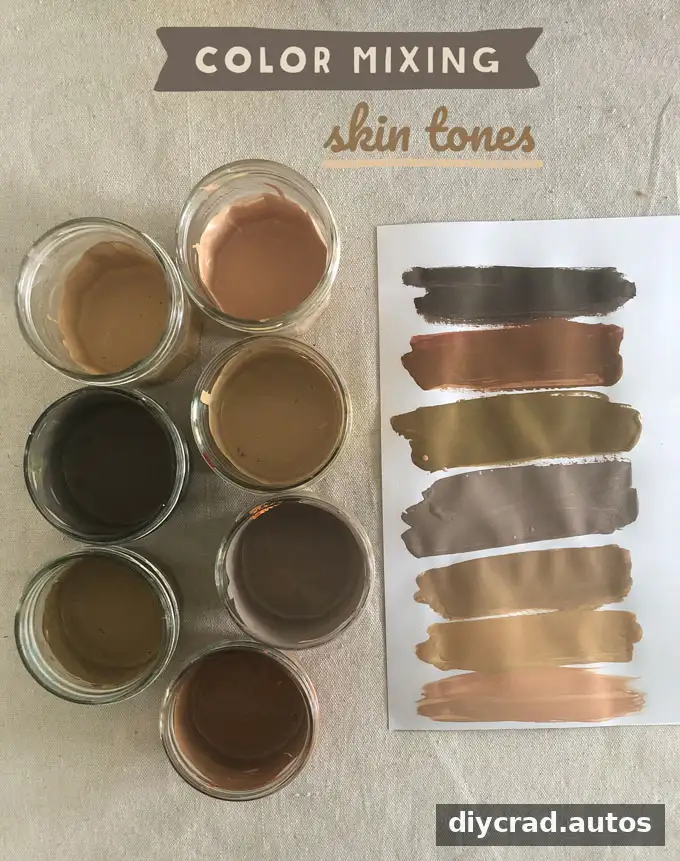
Color Mixing Skin Tones with Tempera Paint
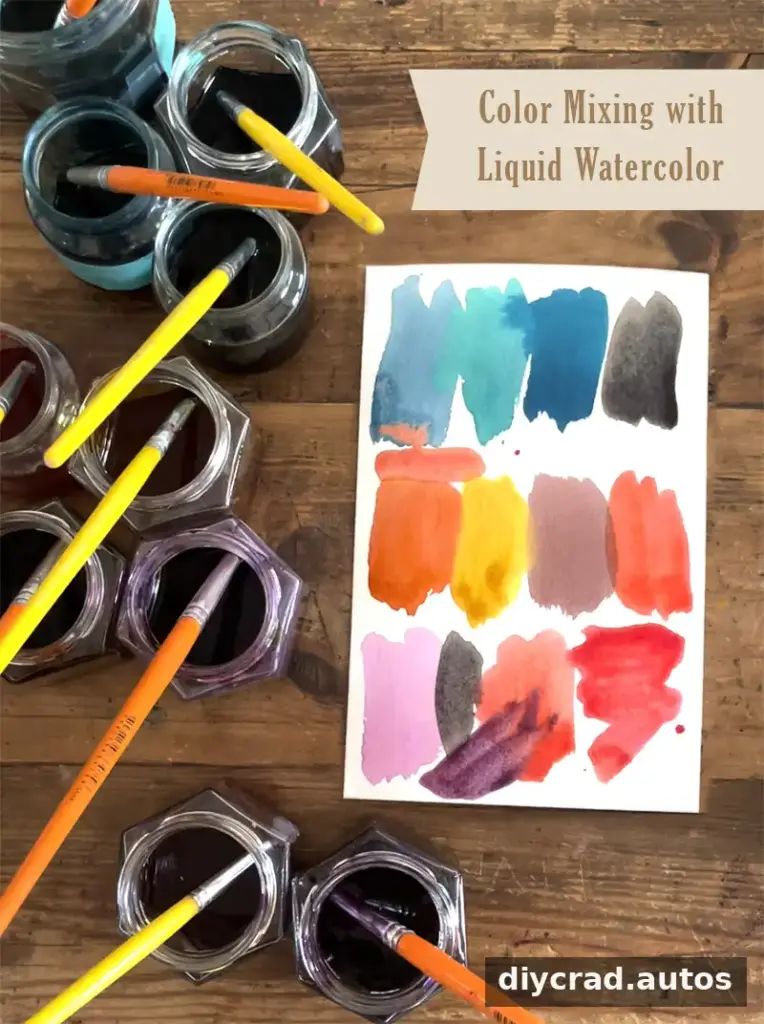
Color Mixing with Liquid Watercolor

