

TP roll loom tube knitting is a simple way to make soft, colorful knitted cords using a cardboard tube and five small pegs. With a few basic supplies and a little patience, you can turn leftover toilet paper rolls into a reusable craft loom, then shape the finished knitting into bracelets, napkin rings, or other decorative pieces.
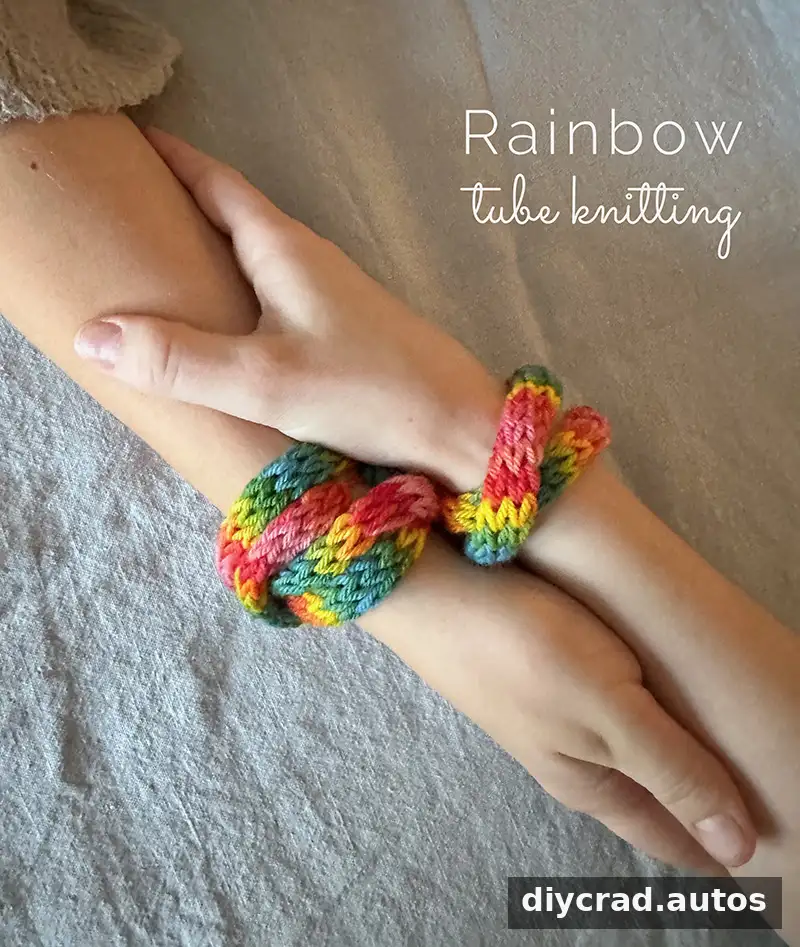
The technique works well with many types of yarn, including ombré and rainbow colors. A short knitted cord can be tied into a circle, while longer pieces can be saved for larger craft projects. The loom is easy to assemble, making this a suitable hands-on activity for beginners and group crafting.
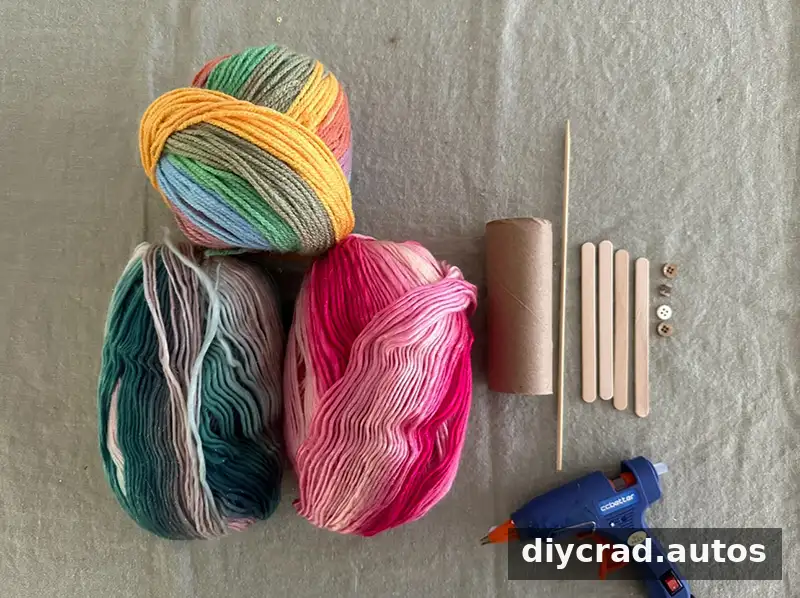
Materials for TP Roll Loom Tube Knitting
Gather these supplies before building the loom:
- One toilet paper roll, or a paper towel roll cut down to size
- Five popsicle sticks
- Five beads or small buttons
- A glue gun
- A wooden skewer
- Yarn in your preferred color or colors
Choose yarn that is easy to handle and not so thick that it becomes difficult to lift the loops over one another. If using a glue gun, work carefully and allow the glue to cool before knitting.
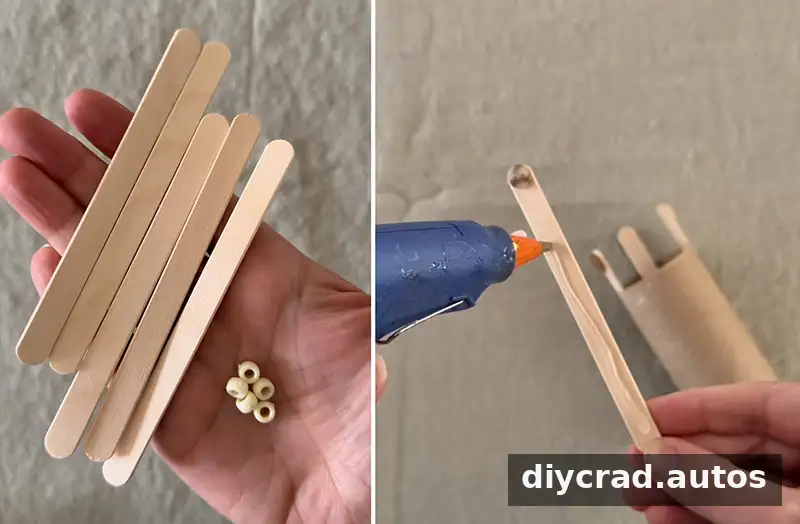
How to Make the Cardboard Tube Loom
- Glue one bead or small button to the top of each popsicle stick. These raised ends help keep the working yarn from slipping off.
- Glue the five sticks evenly around the inside of the cardboard tube. Leave about 3/4 inch of each stick above the rim.
Wait until the glue is fully set before adding yarn. Check that the sticks are spaced evenly and feel secure; loose pegs can shift while you work.
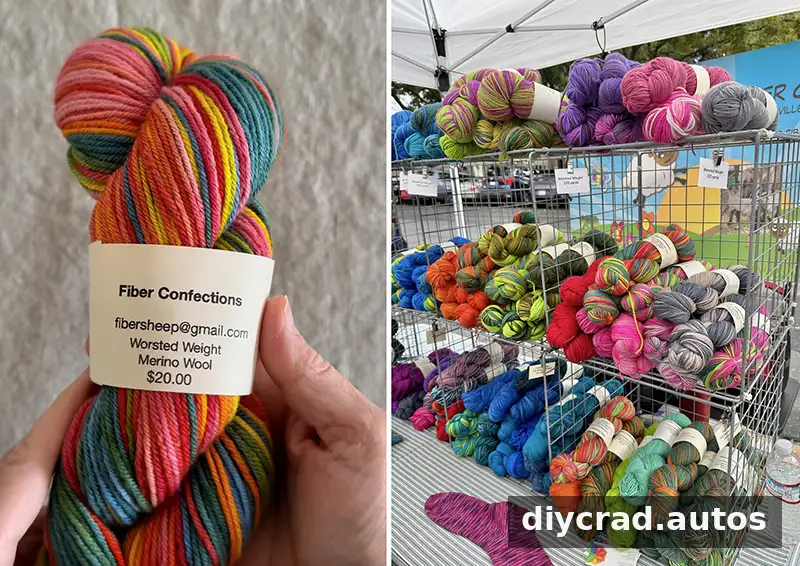
Colorful wool yarn from a local farmers’ market can be used for this project. Some yarn is sold in a large loop rather than a ball, which may tangle as it is pulled. To reduce knots, keep the loop organized and draw out yarn slowly. Suspending the loop or placing it where it can turn freely may also help.
How to Knit on a TP Roll Loom
Start the first round
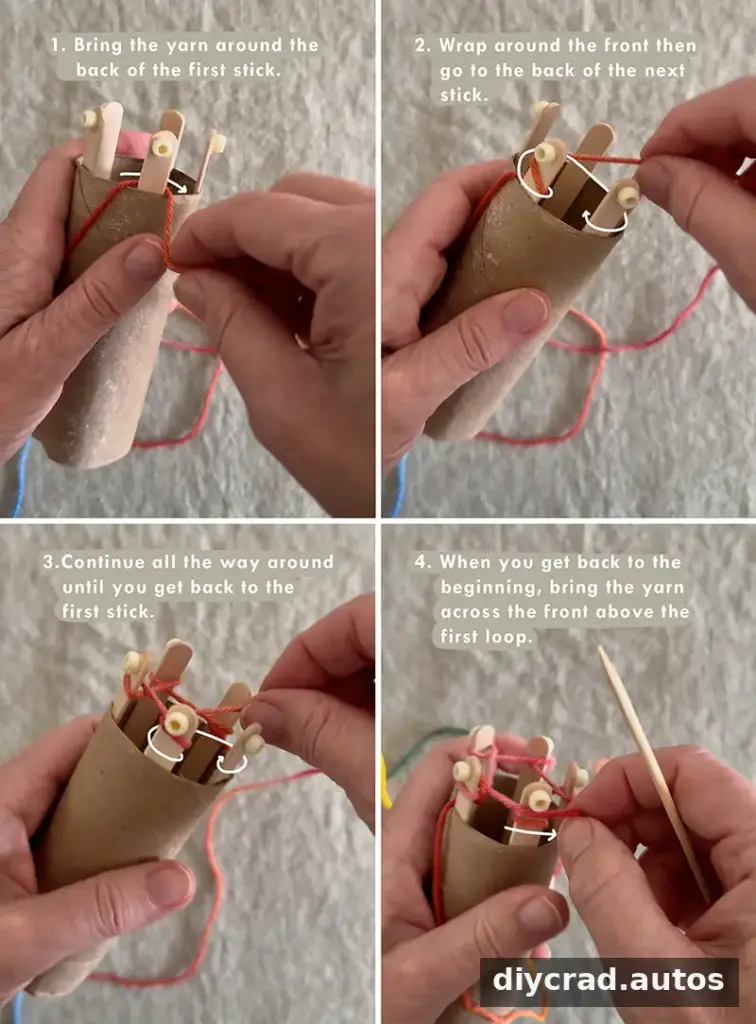
- Hold the yarn tail against the outside of the cardboard tube. Bring the working yarn behind the first popsicle stick and then around its front.
- Move to the next stick and repeat, passing the yarn behind it and around the front.
- Continue around all five sticks until you return to the first one.
- For the next pass, lay the working yarn straight across the front of the first stick, above the loop already on it.
Work the loops around the pegs
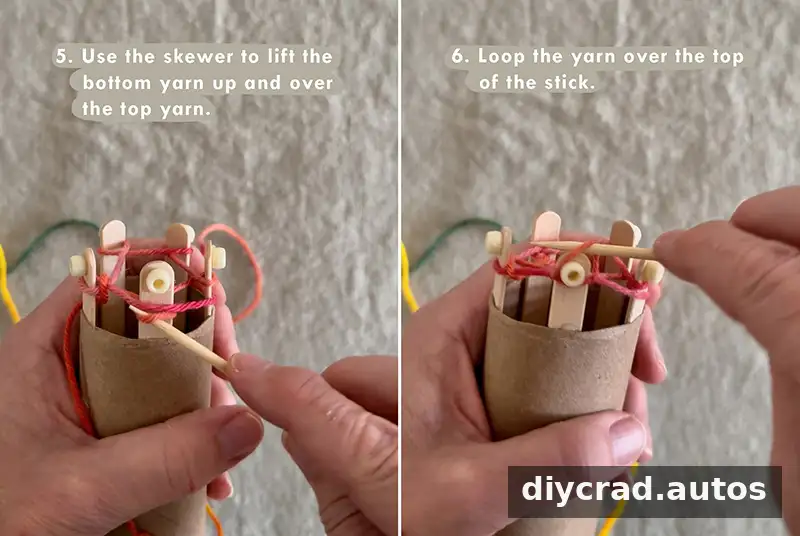
- Use the wooden skewer to lift the lower loop over the newer strand and off the stick. The bead or button at the top helps keep the new strand in place.
- Move to the next stick. Lay the yarn above its existing loop, then lift the lower loop over the top strand and off the peg.
- Repeat this process around all five sticks. Keep the yarn comfortably snug, but avoid pulling so tightly that the cardboard tube bends.
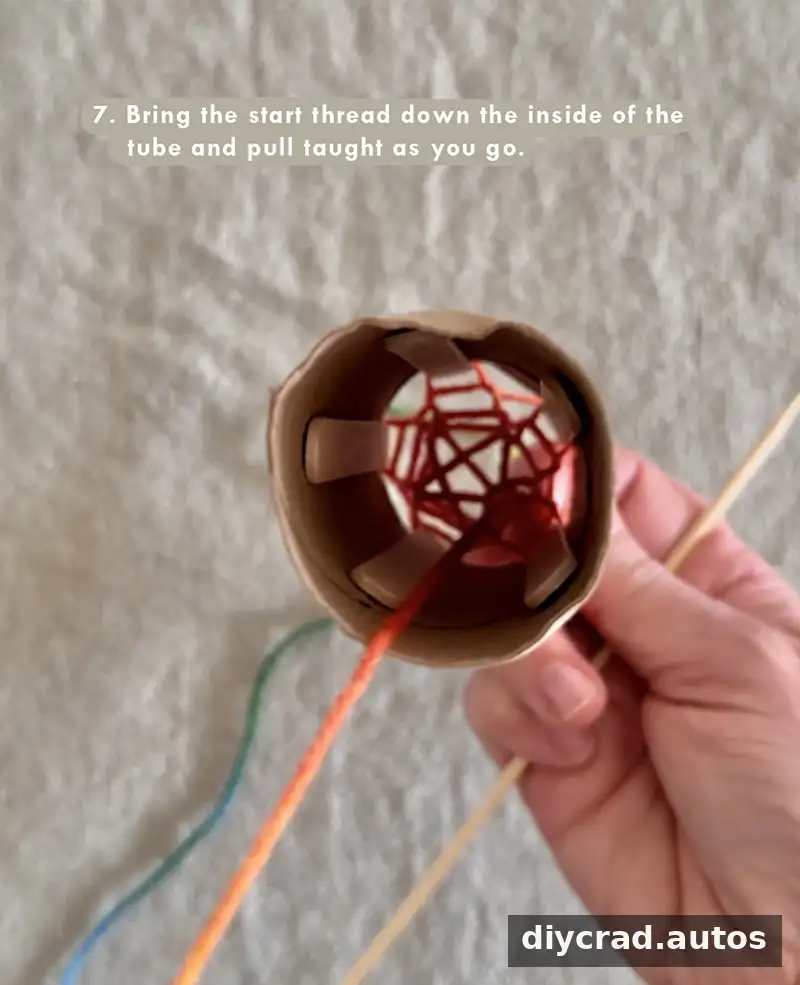
After completing a round, guide the starting tail through the center of the tube so it hangs inside. Pull the tail gently to tighten the beginning of the knitting. During the first few rounds, you can adjust it as needed; once the knitted cord extends from the bottom of the tube, the growing piece helps draw the work downward.
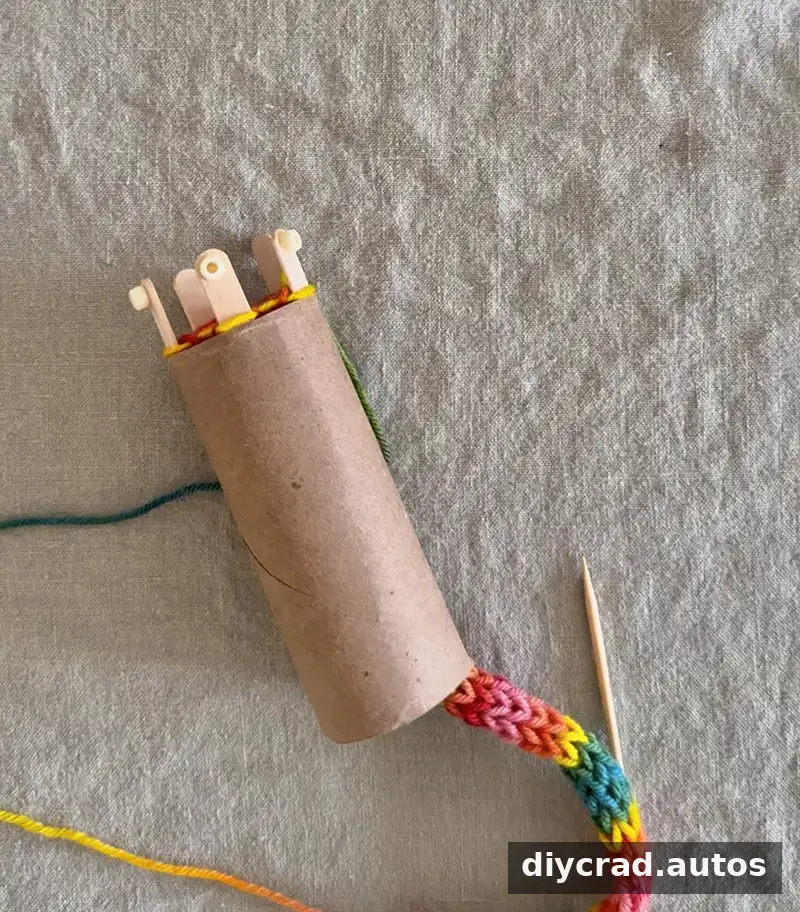
Continue laying the yarn across each peg and lifting the lower loop over it. Repeat the round until the knitted cord reaches the length you want. Pause occasionally to check that the loops remain on the pegs and the tension is even.
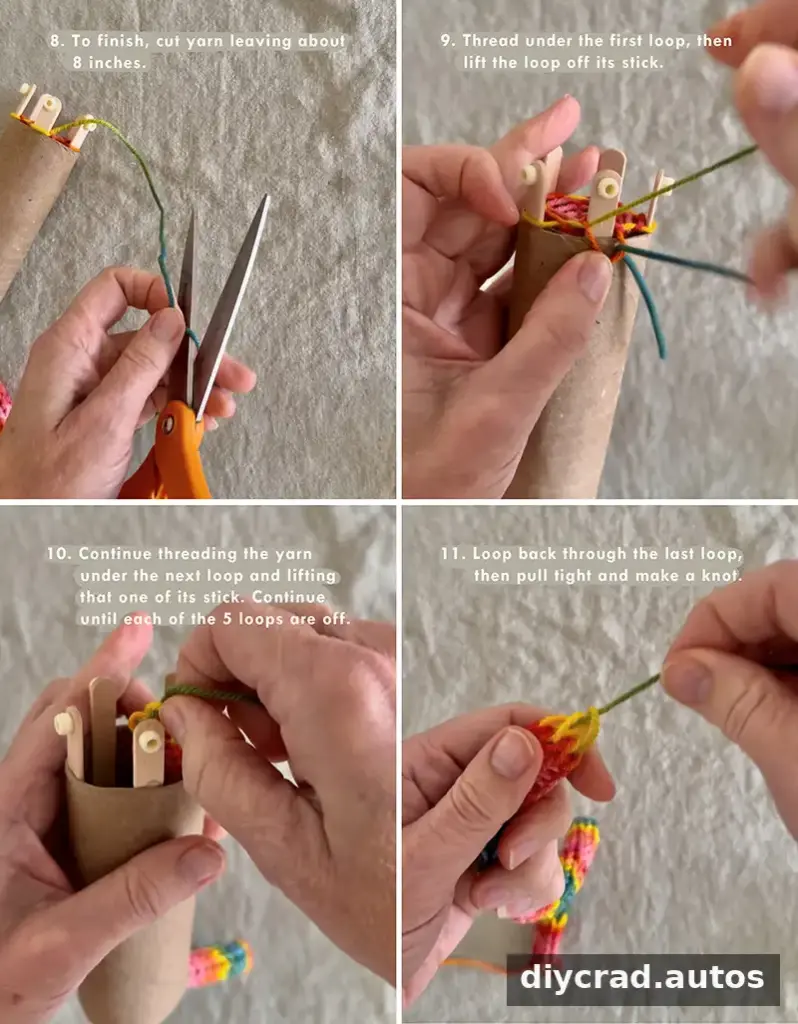
Finish the knitted cord
- Cut the yarn, leaving a tail about 8–10 inches long.
- Pass the tail under the next loop, then lift that loop off its stick.
- Repeat with each of the remaining loops, threading the tail under a loop before removing it from the peg.
- Once all five loops are off the sticks, pull the knitted piece out of the tube. Pass the tail through the final loop again and tie it securely.
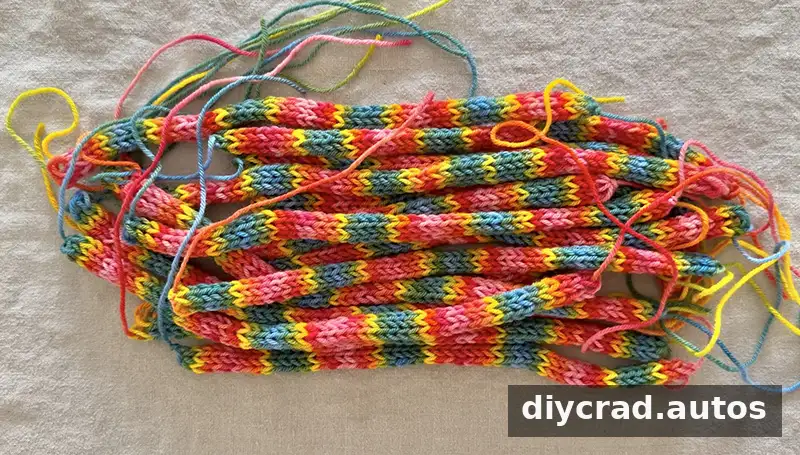
Trim the tail only after checking that the end is fastened. The example pieces are about 12 inches long, though the length depends on how many rounds you knit.
Ways to Use the Finished Yarn Pieces
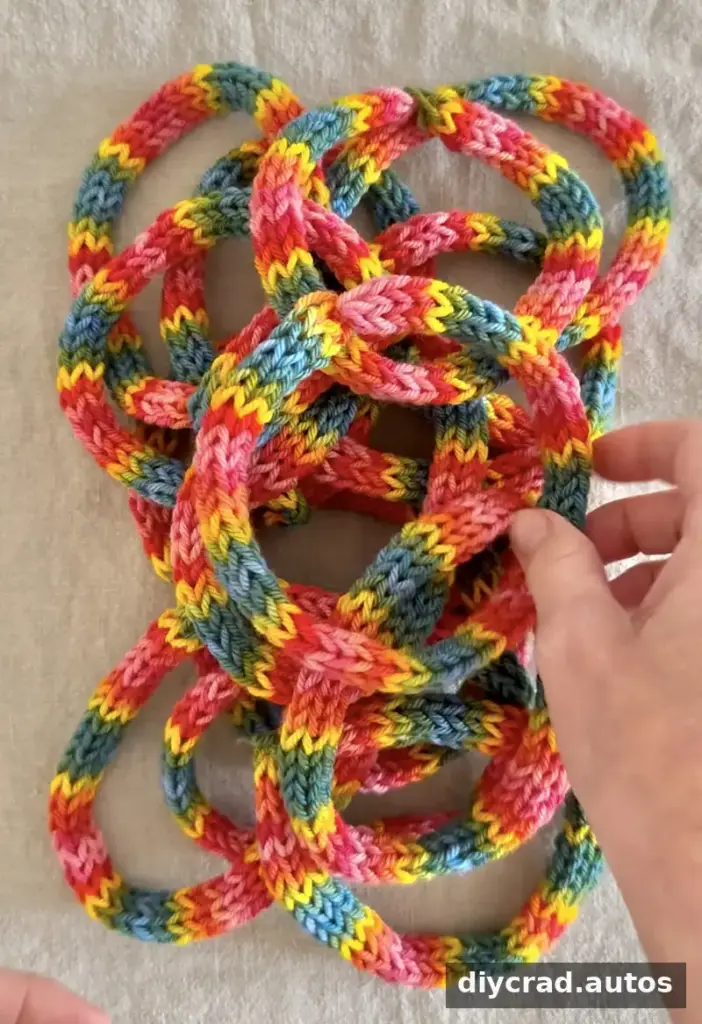
To make a bracelet or napkin ring, bring the two ends together and tie them into a circle. A double knot can help secure the join before trimming the extra yarn. Check the fit before cutting the ends, especially if the piece is intended to be worn.
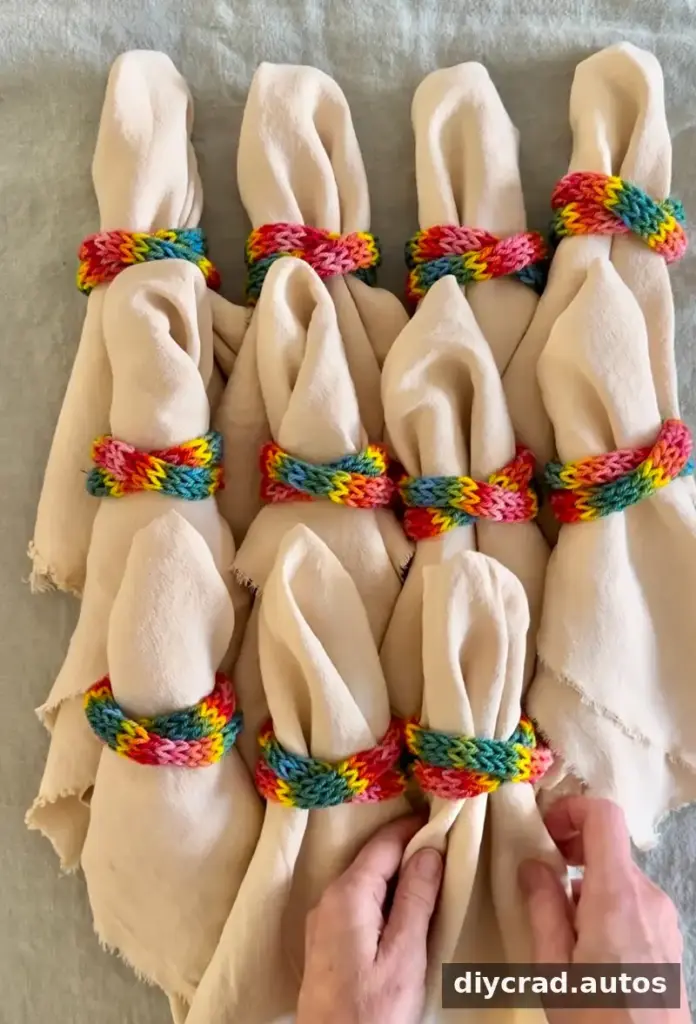
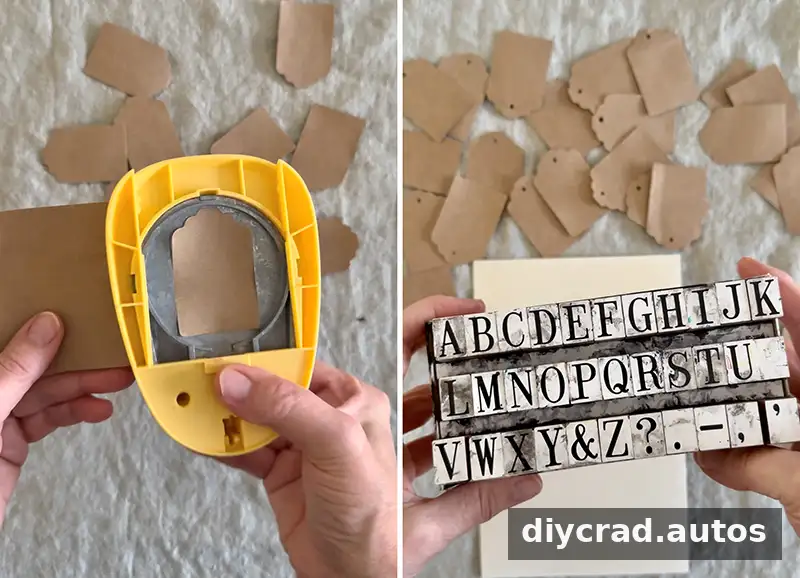
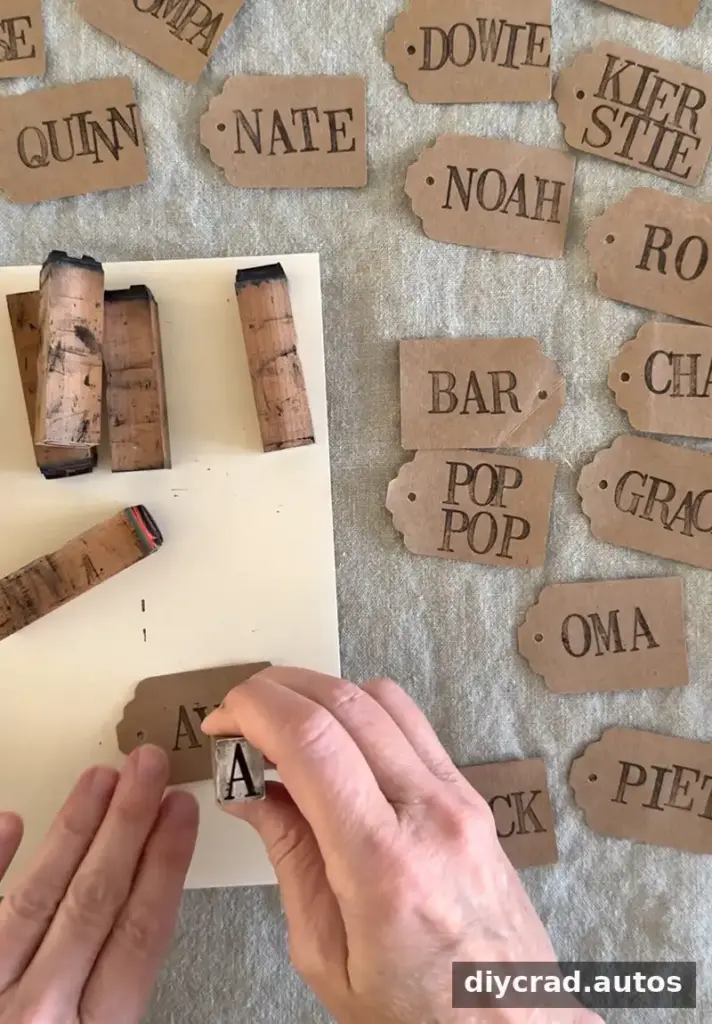
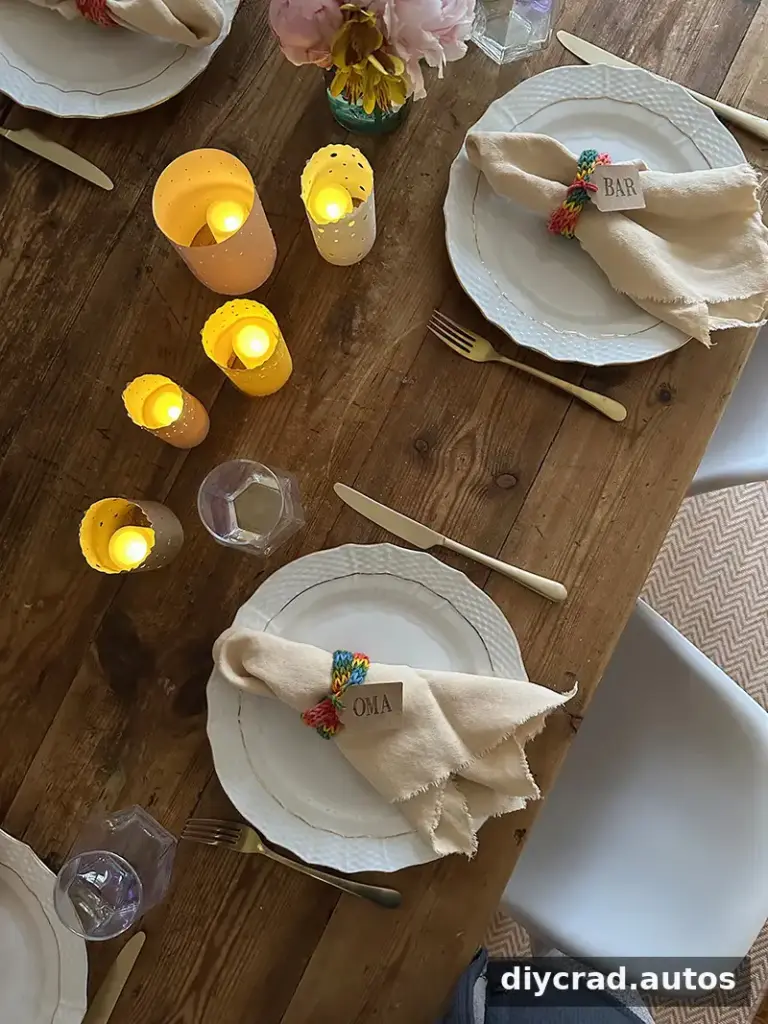
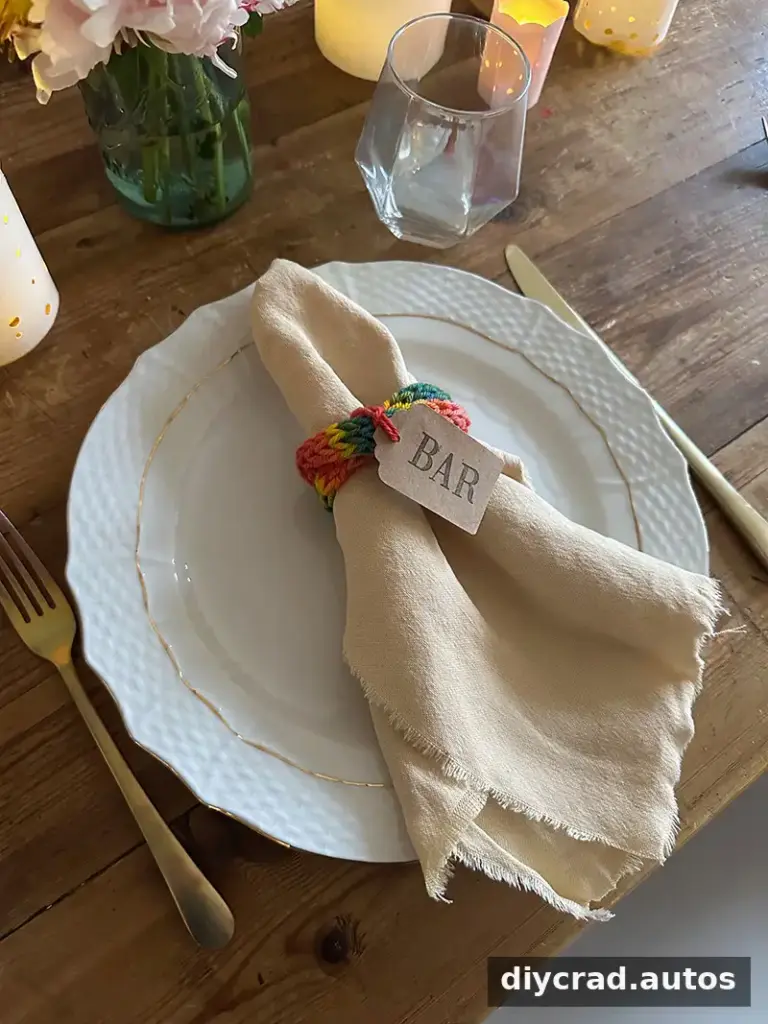
For a table setting, knitted rings can hold folded napkins and add a bright handmade detail. Paper name labels can be attached or placed beside each setting. Use a paper tag and letter stamps if available, or write names by hand.
These knitted cords can also be worn in different ways or saved for a larger decorative project. If making an item for a pet, do not leave yarn or a knitted loop on the animal unattended; loose fibers and loops can present a safety risk.
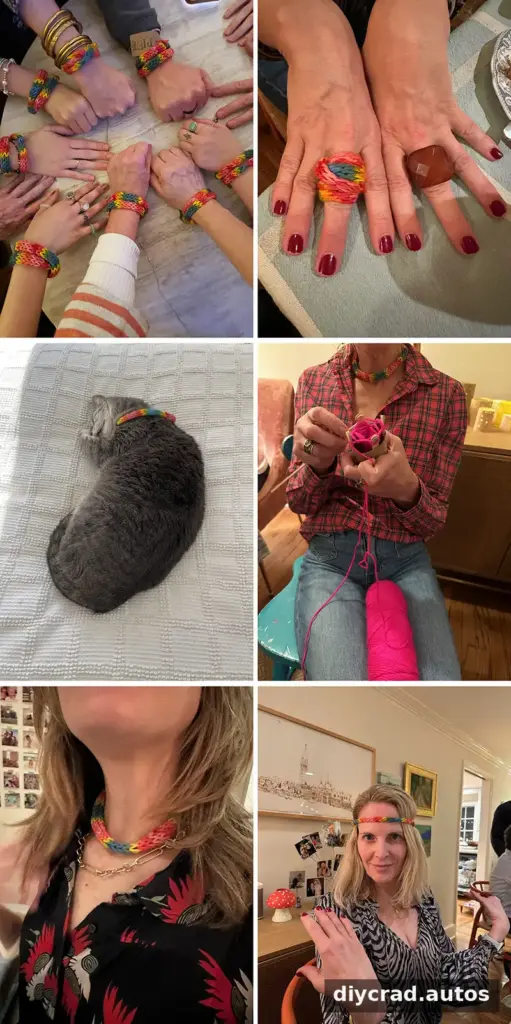
Because the loom uses only five pegs, it is easy to demonstrate the basic loop movement to other crafters. Let each person choose a yarn color and work at a comfortable pace; beginners may find it helpful to complete one peg at a time before moving around the tube.
— Bar
Conclusion
TP roll loom tube knitting turns a few simple materials into a practical beginner craft. Make the loom with five evenly spaced sticks, keep the yarn tension consistent, and secure every loop carefully when finishing. A finished cord can become a bracelet or napkin ring, or simply be kept as a colorful handmade piece.
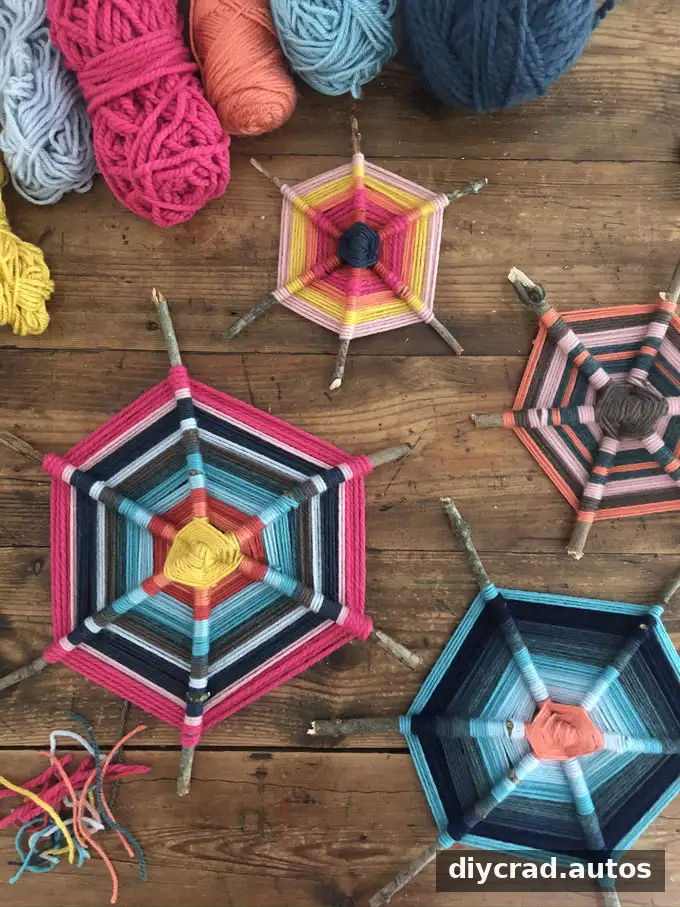
God’s Eyes with Sticks
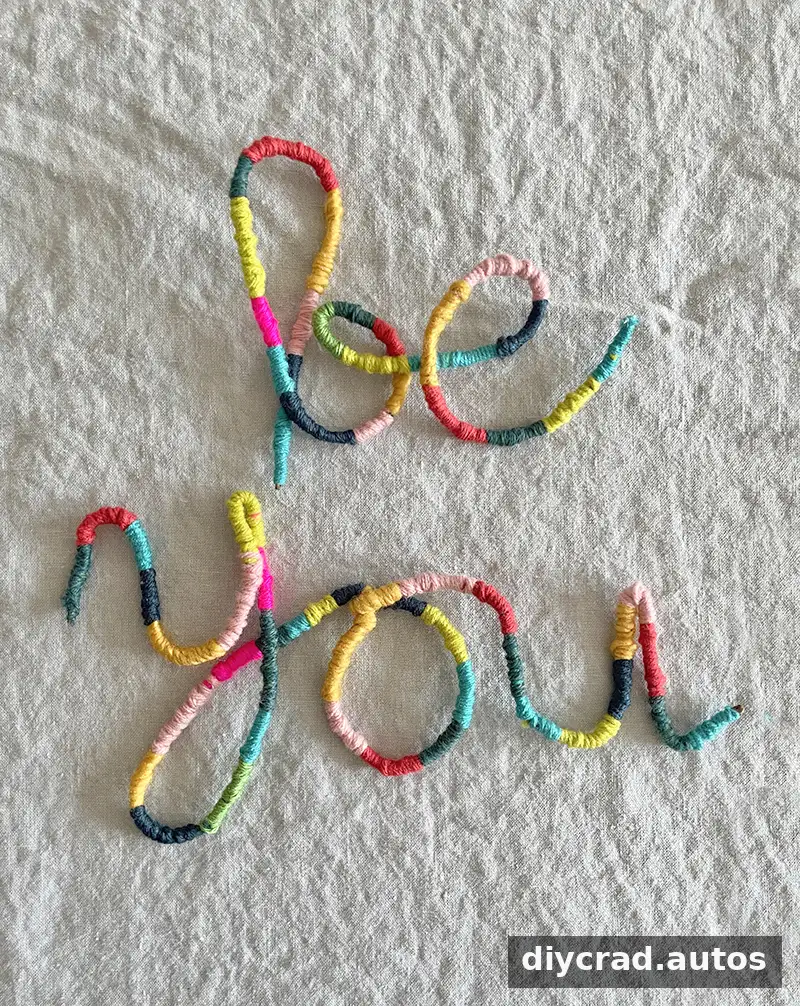
Yarn Wrapped Pipe Cleaner Words
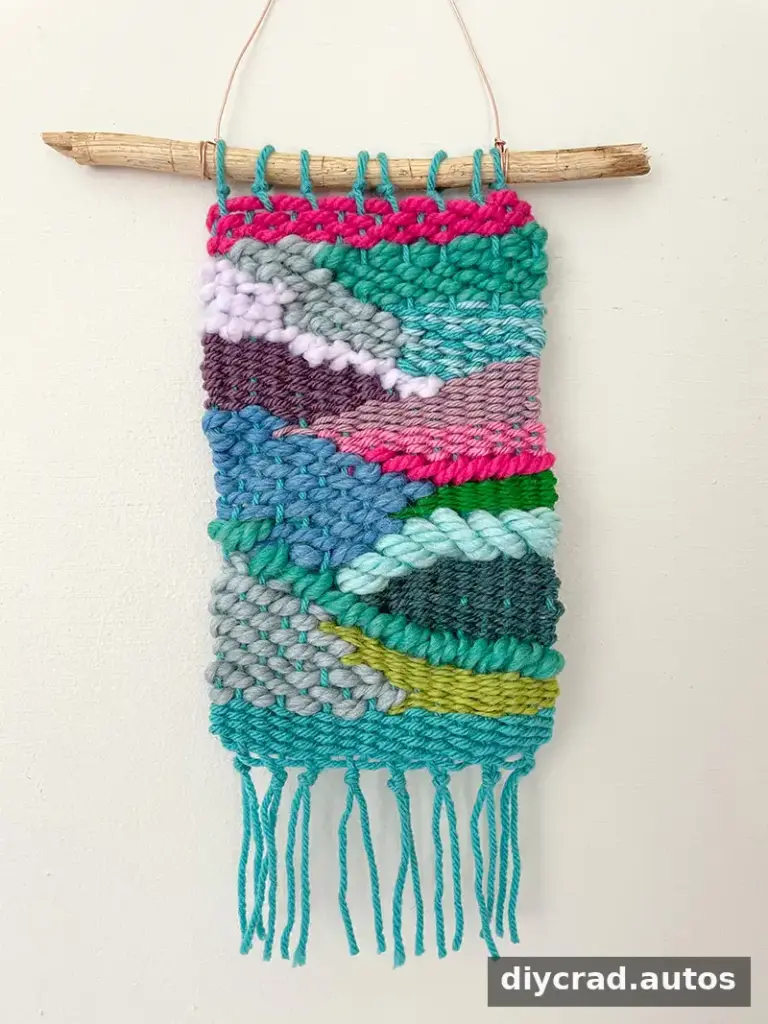
Doodle Weaving with a Cardboard Loom

