

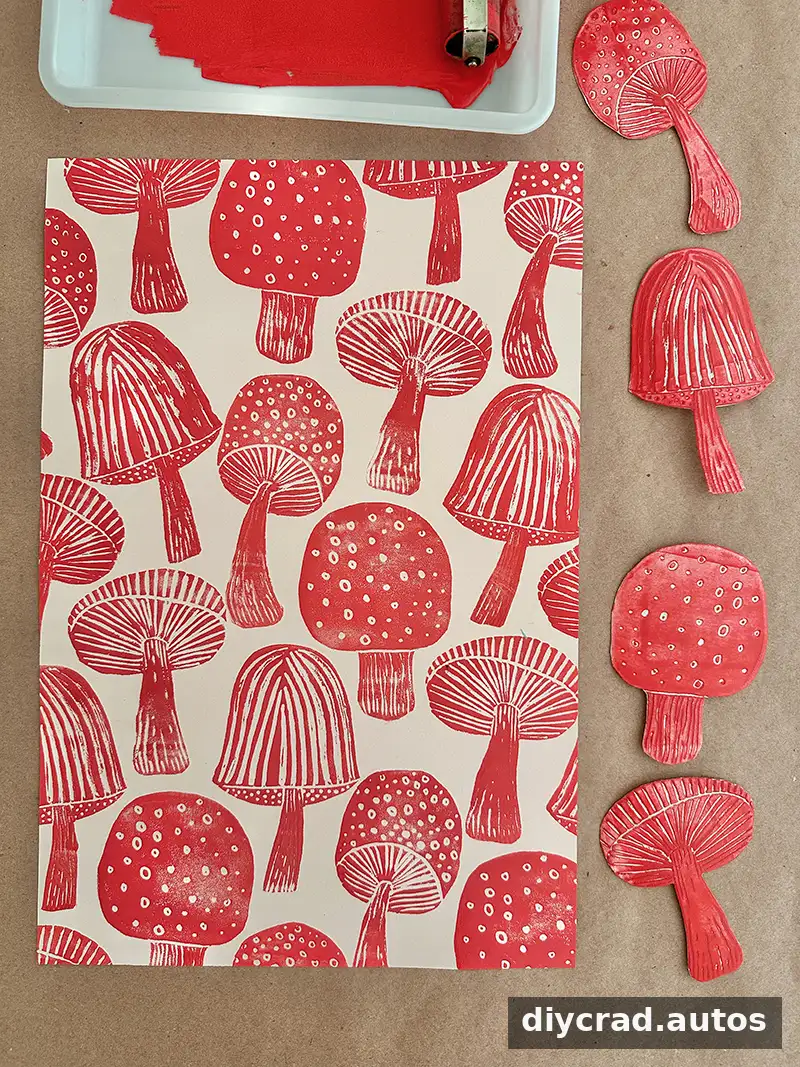
Mushroom block printing is an approachable way to explore printmaking with a simple foam plate, printing ink and paper. By pressing a design into Styrofoam and rolling ink over its surface, you can create repeatable mushroom images and arrange them into a patterned print. The process works for individual projects and group art activities, with a little preparation to keep the workspace tidy.
How Styrofoam Block Printing Works
Block printing uses a carved or indented surface to make an image. Ink sits on the raised areas of the block and transfers to paper when pressed, creating a reversed print similar to a stamp. Wood, linoleum, rubber and foam can all be used as printing surfaces.
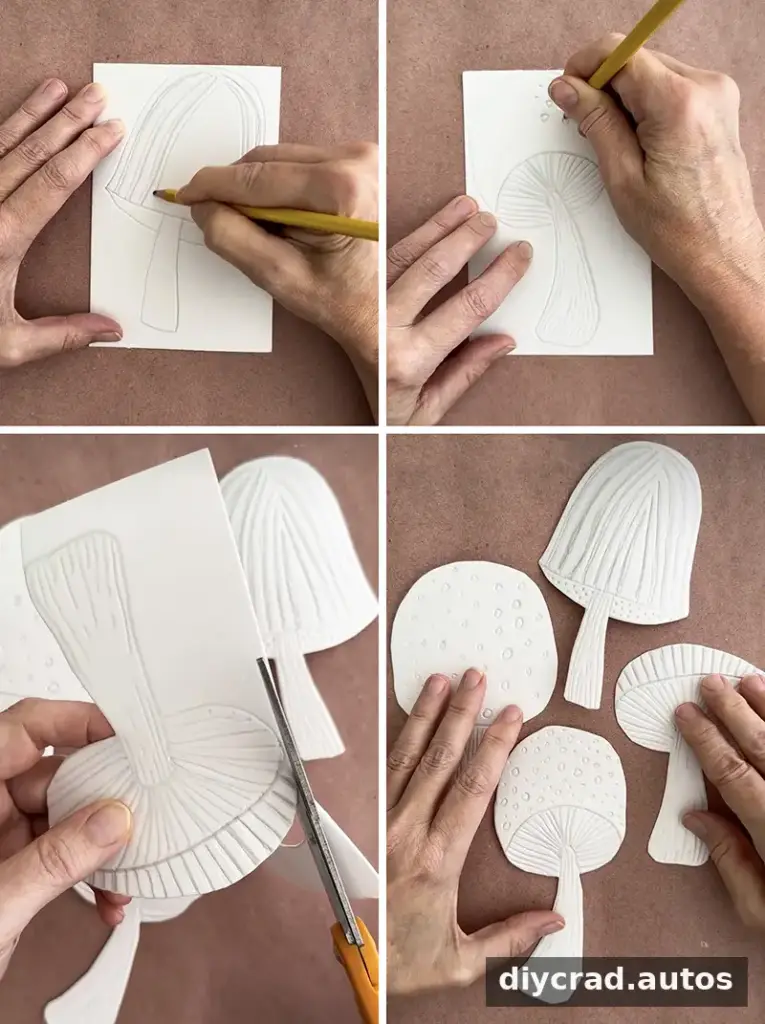
With Styrofoam, a dull pencil or ballpoint pen pushes lines and shapes into the foam. These indented marks generally do not take ink in the same way as the unmarked surface, allowing the design to show in the final print. Although drawing into foam can feel like etching, the process is closer to carving for block printing.
Materials for Mushroom Block Printing
- Butcher paper or newspaper to protect the table; a 100-foot roll can be useful for at-home projects.
- Styrofoam sheets. For a more resource-conscious option, save and reuse clean foam food trays rather than buying new material.
- A dull pencil or ballpoint pen for pressing the design into the foam.
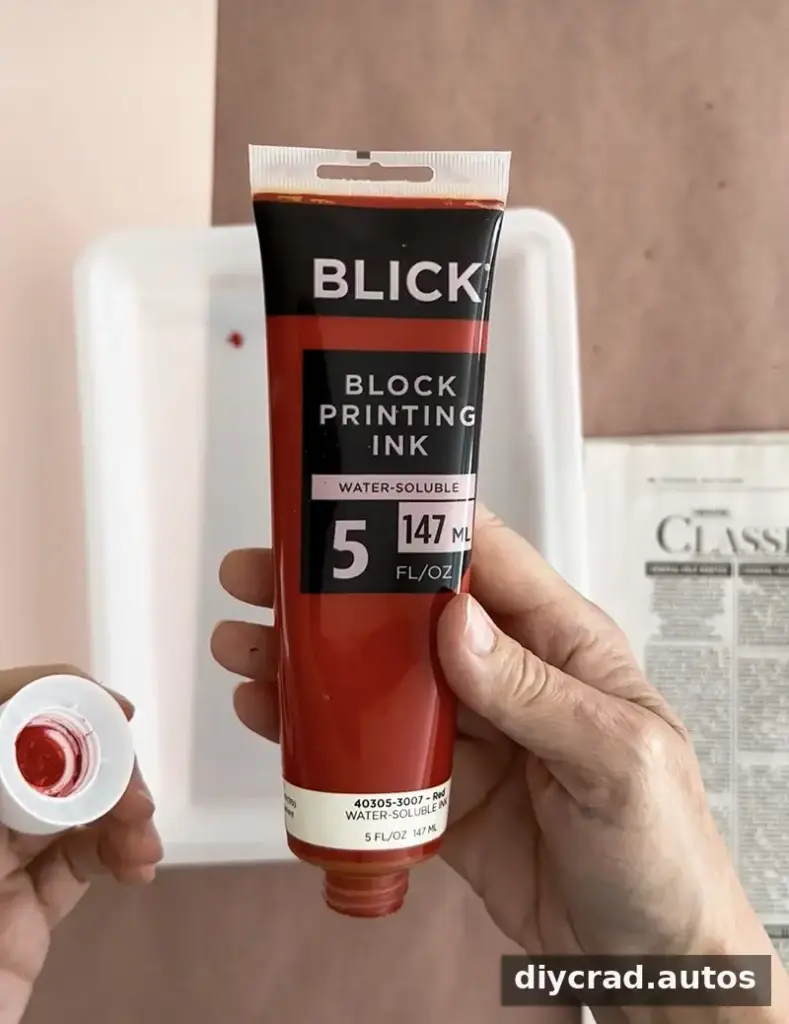
- Printing ink.
- A tray or other non-porous surface, such as a cookie sheet or glass dish, for rolling out the ink.
- Brayers for distributing ink.
- Newspaper or scrap paper, with a fresh sheet available for each printing pass.
- Printing paper. This example uses light pink sulphite paper measuring 12 x 18.
- Hand wipes or a damp paper towel for cleaning fingers.
Cover the work surface before opening the ink, and keep clean paper separate from the inking area. This simple setup helps prevent accidental smudges and makes the process easier to manage.
How to Make a Styrofoam Mushroom Print
1. Draw and prepare the foam designs
Use a dull pencil or ballpoint pen to draw mushroom shapes and details on the Styrofoam. Press firmly enough to leave visible lines, but avoid tearing through the foam. Cutting the shapes out is optional. It can help when arranging several motifs close together, but it is not necessary, particularly for children or group activities.
2. Roll out the printing ink
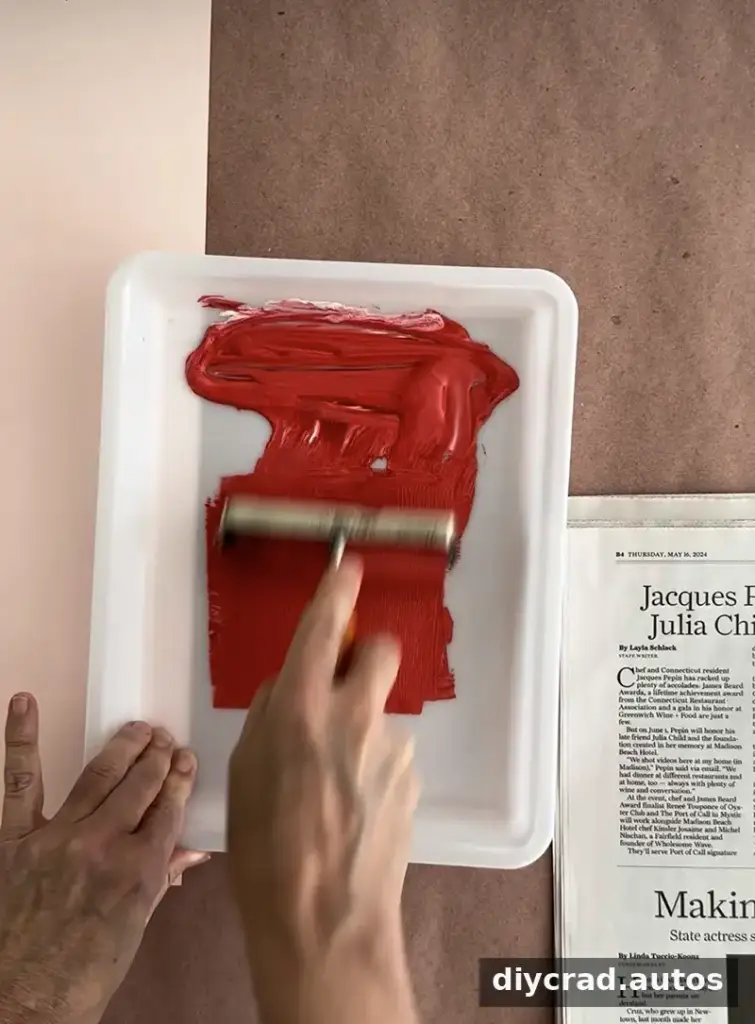
Squeeze a small amount of ink onto the tray. Roll it with a brayer in several directions until the roller is evenly coated and the ink has a tacky, sticky sound. If you want a lighter, more opaque red, mix in a little white ink before rolling.
3. Ink the foam plate
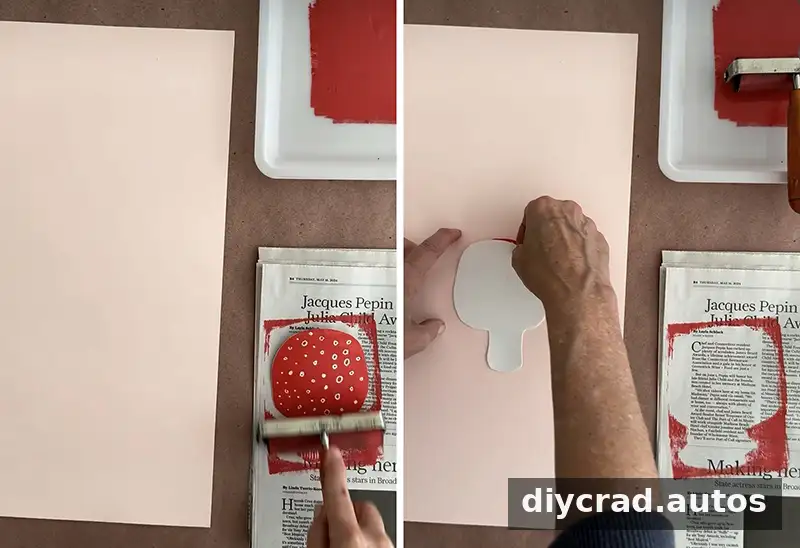
Keep scrap paper nearby and use wipes or a damp paper towel to clean your fingers as needed. Roll ink evenly across the foam shape. For a group project, designate one end of the table as the inking station; securing the tray to the table can help keep it in place.
Move the inked foam carefully to the clean printing area. Keeping these zones separate is a practical way to reduce stray marks, especially when several people are working at once. In a classroom or group setting, prioritize an enjoyable process over perfectly clean results.
4. Transfer the design to paper
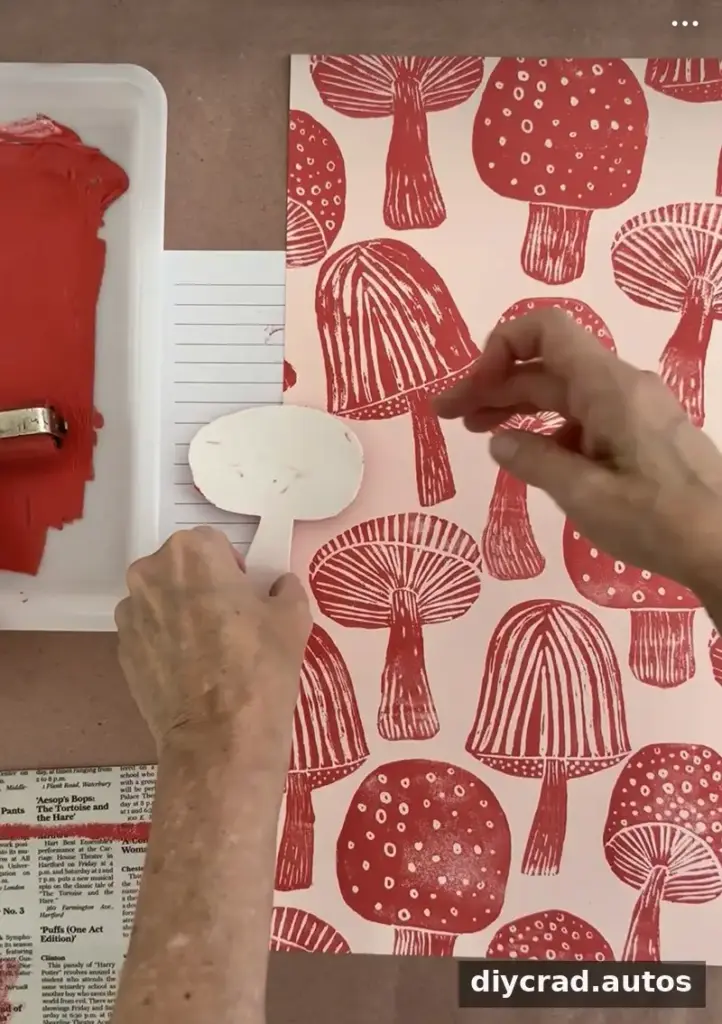
Place the inked foam carefully onto the paper. Lay a clean sheet of scrap paper over the back of the foam and rub gently across the surface to transfer the ink evenly. Lift the foam to reveal the print. A fresh scrap sheet for each pass helps keep ink from transferring to the back of the plate.
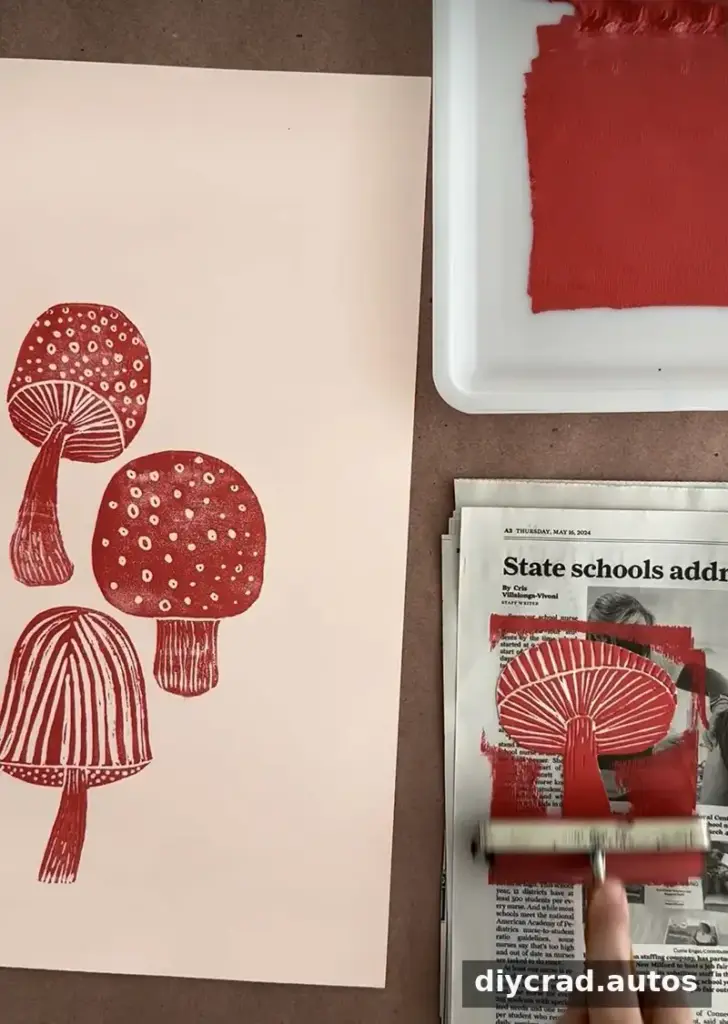
Keeping the back of the foam clean is especially helpful if you want to avoid fingerprints and smudges on the finished paper. Use a clean scrap sheet as a barrier while pressing the plate.
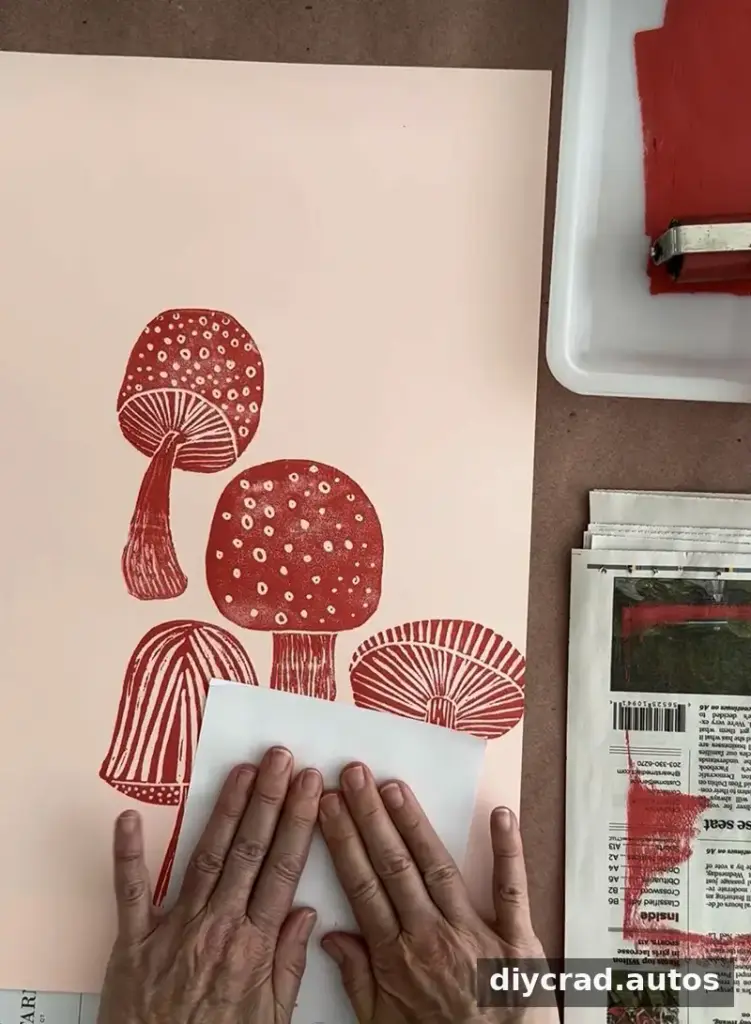
Apply gentle, even pressure over the full design rather than rubbing only in one spot. This helps ink reach the paper across the image.
5. Build a repeating pattern
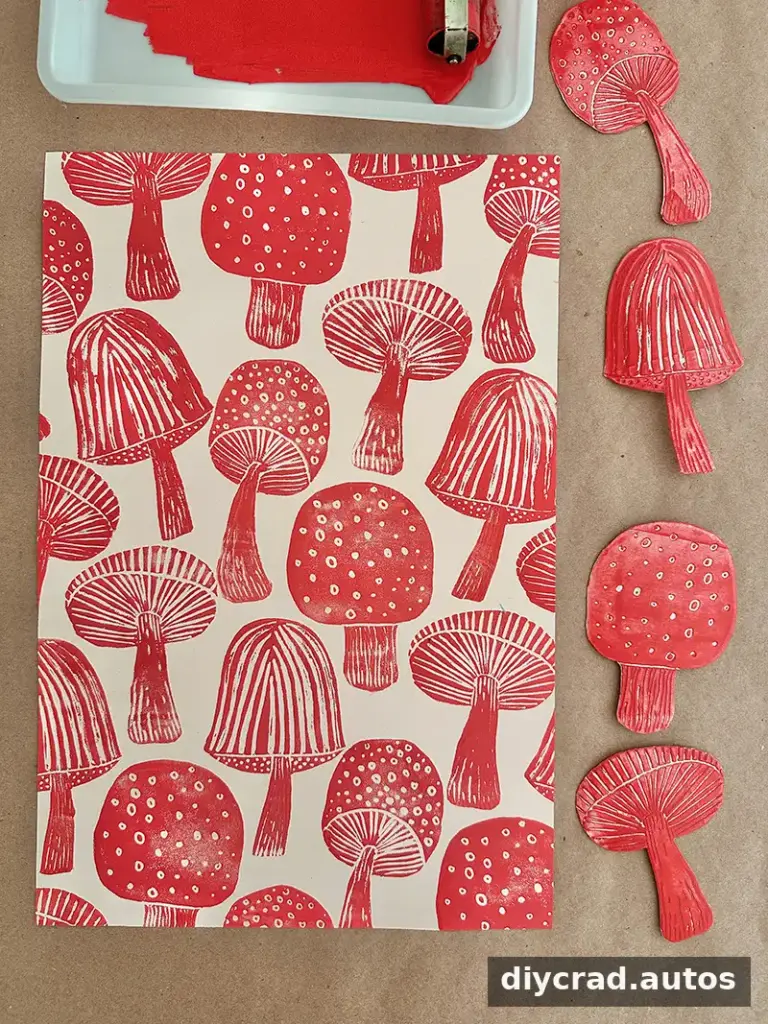
To make the design look like a repeating pattern, print some mushroom images so they extend beyond the paper’s edges. Put scrap paper under the sides of the print to catch excess ink and protect the work surface. You can begin in the middle and add motifs around it, adjusting their placement as the pattern develops.
Using several mushroom designs adds variation without requiring a complicated layout. Test the placement on scrap paper first if you want to plan the spacing before making the final print.
6. Clean up and reuse the plates
When you are finished, rinse the Styrofoam plates under water. Water-soluble printing ink can be cleaned while wet, and the plates can be used again with another color. Dried ink may not come out of clothing, so wear a smock or clothes suitable for messy art activities.
Finishing and Displaying Your Print
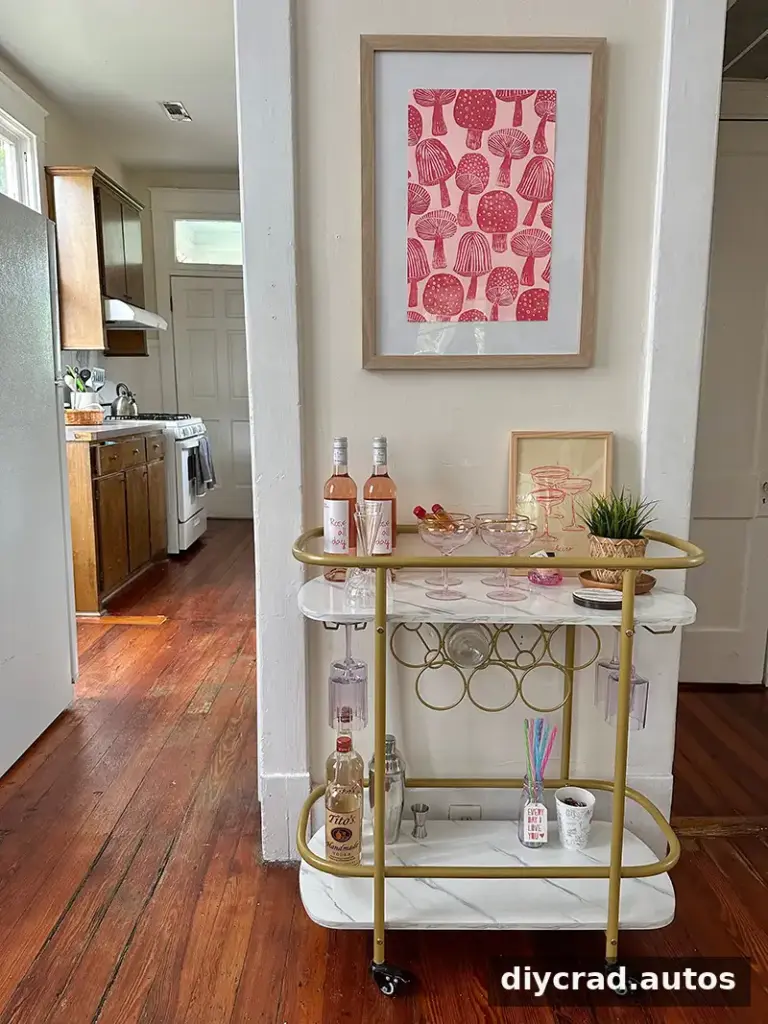
Allow the print to dry before framing or displaying it. A repeated mushroom pattern can work as a standalone artwork or as part of a collection of handmade prints. Keep the foam plates if you plan to experiment with new ink colors or paper choices later.
By Bar
More Printmaking Ideas
Explore these related approaches to try different textures and materials:
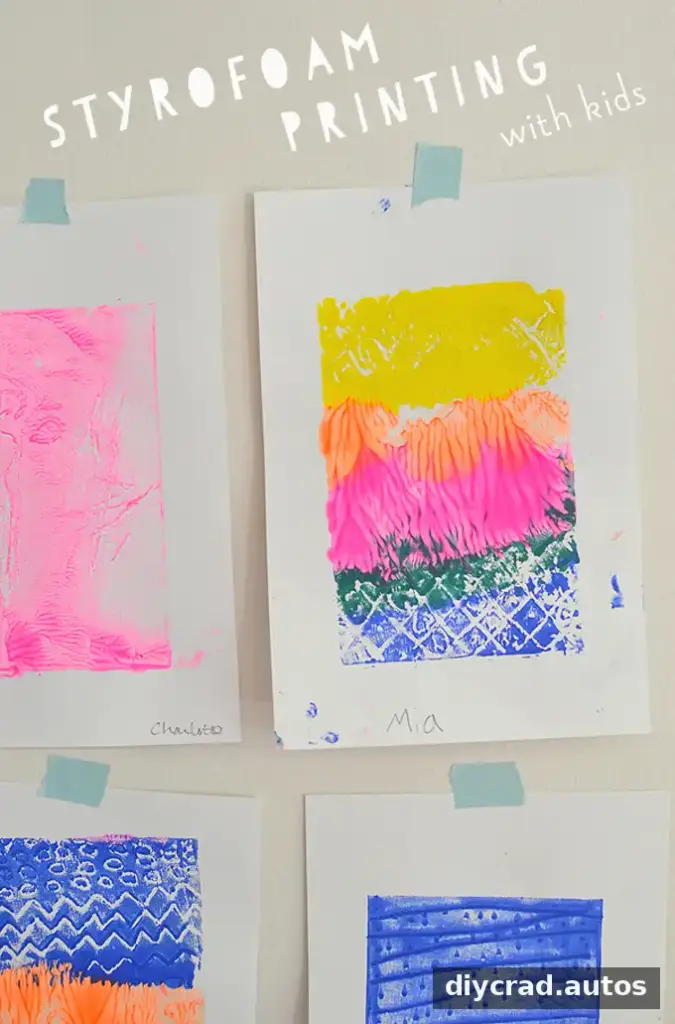
Styrofoam printmaking with kids
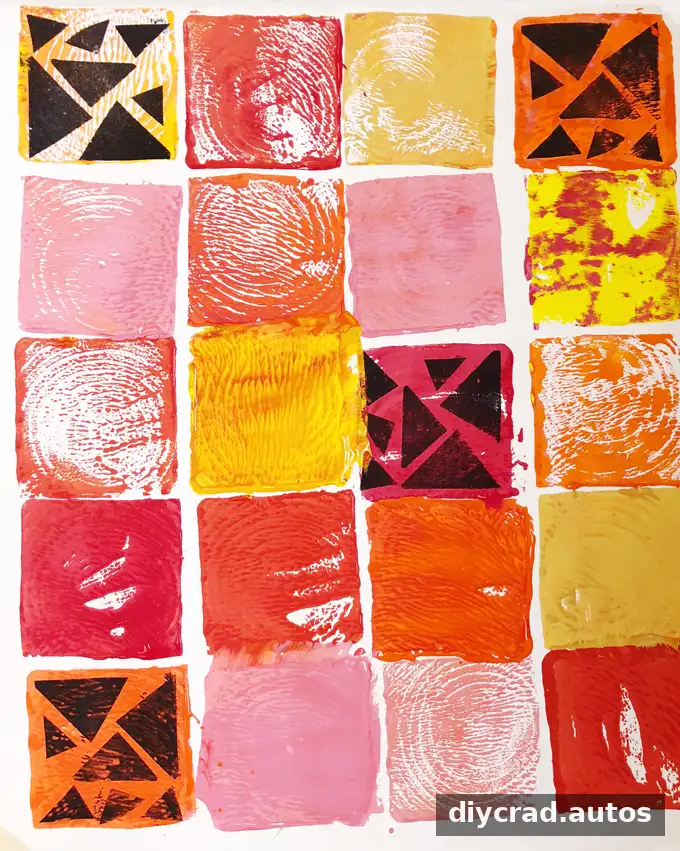
Printmaking with wooden blocks
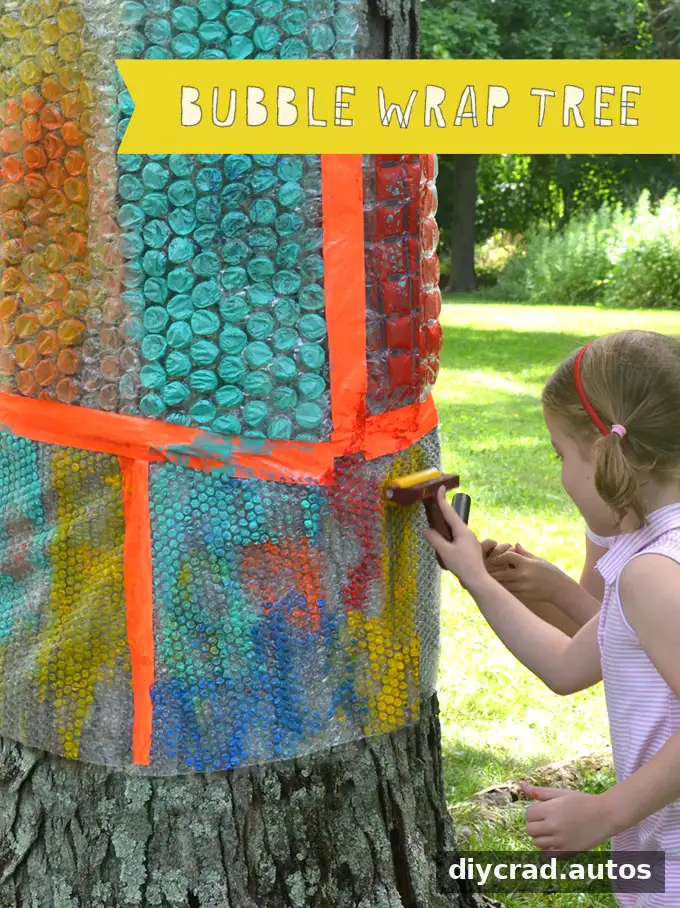
Bubble wrap printing around a tree
With a few basic supplies and a clean inking routine, mushroom block printing offers an easy way to make a series of handmade images. Start with simple foam shapes, use even pressure when transferring the ink and add edge prints to create a repeating pattern.

