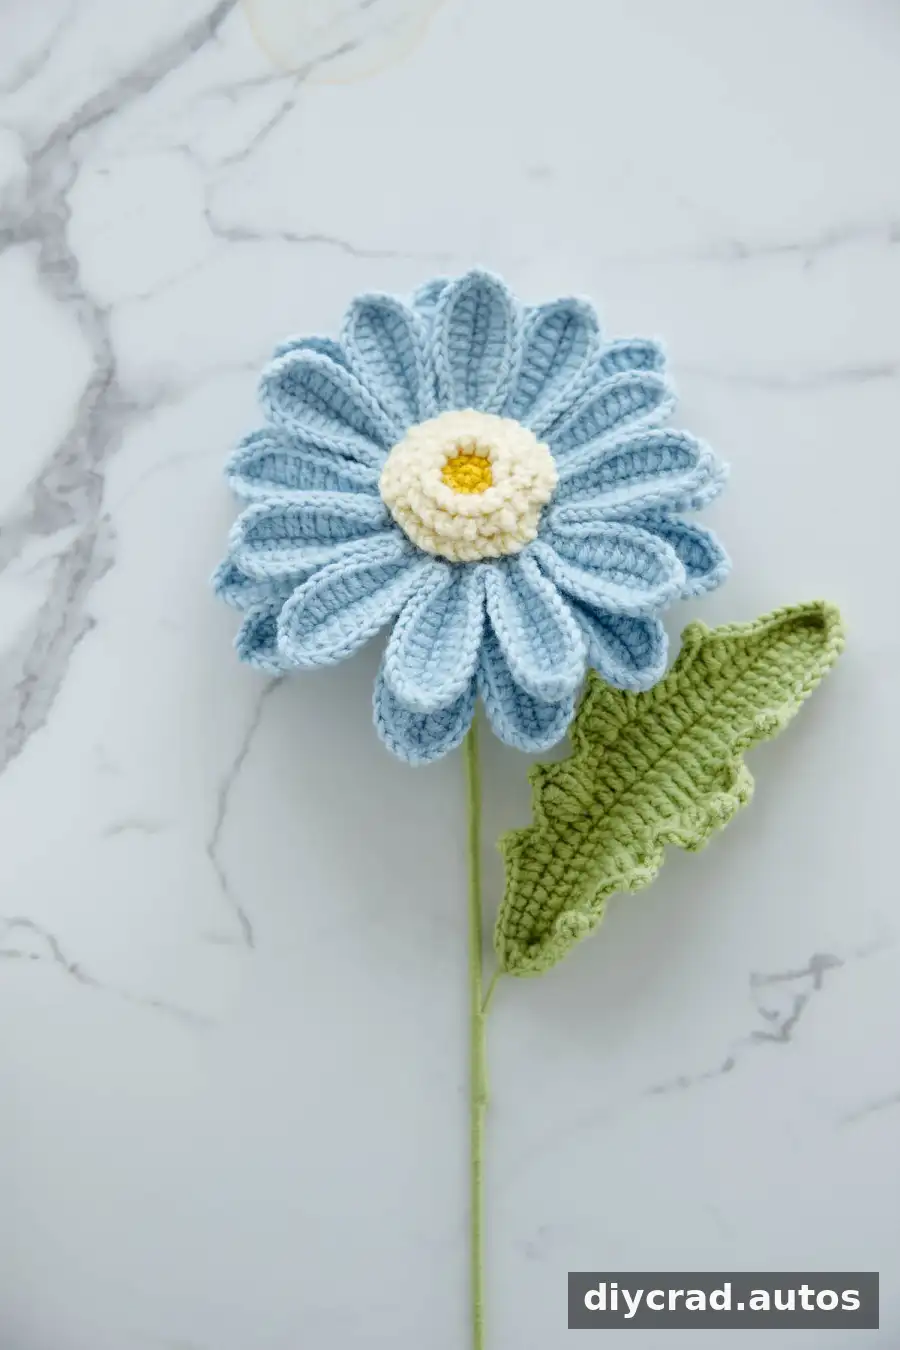
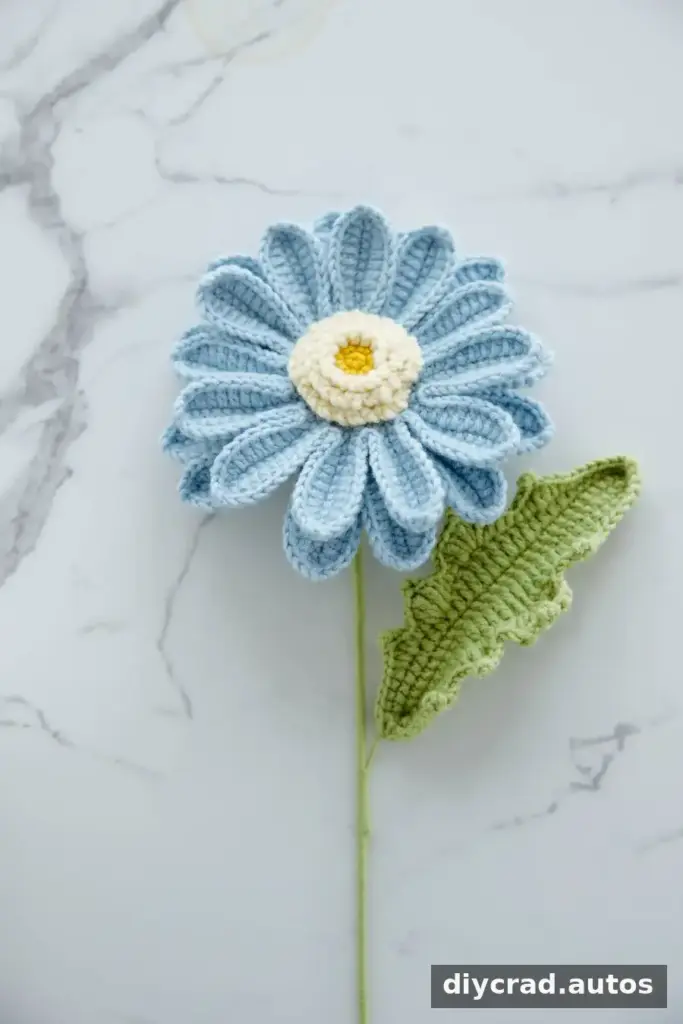
This crochet gerbera pattern explains how to make a bright African daisy with layered petals, a textured center, a green leaf, and a wired stem. The finished flower can be displayed on its own, added to a handmade bouquet, or used to decorate accessories. The pattern uses US crochet terms and is best suited to crafters with intermediate skills.
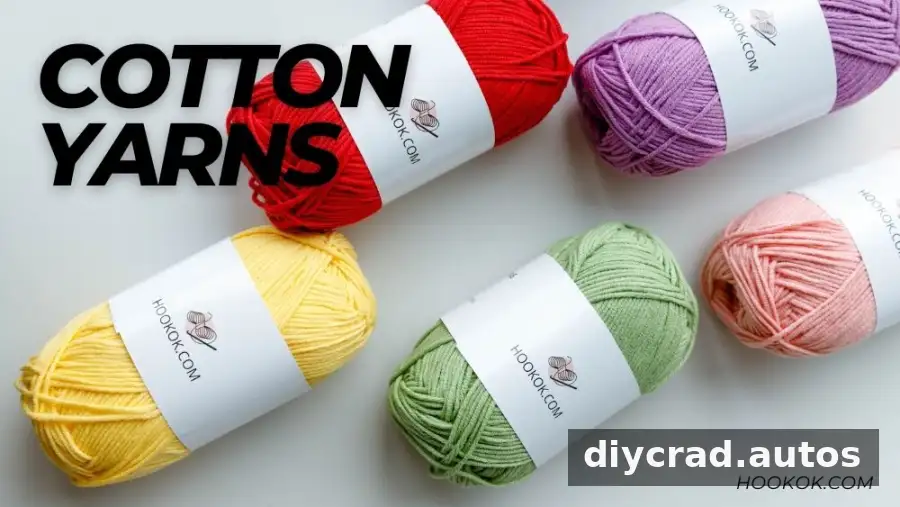
Gerberas come in many colors, so you can use the listed shades or choose a palette to suit your project. For a balanced flower, try contrasting yarn for the center and petals, then use green for the leaf and flower holder.
Why Make a Crochet Gerbera?
The layered petals and shaped leaf give this crocheted African daisy a dimensional look. You can make the flower in vivid yellows and oranges, softer pastels, or a single-color scheme. Consistent tension helps the petals and leaf keep an even shape.
- For bouquets: Make several flowers in different colors, or combine a gerbera with other crocheted flowers.
- For gifts: A handmade flower can be a keepsake for birthdays, anniversaries, or other special occasions.
- For accessories: A smaller or stemless flower can be attached to a headband, hair clip, or keychain. Secure any wire and adhesive carefully, especially if the item is for a child.
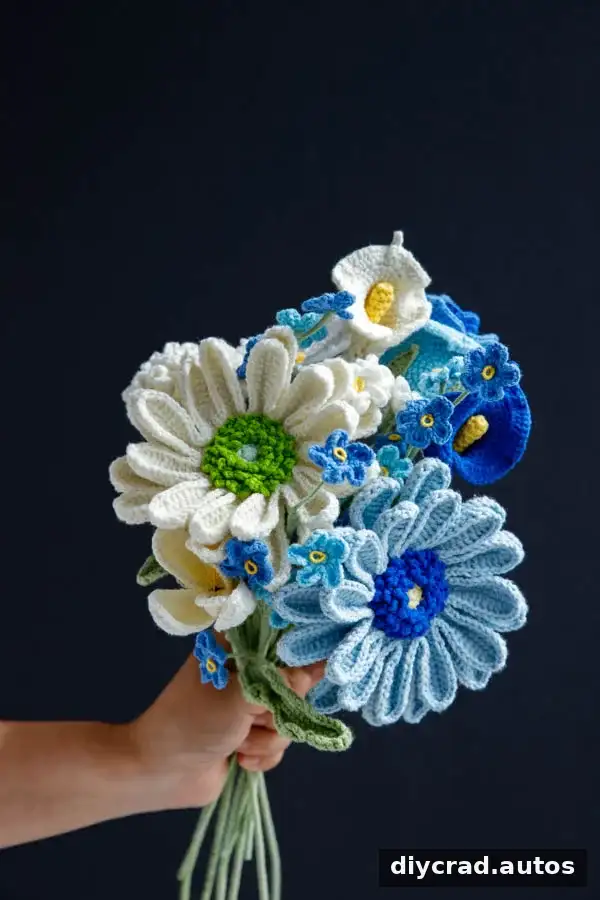
Crochet flower bouquet with gerberas
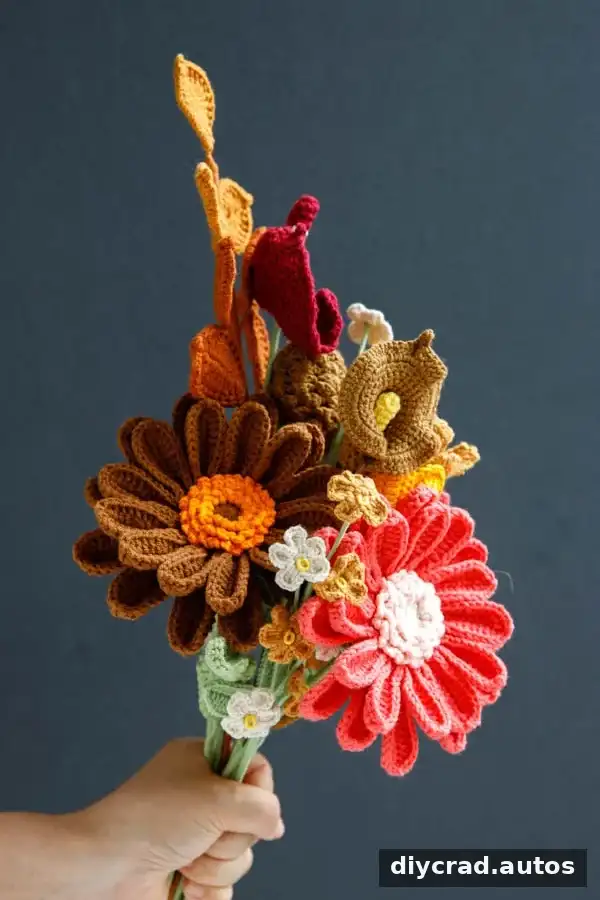
Red crochet flower bouquet
Materials and Difficulty
This is an intermediate-level project. You will work in front loops and back loops, shape pieces with increases, and add wire to the petals and leaf. Follow the round beginnings with a stitch marker, and check that the wire ends are covered before assembling the flower.
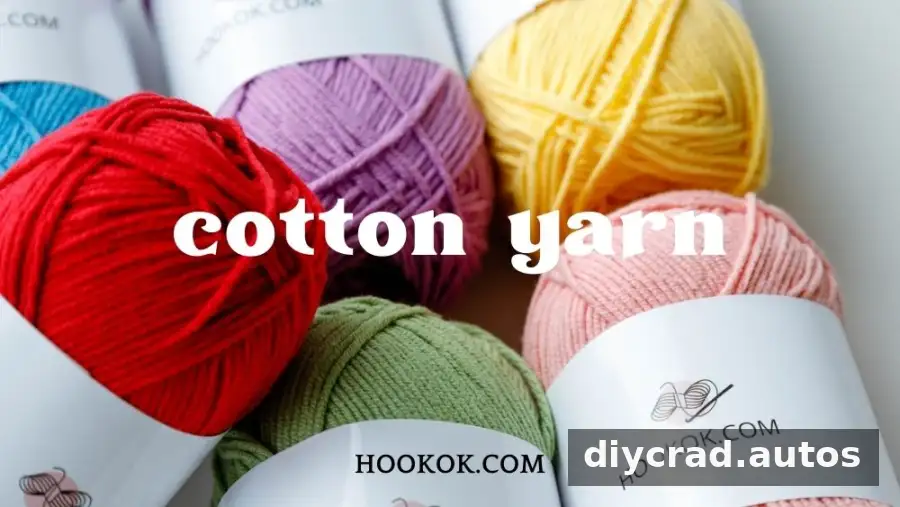
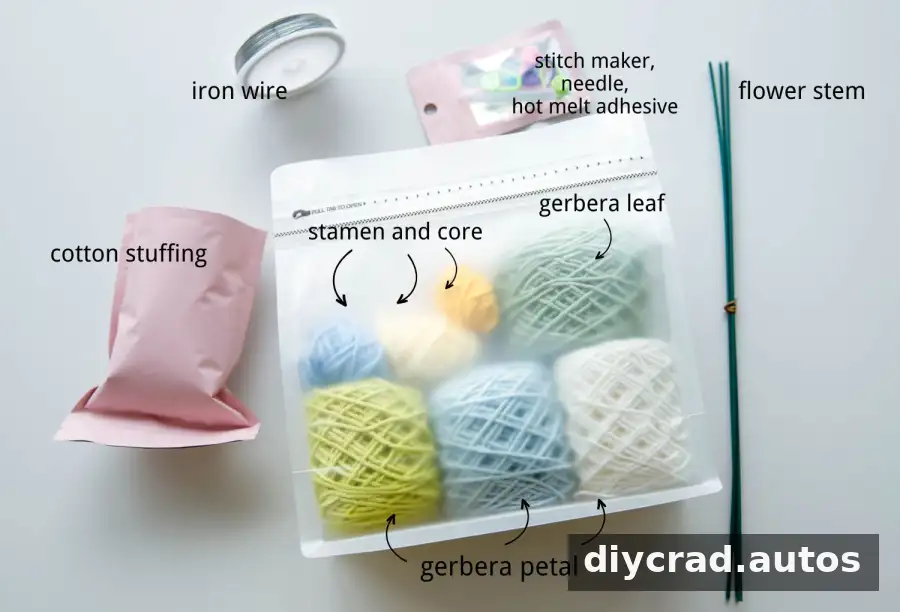
- Yarn in four colors: white, yellow, sky blue, and green
- 2.5 mm crochet hook
- Flower rod: 40 cm long x 2 mm diameter
- Iron wire: 0.5/0.7 mm diameter
- Fiberfill
- Stitch marker
- Scissors
- Darning needle
- Hot melt adhesive
No specific gauge is provided. Work consistently and check that the flower core, petals, and leaf remain proportionate as you crochet.
Stitches and Pattern Notes
- Sc: single crochet
- BLO: back loop only
- FLO: front loop only
- Ss: slip stitch
- Ch: chain
- Hdc: half double crochet
- Dc: double crochet
- Tr: treble crochet
- Ps: picot stitch
- Sk: skip
A 2-chain picot is made by chaining 2 and joining back to the base with a slip stitch. For a 3-chain picot, chain 3 and join the chain back to the fabric with a slip stitch. Unless an instruction says otherwise, join each round with a slip stitch to the first stitch. The flower is worked from the center outward.
Choose yarn that makes the stitches easy to see, and use a stitch marker to track the beginning of each round. The pattern uses US crochet terminology.
Step-by-Step Crochet Gerbera Pattern
Flower Core
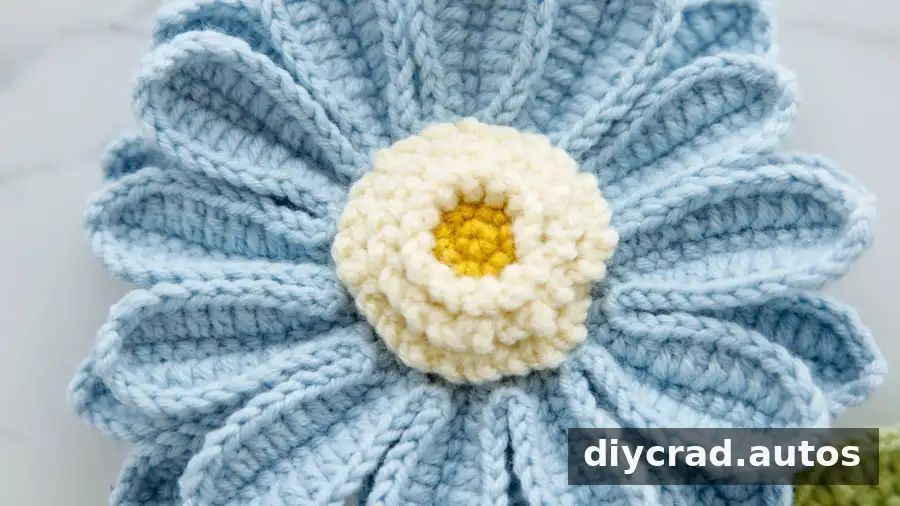
- R1: Make a magic ring and work 6 sc into the ring. Make 1 ss and 1 ch.
- R2: Work 2 sc in the next stitch 6 times. You will have 12 stitches. Make 1 ss and 1 ch.
- R3: In BLO, repeat 1 sc in the first stitch and 2 sc in the next stitch 6 times. You will have 18 stitches. Make 1 ss and 1 ch.
- R4: In BLO, repeat 1 sc, 2 sc in the next stitch, and 1 sc in the next stitch 6 times. You will have 24 stitches. Make 1 ss and 1 ch, then cut the yarn and leave a tail.
Flower Stamens
- R1: In FLO, repeat 1 ss and 2 ch 12 times, for 24 stitches. Make 1 ss.
- R2: In FLO, repeat 1 ss and 2 ch 18 times, for 36 stitches. Make 1 ss.
- R3: In FLO, repeat 1 ss and 2 ch 24 times, for 48 stitches. Make 1 ss and 1 ch, then cut the yarn and leave a tail.
Petal Base and Petal Layers
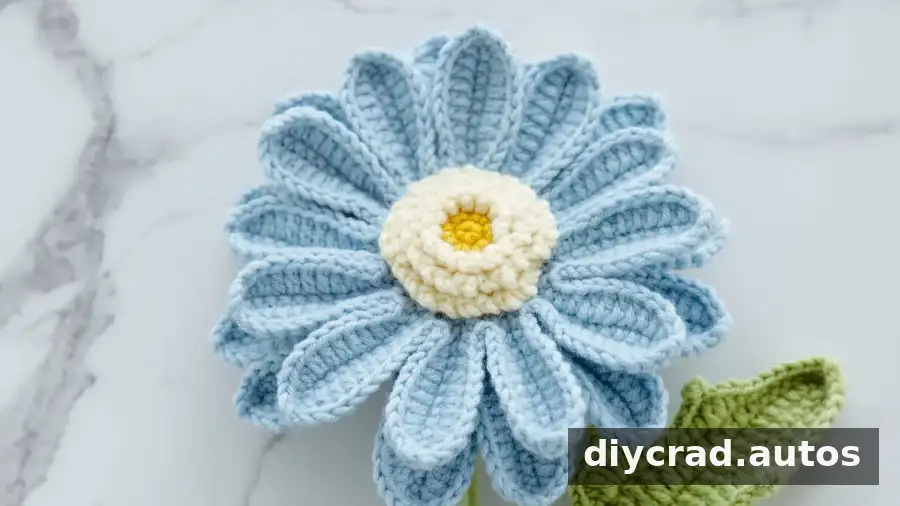
- R1: Make a magic ring and work 6 sc into it. Make 1 ss and 1 ch.
- R2: Work 2 sc in each stitch 6 times, for 12 stitches. Make 1 ss and 1 ch.
- R3: Repeat 1 sc and 2 sc in the next stitch 6 times, for 18 stitches. Make 1 ss and 1 ch.
- R4: Repeat 1 sc, 2 sc in the next stitch, and 1 sc in the next stitch 6 times, for 24 stitches.
- R5: Work 24 sc.
First Layer of Petals: Make 12
- In FLO, chain 13. Insert the hook into the 3rd chain from the hook and make 11 sc, then 2 ss and 13 ch. Repeat to the end of the round.
- Attach wire to the petals. Work 2 sc, 2 hdc, 6 dc, 1 hdc, (1 sc, ch 2, 1 sc), 1 hdc, 6 dc, 2 hdc, and 2 sc. Hide the yarn tail with a darning needle. Twist the wire tightly and conceal it.
Second Layer of Petals: Make 12
- In BLO, chain 15. Insert the hook into the 3rd chain from the hook and make 13 sc, then 2 ss and 15 ch. Repeat to the end of the round.
- Attach wire to the petals. Work 2 sc, 2 hdc, 8 dc, 1 hdc, (1 sc, ch 2, 1 sc), 1 hdc, 8 dc, 2 hdc, and 2 sc. Hide the yarn tail with a darning needle, then twist and conceal the wire.
Use the video tutorial for additional visual guidance when shaping and wiring the petals.
Flower Holder
- R1: Make a magic ring and work 6 sc into it. Make 1 ss and 1 ch.
- R2–R3: Work 6 sc around. Make 1 ss and 1 ch at the end of each round.
- R4: Work 2 sc in each stitch 6 times, for 12 stitches. Make 1 ss and 1 ch.
- R5: Repeat 1 sc in the first stitch and 2 sc in the next stitch 6 times, for 18 stitches. Make 1 ss and 1 ch.
- R6: Repeat 1 sc, 2 sc in the next stitch, and 1 sc in the next stitch 6 times, for 24 stitches. Make 1 ss and 1 ch.
- R7: Repeat 3 sc and 2 sc in the next stitch 6 times, for 30 stitches. Make 1 ss and 1 ch.
- R8: Work 30 sc around and make 1 ss.
- R9: Skip 1 stitch, then work (1 dc, 2-chain picot, 1 dc) in the same stitch. Make 1 ss and repeat 10 times. Cut the yarn and leave a tail.
Leaf
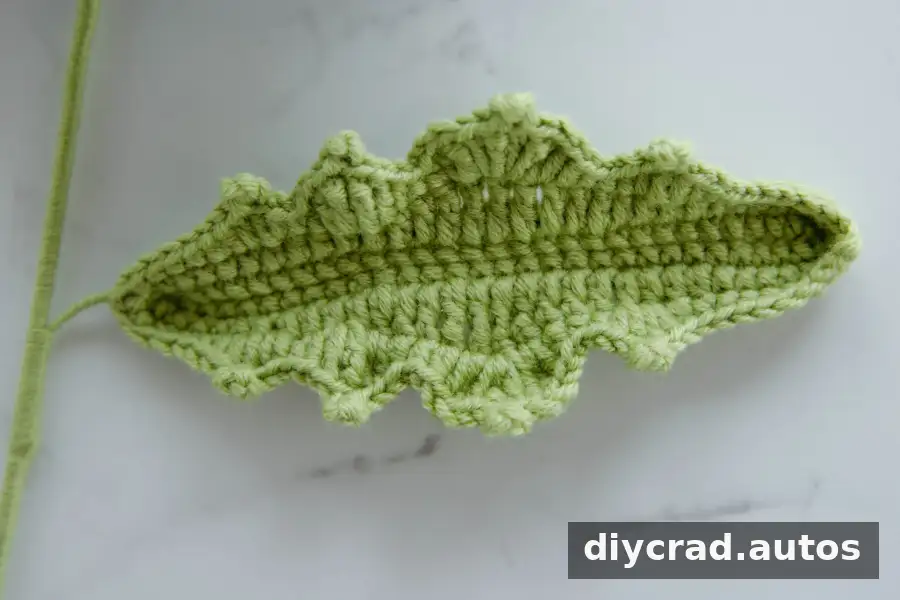
- R1: Chain 31.
- R2: Starting in the 2nd chain from the hook, work 29 sc and 2 sc in the last stitch. Work 29 sc along the other side of the foundation chain, then make 1 ss and 1 ch.
- R3: Attach wire to the leaf. Work 6 sc, 4 hdc, 3 dc, 4 tr, 3 dc, 4 hdc, and 6 sc. Make 1 ch. Along the other side, work 6 sc, 4 hdc, 3 dc, 4 tr, 3 dc, 4 hdc, and 6 sc. Make 1 ss and 1 ch.
- R4: Work 4 sc and 1 hdc, then make 1 hdc, 1 dc, and a 3-chain picot in the same stitch. Continue with the following shaping sequence around the leaf:
- In the same stitch, make 1 dc and 1 hdc; then make 1 sc and 1 hdc.
- In the same stitch, make 1 dc, 1 tr, and a 3-chain picot.
- In the same stitch, make 1 tr and 1 dc; then make hdc, sc, and hdc.
- In the same stitch, make 1 dc and 1 tr.
- In the same stitch, make 1 dc, 1 tr, a 3-chain picot, 1 dc, and 1 tr.
- In the same stitch, make 1 tr and 1 dc; then make 1 hdc and 2 sc.
- In the same stitch, make 1 hdc, 1 dc, and a 3-chain picot.
- In the same stitch, make 1 dc and 1 hdc; then make 1 hdc and 7 sc.
Leaf Tip and Other Side
For the tip, chain 2 and make 1 sc in the 2nd chain from the hook. On the other side, work 7 sc and 1 hdc, then make 1 hdc, 1 dc, and a 3-chain picot in the same stitch. Continue as follows:
- In the same stitch, make 1 dc and 1 hdc; then make 2 sc and 1 hdc.
- In the same stitch, make 1 dc and 1 tr.
- In the same stitch, make 1 tr, 1 dc, a 3-chain picot, 1 tr, and 1 dc.
- In the same stitch, make 1 tr and 1 dc; then make 1 hdc, 1 sc, and 1 hdc.
- In the same stitch, make 1 dc, 1 tr, and a 3-chain picot.
- In the same stitch, make 1 tr and 1 dc; then make 1 hdc and 1 sc.
- In the same stitch, make 1 hdc, 1 dc, and a 3-chain picot.
- In the same stitch, make 1 dc and 1 hdc; then make 1 hdc and 4 sc. Make a slip stitch, cut the yarn, and leave a tail. Wrap the tail around the wire and secure it with hot melt adhesive.
Take care when shaping the wire so it follows the leaf without poking through the crochet fabric. Refer to the video tutorial if you need a visual check of the leaf sequence.
Assembly
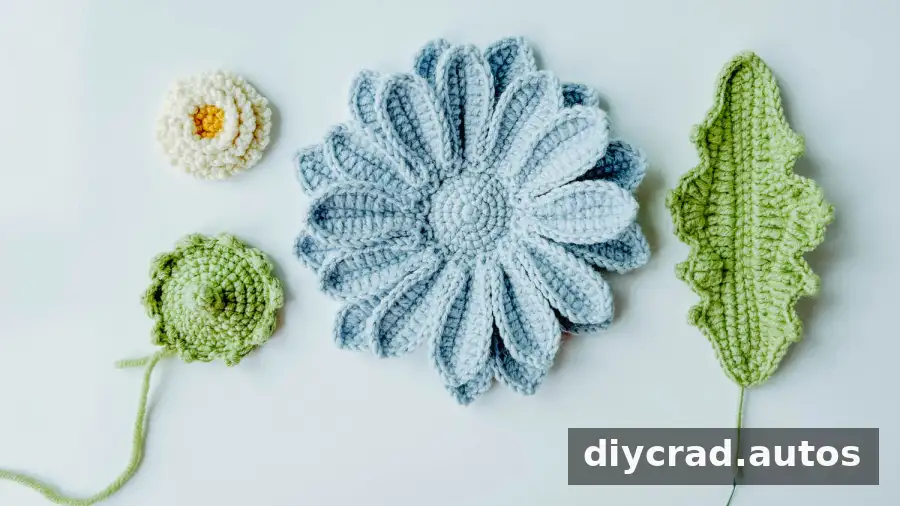
- Use hot melt adhesive to attach the flower core to the petals.
- Bend one end of the stem and insert it into the center of the flower holder.
- Use the flower-holder yarn to sew the holder to the back of the petals. Add fiberfill before finishing the seam, then sew the remaining section closed.
- Wrap yarn around the stem. As you wrap, attach the leaf and sew it in place, continuing to the end of the stem.
- Cut the yarn and use hot melt adhesive to secure the end of the stem.
Allow adhesive to set fully before arranging the finished flower. Keep hot melt adhesive and wire tools away from children, and cover exposed wire ends securely.
Tips for Using and Arranging Your Flower
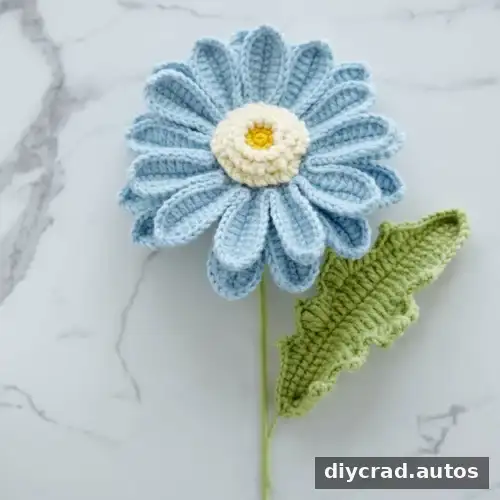
A finished crochet gerbera can stand alone in a small vase or become the focal flower in a handmade bouquet. For a rustic arrangement, pair it with sunflowers and burlap accents. Soft-colored roses can create a pastel garden style, while tulips and daisies suit a bright spring arrangement. You can also choose different shades of one color for a simple monochrome display.
To keep a bouquet visually balanced, vary the flower colors or heights while keeping the stems arranged securely. If you plan to attach a flower to an accessory, make sure the stem and wire are removed or safely covered so they cannot scratch or snag.
Conclusion
This crochet gerbera pattern brings together layered petals, a textured center, a shaped leaf, and a wrapped stem to create a decorative African daisy. Choose colors that match your project, use stitch markers to keep track of rounds, and check the wired pieces carefully during assembly. The finished flower can brighten a bouquet, a room, or a handmade gift.