

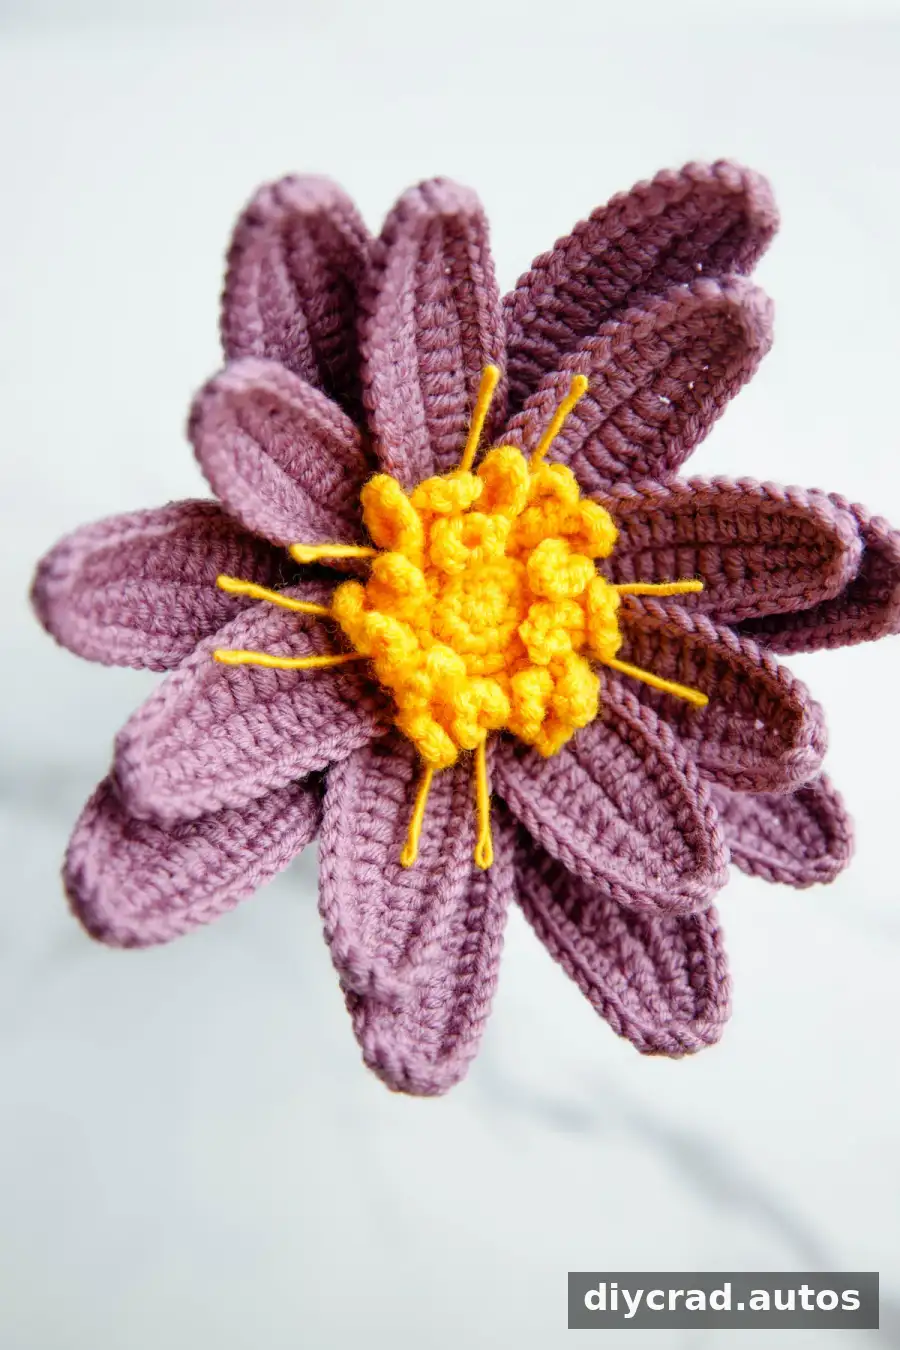
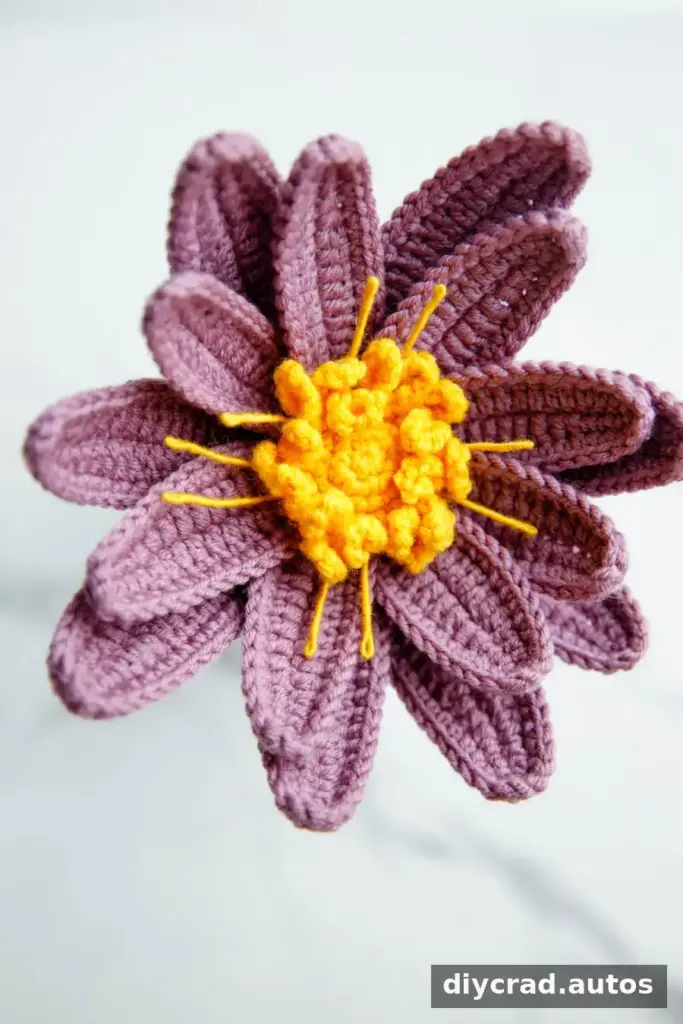
This crochet water lily pattern includes instructions for crocheting the petals and center, preparing the stamens, and assembling the finished flower. The project uses four yarn colors and a 2.5 mm hook. Although the flower has several parts, working through them in order makes it easier to keep track of the pieces and shape the petals neatly.
Use the completed flower as a standalone decoration or include it in a handmade bouquet. The pattern uses US crochet terms. A video tutorial is also available; turn on subtitles in the video settings if you need them.
Materials and preparation
- Yarn in four colors: purple, yellow, green, and light brown
- 2.5 mm crochet hook
- Flower rod, 16 inches long and 0.08 inches in diameter (40 cm x 2 mm); a bamboo skewer or balloon holder can be used as an alternative
- Iron wire, 0.02 inches in diameter (0.4 mm)
- Fiber fill or stuffing; scrap yarn or old fabric can be used instead
- Darning needle, scissors, and stitch marker
- Hot-melt adhesive
The pattern is described as intermediate and assumes familiarity with basic crochet stitches. If you are newer to crochet, use the video for visual guidance and mark the start of each round. No gauge is specified, so your yarn and hook choice will affect the finished flower’s size and texture.
Stitches and abbreviations
- ch: chain
- sc: single crochet
- hdc: half double crochet
- dc: double crochet
- ss: slip stitch
- st: stitch
- FLO: front loop only
- BLO: back loop only
- sc2tog: single crochet two together, a decrease
- [number]: stitch count at the end of the round
- R1, R2, R3: Round 1, Round 2, Round 3
For an increase, work 2 sc into the indicated stitch. For sc2tog, insert the hook into a stitch and draw up a loop, then insert it into the next stitch and draw up another loop. Yarn over and draw through all three loops on the hook.
How to crochet the water lily petals
Large petals (make 8)
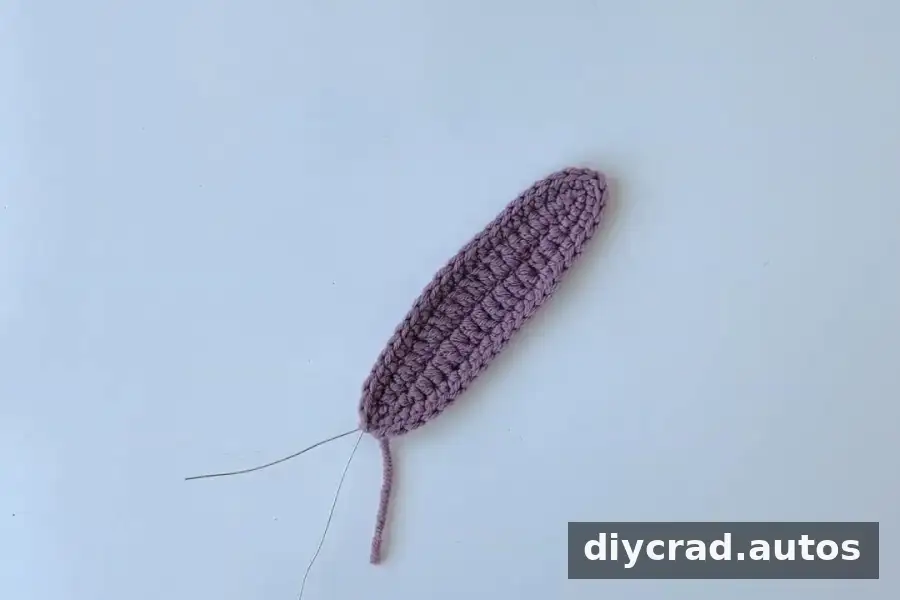
- R1: Ch 21.
- R2: Starting in the second ch from the hook, work 3 sc, 3 hdc, 8 dc, 3 hdc, and 2 sc. Work 3 sc in the same stitch, then turn and work 2 sc, 3 hdc, 8 dc, 3 hdc, and 3 sc along the other side. Work 1 ss and ch 1. [41]
- R3: Add wire and work 20 sc. In the same stitch, work (1 sc, ch 1, 1 sc). Turn and work 20 sc. Work 1 ss, fasten off, and leave a yarn tail. [43]
Middle petals (make 8)
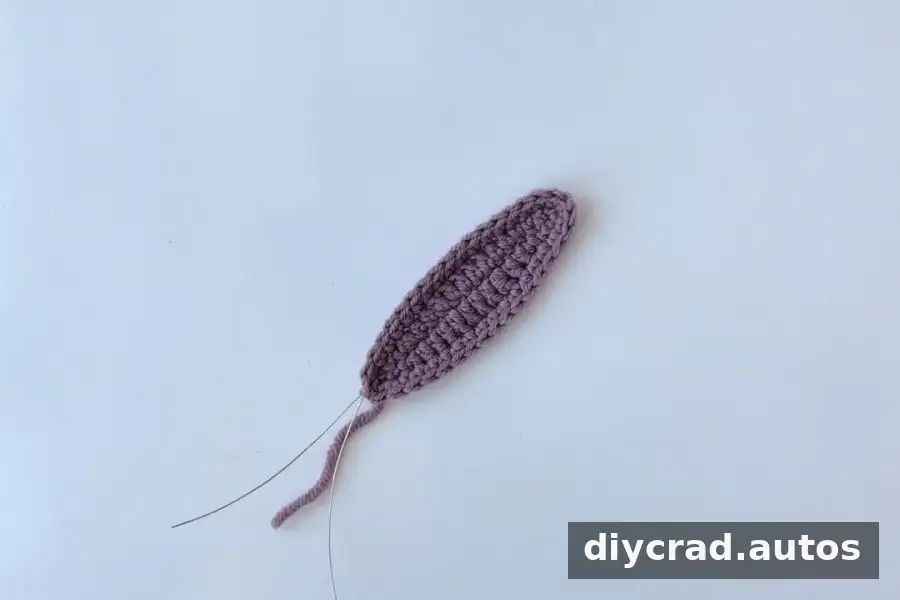
- R1: Ch 17.
- R2: Starting in the second ch from the hook, work 3 sc, 3 hdc, 5 dc, 2 hdc, and 2 sc. Work 3 sc in the same stitch, turn, then work 2 sc, 2 hdc, 5 dc, 3 hdc, and 3 sc along the other side. Work 1 ss and ch 1. [33]
- R3: Add wire and work 16 sc. In the same stitch, work (1 sc, ch 1, 1 sc), then work 16 sc. Work 1 ss, fasten off, and leave a yarn tail. [35]
Make the stamens
Short stamen (yellow yarn)
- R1: Work 6 sc into a magic ring. Join with 1 ss and ch 1.
- R2: Work 2 sc in each stitch 6 times. Join with 1 ss and ch 1. [12]
- R3: Repeat (1 sc, 2 sc in the next stitch) 6 times. Join with 1 ss and ch 1. [18]
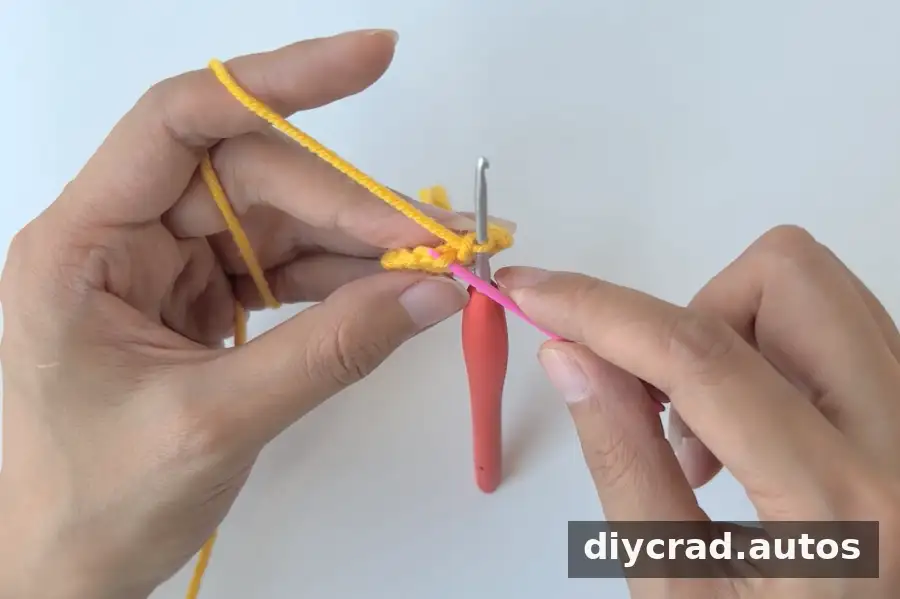
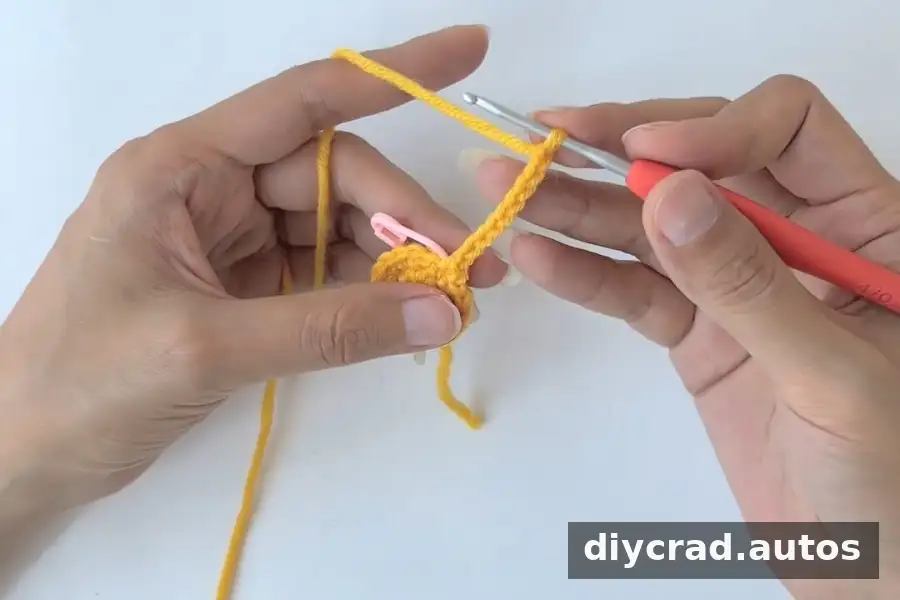
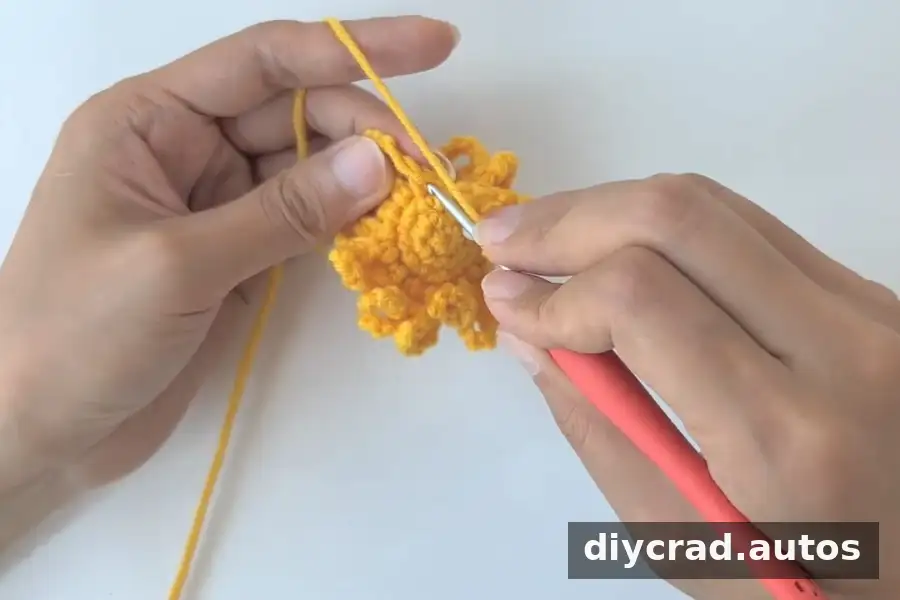
- R4: Working in FLO, repeat (1 sc in the same stitch, ch 9) 18 times. Join with 1 ss and ch 1.
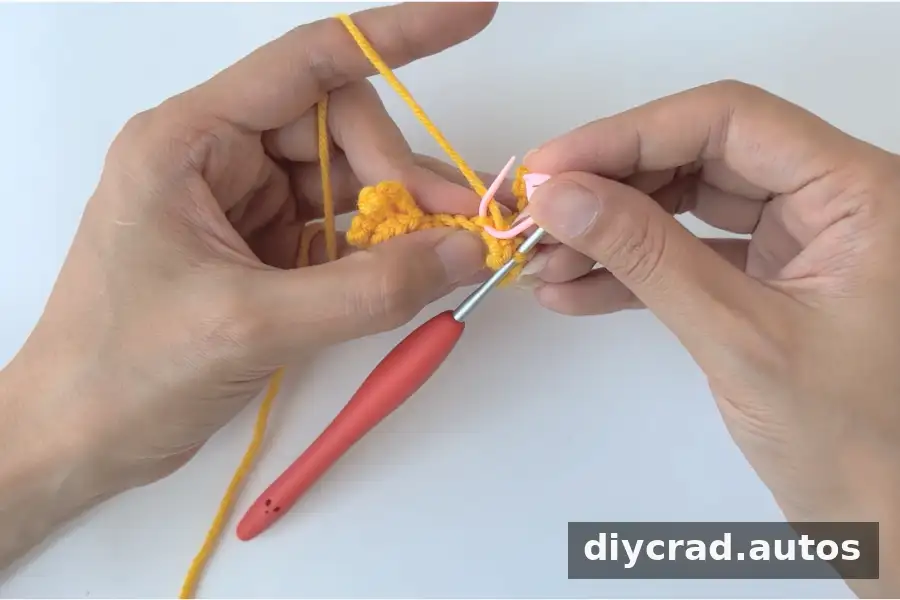
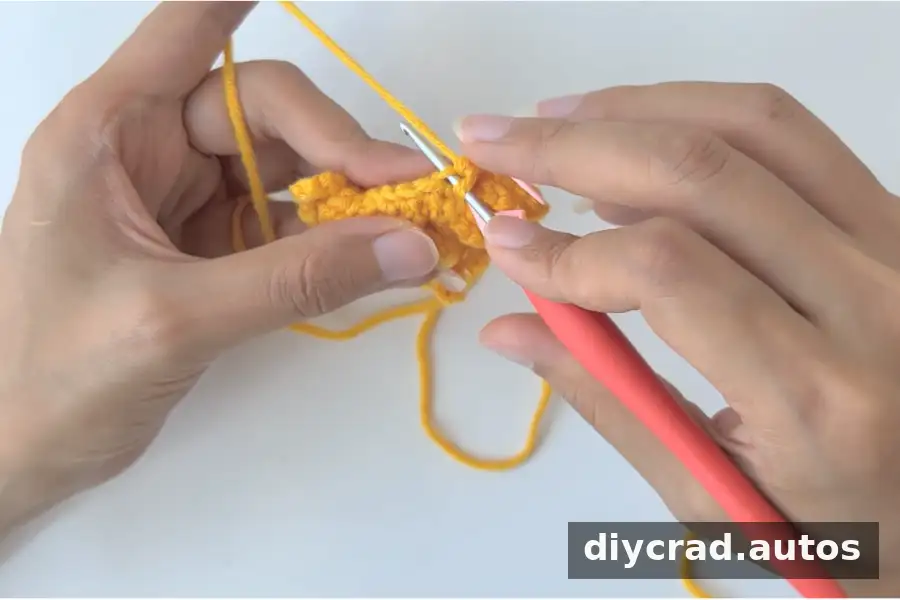
- R5: Working in BLO, work 18 sc. Join with 1 ss and ch 1.
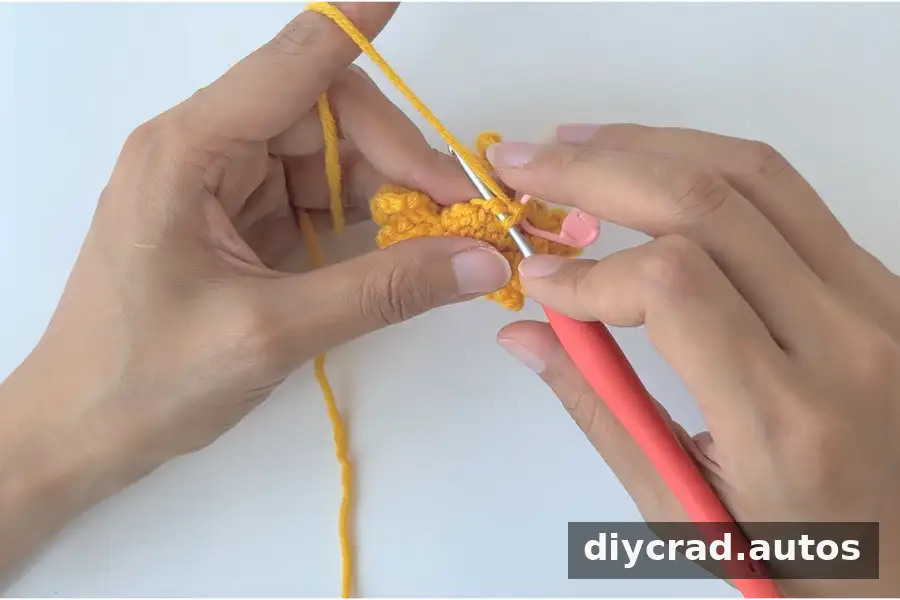
- R6: Repeat (1 sc, sc2tog) 6 times. Join with 1 ss and ch 1. [12]
- R7: Repeat (1 sc, sc2tog) 4 times. Join with 1 ss and ch 1, then fasten off and leave a tail. [8]
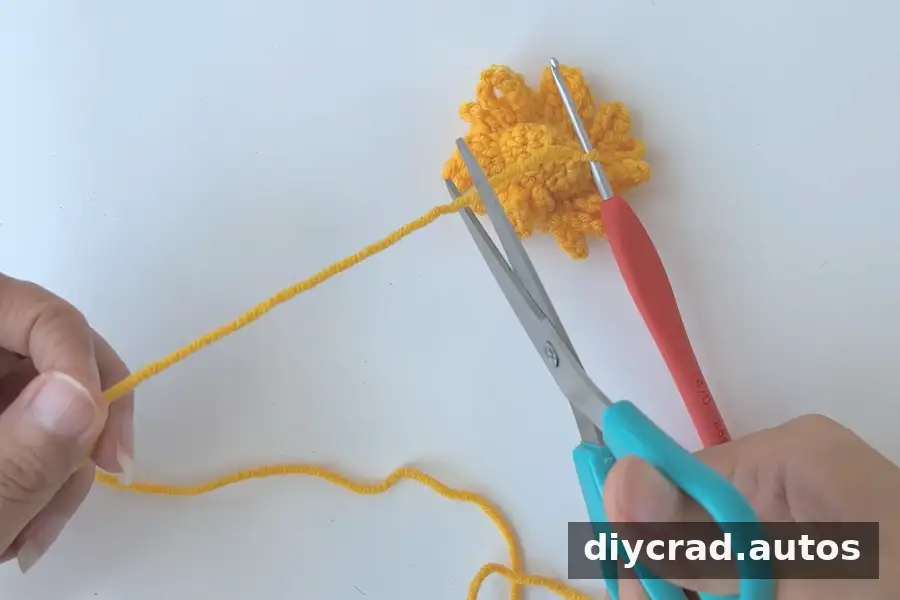
Long stamens (make 9)
Cut a piece of iron wire 20 cm long and 0.5 cm in diameter. Wrap it with yellow yarn, then fold the wrapped wire in half.
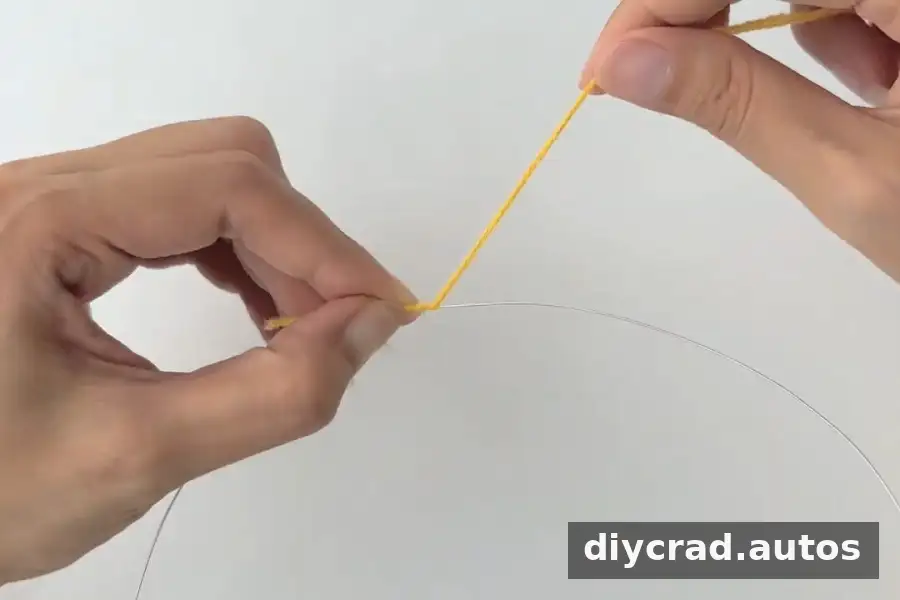
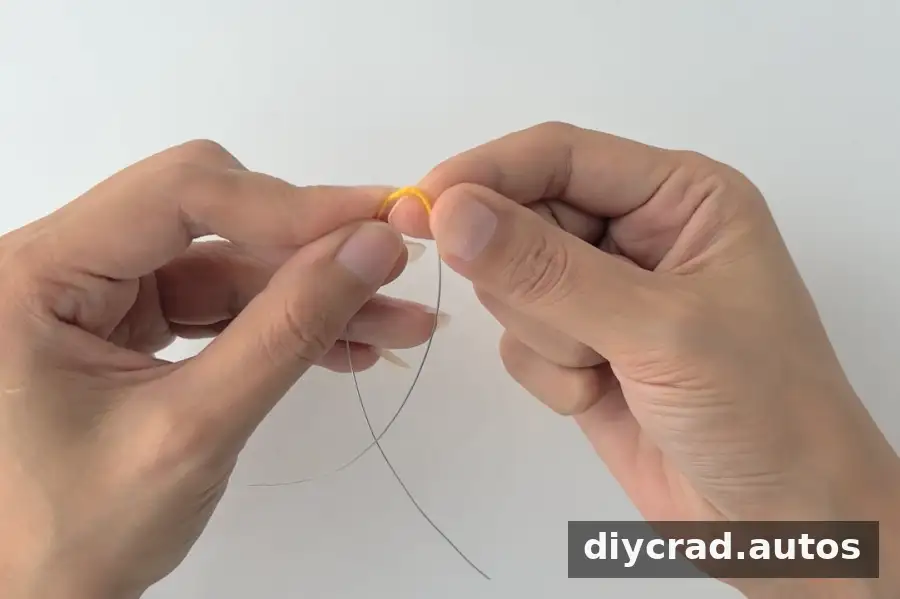
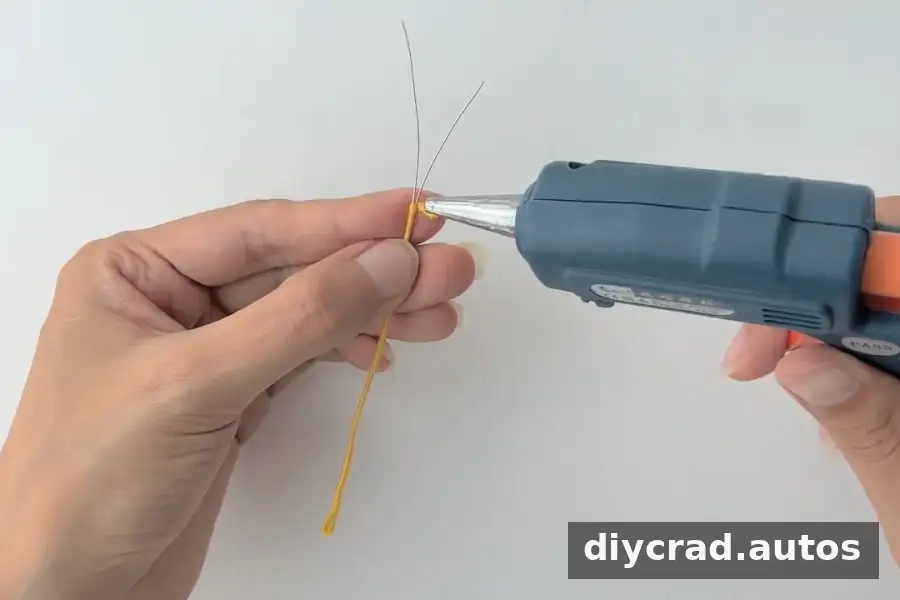
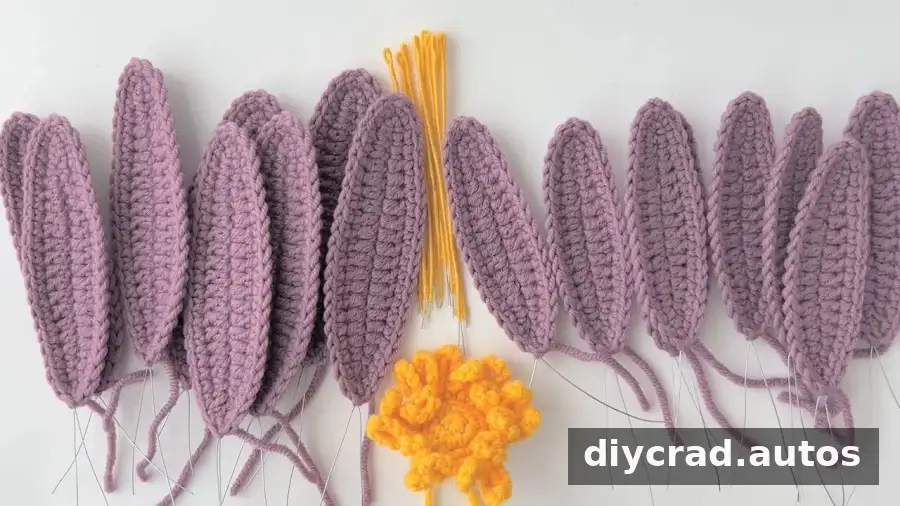
Before assembly, lay out the petals and stamens so you can check that all the pieces are ready. The flower can be used as a tabletop decoration or placed beside a desk. Keep the wire ends and hot-melt adhesive away from children and handle the adhesive carefully.
Assemble the crochet water lily
Gather the following pieces: 8 large petals, 8 middle petals, the yellow short stamen, 9 long stamens, the flower rod, stuffing, green and light-brown yarn, and hot-melt adhesive.
- Cover the stem: Wrap green yarn around the flower rod for at least 3 cm.
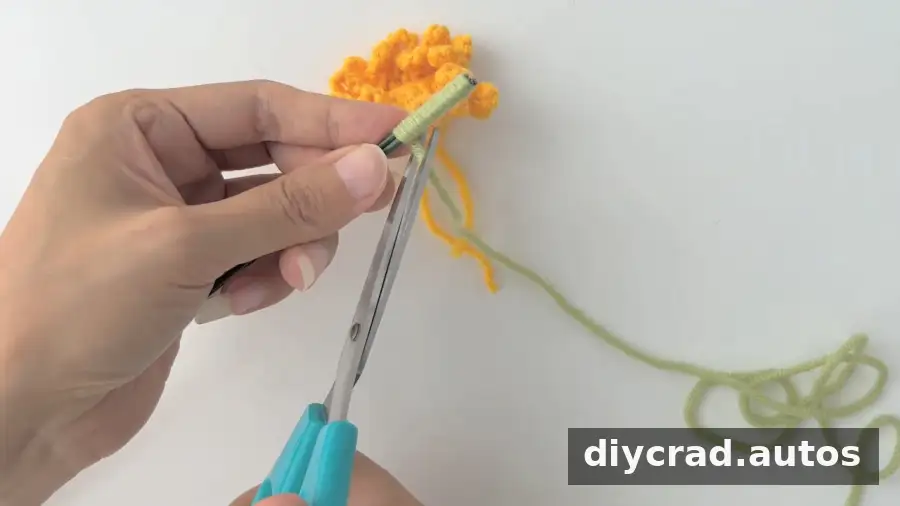
- Attach the short stamen: Insert it onto the stem and secure it with hot-melt adhesive. Add stuffing inside, then wrap and tie the remaining yellow yarn from the short stamen.
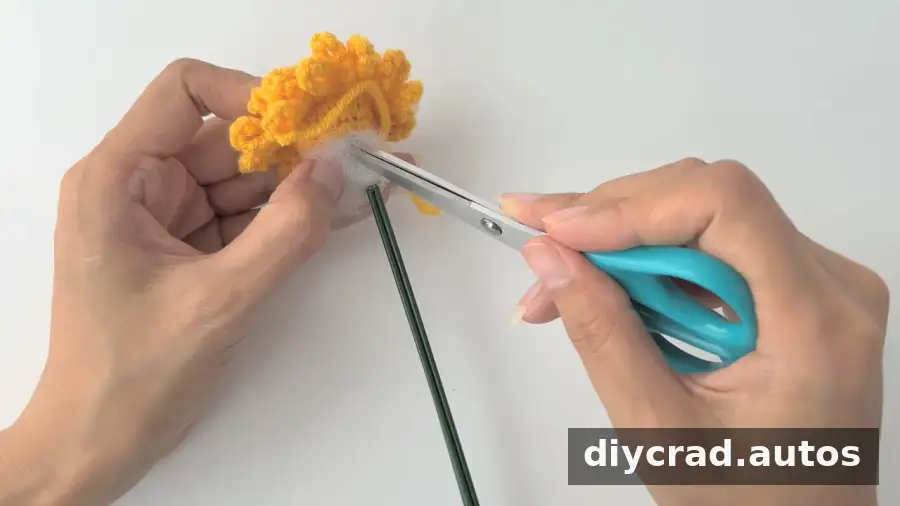
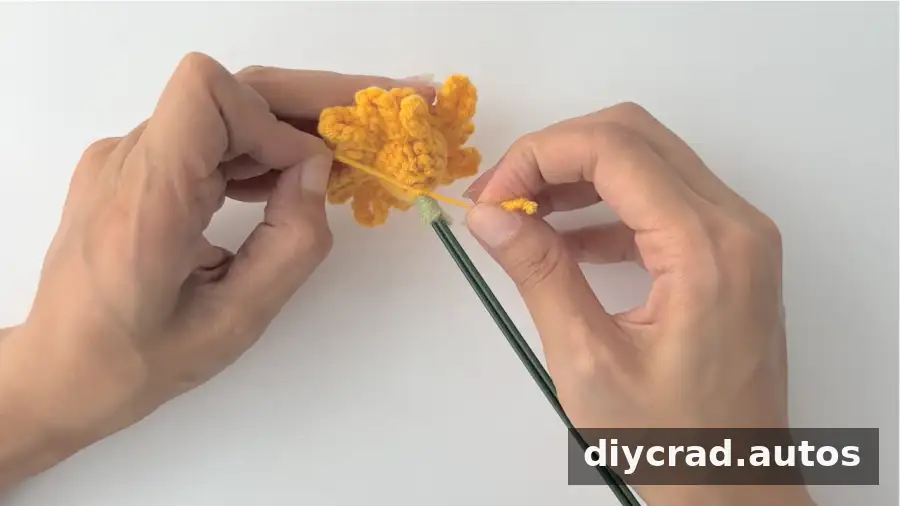
- Arrange the long stamens: Glue them around the short stamen, spacing them evenly.
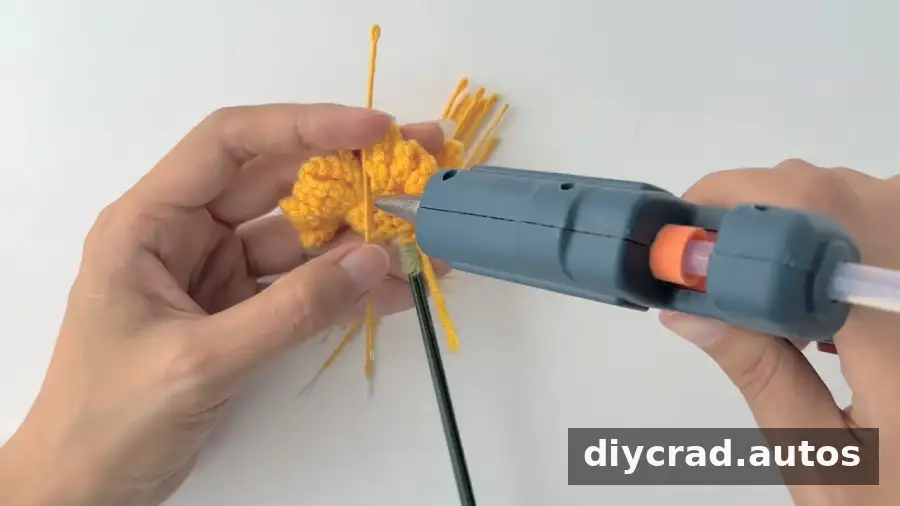
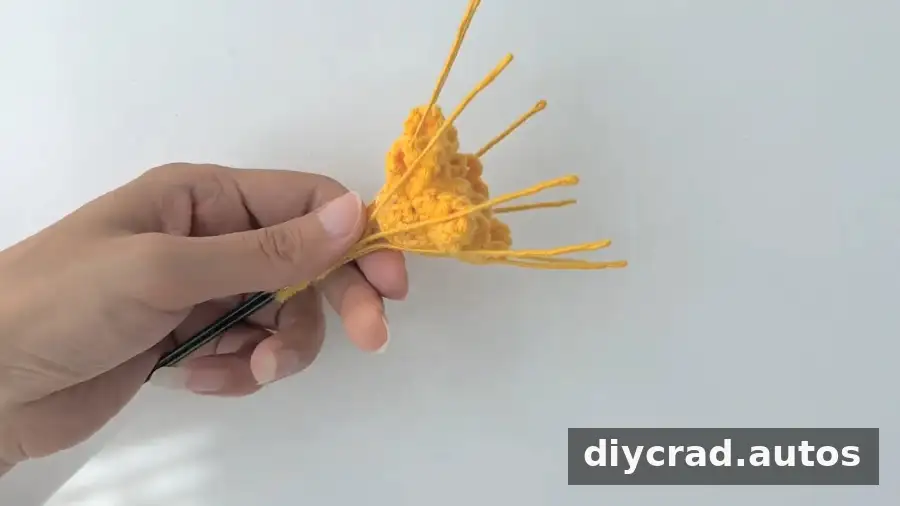
- Wrap below the stamens: Cover at least 2 cm of the area beneath them with green yarn.
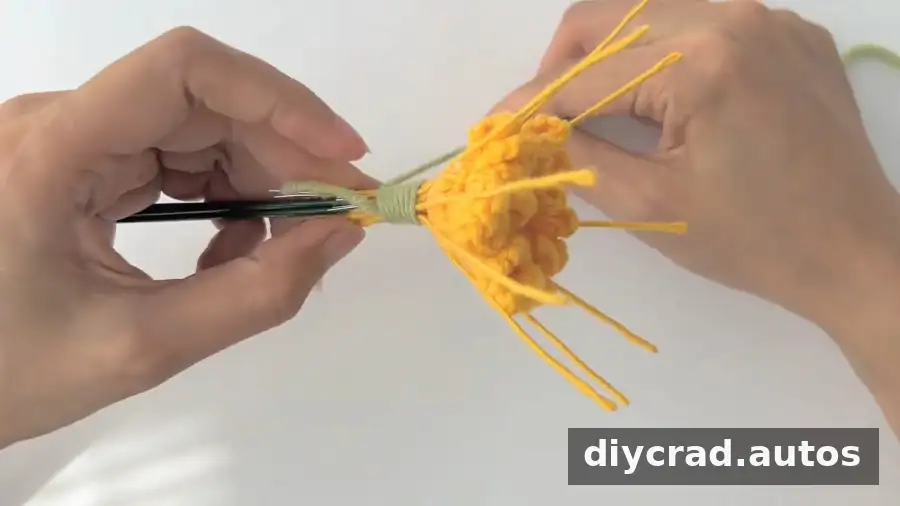
Attach and shape the petals
- Add the middle petals: Attach all 8 around the stamens, overlapping them as needed so they fit around the center. Use a small amount of hot-melt adhesive at each petal base; this leaves room to adjust how open the flower looks.
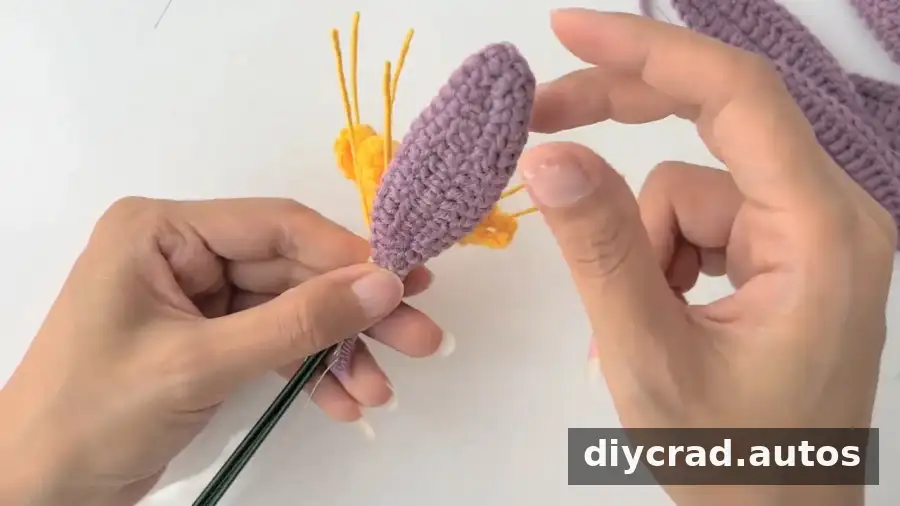
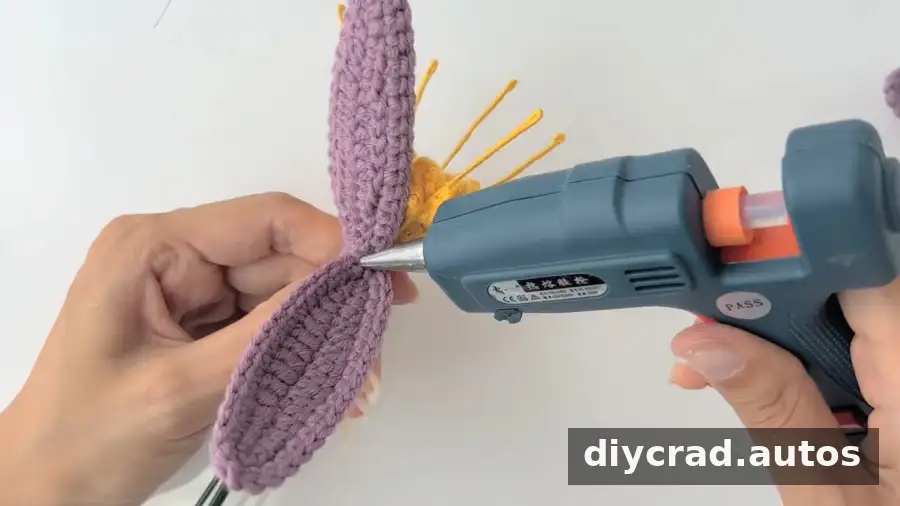
- Wrap the petal base: Cover the bottom of the petals with green yarn.
- Add the large petals: Position the 8 large petals between the middle petals and secure them with adhesive.
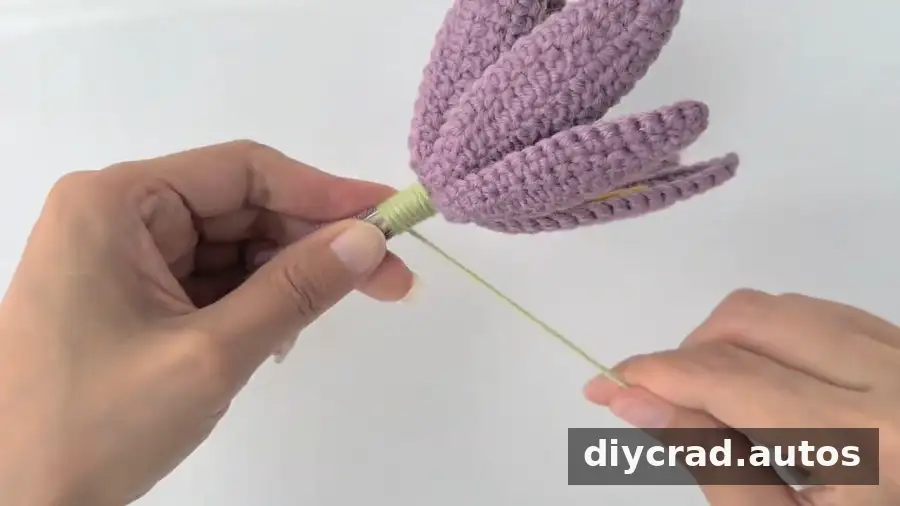
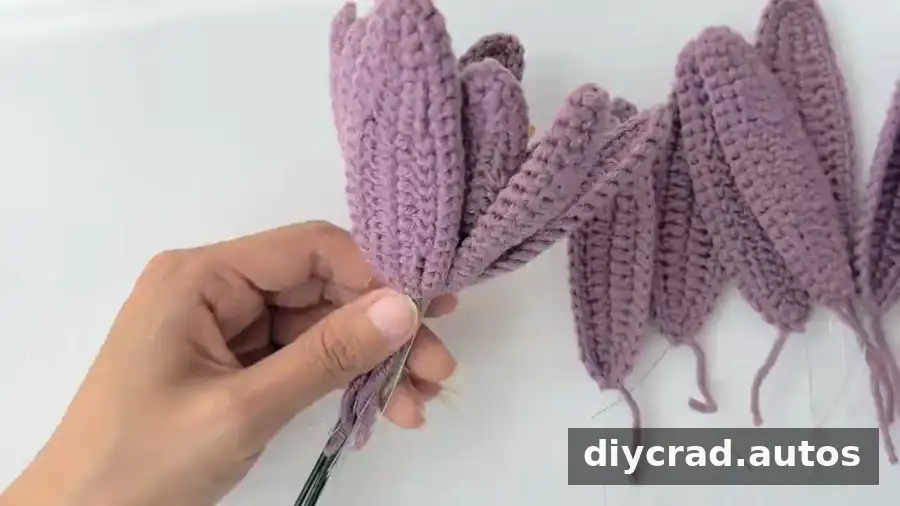
- Wrap the base again: Wind green yarn around the lower part of the petals.
- Neaten the flower: Trim excess yarn and adjust the visible wire to achieve the desired shape.
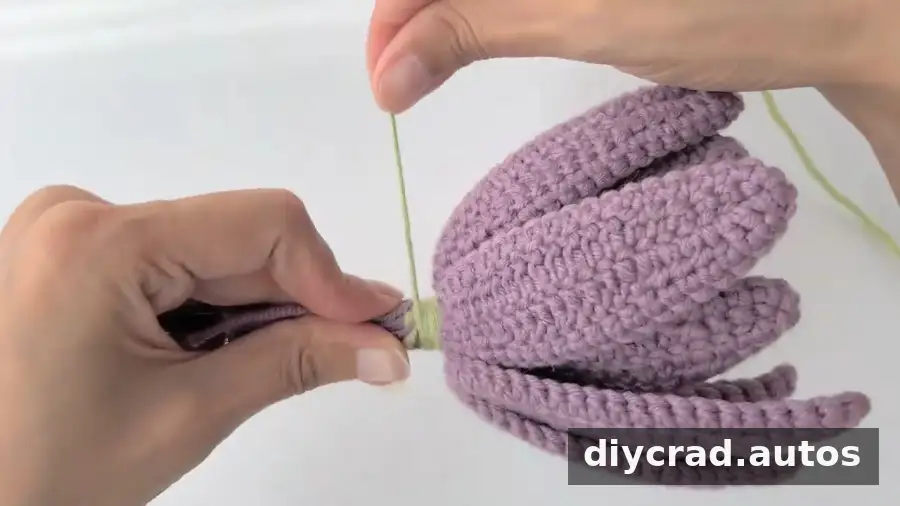
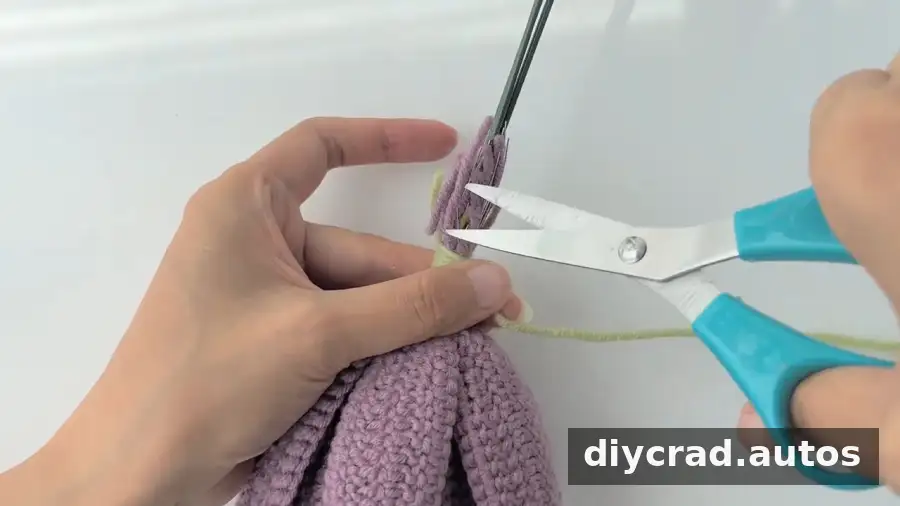
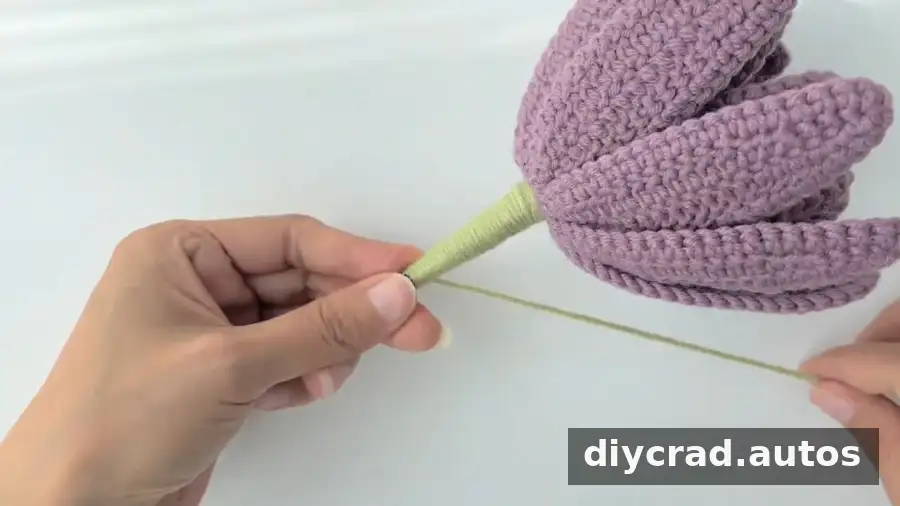
- Finish the stem: When the green section reaches the desired length, switch to light-brown yarn. Wrap it to the end of the rod and secure it with hot-melt adhesive.
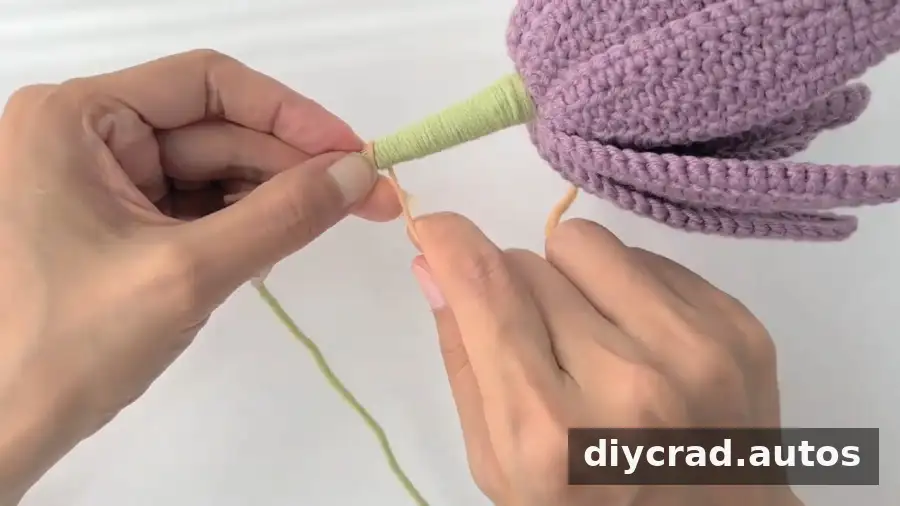
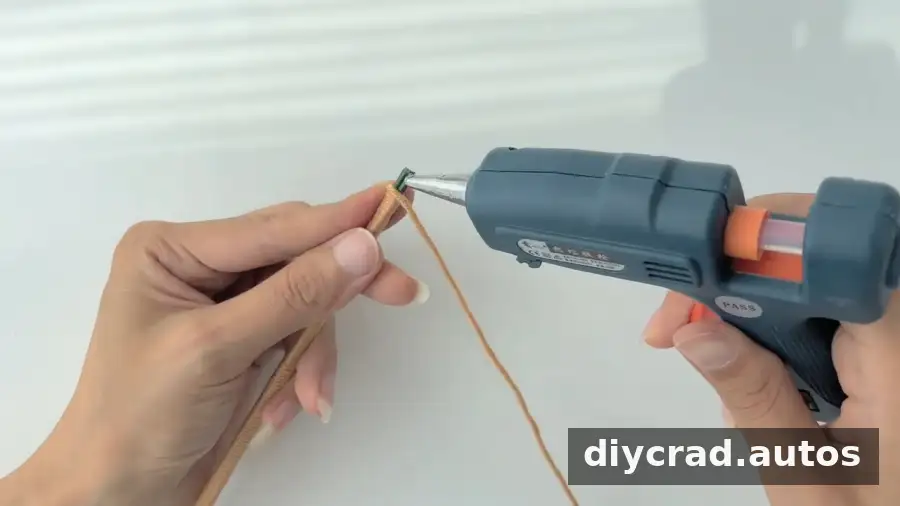
Allow the adhesive to set before moving or displaying the flower. Check that the petals and stamens are firmly attached and tuck in any loose yarn ends with a darning needle.
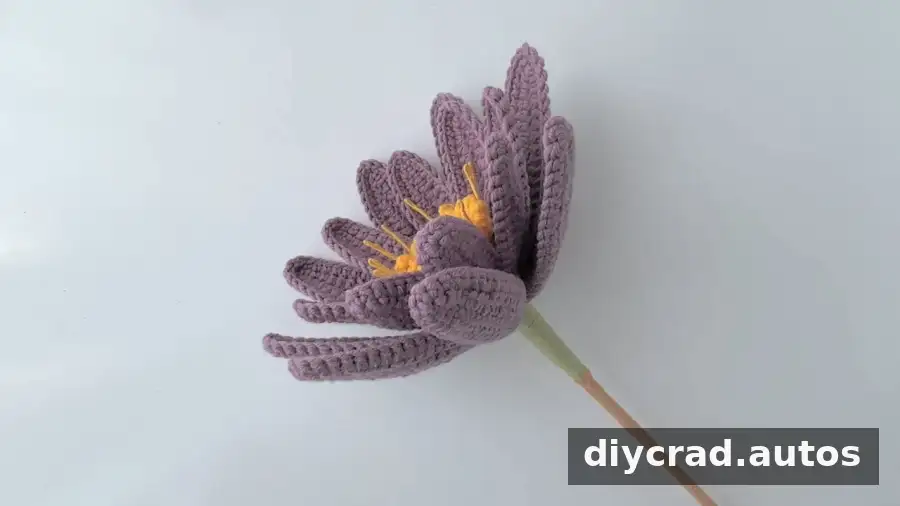
Finishing tips for your crochet water lily
You can change the yarn colors to suit a bouquet or room. The pattern uses purple, yellow, green, and light brown; pink or cream can also be used for a softer flower-inspired palette. Keep the stitch marker handy when working in rounds, follow the turning instructions for the petals, and shape the flower gradually before the adhesive sets.
Pattern notes
- The instructions use US crochet terminology.
- Use stitch markers to identify the beginning of each round.
- Follow the stated turning instructions when working the petal rows.
- The wire measurement in the materials list differs from the long-stamen instruction; check the intended wire size before starting that part.
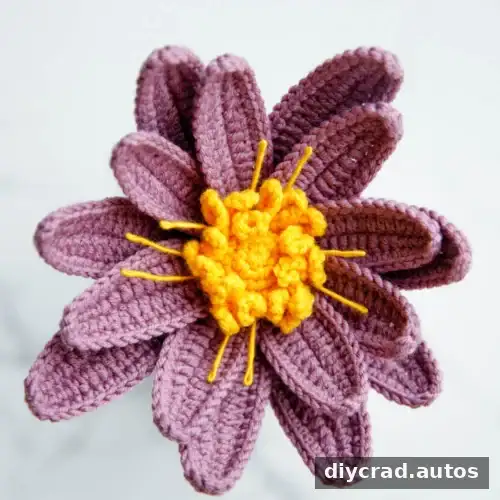
This crochet water lily pattern makes a decorative flower with 8 large petals, 8 middle petals, and a layered stamen center. Work each part carefully, then adjust the petal overlap during assembly to create the shape you prefer.

