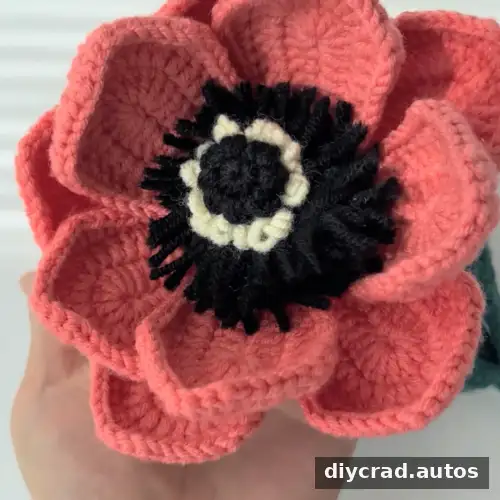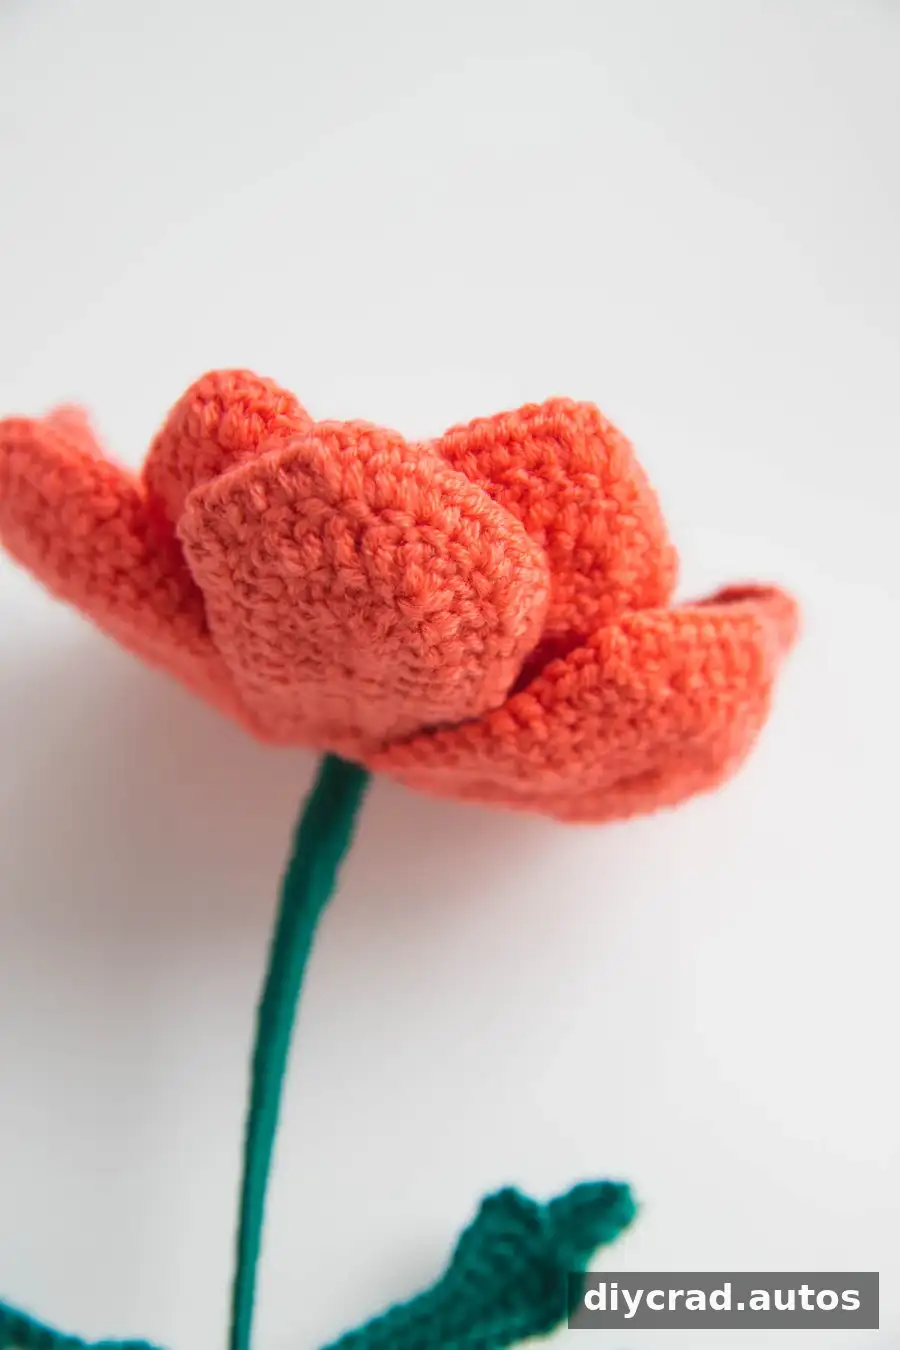
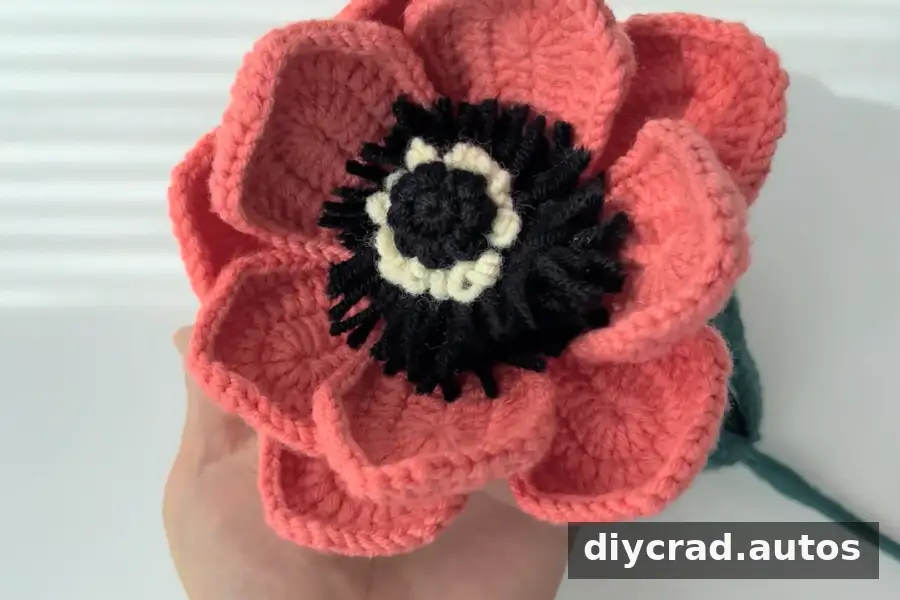
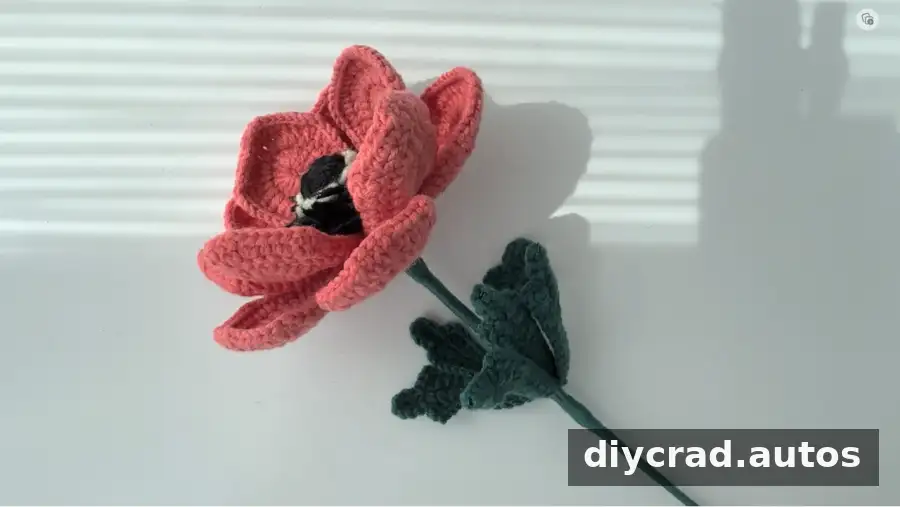
This Crochet Anemone Flower pattern guides you through making a decorative flower with layered petals, a textured black center, stamens, and wired leaves. Use it as a single floral accent or combine it with other crocheted flowers in a bouquet. The petals can be made in different colors, so you can coordinate the finished flower with your home décor or a handmade gift.
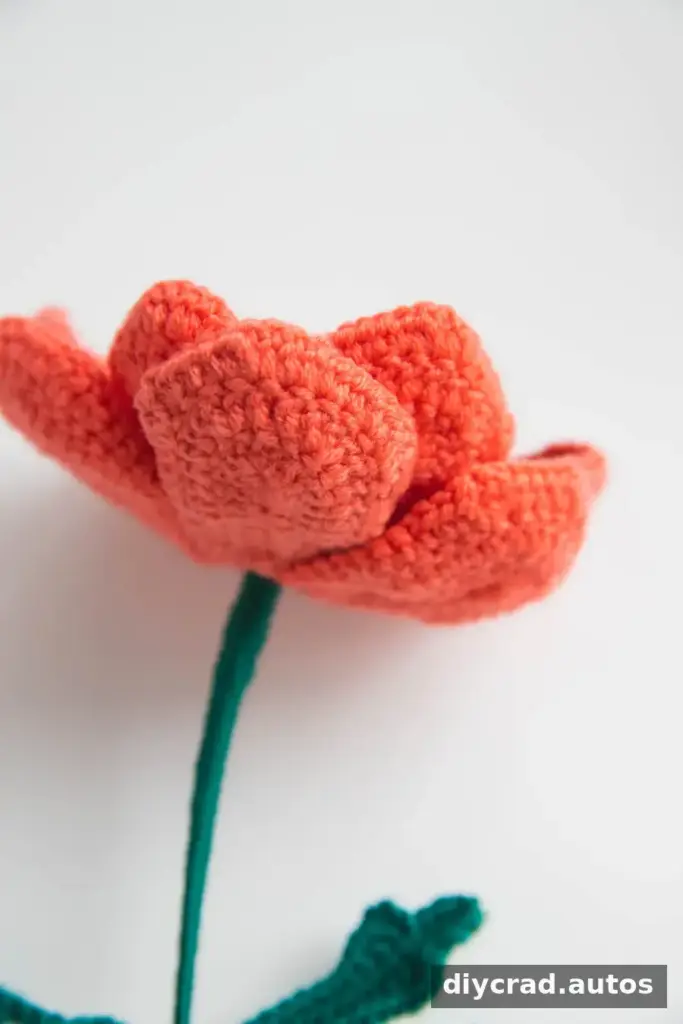
The pattern uses US crochet terms and is rated intermediate. It includes shaping with wire, several stitch types, and a multi-step assembly, so review the abbreviations and materials before starting. Take your time with the first petal; once you understand its shaping, the remaining petals follow the same instructions.
- The flower is made with 10 petals, 1 black flower core, 2 black stamens, and 6 leaves.
- Choose red, purple, white, magenta, or another suitable color for the petals.
- Wire helps shape the petals and leaves, while a flower rod forms the stem.
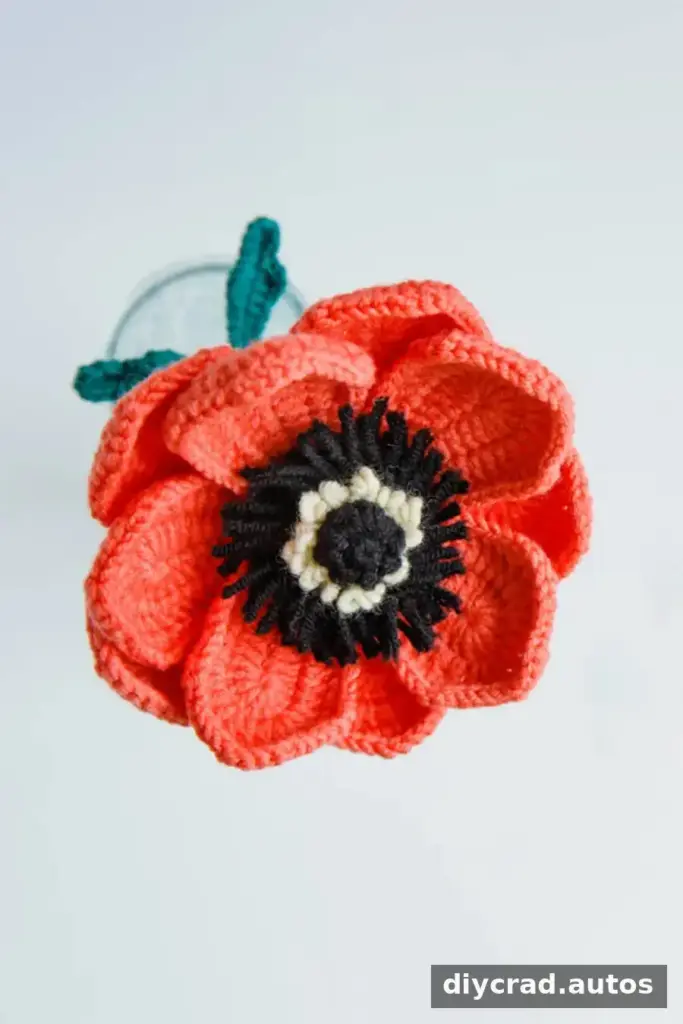
Materials for the Crochet Anemone Flower
Cotton yarn is used for this project because it is lightweight and available in a range of colors. Gather all materials before beginning, and check that your wire and flower rods are suitable for the size of the crochet pieces.
- Yarn: black, cream, Christmas green (shades may vary), and Grapefruit Red. The petal color can be customized to purple, red, white, or magenta.
- Crochet hook: 2.5 mm
- Flower rods: 16 inches long × 0.08 inches in diameter (40 cm × 2 mm); 2 rods are used for assembly. Bamboo skewers can be used if flower rods are unavailable, but they will not bend in the same way.
- Iron wire: 0.02 inches in diameter (0.4 mm)
- Hot-melt glue, scissors, stitch marker, and darning needle
Skill Level, Gauge, and Pattern Notes
This is an intermediate-level project that assumes familiarity with basic crochet stitches and techniques. Beginners can use the video guidance to practise, but may find the wired pieces and assembly more challenging. No gauge is specified. Yarn weight and hook size will affect the finished flower’s size and texture, so use the listed hook and yarn consistently if you want the pieces to match.
The pattern uses US crochet terms. Use a stitch marker to identify the beginning of each round, and follow turning instructions carefully when working back along a piece. The video subtitles may need to be turned on in the video settings.
Abbreviations
- sc: single crochet
- hdc: half double crochet
- dc: double crochet
- ch: chain
- st: stitch
- ss: slip stitch
- R1, R2, R3: Round 1, Round 2, Round 3
- [number]: total stitch count after the round
Special Stitch: Bobble Stitch
For an unfinished hdc, yarn over, insert the hook into the indicated stitch or space, yarn over and pull up a loop, then yarn over and pull through two loops. For the bobble in the flower core, work the unfinished hdc stitches as directed and pull through all loops to complete the cluster.
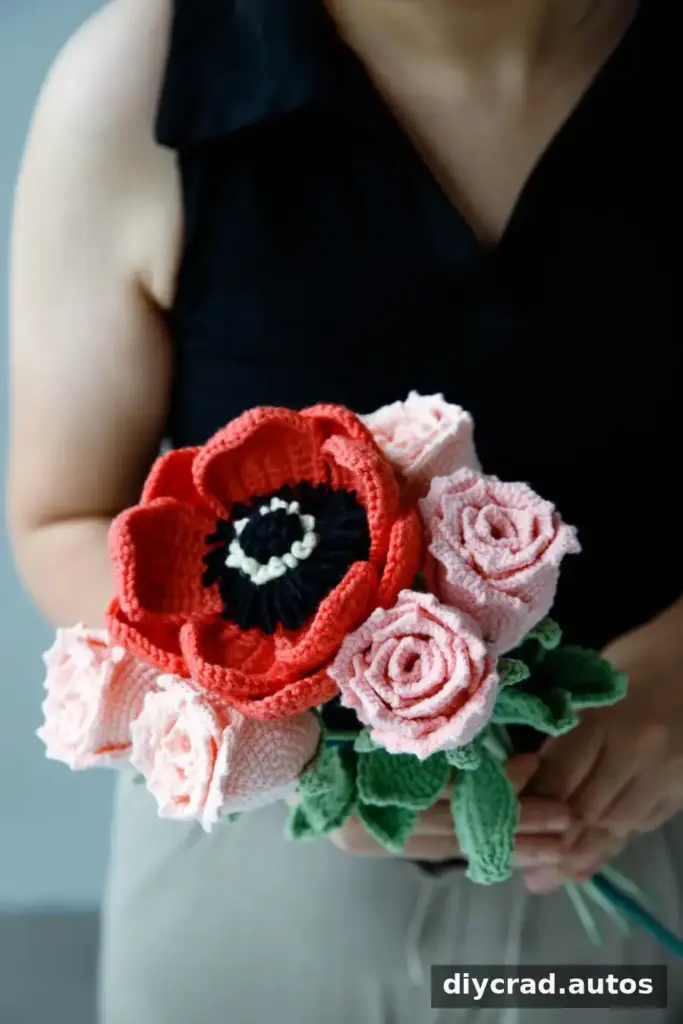
Step-by-Step Crochet Anemone Flower Pattern
Petals (make 10)
Work each petal in the chosen petal color. Insert the wire during Round 2, taking care to keep it contained within the stitches.
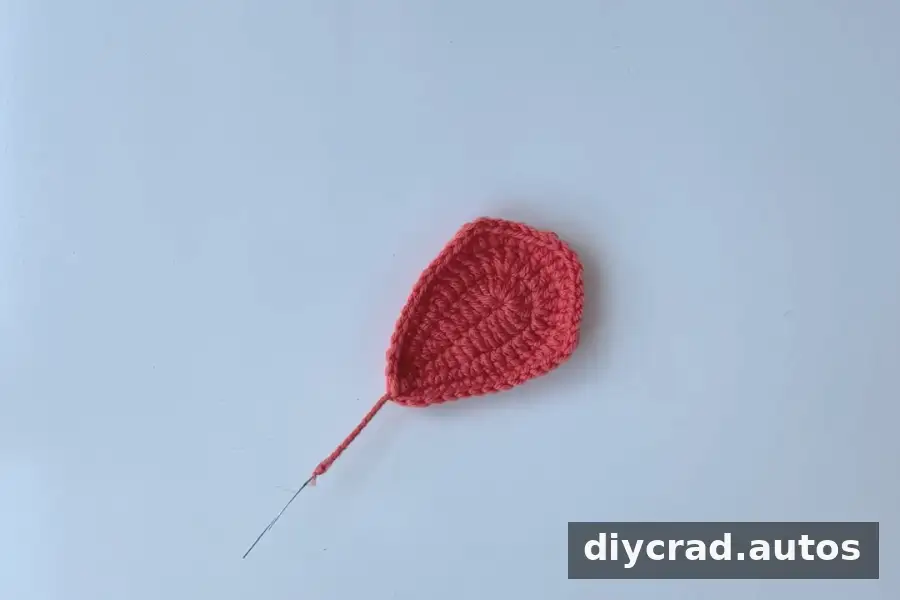
- Chain 11.
- R1: Starting in the 2nd chain from the hook, work 3 sc, 3 hdc, and 3 dc. Work 10 dc in the next stitch. Turn your work, then work 3 dc, 3 hdc, 3 sc, 1 ss, and 1 ch. [28]
- R2: Insert the wire. Work 6 sc, 6 dc, 3 dc in the next stitch, 2 dc, 3 dc in the next stitch, 6 dc, 6 sc, and 1 ss. [32]
- R3: Work 10 sc, 2 hdc in the next stitch, 2 dc in the next stitch, 2 hdc in the next stitch, 1 hdc, 2 hdc in the next stitch, 2 dc in the next stitch, 2 dc in the next stitch, 2 hdc in the next stitch, 1 hdc, 2 hdc in the next stitch, 2 dc in the next stitch, 2 hdc in the next stitch, 10 sc, and 1 ss. [42]
Flower Core (black)
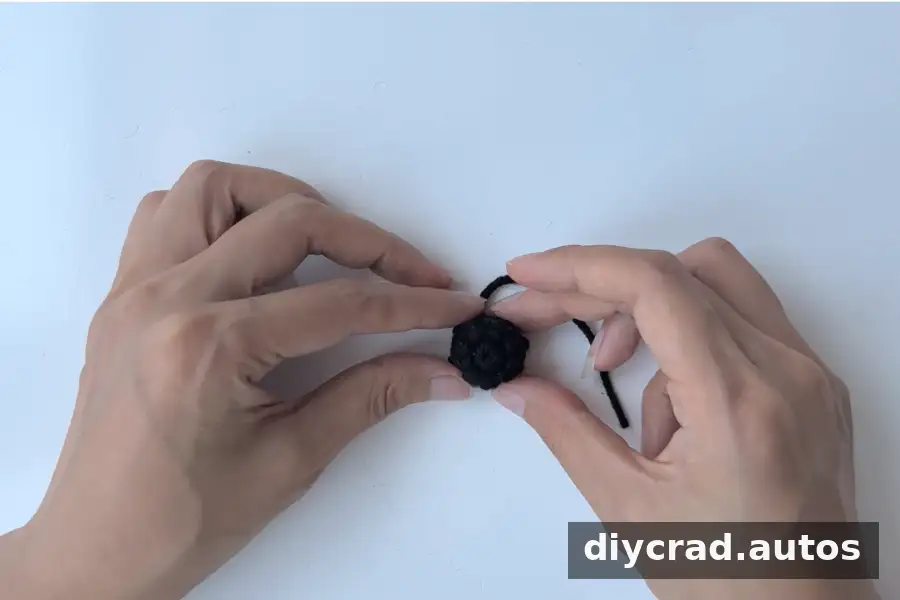
- R1: Work 8 sc into a magic ring, then 1 ss.
- R2–R3: Work 3 ch, then repeat (2 unfinished hdc, pull through all loops) 8 times. Work 1 ss and 1 ch. [8]
- R4: Work 8 sc, 1 ss, and 1 ch. [8]
The raised clusters create the textured surface of the center. Keep the stitches even so the core holds its shape when attached to the stem.
Black Stamens (make 2)
- Step 1: Chain 22.
- Step 2: Starting in the 3rd chain from the hook, work 20 dc.
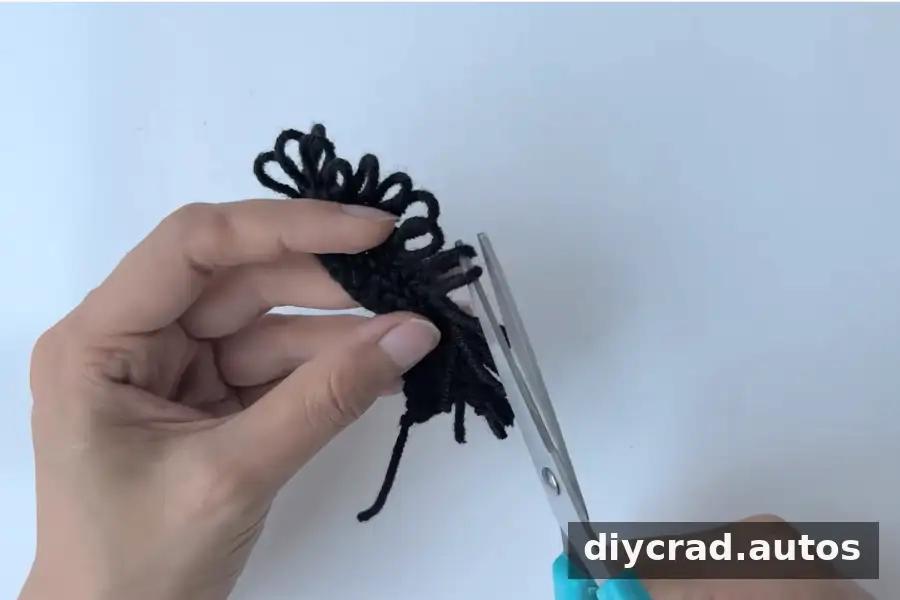
- Step 3: Turn and work 20 sc. After each sc, pull the loop out to about 2 cm, remove the hook, and repeat the same process for the next stitch.
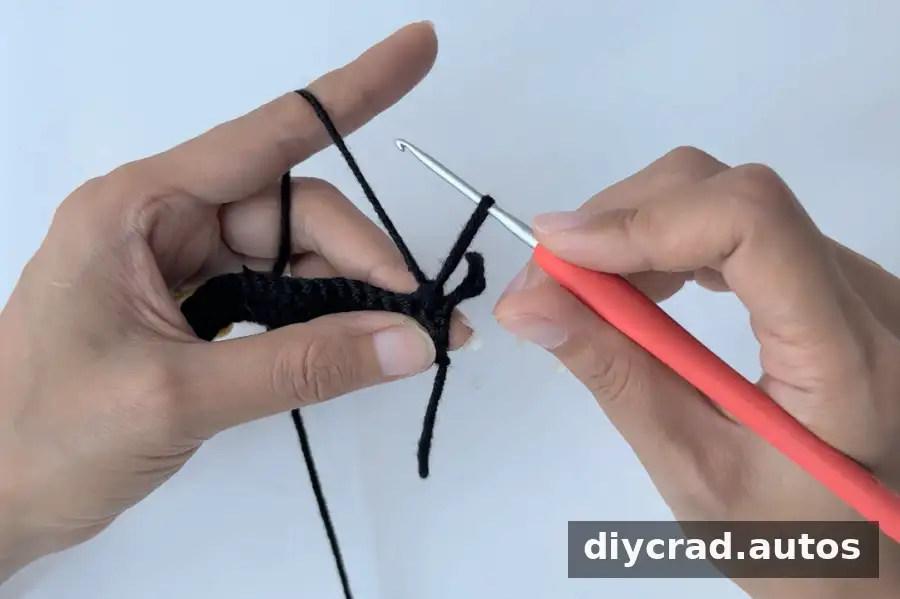
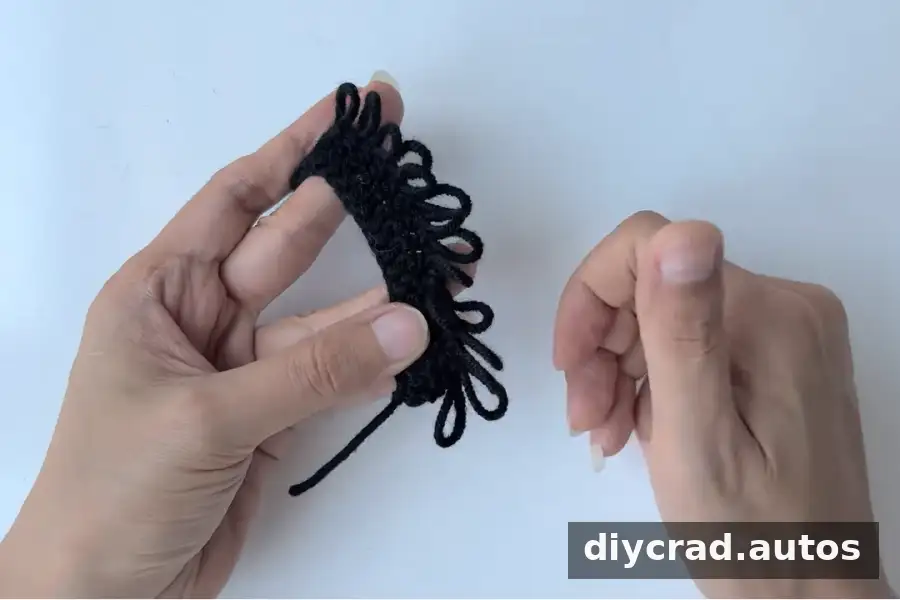
- Step 4: Cut the loops down the middle.
Leaves (make 6)
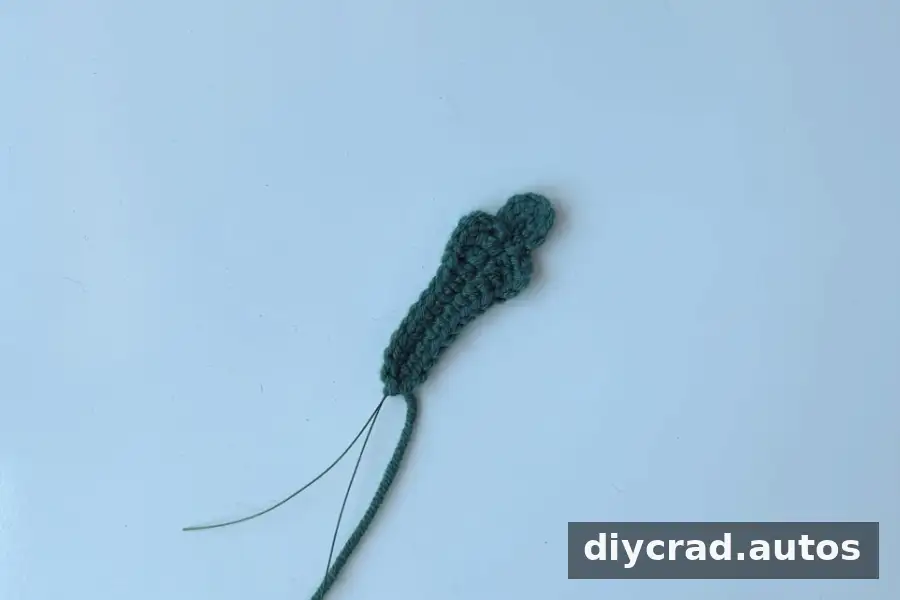
Add wire as you work to make the leaves shapeable. Avoid pulling the yarn too tightly around the wire, so the edge remains flexible.
- Chain 15.
- Starting in the 2nd chain from the hook, work 7 sc, 2 hdc, and 1 dc. In the same stitch, work (1 dc, 3 ch, 1 ss). Work 3 sc and 1 ch. Turn your work, then work 3 sc. In the same stitch, work (1 ss, 3 ch, 1 dc). Work 1 dc, 2 hdc, 7 sc, and 1 ss.
How to Assemble the Flower
Before assembly, check that you have 10 petals, 1 black flower core, 2 black stamens, 6 green leaves, 2 flower rods, and cream yarn for the additional stamen detail. Arrange the petals in two layers before gluing so you can position them evenly.
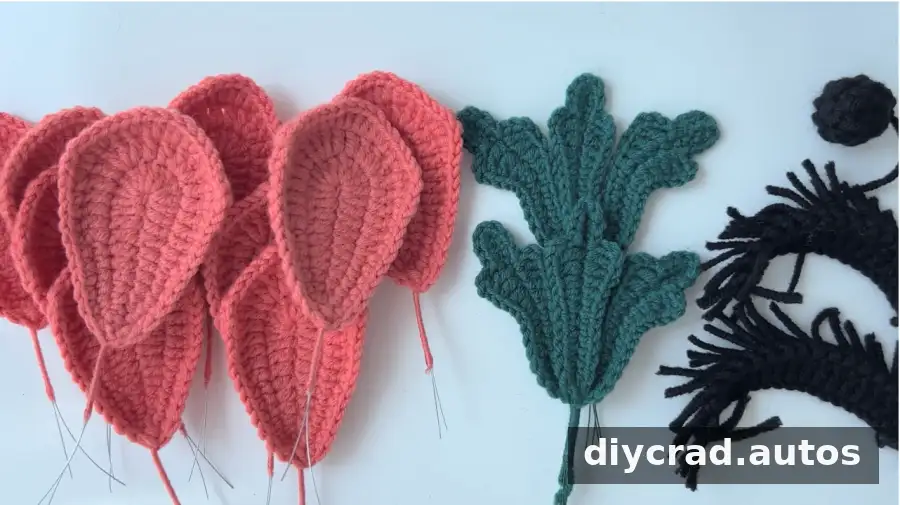
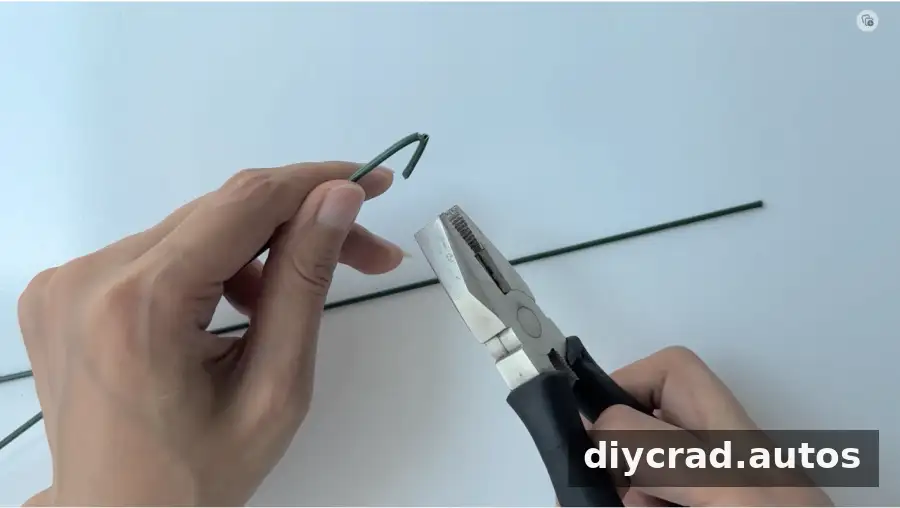
- Prepare the rods: Using pliers, fold at least 2 cm of each of the 2 flower rods.
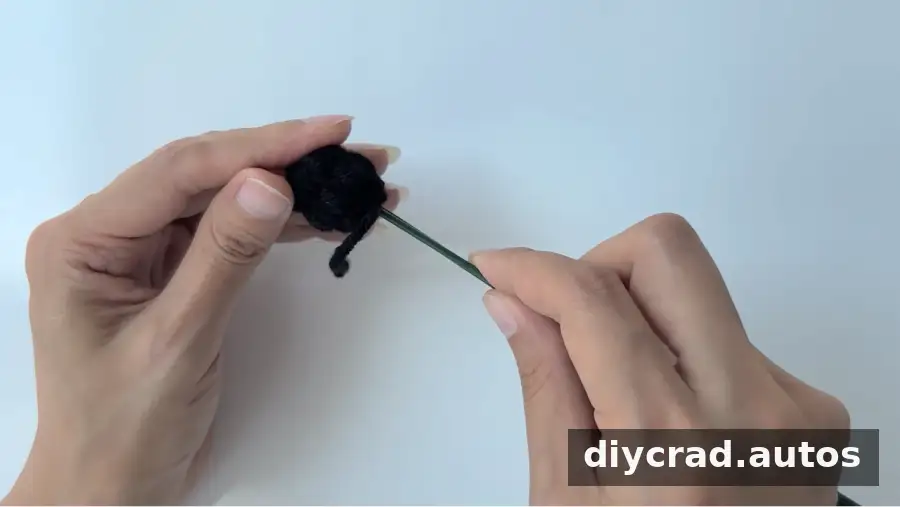
- Attach the core: Insert the flower core onto the rod and secure it with hot-melt glue. Allow the glue to set before adding the next pieces.
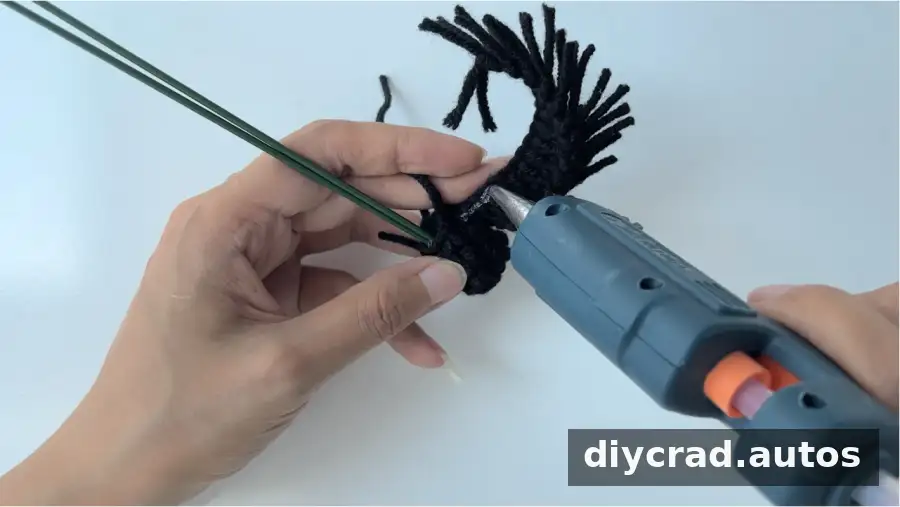
- Add the first black stamen: Wrap one black stamen around the core and secure it with hot-melt glue.
- Add the second black stamen: Repeat the process with the other black stamen.
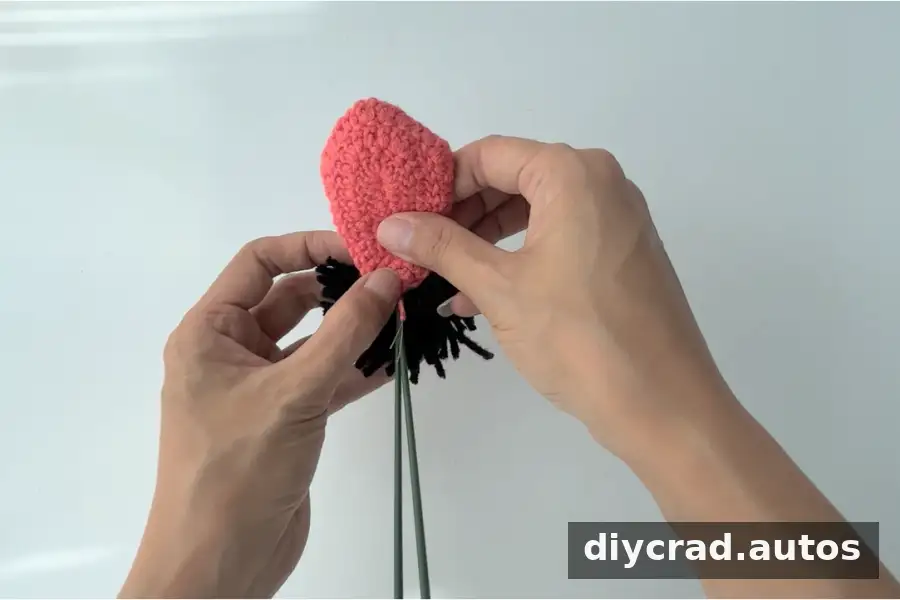
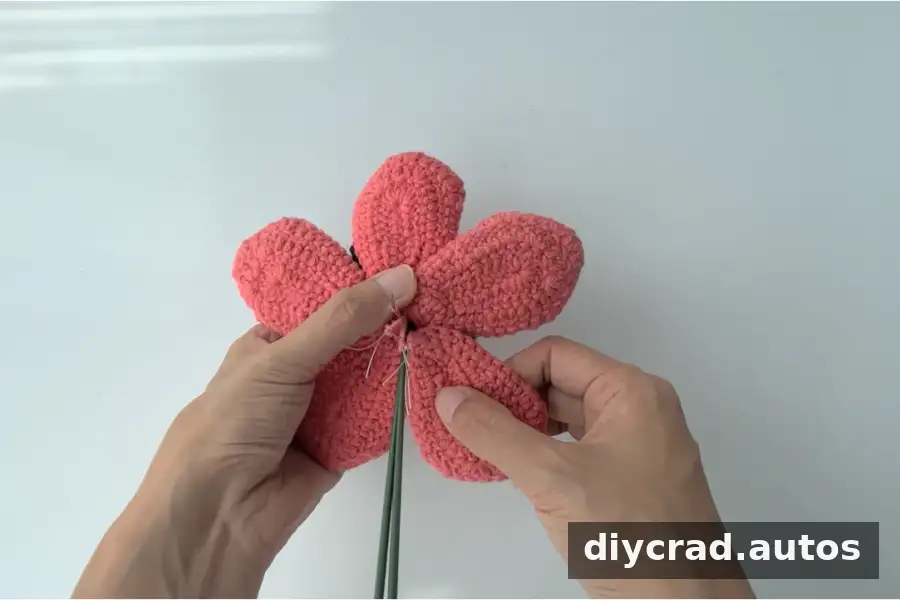
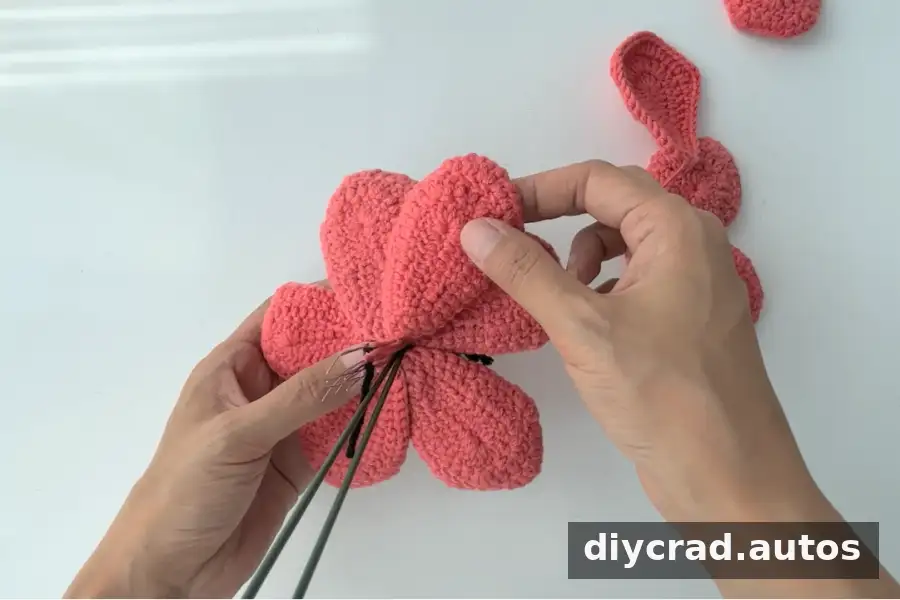
- Attach the first petal layer: Fold the wire in the petals and attach them below the core. Secure the petals with hot-melt glue.
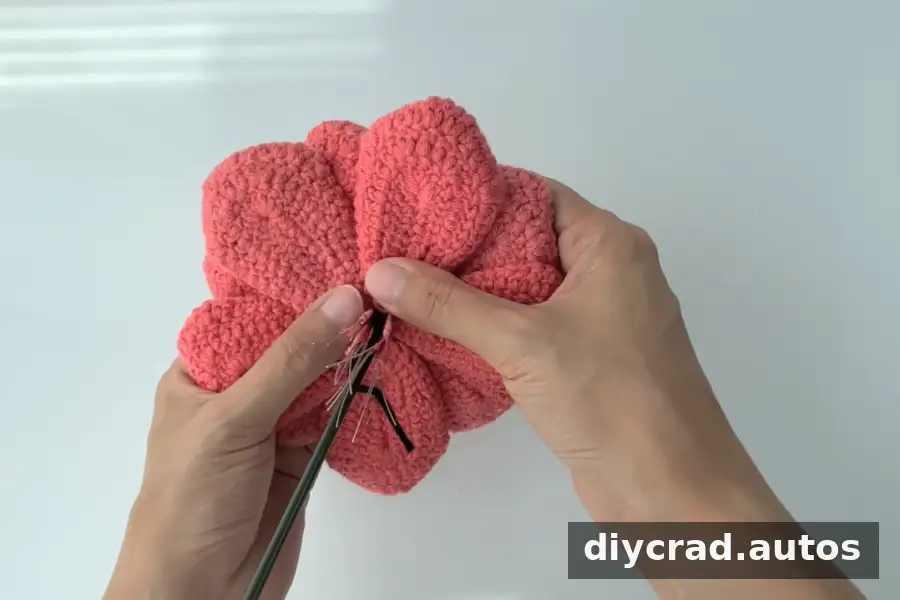
- Attach the second petal layer: Position the remaining petals between those in the first layer.
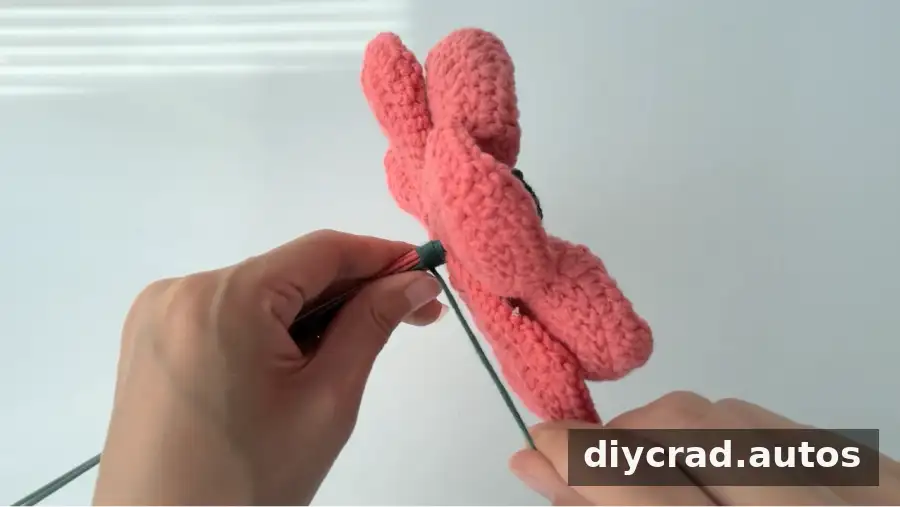
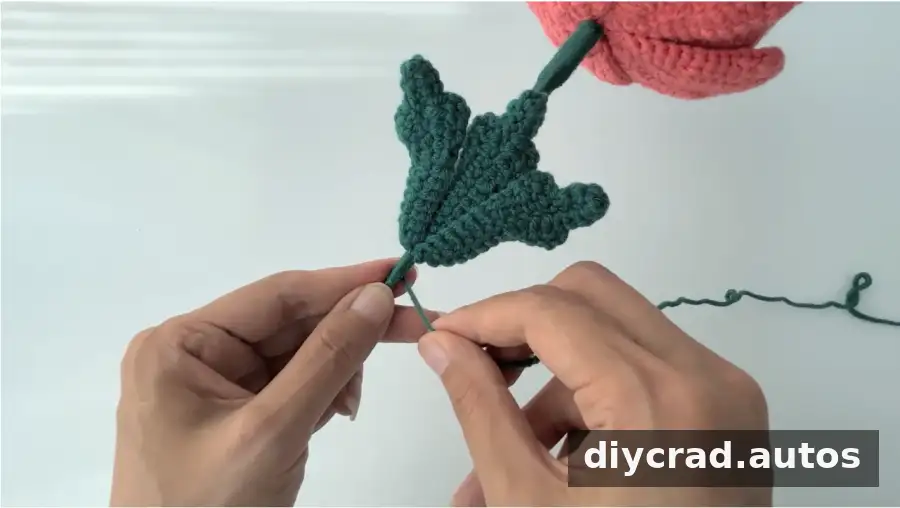
- Cover the visible wire: Wrap green yarn around exposed wire and the flower rod to form the stem.
- Attach the leaves: Position the leaves around the middle of the rod and tie them in place.
- Finish the stem: Continue wrapping the rod with green yarn and secure the end with hot-melt glue.
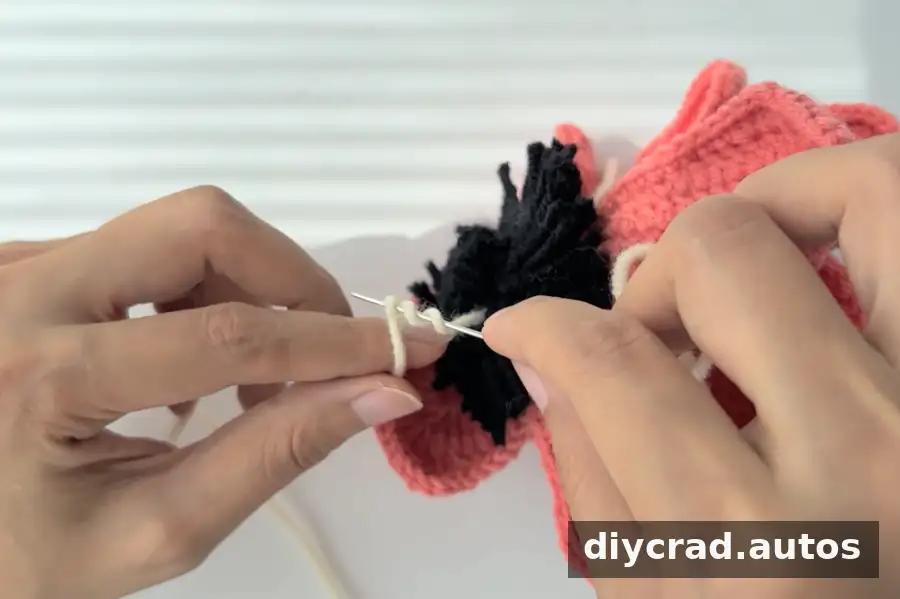
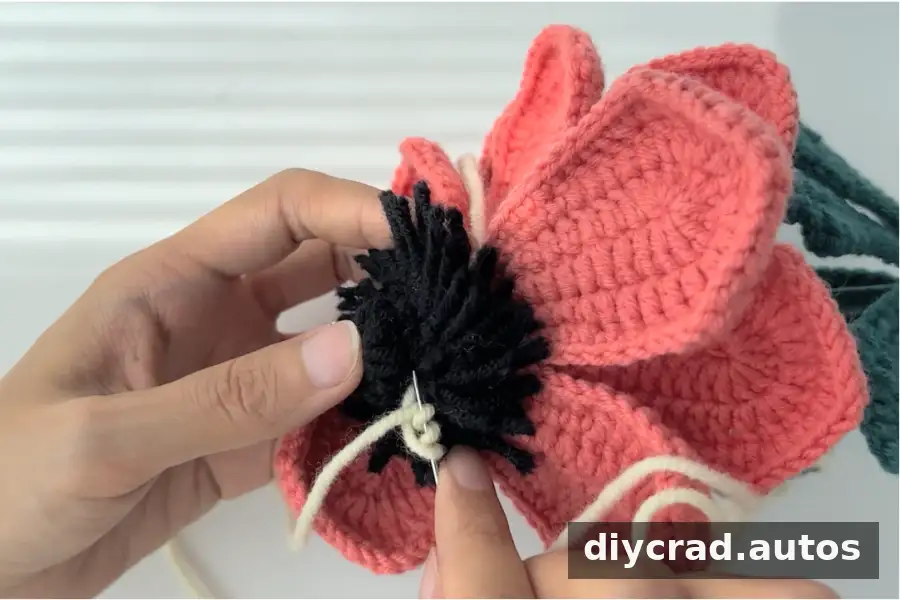
- Add the cream stamen detail: Use a darning needle to insert the cream yarn at the edge of the flower core. Wrap the yarn 3 times, pull it through to form a cluster, and repeat around the core.
Ways to Use Your Crochet Anemone Flower
Display the finished flower on its own in a vase or combine it with other crocheted flowers to make a bouquet. Tulips, daisies, lavender, lilies, and sunflowers can add variety to an arrangement. You can also wrap the flower as a handmade gift. Adjusting the petal color is an easy way to create different looks without changing the pattern.
When shaping the finished flower, bend the wired petals and leaves gently. If using hot-melt glue, handle it carefully and let each glued section cool and set before continuing.
Final Tips for the Crochet Anemone Flower
This crochet anemone flower combines repeated crochet pieces with wire and careful assembly. Use a stitch marker for the rounds, count stitches as you work, and arrange both petal layers before securing them. Since the pattern does not specify a gauge, consistent yarn and hook choices will help the petals and leaves come out in a similar size. Choose a color that suits your display, then use the finished flower as a stand-alone decoration or part of a larger bouquet.