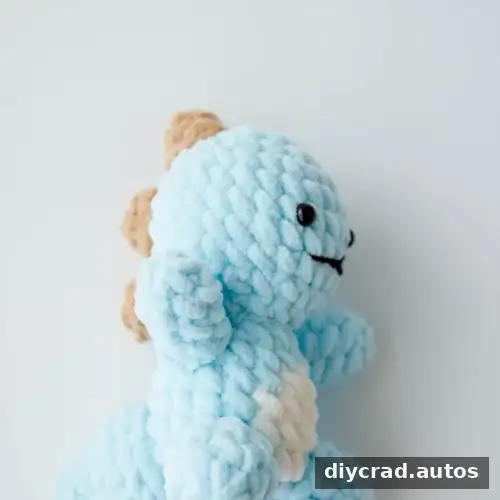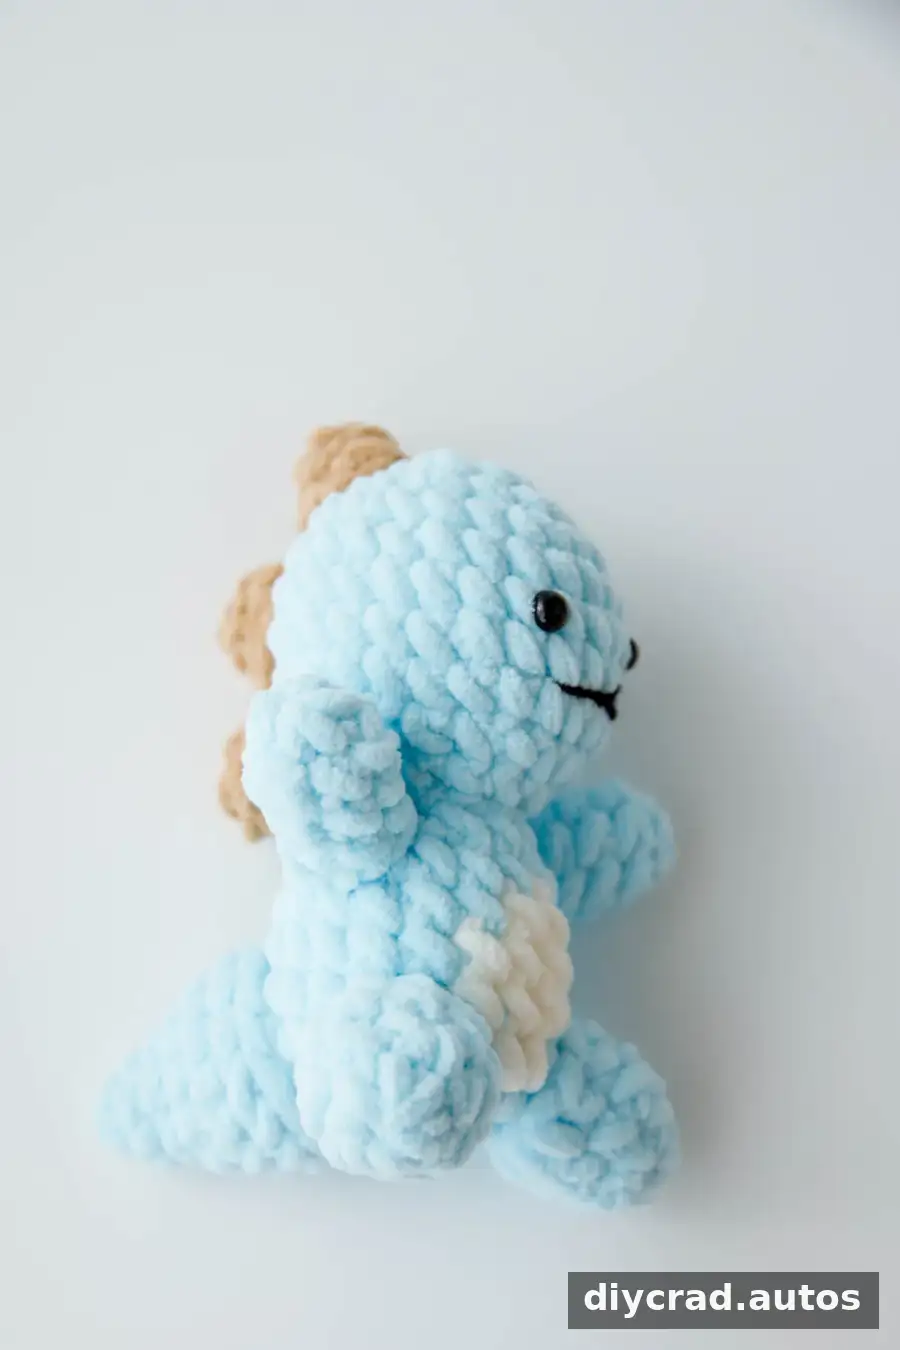
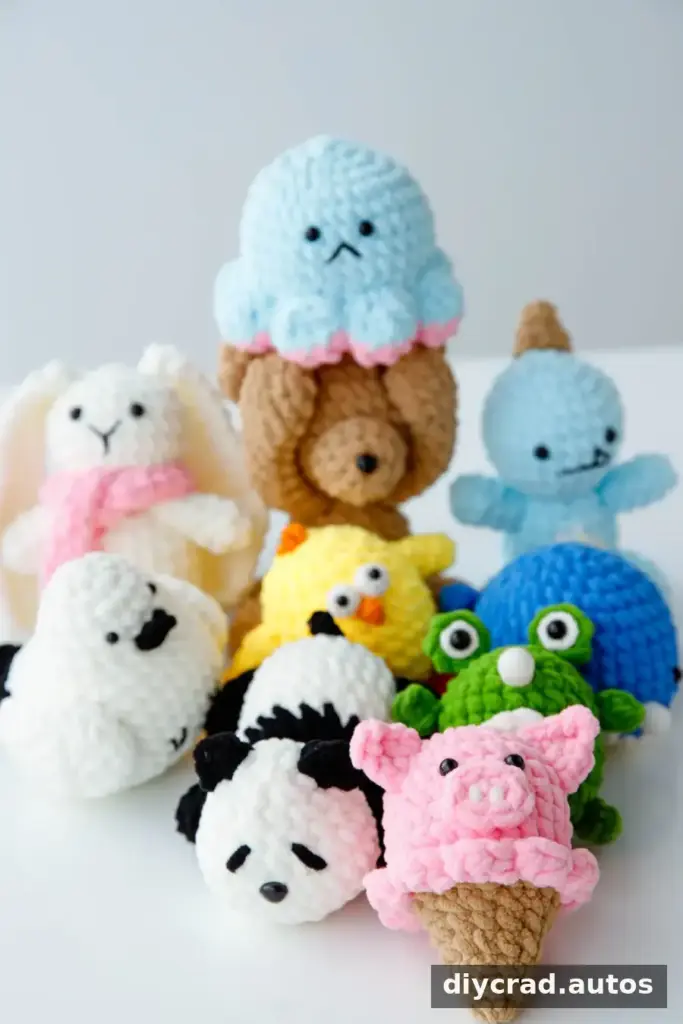
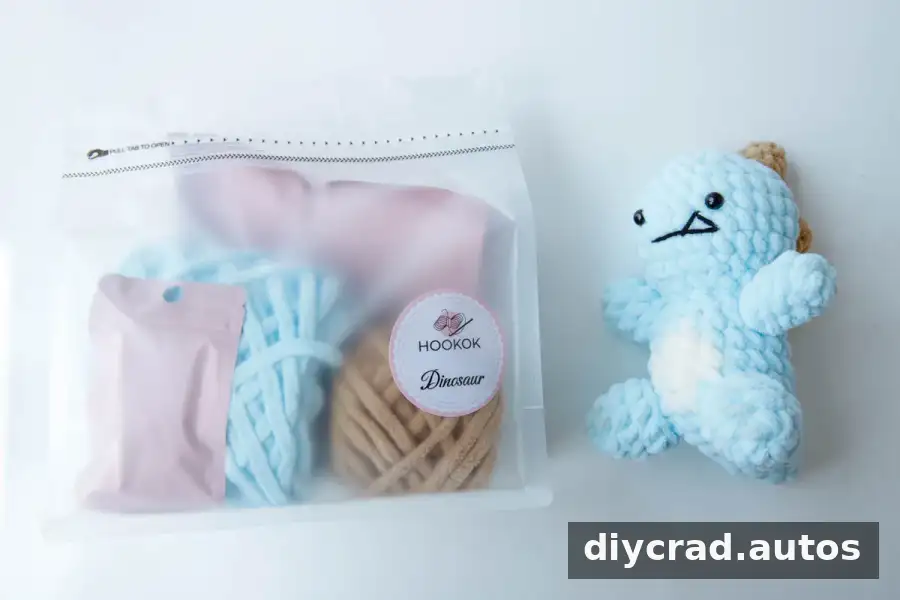
This crochet dinosaur amigurumi pattern includes instructions for the head, body, tail, feet, and three small horns. Worked in US crochet terms, the project uses light blue, white, khaki, and black yarn, plus a 6.0 mm hook. Follow the rounds in order and use a stitch marker to keep track of the beginning of each round.
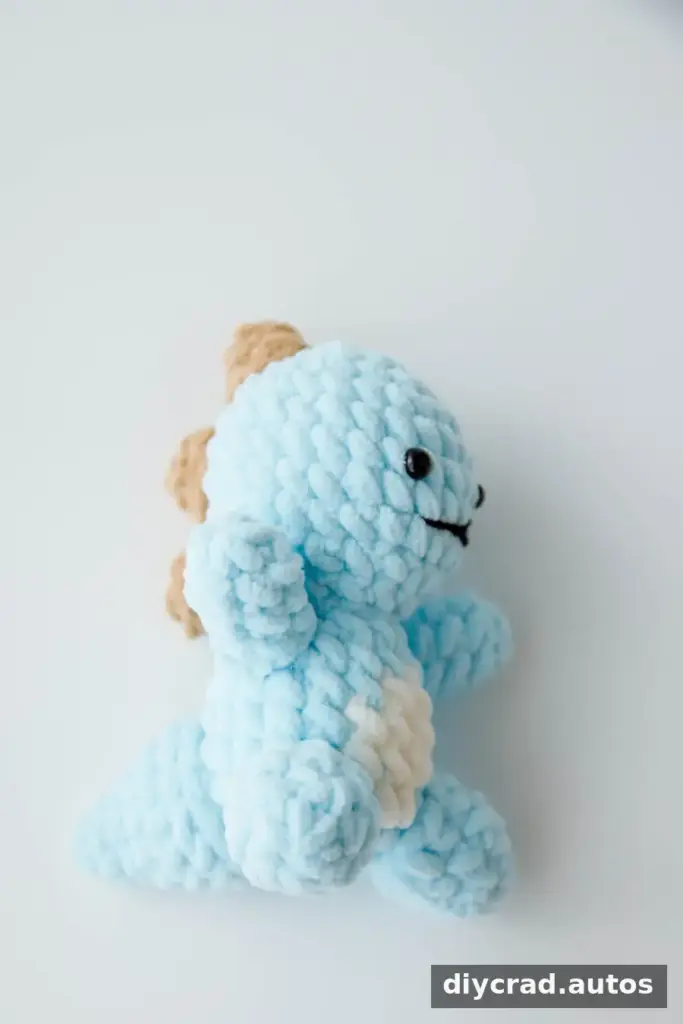
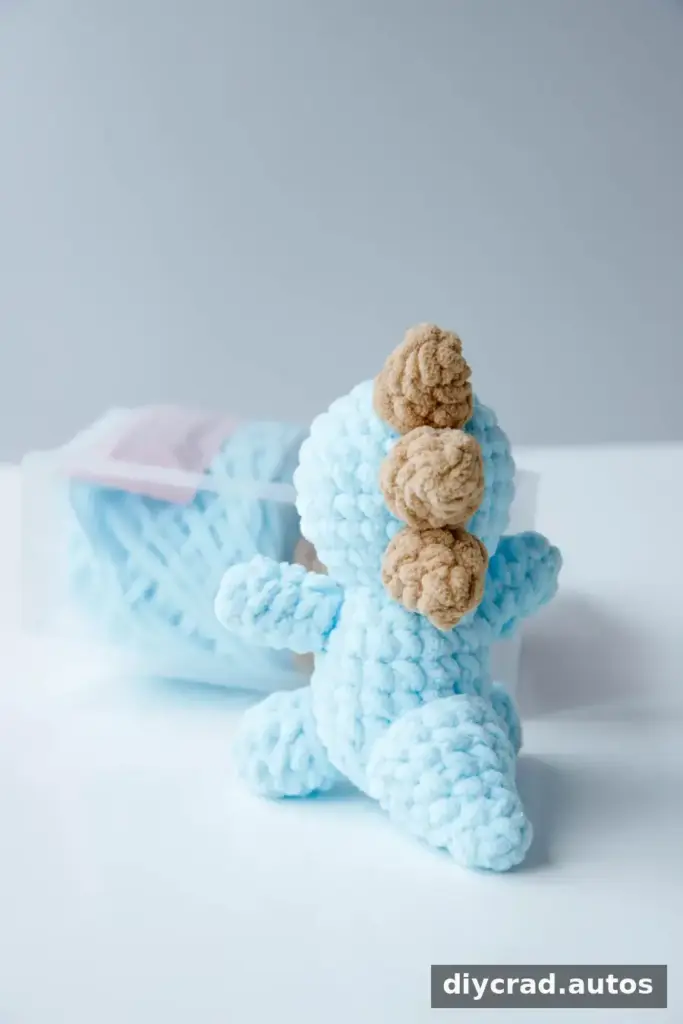
The finished pieces are joined to make a small stuffed dinosaur. Before you begin, read through the materials and abbreviations so you know when to change colors, increase, decrease, and leave yarn tails for sewing.
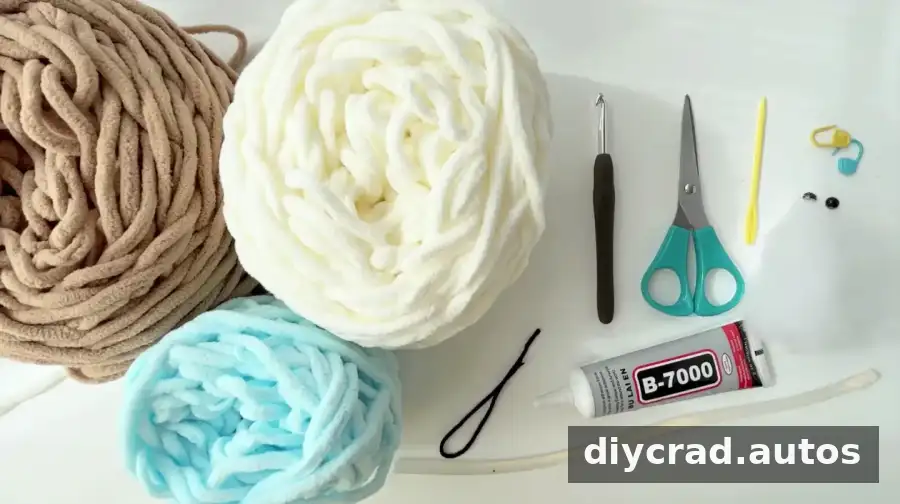
Materials for the Crochet Dinosaur
- Yarn in four colors: white, light blue, khaki, and black
- 6.0 mm crochet hook
- Darning needle
- Fiberfill stuffing
- Scissors
- Stitch marker
- Hot-melt adhesive or multipurpose glue
- One pair of 8 mm eyes
Keep the yarn colors separated before starting. A stitch marker is especially useful when working in continuous rounds, as it helps you identify the first stitch and check your progress.
Stitches and Abbreviations
- sc – single crochet
- dc – double crochet
- 2 sc in next st – increase by working two single crochets into the next stitch
- sc2tog – single crochet two stitches together; a decrease
- R1, R2, R3… – Round 1, Round 2, Round 3, and so on
- ss – slip stitch
- ch – chain
How the Increases and Decreases Work
To increase, work two single crochet stitches into the same stitch. This adds one stitch to the round and helps widen the piece. To decrease with sc2tog, work across two stitches together to reduce the stitch count and shape the fabric.
Pattern Notes
- The pattern uses US crochet terminology.
- Place a stitch marker in the first stitch of each round and move it as you work.
- Follow the listed stitch counts and color changes carefully.
- When a round ends with a slip stitch and chain, follow that instruction before starting the next round.
- Leave yarn tails where instructed so the pieces can be sewn together.
Step-by-Step Crochet Dinosaur Pattern
Head (Light Blue)
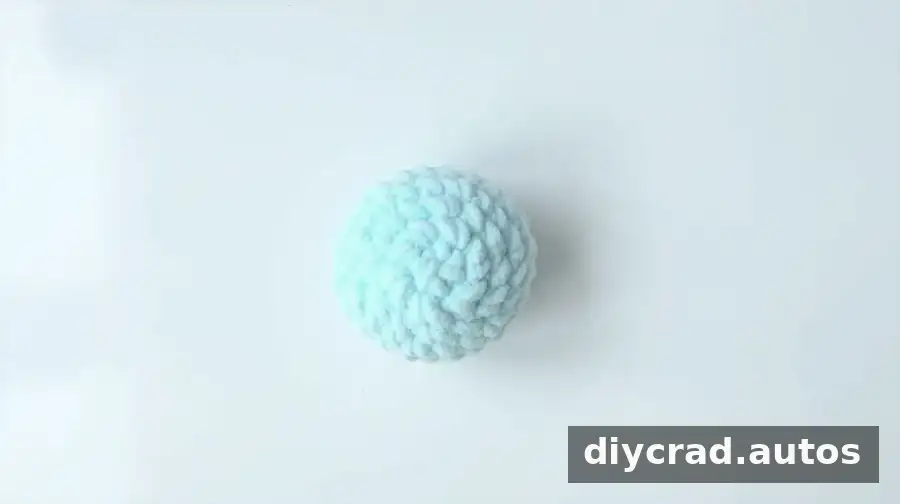
- R1: Make 6 sc in a magic ring. 1 ss, 1 ch.
- R2: Work 2 sc in each stitch around, 6 times. 1 ss, 1 ch.
- R3: Repeat (1 sc, 2 sc in next st) 6 times. 1 ss, 1 ch.
- R4: Repeat (2 sc, 2 sc in next st) 6 times. 1 ss, 1 ch.
- R5–R8: Work 24 sc in each round. 1 ss, 1 ch.
- R9: Repeat (1 sc, sc2tog, 1 sc) 6 times. 1 ss, 1 ch.
- R10: Repeat (1 sc, sc2tog) 6 times. Cut the yarn and weave in the end.
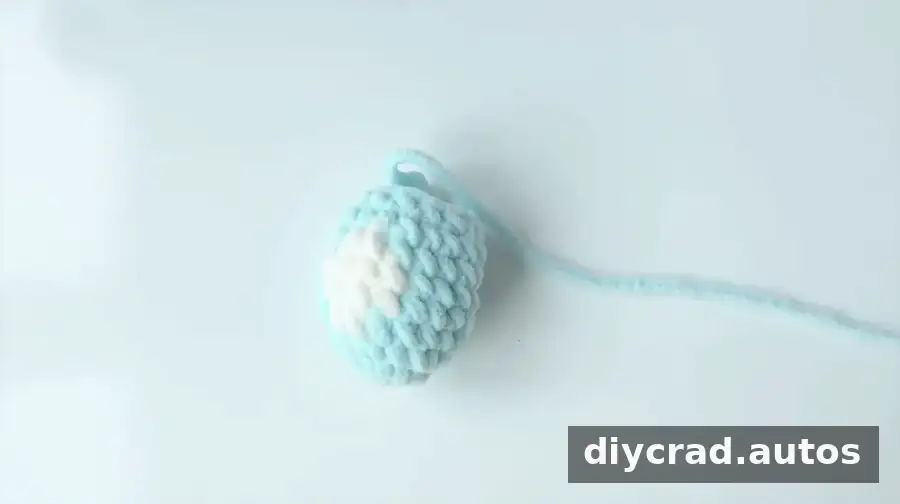
Body (Light Blue and White)
- R1: With light blue, make 6 sc in a magic ring. 1 ss, 1 ch.
- R2: Work 2 sc in each stitch around, 6 times. 1 ss, 1 ch.
- R3: Repeat (1 sc, 2 sc in next st) 6 times. 1 ss, 1 ch.
- R4: Work 8 sc in light blue, change to white and work 2 sc, then change back to light blue and work 8 sc. 1 ss, 1 ch.
- R5: Work 7 sc in light blue, change to white and work 4 sc, then change back to light blue and work 7 sc. 1 ss, 1 ch.
- R6: Work 7 sc in light blue, change to white and work 4 sc, then change back to light blue and work 7 sc. 1 ss, 1 ch.
- R7: Work 8 sc in light blue, change to white and work 2 sc, then change back to light blue and work 8 sc. 1 ss, 1 ch.
- R8: Work 18 sc. 1 ss, 1 ch.
- R9: Repeat (1 sc, sc2tog) 6 times.
For neat color changes, switch yarn at the final yarn-over of the stitch before the new color section. Keep the unused yarn tidy so it does not catch while you crochet.
Tail (Light Blue)
- R1: Make 4 sc in a magic ring. 1 ss, 1 ch.
- R2: Repeat (1 sc, 2 sc in next st) 2 times. 1 ss, 1 ch.
- R3: Repeat (1 sc, 2 sc in next st) 3 times. 1 ss, 1 ch.
- R4: Repeat (2 sc, 2 sc in next st) 3 times. 1 ss, 1 ch.
- R5: Repeat (5 sc, 2 sc in next st) 2 times. 1 ss, 1 ch.
- R6: Work 14 sc. Cut the yarn and weave in the end.
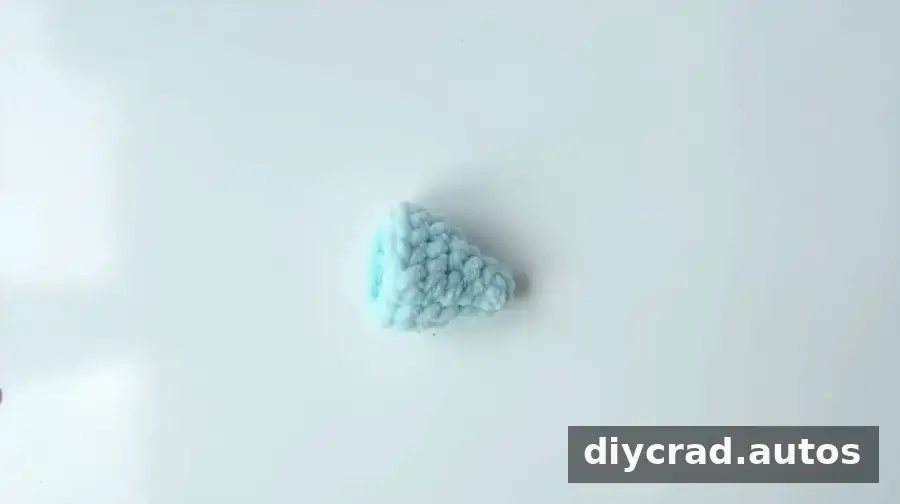
Front Feet (Make 2, Light Blue)
- R1: Make 6 sc in a magic ring. 1 ss, 1 ch.
- R2–R4: Work 6 sc in each round. Cut the yarn and leave a tail for sewing.
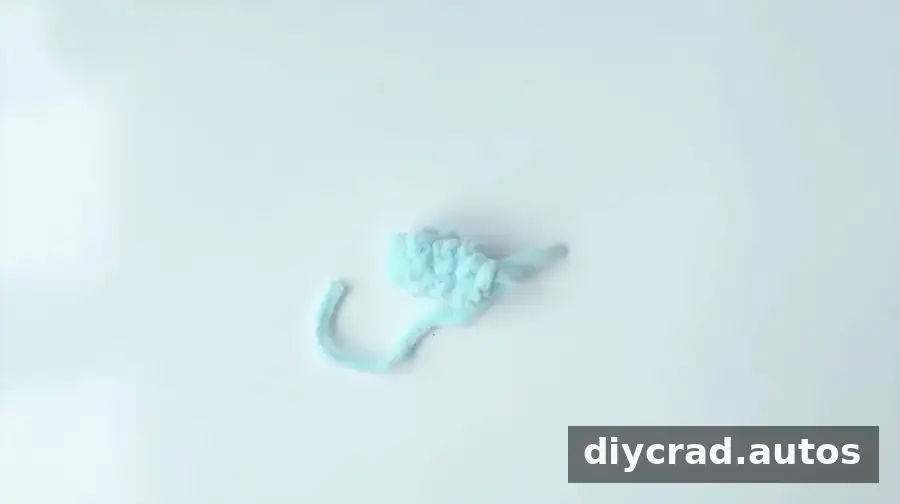
Back Feet (Make 2, Light Blue)
- R1: Make 6 sc in a magic ring. 1 ss, 1 ch.
- R2: Repeat (1 sc, 2 sc in next st) 3 times. 1 ss, 1 ch.
- R3–R4: Work 9 sc in each round. Cut the yarn and leave a tail for sewing.
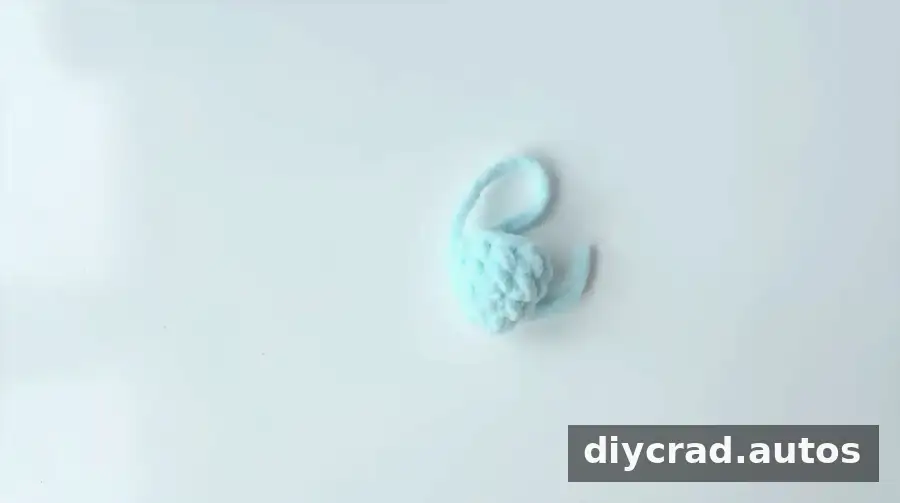
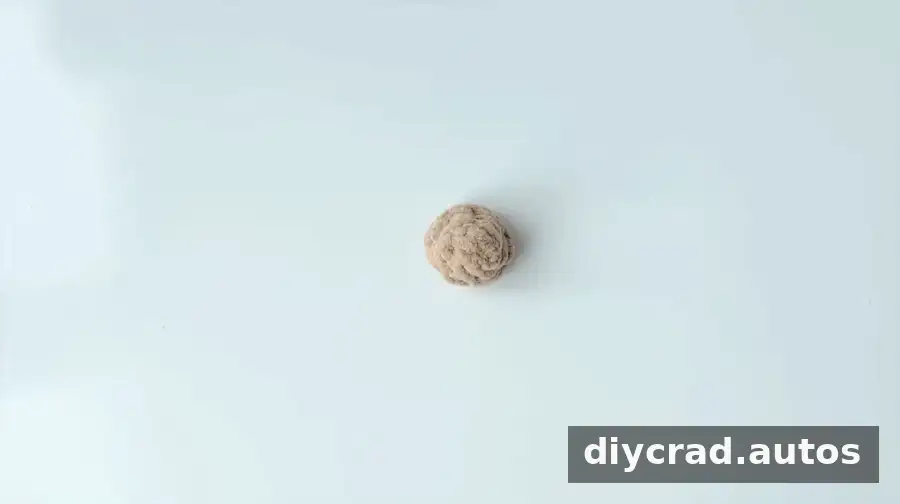
Horns (Make 3, Khaki)
- R1: Make 4 sc in a magic ring. 1 ss, 1 ch.
- R2: Repeat (1 sc, 2 sc in next st) 2 times. 1 ss, 1 ch.
- R3: Repeat (1 sc, 2 sc in next st) 3 times. Cut the yarn and weave in the ends.
Assembling the Crochet Dinosaur
Arrange the pieces before attaching them so you can check their position and balance. Use the yarn tails and a darning needle for the head, and make sure the pieces are secure before finishing the toy.
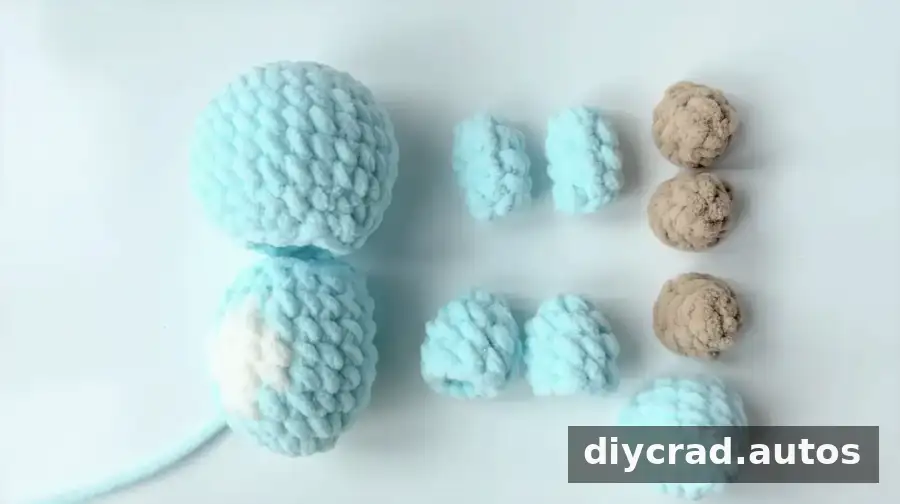
Attach and Stuff the Head and Body
- Position the head on top of the body, aligning the edges.
- Use the light blue yarn tail from the head and a yarn needle to sew around the head opening and the first round of the body.
- Leave an opening in the body while joining. Add fiberfill to the head and body, distributing it evenly, then sew the opening closed.
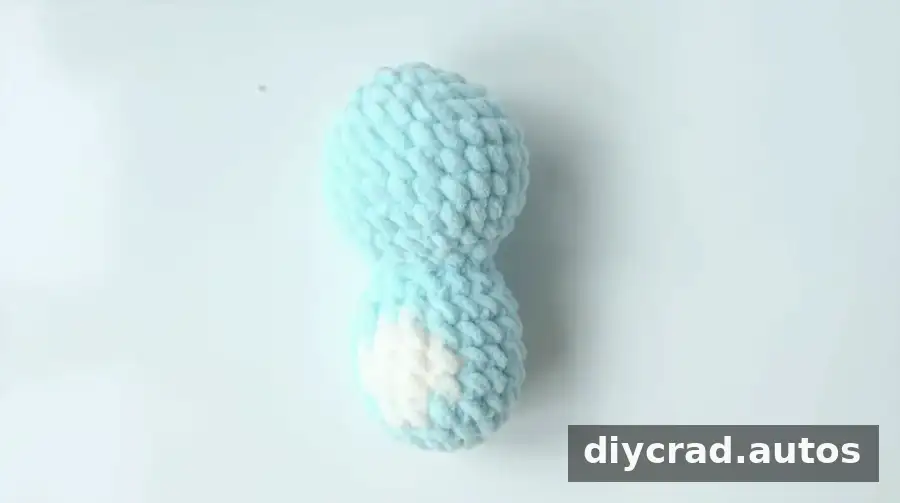
Attach the Feet
- Position the feet on the sides of the body where you want them.
- Add a small amount of fiberfill to each foot.
- Secure the feet with hot-melt adhesive as directed, or sew them in place if preferred.
If using adhesive, follow its product instructions and allow it to cool or set fully before handling the toy.
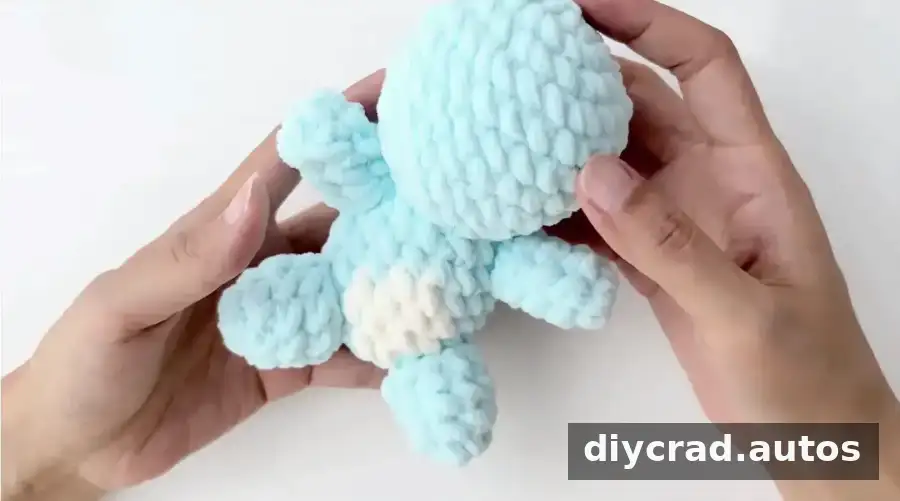
Attach the Tail
- Stuff the tail with fiberfill.
- Place it at the back of the body, centered as desired.
- Attach it securely with hot-melt adhesive.
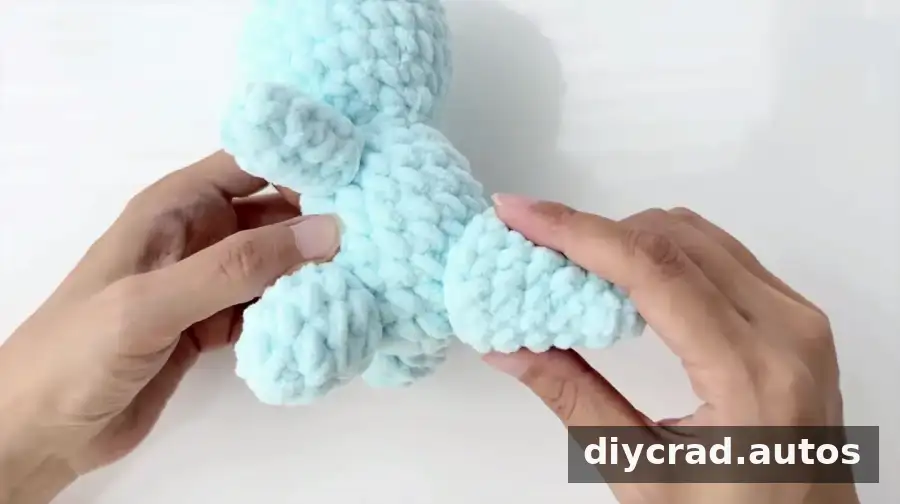
Attach the Horns
- Arrange the three khaki horns in the desired position on the back of the body.
- Use hot-melt adhesive to secure them.
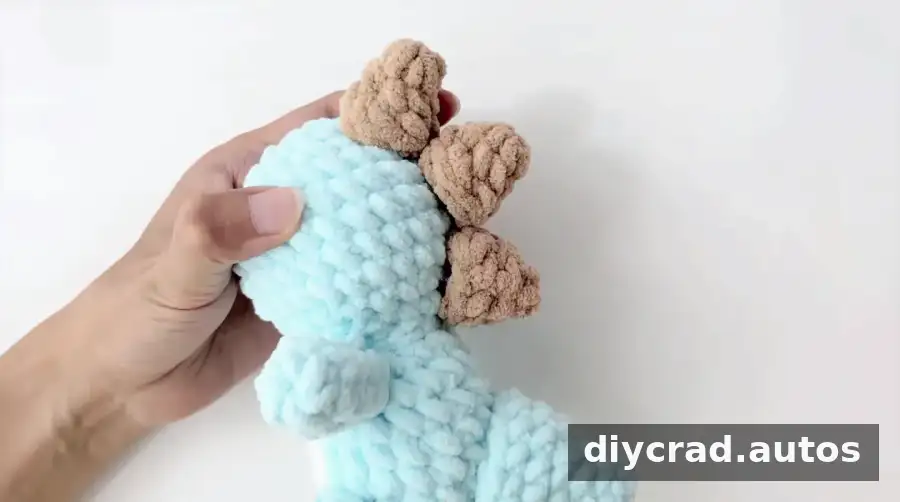
Add the Eyes and Mouth
- Attach the pair of 8 mm eyes with multipurpose glue, following the product directions.
- Sew a mouth with yarn to give the dinosaur its finished expression.
For a toy intended for a young child, take care that small parts are firmly secured and consider whether glued-on eyes are appropriate for the intended use.
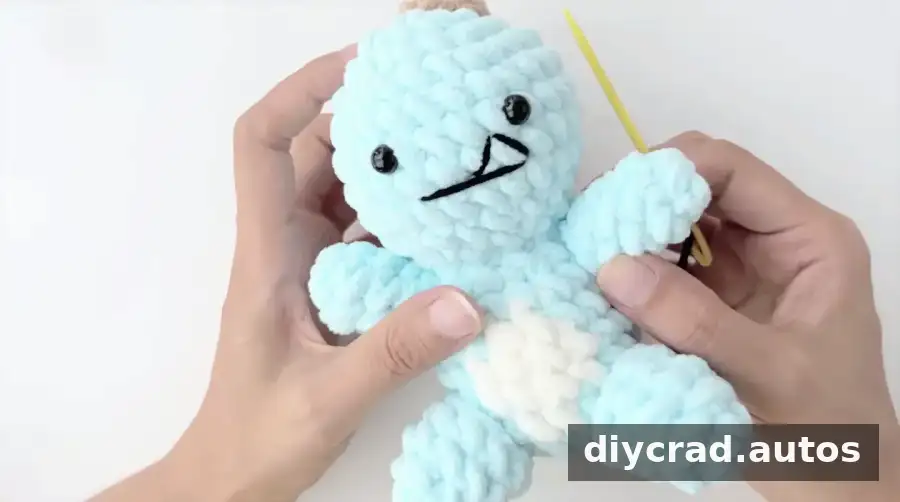
Finish the Yarn Ends
Use a darning needle to weave in any remaining yarn ends. Check the joins and attachments, then trim loose strands for a tidy finish.
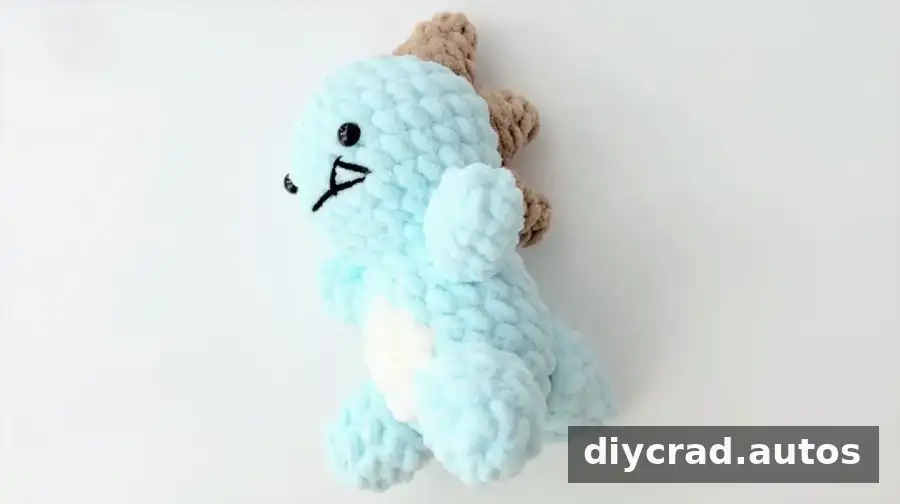
Finishing Your Crochet Dinosaur
Your amigurumi dinosaur is ready once the pieces are attached, the stuffing is evenly distributed, and the yarn ends are tucked away. This pattern creates a handmade keepsake that can be displayed or given as a gift. Take a moment to check that the head, feet, tail, horns, and facial details are secure.
With its color changes and separately worked pieces, this crochet dinosaur is a useful project for practicing increases, decreases, stuffing, and assembly. Work slowly through each round and refer to the stitch marker whenever you need to confirm where a round begins.