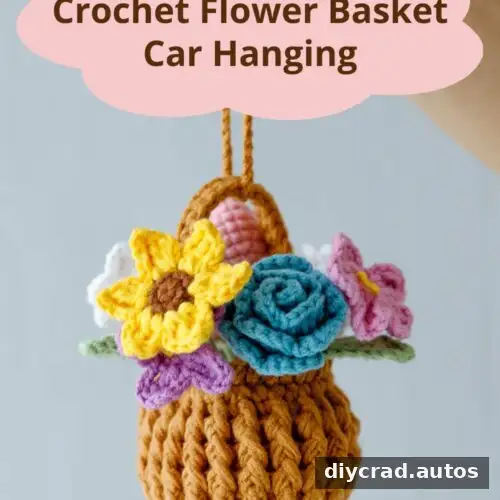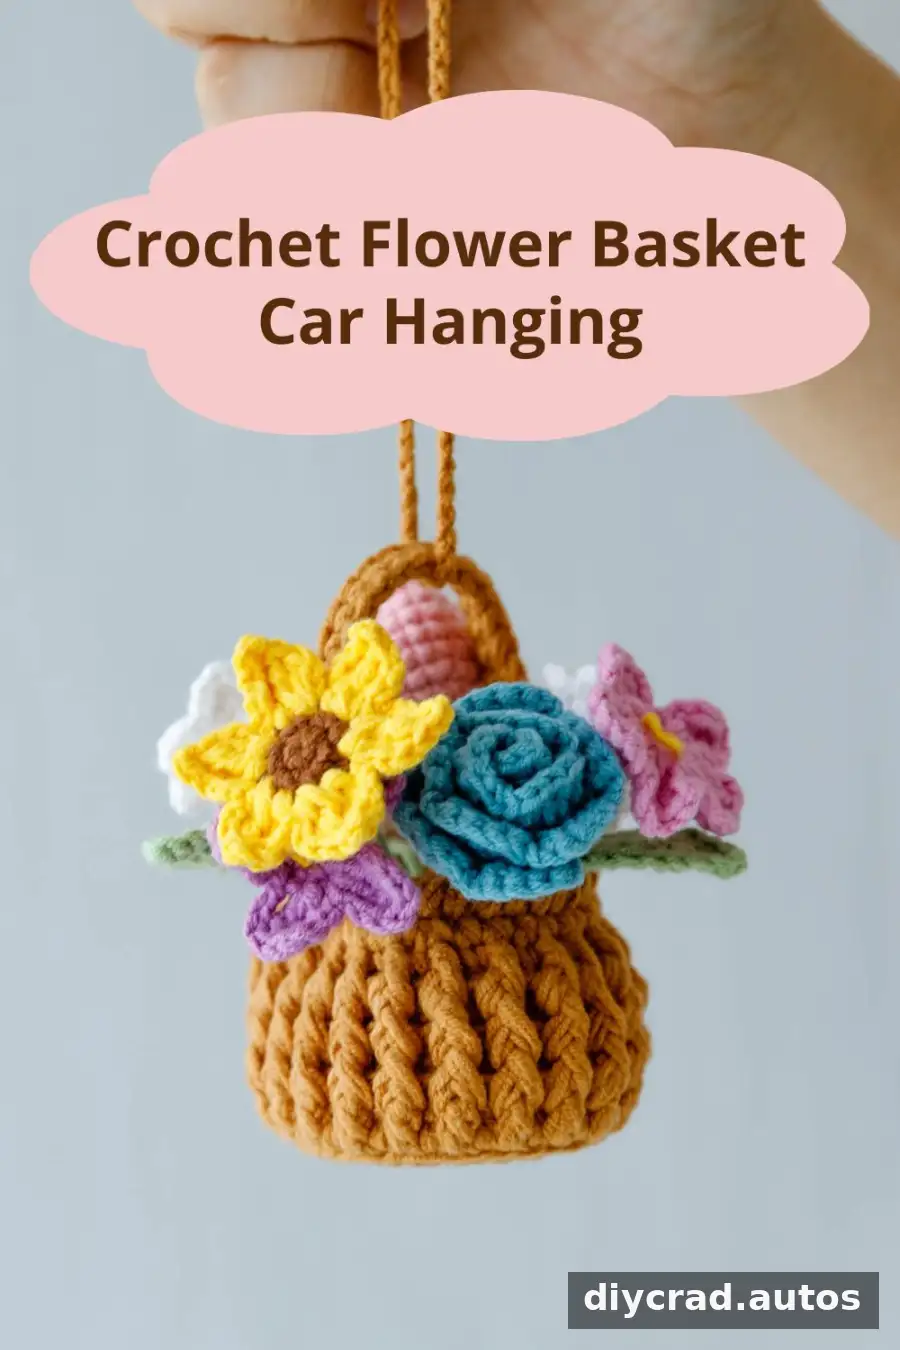
This Crochet Flower Basket Car Hanging pattern combines a small crocheted basket with a colorful bouquet of handmade flowers. The instructions below cover the leaves, roses, forget-me-nots, tulip, sunflower, lilies of the valley, basket, handle, and final assembly. The pattern uses US crochet terms and a 2.0 mm hook.
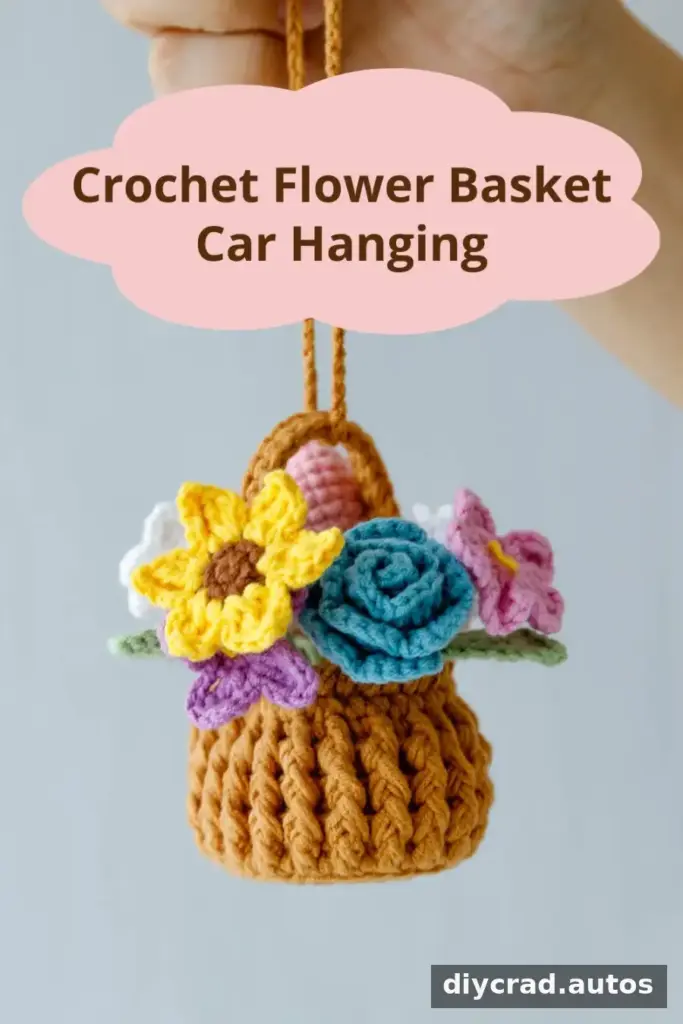
Choose yarn colors that suit your project, and use a stitch marker to keep track of round beginnings. Read through the instructions before starting, especially where wire and hot melt glue are used.
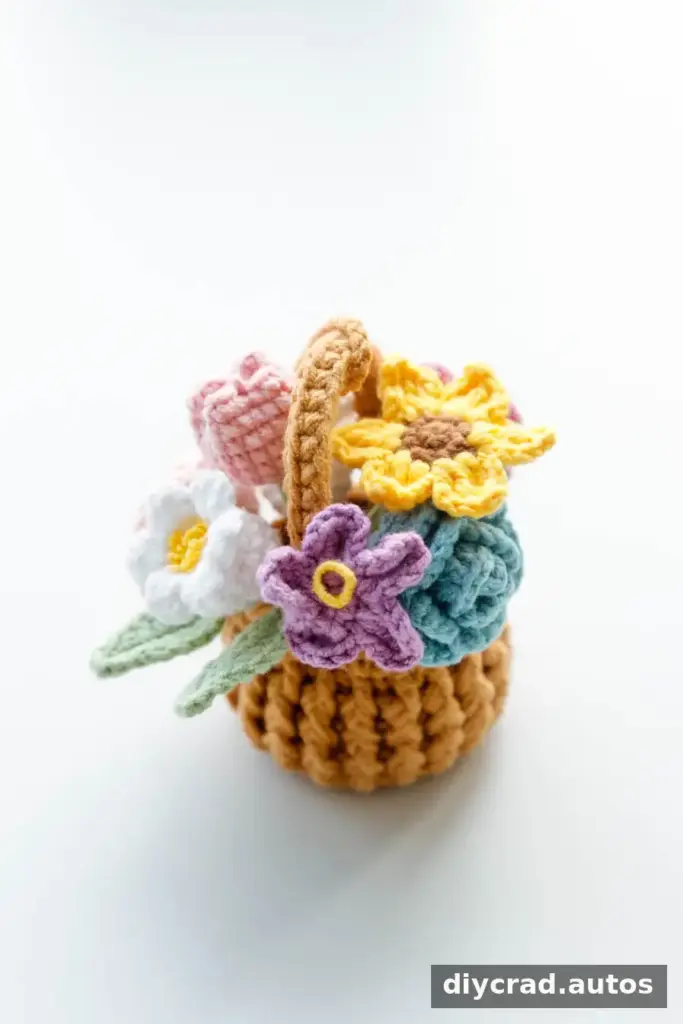
Why Make a Crochet Flower Basket Car Hanging?
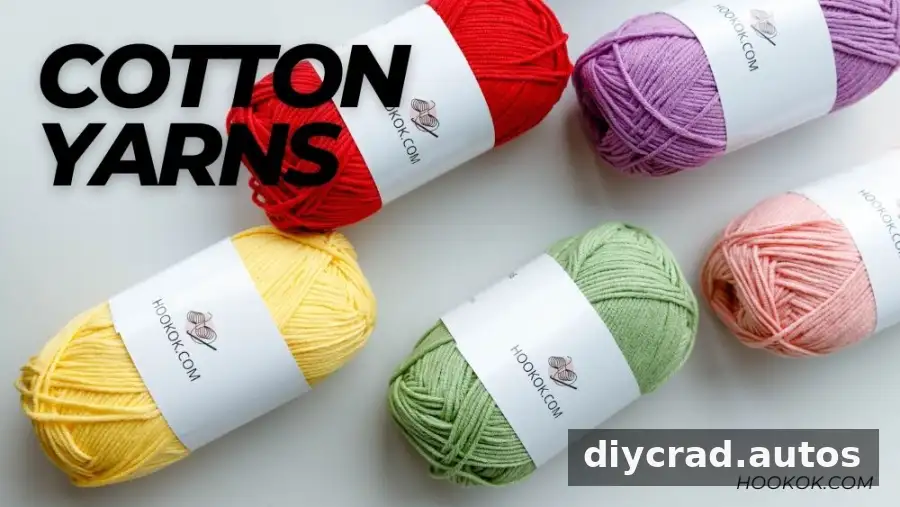
The miniature flowers and basket create a decorative handmade accessory, and changing the yarn colors or textures lets you customize its appearance. The original color selection includes 86 cotton yarn colors to choose from. For safe placement in a vehicle, hang the finished piece where it will not block the driver’s view or interfere with vehicle controls.
Materials and Tools
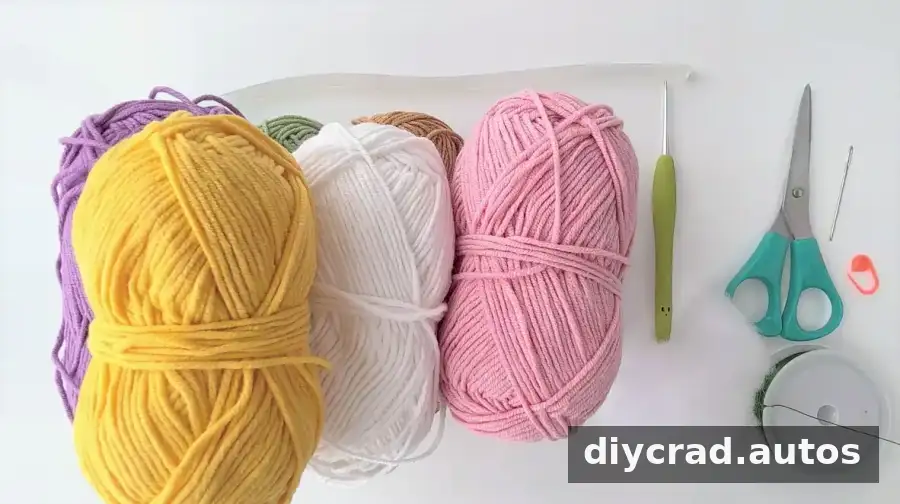
- Yarn: brown for the basket; green for leaves and stems; white and yellow for lily of the valley; pink and sky blue for small roses; light and dark purple for forget-me-nots; yellow and brown for the sunflower. The materials list also specifies light purple for the tulip, while the tulip instructions call for pink.
- 2.0 mm crochet hook
- Scissors, darning needle, and stitch marker
- 0.4 mm diameter iron wire
- Fiberfill
- Hot melt glue
Stitches and Abbreviations
- sc: single crochet
- ch: chain
- BLO: back loops only
- dc: double crochet
- fpdc: front post double crochet
- bpdc: back post double crochet
- sc2tog: single crochet two together, a decrease
- hdc: half double crochet
- tr: treble crochet
- sk: skip
- ss: slip stitch
- picot st: a small decorative loop made by chaining and slip stitching back into the base chain
For BLO, work into the back loop only. For fpdc and bpdc, work around the front or back post of the stitch below. Use a stitch marker to identify the beginning of each round. The pattern is written in US crochet terms.
Flower Instructions
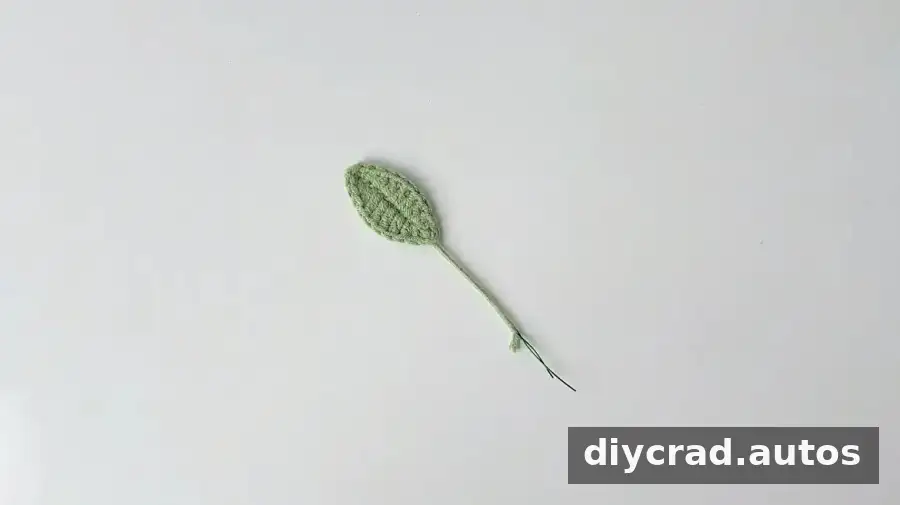
Leaves: Make 3 in green
- Chain 10.
- R1: Add wire. Starting in the second chain from the hook, work 1 sc, 1 hdc, 4 dc, 1 hdc, 1 sc, 3 sc in the same stitch, then 1 sc, 1 hdc, 4 dc, 1 hdc, and 1 sc. Join with 1 ss. Cut the yarn and wrap the tail around the wire.
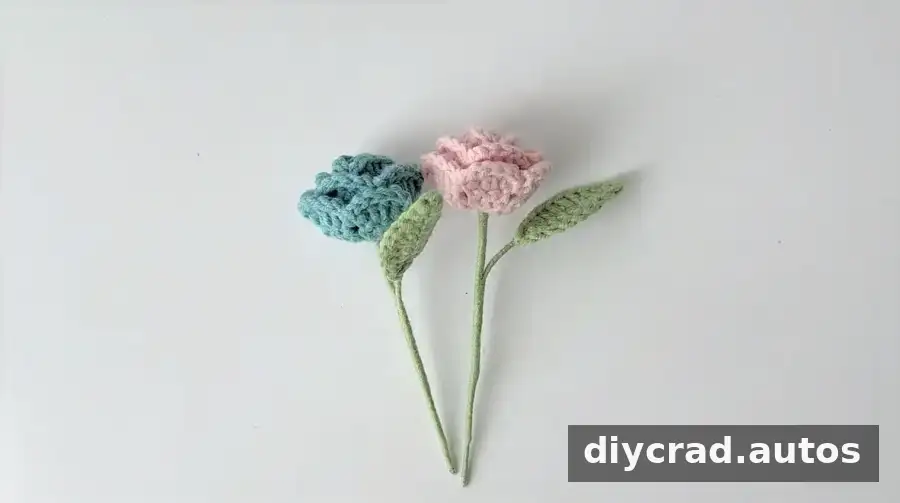
Small Roses: Make 2, one pink and one sky blue
- Chain 26.
- R1: Starting in the fourth chain from the hook, work 3 dc in the same stitch, ch 1, and sk 1. Repeat the sequence 10 times after the first set.
- R2: Turn. Work 2 ch, 1 dc, 2 dc in the next stitch, 1 dc, 2 ch, and 1 ss in the gap. Repeat 11 times after the first set. Cut the yarn and weave in the ends.
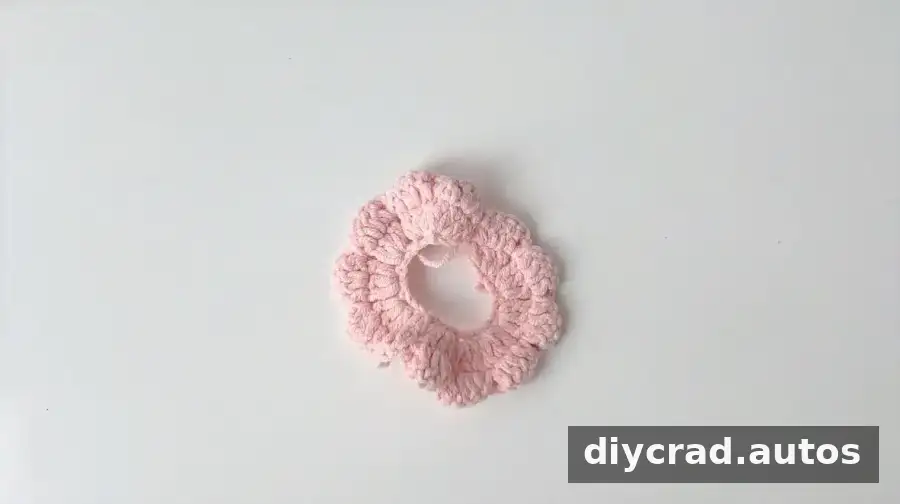
Shape each rose: Pass wire through the middle of the petals, fold and roll the petals into a flower, then secure with hot melt glue. Wrap the wire with green yarn, add leaves, and secure the ends with glue.
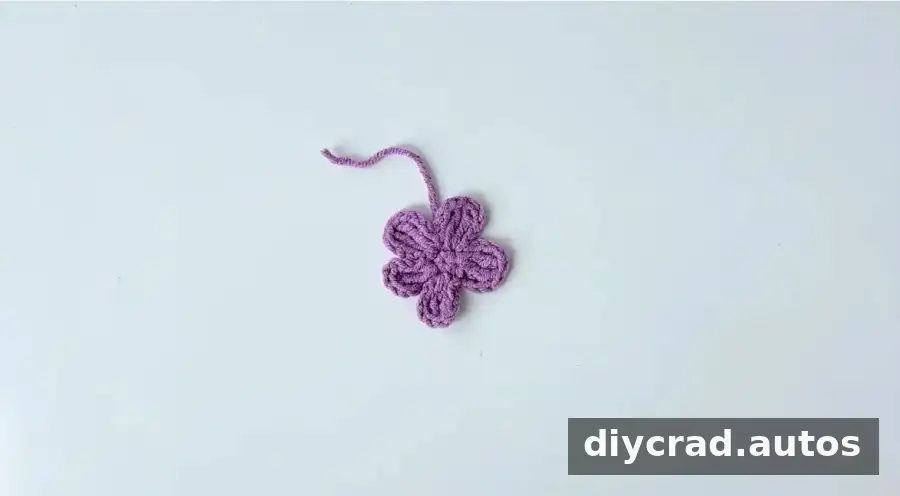
Forget-Me-Nots: Make 2, one light purple and one dark purple
- R1: Make a magic ring and work 5 sc into it.
- R2: Work 4 ch, 2 tr, and 4 ch, then 1 ss in the next stitch. Repeat this petal sequence 4 times after the first set. Ch 1, cut the yarn, and weave in the ends.
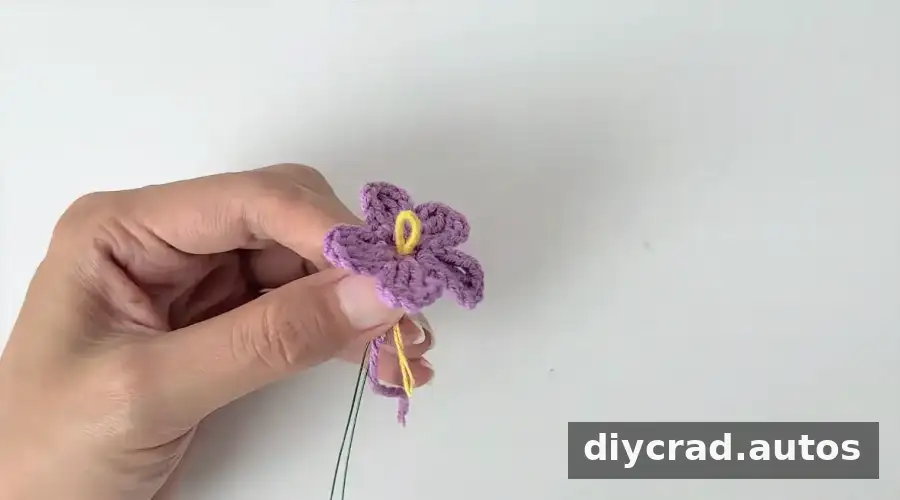
Stamen: Wrap yellow yarn around the middle of the iron wire for about 2 cm. Fold the wire in half and tighten it, pass it through the flower center, then wrap the wire with green yarn to secure it.
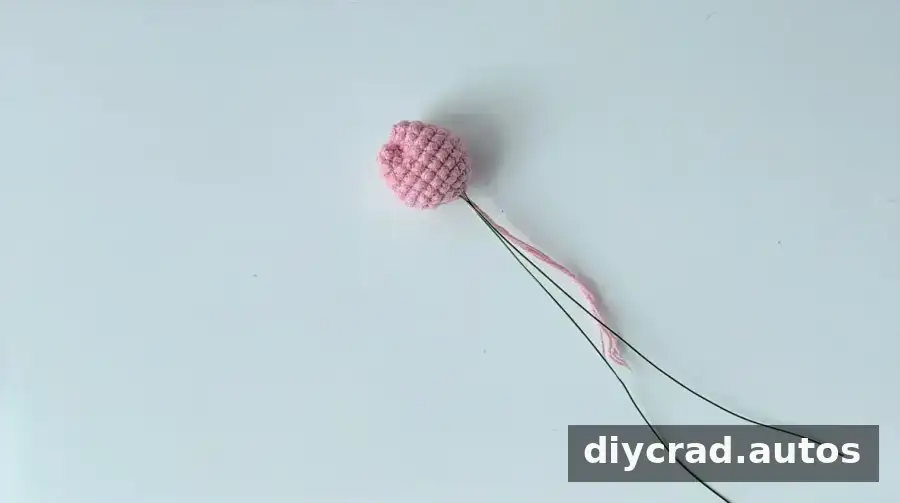
Tulip: Make 1 in pink
- R1: Make a magic ring and work 6 sc into it. Join with 1 ss and ch 1.
- R2: Work 2 sc in the next stitch 6 times. Join with 1 ss and ch 1.
- R3: Repeat 1 sc, 2 sc in the next stitch 6 times. Join with 1 ss and ch 1.
- R4: Repeat 5 sc, 2 sc in the next stitch 3 times. Join with 1 ss and ch 1.
- R5–R9: Work 21 sc in each round. Cut the yarn, leaving a long tail.
- Fold the wire in half and tie yarn around its middle. Pass it through the tulip, add fiberfill, and sew the flower closed. Wrap the wire with green yarn to secure it.
Sunflower: Make 1 in yellow and brown
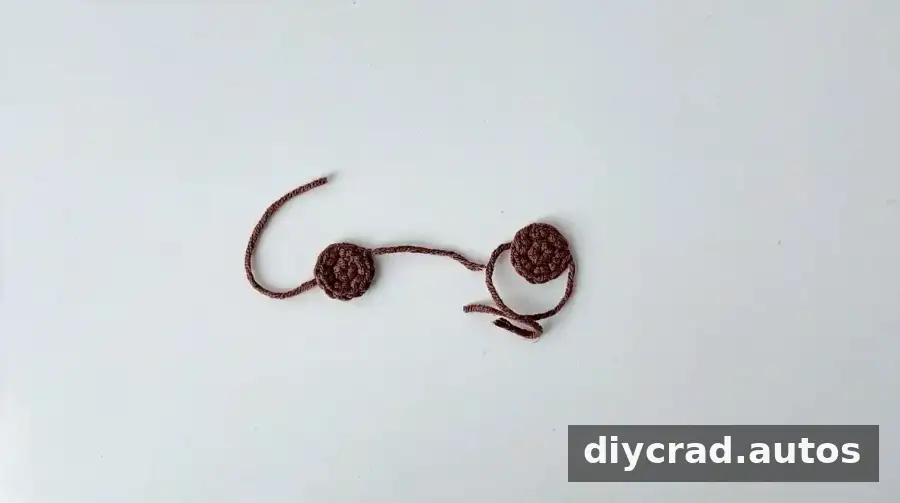
Make two brown centers:
- R1: Make a magic ring and work 6 sc into it. Join with 1 ss and ch 1.
- R2: Work 2 sc in the next stitch 6 times. Join with 1 ss and ch 1.
- Take the wire, bend one end, insert it into the center of one piece, and cover it with the second piece.
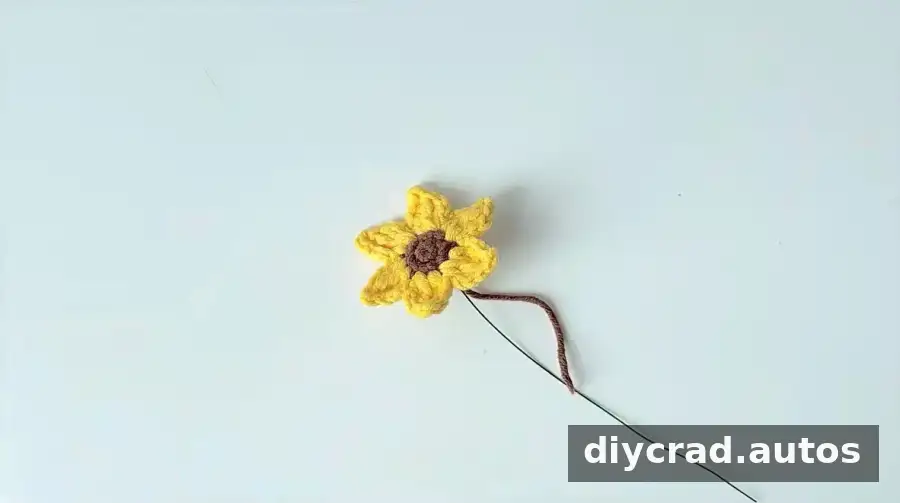
Petals: With yellow yarn, work in the same stitch: 2 ch, 1 dc, 1 tr, and a 2 ch picot st; then, in the same stitch, work 1 tr, 1 dc, and 2 ch. Make 1 ss in the next stitch. Repeat this sequence 5 times after the first set. Ch 1, cut the yarn, and weave in the ends. Wrap the wire with green yarn, add a leaf, and continue wrapping to finish the stem.
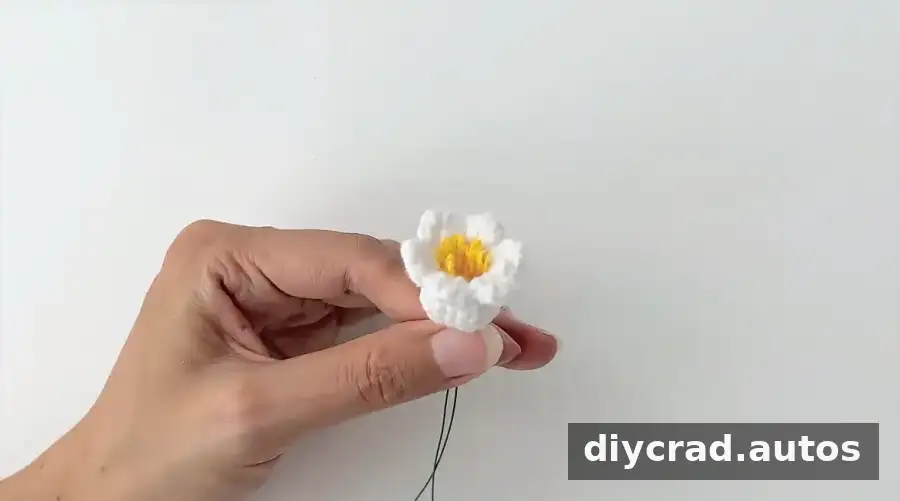
Lilies of the Valley: Make 2 in white and yellow
- R1: With white yarn, make a magic ring and work 6 sc into it. Join with 1 ss and ch 1.
- R2: Work 2 sc in the next stitch 6 times. Join with 1 ss and ch 1.
- R3: Repeat 1 sc, 2 sc in the next stitch 6 times. Join with 1 ss and ch 1.
- R4–R5: Work 18 sc in each round. Join with 1 ss and ch 1.
- R6: Repeat 1 sc, sc2tog 6 times. Join with 1 ss and ch 1.
- R7: Work 12 sc. Join with 1 ss and ch 1.
- R8: In the same stitch, work 1 sc, 1 hdc, and 1 dc; in the next stitch, work 1 dc, 1 hdc, and 1 sc. Repeat 6 times, then cut the yarn and weave in the ends.
Stamen and stem: Wrap yellow yarn four times around three fingers, remove it, cut the yarn, and tie it around the center of the wire. Loosen the loops with a needle. Pass the wire through the flower center, trim the stamen, and wrap the wire with green yarn to form the stem.
Basket and Handle
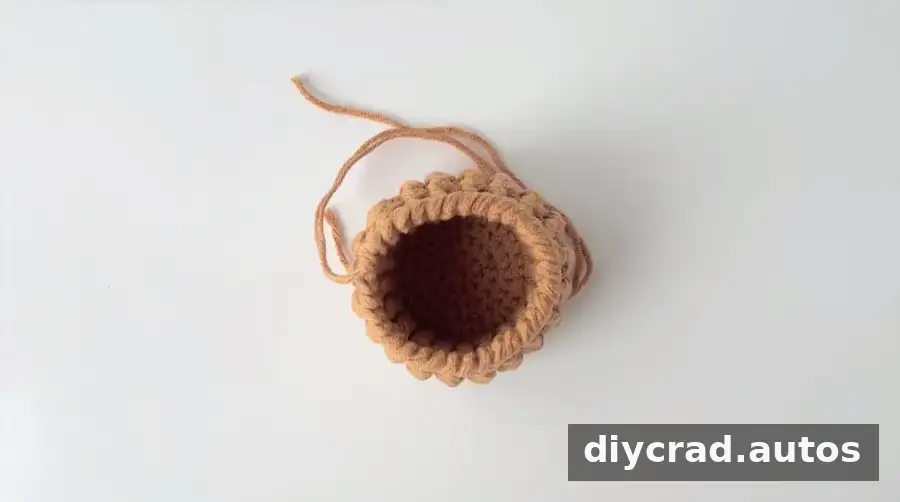
Flower Basket: Brown
- Using two strands of brown yarn, make a magic ring.
- R1: Work 8 sc into the ring. Join with 1 ss and ch 1.
- R2: Work 2 sc in the next stitch 8 times. Join with 1 ss and ch 1.
- R3: Repeat 1 sc, 2 sc in the next stitch 8 times. Join with 1 ss and ch 1.
- R4: Repeat 1 sc, 2 sc in the next stitch, 1 sc 8 times. Join with 1 ss and ch 1.
- R5: Repeat 3 sc, 2 sc in the next stitch 8 times. Join with 1 ss.
- R6: Ch 3, then work 40 dc in BLO. Join with 1 ss.
- R7–R9: Repeat ch 3, 1 fpdc, and 1 bpdc 20 times. Join with 1 ss in the first stitch and ch 1.
- R10: Repeat 3 sc, sc2tog 8 times. Join with 1 ss and ch 1.
- R11: Reverse the hook and work 32 sc. Cut the yarn, leaving a tail.
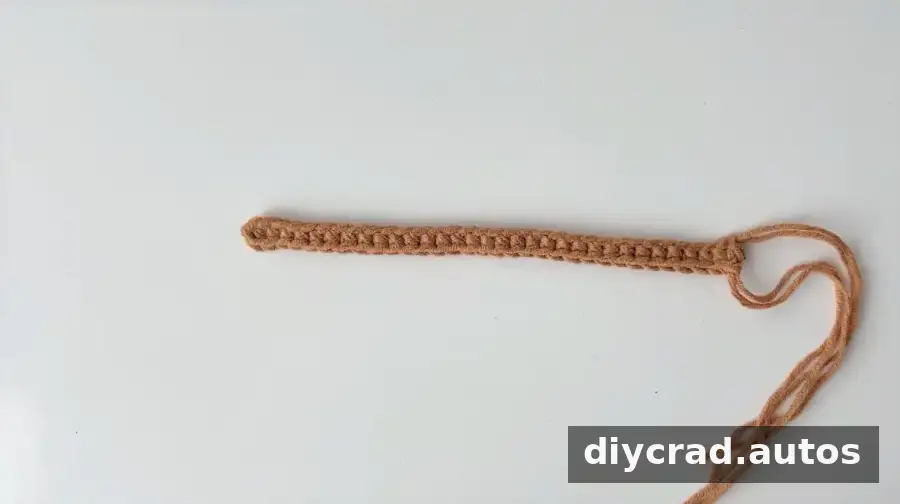
Basket Handle: Brown
- Using two strands of brown yarn, chain 33.
- R1: Add wire. Work behind the second stitch’s vertical bar in the chain below and make 32 sc. Cut the yarn, leaving a tail.
- Use a darning needle to attach the handle to the basket.
Assembling the Crochet Flower Basket Car Hanging
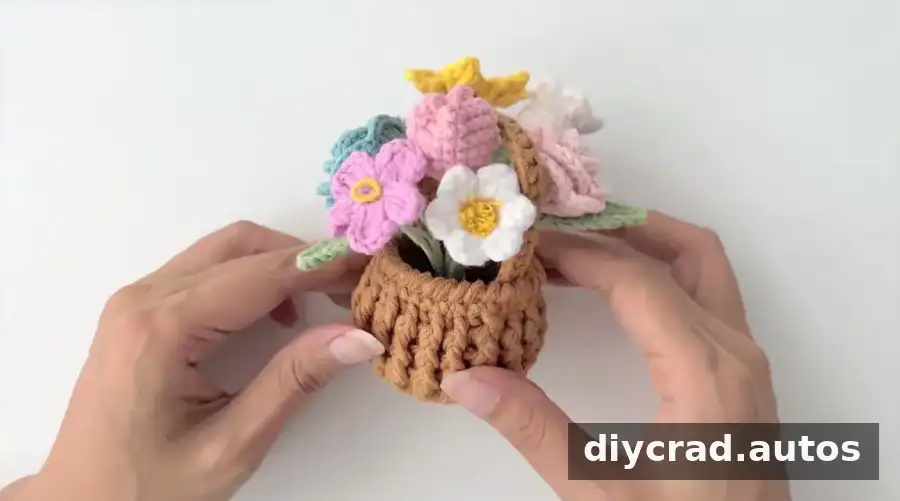
Arrange the crocheted flowers as a bouquet and secure them together with green yarn. Adjust the wires so the flowers sit neatly inside the basket, then check that all pieces are firmly attached. Handle wire ends carefully and cover or secure any exposed ends; allow hot melt glue to cool fully before handling the finished piece.
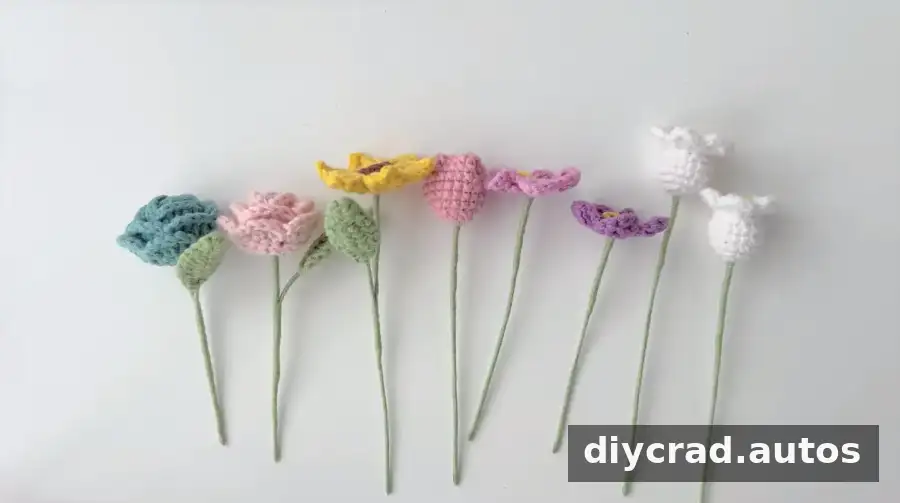
- Step 1: Gather the flowers into a bouquet shape and tie them together with green yarn.
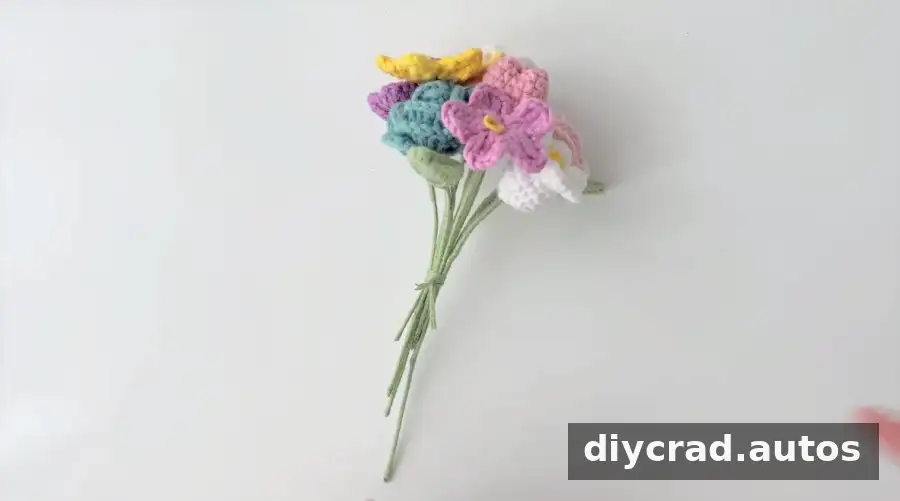
- Step 2: Adjust the wires to position the flowers correctly in the basket.
Finishing Notes
Keep the stitch counts and round instructions close at hand as you work, and use a stitch marker to track each round. The pattern’s wire and glue details are part of the construction, so take care when trimming, bending, or securing those materials. Before displaying the finished accessory in a car, make sure it is securely attached and does not obstruct visibility.
This Crochet Flower Basket Car Hanging brings together several small crochet techniques in one decorative project. Follow the sections in order, assemble the bouquet carefully, and choose a safe place to hang the finished basket.