

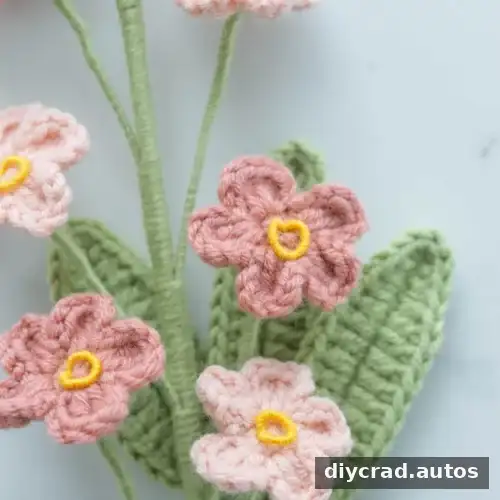
This Crochet Forget-Me-Not Flower pattern makes small, five-petal blooms that can be used as appliqués or assembled into a handmade bouquet. The instructions include the flower, stamen, leaves, and stem, so you can follow the full project or make just the blossoms to decorate other crochet pieces. The pattern uses US crochet terminology and works in the round.
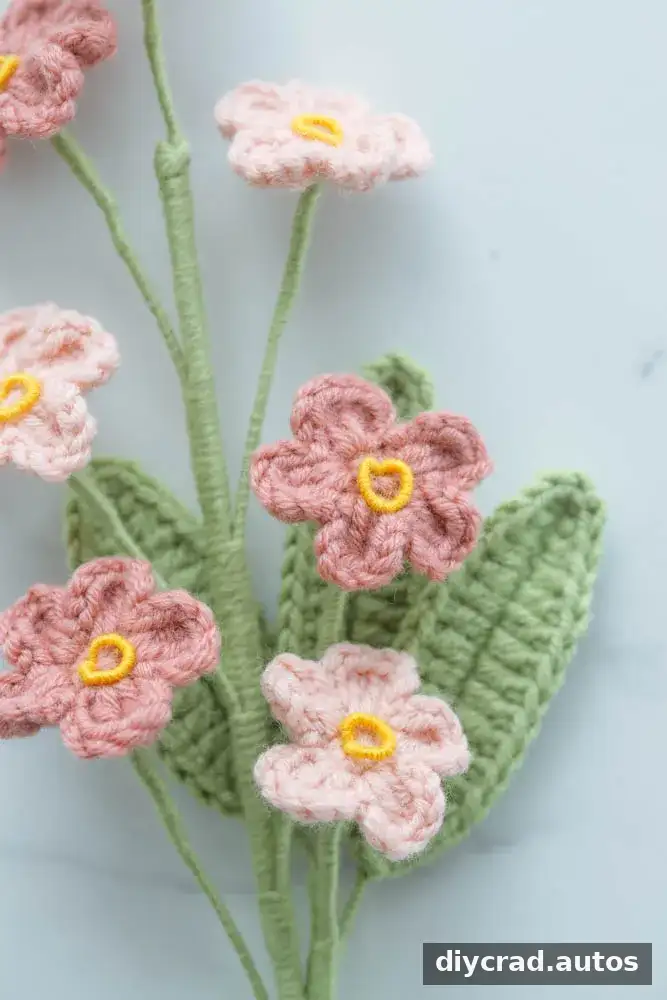
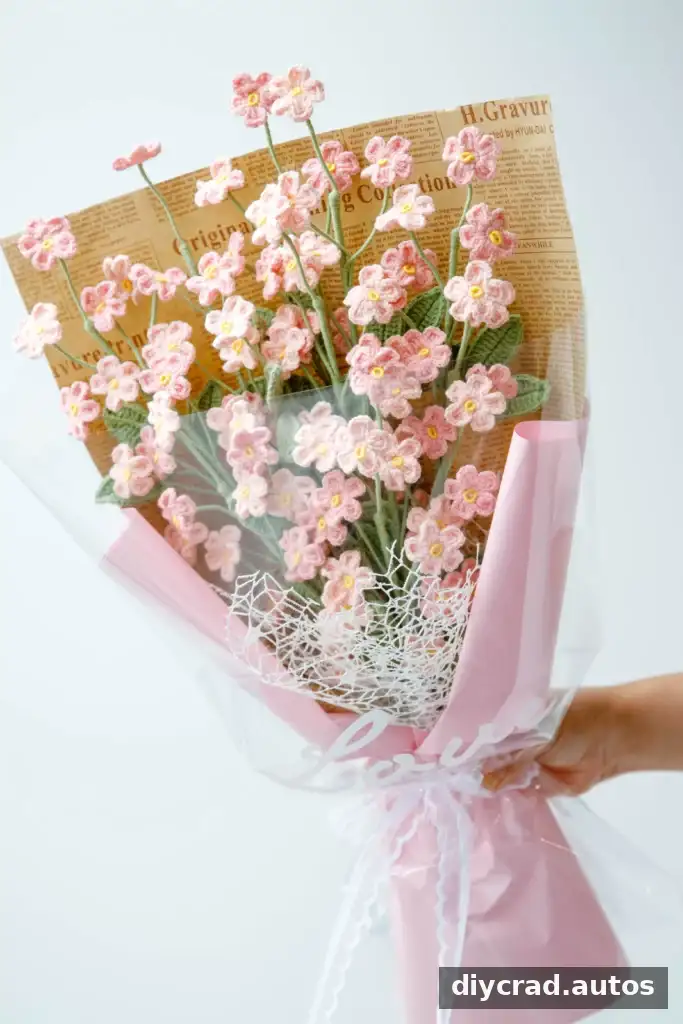
These small flowers can fill out a crochet bouquet or be grouped as a simple floral decoration. Use the same yarn shades for a coordinated look, or vary the flower colors to create a more colorful arrangement.
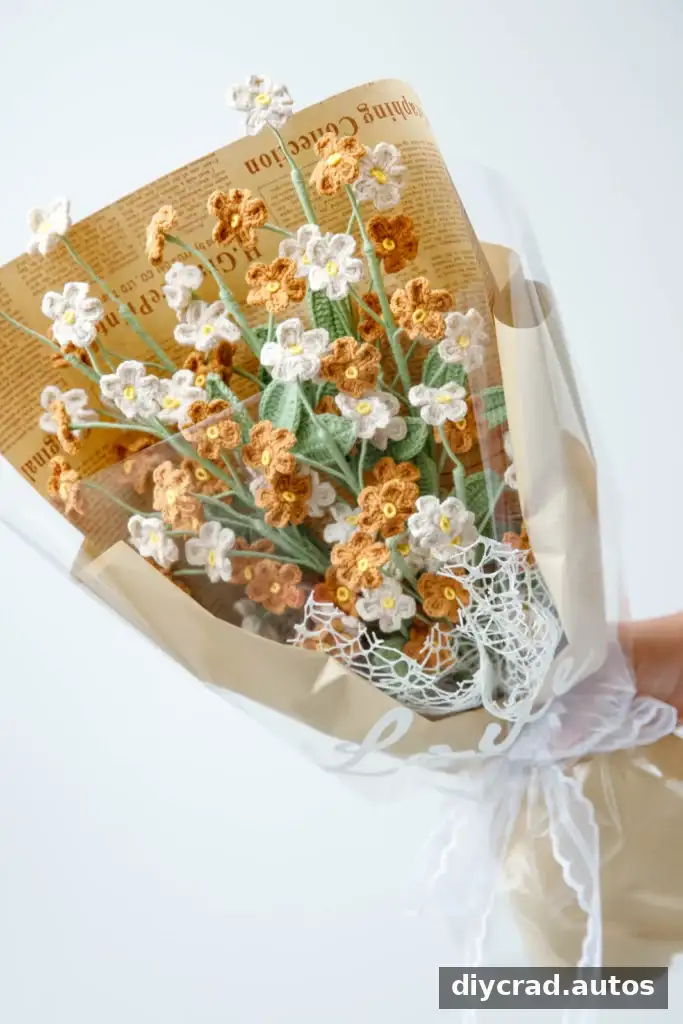
Crochet Small Flowers Bouquet
Ways to Use a Crochet Forget-Me-Not Flower
Make the flowers with stems for a bouquet, or leave them as flat motifs for other projects. Their small size makes them useful as decorative details without adding a large, heavy embellishment.
- Gifts and decorations: Arrange several finished flowers in a small bouquet or use individual blooms as decorative accents.
- Wearables and home projects: Sew a flower onto a hat, scarf, blanket, or bag. Check that it is securely attached, especially if the item will be handled or washed often.
- Mixed bouquets: Combine forget-me-nots with crocheted roses, daisies, or baby’s breath. They can serve as the main flower or as smaller accent blooms.
For a flat appliqué, make the flower without assembling a stem. Before attaching it to a finished item, weave in the yarn ends and position the petals evenly.
Materials and Tools
- Yarn in four colors: light pink, dark pink, green, and yellow
- 2.5 mm crochet hook
- Flower rod, 16 inches long x 0.08 inches in diameter (40 cm x 2 mm)
- Iron wire, 0.4 mm or 0.5 mm in diameter
- Stitch marker
- Darning needle and scissors
- Hot-melt adhesive
A gauge is not applicable to this project. Keep in mind that changing the yarn or hook size will change the finished flower size and may affect how the pieces fit together.
Crochet Forget-Me-Not Flower Pattern
The pattern is listed as advanced-intermediate, although a crocheter looking for a challenge may be able to follow it with the step-by-step instructions. Read through the assembly directions before starting if you plan to make a full stem, as the flowers, stamens, and leaves are made separately.
Abbreviations and Pattern Notes
- ch: chain
- sc: single crochet
- hdc: half double crochet
- dc: double crochet
- ss: slip stitch
Instructions use US terminology. Rounds are worked in a circle, and any additional pattern notes are indicated in italics.
Flower (Make 7)
Make seven flowers for the complete stemmed arrangement. If you only need appliqués, make the number required for your project and skip the stem assembly.
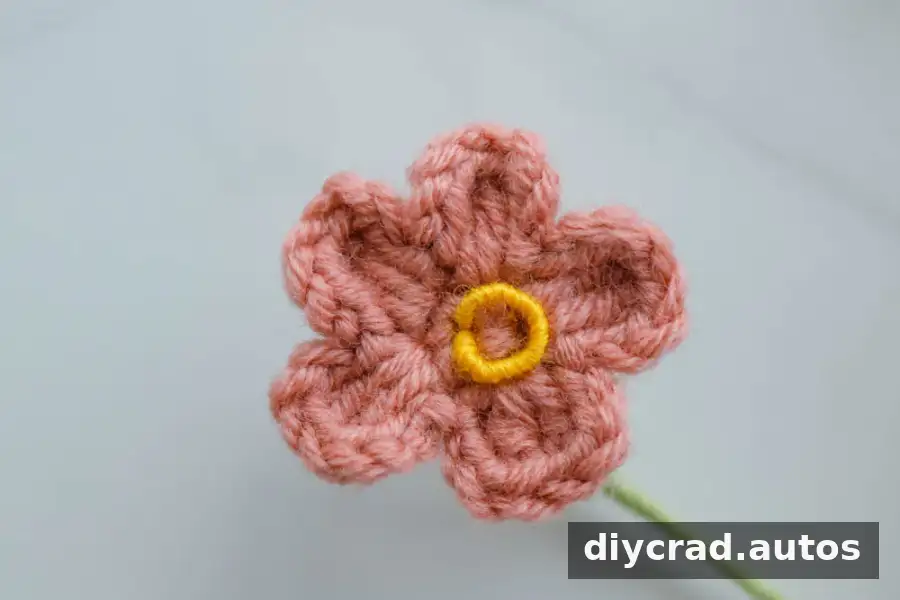
- Make a magic ring and ch 1.
- Round 1: Work 5 sc into the magic ring. Join with ss and close the opening.
- Round 2: In the same stitch, work (ch 3, 2 dc, ch 3), then 1 ss. Repeat this sequence 5 times around. Finish with ch 1.
- Cut the yarn and weave in the ends.
Stamen (Make 7)
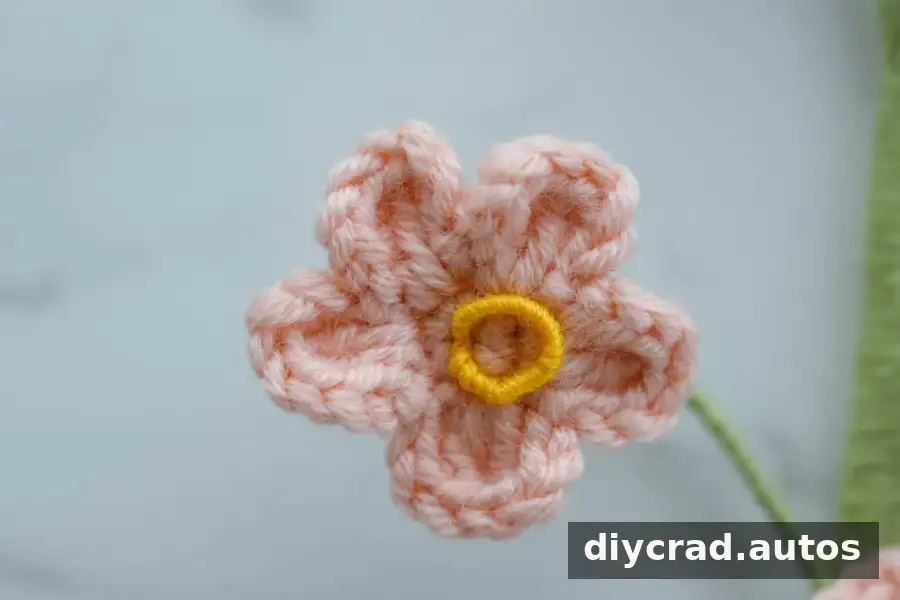
- Cut 6 inches (15 cm) of iron wire. Starting 2 inches (5 cm) from the end, wrap yellow yarn around the wire for 1 inch (2.5 cm).
- Fold the wire in half, keeping the yellow yarn ends aligned.
- Wrap green yarn around both wire strands for 1 inch (2.5 cm). Cut the yarn and tie a knot.
Leaf (Make 3)
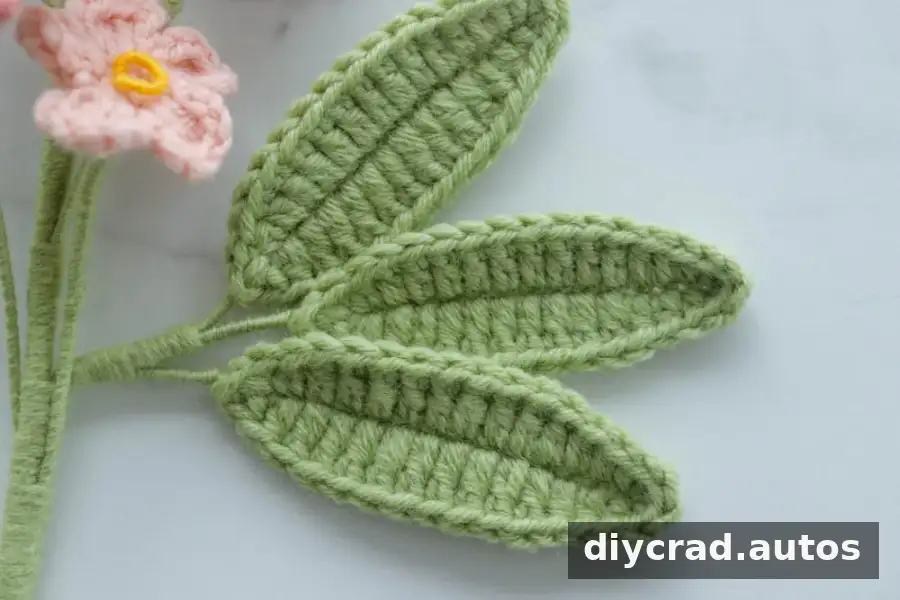
- With green yarn, make a foundation chain of 16 ch.
- Round 1: Add the iron wire. Starting in the second stitch from the hook, work sc, hdc, 9 dc, 2 hdc, and sc. Work 3 sc into the last stitch, then continue along the other side of the chain with sc, 2 hdc, 9 dc, hdc, sc, and ss.
- Cut the yarn. Wrap yarn around the wire until it is completely covered, then tie a knot.
Assembling the Flowers, Leaves, and Stem
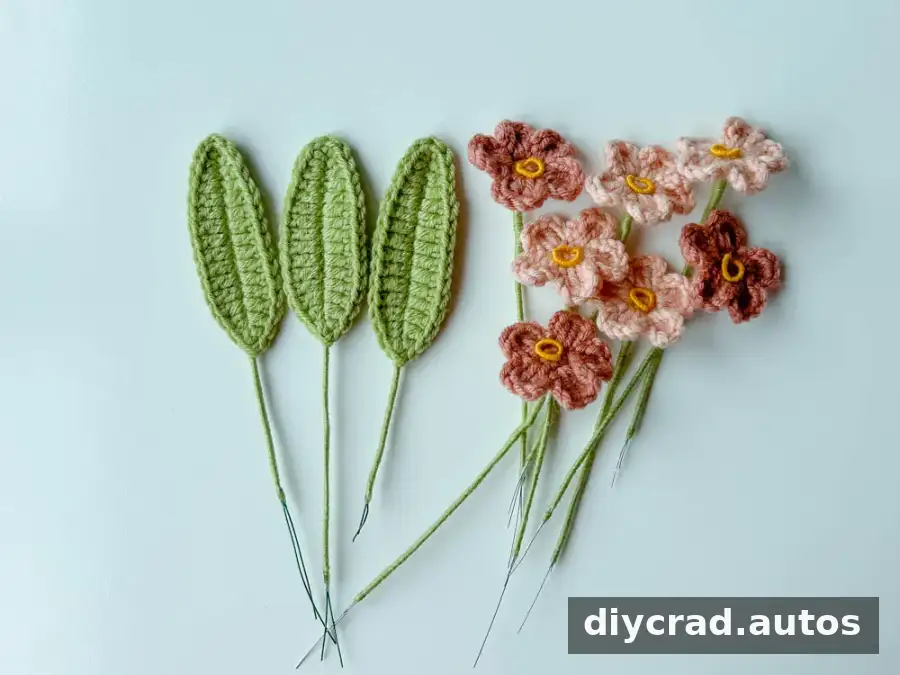
The wire forms the structure of the bouquet, while green yarn covers the joins. Keep the wrapping snug so the pieces stay together, but leave enough flexibility to position the flowers and leaves.
Attach Each Stamen to a Flower
- Insert the wire end of one stamen through the center of a flower and adjust it until it is aligned.
- Wrap green yarn beneath the flower, covering the wire completely, and tie a knot at the end.
- Repeat with the remaining six flowers and stamens.
Group the Leaves
Align the three leaves and wrap green yarn around their wires down to the ends. Arrange them so they can spread out like budding leaves.
Join the Flowers and Leaves to the Rod
- Position the first flower at the tip of the rod and wrap it in place, joining its wire securely to the rod.
- Add the remaining flowers one at a time, spacing them half an inch apart and staggering their positions along the rod.
- Attach the leaves after the flowers. Continue wrapping green yarn down the rod, then secure the yarn at the tip with hot-melt adhesive.
Use care when handling cut wire, and keep hot-melt adhesive away from skin. Check that no sharp wire ends are exposed before displaying or gifting the finished stem.
Finishing and Color Ideas
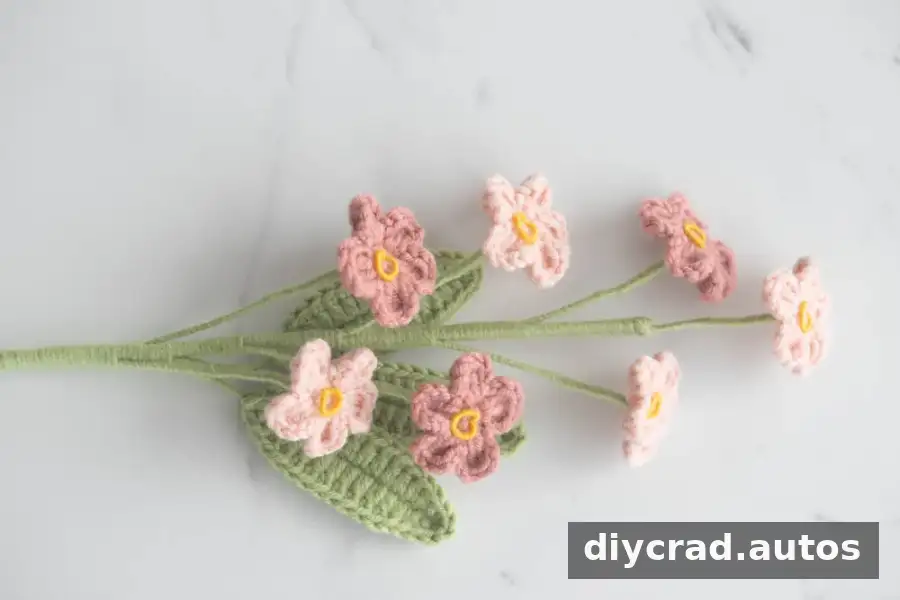
Arrange the petals and leaves before trimming any remaining ends, then check that each wrapped section is secure. The flowers can be made in blue, purple, pink, white, or other colors. Using different shades on separate stems can help distinguish the blooms in a bouquet, while a single color scheme creates a coordinated arrangement.
Whether you make a full bouquet or attach one bloom to a crochet project, the Crochet Forget-Me-Not Flower is a compact way to add a floral detail. For a stemmed version, make seven flowers and stamens along with three leaves, then follow the assembly steps to build the arrangement.
Video Tutorial
Use the video alongside the written instructions if you would like to see the flower and assembly steps demonstrated. Video subtitles may need to be enabled in the player settings.

