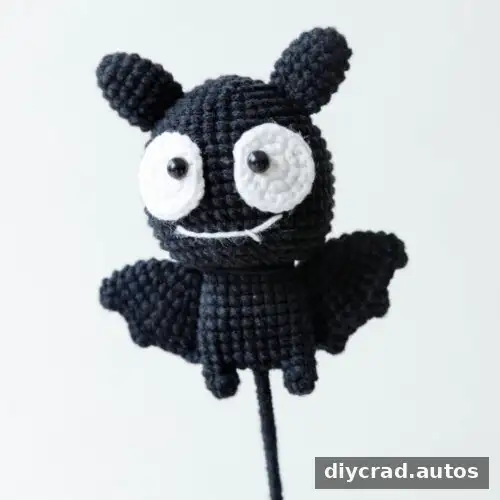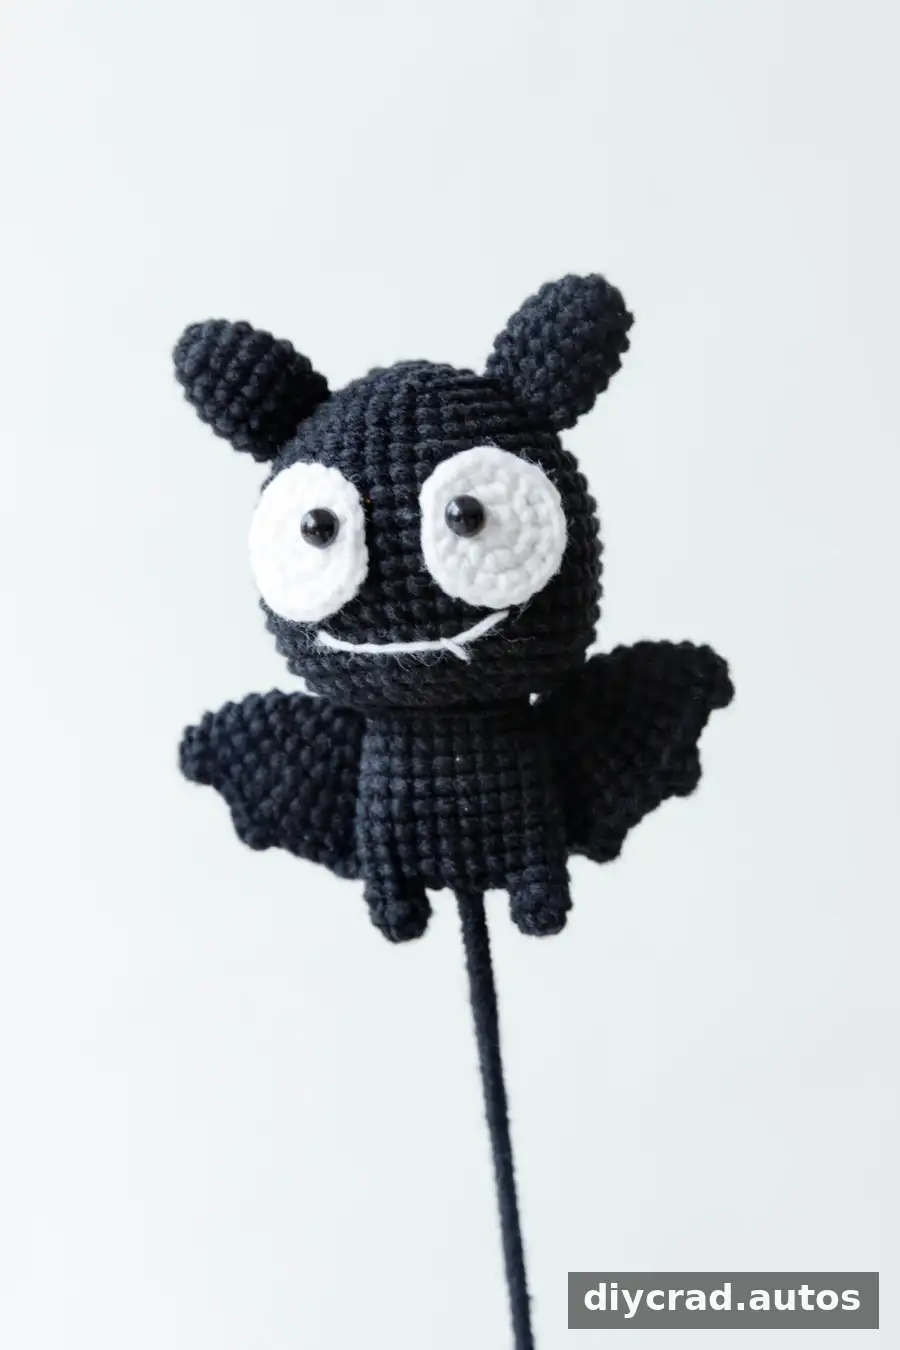
This Crochet Halloween Bat Pattern walks you through making a small bat decoration from crocheted pieces, including the head, body, legs, ears, wings, and eye whites. The pattern uses US crochet terms and a 2.0 mm hook. Gather the materials before you begin, and use a stitch marker to keep track of each round.
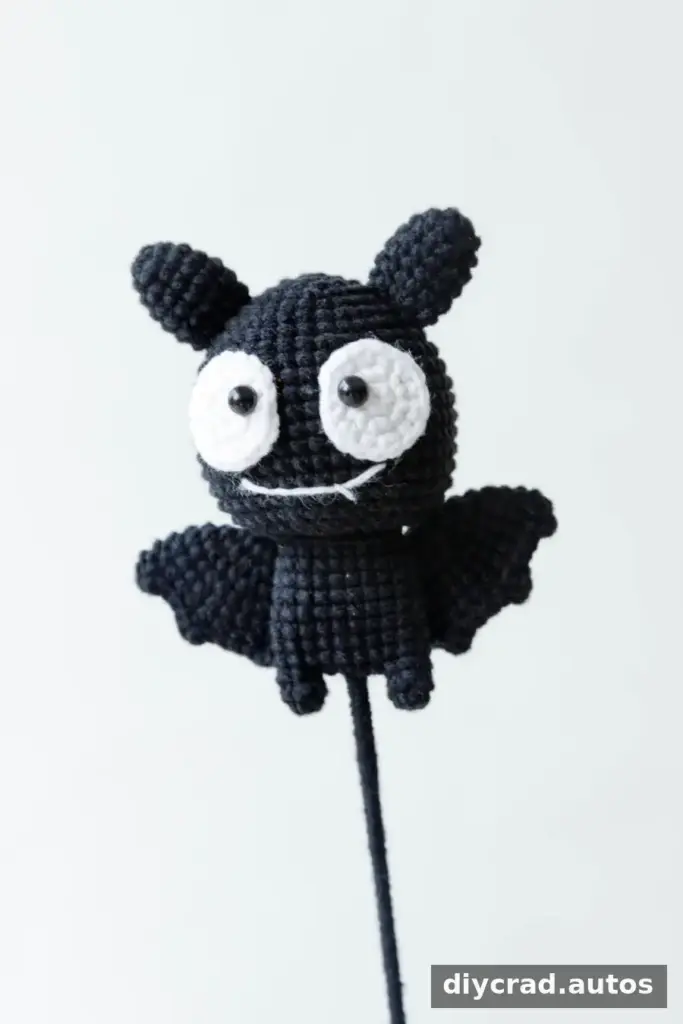
Before You Begin the Crochet Halloween Bat Pattern
The project is listed as an intermediate-level crochet decoration. It is worked in rounds, with the separate pieces joined during assembly. Read the abbreviations and round counts first so you know when to increase, decrease, and change from one part to the next.
Use a stitch marker at the start of each round. The slip stitch and chain used to close and begin rounds do not count toward the stitch total. The instructions use square brackets to show the stitch count at the end of a round.

Materials
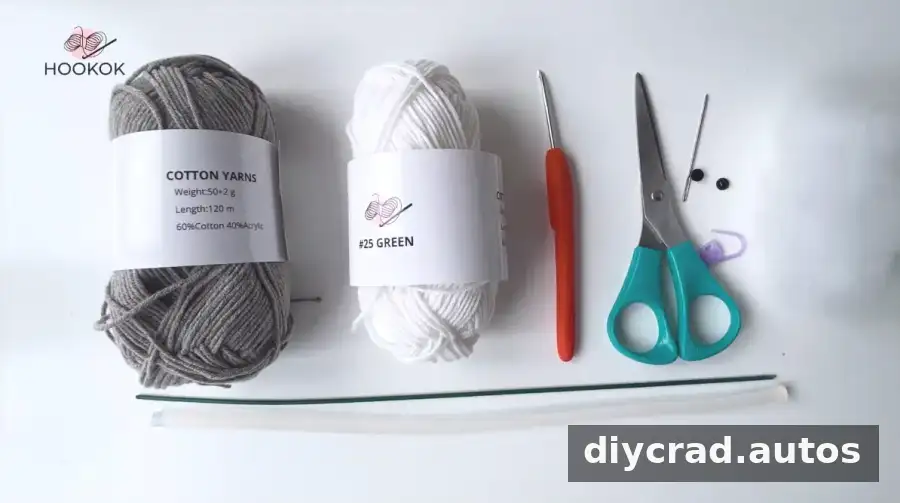
Choose grey and white yarn for the version described here. Yarn colors can be changed to suit your project. The design can also be adapted with different yarn colors or textures, while keeping in mind that changing yarn may affect the finished appearance.
- Grey and white yarn
- 2.0 mm crochet hook
- Scissors
- Stitch marker
- Darning needle
- 6.0 mm safety eyes
- Stuffing cotton
- Flower rod
- Hot melt glue
Stitches and Abbreviations
- sc: single crochet
- sc2tog: single crochet two together; a decrease
- ch: chain stitch
- ss: slip stitch
- ch picot st: chain picot stitch, a small decorative loop made with a chain and a slip stitch
- 2 sc in next st: increase by working two single crochets into one stitch
- R1, R2, R3, etc.: Round 1, Round 2, Round 3, and so on
For a neat finish, keep your tension consistent and check the stitch count at the end of each round before moving on.
Step-by-Step Crochet Halloween Bat Pattern
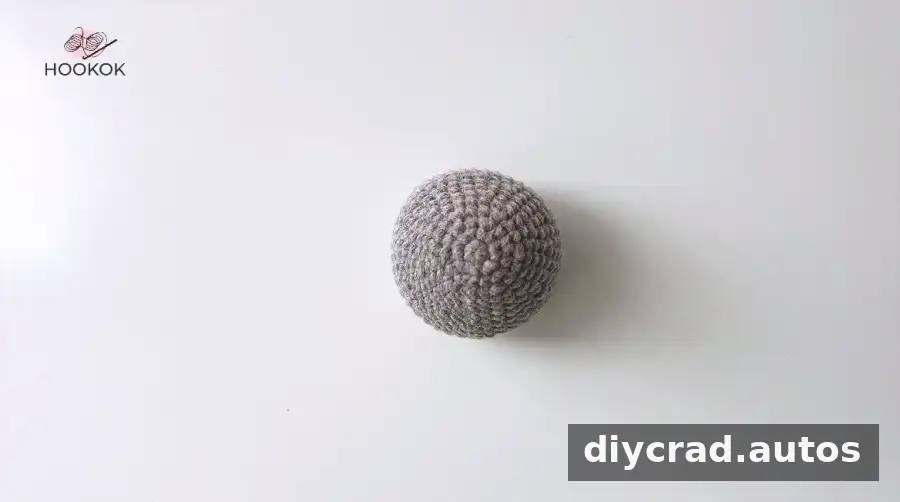
Head
- Begin with a magic ring.
- R1: Work 6 sc in the ring. Join with 1 ss in the first stitch, then make 1 ch. [6]
- R2: Work 2 sc in the next stitch 6 times. Make 1 ss and 1 ch. [12]
- R3: Repeat (1 sc, 2 sc in next st) 6 times. Make 1 ss and 1 ch. [18]
- R4: Repeat (1 sc, 2 sc in next st, 1 sc) 6 times. Make 1 ss and 1 ch. [24]
- R5: Work 24 sc. Make 1 ss and 1 ch. [24]
- R6: Repeat (3 sc, 2 sc in next st) 6 times. Make 1 ss and 1 ch. [30]
- R7: Work 30 sc. Make 1 ss and 1 ch. [30]
- R8: Repeat (2 sc, 2 sc in next st, 2 sc) 6 times. Make 1 ss and 1 ch. [36]
- R9: Repeat (5 sc, 2 sc in next st) 6 times. Make 1 ss and 1 ch. [42]
- R10–R18: Work 42 sc in each round. Make 1 ss and 1 ch after each round. [42]
- R19: Repeat (2 sc, sc2tog, 2 sc) 7 times. Make 1 ss and 1 ch. [35]
- R20: Repeat (3 sc, sc2tog) 7 times. Make 1 ss and 1 ch. [28]
- R21: Work sc2tog 14 times. Make 1 ss and 1 ch, then add stuffing. [14]
- R22: Work sc2tog 7 times. Join with 1 ss in the first stitch. [7] Cut the yarn and weave in the end.
Body and Legs
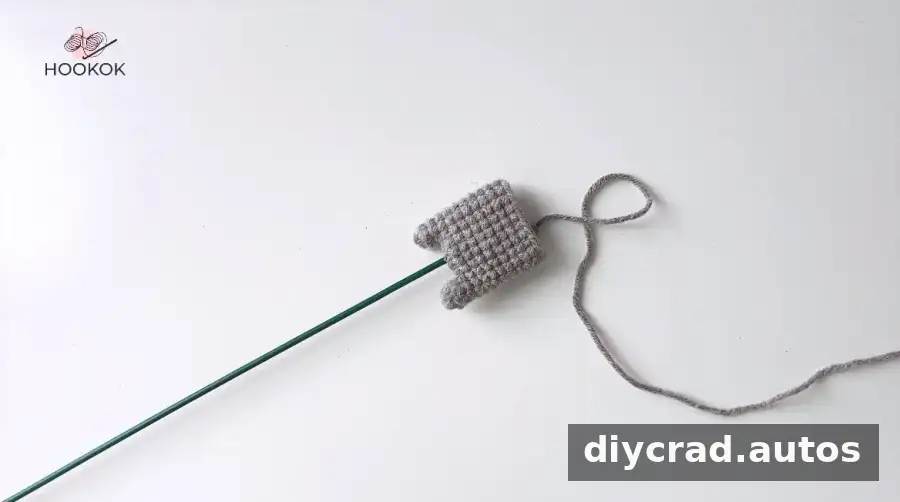
- Start with a magic ring.
- R1–R2: Work 5 sc in each round. [5]
Make 2 legs: Complete the first leg and cut the yarn. Make the second leg, but leave its yarn attached. Chain 5 after finishing the second leg to join it to the first.
- R3: Work 5 sc, then 5 sc into the 5-chain space. Work 5 sc, followed by another 5 sc into the same chain space. Join with 1 ss in the first stitch and make 1 ch. [20]
- R4–R11: Work 20 sc in each round. After R11, cut the yarn and leave a long tail for sewing. [20]
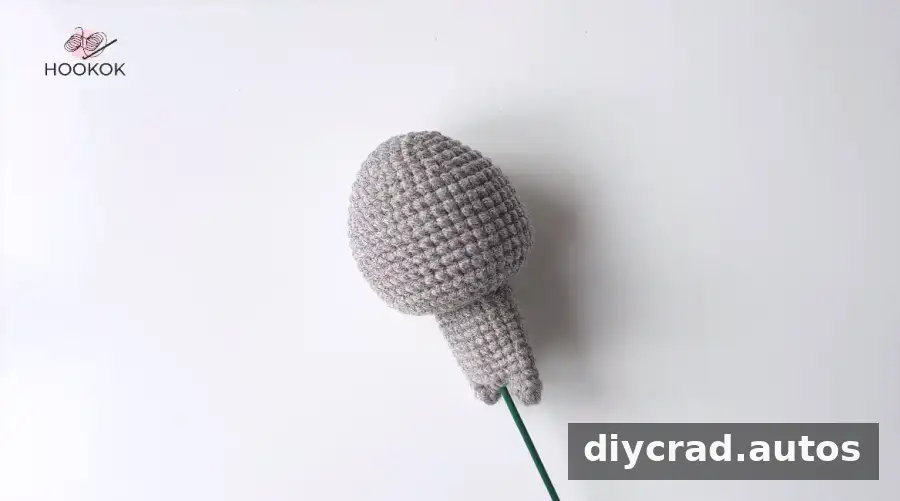
- Bend one end of the flower rod and insert it into the middle of the body.
Ears: Make 2
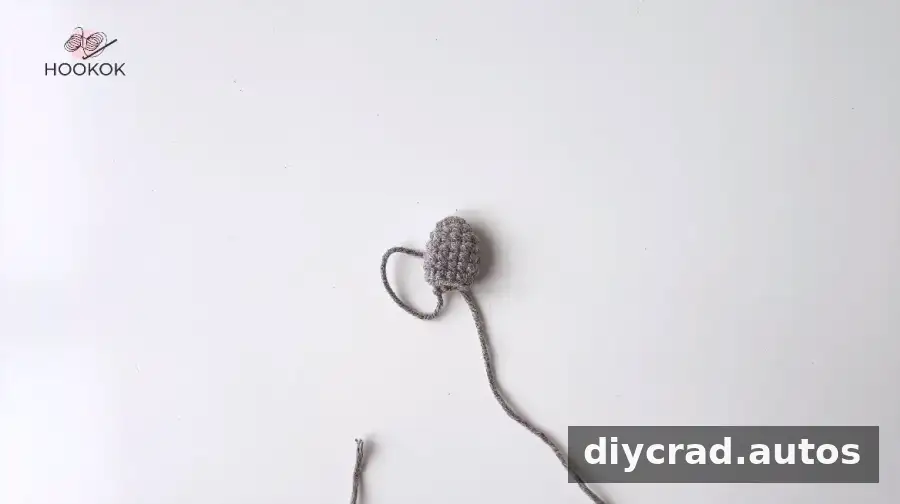
- Start with a magic ring.
- R1: Work 6 sc in the ring. Join with 1 ss in the first stitch and make 1 ch. [6]
- R2: Repeat (1 sc, 2 sc in next st) 3 times. Make 1 ss and 1 ch. [9]
- R3: Repeat (1 sc, 2 sc in next st, 1 sc) 3 times. Make 1 ss and 1 ch. [12]
- R4–R6: Work 12 sc in each round. Make 1 ss and 1 ch after each round. [12]
- R7: Repeat (1 sc, sc2tog, 1 sc) 3 times. Cut the yarn and leave a tail. [9]
Wings: Make 2
- Start with a magic ring.
- R1: Work 7 sc in the ring. Join with 1 ss in the first stitch and make 1 ch. [7]
- R2: Work 2 sc in the next stitch 7 times. Make 1 ss and 1 ch. [14]
- R3: Repeat (1 sc, 2 sc in next st) 7 times. Make 1 ss and 1 ch. [21]
- R4: Repeat (1 sc, 2 sc in next st, 1 sc) 7 times. Make 1 ss and 1 ch. [28]
- R5–R7: Work 28 sc in each round. Make 1 ss and 1 ch after each round. [28]
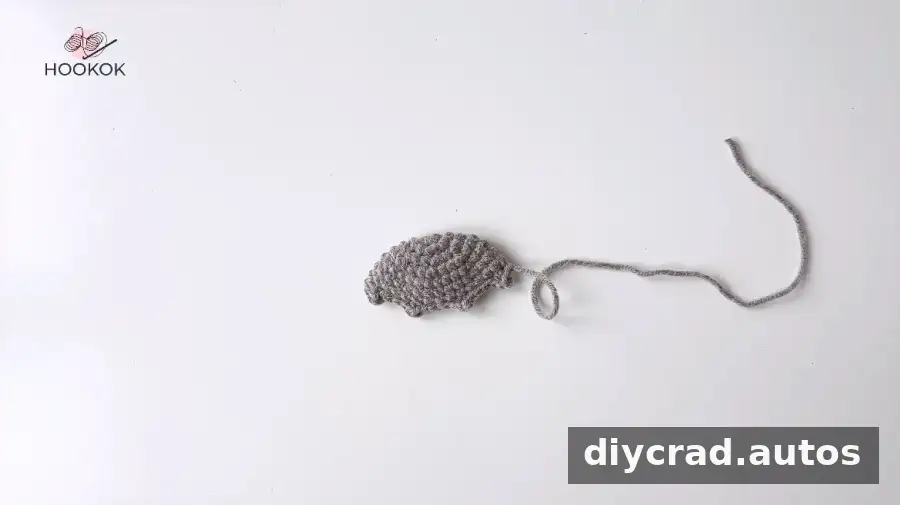
- R8: Fold the piece in half and work along the edge: repeat (1 sc, 1 ch picot st, 3 ss) 3 times; then work (1 sc, 1 ch picot st), followed by 1 ss in the next stitch. [14]
- Cut the yarn and leave a tail.
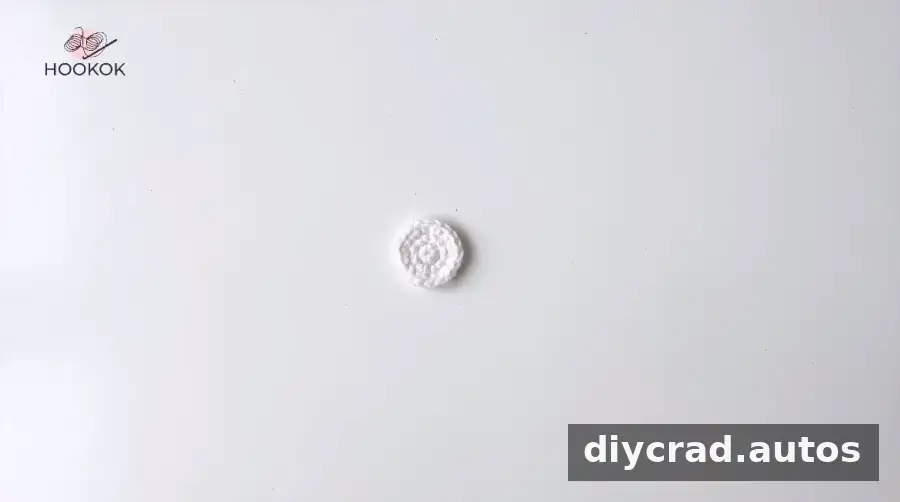
White Eye Pieces
- Start with a magic ring.
- R1: Work 6 sc in the ring. Join with 1 ss in the first stitch and make 1 ch. [6]
- R2: Work 2 sc in the next stitch 6 times. Make 1 ss and 1 ch. [12]
- R3: Repeat (1 sc, 2 sc in next st) 6 times. Cut the yarn and weave in the end. [18]
Assembling the Crochet Halloween Bat
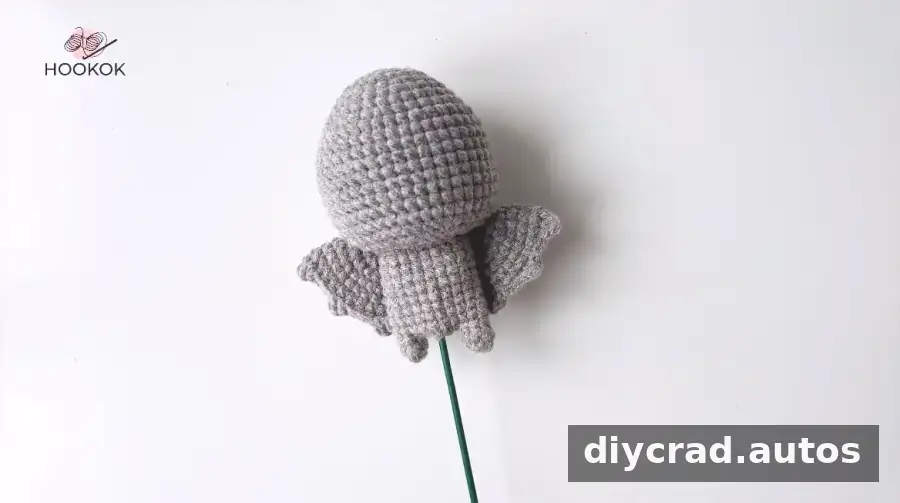
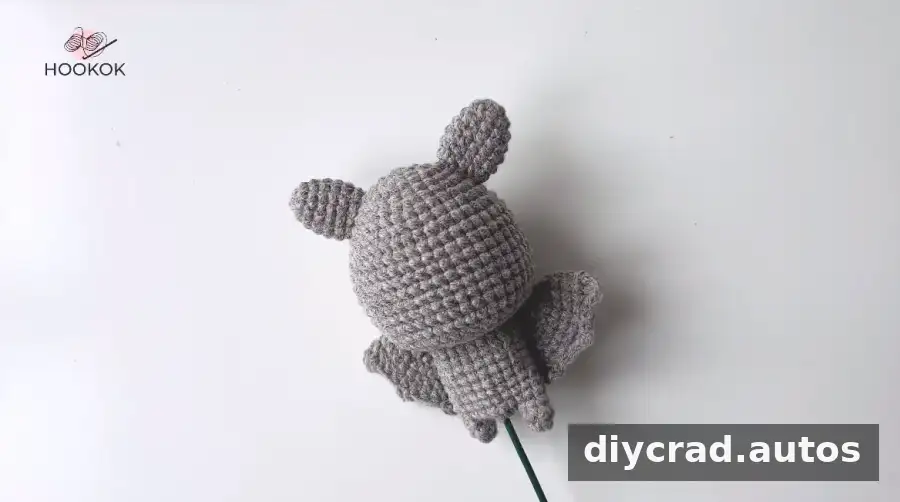
- Attach the body: Sew the body to the head at R21. Add stuffing to the body, close it, and cut the remaining yarn.
- Attach the wings: Use hot melt glue to secure the wings to the body.
- Attach the ears: Sew or secure one ear on each side of the head, between R5 and R8.
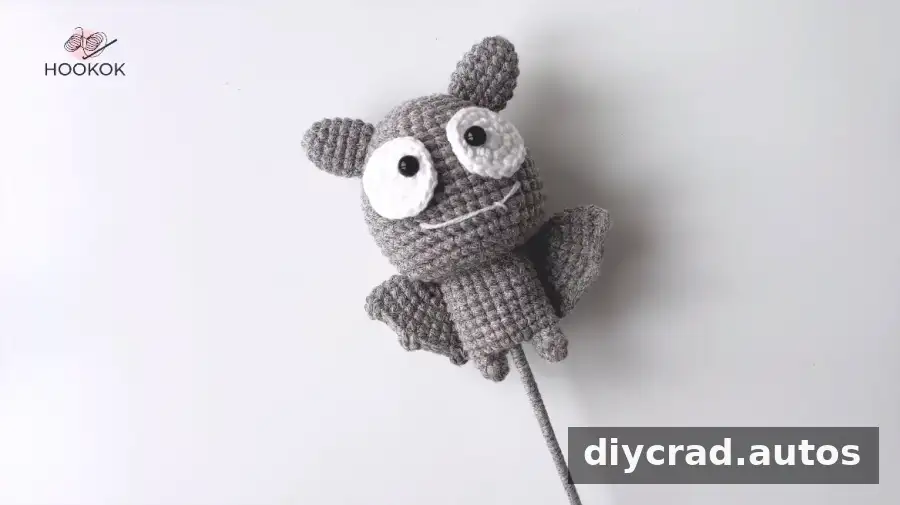
- Add the eyes and mouth: Use hot melt glue to attach both eyes, then embroider the bat’s mouth.
- Finish the flower rod: Weave the rod into place using the remaining yarn.
Position the pieces before gluing or sewing so you can check their placement. Allow any adhesive to cool and set before handling the finished decoration.
A video can help clarify the shaping and assembly steps, particularly if you are new to working in rounds or joining separate crochet pieces.
Finishing Your Crochet Halloween Bat
Weave in loose yarn ends and check that the body, ears, wings, and eye pieces are secure. The finished bat can be used as a Halloween decoration or adapted as a handmade seasonal gift. If you change the yarn, select a hook that works well with it and remember that the project’s size and texture may differ.
This Crochet Halloween Bat Pattern includes the stitch counts and construction steps for each piece. Work through the rounds in order, use a marker to track the beginning of each round, and check the counts as you go for a tidier result.