

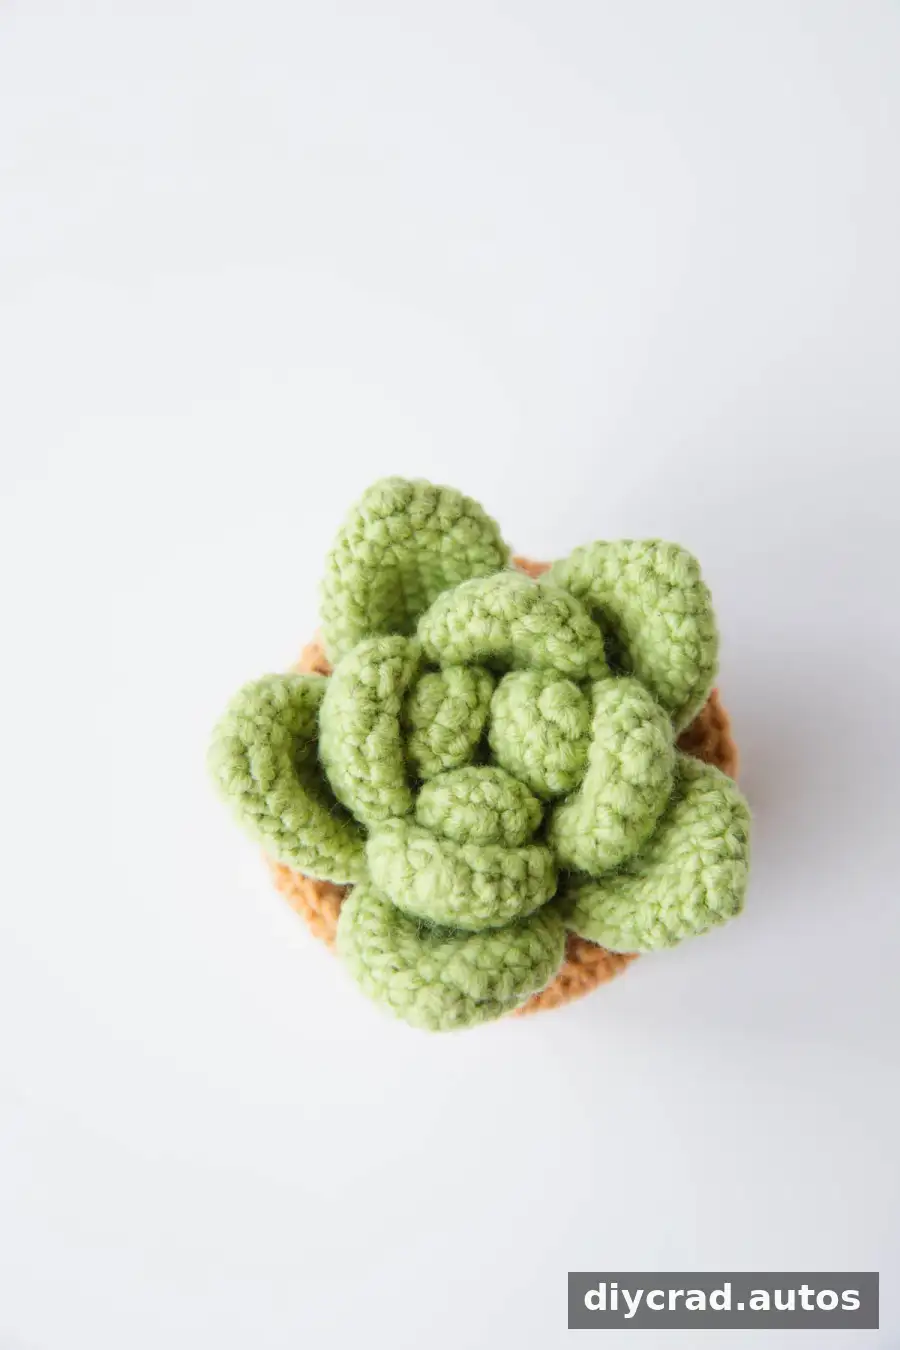
This crochet succulent pattern creates a small, flower-shaped plant inspired by Echeveria rosettes. It makes a lasting decorative accent for a desk, windowsill, bedroom, living room, or workspace, without the watering and sunlight needs of a live plant. The project uses three sizes of crocheted petals arranged in layers, so you can work through the instructions one section at a time.
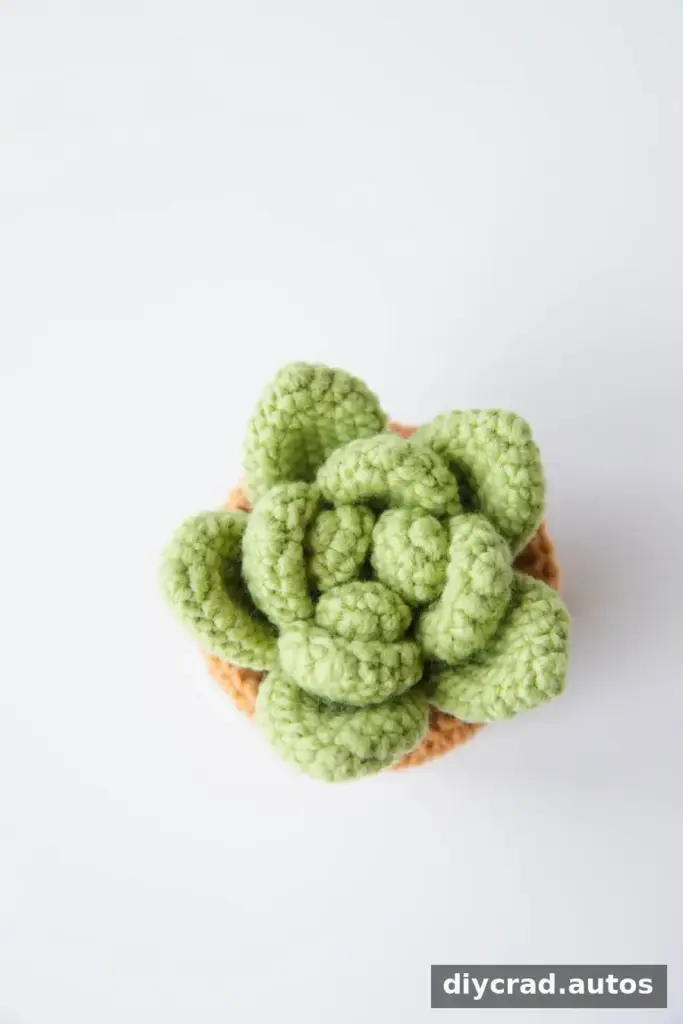
The pattern is written in US crochet terms and uses green 4-ply cotton yarn with a 2.5 mm hook. Changing the yarn type or weight may change the finished size, so use a hook that suits your yarn and keep your tension consistent. The original instructions describe the project as beginner-friendly, but you should be comfortable with basic stitches, increases, decreases, and a magic ring.
Materials for the Crochet Succulent Pattern
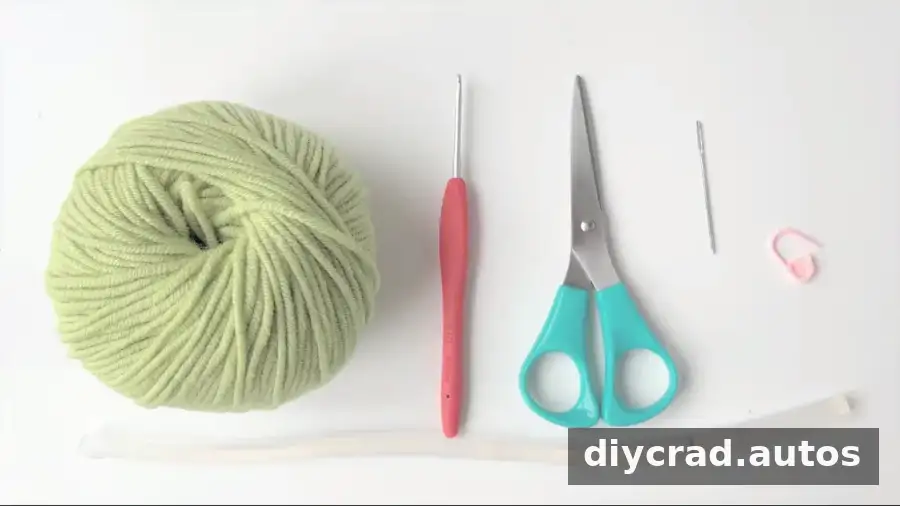
- Green yarn; the sample uses 4-ply cotton yarn
- 2.5 mm crochet hook
- Darning needle
- Fiberfill
- Scissors
- Stitch marker
- Hot-melt adhesive
The instructions list fiberfill among the materials, but do not specify a step for adding it. Keep the other supplies nearby before starting, and use a stitch marker if you find it helpful to track the beginning of each round.
Abbreviations and Pattern Notes
These instructions use US crochet terminology. Read each round carefully and check the stitch total in brackets at the end of the round. A video tutorial is also available as an additional visual guide; turn on subtitles in the video settings if needed.
- sc: single crochet
- ch: chain
- st: stitch
- ss: slip stitch
- inc: increase, or work 2 sc in the next stitch
- dec: decrease, or work sc2tog
- [number]: total stitch count after the round
- R1, R2, R3: Round 1, Round 2, Round 3
If you are new to crochet patterns, review how to make a magic ring and how to increase and decrease before beginning. Counting as you go can help you catch mistakes before moving on to the next round.
How to Crochet the Succulent Petals
Make each petal separately, following the round instructions below. The pattern calls for 3 small petals, 4 medium petals, and 5 large petals. The repeated slip stitch and chain instructions are included as written.
Make 3 Small Petals
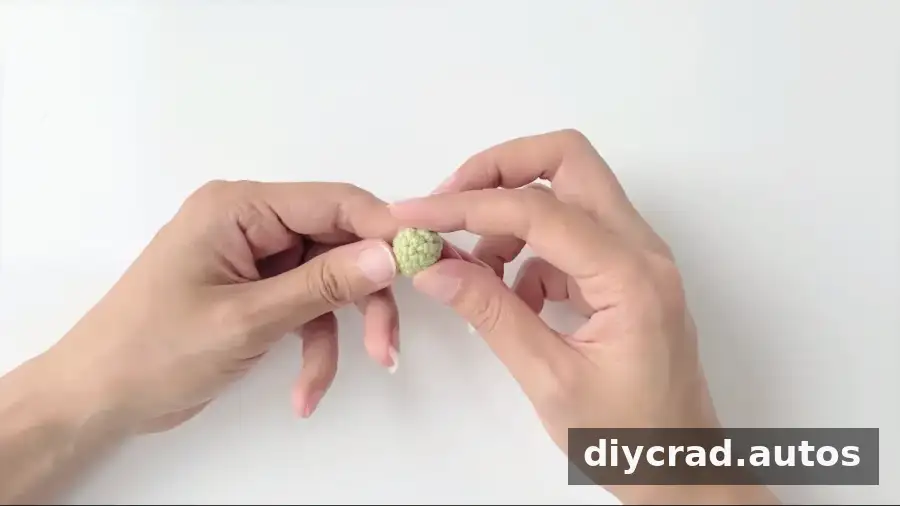
- Begin with a magic ring.
- R1: Work 5 sc into the magic ring, 1 ss, 1 ch. [5]
- R2: Work 5 inc, 1 ss, 1 ch. [10]
- R3–4: Work 10 sc, 1 ss, 1 ch. [10]
- R5: Work 5 dec, 1 ss, 1 ch. [5]
- Hide the yarn tails and close the petal with hot-melt adhesive.
Make 4 Medium Petals
- Begin with a magic ring.
- R1: Work 5 sc into the magic ring, 1 ss, 1 ch. [5]
- R2: Work 5 inc, 1 ss, 1 ch. [10]
- R3: Repeat (1 sc, inc) 5 times, then 1 ss, 1 ch. [15]
- R4–6: Work 15 sc, 1 ss, 1 ch. [15]
- R7: Repeat (1 sc, dec) 5 times, then 1 ss, 1 ch. [10]
- R8: Work 10 sc, 1 ss, 1 ch. [10]
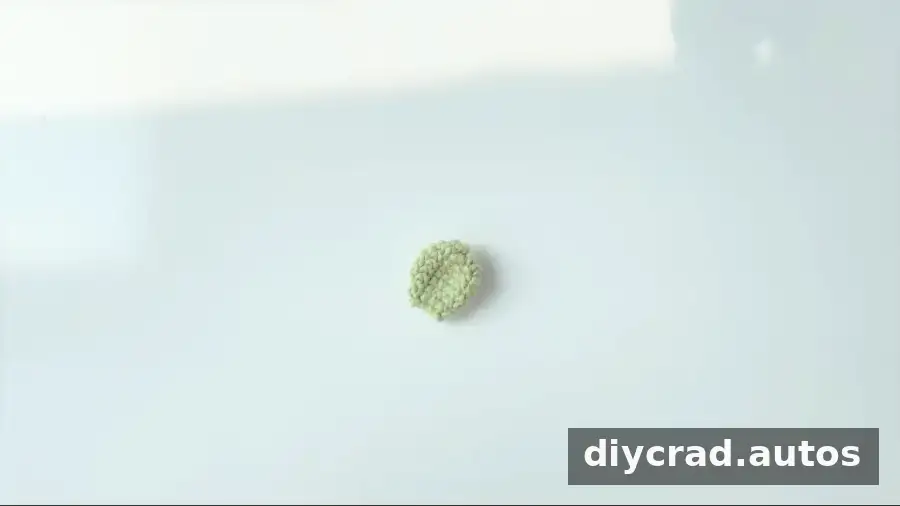
Shape the medium petals by applying hot-melt adhesive inside as directed, then carefully pinching the middle with your thumb to form a defined curve. Hot glue can cause burns, so handle it cautiously and allow it to cool before touching the shaped area. Use the same shaping approach for the large petals.
Make 5 Large Petals
- Begin with a magic ring.
- R1: Work 4 sc into the magic ring, 1 ss, 1 ch. [4]
- R2: Work 4 inc, 1 ss, 1 ch. [8]
- R3: Repeat (1 sc, inc) 4 times, then 1 ss, 1 ch. [12]
- R4: Repeat (2 sc, inc) 4 times, then 1 ss, 1 ch. [16]
- R5–10: Work 16 sc, 1 ss, 1 ch. [16]
- R11: Repeat (2 sc, dec) 4 times, then 1 ss, 1 ch. [12]
- R12: Repeat (1 sc, dec) 4 times, then 1 ss, 1 ch. [8]
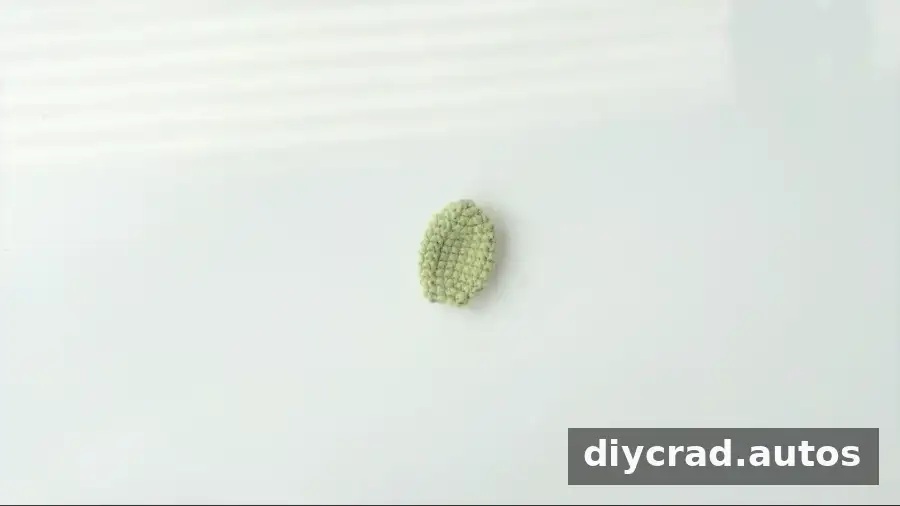
Assemble the Crochet Succulent
Before assembling, check that you have 3 small petals, 4 medium petals, and 5 large petals. Arrange the pieces by size so the layers are easy to build from the center outward.
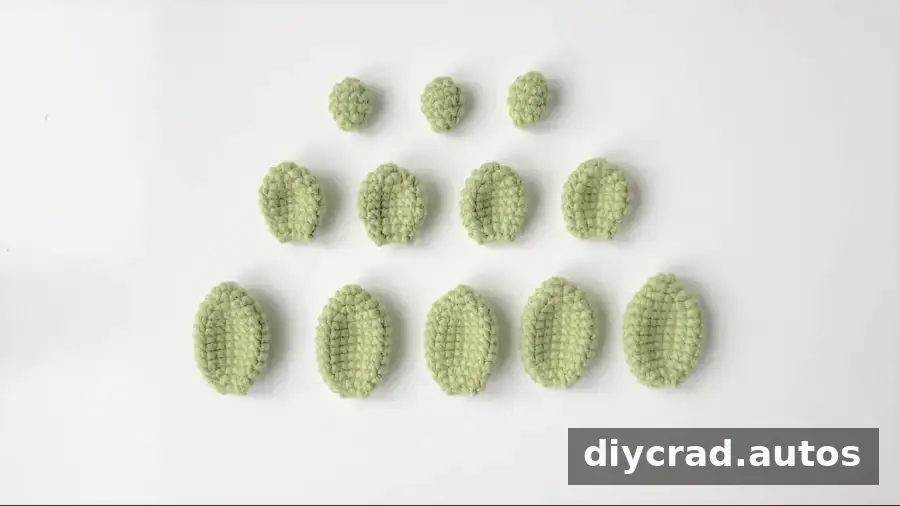
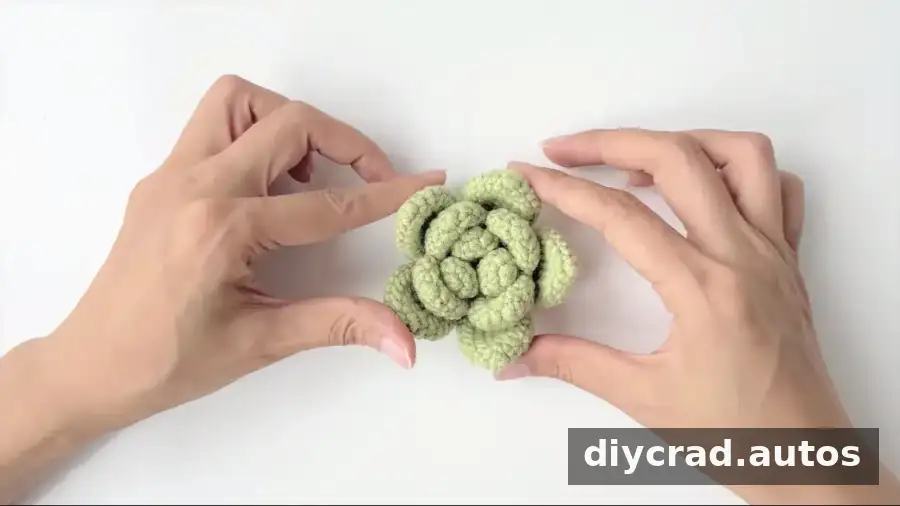
- Apply hot-melt adhesive along the sides of the small petals and join them around one another to form the center.
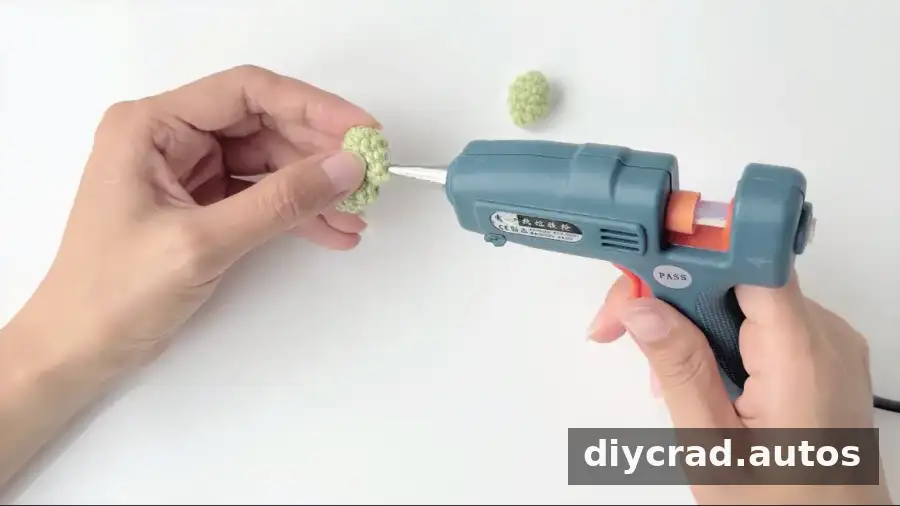
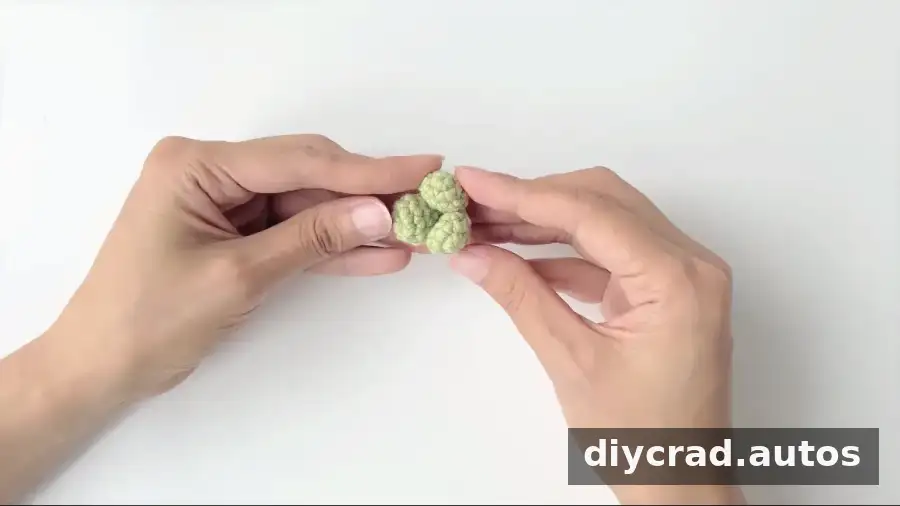
- Repeat the joining process with the medium petals, then with the large petals, making separate layers.
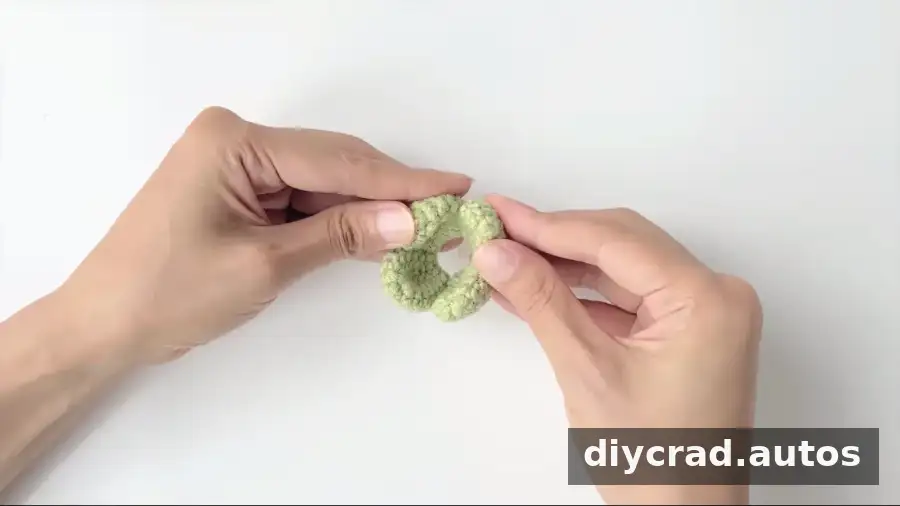
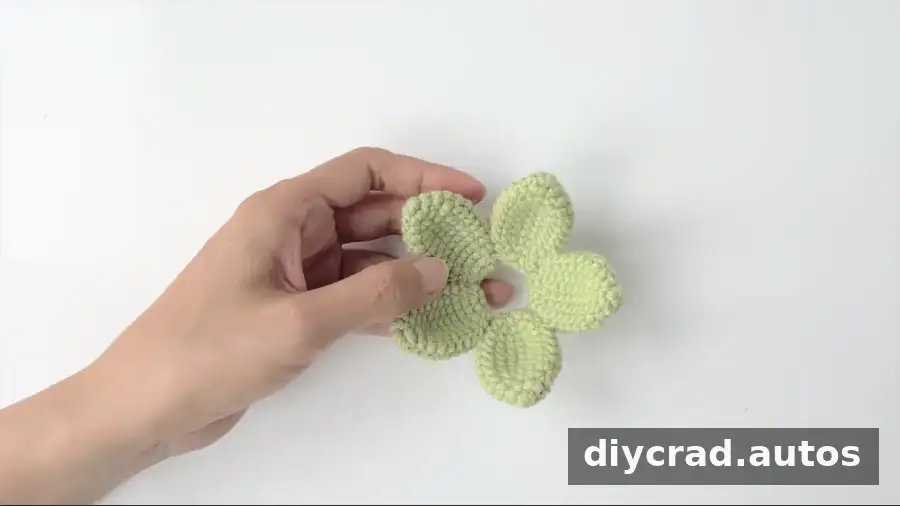
- Attach the small-petal cluster to the medium-petal layer.
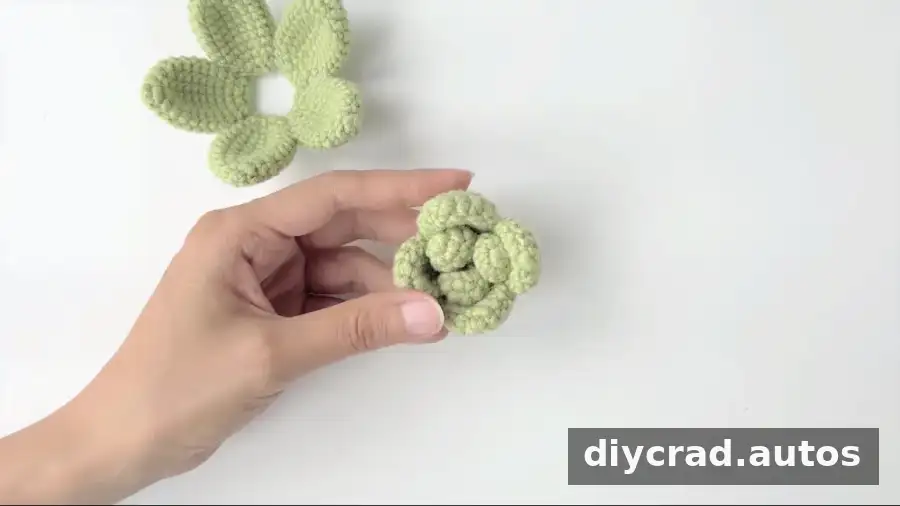
- Attach the joined inner layers to the large petals. Use enough adhesive to hold the pieces securely, and let it cool completely before moving the finished succulent.
Ways to Customize Your Finished Piece
You can adjust the look of the succulent by choosing different shades of green, experimenting with yarn types, or changing the scale with a suitable yarn and hook combination. Keep in mind that a different yarn or hook can change the finished dimensions and the way the petals hold their shape.
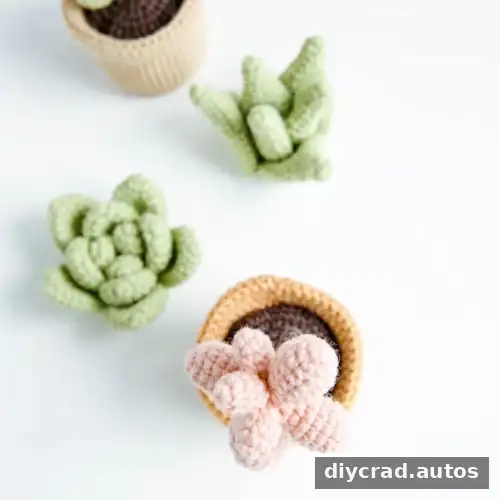
For a fuller design, the original instructions suggest extending the large petals from 12 rows to 16 rows and making 6 large petals instead of 5. A crocheted pot can also complement the finished plant. If you change the petal count or length, arrange the pieces before gluing so you can check how the layers fit together.
Finishing Notes
This crochet succulent pattern builds its rosette from three petal sizes, making the assembly order important: form each size into a layer, then join the center to the medium layer and the medium layer to the large one. Confirm your stitch counts as you work, shape the petals carefully, and handle hot-melt adhesive with caution. The result is a handmade plant-inspired decoration that can bring color to a small indoor space without the care routine of a living succulent.

