

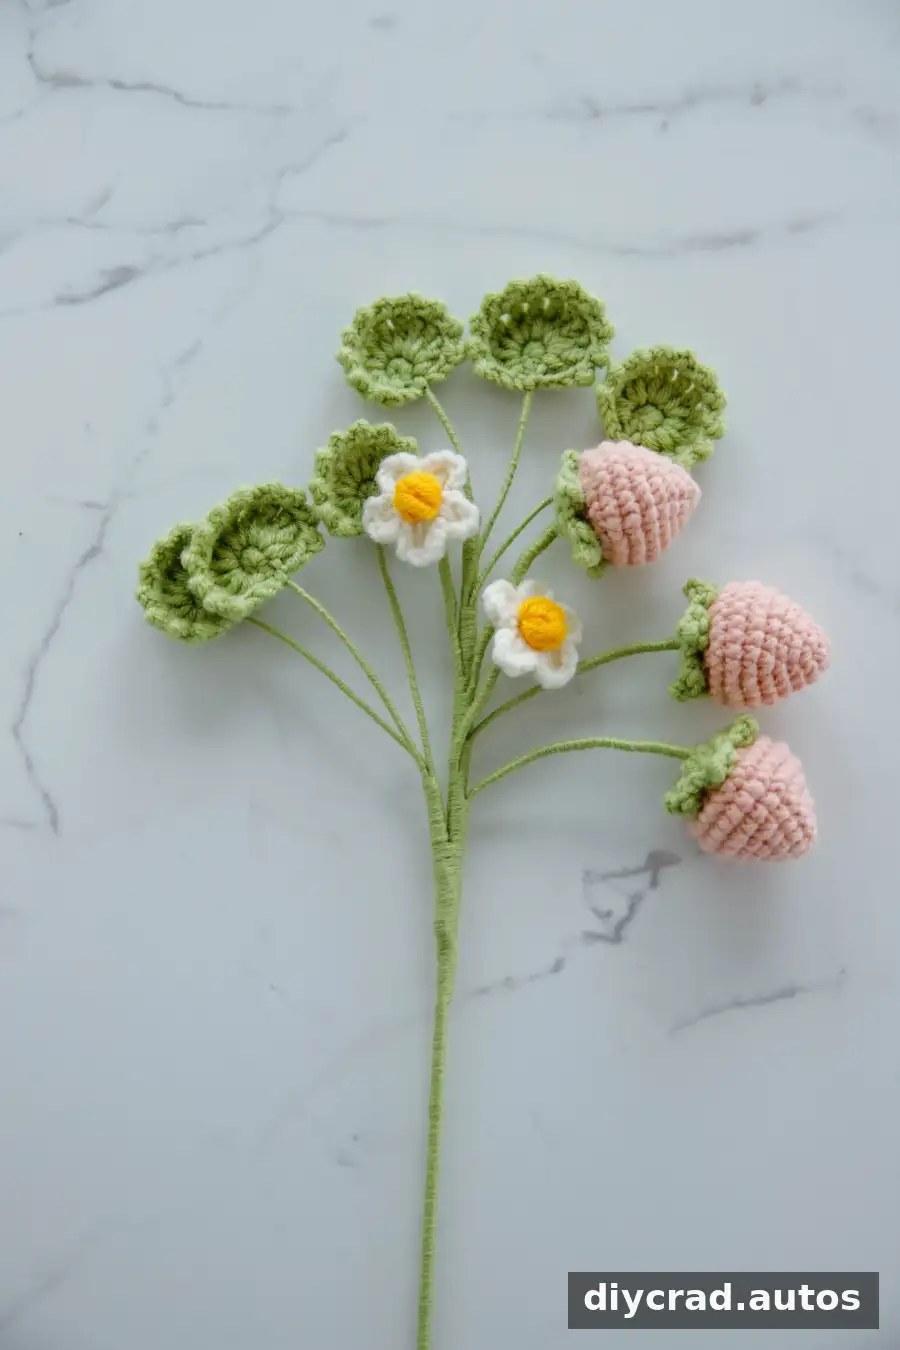
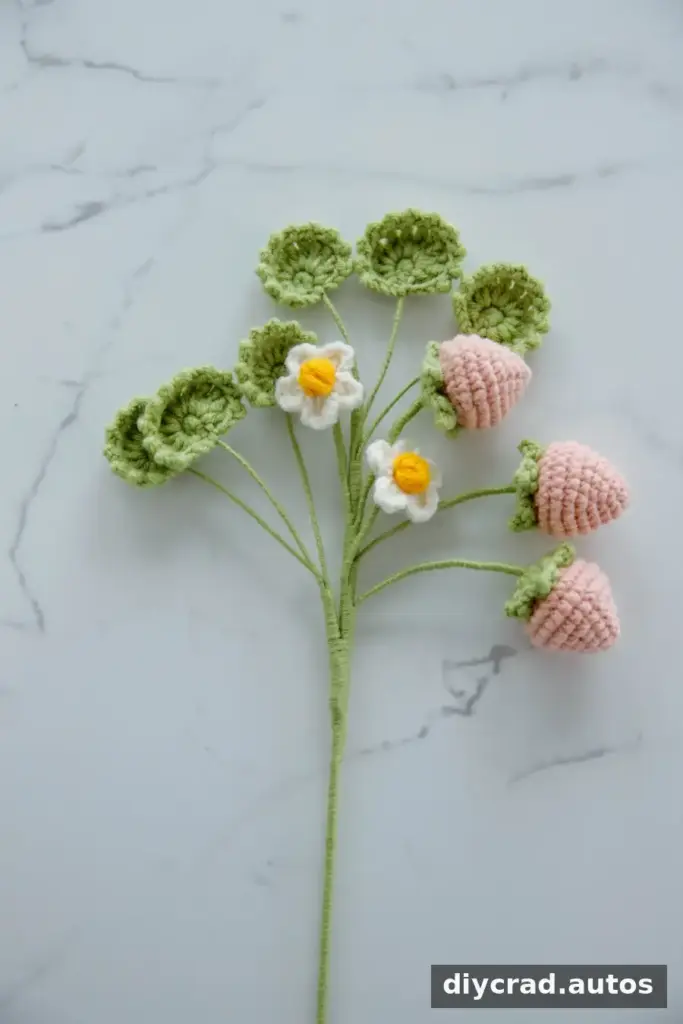
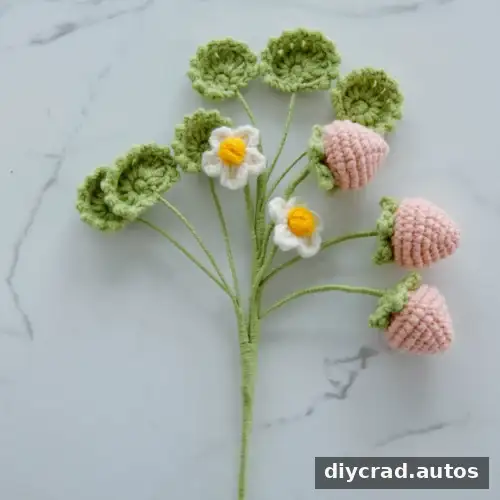
This Crochet Strawberry project combines crocheted fruit, flowers and leaves to create a decorative branch or bouquet. Make three strawberries, then add sepals, flowers and wired leaves for a dimensional finish. The finished pieces can decorate a bag or hat, brighten a display or become part of a handmade gift. The pattern uses US crochet terms and mostly basic stitches, with a few decreases and decorative stitches to shape the details.
Why Make a Crochet Strawberry?
The design uses separate petals, sepals, stamens and leaves to give the arrangement its layered appearance. Use red for the fruit, green for the sepals and natural shades for the leaves, or choose different colors to suit your project. The listed yarn colors are pink, white, yellow and green.
Before starting, check that your hook, yarn and wire are ready. A stitch marker is especially helpful for keeping track of the start of each round, and leaving yarn tails makes it easier to attach the pieces neatly.
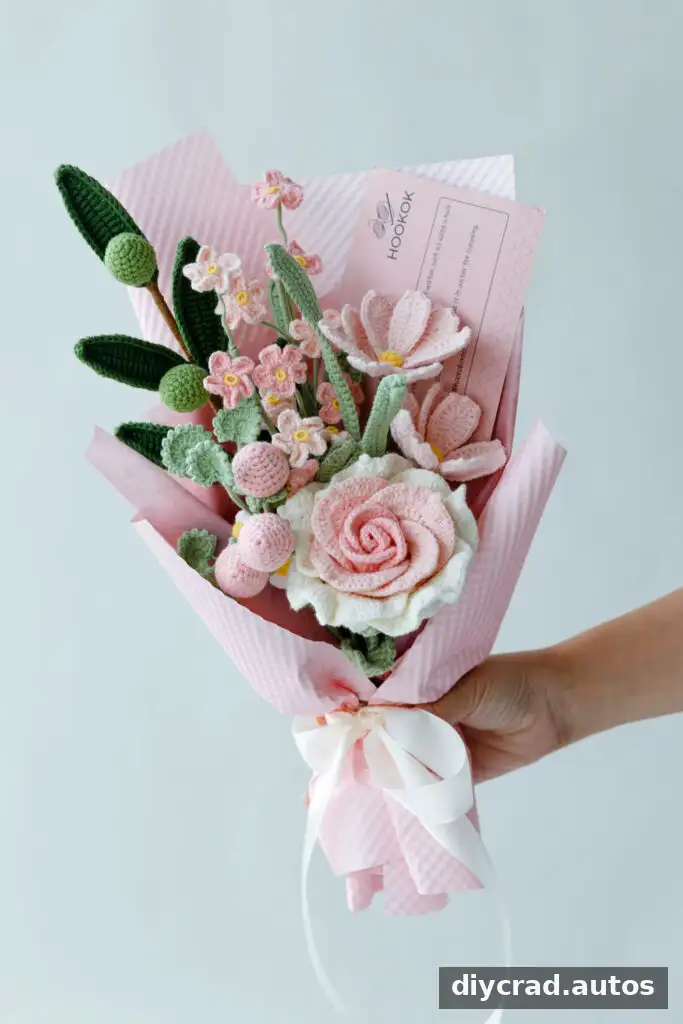
Crochet Thai Rose Bouquet
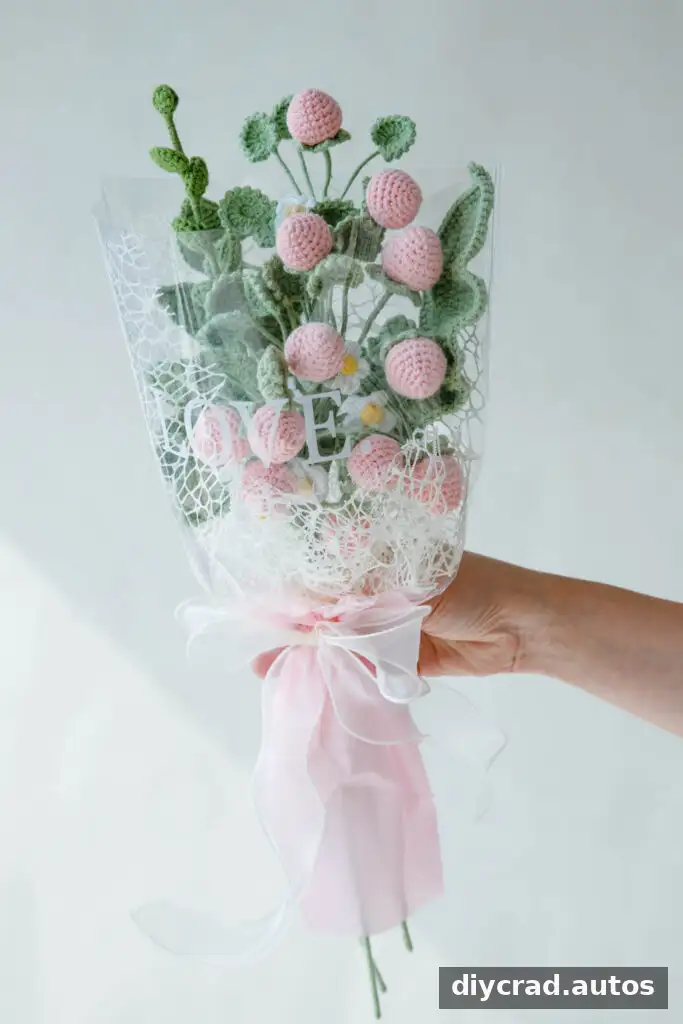
Crochet Strawberry Bouquet
Ways to Use the Finished Pieces
- Decorations and gifts: Display the finished branch in a small arrangement or give it as a handmade gift.
- Accessories: Attach an individual crocheted strawberry to a hat, bag or blanket. It can also be used as an applique on clothing or other accessories.
- Flower arrangements: Combine the strawberries with crocheted daisies or roses for a playful handmade bouquet. They can also be used as colorful accents among real or artificial flowers and fruit.
For wearable items, secure every component firmly and keep wire ends covered. If you are using hot melt adhesive, handle it carefully and allow the glued parts to cool before arranging them.
Materials and Tools
- Yarn in four colors: pink, white, yellow and green
- 2.5 mm crochet hook
- Flower rod: 16 inches long x 0.08 inches in diameter (40 cm x 2 mm)
- Iron wire: 0.02 inches in diameter (0.4 mm)
- Stitch marker
- Darning needle
- Scissors
- Hot melt adhesive
- Fiberfill
Skill Level and Crochet Abbreviations
The pattern is beginner-friendly overall and uses stitches such as single crochet and double crochet. The decreases in Round 9 require a little extra care. Work them slowly and check that the stitches are drawn together evenly. The video can help with following the construction.
- sc: Single crochet
- sc2tog: Single crochet two stitches together; an invisible decrease
- sc3tog: Single crochet three stitches together; an invisible decrease
- dc: Double crochet
- picot st: Picot stitch, a small decorative loop
- ss: Slip stitch
- hdc: Half double crochet
- tr: Triple crochet
- dtr: Double treble crochet
- ch: Chain
Picot stitch: A small chain loop secured with a slip stitch creates the pointed decorative detail used on the sepals and leaves.
Decrease stitches: For sc2tog, insert the hook into the first stitch, yarn over and pull up a loop. Insert the hook into the next stitch, yarn over and pull up another loop, then yarn over and pull through all three loops. Sc3tog brings three single crochet stitches together into one stitch to shape the top of the fruit.
Half double crochet and double treble crochet: Hdc adds more height than single crochet but less than double crochet. For dtr, yarn over twice, insert the hook into the designated stitch and pull up a loop. Yarn over and pull through two loops at a time until one loop remains.
Crochet Strawberry Pattern
This pattern is written in US crochet terms. Make three strawberry fruits and three sepals. Keep a stitch marker at the beginning of each round, and leave yarn tails where the instructions call for them so you can attach the pieces during assembly.
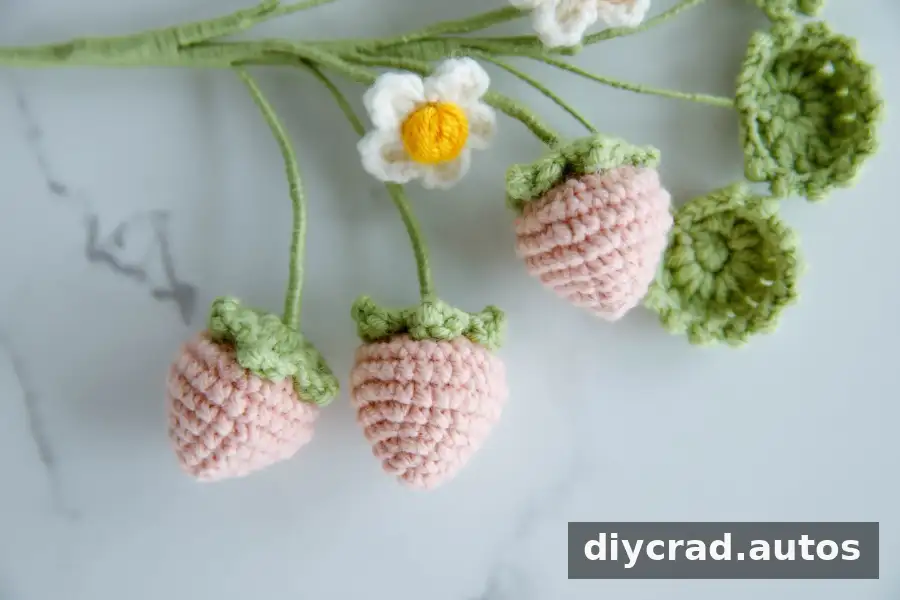
Strawberry Fruit (Make 3)
- R1: Make a magic ring and crochet 6 sc into its center. Work 1 ss and 1 ch. Place a stitch marker to mark the beginning and end of the round.
- R2: (1 sc, 2 sc in next st) 3 times. Work 1 ss and 1 ch.
- R3: (1 sc, 2 sc in next st, 1 sc) 3 times. Work 1 ss and 1 ch.
- R4: (3 sc, 2 sc in next st) 3 times. Work 1 ss and 1 ch.
- R5: (1 sc, 2 sc in next st, 1 sc) 5 times. Work 1 ss and 1 ch.
- R6: (3 sc, 2 sc in next st) 5 times. Work 1 ss and 1 ch.
- R7–R8: Work sc in each of the 25 stitches. Work 1 ss and 1 ch.
- R9: (sc2tog) 11 times, then work sc3tog. Work 1 ss and 1 ch.
- R10: Fill the strawberry with fiberfill. Repeat (sc2tog) 6 times. Cut the yarn and leave a tail.
Cut a few centimeters of wire, fold it twice, and secure it in the center of the strawberry with yarn so it is less likely to slip out.
Strawberry Sepals (Make 3)
- R1: Crochet 10 sc in the round. Work 1 ss.
- R2: Ch 1. In the next stitch, crochet (dc, 1 ch picot st, dc, 1 ch), then ss in the next stitch. Repeat the sequence 5 times in total. Cut the yarn and leave a tail.
Attach the Fruit and Sepals
- When R10 is complete, cut a short piece of wire and fold it twice.
- Tie the wire with yarn at the center of each strawberry to help keep it in place.
- Make three sepals, leaving a yarn tail on each one.
- Attach a sepal to the top of each strawberry with hot melt adhesive.
- Wrap yarn around the wire to secure it within the sepals and fruit.
- Use adhesive to hold the assembled parts in place.
Strawberry Flower Stamens (Make 2)
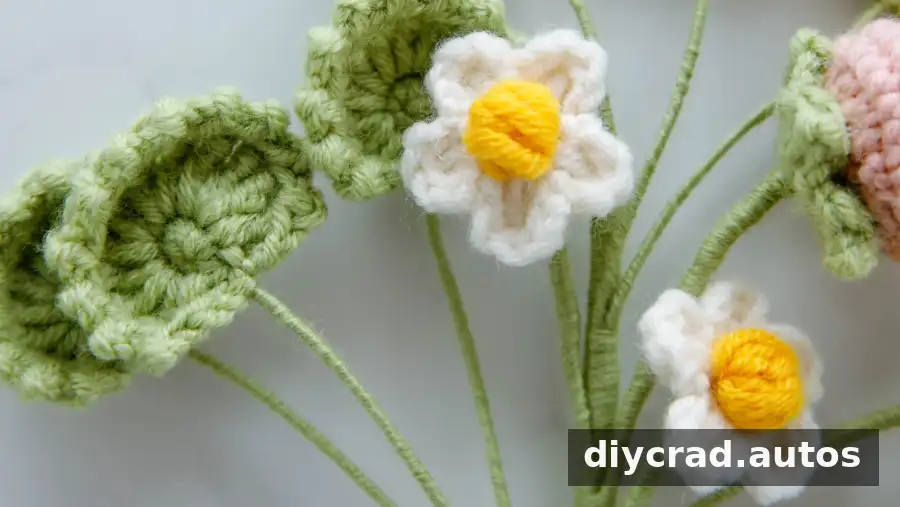
Work in the round. Ch 2, leave the four hdc stitches unfinished, then pull through all the loops. Ch 2, work 1 ss and 1 ch, then cut the yarn and close the loop tightly.
Strawberry Flower Petals (Make 2)
- R1: Crochet 5 sc in the round. Work 1 ss.
- R2: (2 ch, dc, 2 ch, 1 ss) 5 times. Cut the yarn, leave a tail and weave it in with a darning needle.
Assemble the Stamens and Petals
- Make a loop with a piece of wire and position it at the center of the flower.
- Place the stamen over the loop and secure it with hot melt adhesive.
- Pull the wire carefully from inside the flower to hold the stamen at the center.
- Cover the wire with yarn and secure it with adhesive.
Big Leaves (Make 3)
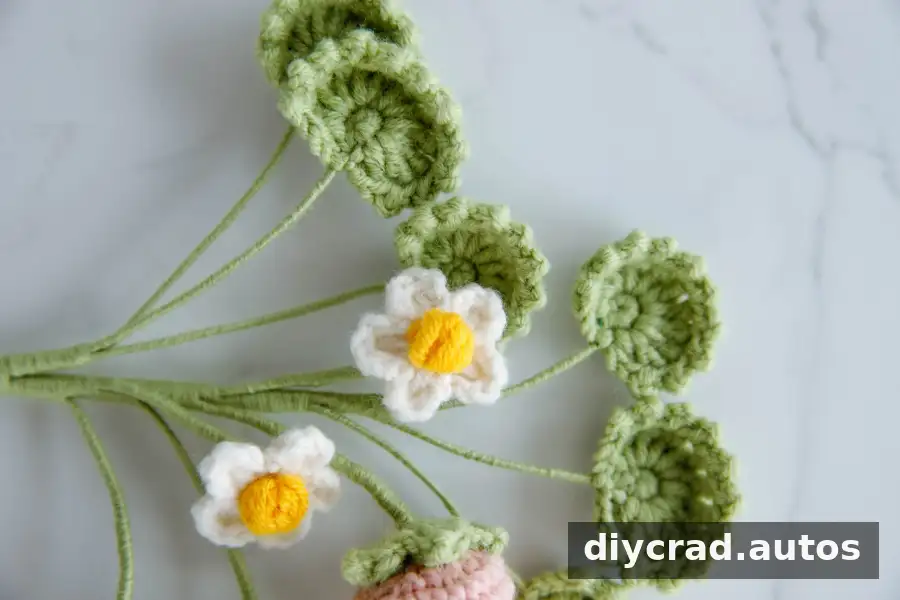
- R1: Crochet 6 sc in the round, then work 1 ss.
- R2: Ch 2 and add wire.
- In the first stitch, crochet (dc, 1 ch picot st).
- In the second stitch, crochet (tr, 1 ch picot st) 3 times.
- In the third stitch, crochet (dtr, 1 ch picot st) 2 times.
- In the fourth stitch, crochet (dtr, 1 ch picot st) 2 times.
- In the fifth stitch, crochet (tr, 1 ch picot st) 3 times.
- In the sixth stitch, crochet (dc, 2 ch), then ss. Cut the yarn and leave a tail.
Attach the flower rod carefully as you crochet the big leaf. It helps make the leaf firm.
Small Leaves (Make 3)
- R1: Crochet 6 sc in the round.
- R2: Ch 2 and add wire.
- In the first stitch, crochet (dc, 1 ch picot st).
- In the second stitch, crochet (tr, 1 ch picot st) 3 times.
- In the third stitch, crochet (tr, 1 ch picot st) 2 times.
- In the fourth stitch, crochet (tr, 1 ch picot st) 2 times.
- In the fifth stitch, crochet (tr, 1 ch picot st) 3 times.
- In the sixth stitch, crochet (dc, 2 ch), then ss. Cut the yarn and leave a tail.
Attach the flower rod carefully while crocheting the small leaf to give it support.
Assemble the Leaves
Make three big leaves, attaching the flower rod as you crochet. Leave a yarn tail, cover the rod with yarn and secure it with hot melt adhesive. Attach the three big leaves to the strawberry arrangement. Make the three small leaves in the same way, covering and securing their rods before attaching them.
Finish the Strawberry Branch
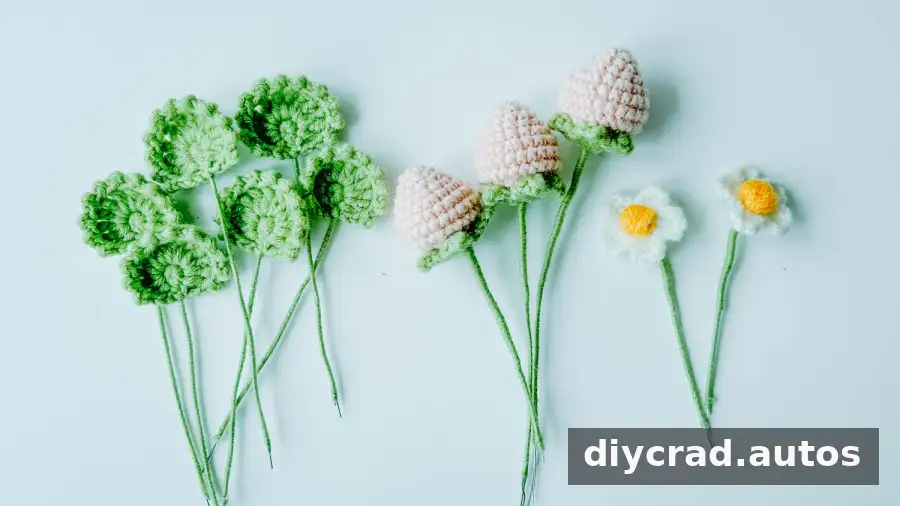
- Wrap the three small leaves together with yarn and secure them with hot melt adhesive.
- Wrap a big leaf around the top of the stem. Continue wrapping for about 5 cm, then add the other two big leaves.
- Keep wrapping, adding the strawberry flowers and fruit in turn. Position all three strawberries facing the same direction.
- Add the three small leaves, wrap to the end, cut the yarn and secure it with adhesive. Adjust the branches to refine the shape.
Video and Helpful Notes
Use the video alongside the written instructions if you would like a visual guide to the stitches and assembly. Video subtitles may need to be turned on in the player settings.
- The pattern uses US crochet terms.
- Use a stitch marker to identify the start of each round.
- Stuff the fruit with fiberfill as directed, before closing the final round.
- Leave yarn tails for sewing or attaching the components.
- Take care when handling wire and hot melt adhesive; cover exposed wire ends during assembly.
Conclusion: Make Your Crochet Strawberry Bouquet
This Crochet Strawberry pattern brings together shaped fruit, picot-edged sepals, small flowers and wired leaves to create a colorful handmade branch. Work through the fruit rounds carefully, use a marker to keep your place and take extra time with the decreases. Once assembled, the pieces can be used as a bouquet, a decorative accent or an embellishment for other crochet projects.

