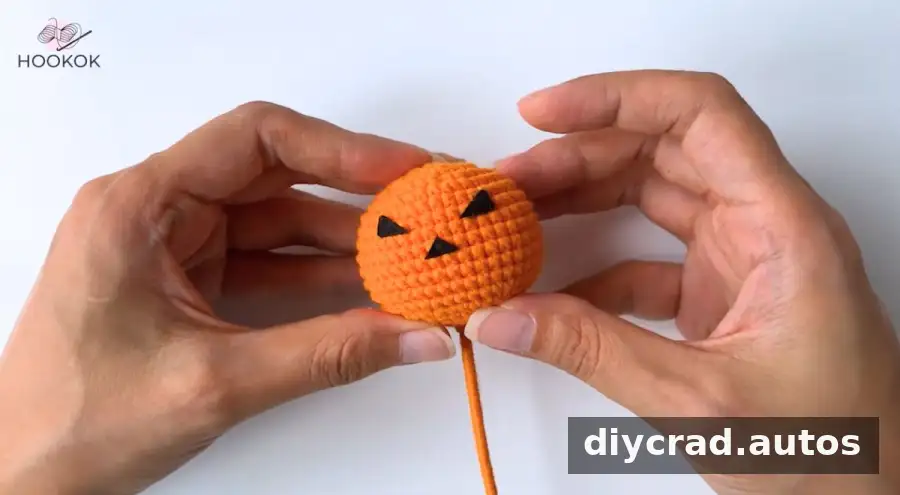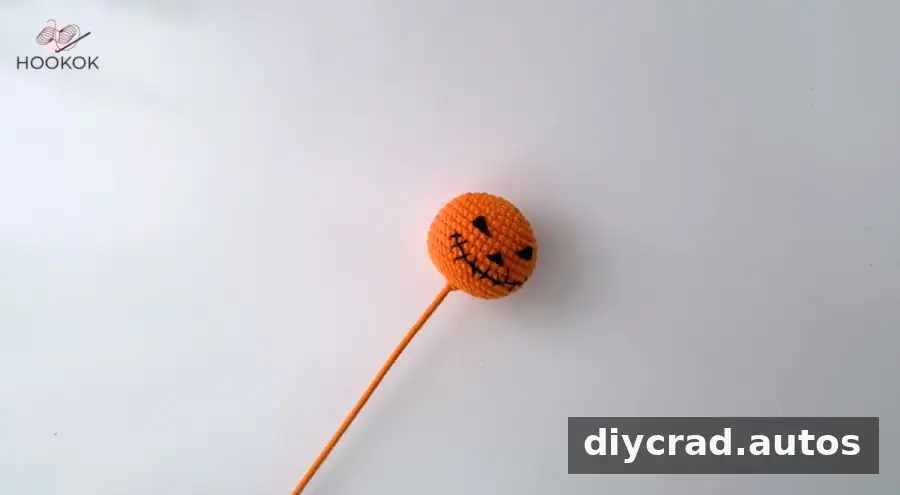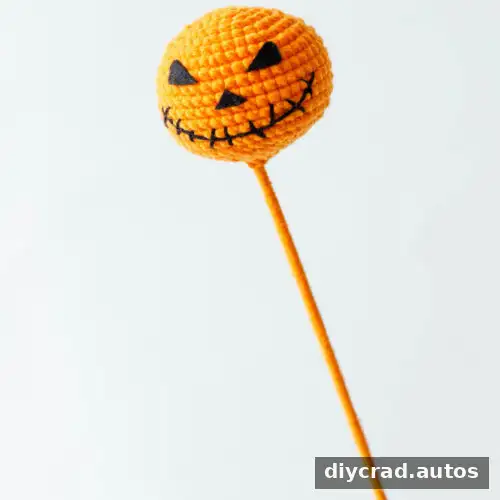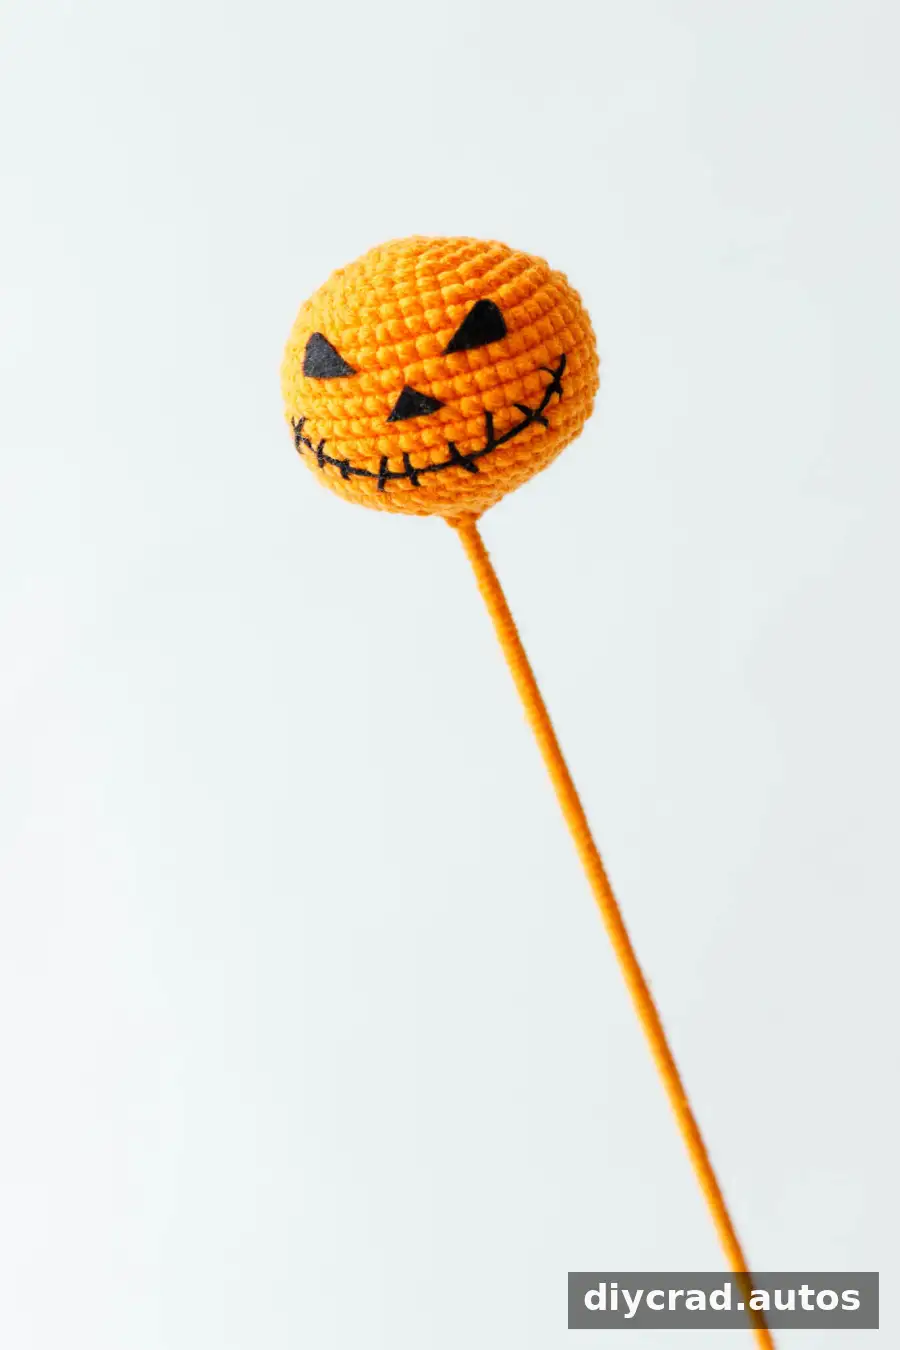
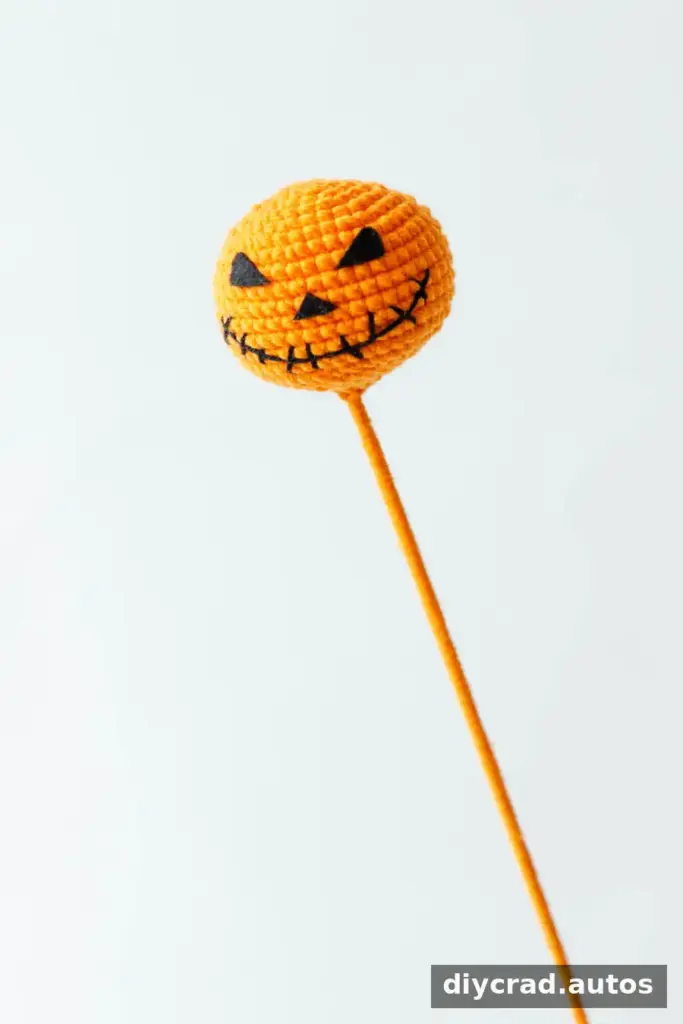
This Crochet Halloween Devil Pumpkin is a handmade decoration with a bright pumpkin shape and a playful devil-inspired face. The free pattern uses US crochet terms and a 2.0 mm hook, with round-by-round stitch counts to guide you through shaping the pumpkin. Before starting, gather the yarn, stuffing, and finishing materials so you can assemble the decoration smoothly.
About the Crochet Halloween Devil Pumpkin
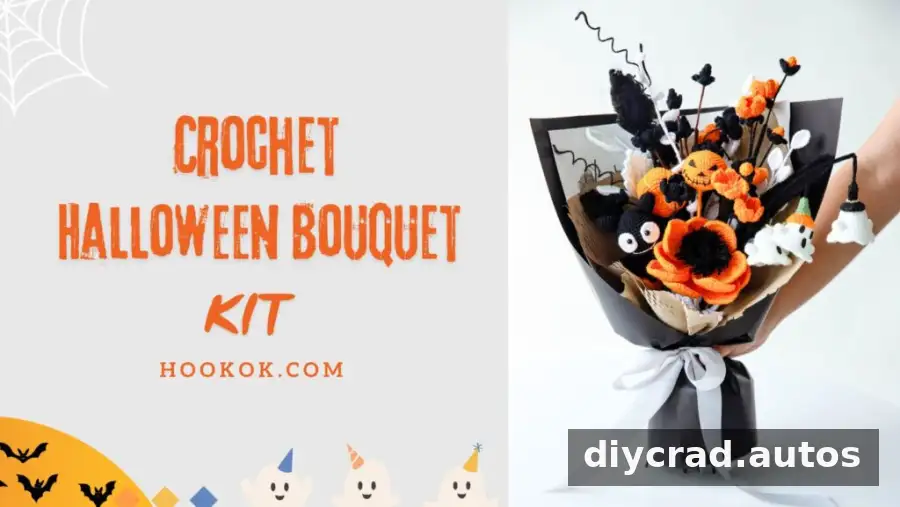
The pumpkin is crocheted in orange yarn, then finished with black details and a fabric face. You can follow the listed colors or choose alternatives to suit your Halloween display. For a more noticeable finish, use a yarn with a texture that still allows you to see each stitch clearly. This project can be displayed with other handmade Halloween decorations, such as crocheted bats, pumpkins, or ghosts.
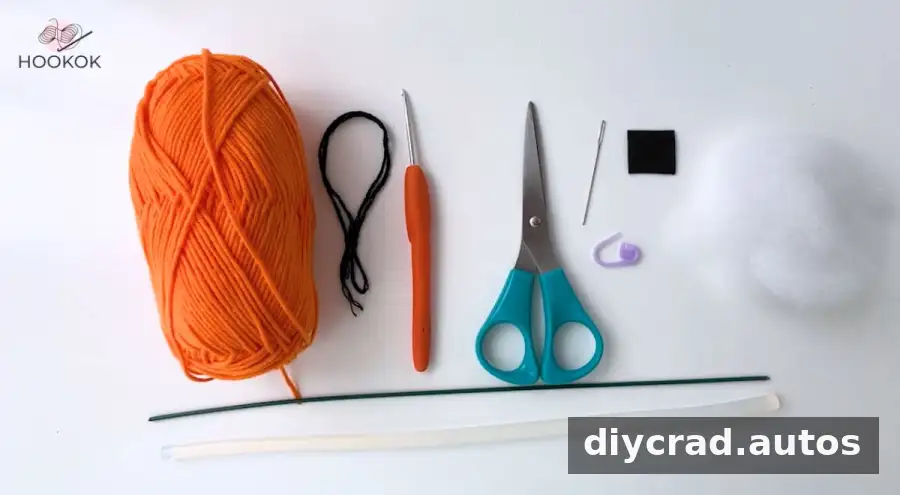
Materials and tools
Prepare the following supplies before beginning. A stitch marker is useful for keeping track of the start of each round, especially while working the longer section of even stitches.
- Orange yarn and black yarn
- 2.0 mm crochet hook
- Scissors
- Stitch marker
- Darning needle
- Non-woven fabric
- Stuffing cotton
- Flower rod
- Hot melt glue
Stitches and pattern notes
- sc: Single crochet.
- 2 sc in next st: Increase by working two single crochets into the next stitch.
- sc2tog: Single crochet two together; this decrease combines two stitches into one.
- ss: Slip stitch.
- ch: Chain.
- R1, R2, R3, and so on: Round 1, Round 2, Round 3, and so on.
The pattern uses US crochet terminology. The slip stitch and chain at the end of the rounds do not count toward the stated stitch total. Place a marker at the beginning of each round and check the stitch count before moving on. This simple habit makes it easier to spot an increase or decrease worked in the wrong place.
Step-by-step Crochet Halloween Devil Pumpkin pattern
Begin with a magic ring and work the following rounds. The numbers in brackets show the stitch count for each round.
- R1: Work 6 sc in the ring, 1 ss, 1 ch. [6]
- R2: Work 2 sc in the next st 6 times, 1 ss, 1 ch. [12]
- R3: Repeat (1 sc, 2 sc in next st) 6 times, 1 ss, 1 ch. [18]
- R4: Repeat (2 sc, 2 sc in next st) 6 times, 1 ss, 1 ch. [24]
- R5: Repeat (3 sc, 2 sc in next st) 6 times, 1 ss, 1 ch. [30]
- R6: Repeat (4 sc, 2 sc in next st) 6 times, 1 ss, 1 ch. [36]
- R7: Repeat (5 sc, 2 sc in next st) 6 times, 1 ss, 1 ch. [42]
- R8–R14: Work 42 sc in each round, 1 ss, 1 ch. [42]
Continue shaping the pumpkin with the decrease rounds below. Keep the tension even so the fabric remains consistent as the opening narrows.
- R15: Repeat (5 sc, sc2tog) 6 times, 1 ss, 1 ch. [36]
- R16: Repeat (2 sc, sc2tog, 2 sc) 6 times, 1 ss, 1 ch. [30]
- R17: Repeat (3 sc, sc2tog) 6 times, 1 ss, 1 ch. [24]
- R18: Repeat (1 sc, sc2tog, 1 sc) 6 times, 1 ss, 1 ch. [18]
- R19: Repeat (1 sc, sc2tog) 6 times, 1 ss, 1 ch. [12]
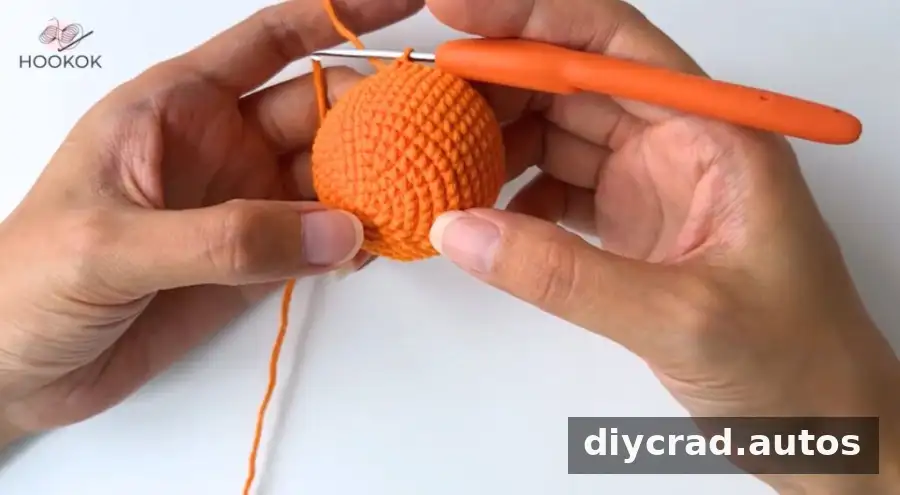
- R20: Repeat sc2tog 6 times. [6] Cut the yarn, leaving a long tail. Weave the end and wrap the tail around the wire as directed in the original finishing instructions.
As you work the closing rounds, add stuffing to give the pumpkin its shape. Avoid packing it so tightly that the stitches stretch open. Insert the flower rod during crocheting as described, taking care to keep it centered.
Assembling and finishing the pumpkin
- Shape and stuff: Add fiberfill while completing the pumpkin, adjusting it evenly so the finished form looks rounded.
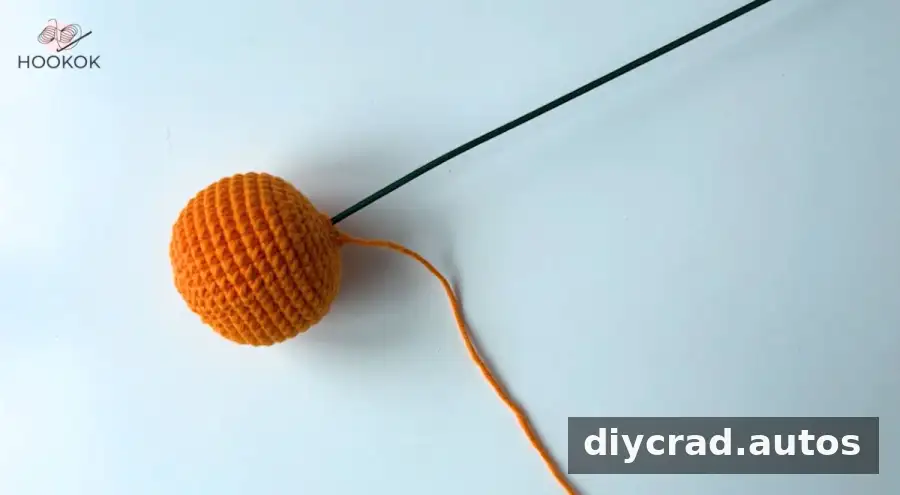
- Finish the stem: Weave in loose yarn ends. Wrap orange yarn around the flower rod and secure the end with hot melt glue. Allow the adhesive to cool fully before handling the piece.
- Make the face: Cut eye and nose shapes from non-woven fabric, then attach them with hot melt glue. Position the pieces before applying adhesive so the face is balanced.
- Add the mouth: Use black yarn to embroider a grin. Secure the yarn ends neatly on the inside of the crochet fabric.
Use care when working with hot glue, as the adhesive and glue gun can cause burns. Keep them away from children while hot, and follow the manufacturer’s safety directions.
Color ideas and display tips
Orange and black create a classic Halloween look, but the pattern can be adapted with other yarn colors to coordinate with your decorations. If you substitute yarn, choose a similar thickness and check that the fabric remains firm enough to hold the stuffing. A small gauge test can help you judge the finished texture before making the full pumpkin.
This decoration can sit on a shelf, table, or seasonal display. Keep it away from open flames and heat sources, particularly because it includes yarn, stuffing, and a glued fabric face. Store it in a dry place after the season to help protect the yarn and shape.
Conclusion
This Crochet Halloween Devil Pumpkin pattern brings together simple increases, even rounds, and decreases to create a festive handmade decoration. Use the stitch markers and round counts to keep the shaping on track, then finish the pumpkin with stuffing, a flower rod, and a stitched or fabric devil face. With its orange-and-black details, it can add a playful touch to a Halloween display.