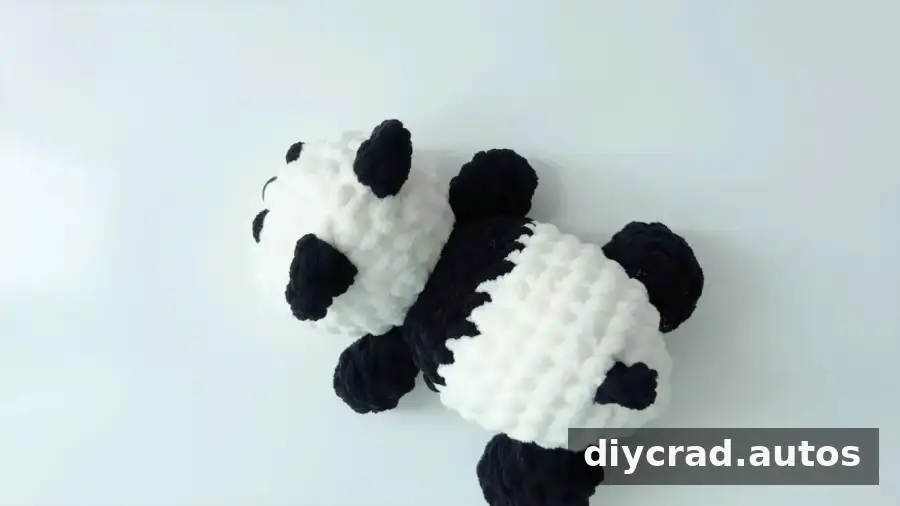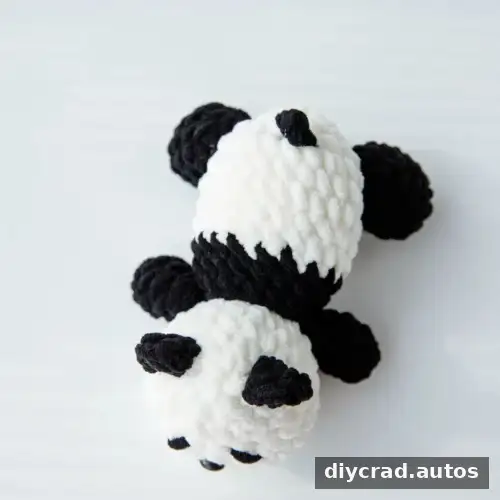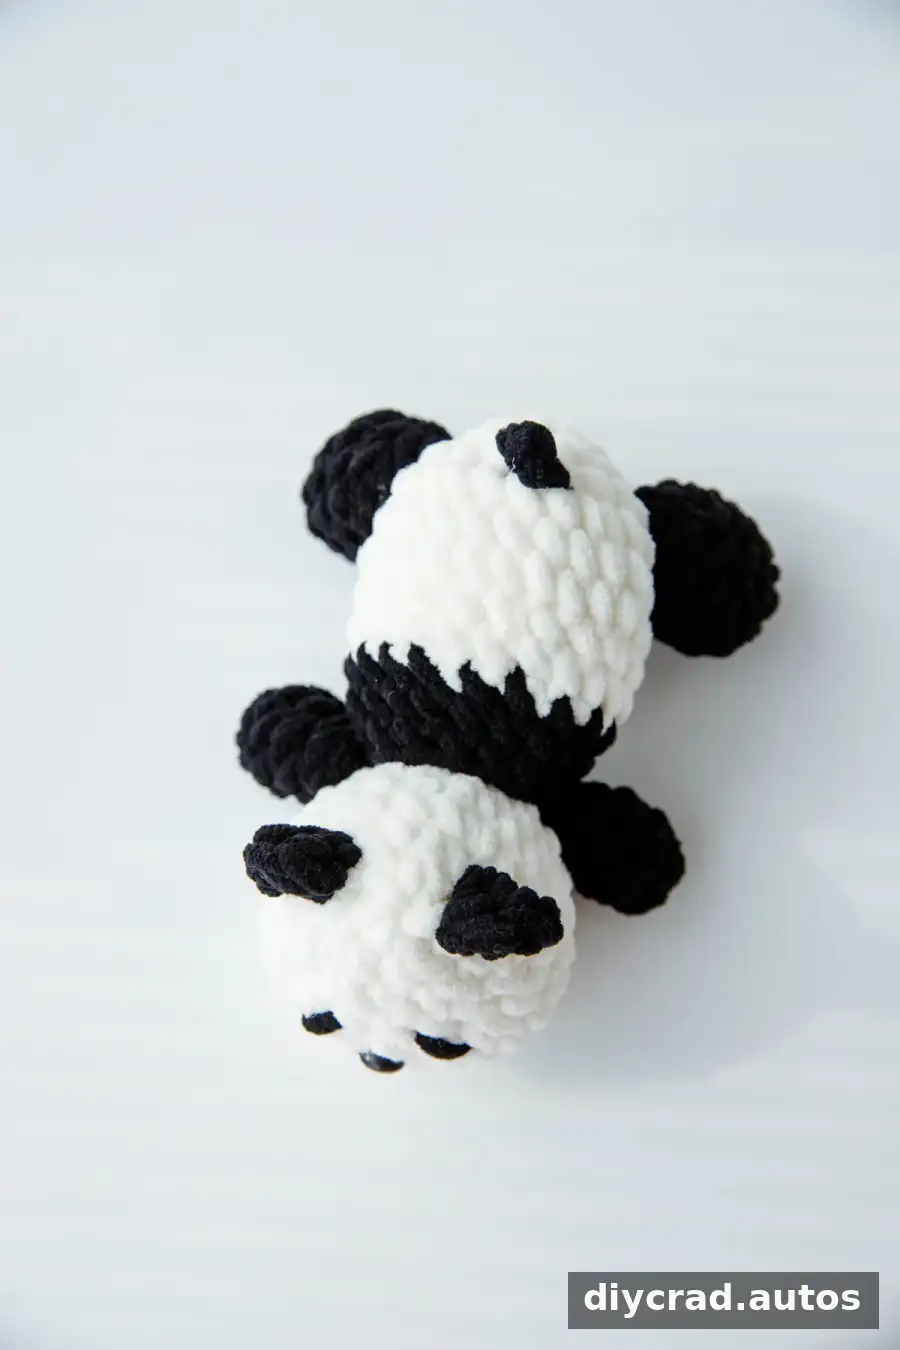
This crochet panda pattern guides you through making a soft amigurumi toy with white and black plush yarn. The project is worked in separate pieces—head, body, feet, ears, and tail—then assembled and finished with a nose and embroidered eyes. The instructions use US crochet terms and a 6.0 mm hook. Read the pattern notes before starting, and use a stitch marker to keep track of each round.
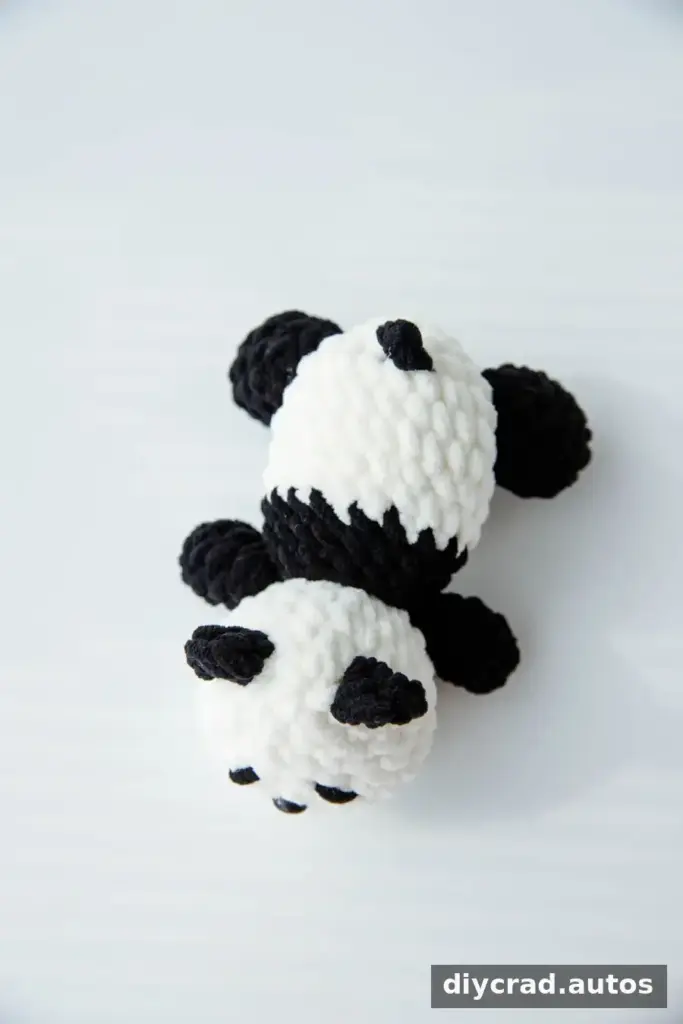
About This Crochet Panda Pattern
The panda is made from simple crochet stitches, increases, and decreases to shape its rounded parts. The pattern is listed at an intermediate difficulty level. Plush yarn can make individual stitches harder to see, so good lighting and careful stitch counting are especially helpful.
If you want to make another amigurumi animal after this project, you could try a pig, whale, dinosaur, chick, octopus, frog, rabbit, bear, or bird. For any project, check the yarn and hook requirements before you begin, since materials may differ from this panda pattern.
- Crochet Pig
- Crochet Whale
- Crochet Dinosaur
- Crochet Chick
- Crochet Octopus
- Crochet Frog
- Crochet Rabbit
- Crochet Bear
- Crochet Bird
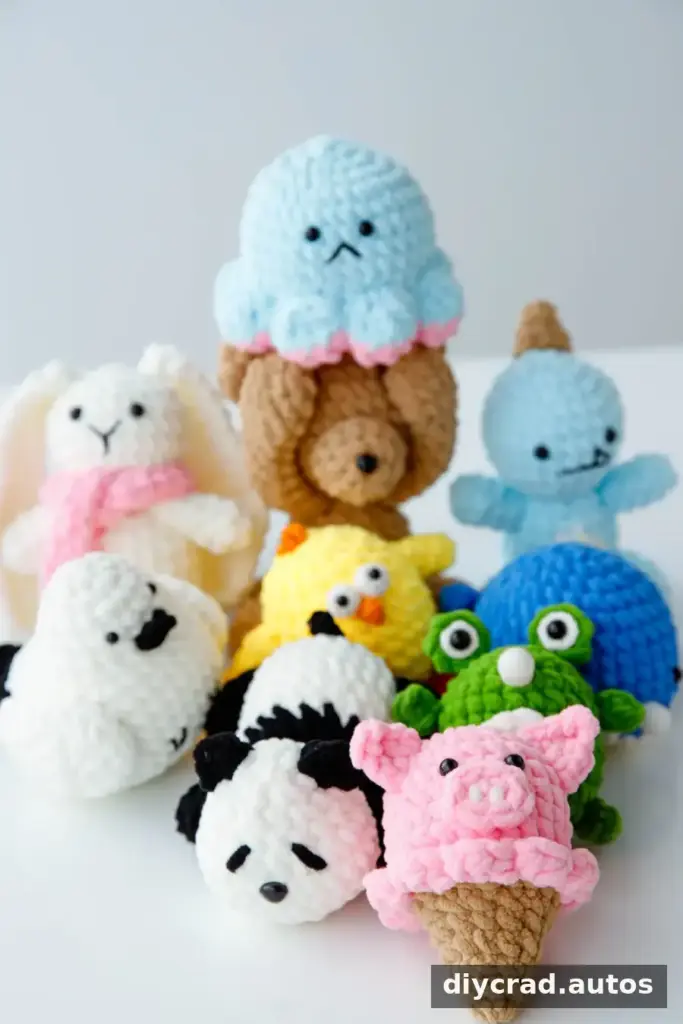
Before beginning, gather every supply and separate the white and black yarn. Keeping the pieces and yarn colors organized makes assembly easier and helps prevent missed color changes.
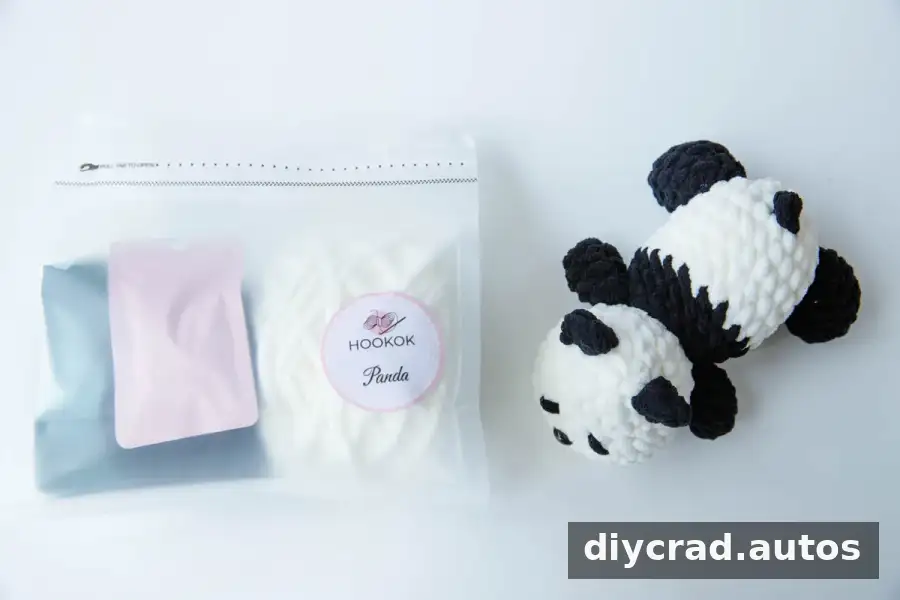
Materials for the Crochet Panda
- Plush yarn in two colors: white and black
- 6.0 mm crochet hook
- Darning needle
- Fiberfill
- Scissors
- Stitch marker
- Hot-melt adhesive
- One nose
No finished dimensions or gauge are provided. If you need the toy to reach a particular size, check the piece proportions as you work; changing yarn or hook size may affect the finished result.
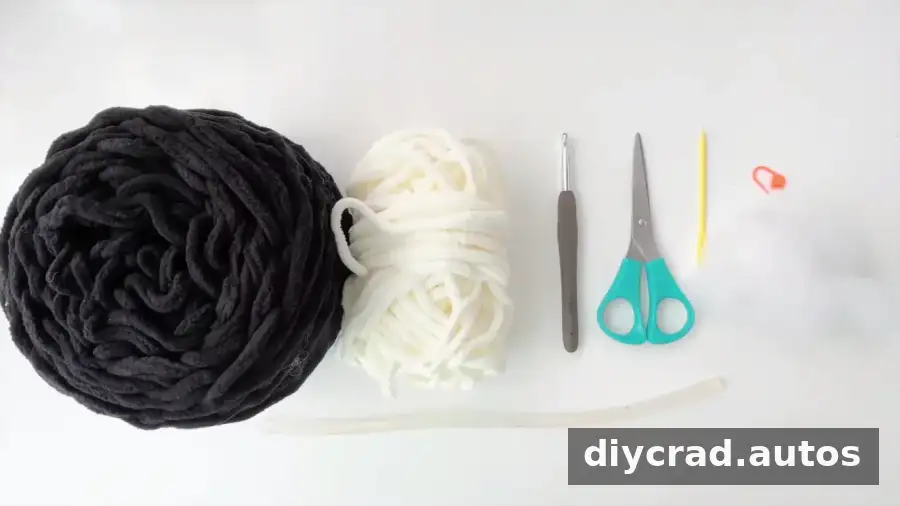
Stitches and Abbreviations
- ch: chain
- sc: single crochet
- ss: slip stitch
- st: stitch
- R1, R2, R3: Round 1, Round 2, Round 3, and so on
- sk: skip
- sc2tog: single crochet two together
- hdc: half double crochet
Special Stitches
- Single crochet two together (sc2tog): Insert the hook into the first stitch, yarn over and pull up a loop. Insert the hook into the next stitch, yarn over and pull up a loop, then yarn over and pull through all loops on the hook. This decreases the stitch count.
- Increase: Work 2 sc into the next stitch. This adds one stitch to the round and helps shape the piece.
Pattern Notes
- The pattern uses US crochet terminology.
- Place a stitch marker in the first stitch of each round to help track your progress.
- Follow the stated stitch counts and color changes carefully.
- Instructions in italics are additional notes.
Step-by-Step Crochet Panda Pattern
Head (white)
- R1: Make 6 sc in a magic ring. Join with 1 ss, then ch 1.
- R2: Work 2 sc in each stitch 6 times. Join with 1 ss, then ch 1.
- R3: Repeat (1 sc, 2 sc in the next st) 6 times. Join with 1 ss, then ch 1.
- R4: Work 18 sc. Join with 1 ss, then ch 1.
- R5: Work 4 sc, repeat (2 sc in the next st) 4 times, work 2 sc, repeat (2 sc in the next st) 4 times, then work 4 sc. Join with 1 ss, then ch 1.
- R6–R7: Work 26 sc in each round. Join with 1 ss, then ch 1.
- R8: Work 4 sc, repeat sc2tog 4 times, work 2 sc, repeat sc2tog 4 times, then work 4 sc. Join with 1 ss, then ch 1.
- R9: Repeat (1 sc, sc2tog) 6 times. Join with 1 ss, then ch 1.
- R10: Repeat sc2tog 6 times. Add fiberfill, cut the yarn, and weave in the end.
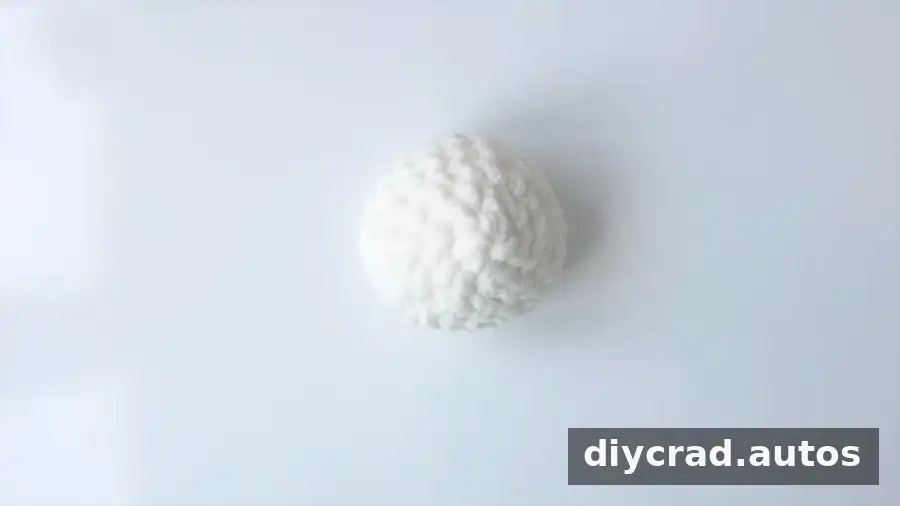
Body (white and black)
- R1: With white yarn, work 5 sc in the round. Join with 1 ss, then ch 1.
- R2: Work 2 sc in each stitch 5 times. Join with 1 ss, then ch 1.
- R3: Repeat (1 sc, 2 sc in the next st) 5 times. Join with 1 ss, then ch 1.
- R4: Repeat (2 sc, 2 sc in the next st) 5 times. Join with 1 ss, then ch 1.
- R5: Repeat (3 sc, 2 sc in the next st) 5 times. Join with 1 ss, then ch 1.
- R6–R7: Work 25 sc in each round. Join with 1 ss, then ch 1.
- R8: Work 8 sc, repeat (1 sc, sc2tog) 3 times, then work 8 sc. Join with 1 ss, then ch 1.
- R9: Work 22 sc. Join with 1 ss, then ch 1.
- R10: Change to black yarn. Work 8 sc, repeat (1 sc, sc2tog) 2 times, then work 8 sc. Join with 1 ss, then ch 1.
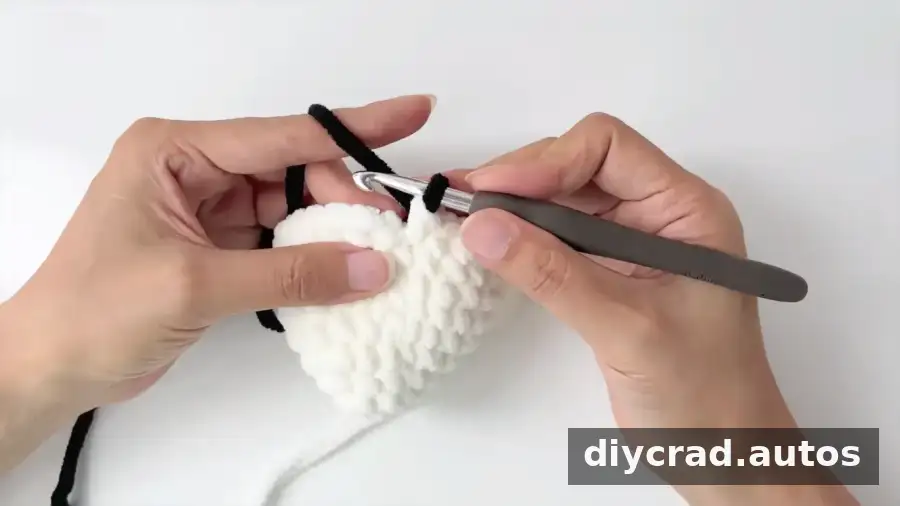
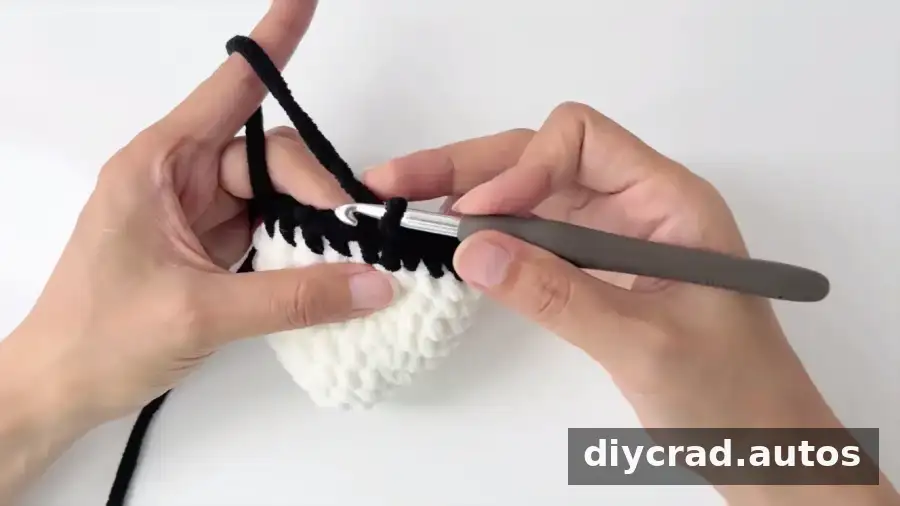
- R11: Work 20 sc. Join with 1 ss, then ch 1.
- R12: Work 2 sc, repeat (1 sc, sc2tog, 1 sc) 4 times, then work 2 sc. Cut the yarn and leave a tail for assembly.
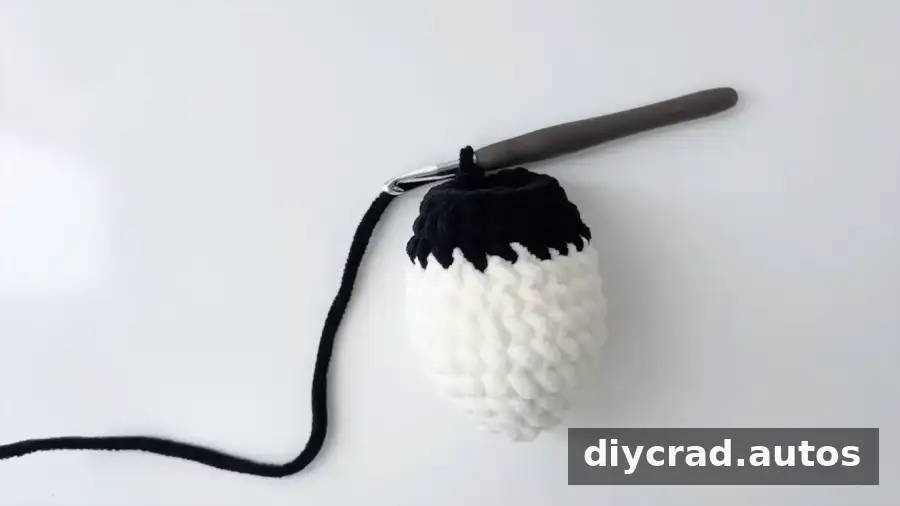
Front Feet (make 2, black)
- R1–R4: Work 7 sc in each round. Join with 1 ss, then ch 1. Cut the yarn and leave a tail for sewing.
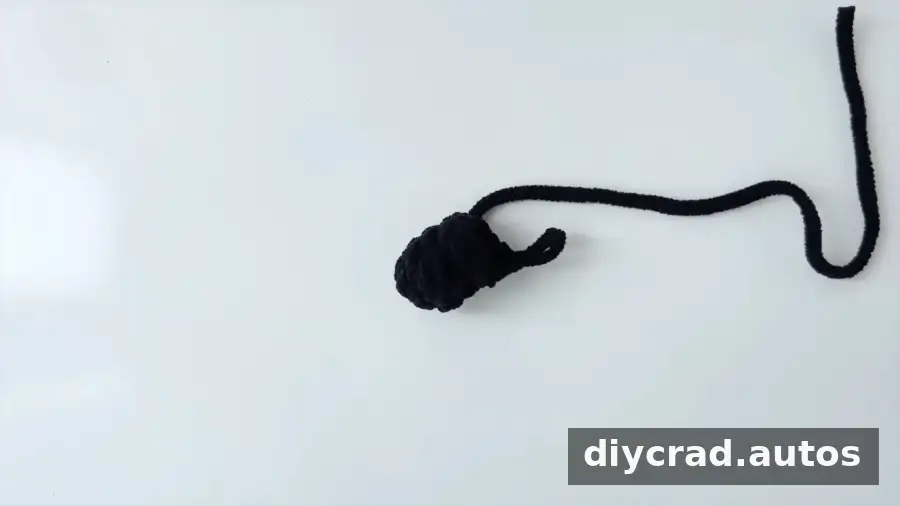
Back Feet (make 2, black)
- R1: Make 6 sc in a magic ring. Join with 1 ss, then ch 1.
- R2: Work 2 sc in each stitch 6 times. Join with 1 ss, then ch 1.
- R3: Work 12 sc. Join with 1 ss, then ch 1.
- R4: Work 3 sc, repeat sc2tog 3 times, then work 3 sc. Join with 1 ss, then ch 1.
- R5: Work 9 sc. Join with 1 ss, then ch 1.
- R6: Repeat (1 sc, sc2tog) 3 times. Cut the yarn and leave a tail.
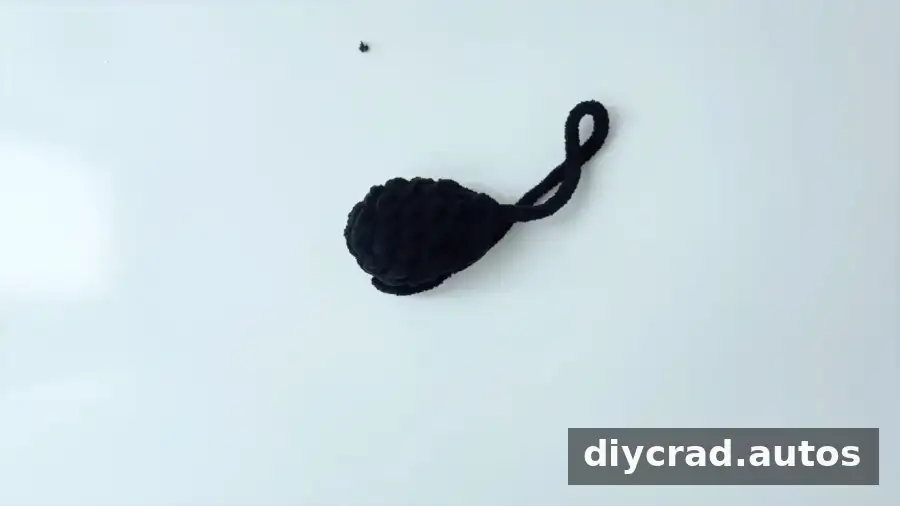
Ears (make 2, black)
Work 1 ch, 3 hdc, then 1 ch in the gap specified between body rounds 2 and 3. Cut the yarn and weave in the ends. The pattern’s assembly directions also refer to attaching these pieces to the head, so confirm their intended placement before securing them.
Tail (black)
Make 4 ch and join with 1 ss at the center above the back of the body. Leave a tail if you need it to sew the piece securely in place.
Assembling the Crochet Panda
Before attaching the pieces, arrange them in position and check that the panda sits evenly. Sewn joins can be adjusted more easily before they are tightened or glued.
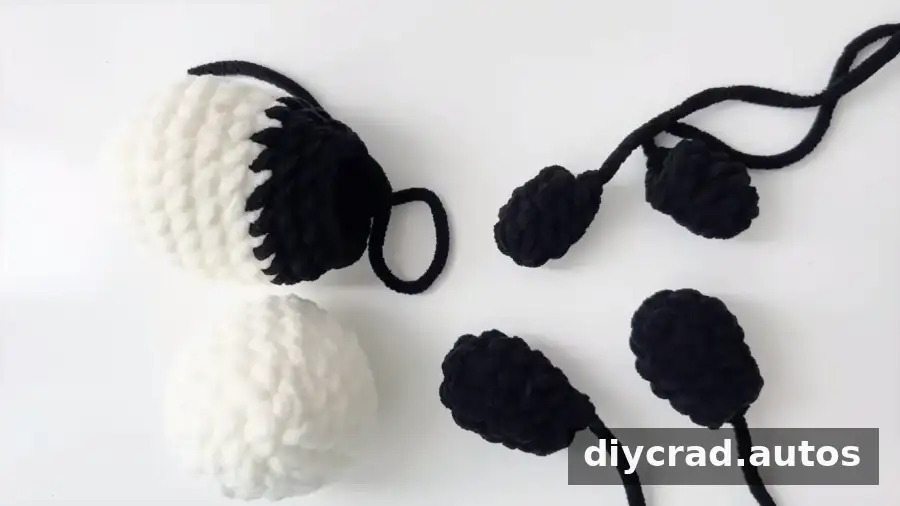
- Stuff the head and body: Add fiberfill to both pieces, distributing it evenly so they keep their shape.
- Join the head and body: The pattern specifies hot-melt adhesive. Press the pieces together and allow the adhesive to dry. Use adhesive carefully and follow its safety instructions.
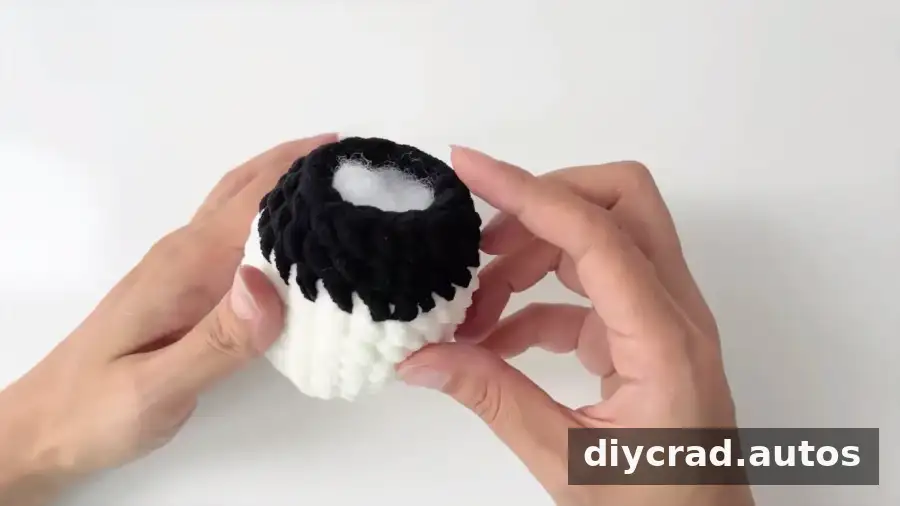
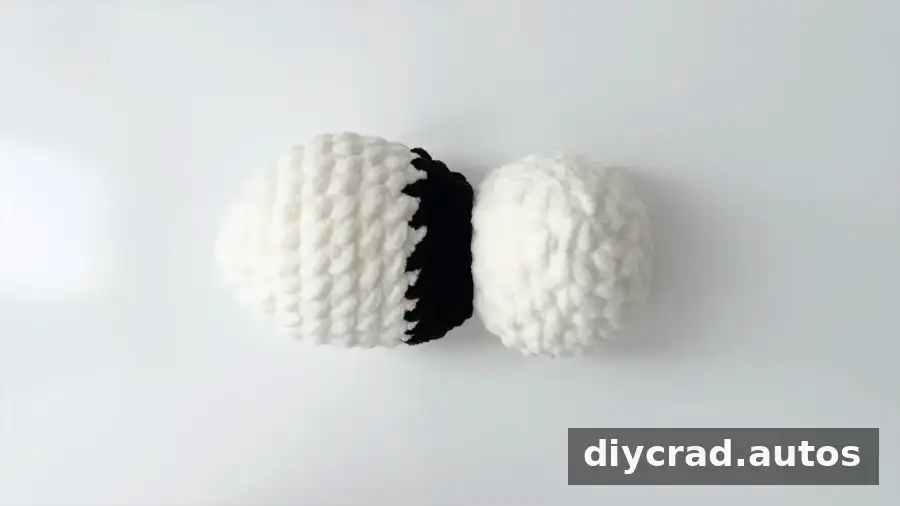
- Attach the front feet: Sew them to the sides of the body around the Round 12 connection, using a darning needle and yarn.
- Attach the back feet: Sew them to the bottom of the body with secure stitches.
- Help the feet stand: The pattern suggests applying hot-melt adhesive to the feet, pressing them onto a flat surface, and letting them dry.
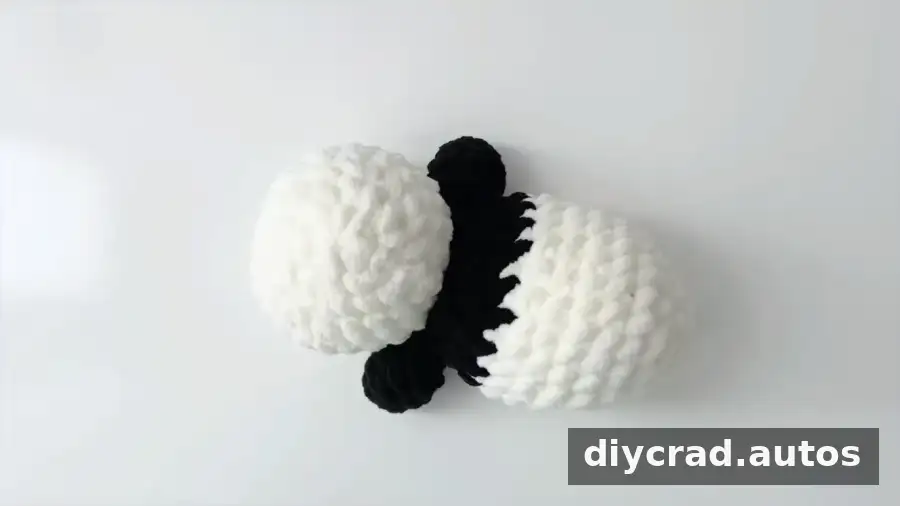
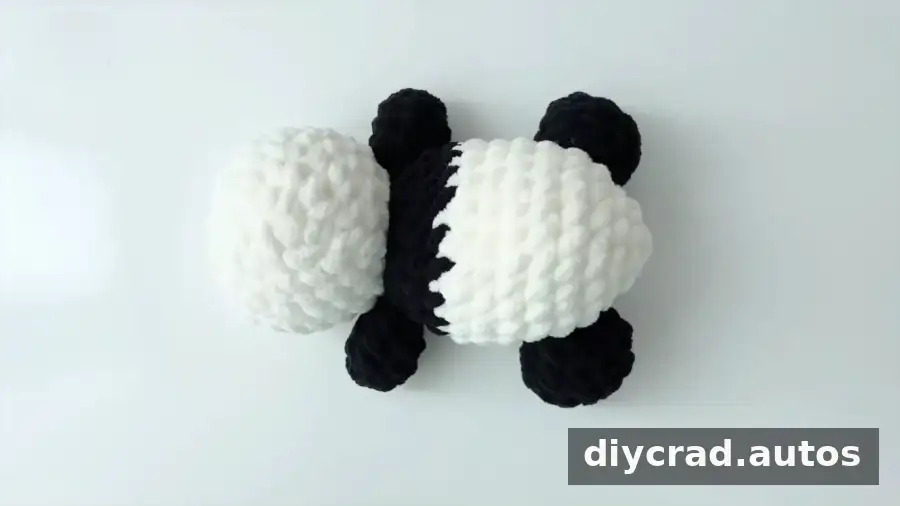
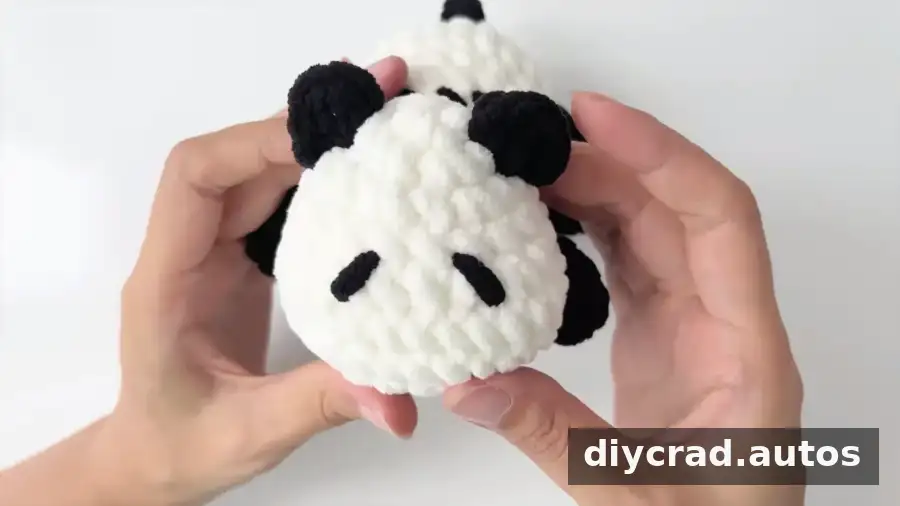
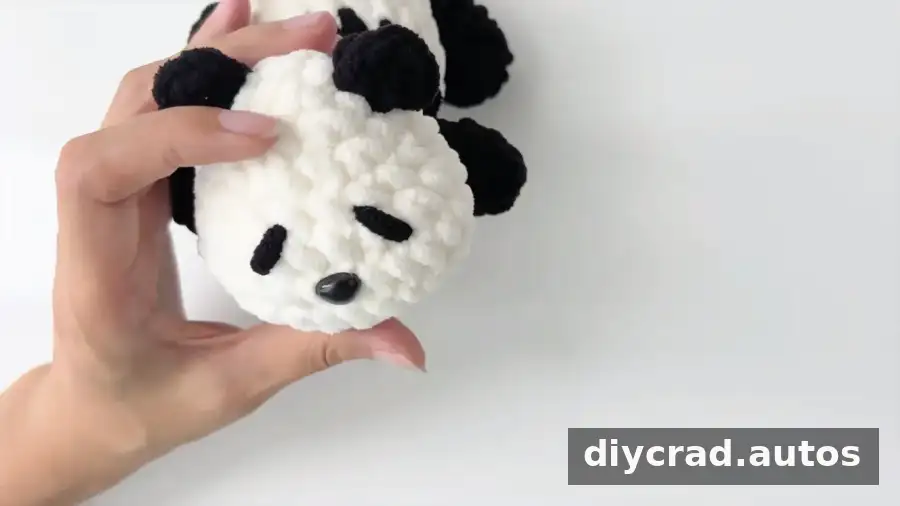
- Position the ears: The assembly directions describe working 1 ch, 3 hdc, and 1 ch with black yarn in the gap between body rounds 2 and 3, then sewing the pieces securely. Check placement against the pattern images before fastening, as the written directions mention both the body and head.
- Attach the tail: Join the 4-chain piece with a slip stitch at the center above the back of the body, then sew it firmly in place.
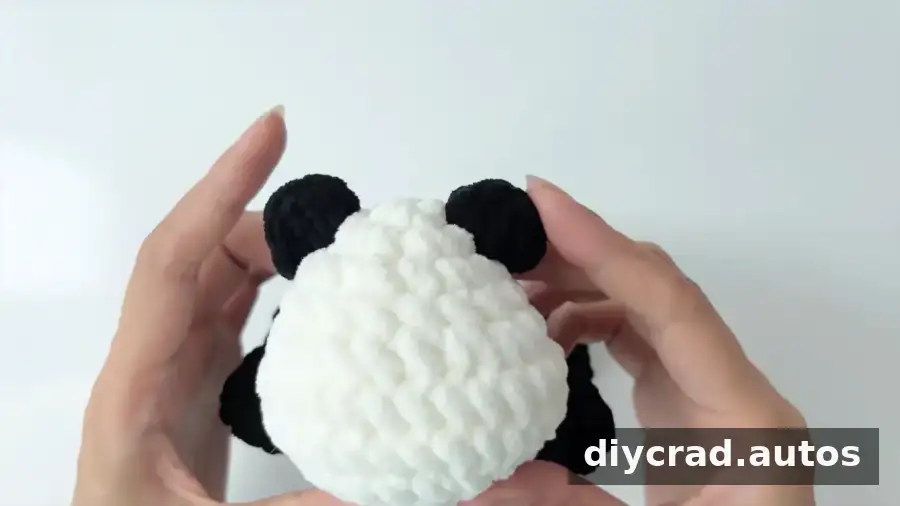
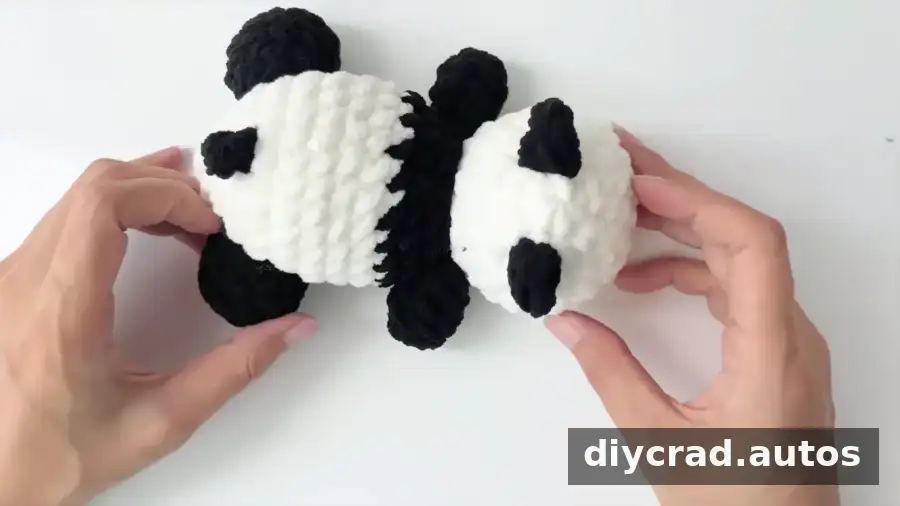
- Add the face: Sew two eyes onto the face with black yarn. Attach the nose in the center with hot-melt adhesive as directed.
Finishing Tips
Check that the head, feet, ears, and tail are firmly attached, then weave in any remaining yarn ends. If the panda is intended for a young child, take extra care with small parts such as the nose and with any adhesive; securely sewn features may be preferable when appropriate for the intended use.
Conclusion: Make This Crochet Panda Pattern
This crochet panda pattern brings together basic increases and decreases to create a plush amigurumi animal with separate pieces for straightforward shaping and assembly. Keep a stitch marker in place, count each round, and check the position of the ears before sewing. Once the finishing details are secure, the completed panda is ready to display or give as a handmade toy.