

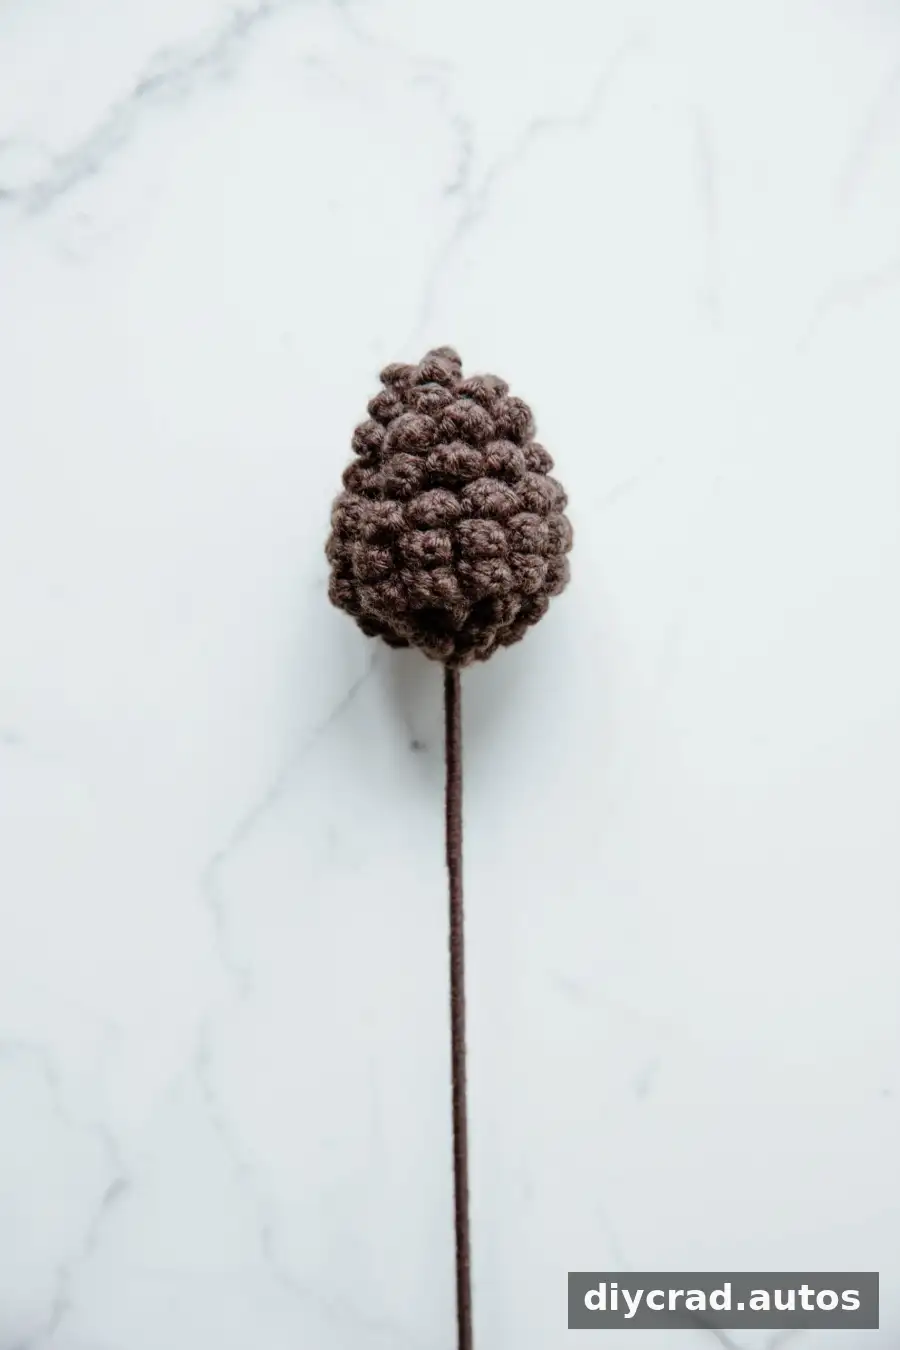
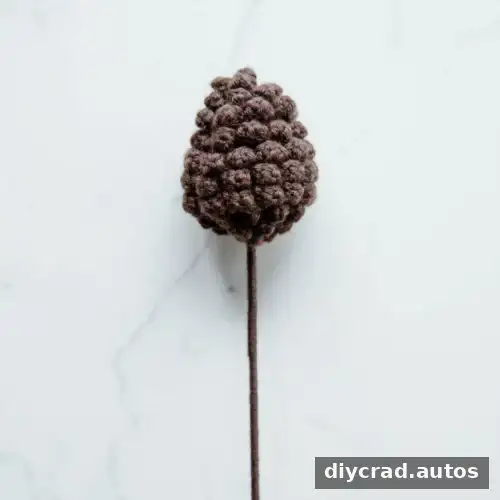
This crochet pine cone pattern creates a textured decoration for autumn displays, holiday arrangements, and handmade bouquets. The design uses brown yarn, back-loop stitches, and layered crochet details to give the finished piece a pine-cone-inspired shape. It is rated easy and is suitable for crocheters familiar with basic stitches and simple decreases.
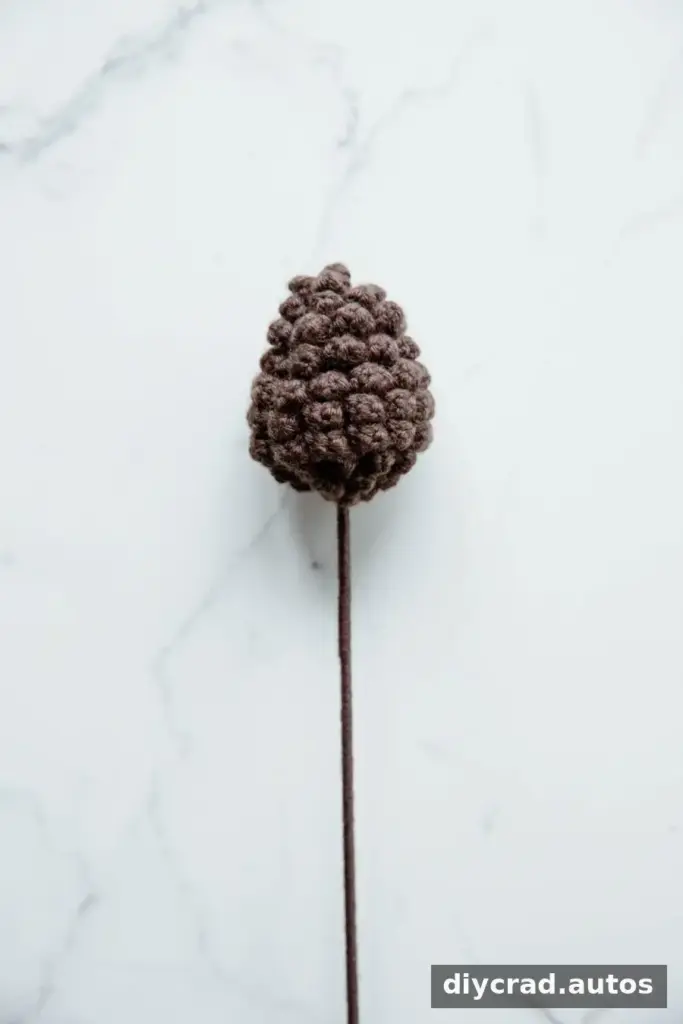
Brown and light beige yarn can suggest the natural tones of a real pine cone. Use the finished piece on its own, add it to a wreath, or combine it with other crocheted flowers. A stitch marker is helpful for keeping track of rounds, especially while shaping the main body.
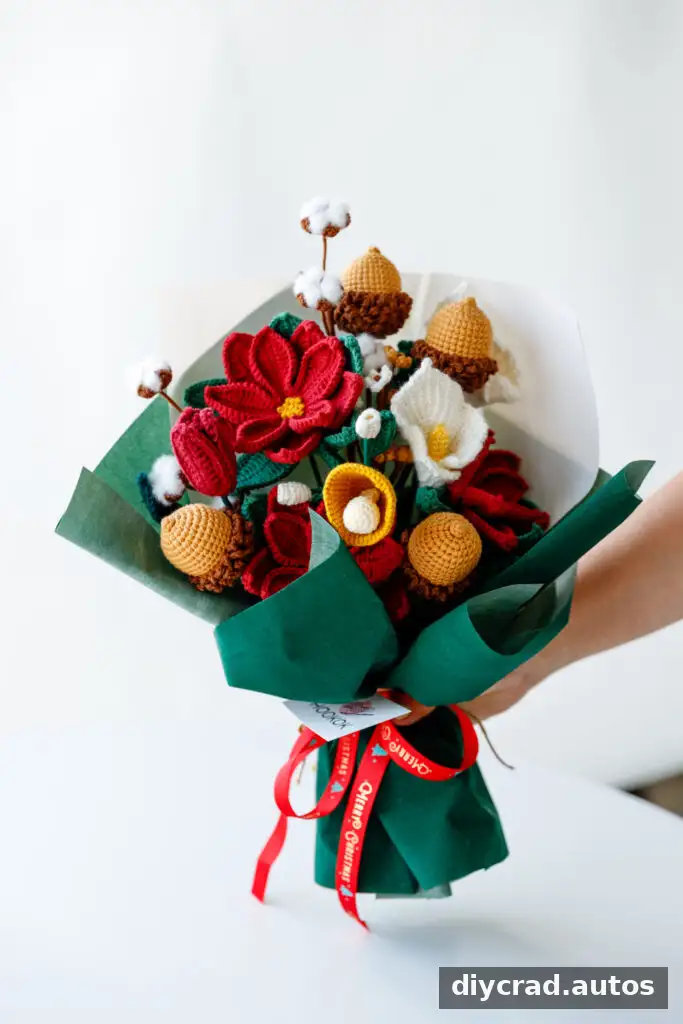
Christmas Flower Bouquet

Chinese Lantern Lily and Acorn Bouquet
Ways to Use a Crochet Pine Cone
A crocheted pine cone adds texture to home, office, and garden displays. It can be used in seasonal decorations, wreaths, and table arrangements. Because it is made from yarn, it can also be kept as a lasting handmade keepsake or given as a gift for a birthday, anniversary, or Christmas.
For a bouquet, use the pine cone as a focal point or pair it with silk flowers, cotton bolls, felt pom-poms, or dried twigs. Arrange the stems before securing them with ribbon so you can adjust the height and balance of the display.
Materials and Difficulty
This project is described as easy and uses basic crochet techniques. Working into back loops and making single crochet decreases may take extra attention if you are new to them. Count each round and use a stitch marker to help identify the start of the round.
- Brown yarn
- 2.5 mm crochet hook
- Flower rod, 16 inches long x 0.08 inches diameter (40 cm x 2 mm)
- Scissors
- Stitch marker
- Hot melt adhesive
- Fiberfill
Stitches and Abbreviations
The pattern uses US crochet terms. Read the abbreviations before beginning and check each round as you work.
- sc: single crochet
- ss: slip stitch
- ch: chain
- blo: back loops only
- sc2tog: single crochet two together, a decrease
- flo: front loops only
- dc: double crochet
- sk: skip
Special Stitches
- BLO (back loops only): Insert the hook through the back loop only, leaving the front loop unworked. This creates a ridged texture and adds structure.
- Sc2tog (single crochet two together): Insert the hook into the first stitch, yarn over and pull up a loop. Insert the hook into the next stitch, yarn over and pull up a loop, then yarn over and pull through all loops on the hook. This decreases the stitch count and helps shape the piece.
- FLO (front loops only): Insert the hook through the front loop only, leaving the back loop unworked. These remaining loops provide a base for the decorative rounds.
Step-by-Step Crochet Pine Cone Pattern
Main Part of the Pine Cone
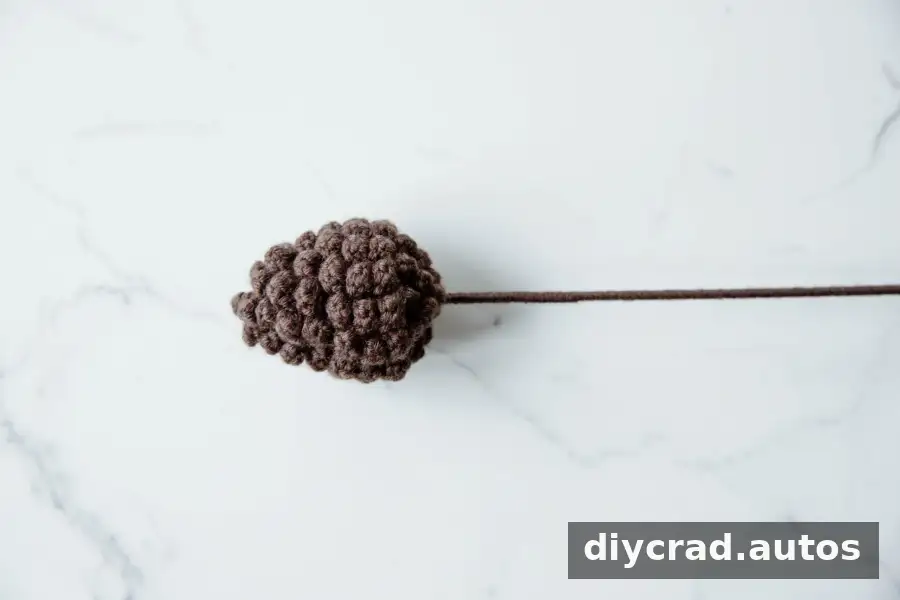
Begin with a magic ring. Work the rounds below, using a stitch marker to keep track of the round start. After each round, make the slip stitch and chain specified.
- R1: Make 6 sc into the magic ring, then 1 ss and 1 ch.
- R2: BLO: (2 sc in the next st) 6 times. Make 1 ss and 1 ch.
- R3: BLO: (1 sc, 2 sc in the next st) 6 times. Make 1 ss and 1 ch.
- R4: BLO: (2 sc, 2 sc in the next st) 6 times. Make 1 ss and 1 ch.
- R5: BLO: 24 sc. Make 1 ss and 1 ch.
- R6: (6 sc, sc2tog) 3 times. Make 1 ss and 1 ch.
- R7: BLO: 21 sc. Make 1 ss and 1 ch.
- R8: (5 sc, sc2tog) 3 times. Make 1 ss and 1 ch.
- R9: BLO: 18 sc. Make 1 ss and 1 ch.
- R10: (4 sc, sc2tog) 3 times. Make 1 ss and 1 ch.
- R11: BLO: 15 sc. Make 1 ss and 1 ch.
- R12: (3 sc, sc2tog) 3 times. Make 1 ss and 1 ch.
- R13: BLO: (2 sc, sc2tog) 3 times. Make 1 ss and 1 ch, then add fiberfill.
- R14: (1 sc, sc2tog) 3 times. Do not cut the yarn tail.
Decorative Scales
Work the following decorative rounds in the front loops only (FLO). Skip one stitch between each repeat as instructed, and tighten the ring at the end of each section.
- R1–2: Starting from the last stitch on the hook, repeat (1 ss, 1 ch, 1 dc, 1 ch, 1 ss) in each stitch, skipping 1 stitch between repeats. Continue to the end of the round. Make 1 ss in the first stitch, pull the large ring through the pine cone, and close it tightly.
- R3–4: Repeat (1 ss, 2 ch, 1 dc, 2 ch, 1 ss), skipping 1 stitch between repeats. Continue to the end of the round, then make 1 ss and tighten the ring.
- R5–7: Repeat (1 ss, 2 ch, 2 dc, 2 ch, 1 ss), skipping 1 stitch between repeats. Continue to the end of the round, then make 1 ss and tighten the ring.
- R8–10: Repeat (1 ss, 2 ch, 1 dc, 2 ch, 1 ss), then skip 1 stitch. Continue to the end of the round, make 1 ss, and tighten the ring.
Assembly
- Carefully insert the flower rod through the center of the pine cone.
- Wrap the rod tightly with the yarn tail and secure it with hot melt adhesive. Take care when handling hot adhesive and allow it to set before arranging the decoration.
Video and Helpful Tips
A video tutorial is available for additional guidance. Turn on subtitles in the video settings if you need them. Follow the stitch counts closely, and check that the decorative loops sit evenly around the cone before tightening them.
Conclusion
This crochet pine cone pattern combines a shaped, stuffed body with layered decorative details to create a versatile handmade accent. Use it in a seasonal display, wreath, or bouquet, and take your time with the back-loop rounds and decreases for a neat result. Brown or light beige yarn keeps the finish close to natural pine-cone colors.

